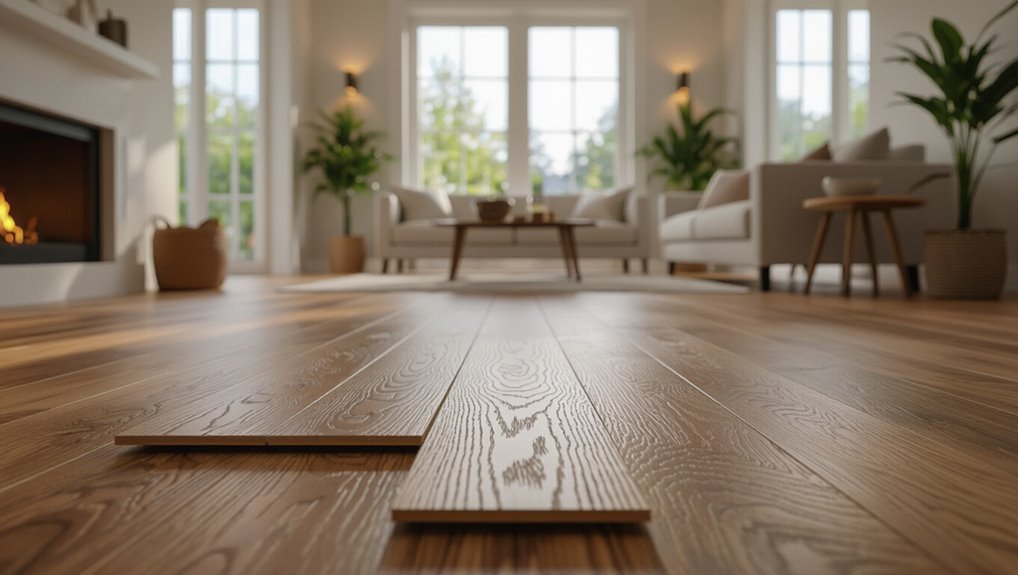
How to Install Luxury Vinyl Plank Flooring Like a Pro
You can install luxury vinyl plank like a pro by prepping carefully, acclimating planks 48–72 hours, and ensuring a flat, dry subfloor with proper underlayment and moisture control. Measure accurately, plan staggered seams, and leave expansion gaps. Use click-lock or glue-down methods as recommended, cut precisely around obstacles, and finish with thresholds and baseboards. Work methodically, protect the floor for 48–72 hours, and follow manufacturer specs—keep going and you’ll pick up detailed tips and tricks.
Quick Answer Can You Install Luxury Vinyl Plank (LVP) Yourself?
Yes—you can usually install LVP yourself, and a typical room takes a weekend and $2–6 per sq ft for materials (tools extra).
Hire a pro if your subfloor needs major prep, the room has complex layouts or changes, or you want a watertight glue-down installation.
We’ll cover what tasks are DIY-friendly and when it’s smarter to call a pro.
Short direct answer and time/cost estimate
You can install luxury vinyl plank (LVP) yourself if you’re handy and willing to follow instructions; most DIYers finish a single average room in a day or two.
Expect materials and underlayment to run $2–$5 per sq ft, plus tools if needed. Labor adds $3–$7 per sq ft if hired.
Learning how to install luxury vinyl plank flooring saves money and gives predictable timing.
When to hire a pro vs DIY
Anyone comfortable with basic carpentry and patient about prepping subfloors can install LVP themselves, but call a pro if the job includes uneven subfloors, complex layouts, staircases, or moisture issues.
If you’re confident, tackle straight rooms, closets, and simple changes. Hire pros for leveling, waterproofing, herringbone patterns, or tight timelines.
Weigh skill, tools, time, and warranty implications before deciding.
Basic Understanding What Is Luxury Vinyl Plank and Why Choose It?
You’ll learn that luxury vinyl plank (LVP) is a multi-layer flooring made of a wear layer, printed design and a core with a backing, engineered to mimic wood or tile.
You’ll compare its water resistance, durability, cost, and feel against hardwood, laminate, and tile to see where it excels and where it falls short.
Finally, you’ll review installation types—glue-down, click-lock (floating), loose lay—and core options like SPC versus WPC so you can pick the right LVP for your space.
Definition and construction (wear layer, core, backing)
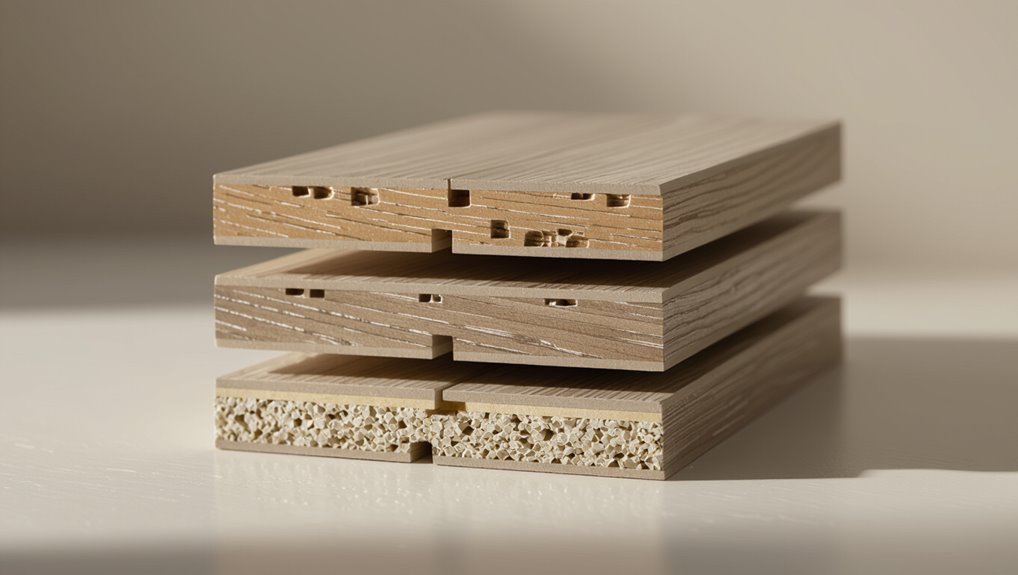
Think of luxury vinyl plank (LVP) as a layered engineered product designed to mimic real wood while offering superior durability.
You’ll see a clear wear layer protecting against scratches, a printed decorative layer for realistic wood visuals, a rigid or flexible core for stability and comfort, and a backing that adds moisture resistance and balance.
Each layer influences performance and installation choices.
Advantages and limitations compared to hardwood, laminate, and tile
While LVP copies wood’s look, it often beats hardwood, laminate, and tile in water resistance, durability, and ease of installation, so you’ll find it a practical choice for busy homes and moisture-prone rooms. You’ll save on cost, upkeep, and installation time, though it can lack resale cachet and deep authenticity.
| Benefit | Compared to | Note |
|---|---|---|
| Water resistance | Hardwood/laminate | Stands up to spills |
| Durability | Tile (impact) | Softer underfoot |
Types of LVP: glue-down, click-lock (floating), loose lay, SPC vs WPC
Choosing the right type of LVP comes down to how you plan to use it and how much work you want to do: glue-down offers permanent, stable installation; click-lock floats over subfloor for easier DIY; loose lay simply rests in place for quick replacement.
SPC (stone-plastic composite) is rigid and durable; WPC (wood-plastic composite) adds cushioning and warmth.
Choose based on traffic, moisture, and comfort.
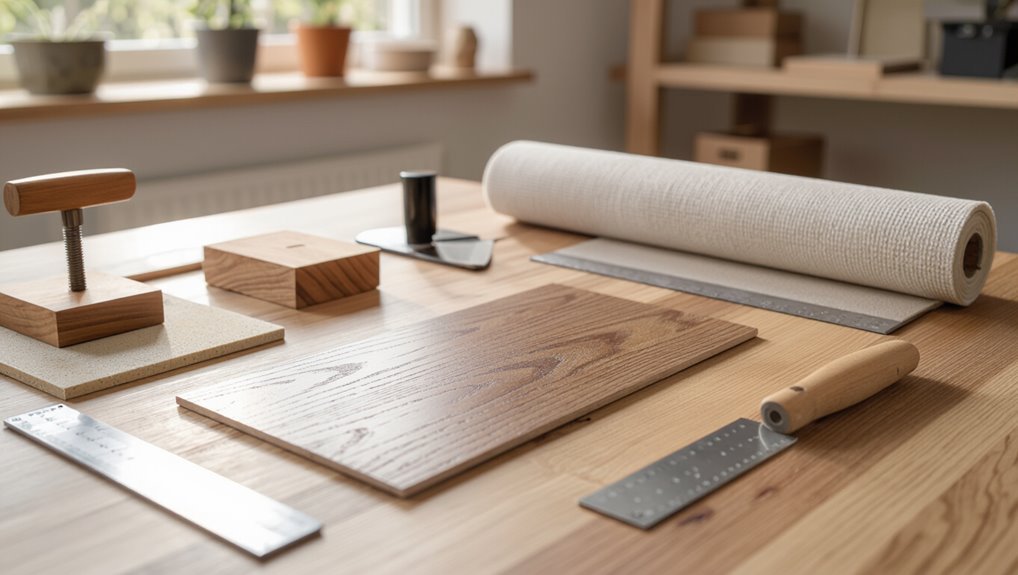
Tools, Materials, and Pre-Installation Checklist
Before you start, gather your essential and optional tools—saw, spacers, tapping block, pull bar, and any specialty cutters—along with materials like underlayment, threshold strips, adhesives, and trim.
Measure the room, note subfloor type and moisture levels, check doorways and connections, and confirm you have the right amounts of planks.
Put on safety gear and clear and level the workspace so you can install efficiently and safely.
Essential tools and optional tools
A clear set of tools makes installing luxury vinyl plank faster and more accurate, so you’ll want to gather both essentials and handy extras before you start.
You’ll need basic cutting, measuring, and tapping tools, plus optional items that speed work or improve finishes. Choose quality, inspect before use, and keep safety gear handy.
- Tape measure
- Utility knife
- Rubber mallet
- Pull bar
Materials and accessories (underlayment, transition strips, adhesives, trim)
While tools get the job done, the right materials and accessories finish it—underlayment, connector strips, adhesives, and trim all affect durability, sound, and the final look.
You’ll choose underlayment for cushioning and moisture control, threshold strips for smooth joins, adhesives when required, and trim for neat edges.
Match materials to your plank type and room use.
- Underlayment selection
- Threshold strips
- Adhesives/options
- Baseboards/trim
Room assessment checklist: measurements, subfloor type, moisture, doorways
Checklist time: measure the room accurately, note the subfloor type, test for moisture, and catalog doorways and passages so you know what prep and materials you’ll need.
You’ll calculate square footage, identify plywood/concrete/subfloor issues, use a moisture meter, and plan threshold and hinge clearances before buying planks.
- Measure length and width, include alcoves
- Inspect subfloor material and flatness
- Perform moisture tests
- Note doorway widths and swing clearance
Safety gear and workspace preparation
Now that you’ve measured the room and checked the subfloor and doorways, you should outfit yourself and the workspace so installation goes safely and smoothly.
Wear safety glasses, kneepads, ear protection, gloves, and a dust mask.
Clear furniture, tape off vents, guarantee good lighting and ventilation.
Gather tools: utility knife, spacers, tapping block, mallet, pull bar, straightedge, and a moisture meter.
Prep Work How to Prepare the Room and Subfloor
Start by measuring the room and calculating how many planks you’ll need, including a waste allowance.
Remove old flooring and baseboards, then inspect the subfloor for flatness, level, cleanliness, dryness (use a moisture test), and make any necessary repairs or apply leveling compound.
Finally, acclimate the planks and condition the room to the manufacturer’s recommended temperature and humidity before you begin.
Measuring the room and calculating plank quantity with waste allowance
Before you lay a single plank, measure the room carefully so you know how much material you’ll need and can plan seams and shifts.
Calculate area (length × width), add 5–10% waste for cuts and pattern matching, account for odd shapes and closets separately, and round up to full boxes.
- Measure longest and widest points
- Sketch and note obstacles
- Compute waste allowance
- Buy extra boxes
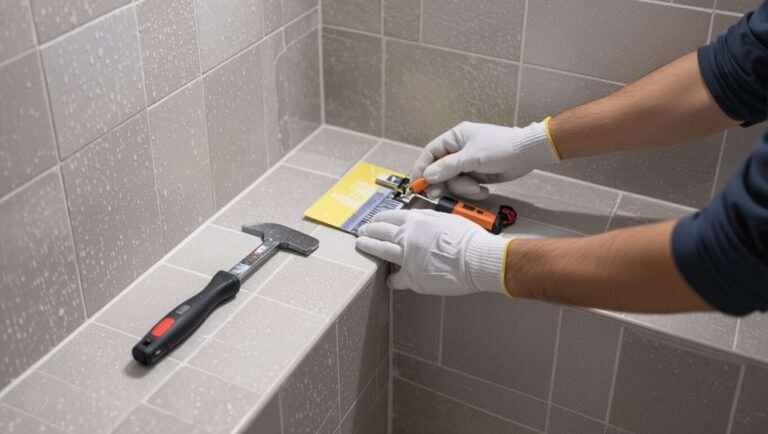
Removing old flooring and baseboards
Once you’ve measured and bought enough planks, clear the room and remove the old flooring and baseboards so you can inspect and prep the subfloor properly.
Pull baseboards gently with a pry bar, label and store them if reusing. Strip carpet, tack strips, adhesive and connector pieces.
Dispose of debris, repair damaged underlayment, and vacuum so you start with a clean, accessible workspace.
Subfloor inspection: flatness, level, clean, dry moisture testing methods
A thorough subfloor inspection guarantees your luxury vinyl plank performs well and lasts—check for flatness, level, cleanliness, dryness, and moisture sources before you lay any planks.
Inspect visually, sweep and vacuum, and test moisture with a reliable meter or tape test. Address any active leaks first.
- Check flatness and level with a straightedge
- Clean debris and adhesive residue
- Use a moisture meter across the floor
- Confirm no plumbing or roof leaks
Subfloor repairs and leveling compounds
If your subfloor shows dips, cracks, or loose sections, you’ll need to repair and level it so the vinyl lays flat and the warranty stays valid.
Remove debris, secure loose boards, and fill gaps or holes with an appropriate patch.
Use a self-leveling compound for low spots, following manufacturer mixing and cure times.
Sand high spots and recheck flatness before installing.
Acclimating planks and conditioning the room
Before you lay a single plank, let the flooring and room acclimate so the vinyl performs as designed; open boxes, spread planks flat, and leave them 48–72 hours.
Keep HVAC on, maintaining 60–80°F and stable humidity.
Remove carpets and heavy items, confirm subfloor is clean and dry, and check moisture with a meter before installation.
Step-by-Step Installation Guide (Primary Method: Click-Lock Floating)
Now you’ll walk through the click-lock floating installation step by step, starting with layout planning — positioning your starter row, staggering planks, and leaving proper expansion gaps.
You’ll cut and fit the first row, then lock subsequent rows together using spacers and a mallet for tight seams.
Finally, you’ll trim around obstacles and door frames, and fit the final narrow planks to finish the job.
Step 1 Layout planning: starter row, stagger pattern, and expansion gaps
Once you’ve cleared and measured the room, plan your starter row, stagger pattern, and expansion gaps so installation proceeds smoothly and looks balanced.
Choose a straight starter along the longest wall, check plank lengths to avoid tiny end pieces, stagger end joints at least 6–8 inches, and mark a consistent expansion gap (usually 1/4 inch) around perimeter and at fixed objects before you begin.
Step 2 Installing the first row and cutting starter planks
Start the first row by laying your starter planks with the tongue side facing the wall, using spacers to maintain the expansion gap and checking that the line is perfectly straight so subsequent rows lock together cleanly.
Measure and cut end pieces accurately, allowing the gap. Use a square and utility knife or saw for clean cuts.
Dry-fit each plank before final placement.
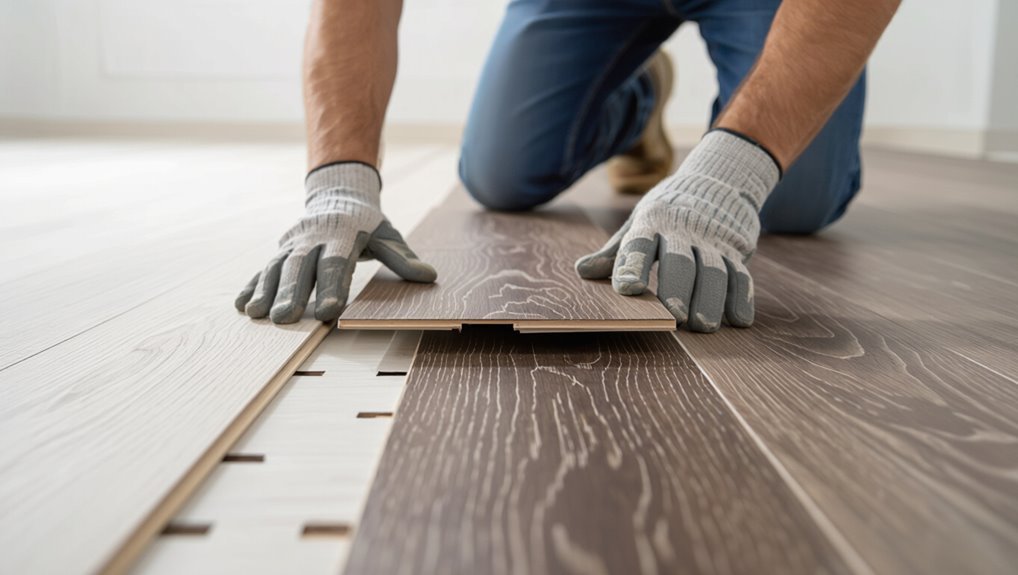
Step 3 Locking subsequent rows and tapping tips (use of spacers and mallet)
Align the first plank of the second row at a slight angle to the installed row, insert the tongue into the groove, and lower it until it clicks; use spacers along the walls to preserve the expansion gap and check that seams stay tight as you work.
Stagger end joints, feed each plank fully, then tap seams gently with a tapping block and mallet to guarantee a snug, even fit.
Step 4 Cutting around obstacles, door frames, vents, and irregular walls
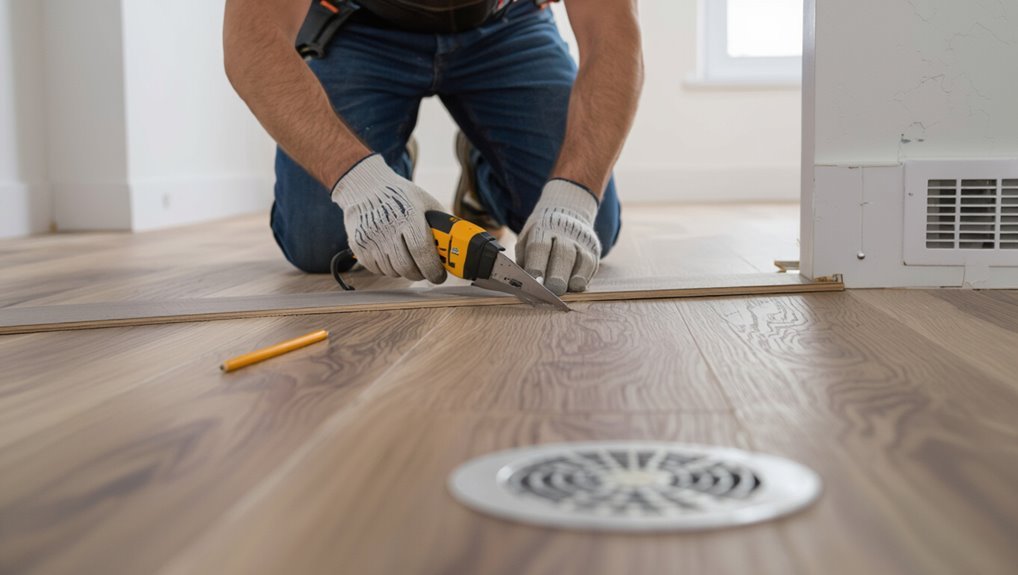
When you reach doorways, vents, or uneven walls, measure and transfer cuts carefully so each plank fits snugly without compromising the expansion gap; use a combination square or template to mark irregular shapes, cut with a jigsaw or utility knife as appropriate, and test-fit pieces before locking them into place.
Remove trim if needed, notch around pipes, and sand or shave tight spots for a clean, even fit.
Step 5 Installing final row and fitting narrow planks
After fitting the tricky cuts around frames and vents, you’ll tackle the final row, which often requires narrower planks and extra care to maintain the proper expansion gap.
Measure each piece precisely, rip planks lengthwise with a table or circular saw, stagger end joints, and dry-fit before locking.
Use a pull bar to secure tight seams, keeping the expansion gap consistent.
Step 6 Installing transitions, thresholds, and baseboards
Step 6 covers the finishing touches you’ll use to move between rooms and secure the edges—install connectors, thresholds, and baseboards to protect plank ends, hide expansion gaps, and create a polished look.
Measure openings, cut connectors to fit, anchor thresholds to subfloor, and snap or glue T-moldings as needed.
Nail or adhesive-base the baseboards, leaving a gap for expansion beneath them.
Step 7 Clean-up, inspection, and initial care
1 final sweep ties the job together: clean-up, a careful inspection, and the right initial care guarantee your click-lock floor looks great and performs as designed.
Remove debris, adhesive residue, and spacers; vacuum and damp-mop with manufacturer-recommended cleaner.
Inspect seams, junctions, and baseboards for gaps or defects.
Protect the floor from heavy traffic and moisture for 48–72 hours and follow maintenance guidelines.
Alternate Installation Methods (When Click-Lock Isn’t Right)
If click-lock won’t work for your space, you’ll need to evaluate other methods like glue-down, loose-lay, or fully adhered SPC/WPC with pressure-sensitive adhesive.
You’ll learn which adhesives and trowel sizes suit glue-down installs, how to anchor and treat seams for loose-lay, and when pressure-sensitive systems are the better choice.
I’ll outline the key techniques and tips for each so you can pick the right approach.
Glue-down installation: adhesives, trowel selection, and techniques
When click‑lock planks won’t work—because of very large rooms, heavy rolling loads, or certain commercial specs—you’ll want to use a glue‑down method that bonds the vinyl directly to the subfloor.
Choose the right pressure‑sensitive or wet adhesive, match trowel notch to plank backing, spread consistently, and roll after setting to guarantee full contact.
- select compatible adhesive
- pick proper trowel notch
- apply even adhesive bed
- use weighted roller
Loose-lay installation: anchoring and seam treatment
Although loose-lay planks rely on weight and friction rather than adhesive, you’ll still need to anchor edges and treat seams carefully to guarantee a stable, long-lasting floor.
Use perimeter trim, junction strips, and double-sided tape at thresholds to prevent shifting.
Stagger seams, leave proper expansion gaps, and compress seams with a roller or seam sealer where recommended to maintain alignment and moisture resistance.
Fully adhered SPC/WPC with pressure-sensitive adhesive
Because click-lock isn’t always suitable—uneven subfloors, heavy commercial traffic, or rooms with moisture concerns—you can install SPC/WPC by fully adhering it with a pressure-sensitive adhesive.
You’ll prep and prime the substrate, trowel the recommended adhesive, and lay planks while working within open time.
Roll the floor to guarantee contact, trim connections, and allow cure before foot traffic or furniture placement.
Common Problems and How to Fix Them
You’ll run into a few common issues—gapping, buckling or peaking, uneven seams from subfloor imperfections, and moisture-related failures that can lead to mold.
Learn how to identify each cause and apply fixes like adjusting expansion gaps, leveling or repairing the subfloor, and addressing moisture before installation.
I’ll also cover simple scratch, dent, and wear repairs so you can keep the floor looking and performing its best.
Gapping, buckling, or peaking causes and remedies
If gaps, buckling, or peaking show up in your luxury vinyl plank floor, they usually trace back to moisture, improper acclimation, or installation errors—issues you can prevent or fix with the right steps.
Check subfloor moisture, acclimate planks per manufacturer, maintain expansion gaps, and guarantee proper locking.
For buckling, remove affected planks, dry the area, then reinstall with correct spacing and adhesive if required.
Uneven seams and telegraphing subfloor imperfections
Uneven seams and telegraphed subfloor imperfections show up when planks don’t sit flat or the underlayer’s bumps and dips push through the finish.
You’ll spot them as visible ridges, gaps, or patterns running under the vinyl.
To fix it, remove affected planks, level the subfloor with patching compound or sanding, guarantee proper underlayment, then reinstall planks with correct acclimation and pressure.
Moisture-related failures and mold risk
When moisture gets trapped under luxury vinyl plank (LVP), it can delaminate seams, warp edges, and feed mold growth.
Scratch, dent, and wear repair options
Minor scratches, dents, and surface wear are the most common signs of heavy use on LVP. You can often fix them yourself with a few simple tools and materials.
Use vinyl repair kits for scratches, heat-set filler for small dents, and matching color touch-up pens. For deep gouges, replace affected planks.
Clean and seal repaired areas to blend finish and protect longevity.
Best Practices, Tips, and Pro Techniques
Before you lay the first plank, plan patterns and borders so staggered seams and accents look intentional.
Use efficient cutting techniques to minimize waste, monitor temperature and humidity for long-term performance, and follow a regular cleaning and maintenance schedule with clear dos and don’ts.
Keep records and photos of the installation to protect your warranty and simplify any future claims.
Pattern planning and aesthetic tips (staggering, border layouts)
If you want a professional-looking installation, plan your plank layout before you start cutting: decide on stagger spacing, end-joint offset, and any border or inset patterns so you won’t have to improvise mid-job.
Choose stagger lengths to avoid repeated seams, keep end joints at least 6–8 inches apart, preview border widths for balanced edges, and test corner connections and focal alignments before securing planks.
Efficient cutting and minimizing waste
Once your layout’s set, focus on cutting smart to save time and material: measure and mark each plank once, batch similar cuts together, and use a reliable straightedge and a sharp utility knife or a fine-tooth saw depending on the cut type.
Keep scrap sizes for starter rows, cut from the least visible areas, double-check orientations, and maintain sharp blades to reduce chipping and rework.
Temperature and humidity control for longevity
Climate matters: keep your space within the manufacturer’s recommended temperature (typically 60–80°F) and relative humidity (usually 30–50%) before, during, and after installation to prevent plank expansion, contraction, and adhesive failure.
Monitor conditions with a digital hygrometer/thermometer, acclimate boxes 48–72 hours, avoid rapid HVAC swings, seal gaps around exterior doors, and pause work if readings fall outside the recommended range.
Maintenance schedule and cleaning dos and don’ts
1 simple routine will keep your luxury vinyl plank floor looking its best: sweep or vacuum daily to remove grit, wipe up spills immediately, and mop with a manufacturer-approved cleaner on a scheduled basis (weekly for high-traffic areas, monthly for low-traffic).
Follow these dos and don’ts to prolong finish and prevent damage:
- Use soft-bristle broom or vacuum without beater bar
- Blot spills; avoid harsh chemicals
- Use microfiber mop and pH-neutral cleaner
- Protect from furniture with pads and rugs
Warranty considerations and installation documentation
Although warranties vary by manufacturer and installer, you should gather and keep all installation documents, receipts, product codes, and warranty paperwork before you finish the job so you can prove coverage if an issue arises.
Also photograph subfloor prep, acclimation tags, and plank batch numbers.
Register products online, note installer credentials and date, and store everything digitally and physically to simplify claims and future service.
Cost, Time, and DIY vs Professional Comparison
Expect to pay a wide range for LVP—materials can be $1–$7 per sq ft while professional installation often runs $2–$8 per sq ft depending on finish and underlayment.
A small room you can do in a day or two DIY, while larger or glue-down jobs may take several days and more prep.
Call a pro for complex layouts, moisture-prone areas, or commercial spaces where warranties and code compliance matter.
Typical material and labor cost ranges
Installing luxury vinyl plank (LVP) can cost a lot less or more depending on the materials and whether you do it yourself or hire pros, so you’ll want to weigh price against time and skill before you start. Expect materials $1–$7/ft²; DIY adds minimal labor, pros charge $2–$8/ft². Compare durability and warranty when choosing.
| Item | Typical Range |
|---|---|
| Low-end LVP | $1–$2/ft² |
| Mid-range LVP | $2–$4/ft² |
| High-end LVP | $4–$7/ft² |
| Professional labor | $2–$8/ft² |
Project time estimates by room size and method
A small room (under 150 ft²) can often be finished in a single afternoon if you’re doing it yourself, while larger spaces and complex layouts take longer and usually benefit from professional crews.
For DIY, estimate 4–8 hours small, 1–3 days medium (150–400 ft²), and several days for big areas.
Pros work faster: expect half the time but pay labor.
When to call a pro: complex layouts, moisture issues, commercial spaces
When your floor plan has odd angles, multiple changes, or large open areas, you should seriously consider hiring a pro—those complications add time, require specialized cuts and tools, and can lead to costly mistakes if handled incorrectly.
Similarly, persistent moisture, high-traffic commercial settings, and jobs that must meet building codes often demand professional assessment and installation to guarantee the warranty, durability, and long-term performance you’re paying for.
Call a pro when risk, code, or warranty stakes exceed your skills.
Mistakes to Avoid When Installing LVP
Don’t skip subfloor prep or moisture testing, because a bad base ruins even the best LVP.
Make sure planks are properly acclimated and you leave adequate expansion gaps, and don’t use the wrong adhesive or underlayment.
Align seams carefully and stagger joints to avoid visible patterns and weak spots.
Skipping subfloor prep or moisture testing
If you skip proper subfloor preparation or skip moisture testing, you’ll invite buckling, gaps, and premature failure into your new LVP floor.
You must clean, level, and repair the subfloor, removing debris, adhesive residue, and high spots.
Test concrete and plywood for moisture with a meter.
Address any dampness or unevenness before laying planks so your installation lasts and performs as planned.
Incorrect acclimation or inadequate expansion gaps
Because LVP reacts to temperature and humidity, failing to acclimate planks or leaving too-small expansion gaps will cause cupping, buckling, or separations after installation.
You should acclimate boxes in the installation room for 48–72 hours, maintain stable temperature and humidity, and follow manufacturer gap recommendations around edges and doorways.
Don’t force fit; leave space for natural movement to prevent damage.
Using wrong adhesive or underlayment
While choosing materials, remember that the wrong adhesive or underlayment can undo even a perfectly laid LVP floor.
Pick adhesives rated for vinyl and compatible with your subfloor; wrong glue causes lifting or staining.
Use underlayment specified for LVP to control moisture, cushion, and sound.
Don’t improvise with generic products—verify manufacturer recommendations to guarantee warranty and long-term performance.
Poor seam alignment and failing to stagger joints
When seams don’t line up or you lay joints in straight, repeating rows, the floor will look amateurish and can develop weak points where planks separate or buckle.
Stagger end joints properly, following manufacturer staggering guidelines, and offset seams at least several inches between rows.
Measure and plan cuts, dry-lay rows, and adjust starter lane width so seams appear random and the installation stays stable.
FAQ Common Questions About Installing Luxury Vinyl Plank
You probably have a few quick questions before you start, like whether LVP’s right for bathrooms or basements and if you can lay it over existing flooring.
You’ll also want to know how wide to stagger seams, how long installation needs to cure before heavy use, and what maintenance keeps it looking new.
I’ll answer each of these so you can finish the job with confidence.
Can LVP go in bathrooms or basements?
Because LVP is water-resistant and easy to maintain, it’s a popular choice for bathrooms and basements—but you still need to evaluate subfloor, moisture levels, and installation method.
You should test concrete for vapor drive, guarantee proper underlayment, and pick a waterproof or floating system rated for wet areas.
Allow for expansion, seal edges, and follow manufacturer guidelines to keep warranty coverage and performance.
How wide should staggered seams be?
Aim for staggered end joints that sit at least 6 to 8 inches apart between adjacent rows to create a natural look and maintain structural stability; many pros prefer 8–12 inches for longer planks or high-traffic areas.
Vary offsets every row, avoid lining seams across the room, and keep random patterns while ensuring end gaps meet manufacturer recommendations to prevent weak points and visible repetition.
Can you install LVP over existing flooring?
Having staggered seams properly set makes any new surface more stable, and that same planning matters when you’re thinking about installing LVP over existing flooring.
You can often install LVP over vinyl, tile, or wood if the surface is level, clean, dry, and firmly bonded.
Remove loose material, repair dips, and use underlayment if recommended.
Always check manufacturer guidelines and local codes.
How long does LVP installation take to cure before heavy use?
How long should you wait before putting heavy furniture or high-traffic use on new LVP?
Wait at least 24–48 hours for floating or click-lock installations.
If you glued the planks, let adhesive cure 72 hours or follow manufacturer specs—sometimes up to 7 days.
Keep traffic light, avoid rolling loads, and use protective pads when you move furniture back to prevent damage during initial cure.
What maintenance will keep LVP looking new?
After you’ve allowed the flooring to cure and moved furniture back carefully, keep LVP looking new by sticking to a simple maintenance routine.
Sweep or vacuum weekly, using a soft brush. Mop with a damp microfiber and pH-neutral cleaner; avoid harsh chemicals or wax.
Use floor protectors, rugs in high-traffic zones, and wipe spills immediately to prevent stains and surface damage.
Appendix Quick Reference Resources
You’ll find a handy installation checklist printable to guide each step so you don’t miss anything.
There’s also a compact tool and materials quick-buy list to speed up shopping.
If you hit a snag, follow the troubleshooting flowchart to identify and fix common problems.
Installation checklist printable
1 clear, printable checklist will keep your luxury vinyl plank installation on track from start to finish.
Use it to note room measurements, acclimation time, subfloor inspection results, moisture readings, underlayment placement, layout and stagger plan, junction locations, trim and molding needs, cut lists, and final cleanup.
Check off each step as you complete it to avoid mistakes and missed details.
Tool and materials quick-buy list
Keep one compact list for quick trips to the store or pickup — it saves time and prevents last-minute runs.
You’ll grab essentials fast: cutting tools, underlayment, adhesive or spacers, and finishing pieces. Keep spare planks and trim handy. Store a tape measure and chalk line in your kit for accuracy.
- Utility knife and saw
- Underlayment roll
- Adhesive / spacers
- Threshold trim and spare planks
Troubleshooting flowchart
Although most installs go smoothly, problems do come up—so this troubleshooting flowchart gives you quick, step-by-step fixes for common issues like plank gaps, buckling, clicks, or adhesive failures.
Use the flowchart to identify symptoms, follow decision branches (expansion gaps, moisture, locking alignment, adhesive cure), apply the recommended fix, and recheck.
Keep notes and contact support if problems persist.