How to Remove Rust Stains From Ceramic Tile Without Damaging the Surface
You can remove rust from ceramic tile without damage by using gentle, non‑abrasive methods and testing first. Put on gloves, ventilate the area, and try a paste of baking soda and white vinegar or cream of tartar with hydrogen peroxide; let it sit 5–15 minutes, scrub with a soft brush, then rinse well. For stubborn spots use a clay or baking‑soda poultice and plastic scraper, and only escalate to commercial removers or pros if needed—keep going to learn safer, step‑by‑step tips.
Quick Answer Remove Rust Stains from Ceramic Tile Safely
For a quick, safe fix, sprinkle baking soda on the rust, spray with white vinegar, let it fizz for a few minutes, then scrub gently with a soft brush.
Rinse well and repeat once if any stain remains.
You’ll remove most rust without harsh chemicals or damaging the tile.
Short, direct method summary (best single-step approach)
Dab a paste of cream of tartar mixed with a little hydrogen peroxide onto the rust, let it sit 10–15 minutes, then scrub gently with a soft brush and rinse — this single-step method safely lifts most rust stains from ceramic tile without harsh acids.
To remove rust from ceramic tile, repeat if needed, dry the area, and seal grout to prevent recurrence.
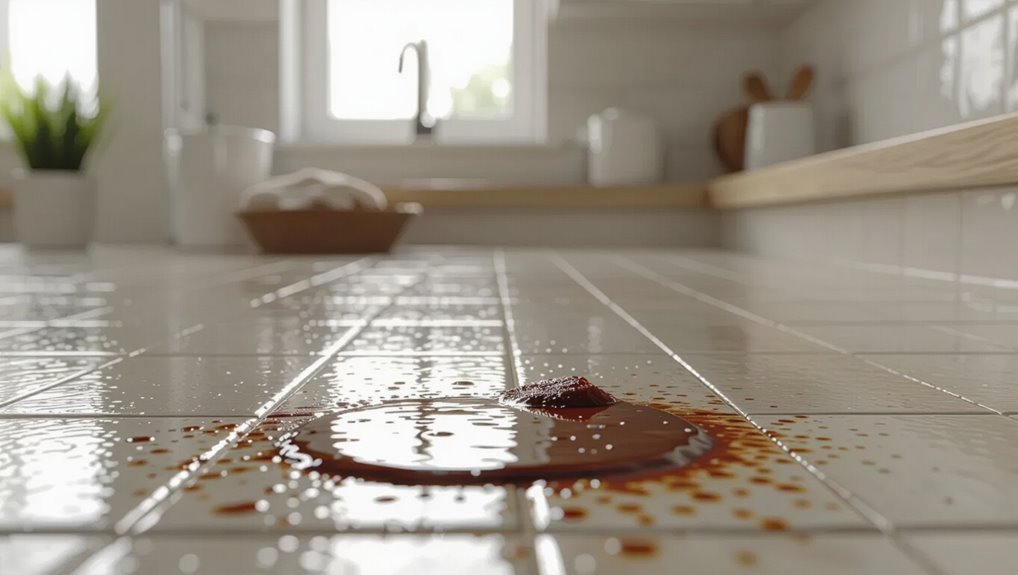
Understanding Rust on Ceramic Tile
Rust stains usually come from metal that’s been wet on the tile—think nails, furniture legs, or iron in your water—and the iron oxide actually bonds to the surface or grout.
You’ll want to know that harsh acids or abrasive scrubs can etch glazes, strip sealers, or erode grout, so some “quick fixes” do more harm than good.
Also note that matte, unglazed, and porous tiles soak up stains more readily than sealed or high-gloss finishes, so removal and protection methods will vary.
What causes rust stains on ceramic tile
Although ceramic itself doesn’t corrode, you’ll see rust stains when iron particles meet moisture and oxygen on the tile’s surface or in grout.
Sources include metal fixtures, tools, nails, or water with dissolved iron. Tiny scratches or porous grout trap particles, accelerating staining.
Once set, iron oxide bonds to minerals, so stains look reddish-brown and resist simple wiping.
Why some removal methods damage tile surfaces or grout
When you reach for strong acids, abrasive cleaners, or stiff brushes to attack iron stains, you can end up etching glaze, stripping sealers, or crumbling grout instead of fixing the problem.
You’ll damage microscopic surface layers, remove protective coatings, and loosen grout joints. That lets moisture and iron penetrate deeper, making stains harder to remove and risking costly repairs if you don’t choose gentler methods.
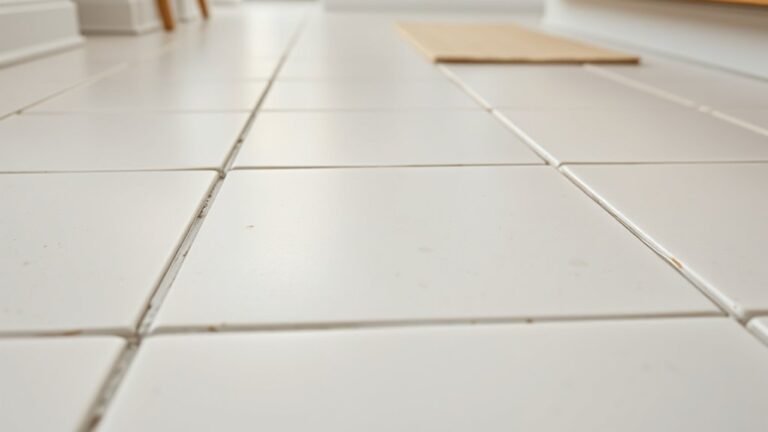
Types of ceramic tile finishes and susceptibility to damage
Those aggressive cleaners harm more than your grout; they can also strip or roughen the tile surface depending on the finish. You should match cleaners to finishes: glazed resists abrasion, unglazed soaks stains, polished can etch, and textured holds grime. Test first on a hidden spot.
| Finish | Susceptibility |
|---|---|
| Glazed | Low |
| Unglazed | High |
| Polished | Medium |
| Textured | Medium-High |
Safety and Preparation Before You Start
Before you start, gather the right tools and materials so you won’t interrupt the job to hunt for supplies.
You’ll also want gloves, eye protection, and good ventilation to protect yourself from fumes and splashes.
Finally, test any cleaner on an inconspicuous tile area to check for damage or discoloration before treating the stain.
Tools and materials checklist
Gathering the right tools and materials first saves time and keeps you safe—gloves, eye protection, a soft scrub brush, non-abrasive sponge, mild acid-based rust remover (or white vinegar and lemon juice for a gentler option), pH-neutral tile cleaner, microfiber cloths, and plastic scrapers are essentials.
You’ll also want:
- Confidence
- Patience
- Satisfaction
Personal protective equipment and ventilation
1 essential step is making safety your priority: put on chemical-resistant gloves, eye protection, and a mask rated for vapors or particulates depending on the product, and guarantee you have adequate ventilation by opening windows, using a fan to blow fumes outside, or working with an exhaust.
Also wear long sleeves, avoid skin contact, keep children and pets away, and have soap, water, and emergency contacts nearby.
Spot testing: how and where to test cleaning solutions
Wondering where to try a cleaner first? Pick an inconspicuous spot—behind a baseboard, under a cabinet lip, or a spare tile—clean and dry it.
Apply a small amount, wait the recommended time, then rinse and inspect for discoloration, etching, or residue.
Test any metal tools or stronger solutions the same way. If damage appears, stop and choose a gentler product.
Step-by-Step Rust Removal Methods
You’ll start with the least abrasive options—mild household solutions—and only move on if stains persist.
Next you can try commercial rust removers made for tile, homemade poultices for stubborn spots, or gentle mechanical methods that won’t scratch.
If rust is deep, old, or widespread, call a professional.
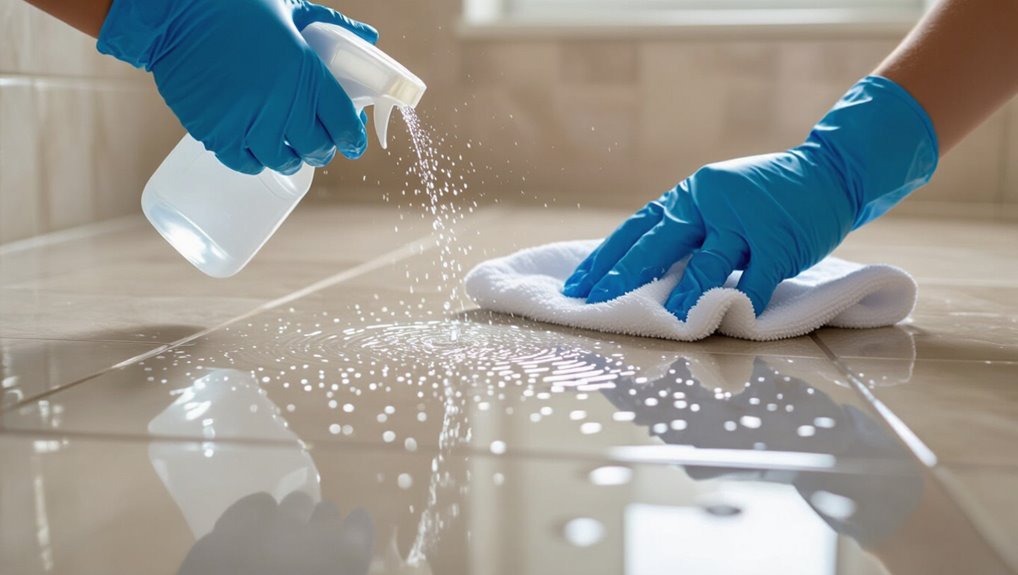
Method 1 Mild household solutions (first-line, least abrasive)
Start with mild household cleaners like white vinegar, lemon juice, or a peroxide paste and grab a soft cloth or nylon scrub brush—use these when stains are light or the tile is glazed.
Apply your chosen solution to the rust, gently agitate with the brush, and let it sit a few minutes to break down the stain.
Rinse thoroughly, inspect the spot, and repeat if any residue remains.
Materials & when to use
Mild household rust removers usually use ingredients you already have—white vinegar, lemon juice, baking soda, and a soft-bristled brush—so pick the gentlest option that suits the stain size and tile finish.
Use vinegar or lemon for light surface stains on glazed tiles; baking soda paste tames slightly deeper marks.
Choose a soft brush to avoid scratching and always test an inconspicuous spot first.
Step 1: Apply solution
Dampen the stained area with water, then apply your chosen household solution—straight white vinegar, fresh lemon juice, or a baking soda paste—so it covers the rust spot completely.
Work from the stain’s edges toward the center to avoid spreading. Use just enough solution to stay wet without pooling.
Keep nearby grout dry and avoid harsh chemicals to protect the tile finish.
Step 2: Agitate gently and wait
After applying the solution, gently agitate the stain with a soft-bristled brush or a microfiber cloth, working in small circular motions from the edges toward the center to lift rust without scratching the glaze.
Let the cleaner sit for 5–10 minutes so it loosens deposits, checking periodically and reworking stubborn spots very gently to avoid abrasion before proceeding to the next step.
Step 3: Rinse and inspect
1. Rinse the tile thoroughly with clean water, using a sponge or damp cloth to remove the cleaning solution and loosened rust.
Dry the area with a microfiber cloth so you can see any remaining stains.
If rust persists, repeat the mild treatment once more or move to a gentler specialty cleaner.
Don’t scrub hard—protect the glaze.
Method 2 Commercial rust removers formulated for tile
When you move to commercial rust removers, pick one labeled safe for ceramic and check the pH and active ingredients so it won’t etch your tile.
Follow the manufacturer’s application steps and dwell time exactly to let the chemistry lift the stain.
Rinse thoroughly and neutralize if instructed to stop the reaction and protect grout and finishes.
Choosing the right product (pH, active ingredients)
Pick a rust remover that matches your tile’s surface and the stain’s severity: you’ll want a product labeled safe for ceramic (or porcelain) and with an appropriate pH and active ingredient—mild acidic formulas (citric or oxalic acid) work well on light stains.
Stronger acidic or chelating agents handle stubborn rust, and avoid highly alkaline cleaners that won’t break down iron oxide.
Check labels for concentration and substrate warnings.
Application steps and dwell time
Now that you’ve chosen a product matched to your tile and stain severity, gather the tools and plan your timing before you start.
Put on gloves and eye protection, test a small hidden area, and apply the remover per label with a brush or applicator.
Let it dwell the recommended time—usually minutes, not hours—monitoring for color change and substrate reaction before proceeding.
Rinsing and neutralizing
Once the remover has done its job and you see the rust fading, rinse thoroughly to stop the chemical action and prevent residue from etching the tile.
Use clean water and a soft sponge, rinsing several times.
Neutralize any acidic residue with a diluted baking soda solution (1 tbsp per quart), then rinse again.
Dry the area and inspect for remaining stains before repeating if necessary.
Method 3 Natural / homemade poultices for stubborn stains
For stubborn rust you can make effective poultices at home using simple recipes and exact proportions to target the stain.
I’ll show how to mix the paste, apply it over the rust, cover it to keep it moist, then remove and rinse without hurting your tile.
Follow the step-by-step timing and removal tips to get the best results.
Poultice recipes and proportions
A simple poultice mixes an absorbent powder with a reactive liquid to draw rust out of the tile; you’ll want the right proportions so it holds together without running.
Use 2 parts absorbent (baking soda, kaolin clay, or diatomaceous earth) to 1 part liquid (lemon juice, white vinegar, or hydrogen peroxide).
Adjust to a peanut-butter consistency; small test batches prevent damage.
Application, covering, and removal steps
Apply the poultice directly over the rust spot so it fully covers the stain and overlaps the edges by about 1/4–1/2 inch; you want a smooth, even layer roughly 1/8–1/4 inch thick that won’t slump.
Cover with plastic wrap, tape the edges, and leave 8–24 hours.
Remove plastic, scrape gently, rinse with water, blot dry, and repeat if residue remains.
Method 4 Mechanical removal for persistent stains (non-scratching)
If a poultice or cleaner won’t budge the rust, you can switch to gentle mechanical removal using non-abrasive tools like nylon pads and plastic scrapers.
You’ll want to work slowly with light pressure and short strokes to lift the stain without scratching the glaze.
Test a hidden spot first and keep the tile wet to reduce friction as you work.
Safe tools to use (nylon pads, plastic scrapers)
Start with non-abrasive tools that get the job done without scratching the glaze: nylon scrubbing pads, soft-bristled brushes, and plastic scrapers are your best bets.
You’ll apply gentle pressure, test an inconspicuous area first, and work gradually. Use a plastic putty knife for edges and a nylon pad for flat areas.
Rinse often and replace worn pads to avoid hidden grit.
Technique to avoid surface abrasion
When rust won’t budge with cleaners, use controlled mechanical methods that remove deposits without abrading the glaze: work slowly, keep the area wet, and use gentle back-and-forth motions with a nylon pad or plastic scraper at a low angle.
Test a hidden spot first, apply light pressure, rinse frequently, and stop if shine or texture changes.
Repeat cautiously until the stain lifts.
When to call a professional (deep, old, or widespread rust)
Because some rust problems go beyond quick DIY fixes, you’ll want to call a professional for deep, old, or widespread stains that don’t respond to household treatments, have penetrated grout or porous tile, or cover large areas that would take excessive time and risk DIY damage.
A pro assesses substrate, uses industrial chelants, poultices, or mechanical methods, and prevents further harm while restoring appearance efficiently.
Comparison of Methods (Effectiveness vs. Risk)
Now let’s compare the methods side-by-side so you can pick the best option for your tile.
You’ll see a quick table listing each method with typical cost, stain-removal effectiveness, and the risk of surface damage.
Use that snapshot to weigh faster, cheaper choices against more effective but higher-risk treatments.
Quick comparison table of methods, cost, effectiveness, and damage risk
Here’s a concise comparison to help you pick the best rust-removal option for ceramic tile: methods are ranked by typical cost, how well they work on common stains, and the risk they pose to glaze or grout. Use this quick guide to choose the safest, most effective approach for your situation.
| Method | Cost/Effectiveness/Risk |
|---|---|
| Lemon + salt | Low cost / Moderate / Low risk |
| Baking soda paste | Very low / Low-moderate / Very low |
| Commercial remover | Medium / High / Moderate |
| Oxalic acid | Low-medium / High / Higher risk |
Common Mistakes That Damage Tile or Grout
When tackling rust stains, don’t grab strong acidic cleaners without checking whether your tile glaze can handle them.
Avoid over-scrubbing with abrasive pads or metal tools, and always rinse or neutralize chemicals after use.
Before treating a whole floor, spot-test a small, inconspicuous area so you don’t damage grout or tile.
Using acidic cleaners on sensitive glazes
Although acidic cleaners can seem like a quick fix for rust, they can etch or dull sensitive glazes and leave permanent damage if you’re not careful.
Test cleaners on an inconspicuous tile first, dilute acids per instructions, limit contact time, and rinse thoroughly.
If you notice haze or color loss, stop immediately and consult a manufacturer-approved cleaner to avoid irreversible surface harm.
Over-scrubbing with abrasive pads or metal tools
Scrub carefully: aggressive scrubbing with steel wool, wire brushes, or heavy-duty abrasive pads can quickly scratch and dull ceramic glazes or gouge grout lines, turning a minor rust spot into permanent surface damage.
Instead, use a soft nylon brush or nonabrasive pad, test in an inconspicuous spot, apply gentle pressure, and repeat short cycles.
Replace tools that fray to avoid hidden abrasion.
Neglecting to rinse or neutralize chemicals
If you leave cleaning solutions or rust removers on tile and grout without rinsing or neutralizing them, residues can keep reacting and etch glazes or weaken grout over time.
You should rinse thoroughly with clean water, blot away excess, and neutralize acidic treatments with a mild alkaline rinse when recommended.
That prevents dulling, pitting, and gradual grout breakdown.
Treating large areas without spot testing
When you apply a rust remover or cleaning solution across a whole floor or wall without testing a small, discreet patch first, you risk widespread discoloration, etching, or grout damage that can’t be reversed.
Always test in an inconspicuous spot, wait the recommended time, and inspect results.
Proceed gradually, using diluted solutions and a narrow area at a time to confirm safety before treating larger sections.
Prevention and Best Practices to Avoid Future Rust
Keep rust from coming back by sticking to simple routines like wiping spills, drying wet areas, and using a mild cleaner regularly.
In spots with high moisture or metal fixtures, use protective mats or stainless-steel hardware to cut down on corrosion.
Also seal grout after cleaning and reapply the sealant according to the manufacturer’s timeline to keep water and iron particles out.
Routine cleaning habits to prevent rust buildup
Because small habits add up, you’ll prevent most rust stains by making a few simple cleaning steps part of your regular routine:
- Wipe spills and metal drips immediately to stop staining.
- Dry tiles and grout after cleaning to remove lingering moisture.
- Inspect and clean under mats and around drains weekly to catch rust early.
Stick to this brief routine and you’ll keep tiles bright and rust-free.
Protecting tile in high-moisture or metal-exposed areas
If your bathroom, laundry room, or outdoor patio gets damp often or sees a lot of metal traffic, protect tiles by minimizing prolonged contact with wet metal and reducing surface moisture.
Use rubber or plastic pads under metal furniture, hang tools to dry, wipe splashes promptly, and improve ventilation or add a dehumidifier.
Inspect fixtures for corrosion and replace rusty items quickly.
Sealing grout and when to reapply sealant
When you seal grout, you create a protective barrier that helps stop moisture and iron particles from penetrating and causing future rust stains.
Apply a penetrating sealer after grout cures, follow manufacturer cure times, and reseal high-traffic or wet areas every 1–2 years.
Test adhesion on a small spot, clean thoroughly before resealing, and wipe excess to keep surfaces clear and protected.
Maintenance After Rust Removal
Once the rust’s gone, you’ll want to restore any shine and reapply protective finishes to keep the tile sealed and looking new.
Check treated areas regularly for signs of return and wipe up spills promptly.
Set a simple follow-up cleaning schedule—weekly for high-traffic spots, monthly otherwise—to catch issues early.
How to restore shine and protective finishes
After removing rust, you’ll want to restore the tile’s shine and apply a protective finish to keep stains from returning and to make future cleaning easier.
Rinse tiles, dry thoroughly, then buff with a soft cloth or microfiber.
Apply a tile-safe polish or sealant per manufacturer directions.
Let cure fully before foot traffic.
Reapply sealant annually or after heavy wear to maintain protection.
Monitoring treated areas and follow-up cleaning schedule
Now that the tile is dry and sealed, keep a close eye on the treated areas for the next few weeks to catch any lingering rust or new stains early.
Inspect weekly, note spots, and gently clean with a pH-neutral cleaner if discoloration reappears.
Reapply sealant where wear shows every 6–12 months, and address metal sources to prevent recurrence.
FAQ Rust Stains on Ceramic Tile
You’ll find answers to common questions about rust stains on ceramic tile, from whether you can remove them yourself to when you might need a pro.
Learn whether bleach is safe, how to treat textured or unglazed tile, and whether rust will come back and how to prevent it.
We’ll also cover using grinders or power tools and safer alternatives for stubborn stains.
Can rust stains be removed completely without professional help?
Can rust stains be removed completely without calling a pro? Yes, often you can remove them yourself using the right cleaners, gentle scrubbing, and patience.
Success depends on stain age, depth, and tile finish. Test methods on a hidden spot first, repeat treatments as needed, and avoid abrasives that scratch glaze.
If stains persist after several safe attempts, consider professional help.
Is bleach safe to use on rust stains on ceramic tile?
Is bleach safe to use on rust stains on ceramic tile?
You shouldn’t use plain bleach for rust—bleach doesn’t remove iron oxide and can dull grout or damage glazed finishes over time.
Instead, try a rust-specific remover or mild acid like diluted white vinegar or lemon juice on a small test spot.
Rinse thoroughly and ventilate the area while cleaning.
How do I remove rust from textured or unglazed ceramic tile?
Because textured or unglazed ceramic soaks up stains more than glazed tile, you’ll need a gentler, more targeted approach that lifts rust without grinding the surface.
Start by blotting loose particles, then test a poultice of powdered oxalic acid or citric acid mixed with water on an inconspicuous spot.
Apply, cover with plastic, wait several hours, remove gently, rinse, and repeat as needed.
Will rust return after cleaning and how can I stop it?
If rust came from an ongoing source—like a leaky metal fixture, wet metal tools, or iron-rich water—it can come back after you clean the tile.
So you’ll need to remove or isolate that source to stop recurrence.
Dry tiles promptly, fix leaks, use rust-resistant fixtures or protective coatings, and store metal items off wet surfaces.
Regular inspections prevent new stains.
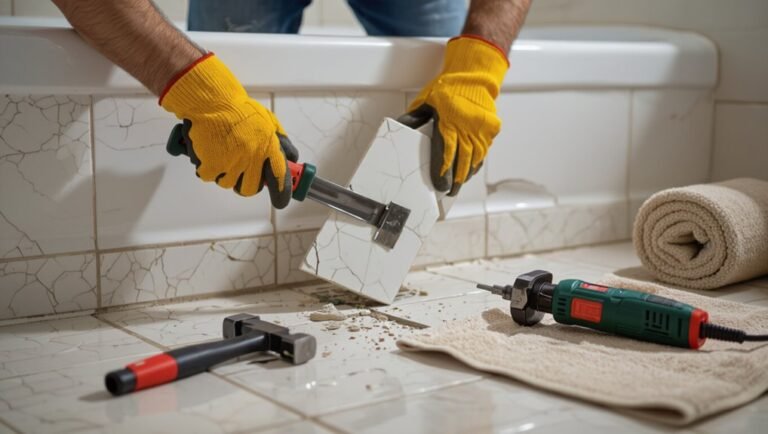
Can I use a grinder or power tool to remove stubborn rust?
Wondering whether a grinder or power tool can tackle stubborn rust on ceramic tile? You shouldn’t.
Power tools can scratch, chip, or fracture glaze and grout. For tiny, well-sealed spots, use a rotary tool with a very soft nylon brush at low speed, testing out of sight first.
Prefer chemical rust removers or gentle abrasives to protect the surface and avoid costly repairs.