How to Install a Backsplash Tile: Everything You Need in One Guide
You can install a durable backsplash yourself in a weekend with basic tools, patience, and careful planning. Measure your wall, pick tiles, grout, and adhesive, allow 10–15% extra for waste, and prep the surface by cleaning, repairing, and adding backer board if needed. Lay out tiles, dry-fit for symmetry, spread thinset at a 45° angle, set tiles with spacers, then grout and seal. Keep going for step-by-step tips, troubleshooting, and pro shortcuts.
Can You Install a Backsplash Tile Yourself?
You can handle most backsplash installs yourself in a weekend if you’ve got basic tools and patience: prep, measure, cut, set tiles, and grout.
Expect a few hours of prep and layout plus several hours of tiling and drying time.
If your walls are uneven, plumbing or electrical work is involved, or you want a complex pattern, hire a pro.
Short summary of process and time required
Think of a backsplash install as a straightforward DIY project you can tackle over a weekend with basic tools and patience.
You’ll learn how to install a backsplash tile: measure, prep surface, cut tiles, apply adhesive, set tiles with spacers, grout, and seal.
Expect 6–10 hours for an average kitchen, allowing drying time between adhesive and grout steps.
When to hire a professional
Wondering whether you should tackle the backsplash yourself or call in a pro?
If you lack tiling experience, need complex cuts, electrical or plumbing moves, or want a flawless grout finish, hire a professional.
Also call one if tight timelines, warranty coverage, or resale value matter.
Do it yourself for simple, small projects if you’re confident and patient.
What Is a Backsplash and Why It Matters
A backsplash is the protective and decorative wall covering behind sinks and counters, usually made from tile, glass, metal, or stone.
It protects your walls from water, grease, and stains while giving the space a finished look.
Installing a thoughtful backsplash can boost your kitchen’s aesthetics and resale value.
Definition and common materials
A backsplash is the protective and decorative panel behind your sink and stove that guards walls from water, grease, and stains while giving the kitchen visual character.
You’ll choose materials based on style, maintenance, and budget. Common options include:
- Ceramic tile
- Porcelain tile
- Glass tile
- Natural stone
- Stainless steel
Benefits: protection, aesthetics, home value
Durability matters when you pick a backsplash, because it shields your walls from water, grease, and stains that would otherwise cause costly repairs and stubborn discoloration.
You’ll also boost aesthetics—tile ties the room together, reflects light, and hides wear.
A smart backsplash increases resale appeal and home value, so choose materials and colors that fit your style and long-term maintenance needs.
Planning Your Backsplash Project
Before you start, measure the wall and calculate how much tile you’ll need so you don’t run short or overbuy.
Pick tile types, sizes, and a pattern that fit your style, then choose grout color, adhesive, and a sealant that match those materials.
Finally, set a clear budget and timeline so the project stays on track.
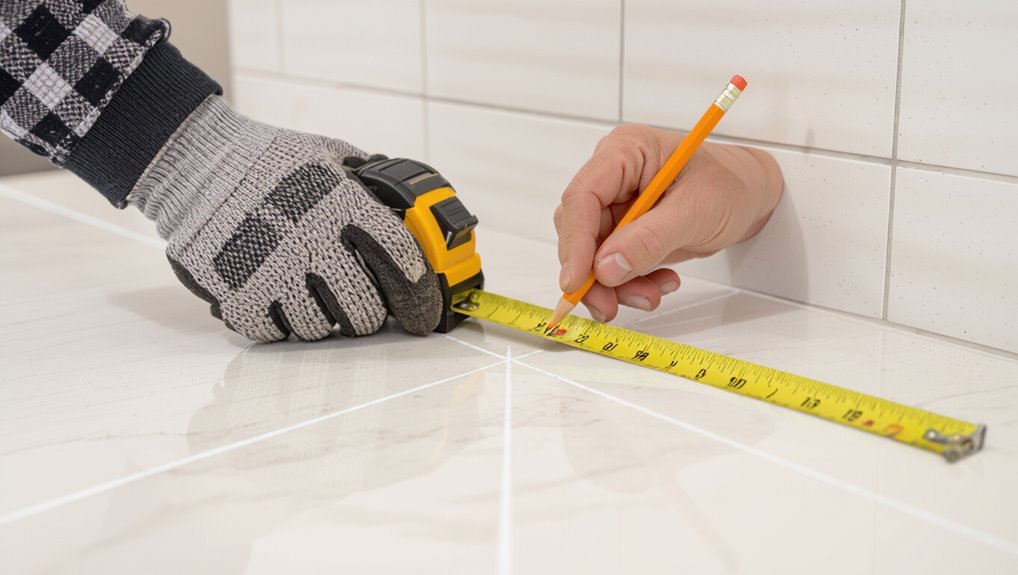
Measuring the area and calculating tile quantity
When you measure your backsplash area carefully, you’ll avoid buying too little or overspending on extra tile. Measure width and height, subtract openings, and convert to square feet.
Add a waste allowance (usually 10–15%) for cuts and mistakes. Use tile size to calculate required pieces, then round up.
- Measure width
- Measure height
- Subtract outlets/windows
- Calculate area
- Add waste allowance
Choosing tile types, sizes, and patterns
As you plan your backsplash, pick tile types, sizes, and patterns that suit your style, budget, and the room’s function. Choose durable materials for kitchens, smaller tiles for curves, and bold patterns to add interest. Test layouts on paper before cutting.
| Type | Size | Pattern |
|---|---|---|
| Ceramic | 3×6 | Subway |
| Glass | Mosaic | Herringbone |
Selecting grout color, sealant, and adhesive
You’ve picked tile type, size, and pattern — now match the finish with the right grout, sealant, and adhesive to make the installation look professional and last.
Choose grout color to hide or highlight joints; sanded for wider gaps, unsanded for narrow. Use a colorant or epoxy for stain resistance.
Pick a waterproof sealant for porous tiles and a thinset adhesive rated for your tile and substrate.
Budgeting and timeline
Plan for cost and time before you buy anything so you won’t get surprised mid-project.
Itemize materials, tools, and extras (trim, spacers, sealant).
Get quotes for labor if you’ll hire help.
Estimate hours for prep, tile, grout, and drying; add buffer for delays.
Set a firm budget and timeline, track expenses, and adjust choices to stay on schedule and within cost.
Tools and Materials You Need
You’ll want to gather a set of essential tools—like a trowel, tile cutter, spacers, and a level—before you start.
Consider optional gadgets that make the job easier, such as a wet saw, tile nippers, or a suction cup.
Finally, check materials by tile type (ceramic, glass, or stone) so you buy the right adhesive, grout, and backerboard.
Essential tools
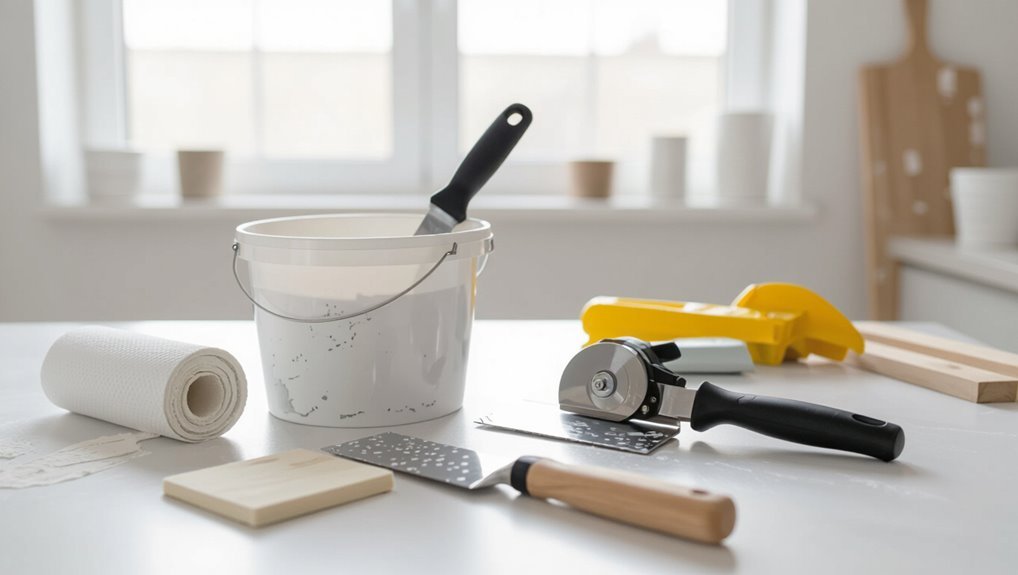
Before you start, gather the essential tools so the job goes smoothly: a notched trowel, tile spacers, a tile cutter or wet saw, a level, a rubber grout float, a margin trowel, a tape measure, and safety gear like goggles and gloves.
You’ll also need thinset and grout; keep them handy.
Remember these essentials:
- Trowel
- Cutter
- Level
- Spacers
- Grout float
Optional tools and helpful gadgets
Aside from the basics, a handful of optional tools can speed the job and improve the final look—think a wet saw for cleaner cuts, a tile nipper for curves, a grout sealer applicator, and a sponge with a scrubby side for easier cleanup.
Use these to refine results and save time:
- Wet saw
- Tile nipper
- Grout sealer applicator
- Margin trowel
- Tile leveling clips
Material checklist by tile type
Different tile types need different supplies, so gather a tailored checklist before you start:
Choose materials by tile: porcelain, ceramic, glass. You’ll need appropriate adhesive, grout, spacers, and sealant.
| Tile Type | Adhesive | Special Item |
|---|---|---|
| Porcelain | Thinset | Diamond blade |
| Glass | Epoxy | Non-abrasive float |
| Ceramic | Mastic | Standard float |
Preparing the Surface
Before you start tiling, check the wall for damage and what substrate is behind the surface so you know if the existing drywall will hold tile.
Remove any old backsplash or wallpaper carefully, then clean, repair, and prime the wall to a smooth, sound finish.
If the substrate is unstable or not waterproof, install backer board or cement board before you lay any adhesive.
Assessing wall condition and substrate
Start by closely inspecting the wall where you’ll install the backsplash: check for loose drywall, peeling paint, water stains, mold, unevenness, or old adhesive that could prevent tiles from sticking properly.
Determine substrate type—drywall, cement board, plaster, or tile—and note any soft spots or crumbling.
Measure flatness with a straightedge; plan repairs or substrate replacement before tiling.
Removing old backsplash or wallpaper safely {step-by-step}
Once you’ve fixed any soft spots and confirmed the substrate is sound, remove any existing backsplash or wallpaper so the new tile will bond properly.
Score grout and adhesive with a utility knife, pry tiles gently with a putty knife or chisel, and peel wallpaper using a steamer or solvent.
Work slowly to avoid gouging the wall, contain debris, and ventilate the area.
Cleaning, repairing, and priming the wall
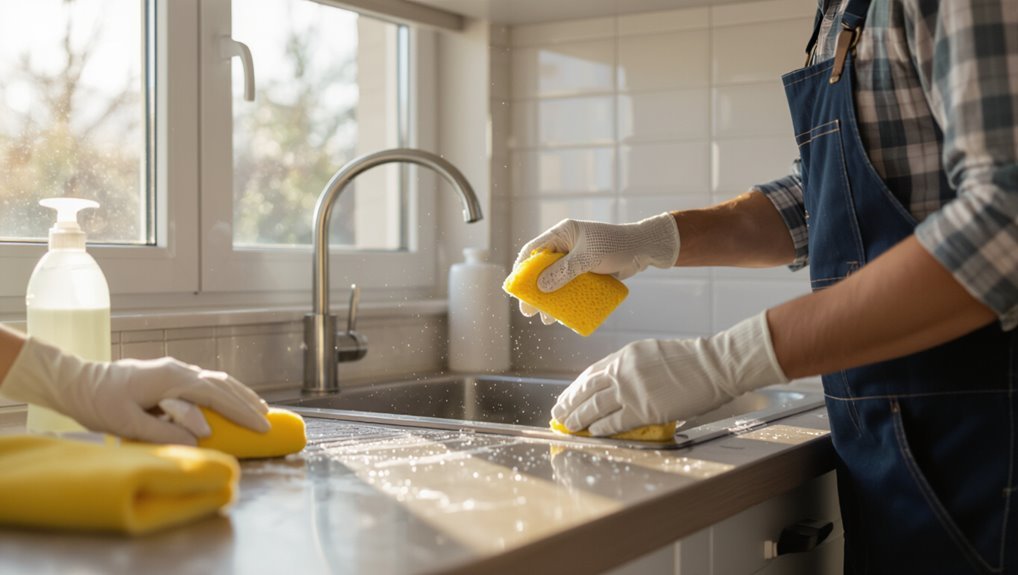
Clean the wall thoroughly and address any damage so your new tile will adhere evenly and last.
Remove dust, grease, and residue with a degreaser and sponge, then rinse.
Patch holes and cracks with spackling or joint compound, sand smooth when dry, and vacuum debris.
Apply a suitable primer for your substrate to seal and guarantee consistent adhesion before tiling.
Installing backer board or cement board if needed
If your wall is drywall, plaster over lath, or previously tiled and shows damage or moisture issues, you’ll need to install cement backer board to give the tile a stable, water-resistant substrate.
Cut boards to fit, leave 1/8″ joints, fasten with corrosion-resistant screws and washers, tape seams with alkali-resistant mesh, and apply thinset over tape.
Seal edges against moisture before tiling.
Layout and Dry-Fitting
Start by marking a center point and straight reference lines so your layout stays square and balanced.
Dry-fit the tiles across the wall, adjusting the pattern and spacing until seams and repeats look right.
Measure and cut tiles for edges, outlets, and corners so everything fits before you spread adhesive.
Establishing reference lines and center point {step-by-step}
Before you glue a single tile, establish a true center and reference lines so your pattern stays balanced and any cut tiles end up at the edges where they’ll be less noticeable.
Measure and mark the midpoint horizontally and vertically from surrounding cabinets or range. Use a level and chalk line to snap straight guidelines.
Verify square with a 3-4-5 triangle before proceeding.
Dry-fitting tiles and adjusting pattern
Lay out a few full tiles from your center lines toward the edges to see how the pattern reads and where cuts will fall; this dry-fit lets you adjust spacing, grout joint size, and tile orientation without committing adhesive.
Then walk the layout, tweak alignments, and mark reference tiles.
Consider these checks:
- symmetry across center line
- even grout widths
- consistent pattern flow
- avoiding tiny edge slivers
- matching focal tiles
Cutting tiles for edges, outlets, and corners
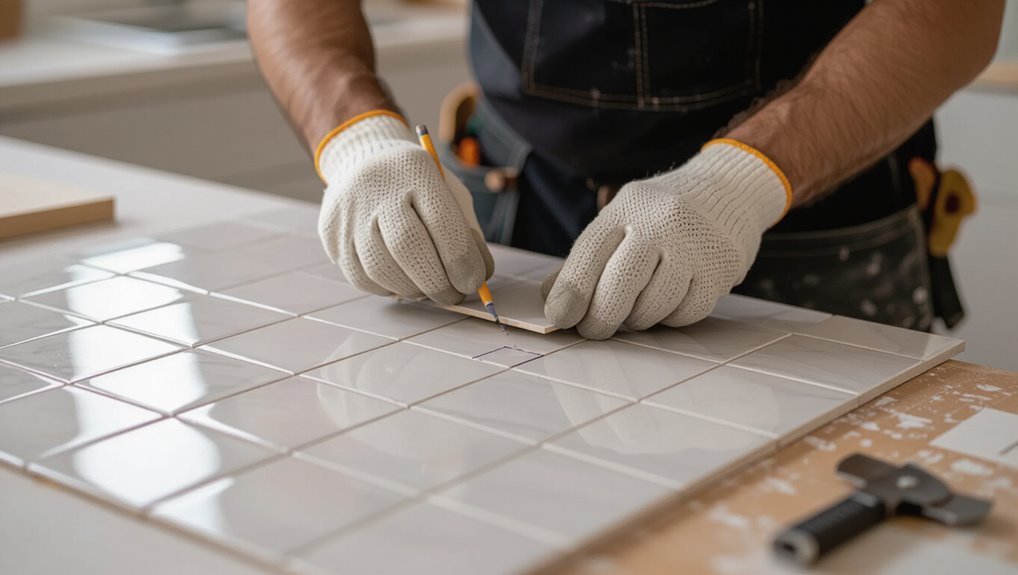
With your dry-fit settled and reference tiles marked, you’ll move on to measuring and cutting tiles to fit edges, outlets, and corners.
Use a carbide scoring wheel or wet saw for straight cuts, and a tile nipper for small notches.
Measure twice, cut once; mark tile face, support it firmly, and wear eye and lung protection.
Test fit before adhesive.
Step-by-Step Installation
Now you’ll follow a clear sequence: mix thinset to the right consistency, spread adhesive, and set the first row straight and level.
Keep adding rows with consistent spacing and check your lines, then handle corners, edges, and trim for a clean finish.
Finally, cut and fit tiles around outlets and switches and shut power off before working near electrical boxes.
Step 1: Mixing thinset or adhesive correctly
Start by reading the thinset or adhesive manufacturer’s instructions and matching the recommended water temperature and ratio exactly — this guarantees proper cure time and bond strength.
Measure water and powder precisely, add powder to water while mixing, and beat to a lump-free consistency.
Let the mix slake the recommended time, remix briefly, and only mix amounts you can use before pot life expires.
Step 2: Applying adhesive and setting first row {step-by-step}
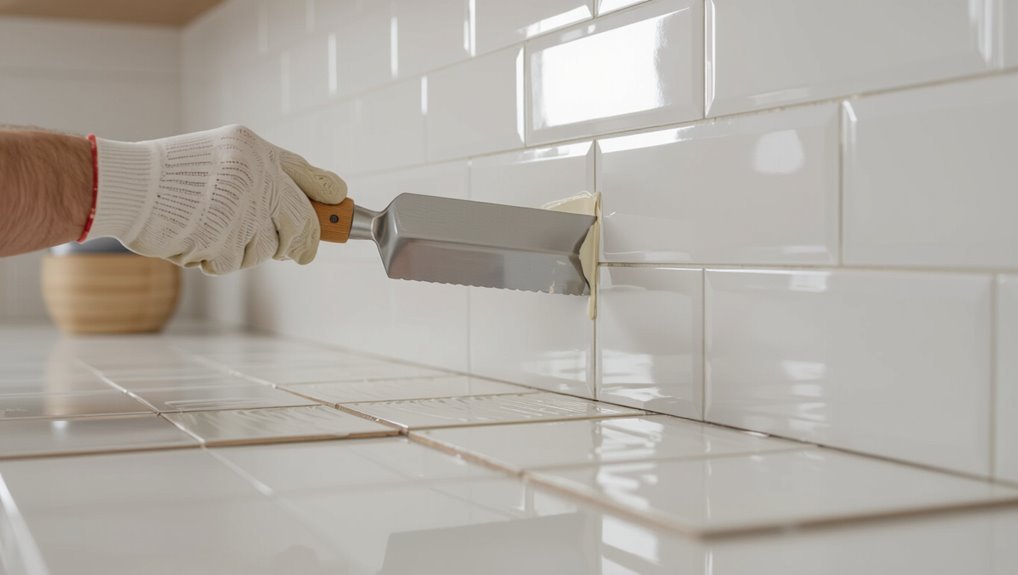
Spread the mixed thinset onto the wall with a notched trowel, holding the trowel at a consistent 45-degree angle to create even ridges that guarantee full coverage.
Press the first row of tiles into the ridges, twisting slightly for good contact.
Use spacers, check alignment against your guide, and wipe excess thinset from joints immediately to keep edges clean.
Step 3: Continuing rows, maintaining spacing and level
With the first row set and joints wiped clean, keep working upward row by row, pressing each tile into the ridged thinset and using spacers to keep consistent grout lines.
Check level frequently with a small spirit level, nudging tiles before thinset skins.
Stagger seams per your layout, cut tiles as needed, and remove excess adhesive to guarantee flat, even rows ready for grouting.
Step 4: Dealing with corners, edges, and trim pieces
4. When you reach corners and edges, dry-fit trim pieces and bullnose tiles to check alignment.
Cut tiles squarely with a wet saw for tight joints. Apply adhesive sparingly at edges to prevent squeeze-out.
Use spacers and miters for neat connections. For exposed edges, install metal or matching trim for protection and a finished look.
Clean excess promptly.
Step 5: Installing tile around outlets and switches safely {step-by-step}
Prepare to work carefully around outlets and switches, because safety and precision matter most here.
Turn off power at the breaker and verify with a tester.
Remove cover plates, cut tiles to fit neatly using a carbide blade or tile nipper, and dry-fit pieces.
Leave proper clearance for receptacles, secure tiles with adhesive, then reinstall outlets and covers once hardware is tightened and flush.
Step 6: Allowing adhesive to cure
After you’ve set tiles and tightened outlet hardware, let the adhesive do its job before touching the backsplash.
Keep the area undisturbed for the manufacturer’s recommended cure time—usually 24–48 hours. Avoid moisture, vibration, or heavy handling. Protect with a barrier if needed, and don’t grout or seal until adhesive fully cures.
Check edges afterward and remove spacers once bond is firm.
Grouting and Sealing
Now you’ll pick the right grout type and color to match your tiles and traffic needs.
Mix and apply the grout following the manufacturer’s steps, clean off haze promptly, and finish edges neatly.
Finally, seal the grout and tile at the recommended time to protect against stains and moisture.
Choosing grout type and color
Because the grout you pick affects both the look and longevity of your backsplash, choose type and color with purpose.
Pick sanded grout for wider joints and non-sanded for narrow ones; use epoxy for high-moisture areas.
Match or contrast color to tile depending on desired effect.
Consider stain resistance and maintenance—darker tones hide grime, lighter tones brighten spaces—then seal accordingly.
Mixing and applying grout step-by-step

Mix the grout to a creamy, peanut-butter–like consistency—no dry powder and not so runny it sags—then work in small sections so it doesn’t skin over before you can tool the joints.
Use a rubber float to press grout diagonally across tiles, filling joints fully. Remove excess at a 45° angle, then tool joints to a uniform depth and shape.
Allow proper cure time.
Cleaning grout haze and finishing touches
Once the grout has set enough to hold its shape, you’ll remove the haze that dulls the tiles and complete a few final sealing steps to protect your work.
Dampen a sponge, wipe diagonally to avoid pulling grout, rinse frequently, then buff with a microfiber cloth.
Clean grout lines with a soft brush, touch up joints, and let everything cure before light use.
Sealing tile and grout: when and how
Sealing your tile and grout keeps moisture, stains, and dirt from penetrating and makes routine cleaning far easier.
Apply a penetrating sealer after grout cures (usually 48–72 hours). Test a small area first.
Use a brush or applicator, work in sections, wipe excess, and let dry per label.
Reseal high-use areas yearly; ceramic may need less frequent treatment.
Common Problems and How to Fix Them
If you spot uneven tiles or lippage, adhesive failures, or grout that’s cracking or discoloring, you’ll want to identify the cause quickly so repairs don’t get harder.
Start by checking tile alignment, adhesive coverage, and whether the grout was mixed or sealed properly.
I’ll walk you through simple fixes for each issue so you can get your backsplash looking and holding together like it should.
Uneven tiles or lippage causes and solutions
Although you’ve likely taken care with layout and adhesive, uneven tiles or lippage can still show up and ruin the look and function of your backsplash.
You’ll often see this from inconsistent tile thickness, poor spacers, or not leveling tiles as you go.
Fix by using a leveling system, adjust high tiles with gentle taps, and replace badly warped pieces for a flat, professional surface.
Adhesive failure and loose tiles
When tiles start popping loose or you notice soft, crumbling grout, adhesive failure is usually the culprit and needs a prompt fix to prevent further damage.
You’ll remove loose tiles, clean substrate, and reapply proper thinset or mastic. Check for moisture and movement before rehanging.
Tips:
- Remove all old adhesive
- Use correct adhesive type
- Guarantee flat substrate
- Apply full coverage
- Allow proper cure time
Grout cracking or discoloration troubleshooting
Because grout sits between tiles and absorbs moisture, it’s the first place you’ll notice cracking, staining, or color changes. You should tackle these issues promptly to prevent water damage and mold.
Inspect for hairline cracks, loose grout, or mold.
Clean with a pH-neutral cleaner, remove damaged grout with a grout saw, regrout, seal when cured, and ventilate to avoid recurrence.
Best Practices and Pro Tips
You’ll get a cleaner, more professional finish by using consistent spacers, checking level frequently, and trimming tiles carefully.
Use a few time-saving shortcuts—like pre-mixing small mortar batches and working in manageable sections—that don’t compromise adhesive or grout quality.
Finally, seal grout, clean spills promptly, and avoid harsh cleaners to keep your backsplash looking new longer.
Tips for a professional-looking finish
A few simple habits will make your backsplash look like it was installed by a pro: keep your grout lines consistent, wipe excess adhesive immediately, and check tile alignment frequently as you work.
You’ll also sand edges lightly, use proper spacers, and clean grout haze promptly.
Follow these quick reminders:
- Use a level often
- Keep tiles dry
- Match grout color
- Tool joints neatly
- Inspect lighting angles
Time-saving shortcuts that don’t sacrifice quality
When you’re short on time, smart prep and the right tools let you finish faster without cutting corners: use pre-mixed thinset for small jobs, a quality tile spacer system to speed alignment, and a wet saw with a guide for clean cuts.
Batch-mix grout in measured amounts, work in manageable sections, and keep cleanup materials handy to avoid rework and delays.
Maintenance tips to prolong backsplash life
Saving time on installation doesn’t mean you can skip upkeep—regular care keeps your backsplash looking sharp and prevents costly repairs.
You should clean spills quickly, reseal grout annually, and inspect tiles for looseness. Follow these simple habits to extend life:
- Wipe splatters daily with mild cleaner
- Use nonabrasive tools
- Recaulk seams as needed
- Avoid harsh chemicals
- Address cracks promptly
Cost, Time Estimates, and When to Hire Help
You’ll see costs vary widely—ceramic and subway tiles are cheapest while stone and glass run higher—so plan a budget that includes adhesive, grout, and tools.
Expect a novice to spend a weekend on a small backsplash while an experienced installer can finish in a few hours.
If you hit uneven walls, complex patterns, electrical/plumbing obstacles, or time constraints, call a pro.
Typical DIY cost breakdown by tile type
Costs and time for a DIY backsplash vary widely by tile type, so knowing the differences up front helps you budget and decide whether to DIY or hire pro help. Ceramic: low cost, beginner-friendly. Porcelain: moderate cost, durable. Glass/stone: higher cost, trickier cuts — consider pro help for complex layouts.
| Tile Type | Typical DIY Cost/sq ft |
|---|---|
| Ceramic | $2–$5 |
| Glass/Stone | $10–$25 |
Average time estimates for novice vs. experienced installers
While an experienced installer can usually finish a simple backsplash in a few hours, a novice should plan for a full day or two to allow for measuring, cutting, and learning techniques without rushing.
You’ll spend extra time on layout, tile cuts, adhesive curing, and grout cleanup.
Expect 4–8 hours for pros; 8–16+ hours for beginners, depending on complexity and interruptions.
Signs you should call a professional
If the time estimates above make you nervous or the project starts to feel bigger than anticipated, it’s a good idea to contemplate calling a professional.
Hire help if you lack tools, face uneven or damaged walls, need electrical or plumbing moves, or want guaranteed waterproofing.
Expect higher cost but faster, insured results; weigh complexity, deadlines, and your confidence before deciding.
FAQ
You’ll likely have questions about timing, surface prep, grout choices, cutting techniques, and moisture control.
I’ll cover how long an install takes, whether you can tile over painted drywall, which grout works best, tips for cutting mosaic and subway tiles, and whether a backsplash stops mold.
If you still have other concerns, ask and I’ll clarify.
How long does a backsplash installation take from start to finish?
How long will a backsplash installation take from start to finish?
It typically takes a day for a small area (2–6 hours prep, tiling, grout) and one to three days for average kitchens, allowing adhesive cure time and grout drying.
Larger or intricate jobs can span several days.
Plan for cleanup and final sealant time; factors like tile type and experience affect duration.
Can I install tile over painted drywall?
Can you install tile over painted drywall? Yes, but you’ll need to prepare the surface.
Clean, scuff glossy paint with sandpaper, remove loose paint, and fill imperfections.
Prime with a bonding primer if paint is latex or glossy.
For best adhesion on high-moisture areas, consider cement backerboard.
Use a quality thinset rated for drywall applications and follow manufacturer instructions.
What is the best grout for kitchen backsplashes?
What grout should you pick for a kitchen backsplash? Use an epoxy or high-performance polymer-modified grout for durability, stain resistance, and easy cleaning.
Choose sanded grout for joints 1/8″ or wider; non-sanded for narrower gaps or delicate tile.
Match grout color to tile and seal cement-based grout to prevent stains.
Maintain with mild cleaners to keep it looking new.
How do I cut mosaic or subway tiles accurately?
When you need clean, precise cuts on mosaic or subway tiles, use the right tool and steady technique: score glass or ceramic mosaics with a handheld glass cutter and snap on a straightedge, while using a wet saw with a continuous-rim diamond blade for porcelain or large subway tiles to reduce chipping and get straight edges.
Measure carefully, mark cuts, clamp sheets, cut slowly, and finish edges with a rubbing stone.
Will a backsplash prevent mold behind the tiles?
Wondering if a backsplash will stop mold from forming behind your tiles? A backsplash helps protect walls from splashes, but it won’t assure no mold.
To prevent mold, seal seams, use a waterproof backer board, apply mold-resistant adhesive and grout, and guarantee proper ventilation.
Fix leaks and dry wet areas promptly so moisture doesn’t linger behind tiles and encourage growth.