How to Clean WeatherTech Floor Mats and Keep Them Looking New
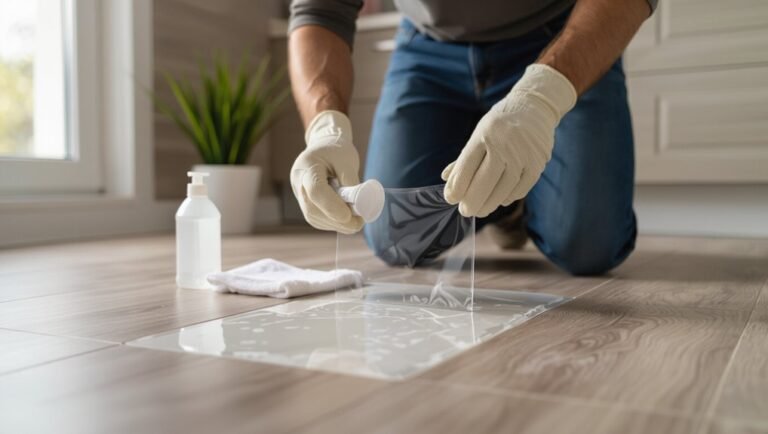
Rinse your WeatherTech mats to remove loose dirt, then scrub gently with a mild soap or a specialty mat cleaner using a soft brush, paying attention to grooves and edges. Rinse thoroughly until the water runs clear and air-dry them flat to avoid warping. For grease, use a degreaser; for odors, try baking soda or a vinegar solution. Avoid harsh chemicals, pressure washers, and folding; follow these tips and you’ll keep them looking new—keep going for full cleaning and care guidance.
Best Way to Clean WeatherTech Floor Mats
Start by rinsing the mats, scrubbing with a mild soap and brush, then rinsing again and air-drying.
Expect about 15–30 minutes per cleaning, and plan to do it every 1–2 months or more often if they get heavy use.
Stick to gentle cleaners and regular care to keep them looking and fitting right.
One-sentence recommended method
Use a soft brush to loosen debris, rinse the mat with a hose, apply a mild soap solution, scrub gently, then rinse and air-dry flat—this method removes dirt without damaging the WeatherTech material.
When wondering how do you clean weathertech floor mats, follow this single-step routine to avoid harsh chemicals, preserve grip and finish, and keep the mats looking like new with minimal risk.
Time/effort estimate and frequency
Plan on spending about 15–30 minutes per mat for a thorough clean, and set a simple schedule: rinse and light scrub weekly if you drive often or after muddy trips.
Give them a deeper soapy scrub and full rinse every 1–3 months depending on use.
Quick spot-cleaning takes a few minutes; expect a full session to include drying time, so plan breaks between steps.
What Are WeatherTech Floor Mats and Why Proper Cleaning Matters
WeatherTech mats are molded from durable materials like rubber and Thermoplastic Elastomer (TPE) that resist wear but still attract mud, salt, food crumbs, and oil.
You’ll want to remove those common soils quickly because abrasive grit and chemical stains can embed or discolor the surface.
Clean them improperly, though, and you risk surface damage, fading, or even voiding the warranty.
Materials and construction (rubber, Thermoplastic Elastomer)
Materials matter: most WeatherTech floor mats are made from durable Thermoplastic Elastomer (TPE) rather than traditional rubber, so they resist cracking, repel water, and hold their shape under heat and wear.
You’ll find molded channels and raised edges that trap debris and liquids. Because TPE is non-porous and flexible, you can clean with mild soap, rinse thoroughly, and avoid harsh solvents that could damage the finish.
Common soils and stains they encounter
Your mats face a mix of everyday messes: mud, sand, spilled drinks, road salt, and the gritty residue tracked in from shoes.
You’ll also deal with oil, grease, plant debris, pet hair, and dark scuff marks from footwear. Tackling these quickly prevents buildup; many soils rinse away, while greasy stains may need mild detergent and gentle scrubbing to fully lift.
Risks of improper cleaning (damage, loss of warranty, fading)
Because improper cleaning can warp, discolor, or otherwise damage floor mats, you should follow the right methods to avoid costly problems.
Using harsh chemicals, high heat, or abrasive tools can gouge surfaces, fade colors, and deform mats. You might also void the manufacturer’s warranty by ignoring care instructions.
Stick to recommended cleaners and gentle techniques to preserve function, fit, and appearance.
Tools and Supplies You’ll Need
You’ll want a few essential tools on hand—vacuum, soft brush, hose, and microfiber towels—to remove dirt and rinse the mats.
Use mild soap or a specialized mat cleaner for regular cleaning and a degreaser for stubborn oil or grease spots.
Avoid harsh solvents, stiff wire brushes, and abrasive pads that can damage the mat material.
Essential tools (vacuum, soft brush, hose, microfiber towels)
Before you start scrubbing, gather a few basic tools so the job goes quickly and safely: a vacuum with crevice attachments to remove loose dirt, a soft-bristled brush for loosening grime without scratching, a garden hose or pressure-wash setting for rinsing, and several microfiber towels for drying and buffing.
Use the vacuum first, scrub gently with the brush, rinse thoroughly, then dry and polish with towels.
Recommended cleaning products (mild soap, specialized mat cleaner, degreaser)
When choosing cleaners, pick gentle options that remove dirt and oils without harming the rubber—mild dish soap diluted in water works well for routine cleaning.
A purpose-made WeatherTech or rubber-mat cleaner is ideal for deeper jobs, and a citrus or enzymatic degreaser can tackle stubborn grease spots.
Use soft brushes and rinse thoroughly; test any product on a small area first to verify compatibility.
Products and tools to avoid
Although strong cleaners and abrasive tools may promise quick results, they can permanently damage WeatherTech floor mats, so steer clear of them.
You should avoid anything that strips finish, melts material, or scratches surfaces. Choose gentle soap and soft brushes instead, and never mix chemicals.
- Bleach or ammonia
- Wire brushes or steel wool
- High-pressure washers at close range
- Solvent-based degreasers
Step-by-Step Cleaning Process
Start by taking your mats out and giving them a good shake to remove loose debris.
Then rinse with water to clear away remaining dirt.
Apply a mild cleaner and gently agitate with a soft-bristle brush before rinsing thoroughly to remove soap and residue.
Finish by towel-drying or air-drying completely and reinstalling the mats once they’re fully dry.
Step 1 Remove mats and shake out debris
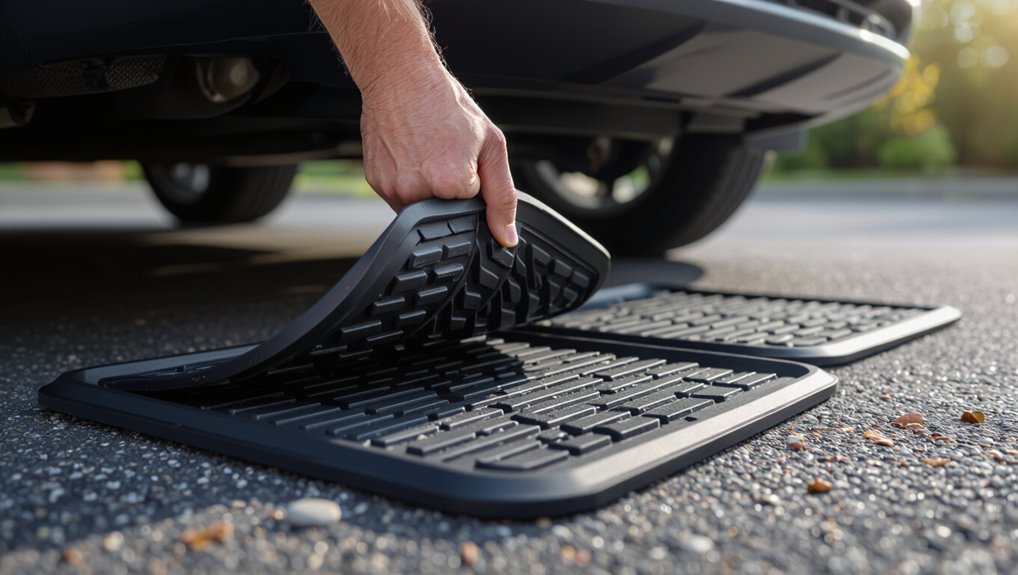
Step 1: Pull the mats out of the car and take them to an open area where you can shake loose dirt and crumbs.
Hold each mat by a corner, give it firm shakes and a few taps on the back to dislodge trapped grit.
Flip and repeat, paying attention to grooves and heel pads.
Collect debris and dispose of it properly.
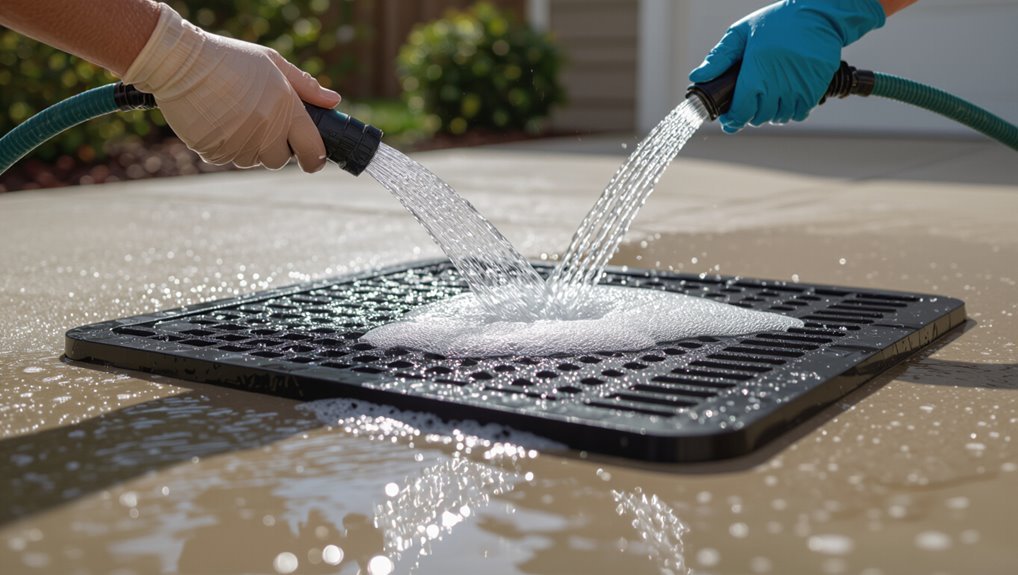
Step 2 Rinse with water to remove loose dirt
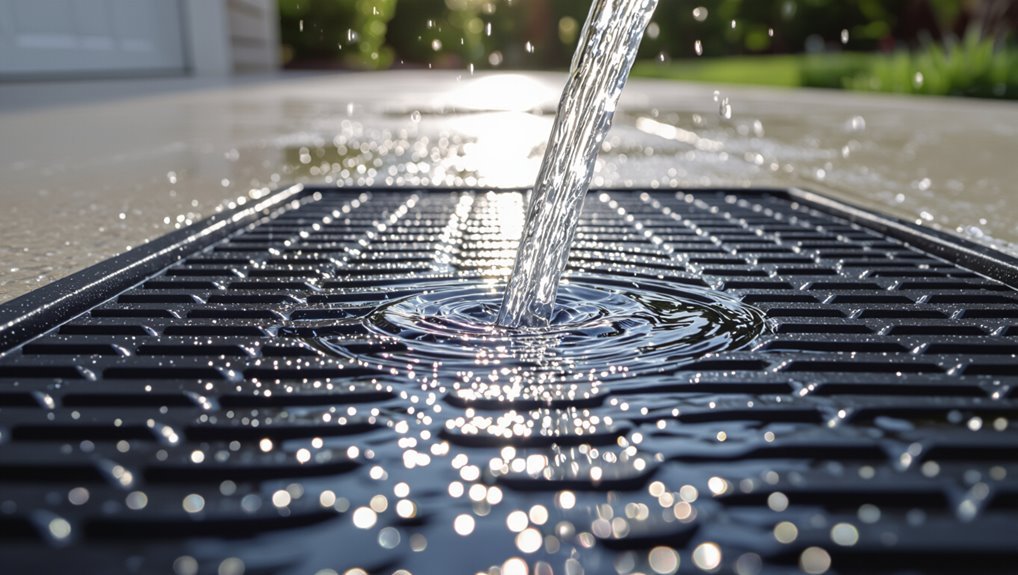
Grab a hose or a bucket of clean water and rinse each mat thoroughly to wash away remaining loose dirt and dust.
Hold mats at an angle so water drains off, concentrating on grooves and corners. Use steady, moderate pressure to avoid forcing debris deeper.
Flip mats and repeat until runoff runs clear, then let excess water drip off before moving to the next step.
Step 3 Apply cleaner and agitate gently (technique, brush type)
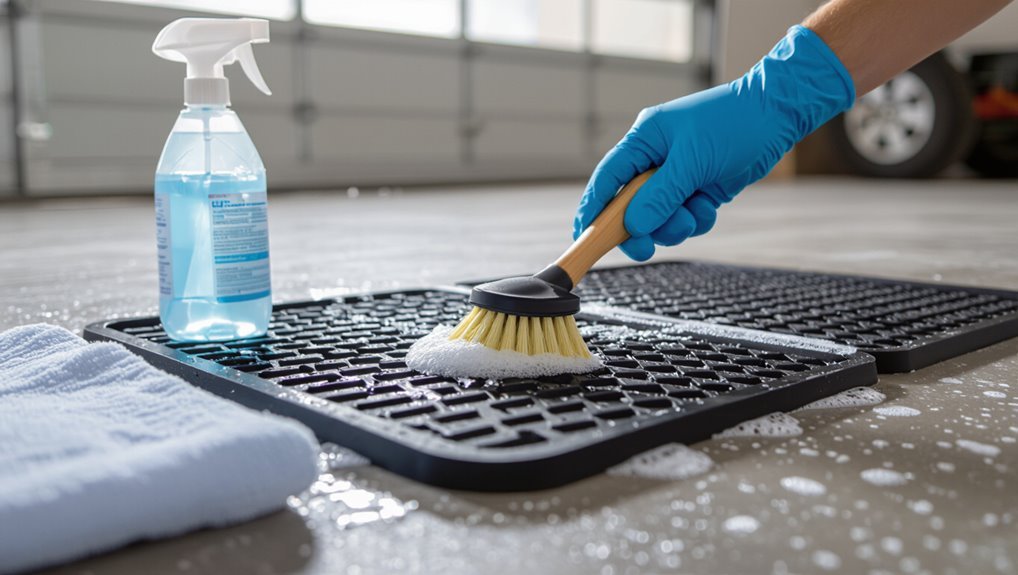
Apply a mild, pH-neutral cleaner to the mat surface and work it in gently—this protects the mat’s finish while loosening grime.
Use a soft-bristle brush or microfiber scrub pad, keeping strokes even and light to avoid abrasion.
Focus on textured grooves and edges, lifting dirt without pressing hard.
Reapply cleaner sparingly on stubborn spots and keep agitation controlled for best results.
Step 4 Rinse thoroughly to remove soap and residue
Flush the mat with clean water until suds stop forming and the runoff looks clear — this guarantees no soap or loosened grime stays trapped in grooves.
Work water into channels, tilting and flexing the mat so trapped residue drains.
Use a hose with steady pressure or a bucket of fresh water, repeating until water runs free of foam and the mat feels residue-free.
Step 5 Drying methods (air dry vs. towel dry) and reinstallation tips
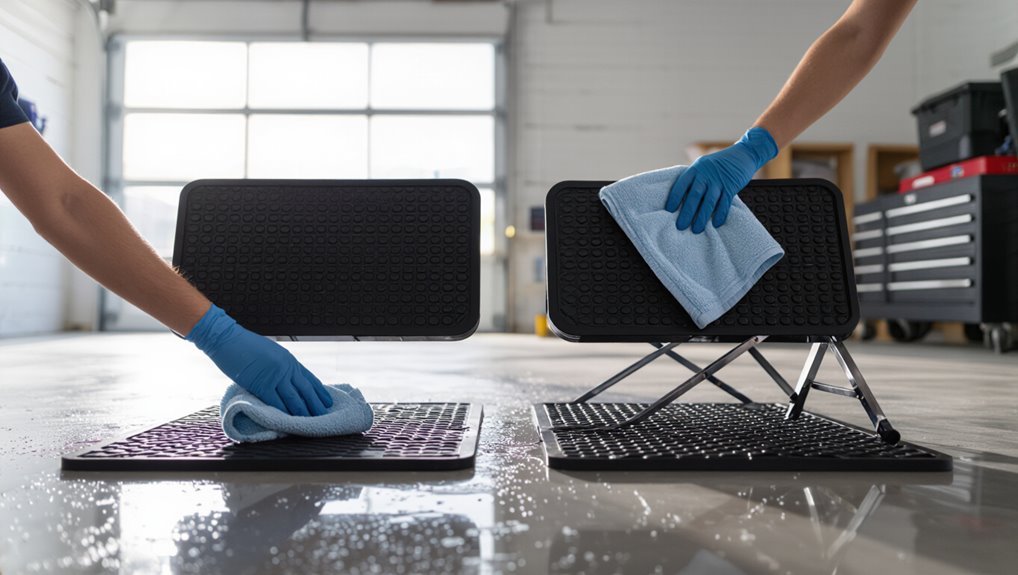
Once the mat’s clean rinse runs clear, decide whether you’ll air dry or towel dry based on time and weather.
Air drying prevents lint and uses no towels, but needs several hours in shade.
Towel drying speeds reinstallation—pat, flip, press edges, and let sit briefly.
Confirm mats are fully dry to avoid mold and slipping; reinstall correctly aligned with retention clips.
Deep Cleaning and Stain Removal Techniques
When you need to tackle tough marks, use targeted approaches for each stain type so you don’t damage the mat.
For grease and oil try a degreaser or dish soap.
For mud pre-soak and scrub.
For salt use a desalting rinse to prevent corrosion.
For ink or dye transfer, test a safe solvent on a hidden area and use it sparingly with gloves and good ventilation.
Grease and oil stains (product and method)
Tackle grease and oil stains on your WeatherTech mats with a targeted approach that breaks down hydrocarbons without damaging the rubber; apply a citrus-based degreaser or automotive degreaser, let it dwell briefly, then agitate with a soft-bristle brush.
Rinse thoroughly and repeat if needed.
For persistent spots, spot-treat with isopropyl alcohol, rinse, and air-dry away from direct heat.
Mud and caked-on dirt (pre-soak and scrub)
Soak heavily soiled mats to loosen mud before you start scrubbing — that makes removal far easier and prevents you from grinding grit into the rubber.
Let water sit several minutes, then use a soft-bristle brush and mild detergent to agitate dried clumps.
Rinse thoroughly, repeat if needed, and dry flat.
Avoid abrasive tools that can scratch or damage the mat’s surface.
Salt and winter grime (desalting tips)
Salt and grit from winter roads can eat away at mats and leave stubborn white deposits, so rinse them promptly with warm water to dissolve salt before it sets.
Use a soft brush and mild detergent for remaining residue, then rinse thoroughly.
Dry mats flat in sunlight or a well-ventilated area to prevent warping.
Repeat as needed after heavy storms.
Ink and dye transfer (safe solvents and precautions)
When ink or dye transfers onto your WeatherTech mats, act quickly to prevent permanent staining: blot fresh marks with a clean, dry cloth to lift excess pigment.
Then test a mild solvent on an inconspicuous spot. Use isopropyl alcohol or diluted citrus-based cleaner sparingly, apply with a soft cloth, rinse thoroughly, and avoid harsh abrasives.
Repeat only if stain fades.
Comparison of Cleaning Approaches
You’ll want to weigh DIY household cleaners against purpose-made mat cleaners—DIY options are cheap and handy, while commercial products are formulated to protect the mat’s material.
Also compare pressure washer use with a regular hose: a pressure washer can remove stubborn grime fast but risks warping or stripping the mat if too close or too powerful.
Consider the stain type, mat condition, and your comfort level to pick the safest, most effective method.
DIY household cleaners vs. commercial mat cleaners
Some people swear by DIY household cleaners while others stick to commercial mat products, and each approach has clear trade-offs you should weigh. DIY is cheap and accessible but may need testing; commercial cleaners cost more, target mats, and often protect finish. Choose based on spills, material sensitivity, and convenience.
| Option | Cost | Effectiveness |
|---|---|---|
| DIY | Low | Moderate |
| Commercial | Higher | High |
| Hybrid | Medium | Variable |
Pressure washer vs. regular hose (benefits and risks)
Although both tools rinse away dirt, a pressure washer and a regular hose deliver very different results: you’ll get faster, deeper cleaning with a pressure washer, removing embedded grime and restoring texture, but high pressure can warp or strip finishes if too close.
A regular hose is gentler, safer for edges and fittings, though it needs scrubbing and more time to achieve the same cleanliness.
Common Mistakes That Damage WeatherTech Mats
Watch out for common mistakes that can shorten the life of your WeatherTech mats: harsh chemicals or solvents and spraying with high-pressure washers too close can cause discoloration or warping.
Don’t store mats folded or in direct sunlight, and always remove them from the vehicle before cleaning to avoid trapped moisture and surface damage.
Following those simple precautions will keep your mats looking and performing their best.
Using harsh chemicals or solvents
When you reach for strong solvents or household cleaners, remember they can quickly damage the rubber-like material and strip away protective coatings on WeatherTech mats.
Don’t use bleach, acetone, paint thinner, or abrasive cleaners. Instead, opt for mild soap and water or a dedicated rubber mat cleaner.
Test any product on a small area first and rinse thoroughly to prevent residue.
High-pressure washing too close
Cleaning products aren’t the only thing that can harm WeatherTech mats — using a pressure washer too close can gouge the surface, warp the contours, or force water into seams and backing.
Keep the nozzle at least a foot away, use a wider spray pattern, and test pressure on an inconspicuous area.
Rinse gently and let mats dry flat to prevent damage.
Storing mats folded or in direct sunlight
If you fold or leave WeatherTech mats in direct sunlight, you’ll shorten their lifespan by causing creases, warping, and UV-driven fading or brittleness;
store mats flat or rolled in a shaded, cool area to preserve shape and color.
Don’t stack heavy items on top—pressure can deform profiles.
Use breathable covers to keep dust off while preventing heat buildup that accelerates deterioration.
Failing to remove mats before cleaning
Although it’s tempting to scrub mats in place, leaving WeatherTech liners anchored in the vehicle can trap dirt and moisture against the carpet and risk scuffing or stretching the mat edges.
Always remove mats before cleaning so you can rinse, scrub gently, and inspect both sides. Removing them prevents trapped grime, avoids staining interior carpet, and helps mats dry evenly without warping.
Prevention and Maintenance Best Practices
Set a regular cleaning schedule and wipe up spills immediately so dirt and stains don’t become permanent.
Consider using a conditioner or protectant approved for Thermoplastic Elastomer (TPE) to keep mats flexible and UV-resistant.
Also prep for seasons—scrub and dry thoroughly before winter, and store or cover mats during long summer downtime.
Regular cleaning schedule and quick post-spill actions
Aim to clean your WeatherTech mats at least once a month and address spills immediately to prevent stains and odors.
Wipe fresh spills with a microfiber towel, rinse with water, and let mats air dry. For sticky messes, use mild soap sparingly and rinse thoroughly.
- Blot liquids promptly
- Remove mats to shake out debris
- Use soft brush for grime
- Dry fully before reinstalling
Protective treatments are conditioners or protectants recommended?
Wondering whether to use conditioners or protectants on your WeatherTech mats? You don’t need conditioners—these mats are made from durable thermoplastic elastomer that resists cracking without extra oils.
Use a mild, non‑petroleum protectant sparingly to restore appearance and repel dust, but avoid silicone or solvent-based sprays.
Test any product on a hidden spot first and reapply only when visibly dull.
Seasonal care tips (winter prep, summer storage)
When seasons change, prepping and storing your WeatherTech mats the right way keeps them looking new and performing well:
Before winter, wash away salt, dry completely, and fit mats snugly to prevent slipping.
After harsh months, rinse thoroughly and inspect for damage.
For summer storage, clean, dry, roll loosely, and store flat in a cool, shaded area to avoid warping.
When to Replace Instead of Clean
If your mats have deep cracks, warped edges, or persistent stains that won’t come out, it’s time to contemplate replacement rather than cleaning.
Check your warranty and any manufacturer guidance—WeatherTech may cover certain defects or recommend replacement for safety-related damage.
If you’re unsure, contact customer support with photos to confirm whether repair or replacement is the right choice.
Signs of irreversible damage
Although WeatherTech mats are built tough, there are clear signs that cleaning won’t fix the problem and it’s time to replace them.
Replace mats if you see deep cracks, warped or deformed edges that prevent proper fit, exposed or flaking material, persistent odor after cleaning, or shredded sections that compromise safety.
If traction ribs are worn smooth, don’t try to salvage them.
Warranty considerations and manufacturer guidance
Because your mats came with specific care guidelines and warranty terms, you should check those details before attempting deep repairs or aggressive cleaning.
If damage falls under warranty—cracks, manufacturing defects, or premature wear—contact WeatherTech for replacement instructions.
Don’t void coverage by using harsh solvents or DIY fixes.
When repairs would compromise function or safety, replace the mat to preserve protection and warranty rights.
FAQ Common Questions About Cleaning WeatherTech Floor Mats
You probably have a few quick questions before you start cleaning, like whether a pressure washer is safe or if dish soap will harm the mats.
You’ll also want to know drying time before reinstalling, whether cleaners affect the non-slip backing or fit, and how to get rid of stubborn odors.
Below are clear, practical answers to each of those points.
Can I use a pressure washer on WeatherTech mats?
Wondering whether a pressure washer’s the right tool for your WeatherTech mats? You can, but be careful: use a low-pressure setting (under 1200 PSI), keep the nozzle at least a foot away, and avoid concentrated high-temperature steam.
Test a corner first. High pressure or close range can warp edges or damage texture.
Finish by air-drying flat away from direct heat.
Is dish soap safe for these mats?
Is dish soap safe for your WeatherTech mats? Yes—mild dish soap mixed with warm water gently removes dirt, grease, and residues without harming the material.
Use a soft brush or cloth, rinse thoroughly to remove suds, and avoid harsh detergents, bleach, or concentrated solvents.
Test an inconspicuous area first if you’re unsure about a specific cleaner’s effect.
How long do mats need to dry before reinstalling?
After rinsing soap and suds thoroughly, let the mats dry completely before putting them back in the vehicle to prevent mildew, slipping, or trapped moisture underfoot.
Air-dry mats flat or hang them in a well-ventilated area for at least 4–8 hours, longer in humid conditions.
Confirm they’re cool to the touch and no surface moisture remains before reinstalling to avoid odors or mold.
Will cleaners affect the non-slip backing or fit?
If you use cleaners formulated for rubber or vinyl and follow the label directions, they won’t harm WeatherTech’s non‑slip backing or change the mat’s fit.
Avoid harsh solvents, petroleum‑based products, or abrasive pads. Test any new product on a small corner first.
Rinse thoroughly and let the mats dry flat before reinstalling to preserve traction and guarantee they seat properly in vehicle anchors.
How to remove stubborn odors from mats
Wondering how to get rid of stubborn odors in your WeatherTech mats?
Start by rinsing and sun-drying to evaporate trapped moisture.
Sprinkle baking soda, let it sit several hours, then vacuum thoroughly.
For persistent smells, mist a 1:1 white vinegar and water solution, wipe, rinse, and air dry.
Repeat if needed; avoid scented cleaners that can linger.