How to Install Carpet Tiles: A Simple DIY Guide for Any Room
You can install carpet tiles yourself by prepping a clean, level subfloor, measuring the room, and laying out tiles in a centered or brick pattern. Acclimate tiles 24–48 hours, use peel-and-stick or pressure-sensitive adhesive as recommended, cut edge pieces to fit, and roll seams for secure adhesion. Allow 4–8 hours for a typical room and keep extra tiles for repairs. Follow simple steps and tips below to finish faster and avoid common mistakes.
Can You Install Carpet Tiles Yourself?
You can often lay carpet tiles yourself in a few hours to a weekend, with basic tools and moderate cost for tiles and adhesive.
DIY works well for straightforward rooms with flat floors and simple layouts, and it’ll save money if you’re comfortable measuring and cutting.
Hire a pro if the subfloor needs repair, the room has complex patterns or thresholds, or you want a guaranteed finish.
Short summary of the process and typical time/cost
Although it takes some prep work, installing carpet tiles is a straightforward DIY project: you’ll clean and level the floor, lay out a pattern, cut edge pieces, and peel-and-stick or glue tiles down, typically finishing a small room in a day.
You’ll ask, how do I install carpet tiles? Expect 4–8 hours, basic tools, and $100–$500 depending on tile quality and adhesive.
When DIY is appropriate vs. when to hire a pro
If that time and cost estimate sounds doable, you can probably handle a straightforward carpet-tile install yourself; many homeowners cut, lay, and stick tiles with basic tools over a weekend.
Choose DIY when subfloor is flat, layout is simple, and you’re comfortable with cutting and adhesive.
Hire a pro for complex layouts, uneven substrates, moisture issues, commercial specs, or if you want guaranteed warranty and fast, flawless results.
Understanding Carpet Tiles: What They Are and Why Choose Them
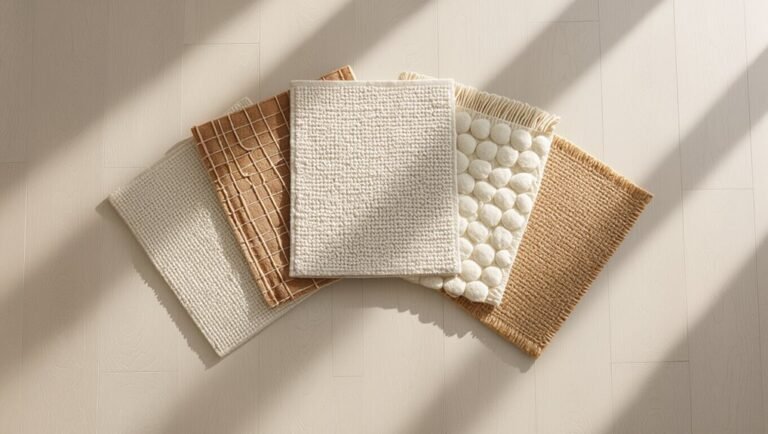
Carpet tiles are square sections of carpeting with different backings, pile types, sizes, and installation methods (adhesive or peel-and-stick) that you can mix and match to build a floor.
You’ll pick them for durability, easy spot replacement, and the design flexibility to create patterns or switch out worn areas.
Below we’ll cover what to look for in backing and pile, how sizes and adhesives differ, and which benefits matter most for your space.
What are carpet tiles?
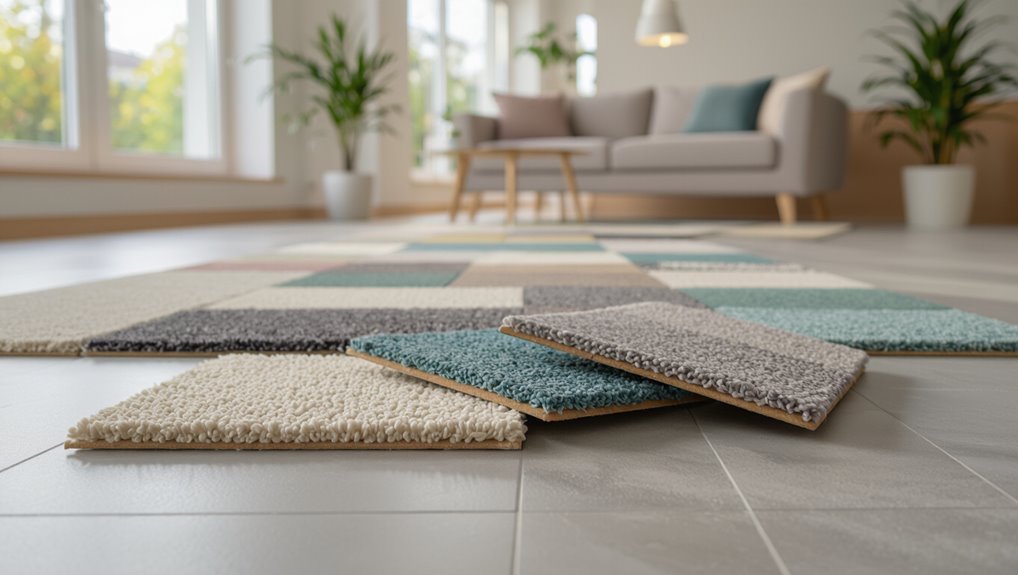
While they may look like traditional flooring at a glance, carpet tiles are modular squares of carpet designed for easy installation, replacement, and customization.
You can mix colors, textures, and patterns to create tailored looks. Each tile usually has a backing for stability and can be glued, taped, or laid loose.
They suit residential and commercial spaces where flexibility and quick updates matter.
Benefits (durability, ease of replacement, design flexibility)
Because they’re built in small, reinforced sections, carpet tiles stand up well to heavy foot traffic and occasional spills, giving you a durable floor that’s easy to maintain.
You’ll also appreciate quick spot replacement, creative patterns, and straightforward upkeep:
- Replace damaged tiles without redoing the whole floor
- Mix colors or textures for custom looks
- Easy cleaning and maintenance
- Durable in high-traffic areas
Types of carpet tiles (backing, pile, size, adhesive vs. peel-and-stick)
There are several key types to know so you can choose tiles that suit your space and budget: backing material (bitumen, polyurethane, or fiberglass), pile style (loop, cut, or cut-and-loop), common sizes (12×12, 18×18, 24×24 inches), and installation method (glue-down, double-stick, or peel-and-stick).
| Backing | Pile | Installation |
|---|---|---|
| Bitumen | Loop | Glue-down |
| Polyurethane | Cut | Double-stick |
| Fiberglass | Cut-and-loop | Peel-and-stick |
Choose based on traffic, comfort, and DIY skill.
Tools, Materials, and Preparation Checklist
Before you start, gather the right tools—cutters, a straightedge, a seam roller, and a tape measure—to make precise cuts and secure seams.
You’ll also need tiles, the recommended adhesive or tape, any underlayment, and connector strips for thresholds.
Finally, check the room and subfloor (identify the type, run a moisture test, and plan the layout) so you won’t run into surprises during installation.
Tools needed (cutters, straightedge, seam roller, tape measure)
Gather four essential tools to get your carpet tile project off to a clean, efficient start: a utility cutter or carpet knife for precise cuts, a straightedge or T-square for accurate lines, a seam roller to press tiles and seal joins, and a good tape measure to verify layouts and cuts.
- Utility cutter: sharp blade, comfortable grip.
- Straightedge: metal, long enough for tiles.
- Seam roller: firm, smooth wheel.
- Tape measure: retractable, 25 ft works.
Materials and accessory items (tiles, adhesive, underlayment, transition strips)
With your cutters and straightedge ready, you’ll also need the right materials and accessories to complete the job: carpet tiles, the proper adhesive, any underlayment, and connector strips for doorways and edges.
Gather these essentials, choose matching styles, and confirm adhesive compatibility. Check quantity before starting.
- Carpet tiles (plus 5–10% extra)
- Recommended adhesive
- Cushioning underlayment
- Junction/connector strips
Pre-installation site assessment (subfloor type, moisture test, room layout)
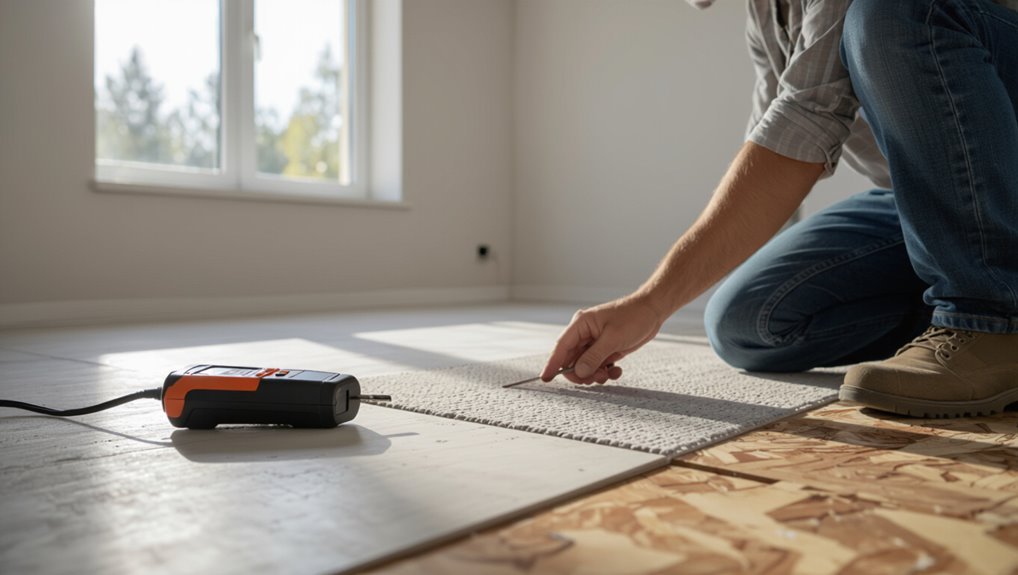
Start by evaluating the site so you know what you’re working with: identify the subfloor type (concrete, plywood, or existing flooring), perform a moisture test on concrete or greenboard, and sketch the room layout noting doors, vents, and high-traffic paths.
Check for levelness, repairs, and debris. Measure accurately to order tiles, plan seams, and position adhesive and connections for efficient installation.
Quick Planning and Layout Strategy
Start by measuring the room and calculating how many tiles you need, including a waste allowance for cuts and future repairs.
Pick a starting point and layout pattern—centered, brick, or quarter-turn—based on the room’s focal point and traffic flow.
Do a dry-lay mockup to adjust tile placement so seams fall discreetly and focal areas look balanced.
Measuring the room and calculating tile quantity (waste allowance)
Before you cut a single tile, measure the room precisely—length and width in feet (or meters), noting alcoves, closets, and any obstructions—so you can calculate the total square footage and plan your layout.
Divide by a tile’s square footage to get needed tiles, then add 10–15% for cuts and mistakes (increase to 20% for complex rooms).
Buy whole boxes.
Deciding starting point and layout pattern (centered, brick, quarter-turn)
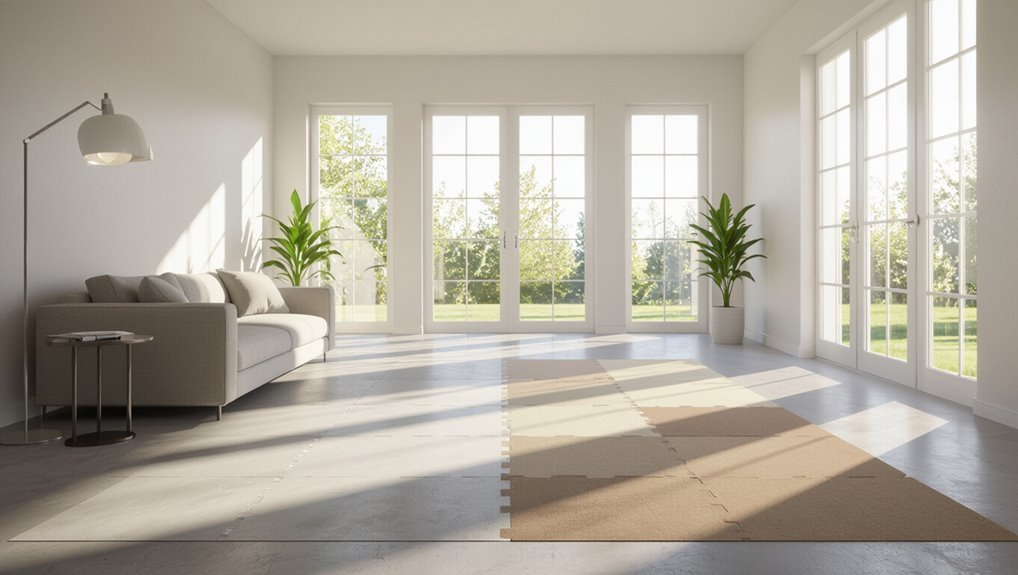
Pick a clear focal line and a pattern before you lay a single tile so your installation looks intentional and balanced.
Decide whether you’ll center tiles on that line, run a brick (offset) layout, or use quarter-turn for a checkerboard effect.
Choose a starting corner or center point based on traffic flow and visible edges, then stick with that orientation for consistency.
Dry-lay mockup and adjusting for focal points and seams
While you’ll be tempted to dive straight in, dry-laying a few rows first lets you spot awkward seams, misaligned patterns, and where focal lines need shifting.
Walk the room, test orientations, and tweak tile placement until sightlines and grout-like seams fall where you want.
Mark true center and cut tiles at edges to preserve balanced visual flow and minimize narrow slivers.
Step-by-Step Installation Guide
Start by preparing the subfloor—clean, level, and repair any damage—then let your tiles acclimate and decide on adhesive or peel-and-stick.
Mark straight reference lines and align your first row carefully so the pattern stays true.
Work row by row using the appropriate installation technique, cutting tiles as needed for edges, doorways, and obstacles.
Step 1 Prepare the subfloor (cleaning, leveling, repair)
Step 1 focuses on getting your subfloor clean, level, and structurally sound so the carpet tiles lay flat and stay put.
Remove debris, old adhesive, and protruding nails; vacuum and mop.
Repair cracks, fill low spots with patching compound, and sand high areas.
Confirm the surface is dry and smooth.
Check for squeaks or loose boards and fasten or replace as needed.
Step 2 Acclimate tiles and plan adhesive approach
Before you lay a single tile, let the carpet tiles sit in the room for 24–48 hours so they acclimate to the temperature and humidity.
While they rest, inspect tiles for defects and sort by shade.
Choose adhesive type—peel-and-stick, pressure-sensitive, or full-spread—based on subfloor and room use.
Calculate coverage, gather tools, and plan a working sequence before you start installing.
Step 3 Mark reference lines and align first row
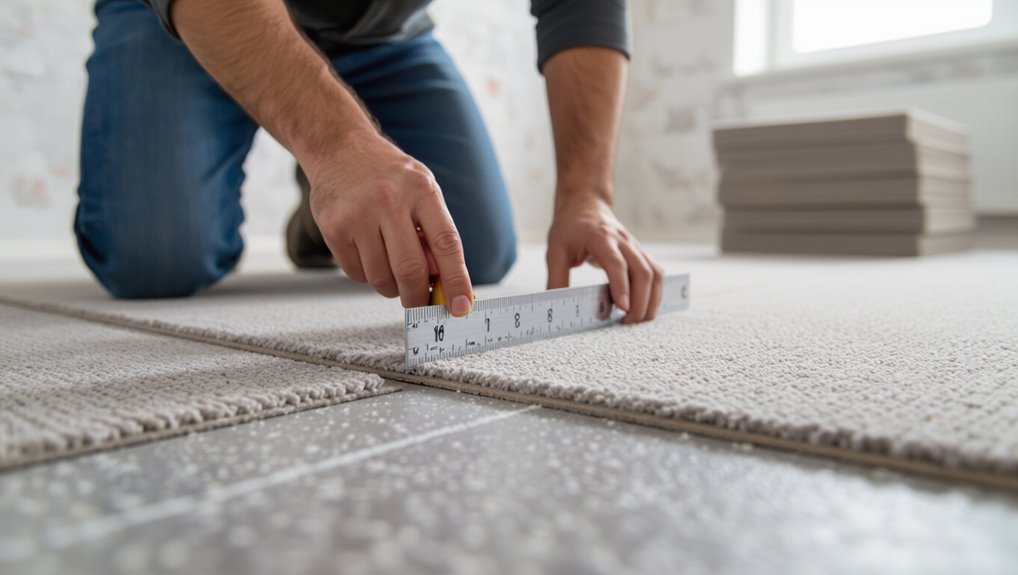
Measure and snap a pair of perpendicular reference lines across the room so your first row stays square and centered.
Use a chalk line from wall to wall, accounting for doorway thresholds and dominant sightlines.
Dry-lay tiles along the lines to check fit and pattern.
Align the first row precisely on the lines, trimming edge tiles as needed for a balanced border.
Step 4 Install tiles row by row (technique for adhesive and peel-and-stick)
Start laying tiles along your reference lines, working outward row by row so each tile mates snugly with its neighbors and the pattern stays consistent.
For peel-and-stick, peel backing gradually and press firmly, using a roller for even adhesion.
For loose-lay or pressure-sensitive adhesive, apply adhesive per manufacturer directions, position tiles accurately, press and roll each tile, checking alignment frequently.
Step 5 Cutting tiles for edges, doorways, and obstacles
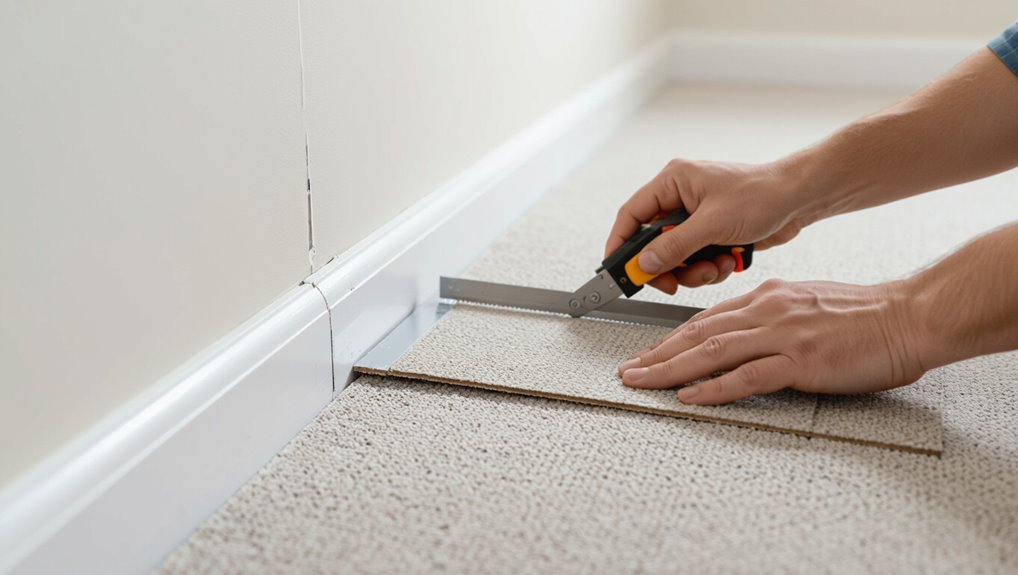
When you’ve run full tiles across the field, you’ll need to cut pieces to fit edges, doorways, vents, and other obstacles so the job looks professional and the tiles sit flat.
Measure carefully, mark the tile backside, and use a straightedge and utility knife for clean cuts.
Dry-fit pieces, trim small amounts for tight fits, and save scraps for irregular shapes.
Step 6 Rolling seams and ensuring proper adhesion
Roll a 100–150 lb floor roller firmly across the installed tiles, working both along and across seams to press tiles into the adhesive and eliminate air pockets; go slowly, overlap each pass by a few inches, and repeat any area that still lifts or shows gaps until seams sit flat and secure.
Check for adhesive squeeze-out, wipe excess immediately, and re-roll edges.
Inspect entire floor for loose spots.
Step 7 Install trim, transitions, and finish touches
1. Install trims and connectors to finish edges and doorways. Measure and cut metal or vinyl strips, secure them with screws or adhesive, and align carpet tile edges neatly.
Add baseboards or quarter-round where tiles meet walls. Replace thresholds at room joins, trim tile corners for a clean fit, and vacuum.
Inspect seams and edges, making small adjustments for a polished look.
Common Problems and How to Fix Them
As you finish your install, you may spot issues like lifting edges or loose tiles—these usually come from improper adhesive application or movement and can be fixed by reattaching tiles with the right adhesive and pressing seams firmly.
If seams or patterns don’t line up, lift and reorient affected tiles or replace miscut pieces to restore a consistent layout.
For adhesive residue, bubbles, or signs of subfloor moisture, remove residue with the correct cleaner, roll out bubbles and reapply adhesive, and address moisture with a vapor barrier or repair before reinstalling.
Lifting edges or loose tiles causes and fixes
When tiles start lifting at the edges or feel loose underfoot, it’s usually due to adhesive failure, insufficient acclimation, high humidity, or traffic-related stress—problems you can diagnose quickly by checking the substrate, adhesive coverage, and environmental conditions.
Reapply appropriate adhesive, press or roll tiles firmly, replace badly damaged tiles, control room humidity, and reduce immediate heavy traffic until adhesive cures to restore a secure installation.
Visible seams or pattern mismatch how to correct
Loose tiles and adhesive issues can also show up as visible seams or a pattern that looks off.
So once you’ve addressed bonding and humidity, check alignment and pile direction next.
Rotate tiles to match pile nap, trim edges for tight seams, and re-seat tiles with a roller.
Replace any warped tiles and re-measure rows to correct cumulative offset before permanently fixing.
Adhesive residue, bubbles, or subfloor moisture issues
Frustration often shows up as adhesive residue, bubbles, or moisture-related problems, and you’ll want to tackle them quickly to protect your tiles and subfloor.
Scrape residue with a plastic scraper and solvent recommended by the manufacturer. For bubbles, lift, let adhesive tack, and reseat tiles.
Test subfloor moisture with a meter; use a vapor barrier, moisture-mitigating primer, or address leaks before installing.
Best Practices, Tips, and Maintenance
Keep carpet tiles looking great by regularly vacuuming, treating spills quickly with the right cleaners, and spot-testing solutions first.
Use furniture pads, rugs in high-traffic zones, and traffic patterns to reduce wear so tiles last longer.
When a tile gets beyond repair, you can lift and replace it individually—match pile direction and adhesive type for a seamless fix.
Ongoing cleaning and stain removal tips
Although regular vacuuming and prompt spot care won’t prevent every spill, they’ll keep your carpet tiles looking fresh and extend their life.
Act quickly on stains, blot don’t rub, and use manufacturer-approved cleaners.
For routine care:
- Blot spills with a clean cloth immediately.
- Apply mild detergent solution sparingly.
- Rinse and blot dry thoroughly.
- Schedule periodic deep cleaning as needed.
Preventive measures to extend tile life (traffic management, protectors)
Spot cleaning and regular deep care will handle many issues, but preventing wear in the first place will save you time and money.
Place mats at entrances, use chair glides and felt pads, and rotate furniture occasionally to avoid permanent traffic patterns.
Create clear walkways, limit heavy rolling loads, and use protective runners in high-use zones to preserve pile and adhesive longevity.
When and how to replace individual tiles
When a tile is stained, crushed, or lifting despite cleaning and adhesive checks, you should replace it promptly to prevent further damage and maintain a uniform look.
Remove the damaged tile with a flat tool, clean subfloor and adhesive residue, apply new adhesive or use a peel-and-stick tile, press firmly, align seams, and roll.
Check surrounding tiles for secure edges.
Comparison: DIY Methods and Professional Options
You’ll weigh peel-and-stick, glue-down, and modular tiles by how easily they install and whether you want to swap pieces later.
Consider cost, installation time, and how each method holds up under traffic. That balance will help you decide between a DIY approach and hiring a pro.
Peel-and-stick vs. glue-down vs. modular interchangeability
Choosing between peel-and-stick, full glue-down, and loose-lay modular carpet tiles comes down to how permanent you want the installation, how much prep and skill you’re willing to invest, and whether you need the flexibility to swap tiles later. You’ll choose peel-and-stick for easy DIY, glue-down for permanence and pros, and modular for quick swaps or repairs.
| Type | Skill | Flexibility |
|---|---|---|
| Peel-and-stick | Low | High |
| Glue-down | High | Low |
| Modular loose-lay | Medium | Very High |
Cost, time, durability trade-offs
Now that you’ve weighed installation types and their flexibility, let’s compare how cost, time, and durability stack up between DIY methods and hiring a pro.
You’ll save money with DIY but spend more time; pros cost more yet finish faster and often offer better longevity.
Consider:
- DIY: lower cost, higher time investment
- Pro: higher cost, quicker completion
- Durability depends on skill
- Warranties favor professionals
Mistakes to Avoid
Don’t skip proper subfloor prep—uneven or dirty surfaces will ruin the installation.
Plan your layout and measure precisely so you don’t end up with awkward cuts or wasted tiles.
Also use the recommended adhesive and let tiles acclimate to the room before you stick them down.
Skipping subfloor prep
Even if you’re keen to lay tiles, skipping subfloor prep will cost you time and money later; an unlevel, dirty, or damp subfloor leads to poor adhesion, uneven seams, and premature wear.
You should clean, dry, and repair cracks or high spots, check moisture, and use leveling compound where needed. Proper prep prevents lifting, gaps, and wasted tiles.
Poor layout planning and incorrect measurements
If you skip careful layout planning and precise measuring, you’ll end up with awkward seams, wasted tiles, and a finish that looks unprofessional.
Measure room dimensions, account for doorways and fixtures, and snap chalk lines to establish a balanced starting point.
Dry-fit tiles before cutting, plan pattern repeats, and calculate extra tiles for cuts and mistakes so you don’t run short mid-job.
Using wrong adhesive or insufficient acclimation
Because carpet tiles and subfloors vary, using the wrong adhesive or skipping proper acclimation will cause tiles to lift, curl, or look uneven.
You should match adhesive type to tile backing and subfloor, follow manufacturer cure times, and let tiles acclimate in-room 24–48 hours.
Test a small area first, maintain recommended temperature and humidity, and replace failing adhesive promptly to avoid costly repairs.
Project Cost and Time Estimates
You’ll want to budget for carpet tiles, adhesive or peel-and-stick tiles, plus any tools—compare rental versus buying for items like a knee kicker, cutter, or utility knife.
Expect a small room (10×10) to take a novice a few hours and a pro 1–2 hours, while larger or irregular rooms add time.
I’ll outline typical price ranges and time estimates so you can plan accurately.
Typical material costs and tool rental vs. purchase
When planning carpet tile installation, start by tallying the main material costs—tiles, underlayment, adhesive or tackifier, joining strips, and any trim—and consider whether you’ll need extras for pattern matching or mistakes. Balance buying vs. renting tools: frequent DIYers buy a cutter and straightedge; occasional projects favor rental. Compare costs and convenience.
| Item | Typical cost |
|---|---|
| Tiles | $1–$5/ft² |
| Cutter rental | $15–$40/day |
Estimated time by room size and skill level
Knowing material costs and tool choices helps you plan timing, too: how long the job will take depends on room size and your skill level.
You can estimate hours roughly and add buffer for cutting and shifts.
- Small (bedroom, 8×10): 2–4 hours for beginners, 1–2 for pros
- Medium (living room): 4–8 hours beginners, 2–4 pros
- Large/open: 8–16 hours beginners, 4–8 pros
FAQ
You’ll find answers here to common questions like how long carpet tile installations typically last and whether you can lay them over existing floors.
We’ll cover suitability for bathrooms or basements, matching patterns or seams when replacing tiles, and which warranties or manufacturer specs to check.
If you’ve got a specific concern, mention it and we’ll address it directly.
How long does carpet tile installation last?
How long carpet tile installation lasts depends on the tile quality, foot traffic, and how well you maintain it.
With moderate use and regular care, expect 10–15 years, while premium tiles in low-traffic areas can last 20 years or more.
You’ll extend life by vacuuming, spot-cleaning, rotating tiles in busy zones, and replacing worn tiles early instead of waiting for widespread damage.
Can carpet tiles be installed over existing flooring?
If your carpet tiles are holding up but the subfloor underneath is in good shape, you can often lay new tiles right over existing flooring to save time and money.
You should clean, repair, and verify the surface is flat.
Peel-and-stick tiles work best over vinyl, tile, or low-pile carpet; avoid loose, cushioned, or water-damaged layers and always test adhesion first.
Are carpet tiles suitable for bathrooms or basements?
Wondering whether carpet tiles work in bathrooms or basements?
You can use them in basements if the space is dry and moisture-controlled; choose moisture-resistant or vinyl-backed tiles and use a vapor barrier.
For bathrooms, avoid standard carpet tiles—opt for waterproof vinyl tiles instead.
Always check product specs and address any humidity or leaks before installing to prevent mold and damage.
How do I match patterns or seams when replacing tiles?
Now that you’ve picked tiles suited to moisture-prone areas, you’ll want replacements to blend seamlessly with the existing floor.
Match pile direction and pattern repeat by orienting new tiles identically to surrounding ones. Dry-fit before adhering, trim edges for tight seams, and stagger joins to mimic original layout.
Blend by swapping several tiles across the area to avoid a single patch.
What warranties or manufacturer specs should I check?
Before you install replacement carpet tiles, check the manufacturer’s warranty and product specifications so you know what’s covered, how long coverage lasts, and any installation or maintenance conditions that could void it.
Confirm stain, wear, and colorfastness coverage, recommended adhesives or seams, moisture and warranty territorial limits, and required cleaning methods.
Keep receipts and register the product to preserve claims.