How to Remove Thinset From a Concrete Floor the Easy Way
You can remove thinset from concrete the easy way by combining hand scraping, power tools, and dust control. Start by evaluating the thinset thickness and cracking, wear PPE, and clear the area. Pry loose bits with a chisel, then use an oscillating tool or floor scraper for small spots. For larger areas switch to a grinder with a diamond cup wheel while running a HEPA vacuum or wet method to limit dust. Keep going for tips on tools, safety, and shortcuts.
Quick Answer Easiest Way to Remove Thinset from a Concrete Floor
The quickest reliable way is to chip or grind stubborn thinset with a hammer and chisel or an angle grinder for large areas, using chemicals only for thin, stubborn residue.
You’ll pick mechanical removal when the thinset is thick or covers a lot of square footage, and choose a chemical stripper for small patches or to avoid heavy dust.
Always wear PPE and test a small area before committing to a full method.
One-sentence summary of the fastest effective method
Start by scoring and grinding the thinset with an angle grinder fitted with a diamond cup wheel—it’s the fastest, most effective way to strip stubborn mortar from concrete.
Then finish with a concrete grinder or floor scraper for a smooth, clean surface.
For how to remove thinset from concrete floor, work in passes, keep dust controlled, wear PPE, and check progress to avoid overcutting.
When to choose mechanical vs. chemical removal
If you’ve decided to grind off most of the thinset, you’ll next weigh whether to keep using mechanical methods or switch to chemicals based on the remaining residue, area size, and indoor conditions.
Choose mechanical for thick, bonded patches and open areas; pick chemical for thin residue, tight spots, or when dust control matters.
- Residue thickness
- Area size
- Ventilation
- Time constraints
Basic Understanding What Is Thinset and Why It Matters
Thinset is a cement-based mortar mixed with sand and polymers that chemically bonds to concrete and tiles, so you’ll want to know its composition and how it adheres before you start.
You’ll commonly remove thinset when tearing out tile or prepping a floor for resurfacing. If you do the job wrong you can scar the slab or expose yourself to dust and chemical hazards, so plan the method and safety measures carefully.
What thinset is (composition and how it bonds to concrete)
Think of thinset as a gritty glue: it’s a cement-based mortar mixed with sand and polymers that chemically bonds tiles to concrete and creates a rigid, durable layer you’ll have to remove if tiles come up.
It cures by hydration, forming crystalline bonds with concrete pores while polymers improve flexibility and adhesion.
You’ll encounter a dense, abrasion-resistant residue that’s mechanically and chemically bonded.
Common situations where thinset needs removal (tile removal, resurfacing)
When you pull up tile, recoat a slab, or repurpose a floor, you’ll often have to remove hardened thinset first; its cementitious grip and polymer additives make it resistant to simple scraping.
You encounter this after tile removal, before applying a leveling compound, when installing new flooring, or prepping for epoxy.
Knowing when to remove thinset saves time and guarantees new coverings bond properly.
Risks of improper removal (damage to concrete, health/safety concerns)
Because thinset bonds so tightly and often hides beneath tiles, removing it improperly can seriously damage the concrete substrate and create health and safety hazards.
You’ll avoid problems by knowing the risks and using proper tools and PPE.
- Surface gouging or pitting
- Structural weakening around edges
- Silica dust inhalation
- Trips, cuts, and tool injuries
Assessing the Job How to Evaluate Your Concrete Floor
Start by identifying the thinset’s thickness, type, and how much of the floor it covers so you know what removal method will work.
Inspect the concrete for cracks, hollow spots, or existing coatings that could affect adhesion or require repair.
Gather the assessment tools and PPE—flashlight, chisel, hammer, moisture meter, dust mask, gloves, and eye protection—before you begin.
Identify thinset thickness, type, and coverage
Before you pick up any tools, take time to identify how thick the thinset is, what type it is, and how much of the floor it covers.
Scrape a small test area to gauge thickness, note whether it’s cement-based, epoxy, or mastic, and map coverage.
That informs tool choice, effort, and disposal needs so you can plan efficiently.
Check substrate condition (cracks, hollow spots, existing coatings)
Walk the surface carefully and tap it with a mallet or the handle of a screwdriver to locate cracks, hollow spots, or delaminated areas.
Mark damaged zones and note hairline versus structural cracks.
Check for existing coatings, paint, or sealers that may bond to thinset.
Assess moisture staining and efflorescence.
This helps determine removal method, repair needs, and whether substrate leveling or patching is required.
Tools and PPE needed for assessment

Now that you’ve identified damaged areas and surface conditions, gather the right tools and personal protective equipment so you can assess the floor safely and accurately.
You’ll need basic gear to inspect, measure, and plan removal without risking injury.
- Hammer and chisel for spot testing
- Straightedge and tape measure
- Moisture meter and scraper
- N95 respirator, gloves, goggles
Primary Method Step-by-Step Mechanical Removal (Recommended Easy Way)
Before you start, clear the area, put on PPE, and plan for dust control and disposal.
Begin by scraping up loose tile and thinset with hand tools, then switch to a floor scraper or oscillating tool for stubborn patches.
For very thick adhesive use a rotary hammer or jackhammer, finishing with a grinder and diamond cup wheel to smooth the surface.
Step 1: Prepare the area and safety precautions
Although the job’s messy, you can make it manageable by clearing the space and taking basic safety steps first: remove furniture and debris, seal off adjoining rooms with plastic sheeting, lay down drop cloths, and put on safety goggles, a respirator rated for dust, gloves, and knee pads.
- Guarantee ventilation and close HVAC vents.
- Inspect tools and extension cords.
- Mark trip hazards.
- Keep a fire extinguisher nearby.
Step 2: Remove loose tile and thinset remnants by hand tools (scrapers, chisels)
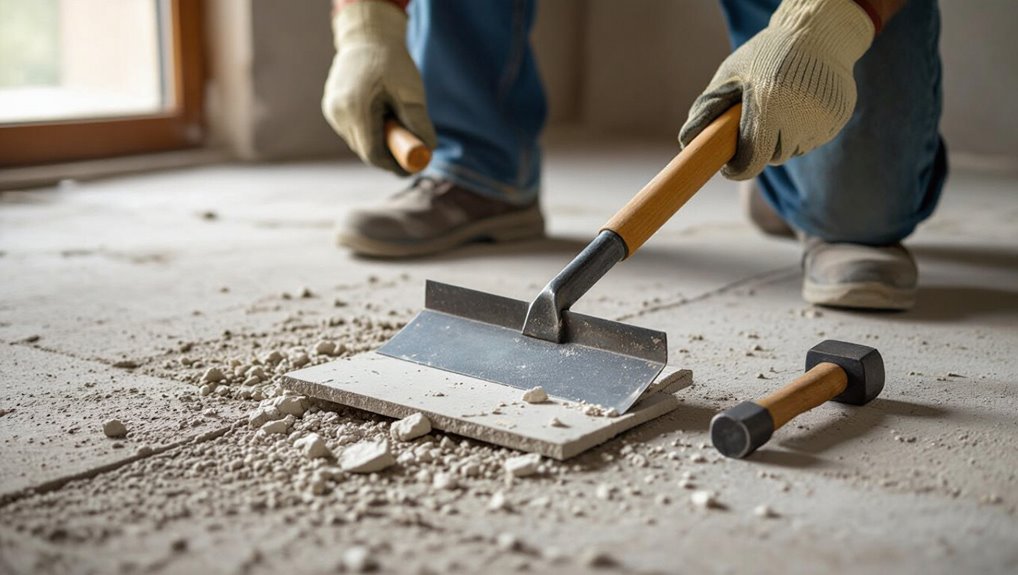
With the room prepped and safety gear on, it’s time to tackle loose tiles and thinset remnants using hand tools.
You’ll work methodically, prying tiles, chiseling ridges, and keeping debris contained.
- Pry up loose tiles with a flat bar.
- Score edges with a utility knife.
- Chip residual thinset with a cold chisel.
- Sweep and vacuum debris frequently.
Step 3: Use a floor scraper or hand-held oscillating tool for thinset removal
Start by choosing the right tool for the job: a long-handled floor scraper for large areas or a hand-held oscillating multi-tool with a carbide or diamond blade for tighter spots and edges.
Use steady, overlapping passes, keep the blade flat, and clear debris frequently.
Follow this quick checklist:
- Wear PPE (eye, ear, dust mask)
- Test blade angle
- Work inward to outward
- Pause to clear dust
Step 4: Use a rotary hammer or jackhammer for heavy or thick thinset
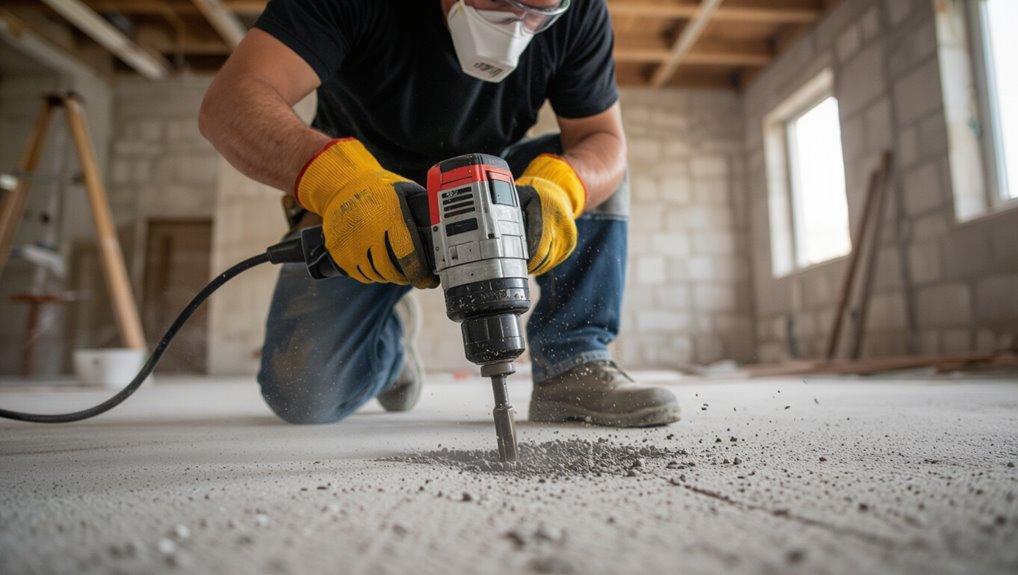
Switch to a rotary hammer or jackhammer when thinset is stubbornly thick or bonded; these tools deliver the power you need to chip away large patches quickly and with less effort than manual scraping.
Use proper PPE, choose a chisel bit, control depth, and work systematically.
- Wear eye, ear, and dust protection.
- Fit a sharp chisel bit.
- Set manageable impact.
- Remove debris frequently.
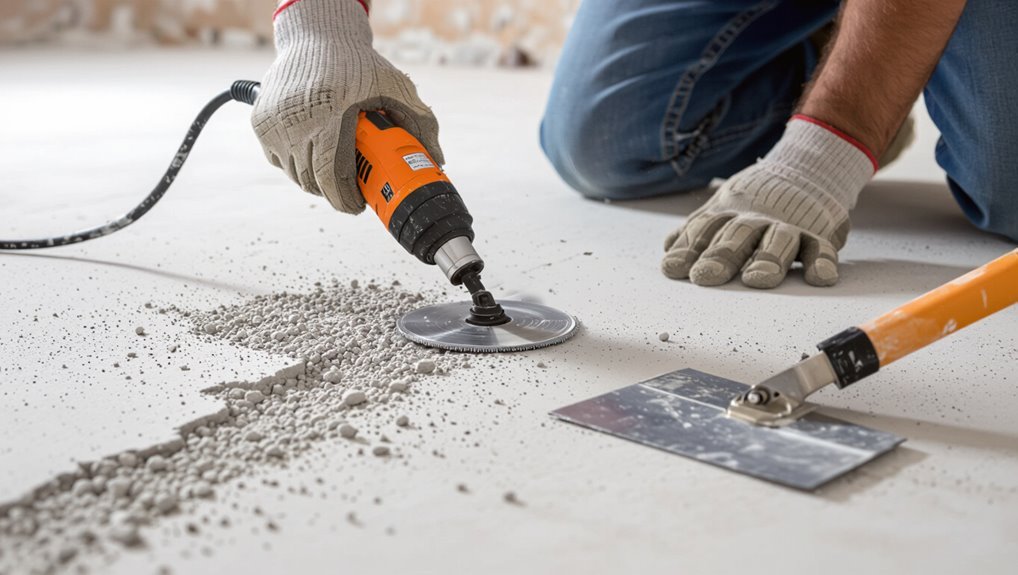
Step 5: Final smoothing: use grinder with diamond cup wheel or floor grinder
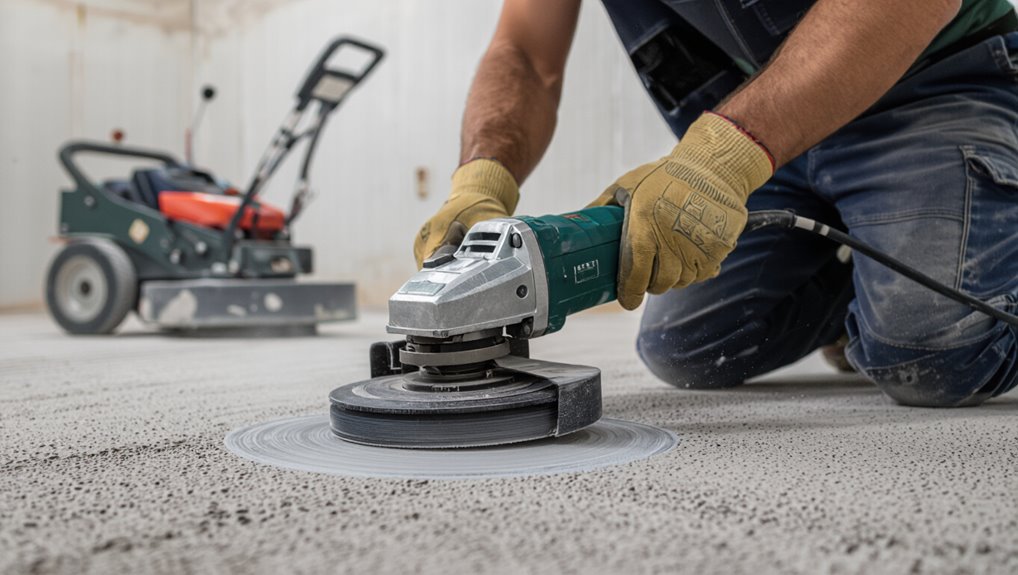
Finish the job by grinding the concrete to a smooth, even surface using a handheld grinder with a diamond cup wheel for small areas or a ride-on/ walk-behind floor grinder for larger jobs.
- Choose wheel grit appropriate to remaining thinset.
- Make overlapping passes for uniformity.
- Keep grinder moving to avoid gouges.
- Inspect frequently and switch to finer grit for final polish.
Step 6: Clean-up and dust control (shop vacuum, HEPA, disposal)
Once you’ve smoothed the surface with the grinder, plan for cleanup and dust control before you bring in other trades or materials.
Use a HEPA-equipped shop vacuum and seal vents to limit spread. Follow local disposal rules for fine concrete waste and rinse minimally.
- HEPA vacuum
- Seal openings
- Wet-sweep or mist
- Proper disposal and labeling
Alternative Method Chemical and Heat-Assisted Removal
If the thinset’s too stubborn or mechanical removal would damage the slab, you’ll consider chemical strippers or a heat gun as alternatives.
Common options include alkaline or acidic thinset removers and solvent-based products that break down cementitious bond, plus heat to soften residue — each requires proper dwell time, neutralization, and safety gear.
We’ll compare how they work, safe application steps, and the pros and cons versus mechanical methods.
When to consider chemical strippers or heat guns
When mechanical methods won’t budge stubborn thinset or you’re dealing with large areas where grinding would be slow and dusty, consider chemical strippers or a heat gun to soften the adhesive first.
Use them when mechanical removal risks damaging concrete, when thinset is thin but tenacious, or when you need faster cleanup.
Always ventilate, test a small area, and follow safety instructions.
Common chemicals for thinset and how they work
Chemicals like acid-based removers, alkaline cleaners, and specialty thinset strippers can soften or dissolve the bond so you can scrape or heat-remove the residue more easily.
- Acid-based: etches and weakens mineral bonds.
- Alkaline: breaks organic additives and softens cured mortar.
- Solvent blends: swell polymers in modified thinset.
- Enzymatic/biodegradable: gentler action for light residue, slower effect.
Safe application, dwell time, and neutralization
Two key precautions will keep you safe and get the best results: apply products sparingly and follow precise dwell times, then neutralize thoroughly before cleanup.
Wear chemical-resistant gloves, eye protection, and a respirator.
Test a small area first, monitor dwell time per label, then rinse with recommended neutralizer and plenty of water.
Dispose of runoff safely and ventilate until surfaces are dry.
Pros and cons compared to mechanical methods
You’ve taken care to apply products safely and neutralize properly, so now compare chemical and heat-assisted removal against mechanical methods. You’ll find chemicals are gentler on concrete and quieter, but slower and hazardous; heat is fast for stubborn spots yet risks damage and burns. Mechanical is fastest but dustier and noisy.
| Method | Speed | Risk |
|---|---|---|
| Chemical | Slow | Moderate |
| Heat | Fast | High |
Hybrid Strategies Combining Methods for Efficiency
Start by using a chemical pre-soak to soften large areas, then follow with mechanical scraping or a grinder for fast, controlled removal.
For corners, grout lines, and uneven spots, switch to hand tools or a rotary brush to reach tight spaces without damaging the slab.
You’ll save time and effort by matching the method to the surface condition as you work.
Best sequences: chemical pre-soak + mechanical scraping
Combine a chemical pre-soak with targeted mechanical scraping to dissolve and loosen thinset, then remove it efficiently without overworking the concrete.
Apply solvent per directions, wait recommended dwell time, then score and scrape softened areas with a chisel or scraper.
Work in small sections, reapply where needed, rinse residue, and inspect frequently to avoid etching.
Finish with a neutralizer and clean water.
Tackling thinset in corners, grout lines, and uneven areas
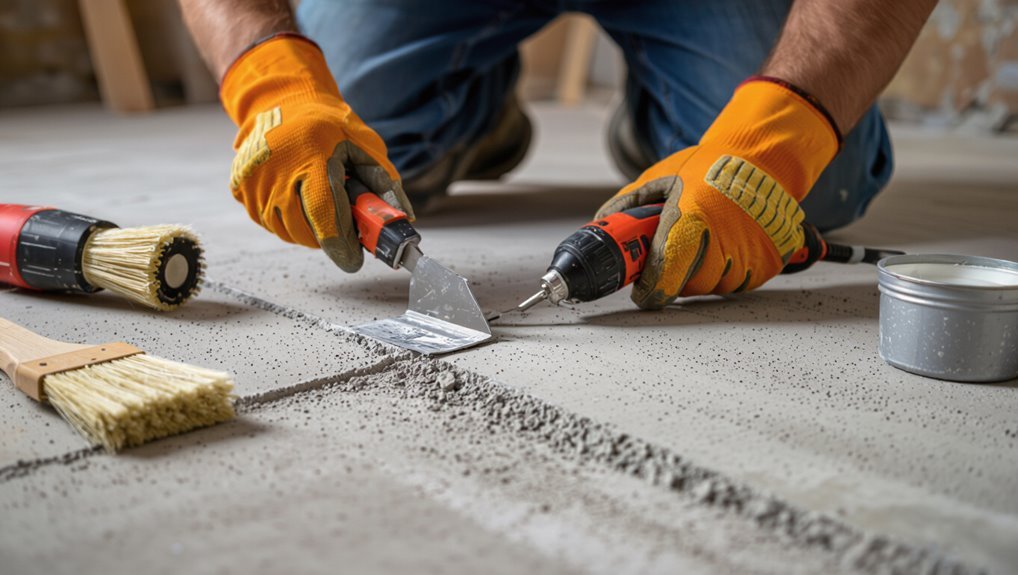
When you tackle thinset in corners, grout lines, and other uneven spots, pair small, precise tools with a focused chemical pre-soak so you dissolve adhesive where power tools can’t reach.
Use targeted techniques to finish edges cleanly and minimize surface damage.
- Apply solvent with a brush
- Let soak per label
- Scrape with grout tool
- Rinse and inspect
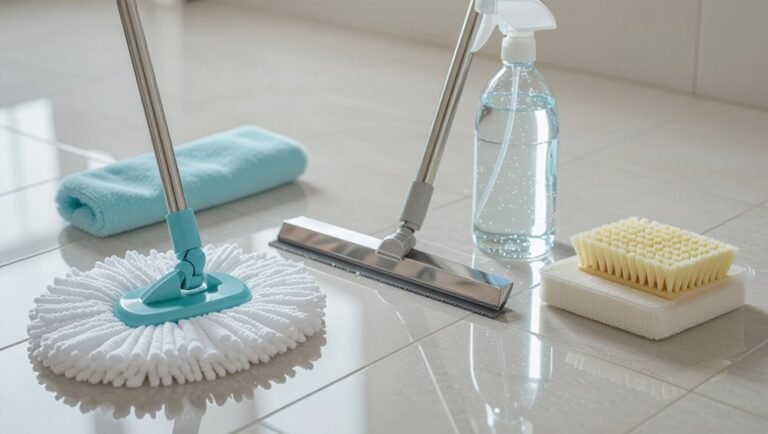
Tools and Equipment Guide
You’ll start with essential handhelds like scrapers, chisels, and an oscillating multi-tool for tight spots and light residue.
For heavier jobs bring power equipment—floor scrapers, rotary hammers, grinders—and a dust extractor to keep the site safe and clean.
Match tools to the job size and thinset hardness so you don’t waste time or damage the slab.
Essential handheld tools (scrapers, chisels, oscillating multi-tool)
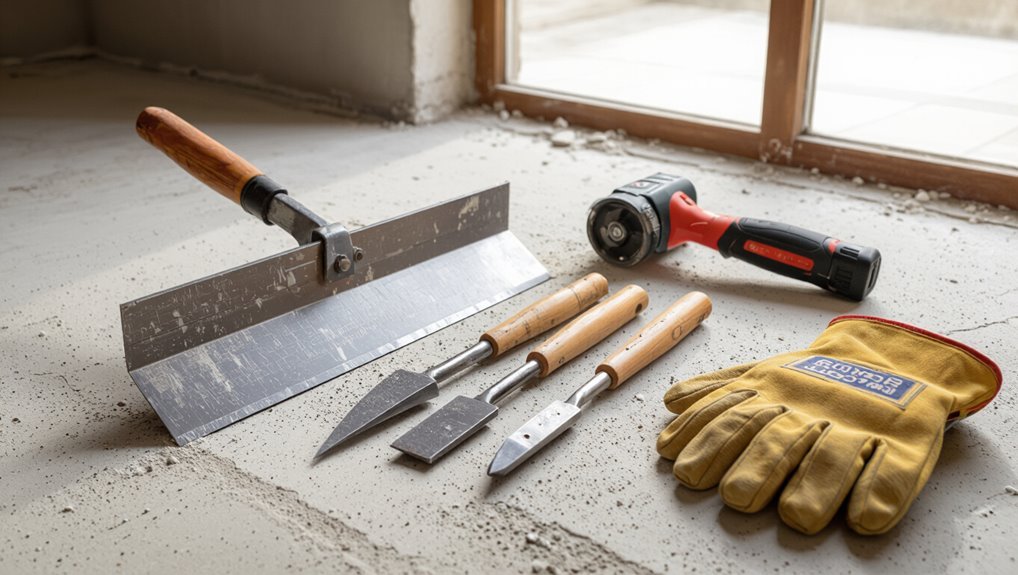
A few handheld tools will make thinset removal faster and cleaner: sturdy floor scrapers for broad swaths, chisels and cold chisels for stubborn spots and grout lines, and an oscillating multi-tool for precision work around edges and fixtures.
- Choose a sharp floor scraper for speed.
- Use a hammer and chisel for cured patches.
- Keep cold chisels for grout lines.
- Fit carbide blades on your oscillating tool.
Power equipment (floor scraper, rotary hammer, grinder, dust extractor)
Gear up with the right power tools to turn hours of manual scraping into a few efficient passes: a walk-behind floor scraper for large areas, a rotary hammer with chisel bits for thick, stubborn thinset, an angle grinder with diamond cup wheels for leveling and smoothing, and a dust extractor to control silica-laden dust and keep the worksite clean.
- Floor scraper
- Rotary hammer
- Angle grinder
- Dust extractor
Tool selection by job size and thinset hardness
Now that you’ve seen the core power tools, match them to the scope of your job and the hardness of the thinset to avoid over- or under‑equipping yourself. For small soft thinset use scrapers; medium jobs need grinders; large or hard epoxy thinset require rotary hammers and dust extraction. Choose bits and PPE accordingly.
| Job size | Recommended tool |
|---|---|
| Small | Floor scraper |
| Large/hard | Rotary hammer + extractor |
Common Problems and How to Fix Them
You’ll run into stubborn thinset patches that need tougher methods without harming the concrete.
You’ll need to know how to repair any surface pitting or gouges that occur.
You’ll also want plans for containing excessive dust and cleaning up safely as you work.
Below we’ll cover specific techniques and products for each of these problems.
Stubborn thinset patches techniques to remove without damaging concrete
Tackle stubborn thinset patches carefully to avoid gouging or pitting the concrete underneath; you’ll want to identify whether the residue is just adhesive film, hardened mortar, or spots of cured thinset so you can pick the gentlest effective method.
Use a plastic scraper and stiff nylon brush, try diluted muriatic or citrus-based remover on a small area, then employ a floor grinder or oscillating tool with a diamond blade only if gentler methods fail.
Surface pitting or gouging repair options
If aggressive scraping or grinding to remove stubborn thinset left pits or gouges, you can repair them without replacing the slab.
Clean debris, then use a cementitious patch or polymer-modified repair mortar for shallow pits.
For deeper gouges, feather in a bonded concrete patch with a primer/bonder.
Smooth, cure per instructions, then sand or grind lightly to blend before any new flooring installation.
Excessive dust containment and cleanup strategies
When you grind or chip away thinset, dust will spread quickly unless you seal and control the work area; set up containment barriers, run a HEPA-filtered vacuum-attached grinder, and use negative air machines to keep dust from migrating.
Use these steps to control and clean up:
- Seal doorways and vents with plastic and tape.
- Run HEPA vacuums continuously.
- Employ negative air displacement.
- Wet-clean residual dust with microfiber mops.
Prevention and Best Practices
To prevent thick thinset from bonding to your slab again, use barrier layers or primers and follow manufacturer instructions.
You should also prep concrete properly before any new installation by cleaning, profiling, and repairing cracks.
After it’s clean, keep the surface in good shape with regular sweeping, occasional mopping, and prompt stain removal.
How to minimize future thinset adhesion (barrier layers, primers)
Because thinset bonds best to porous, rough concrete, you can cut future adhesion by sealing or covering the slab before re-tiling or installing other finishes.
Apply a concrete sealer, epoxy moisture barrier, or non-porous membrane to block penetration. Use manufacturer-recommended primers where needed.
Lay a decoupling membrane or underlayment to prevent direct contact.
Test adhesion on a small area first.
Preparing concrete properly before new installations
Sealing or adding a barrier is only part of the job; you also need to prepare the concrete properly before installing new finishes so they perform and last.
Inspect for cracks, high spots, and residual thinset; grind or patch uneven areas. Clean thoroughly, remove dust and oils, and check moisture with a meter.
Follow manufacturer substrate requirements before applying adhesives or coatings.
Routine maintenance tips for cleaned concrete floors
1 simple routine will keep cleaned concrete floors looking and performing their best: sweep or dust-mop daily to remove grit, vacuum weekly with a soft-brush attachment, and damp-mop as needed with a pH-neutral cleaner to avoid dulling or etching the surface.
- Wipe spills immediately.
- Use felt pads on furniture.
- Reapply sealer as recommended.
- Avoid harsh chemicals and abrasive tools.
Cost, Time, and Effort Estimates
Expect small jobs to take a few hours, medium jobs a day or two, and large jobs several days of steady work, with labor scaling accordingly.
Compare tool rental versus purchase costs—renting grinders or jackhammers can save money for one-offs, while buying pays off if you’ll use them again.
If the job exceeds your time, tool access, or comfort with dust and noise, hire a pro; otherwise follow a DIY checklist for safety, prep, and cleanup.
Typical time and labor for small, medium, and large jobs
Small jobs—like removing thinset from a single bathroom or a 30–50 sq ft patch—usually take a half-day to a day and you can often do the work yourself with hand scrapers or a small rotary chisel; medium jobs (100–300 sq ft) take 1–2 days and may need power tools, while large jobs (500+ sq ft) often take several days and crew help.
| Job size | Time |
|---|---|
| Small | 0.5–1 day |
| Medium | 1–2 days |
| Large | 2–5+ days |
| Crew | 1–3 people |
Estimated tool rental vs. purchase costs
Deciding whether to rent or buy tools comes down to how often you’ll use them, the size of your job, and your budget; for a one-off small project it’s usually cheaper to rent, while frequent or large jobs can justify buying.
Expect grinder rental $40–60/day, scarifier $100–200/day; buy grinders $150–400, scarifiers $1,200+.
Factor in blades, discs, PPE, and transport.
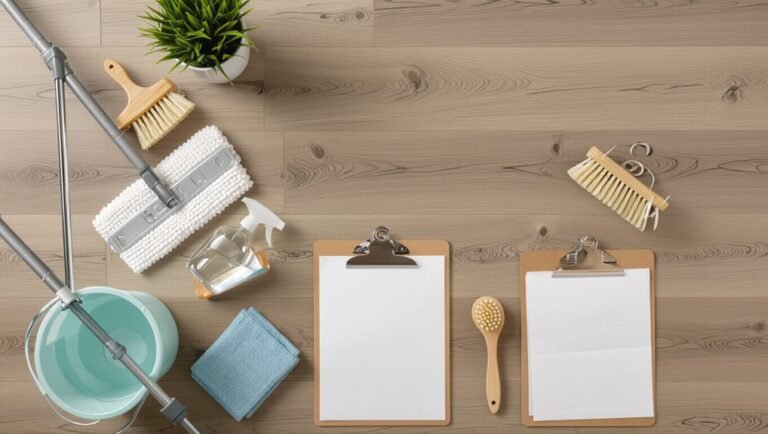
When to hire a pro vs. DIY checklist
If you’re weighing whether to hire a pro or tackle thinset removal yourself, focus on cost, time, and physical effort:
- Budget: compare contractor quotes vs. rentals and supplies.
- Timeline: pros finish faster; DIY takes longer with learning curve.
- Labor: expect heavy, repetitive work and fatigue when DIY.
- Risk: pros reduce damage and guarantee proper surface prep for new flooring.
FAQ Removing Thinset from Concrete Floors
You’ll probably have a few practical questions before you start, like how long removal takes for an average room and whether you’ll damage the concrete.
You’ll want to know if harsh chemicals or grinding without dust control are safe or effective.
Finally, you’ll need clear steps for preparing the floor for new tile or a coating after the thinset is gone.
How long does removal take for an average room?
How long does thinset removal take for an average room?
It usually takes a day or two for a typical 10×12 ft room if you’re working solo with handheld tools.
Expect 4–8 hours of active work plus breaks and cleanup.
Using a grinder or hire a pro can cut time substantially; prep, ventilation, and debris removal add to total duration.
Will removing thinset damage my concrete?
After estimating time, you’ll want to know whether scraping or grinding thinset will harm the slab underneath.
Minor surface scuffs or shallow gouges can occur if you’re heavy-handed or use aggressive grinders. Work gently, use appropriate diamond cups, and progress gradually.
Small repairs and patching compound can restore any defects; major damage is avoidable with care and the right tools.
Can I use muriatic acid or other household chemicals to remove thinset?
Can you use muriatic acid or common household chemicals to dissolve thinset? You can, but it’s usually ineffective and risky.
Muriatic acid may etch concrete, release toxic fumes, and won’t fully dissolve modern polymer-modified thinset. Household cleaners won’t work.
If you try acid, use proper PPE, ventilation, neutralize afterward, and test a small area first.
Mechanical methods are typically safer and more effective.
Is it safe to grind thinset without dust control?
Seriously, don’t grind thinset without dust control — you’ll stir up a cloud of silica-laden dust that can seriously harm your lungs and contaminate the whole work area.
You should always use a grinder with a HEPA-filter vacuum, wear an N95 or P100 respirator, seal off adjoining spaces, and wet-cut when possible.
Shortcuts risk chronic silicosis and costly cleanup.
How do I prepare the floor for new tile or coating after removal?
When the thinset’s gone, you’ll still need to make the slab flat, clean, and chemically compatible with whatever tile or coating you’re installing; that means addressing residual adhesive, feathered edges, grout haze, and any surface contaminants.
Then checking for level, cracks, and moisture so you can choose the right primer, patch, or leveling product.
Clean, profile, repair cracks, test moisture, then apply primer or self-leveler as directed.