How to Clean Bathroom Tile Floors and Grout Without Scrubbing for Hours
You can get sparkling tile and grout in 15–30 minutes without hours of scrubbing by using simple no-scrub methods. Mix baking soda and hydrogen peroxide into a paste for grout, spray vinegar solution on tiles to loosen grime, or use a steam cleaner with a grout nozzle; let cleaners dwell, then wipe and rinse. For tougher stains, try enzyme or oxygen-bleach soaks, then seal grout when dry. Keep going to learn exact steps and tool tips.
How to Clean Bathroom Tile Floors and Grout Without Scrubbing for Hours (Quick Answer)
Use a mixture of baking soda and hydrogen peroxide to coat the grout, let it sit, then wipe or steam away—no hours of scrubbing needed.
You’ll lift most stains and brighten grout lines with a 15–30 minute dwell time plus a quick wipe or steam pass.
Expect noticeably cleaner tiles and grout without soreness or long effort.
One-sentence solution
Cutting cleaning time to minutes, you can loosen grime and lift dirt from tile and grout by misting a vinegar-water solution, letting it sit 5–10 minutes, then wiping with a microfiber mop or cloth and rinsing.
For a one-sentence solution to how to clean bathroom floor tile and grout, mix equal parts white vinegar and water, spray, wait briefly, then wipe and rinse.
What results to expect and how long it takes
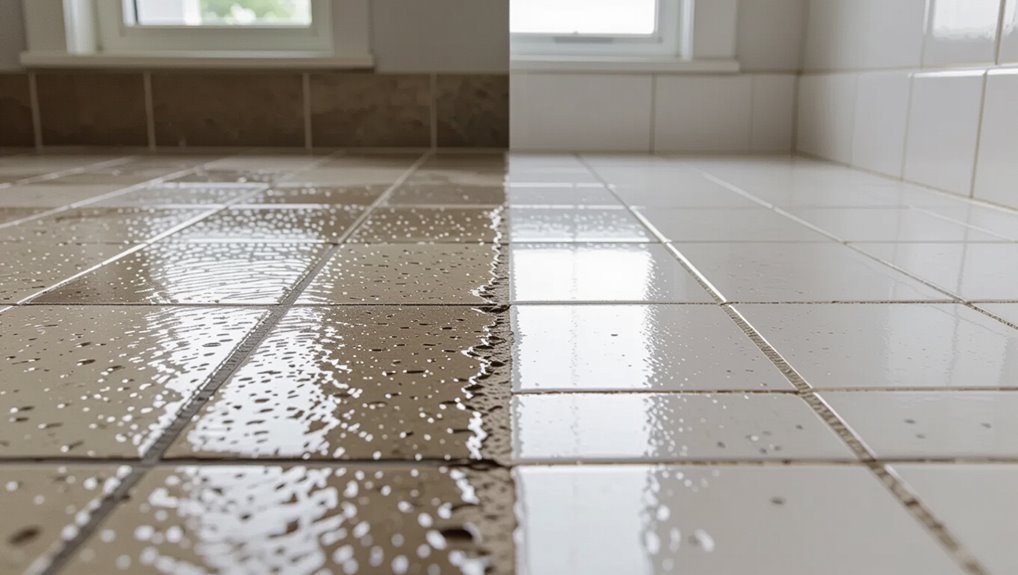
In about 15–30 minutes you can get visibly cleaner tile and grout without heavy scrubbing: you’ll remove surface grime, soap scum, and light discoloration, restoring shine and improving grout color.
Deep stains or decades-old mildew may need repeat treatments or targeted spot cleaning.
Expect faster drying and fresher smell immediately; full stain lifting can take a few treatments over several days.
Why Traditional Scrubbing Fails and When You Need a No-Scrub Method
You’ll notice grout and tile grime often comes from soap scum, hard water minerals, body oils, and mold that scrubbing can’t fully remove.
Sticky residues, mineral stains, and deep-set discoloration usually respond better to no-scrub cleaners or chemical treatments than hours of elbow grease.
If stains are widespread, the grout is crumbling, or mold keeps returning, call a professional for assessment and safety.
Common causes of tile and grout grime
Although regular mopping helps, tile and grout still attract grime from soap scum, hard water minerals, body oils, and mold spores that settle into porous grout lines and textured tiles.
You track in dirt, humidity fuels mildew, and residues build with each shower.
Over time those deposits darken grout and dull tile, resisting quick cleaning and calling for targeted, less laborious methods.
Types of stains best treated without heavy scrubbing
Those stubborn residues and mildew that resist regular mopping often don’t yield to brute-force scrubbing either; scrubbing can grind abrasive particles into porous grout, wear away sealers, and spread mildew spores across tiles.
You’ll prefer no-scrub methods for soap scum, light mold/mildew, mineral deposits, and oily residues.
Enzyme cleaners, descalers, and steam break bonds without damaging grout or coatings.
When to call a professional instead
If heavy stains, deep grout discoloration, or recurring mildew keep coming back despite no-scrub treatments, it’s time to call a professional.
You should hire an expert when damage, porous grout, or persistent biofilm resists safe cleaners, or when tile sealing, steam extraction, or grout replacement are needed.
A pro saves time, prevents damage, and restores long-term cleanliness efficiently.
What You’ll Need: Tools, Cleaners, and Safety Prep
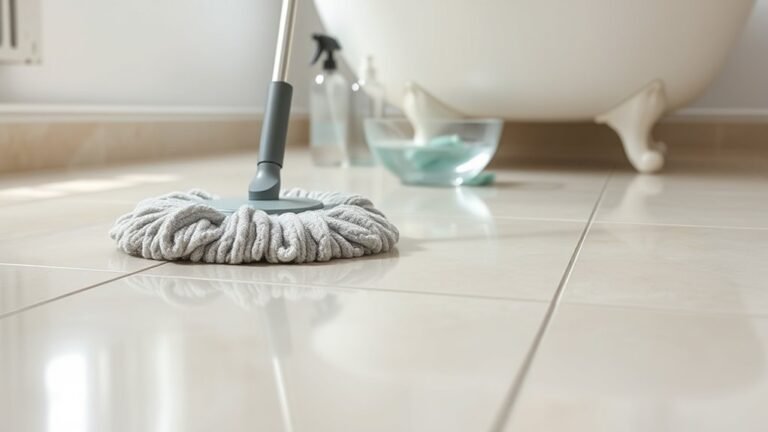
You’ll want the right no-scrub tools—steam cleaners, spin mops, microfiber pads, and sprayers—to loosen dirt without heavy scrubbing.
Pair those with effective cleaners, whether a simple homemade vinegar solution or a commercial no-rinse formula, depending on your tile and grout.
Don’t forget safety gear like gloves and goggles and to ventilate the room while you clean.
Recommended no-scrub tools and machines (steam cleaners, spin mops, microfiber, sprayers)
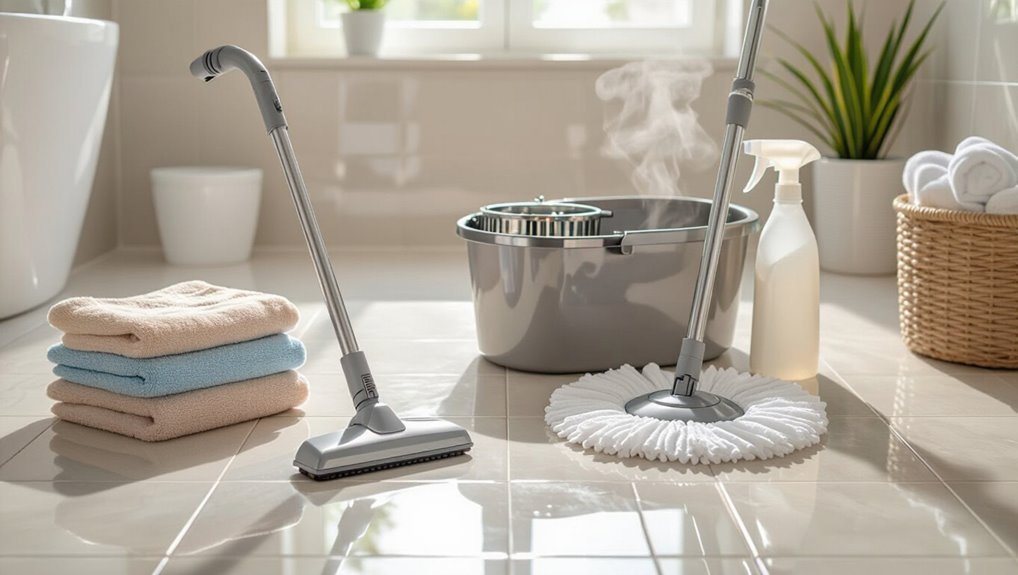
Skip the elbow grease—no-scrub tools and machines let you clean tile floors with minimal effort while still getting grout and grime under control.
You’ll want reliable gear that loosens dirt and lifts it away without harsh scrubbing:
- Steam cleaner — sanitizes and softens grime.
- Spin mop — centrifugal wringing, hands-free.
- Microfiber pads — trap particles, no streaks.
- Pump sprayer — even pre-wetting for efficiency.
Effective no-scrub cleaning solutions (homemade and commercial)
When you want fast, no-scrub results, pick cleaners that dissolve grime and lift it with your tools—steam, spin mops, or microfiber pads—so you don’t have to scrub.
Use pH-appropriate options: mild vinegar mixes for ceramic, baking soda spot paste, enzymatic degreasers for soap scum, or commercial tile sprays. Choose one that matches tile/grout type.
- Vinegar mix
- Baking soda
- Enzymatic
- Tile spray
Safety gear and ventilation tips
After choosing a no-scrub cleaner that’s safe for your tile and grout, prepare appropriate safety gear and ventilation so you can work without irritation or risk.
Open windows, run an exhaust fan, and use a box fan to direct fumes outside.
Wear gloves, safety glasses, and a mask rated for chemical vapors if needed.
Keep pets and kids away until surfaces dry.
Quick-Start Method: Fast No-Scrub Cleaning Routine (Step-by-Step)
Start by clearing loose debris with a vacuum or dry mop so cleaners can work effectively.
Apply the right cleaner or enzyme solution and let it sit for the recommended time, then use a steam cleaner or low-effort mechanical tool to lift grime.
Finish by wiping and rinsing with a microfiber mop or cloth, then dry and inspect the tiles for any spots that need spot treatment.
Step 1 Clear and pre-vent loose debris (vacuum or dry mop)
Kick up any loose grit and hair with a quick vacuum or dry mop so your cleaning solution won’t get clogged or turn into mud on the grout lines.
Then follow these steps:
- Start at the far corner and work toward the door.
- Use a soft brush attachment for grout edges.
- Empty the vacuum canister outdoors.
- Inspect for stuck debris and remove by hand.
Step 2 Apply appropriate cleaner or enzyme solution and let dwell (timing guidelines)
1. Choose a cleaner suited to your tile: pH-neutral for natural stone, mild alkaline for ceramic/porcelain, or an enzyme formula for organic grime.
Spray or pour evenly, focusing grout lines. Let it dwell per label—usually 5–15 minutes for cleaners, 15–30 minutes for enzymes.
Don’t let strong solutions sit on sensitive stone; rinse residue promptly after dwell time.
Step 3 Use steam cleaner or low-effort mechanical tool to lift dirt
Grab a steam cleaner or a low-effort mechanical tool—like a spin mop with a microfibre pad or a powered grout brush—and work methodically across the floor to lift loosened dirt and grime.
Move in overlapping passes, keep strokes aligned with grout lines, and avoid pressing too hard.
Empty or clean pads frequently to prevent redepositing soil and maintain consistent suction or agitation.
Step 4 Wipe and rinse with microfiber mop or cloth
Once the steam cleaner or spin mop has lifted the loosened grime, finish by wiping and rinsing the floor with a clean microfiber mop or cloth to remove residue and moisture.
Work in sections, rinsing the microfiber frequently in clean water and wringing well.
Flip or replace the pad when soiled, ensuring you remove remaining cleaner and loosened dirt before moving to the next area.
Step 5 Drying and final inspection
After you’ve wiped and rinsed each section, dry the floor thoroughly with a clean microfiber cloth or dry mop pad to prevent water spots and slipping hazards.
Move methodically from one corner to the exit, checking grout lines and tile edges for residue or missed spots.
Rewipe any damp areas, inspect for streaks, and let air circulate briefly before replacing bath mats and returning items.
Deep No-Scrub Grout Cleaning Options (When Quick Method Isn’t Enough)
If the quick method doesn’t lift stubborn grime, you can try enzyme or oxygen-bleach soaks—follow label dwell times and ventilate the room for safety.
Steam cleaning can loosen and lift grout residue quickly if you use the right nozzle and go slowly to avoid dislodging tiles.
For a low-effort mechanical option, consider a rotary grout-cleaning attachment or small machine to scrub consistently without heavy elbow grease.
Enzyme and oxygen bleach soak techniques (dwell times and safety)
When scrubbing won’t do the job, enzyme products and oxygen bleach offer a deep, no-scrub soak that breaks down organic grime and lifts stains from grout without harsh chemicals.
You’ll apply per label, keep area well-ventilated, and let enzymes dwell 30–60 minutes; oxygen bleach usually needs 15–30 minutes.
Rinse thoroughly, test a hidden spot first, wear gloves, and avoid mixing with ammonia or chlorine.
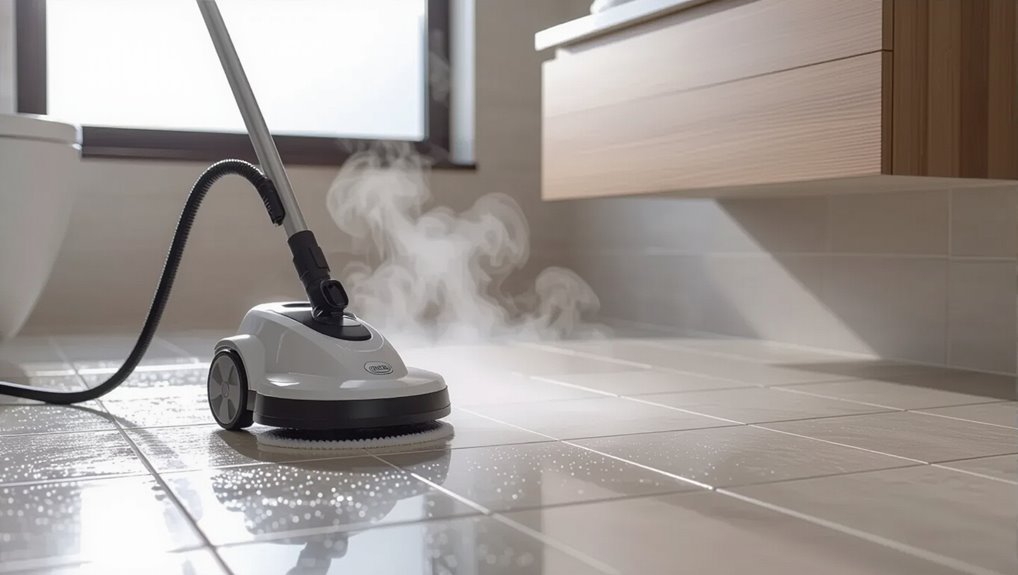
Steam-cleaning grout: tips for best results
Want a deep, chemical-free grout refresh? Use a handheld steam cleaner with a narrow nozzle, move slowly, and hold steam a few seconds per spot to loosen grime.
Pre-vacuum loose debris and test a hidden area for finish safety. Wipe loosened soil with microfiber and change pads often.
Ventilate the room and avoid excessive heat on fragile grout or sealed stone.
Rotary grout-cleaning attachments and low-effort machines
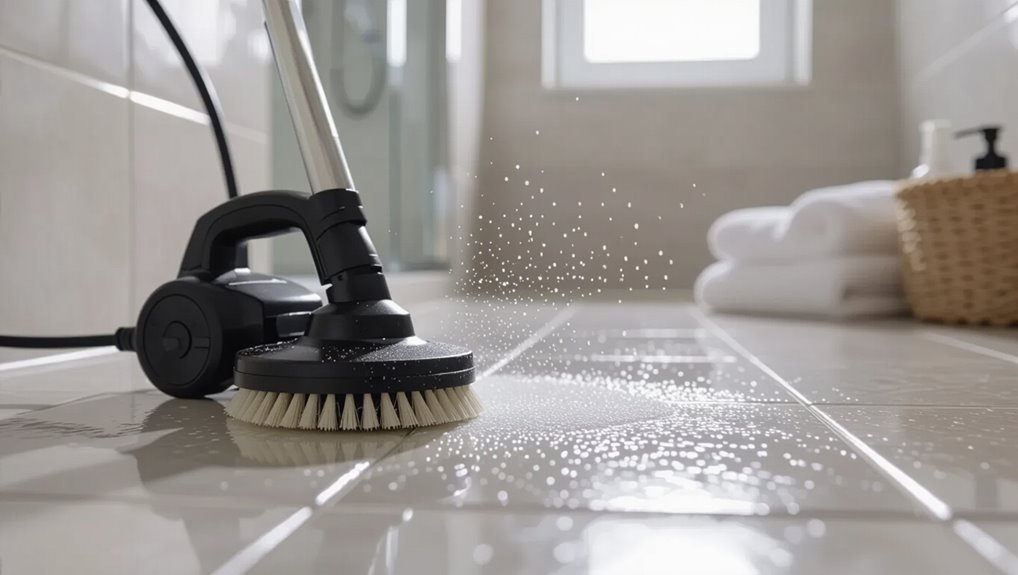
Steam cleaning loosens grime well, but for really stubborn or widespread grout buildup you’ll appreciate tools that do the scrubbing for you.
Use rotary grout-cleaning attachments on a drill or dedicated handheld grout cleaners with spinning brushes to save time and effort.
Pick medium-bristle heads, apply a grout-safe cleaner, work in short passes, and rinse.
Replace worn brushes for consistent results.
Natural and DIY Cleaners That Work Without Scrubbing
You can tackle grime without scrubbing by choosing the right DIY cleaner—vinegar for mineral buildup, baking soda for gentle abrasion, and hydrogen peroxide for whitening and disinfecting.
Mix each solution in proper ratios (for example, 1:1 water and vinegar, a paste of baking soda and water, or 3% hydrogen peroxide undiluted for spot treatment) and apply safely with gloves and good ventilation.
Match cleaner to tile and stain type—avoid vinegar on natural stone, use baking soda for greasy residues, and save peroxide for grout stains and mold.
Vinegar-based vs. baking soda vs. hydrogen peroxide approaches
Three simple DIY options—vinegar, baking soda, and hydrogen peroxide—can lift grime from bathroom tile without heavy scrubbing, but they work differently and suit different stains. You’ll choose based on mineral deposits, grease, or mold.
| Cleaner | Best for |
|---|---|
| Vinegar | Mineral deposits, light soap scum |
| Baking soda | Abrasive grease lift |
| Hydrogen peroxide | Whitening grout, mildew |
How to mix and apply homemade solutions safely
When you mix DIY cleaners, measure ingredients and label containers so you know what’s safe to use where.
Wear gloves, eye protection, and ventilate the room.
Never mix bleach with ammonia or acids.
Test solutions on a small hidden spot before full application.
Use plastic spray bottles, rinse tools after use, and store mixtures away from children and pets with clear instructions.
Best uses for each DIY cleaner (tile type, stain type)
Although different DIY cleaners can tackle many messes, matching the solution to your tile and the stain type gets the best results with minimal scrubbing.
Use vinegar solution on glazed ceramic for soap scum, avoid acid on natural stone.
Baking soda paste lifts grout stains gently.
Hydrogen peroxide brightens grout and removes organic stains.
Mild dish soap handles routine dirt on porcelain and vinyl.
Best Commercial Products & Machines for No-Scrub Results
You’ll want to compare consumer steam cleaners and electric mops by steam temperature, water tank size, run time, and head design to know which will actually lift grime without scrubbing.
Look for top-rated grout and tile cleaners that list active ingredients like hydrogen peroxide, sodium percarbonate, or diluted acids for stubborn stains.
If your tile is heavily soiled, large area, or you need a deeper commercial-grade clean, consider renting professional machines instead of relying on consumer models.
Consumer steam cleaners and electric mops (key features to look for)
Consumer steam cleaners and electric mops cut through grime with heat and agitation, so you can get near–no-scrub results on tile floors.
You’ll want models that heat fast, offer adjustable steam or vibration, have washable pads, and include handheld attachments. Choose based on floor compatibility and tank size.
- Heat control
- Pad quality
- Tank capacity
- Attachments
Top-rated grout and tile cleaning solutions (active ingredients)
Steam cleaners and electric mops handle a lot of the heavy lifting, but stubborn grout stains often need chemical help to finish the job—especially where mold, mildew, or deep-set soap scum remain. You’ll want oxygen bleach, hydrogen peroxide, or diluted acids for mineral deposits; enzymatic formulas tackle organic grime. Choose pH-appropriate cleaners for your tile.
| Active Ingredient | Best For | Note |
|---|---|---|
| Oxygen bleach | Grout whitening | Safe on most tiles |
| Hydrogen peroxide | Mold/mildew | Oxygenates stains |
| Mild acid | Hard water scale | Use cautiously |
| Enzymes | Organic residue | Gentle on grout |
| Alkali cleaner | Soap scum | Rinse thoroughly |
When to choose professional rental equipment
When grout is caked with years of dirt, mineral buildup, or persistent mildew that household tools can’t budge, it’s time to rent professional equipment for true no-scrub results.
Choose rental extractors, heated steam cleaners, or floor machines with rotary scrubbing heads when stains resist chemicals, covers are large, or you need faster turnaround.
Wear PPE, follow instructions, and test a small area first.
Mistakes to Avoid When Trying to Clean Without Scrubbing
Don’t grab a cleaner without checking if it’s safe for your tile—natural stone, ceramic, and porcelain need different formulas.
Don’t overuse acidic or abrasive products, shorten dwell time, or skip rinsing, because those shortcuts can leave residues or etch surfaces.
Also avoid high heat or harsh attachments that can damage grout and compromise your floor.
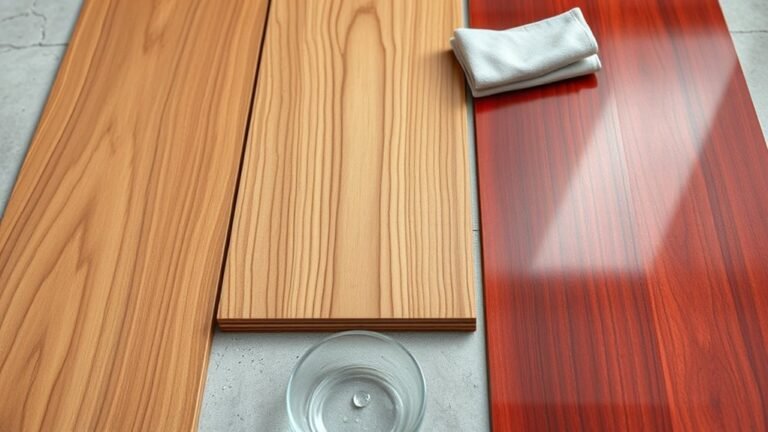
Using the wrong cleaner for your tile type (natural stone, ceramic, porcelain)
Because different tiles react to cleaners in different ways, using the wrong product can damage finishes or leave dull, etched surfaces.
Check whether your floors are natural stone, ceramic, or porcelain before you clean.
Use pH-neutral stone cleaner for marble/granite, mild detergent for ceramic, and gentle, nonabrasive products for porcelain.
Test a small area first to avoid costly mistakes.
Overusing acidic or abrasive products
If you lean on acidic or gritty cleaners to skip scrubbing, you can end up doing more harm than good: they strip sealants, etch natural stone, and wear down glazes over time.
You should choose pH-safe, manufacturer-recommended products and use gentle applicators.
Overuse accelerates deterioration, causes discoloration, and increases long-term maintenance—so stop relying on harsh chemicals as a shortcut.
Shortening dwell time or skipping rinsing
Using gentle products won’t help much if you rush the process—shortening dwell time or skipping rinsing undermines their effectiveness.
Let cleaners sit as directed so enzymes and surfactants loosen grime. Afterward, rinse thoroughly to remove residue that can attract dirt or irritate skin.
You’ll avoid streaks, sticky buildup, and repeated cleaning, saving time while preserving tile and grout appearance.
Damaging grout with high heat or unsuitable attachments
When you crank up steam cleaners or attach aggressive brushes to vacuums hoping to skip scrubbing, you can erode grout and loosen tiles.
Don’t assume more heat or stiff bristles equals better results. Use low-heat settings, gentle microfiber pads, and soft brush attachments.
Test a small area first, follow manufacturer guidelines, and let cleaners work chemically rather than forcing removal with harsh tools.
Prevention and Maintenance: Keep Tile and Grout Clean with Minimal Effort
Set aside 5–10 minutes each week for quick micro-maintenance like sweeping, a mop pass, and spot-cleaning grout to stop buildup before it starts.
Apply a quality grout/tile sealant and reapply on the schedule recommended for your product (often every 1–3 years) to protect surfaces.
Keep the room ventilated and dry after showers—use an exhaust fan or open a window—to prevent moisture-driven grime.
Weekly micro-maintenance routine (5“10 minutes)
Anything you do for five to ten minutes each week will keep tile and grout from turning into a bigger chore: sweep or vacuum loose debris, spot-mop spills with a pH-neutral cleaner, and quickly squeegee or towel-dry wet areas to prevent soap scum and mildew buildup.
- Sweep/vacuum
- Spot-mop
- Squeegee/towel
- Inspect grout for stains or damp spots and address immediately
Protective sealants and how often to reapply
A good penetrating or topical sealant creates an invisible barrier that keeps grout and porous tile from absorbing stains and moisture, so you’ll spend far less time scrubbing.
Apply sealant after deep cleaning and whenever water stops beading—typically every one to three years for grout, longer for glazed tile.
Spot-test, follow manufacturer directions, and recoat high-traffic areas sooner.
Moisture control and ventilation habits to prevent grime
If you keep humidity low and move moist air out quickly, grime and mildew have far less chance to form on tile and grout.
Run exhaust fans during and after showers, open windows when weather allows, and wipe wet surfaces with a squeegee.
Fix leaks promptly, use a dehumidifier in damp spaces, and dry grout lines to stop moisture-driven buildup before it starts.
Cost, Time, and Effort Comparison: No-Scrub vs. Traditional Scrubbing
You’ll see big differences in time depending on method: a small half-bath can take 10–20 minutes with a no-scrub spray but 30–60 minutes if you’re scrubbing grout by hand.
Expect upfront costs for tools and cleaners to range from $10–$80 for DIY supplies, while occasional professional deep-cleaning runs $100–$300.
We’ll compare those time estimates and cost ranges so you can pick the best balance of effort and results.
Time-to-clean estimates for typical bathroom sizes
For a quick comparison, expect a no-scrub method to take about 10–20 minutes for a small powder room, 20–35 minutes for an average full bathroom, and 35–60 minutes for a large master bath, while traditional scrubbing typically doubles that time and demands more elbow grease and drying time. You’ll save time and effort by choosing no-scrub for routine upkeep.
| Bathroom Size | No-Scrub | Traditional |
|---|---|---|
| Small | 10–20 min | 20–40 min |
| Average | 20–35 min | 40–70 min |
Cost ranges for tools, cleaners, and occasional professional cleaning
Start by budgeting realistically: no-scrub upkeep usually costs under $10–$30 yearly for cleaners and disposable pads, while traditional scrubbing adds one-time tool purchases and more expensive cleaners that push initial costs to $30–$100 and ongoing supply needs to $20–$50 a year.
You might spend $75–$200 for a deep professional grout cleaning every few years; factor that into long‑term comparisons.
Before-and-After Care: Stain Treatment, Spot Cleaning, and Long-Term Care
Before you finish, you’ll want to treat stubborn stains with targeted, no-scrub applications so they lift without damaging the tile.
You can restore discolored grout using safe bleaching or poultice methods, but test a small area first.
If grout is crumbling, widely stained, or the tile’s surface is compromised, plan for regrouting or call a professional restoration.
Treating persistent stains without scrubbing (targeted applications)
When a stain won’t budge with regular mopping, targeted, no-scrub treatments let you break it down without grueling elbow grease.
Apply a paste of baking soda and hydrogen peroxide, or a commercial gel cleaner, let it dwell 10–20 minutes, then blot away with a microfiber cloth.
Rinse thoroughly, repeat if needed, and always test an inconspicuous spot first to avoid finish damage.
Restoring discolored grout safely
If your grout’s turned dingy or stained, you can revive it without harsh chemicals by combining targeted stain treatments, gentle spot cleaning, and regular sealing for long-term protection.
Work small areas: apply a baking soda paste or oxygen bleach on stains, let sit, then scrub lightly with a nylon brush.
Rinse thoroughly, dry, and seal grout yearly to repel moisture and stains.
When regrouting or professional restoration is necessary
Although routine cleaning and spot treatments revive most grout, you’ll know it’s time to regrout or call a pro when grout is crumbling, missing in wide sections, permanently discolored despite treatments, or allowing water to penetrate and cause tile or subfloor damage.
You should regrout if cracks return, sealing fails, or mold keeps returning.
Professionals handle extensive damage, leveling, waterproofing, and color-matched restoration.
FAQ
You’ll find quick answers here to common concerns like whether vinegar’s safe on every tile, if steam cleaners hurt grout, and how often to reseal grout to avoid deep cleaning.
We’ll also cover pet- and child-safe enzyme cleaners and the fastest ways to remove mold and mildew without heavy scrubbing.
Ask any specific question if you want step-by-step guidance.
Can I use vinegar on all bathroom tiles?
Wondering whether vinegar’s safe for every bathroom tile? You can use diluted white vinegar on glazed ceramic and porcelain—it’s effective for soap scum and mild mineral deposits.
Don’t use vinegar on natural stone (marble, travertine, limestone), unglazed tile, or certain sealants; it can etch or dull surfaces.
When in doubt, test a hidden spot or consult manufacturer care instructions.
Will steam cleaners damage grout or tile?
If you used vinegar on ceramic or porcelain, you might be thinking about other cleaning tools like steam cleaners—are they safe for grout and tile?
Steam works well on sealed tile and grout, loosening dirt without chemicals.
Avoid high-pressure or very hot steam on unsealed, soft, or deteriorated grout and natural stone; test a small area first to prevent damage.
How often should I reseal grout to avoid deep cleaning?
How often you should reseal grout depends on traffic, moisture, and the sealer type: typically every 1–3 years for floors, sooner in showers or high-traffic areas, and less often (around every 3–5 years) for low-use rooms.
Check seal by sprinkling water—if it beads, you’re good. Reseal when absorption increases, or if grout darkens, stains, or feels rough to minimize deep cleaning.
Are enzyme cleaners safe around pets and children?
Once you know when to reseal grout, you’ll also want to pick cleaning products that won’t harm your family or pets.
Enzyme cleaners break down organic stains and are generally safer than bleach or harsh acids.
Still, read labels, choose pet- and child-safe formulas, keep animals and kids away until surfaces dry, and store products out of reach to prevent accidental ingestion or contact.
What’s the fastest way to remove mold and mildew without scrubbing?
Want a quick way to kill mold and mildew without scrubbing?
Spray a 1:1 white vinegar and water solution or a commercial mold remover on affected grout and tile, let it sit 10–15 minutes, then blot or wipe away with a microfiber cloth.
For stubborn areas, follow with a hydrogen peroxide spot treatment and rinse.
Maintain good ventilation and wear gloves.