How to Repair a Concrete Floor: Cracks, Holes, and Uneven Surfaces
You can fix most concrete cracks, holes, and uneven spots yourself with the right prep, materials, and methods. First inspect and document damage, then clean and dry the area thoroughly. Use flexible caulk or epoxy for hairline and moving cracks, route-and-seal or epoxy injection for larger ones, patch holes with a concrete repair mix, and grind or use self-leveling compound for low spots. Follow product curing instructions and maintenance tips, and keep reading to get step-by-step guidance and tool lists.
Quick Answer Can You Repair Cracks, Holes, and Uneven Concrete Floors?
You can fix most cracks, holes, and uneven spots with the right materials: epoxy or polyurethane for hairline cracks, patching compound for holes, and self-leveling compound or resurfacer for low areas.
Small, non-structural repairs are usually DIY if you follow instructions and use proper safety gear, but call a pro for wide cracks, sinking slabs, or structural issues.
Start by evaluating the cause and extent so you pick the right method.
Short summary of repair options by problem type
Although concrete problems look similar at a glance, each—cracks, holes, and uneven slabs—needs a different fix, and you can often repair them yourself with the right materials and approach.
Learn how to repair concrete floor issues quickly:
- Hairline cracks: use epoxy or flexible filler.
- Larger cracks: rout and epoxy or patch.
- Holes: clean, apply patching compound.
- Uneven slabs: grind or level with self-leveler.
Recommended DIY vs. professional scenarios
When the problem’s small and straightforward—hairline cracks, minor chips, or shallow pits—you can usually fix it yourself with basic tools and materials.
But call a pro for structural cracks, large voids, or uneven slabs that affect doors, drainage, or safety.
- DIY: cosmetic cracks, surface patching
- DIY: shallow holes, epoxy filler
- Pro: shifting slabs, wide cracks
- Pro: drainage or load-bearing issues
Understanding Concrete Floor Damage
As concrete ages it naturally weakens and can develop cracks, holes, or uneven spots from shrinkage, settlement, freeze-thaw cycles, or heavy loads.
You’ll learn to tell hairline, shrinkage, structural, and settlement cracks apart and what each type usually signals about the slab.
That distinction helps you decide whether the damage is cosmetic or needs structural repair.
How concrete ages and common causes of cracks, holes, and unevenness
Because concrete’s strength comes from a chemical cure rather than from staying the same, it changes over time and shows wear in predictable ways.
You’ll see surface dusting, spalling from freeze–thaw or deicing salts, and abrasion from traffic.
Moisture, poor mix or curing, heavy loads, and ground movement create holes, cracks, and uneven slabs.
Regular inspection lets you address issues early.
Types of cracks and what they indicate (hairline, shrinkage, structural, settlement)
Cracks tell a lot about a concrete floor’s past and future, so learning to read them helps you decide what needs fixing. You’ll spot hairline (superficial), shrinkage (patterned), structural (wide, jagged), and settlement (stepped) cracks. Use this quick guide:
| Crack type | What it suggests |
|---|---|
| Hairline | Surface cure issues |
| Settlement | Foundation movement |
When damage is cosmetic vs. structural
While small surface flaws might only affect appearance, you should treat certain signs as warnings of deeper problems; tapping, measuring width and depth, and checking for movement helps you decide whether damage is cosmetic or structural.
If cracks are hairline, shallow, and stable, you can patch or seal them. If they’re wide, deep, active, or paired with settling, call a pro for structural assessment.
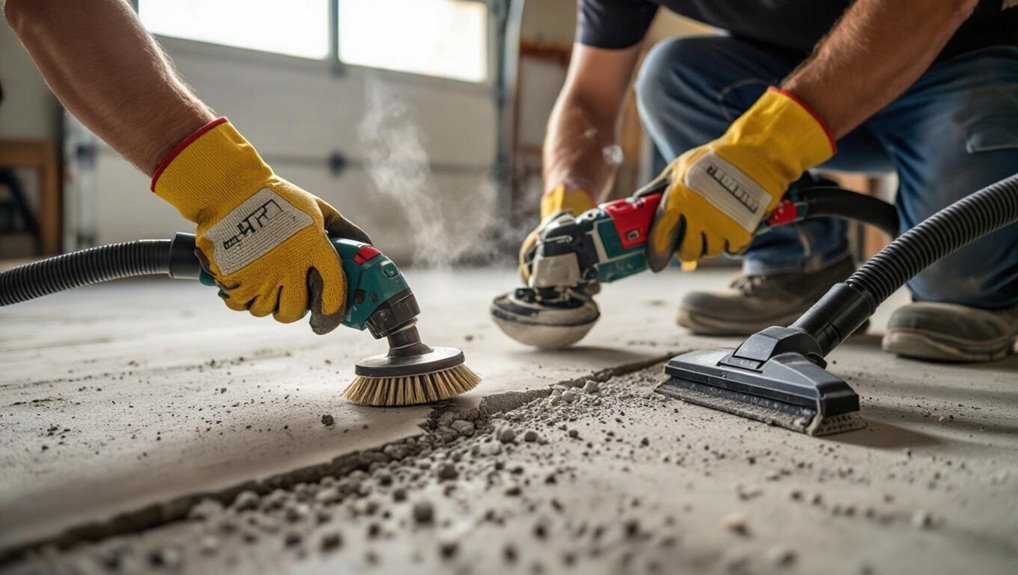
Tools, Materials, and Safety Essentials
Before you start repairs, gather basic tools—wire brush, chisel, trowel, mixing bucket, float, and a grinder or diamond blade for stubborn areas.
Choose the right materials for the job—patching compounds, epoxy, mortar, leveling compound, and bonding agents—and wear PPE like gloves, eye protection, a dust mask or respirator, and knee pads.
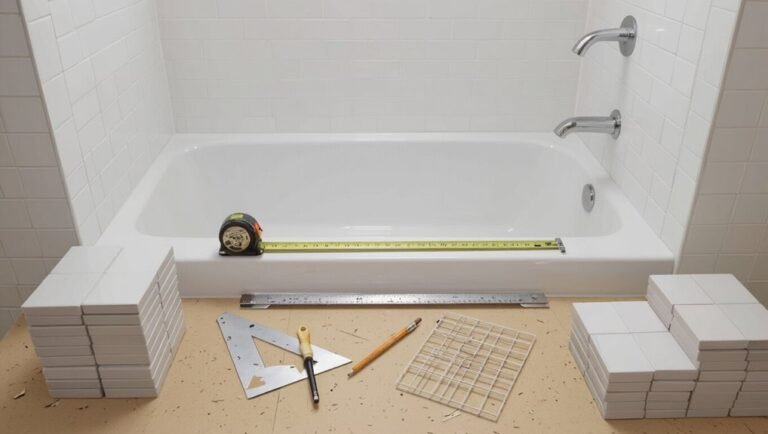
Estimate how much material you’ll need and the costs by measuring the damaged area’s volume and checking product coverage on labels.
Basic tools needed for most repairs
You’ll need a compact set of reliable tools to get most concrete repairs done safely and efficiently:
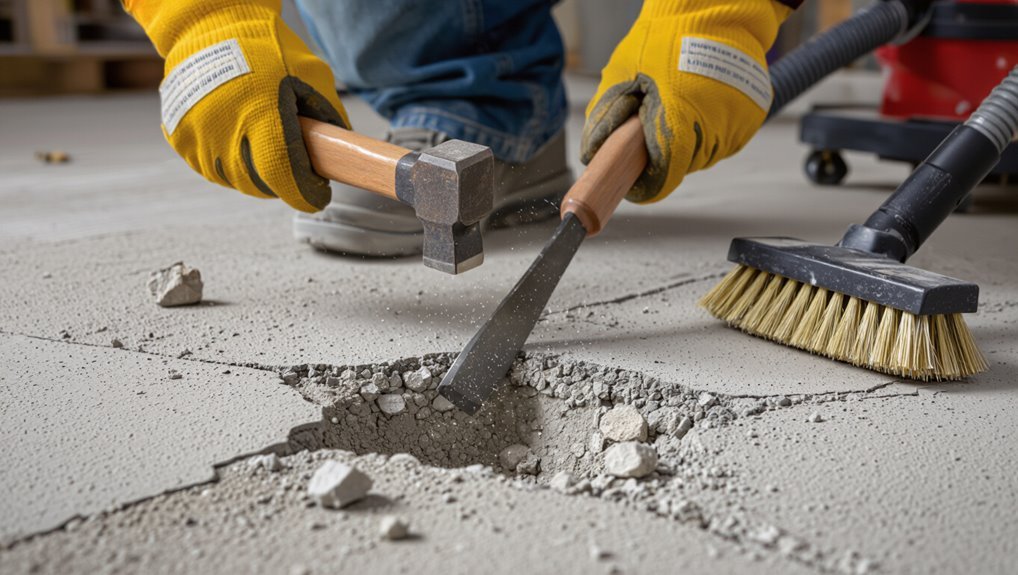
- Hammer and cold chisel for removing loose concrete and widening cracks.
- Wire brush and shop vacuum for cleaning dust and debris.
- Margin trowel and pointing tool for applying and shaping patches.
- Protective gear: gloves, safety glasses, knee pads, and a dust mask.
Materials: patching compounds, epoxy, mortar, leveling compound, bonding agents
Materials make the difference between a temporary fix and a lasting repair, so pick compounds that match the damage and the job conditions.
You’ll choose materials based on crack width, depth, traffic, and moisture.
Consider:
- Patching compounds for small holes and surface repairs
- Epoxy for structural bonds and chemical resistance
- Mortar for deeper repairs
- Leveling compound for flatness and slope control
PPE and safe work practices
While concrete repair can seem straightforward, protecting yourself and others requires the right personal protective equipment and safe work habits; you should wear gear, ventilate, and control hazards.
Follow these essentials:
- Safety glasses, respirator, gloves, knee pads
- Durable boots and hearing protection
- Good ventilation and dust control
- Clear work area, proper lifting, and lockout procedures
Estimating material quantities and cost factors
Now that you’ve covered PPE and safe practices, shift attention to what you’ll actually need to finish the job: quantities and costs. Measure area and depth, calculate cement, sand, patch, and primer by volume, and add 10–15% waste. Factor labor, tools, disposal, and contingency into estimates so bids stay realistic.
| Item | Estimation tip |
|---|---|
| Materials | Volume × coverage |
| Costs | Add labor + 15% buffer |
Quick Preparations Before Any Repair
Before you start repairs, inspect the slab and document cracks, spalling, and any structural issues so you know what’s needed.
Clean, dry, and profile the surface using the right tools—sweep, pressure-wash, etch, or grind—so patching materials will bond.
Test for moisture or contaminants when the concrete looks damp, stained, or when you plan a vapor-sensitive topping.
Assessing and documenting damage
A quick, systematic inspection sets you up for a successful repair: walk the floor top to bottom, note cracks, spalls, stains, and areas of soft or powdery concrete, and photograph each problem from multiple angles with a reference scale (like a ruler or tape).
Then record findings and prioritize fixes:
- Mark locations
- Measure dimensions
- Note depth/type
- Assign urgency and estimated materials
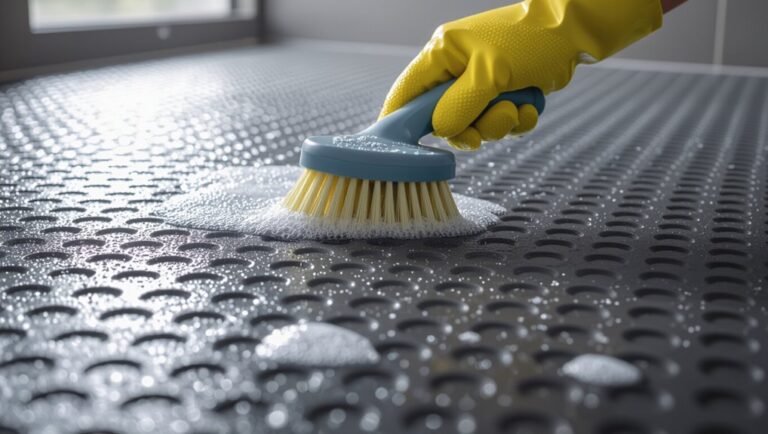
Cleaning, drying, and surface preparation techniques
Start by removing loose debris, oil, and contaminants so your repair material can bond properly; sweep and vacuum the surface, use a stiff brush or grinder to knock off flaky concrete, and apply a degreaser or trisodium phosphate solution to lift stains and oils.
- Rinse and let drain
- Dry with fans or heaters
- Etch or scarify glossy areas
- Remove dust with a tack cloth
When to test for moisture or contaminants
When your concrete shows stains, damp spots, or you’re unsure of its history, test for moisture and contaminants before applying any repair material; failing to do so can lead to bond failure, staining, or blistering.
Use a moisture meter, calcium chloride test, or simple plastic sheet test, and check for oil, chemicals, or efflorescence.
Address issues with drying, neutralizers, or barriers before repairing.
How to Repair Cracks Step-by-Step
Start by identifying the crack type and its cause so you can choose the right repair.
Then clean and prepare the crack. Pick a method (caulk/sealant, epoxy injection, or routing & sealing) and follow the specific application steps.
Finish by curing, inspecting the repair, and confirming recommended cure times.
Step 1: Identify crack type and root cause
Before you choose a repair method, inspect the crack to determine its type and underlying cause: hairline, shrinkage, settlement, structural, or heaving each look and behave differently, so note width, length, pattern, location, and whether it’s active (changing) or passive.
Then assess nearby signs—uneven slabs, water, corrosion, or load changes—to pinpoint root cause before planning repairs.
Step 2: Clean and prepare the crack (tools and techniques)
Now that you’ve identified the crack type and cause, prepare the area so repairs will bond and hold.
Remove loose debris with a wire brush or chisel, then vacuum or blow out dust.
For narrow cracks, use a cold chisel to widen slightly.
Wash with mild detergent, rinse, and let dry.
If oil or sealers are present, use a concrete degreaser.
Step 3: Choose repair method (caulk/sealant, epoxy injection, routing & sealing)
You’ve prepped the crack; next pick the repair that matches its size, movement, and cause. For hairline, use flexible caulk; for structural, consider epoxy; for joints or moving cracks, route and seal. Match materials to expected stress and moisture.
| Crack type | Recommended method |
|---|---|
| Hairline/static | Caulk/sealant |
| Structural/moving | Epoxy injection |
Step 4: Apply chosen repair material detailed steps for each method
Begin by gathering the right tools and materials for the method you picked—caulk and a backer rod for hairline cracks, an epoxy injection kit for structural repairs, or a grinder, V‑blade, and flexible sealant for routed joints—and confirm the crack is clean and dry so the repair will bond properly.
For caulk, push backer rod then apply sealant and tool smooth.
For epoxy, inject from bottom up.
For routed joints, grind, clean, prime, and pack sealant.
Step 5: Finishing, curing times, and inspection
After the repair material is in place, finish the surface and let it cure undisturbed according to the product instructions—this guarantees strength and a neat appearance.
Keep area dry and temperature stable, protecting from traffic and moisture.
After specified cure time, remove protections and inspect: check adhesion, color match, and surface level.
Light sanding or sealing may be applied if recommended.
How to Fix Holes and Spalls Step-by-Step
Start by removing loose material and undercutting the hole’s edges so the patch will bond.
Clean and prime the area, then choose the right patch material—cementitious, polymer-modified mortar, or epoxy—based on size and traffic.
Mix and apply the patch, finish it to match the surface, and follow proper curing, sealing, and load-bearing timelines.
Step 1: Remove loose material and undercut edges
Kick out any loose concrete and dust so the patching material can bond properly: use a chisel, hammer, or angle grinder to remove crumbling edges and hollowed areas until you’re left with solid, tight-sounding concrete.
Undercut the perimeter slightly so the patch keys in; remove all weak fragments and steel rust flakes.
Sweep or blow debris away before proceeding.
Step 2: Cleaning and priming the area
1. You’ll clean debris, dust, and oil from the hole or spall using a wire brush, stiff broom, or vacuum.
Rinse with water or a mild detergent, then let it dry. Remove any efflorescence or loose particles.
Apply a compatible primer or bonding agent evenly to the prepared surface to improve adhesion, following manufacturer directions and allowing proper tack time before patching.
Step 3: Selecting patch material (cementitious patch, polymer-modified mortar, epoxy)
Choosing the right patch material comes down to the size and location of the damage, the need for strength or flexibility, and how quickly you need the floor back in service. You’ll pick cementitious for deep structural fills, polymer-modified for better bond and shrink control, or epoxy for chemical resistance and fast return to service.
| Material | Best use |
|---|---|
| Cementitious | Deep structural fills |
| Polymer-modified | Bonding, reduced shrinkage |
| Epoxy | Chemical/impact resistance |
Step 4: Mixing, applying, and finishing the patch
Now that you’ve picked the right patch material for the job, it’s time to mix, apply, and finish the repair so the slab regains strength and a smooth surface.
Follow manufacturer ratios, mix to a workable consistency, and use a trowel to force material into voids.
Level, strike off, and float or broom texture to match surrounding concrete.
Clean tools promptly.
Step 5: Curing, sealing, and load-bearing timelines
After the patch is shaped and smoothed, let it cure properly to gain strength and resist shrinkage; follow the manufacturer’s recommended curing time and method—wet curing, curing compound, or plastic sheeting—so the repair bonds and hardens correctly.
Once cured, apply a compatible sealer to protect against moisture and stains.
Wait the recommended load-bearing time before foot or vehicle traffic to avoid damaging the repair.
How to Level Uneven Concrete Surfaces
First, you’ll want to diagnose why the slab’s uneven—settlement, heaving, or a poor pour require different fixes.
Then decide between surface-level repairs like grinding or a self-leveling compound and slab-lifting methods such as polyurethane mudjacking or traditional slab jacking.
Finally, follow the correct step-by-step procedures for each approach and finish by repairing seams and matching surface texture.
Step 1: Diagnose the cause (settlement, heaving, poor pour)
Before you pick up tools or patches, figure out why the slab shifted—settlement, frost heaving, or a poor pour each call for different fixes.
Inspect surrounding grading, drainage, and downspouts, check for tree roots and freeze-thaw signs, and tap slab edges to locate voids.
Measure slope and differential heights. Document findings so you choose a repair that targets the root cause.
Step 2: Surface-level fixes vs. slab lifting options (grinding, self-leveling compound, polyurethane mudjacking, slab jacking)
Now that you know why the slab moved, decide whether you need a surface-only repair or to lift the slab. Surface fixes (grind, self-leveling) suit shallow unevenness; lifting (polyurethane mudjacking, slab jacking) addresses settled slabs. Choose by depth, cost, downtime, and longevity.
| Method | Best for | Notes |
|---|---|---|
| Grinding | Minor highs | Quick, dusty |
| Self-leveling | Shallow dips | Smooth finish |
| Mudjacking | Settled slabs | Less invasive |
Step 3: Step-by-step for grinding and self-leveling compounds
Prepare to tackle uneven concrete by choosing grinding for high spots or a self-leveling compound for shallow low areas; each method needs the right prep, tools, and safety gear to work well.
For grinding: mark high areas, rent a floor grinder, work progressively with coarse to fine discs, vacuum dust.
For self-leveling: clean, prime, mix per instructions, pour, smooth with a gauge rake, and allow proper cure.
Step-by-step for slab lifting/underpinning (professional methods)
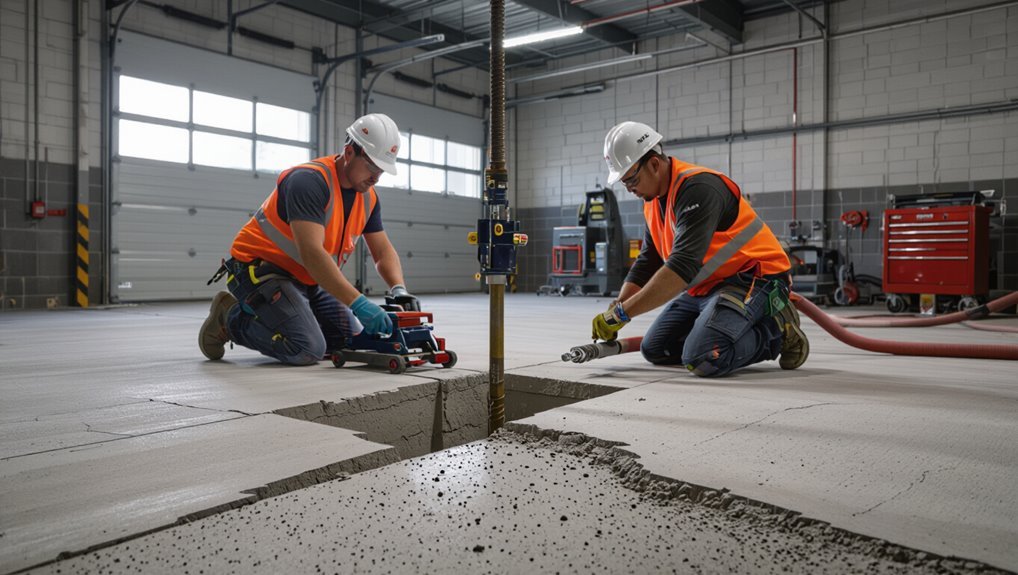
If grinding or a self-leveling compound won’t fix deep settlement or voids beneath a slab, you’ll need slab lifting or underpinning, professional methods that restore the slab by filling voids and re-establishing proper support.
Hire licensed contractors to assess, drill injection ports, pump polyurethane or cementitious grout to lift and stabilize, monitor elevations, and verify compaction.
Follow contractor recommendations and safety protocols.
Post-leveling finishing and seam repair
A clean, level surface makes finishing and seam repair straightforward, so start by removing dust, loose debris, and any residual bonding agents from the patched or lifted areas.
Feather edges with a grinder, apply a thin polymer-modified grout or skim coat to blend seams, smooth with a trowel, and texture to match. Cure per product instructions, then sand light high spots and vacuum before sealing.
Comparison of Repair Methods: DIY vs. Professional
You’ll weigh cost, durability, time, and skill needed when choosing between DIY fixes and hiring a pro.
DIY can save money but may take longer and require more skill, while contractors usually deliver faster, longer-lasting results.
Use a clear checklist—project size, budget, safety, and your experience—to know when to call a contractor.
Cost, durability, time, and skill comparison
Thinking about handling the repair yourself or hiring a pro? You’ll weigh cost, durability, time, and skill. DIY saves money but takes longer and risks imperfect results; pros cost more, act faster, and deliver durability. Choose based on urgency, budget, and confidence.
| Option | Cost | Confidence |
|---|---|---|
| DIY | Low | Anxious |
| Pro | High | Reassured |
| Hybrid | Mid | Hopeful |
When to hire a contractor clear decision checklist
If the damage goes beyond hairline cracks or you’re short on time, hire a contractor; otherwise, a DIY or hybrid approach can work.
- Structural cracks, movement, or sinking.
- Large areas or uneven slabs.
- Lack of tools, time, or confidence.
- Permits, warranties, or resale concerns.
Choose pro when two or more apply; otherwise patch small spots yourself.
Common Mistakes and How to Avoid Them
You’ll avoid most problems by spotting common mistakes in diagnosis, surface prep, mixing, application, and curing before you start.
Watch for signs a repair will fail—like poor bond, shrinking cracks, or premature wear—and correct the root cause to stop recurring damage.
Follow proper steps and curing times, and you’ll greatly increase the repair’s longevity.
Mistakes during diagnosis, prep, mixing, application, and curing
Because repairs often fail for predictable reasons, catching common mistakes early saves time and money:
- Misdiagnosis — verify cause, don’t guess.
- Poor prep — clean, remove loose debris, dry surface.
- Wrong mix — follow manufacturer ratios and pot life.
- Bad application/curing — apply correct thickness, protect from traffic and moisture until fully cured.
Signs a repair will fail and how to prevent recurring damage
Those common mistakes—wrong diagnosis, poor prep, bad mix, and rushed curing—often show up again after a repair, and spotting the early warning signs will save you from repeating them.
Watch for new cracks, delamination, crumbling edges, hairline shrinkage, and patched areas that don’t bond.
Prevent recurrence by cleaning thoroughly, using correct repair compounds, following mix ratios, allowing full cure time, and controlling moisture.
Prevention and Maintenance Best Practices
You should schedule routine inspections and quick small repairs so minor issues don’t become major ones.
Keep water out with proper waterproofing, good drainage, and well-maintained joints.
Apply surface treatments or protective coatings to extend the floor’s life and reduce future repair needs.
Routine inspections and small-repair schedule
Although concrete seems tough, small issues can grow fast if left unchecked, so set a simple routine for inspections and quick fixes.
You’ll catch problems early and avoid bigger repairs. Follow this quick schedule:
- Monthly visual check for cracks and spalls.
- Quarterly clean and debris removal.
- Repair small cracks within two weeks.
- Reassess uneven spots every six months.
Waterproofing, proper drainage, and joint maintenance
Because water is the biggest long-term threat to concrete, you should prioritize waterproofing, proper drainage, and joint upkeep to keep floors sound.
Seal foundation cracks, maintain gutter and downspout flow, slope surfaces away from slabs, and install or clear drains.
Check and replace joint sealant, keep control joints clean, and address ponding promptly to prevent freeze-thaw damage and undermining.
Surface treatments and protective coatings to extend life
When you protect a concrete floor with the right surface treatments and coatings, you’ll slow wear, repel moisture, and make maintenance easier.
Choose sealers, epoxy or polyurethane coatings, and penetrating densifiers based on traffic and exposure.
Clean and repair before application, follow manufacturer cure times, and recoat as recommended.
Proper coatings reduce dusting, staining, and repair frequency, extending the slab’s service life.
Tools and Materials Shopping Guide
You’ll want to pick trusted brands and the right product type for the repair—epoxy or polymer-modified patch for cracks, and latex or cement-based mixes for larger spalls.
Learn to read labels for coverage, cure time, and warranty terms so you buy the right quantity and know what’s guaranteed.
For specialty tools like grinders or injection pumps, compare rental rates to purchase cost so you choose the most economical option.
Recommended brands/types for common repairs
Pick products that match the repair’s scale and your experience: small hairline cracks need a different material than large, spalled areas.
Choose trusted brands and user-friendly formulas so you finish efficiently.
Consider:
- Epoxy crack injections (e.g., Selleys, PC-Concrete)
- Polymer-modified patching (e.g., Sika, Ardex)
- Fast-set concrete mixes (e.g., Quikrete)
- Self-leveling compounds (e.g., Mapei)
How to read product labels and warranties
Anyone shopping for repair materials should learn to read labels and warranties so you buy the right product and avoid surprises.
You’ll check coverage area, cure time, and substrate compatibility. Note VOC limits and storage conditions.
Read warranty scope—what’s covered and claim process.
- Coverage & yield
- Compatibility & prep
- Cure, pot life, VOCs
- Warranty terms & exclusions
Renting vs. buying specialty tools quick cost-benefit
Decide whether to rent or buy specialty tools by comparing how often you’ll use them, the rental rate versus purchase price, and any added costs like consumables or damage waivers. Weigh short-term savings against long-term value, storage, maintenance, and resale. Rent for rare tasks; buy for repeated use. Use this quick comparison:
| Item | Recommendation |
|---|---|
| Concrete grinder | Rent |
| Demolition hammer | Rent |
| Trowels/set | Buy |
| Moisture meter | Buy |
| Diamond blade | Rent |
Real-World Scenarios and Case Examples
You’ll get practical value from three real-world examples: a DIY walkthrough for fixing a hairline crack, a mixed DIY/pro approach for spalls and large holes in a garage slab, and a professional polyurethane lift for a sunken porch.
Each case will show the step-by-step decisions, tools used, and when to call a pro. Follow these examples to match your situation and plan the right repair.
Small hairline crack repair (DIY walkthrough)
Although hairline cracks look minor, they can let moisture and dirt work their way in if you don’t address them.
This walkthrough shows how to fix them quickly with basic tools and materials.
Clean crack with a brush and vacuum, widen slightly with a chisel, apply cementitious crack filler or epoxy with a caulking gun, smooth with a putty knife, let cure, then sand and seal.
Garage slab spall and large hole repair (mixed DIY/pro)
Tackle garage slab spalls and large holes by first evaluating how deep and widespread the damage is—shallow surface spalls can often be a DIY patch, but deep voids, exposed rebar, or undermined slab edges usually call for a pro.
Clean, chip to sound concrete, remove loose debris, then use a bonding agent and repair mortar for medium defects.
For structural failures, hire a contractor.
Sunken porch slab lifted with polyurethane (professional case)
When a garage slab repair looks beyond patching and suggests deeper settlement, you might consider a different fix for a sunken porch: professional polyurethane slab lifting.
You’ll hire specialists who drill small holes, inject expanding resin to raise and level the slab, then seal entry points.
It’s faster, minimally invasive, and restores drainage and safety without full replacement, often saving time and money.
FAQ
You’ll find quick answers here to common repair questions like how long a patch needs to cure before you can walk or drive on it and whether you can paint or epoxy-coat the surface afterward.
You’ll also learn if filling cracks will keep them from coming back, how to spot cracks that suggest foundation trouble, and when resurfacing a heavily damaged floor is worth the cost.
If you don’t see your question, ask and I’ll give a clear, practical answer.
How long does a concrete repair take to cure before walking or driving?
How long before you can walk or drive on a repaired concrete surface depends on the repair material, temperature, and thickness of the patch.
Most thin patch products allow light foot traffic in 24–48 hours and vehicle traffic in 3–7 days. Fast-setting mixes can support weight within hours.
Cold weather slows curing; follow manufacturer times and avoid heavy loads until full cure.
Can I paint or epoxy-coat a repaired concrete floor?
After the repair has cured enough for traffic, you can usually paint or epoxy-coat the patch so it blends with the rest of the floor and gets protected.
Clean and etch the surface, verify it’s fully dry, and use primers compatible with your repair material.
Follow manufacturer instructions, apply thin even coats, and allow proper recoat and cure times before heavy use for best adhesion and durability.
Will filling cracks stop them from returning?
Although filling cracks can stop many from widening or letting moisture in, it won’t always prevent new ones from forming because underlying causes—settling, substrate movement, freeze-thaw cycles, or poor drainage—can keep stressing the slab.
You should treat cosmetic cracks differently from structural ones, address drainage and compaction, monitor repairs, and use flexible fillers or joint sealants to extend life without masking ongoing movement.
How do I know if a crack indicates foundation trouble?
Wondering if that crack is just a surface nuisance or a sign of foundation trouble? Check width, direction, and change over time: hairline or small shrinkage cracks are usually harmless; wide (over 1/4″), stair-step, horizontal, or gaps that grow suggest structural movement.
Also watch doors/windows that stick, sloping floors, or new external wall cracks—consult a foundation pro if you see those signs.
Is it worth resurfacing an old, heavily damaged concrete floor?
Is resurfacing an old, heavily damaged concrete floor worth it? It depends.
If damage is superficial—surface spalling, minor cracks, wear—resurfacing restores appearance and function affordably.
If structural issues, deep cracks, or severe settling exist, you’ll need repair or replacement first.
Consider cost, planned use, and longevity; get a professional inspection to decide whether resurfacing alone will solve your problems.