
How to Retile a Bathroom Floor Without Hiring a Contractor
You can retile your bathroom floor without a contractor by planning, getting the right tools, and following proper prep and installation steps. Measure carefully, buy 10–15% extra tile, remove old tile, repair or replace the subfloor or backerboard, use thin-set mortar with a notched trowel, set tiles with spacers, let mortar cure, then grout and seal. Take safety and ventilation precautions, allow proper cure times, and if you keep going you’ll find detailed tips, troubleshooting, and cost comparisons ahead.
Can You Retile a Bathroom Floor Without a Contractor?
You can re-tile a typical bathroom yourself if you’ve got basic tiling skills, patience, and a weekend or two to spare; expect project time from 1–3 days for a small bathroom and costs roughly $200–$1,000 for materials depending on tile choice.
DIY saves labor costs but requires careful prep and precise cuts, while complex issues like uneven subflooring, plumbing moves, or waterproofing failures are better handled by a pro.
If you’re comfortable with tools and simple repairs, tackle it yourself; if the job involves structural or waterproofing concerns, hire a contractor.
Short summary of feasibility, time, cost range, and required skill level
Although it takes patience and some basic tools, you can re-tile a typical bathroom floor yourself if you’re comfortable with DIY projects and willing to learn a few techniques.
Feasibility: moderate.
Time: weekend for small baths, 2–4 days including cures.
Cost: $150–$800 depending on tile and materials.
Skill level: basic to intermediate; learn how to retile bathroom floor, grout, and cut tiles.
When to DIY vs. when to hire a pro
If you’re comfortable with measuring, cutting tiles, and following a step-by-step plan, you can tackle most bathroom floors yourself; hire a pro when the job gets complicated or the stakes are high.
DIY if layout is simple, subfloor is sound, and you’ve got time and patience.
Hire a pro for uneven substrates, waterproofing needs, large-format tiles, complex patterns, or plumbing/electrical work.
Basic Understanding What Retiling Involves and Why It Matters
Before you start, you’ll want a clear picture of the main steps: removing old tile, inspecting and repairing the subfloor, installing appropriate underlayment, planning the tile layout, and finishing with grout and sealant.
You’ll also need to choose bathroom-suitable materials—porcelain, ceramic, or natural stone—and gather the right tools and supplies on a checklist. Knowing these basics helps you avoid costly mistakes and guarantees a durable, water-resistant floor.
Key components: old tile removal, subfloor inspection, underlayment, tile layout, grout/sealant
Start by removing the old tile and evaluating what’s left beneath it: intact tiles can be salvaged, but cracked or loose ones and their adhesive often need full removal to reveal the subfloor.
Inspect for rot or unevenness, repair or replace as needed, install proper underlayment, plan tile layout for cuts and drainage, then set tiles and finish with grout and sealant.
Common tile materials and suitability for bathroom floors
Tiles come in several common materials—ceramic, porcelain, natural stone, and vinyl—that each suit bathroom floors differently, so you’ll choose based on durability, slip resistance, water resistance, and maintenance. Pick porcelain for moisture and heavy use, ceramic for cost-effectiveness, stone for luxury (needs sealing), and vinyl for warmth and ease.
| Material | Strength | Maintenance |
|---|---|---|
| Porcelain | High | Low |
| Ceramic | Medium | Low |
| Natural stone | Variable | High |
| Vinyl | Low-Med | Very Low |
Tools and materials checklist
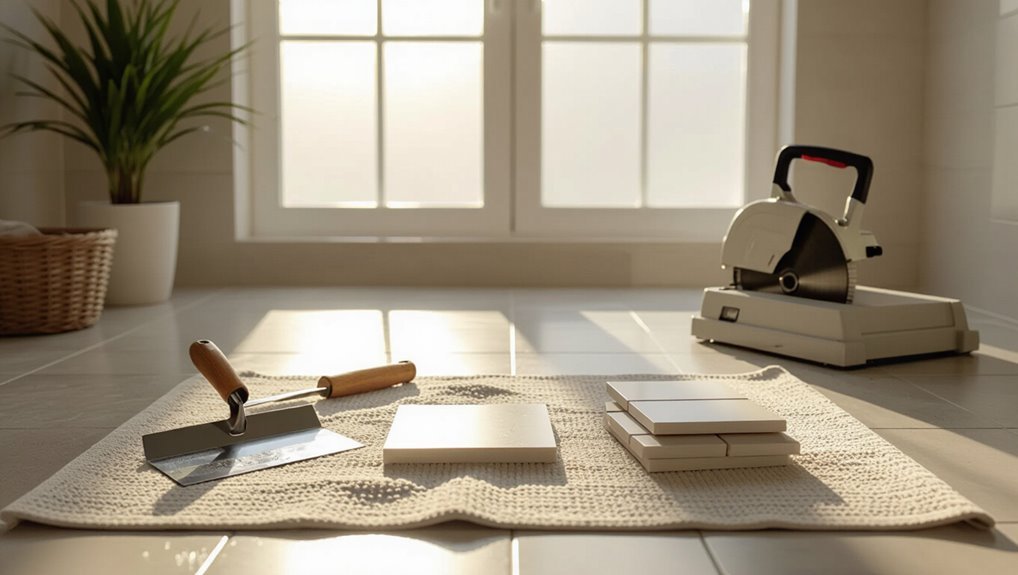
Because retiling involves demolition, surface prep, layout, setting, and grouting, you’ll want a clear tools-and-materials checklist to keep the job efficient and safe.
Gather essentials, inspect them, and plan quantities before you start.
- Hammer, pry bar, safety goggles
- Tile cutter or wet saw
- Thin-set mortar, trowel, spacers
- Grout, float, sealer
- Measuring tape, level, chalk line
Project Planning Estimate, Permits, and Prep
Start by measuring your bathroom and calculating tile quantity, allowing for a typical 10-15% waste factor so you buy enough.
Break your budget into materials, tools, waste, and a contingency, and map a realistic timeline with time estimates for demolition, prep, tiling, and grout/cure phases.
Also plan for permits if required, and address safety, ventilation, and proper disposal of old materials.
How to measure your bathroom and calculate tile quantity
Before you buy anything, measure the room and calculate how much tile you’ll need so you don’t run short or overbuy.
Measure length and width, note alcoves, fixtures, and irregular shapes. Multiply area to get square footage.
Add 10–15% for cuts and breakage, more for diagonal layouts. Round up to nearest box quantity and record tile size and pattern for accuracy.
Budget breakdown: materials, tools, waste, contingency
Now that you know how much tile you’ll need, map out a clear budget covering materials, tools, waste, and a contingency so costs don’t surprise you.
Itemize tile, thinset, grout, backerboard, underlayment, and trim.
Add tool purchases or rentals, adhesive trowels, spacers, and a wet saw.
Include 10–15% for waste and 10% contingency for unexpected repairs or permit fees.
Timeline: realistic project phases and time per phase
When you’re planning the timeline, break the job into clear phases—project estimate, permits, and prep—and assign realistic hours or days to each so you can schedule work without rushing.
Estimate: 2–4 hours for measuring and ordering.
Permits: 1–14 days depending on locality.
Prep: 4–8 hours for demo, subfloor checks, and surface cleaning before tiling begins.
Safety, ventilation, and waste disposal considerations
Because you’re dealing with dust, heavy materials, and potentially hazardous adhesives, plan safety, ventilation, and waste disposal as part of your estimate and prep so you don’t get blindsided mid-project.
Wear PPE (respirator, gloves, knee pads), secure fans and window exhaust, and isolate the work area with plastic.
Arrange a dumpster or bulk pickup for debris, label hazardous waste, and follow local disposal rules.
Step-by-Step Guide to Retile a Bathroom Floor
Before you start tiling, gather your tools, materials, and PPE so you’re ready for every step.
Remove fixtures and old tile and adhesive safely, then inspect and repair the subfloor for level, joist, or rot issues.
Finish by installing or repairing the backerboard/underlayment with thin-set or screws before laying new tile.
Step 0 Gather tools, materials, and PPE
To get your project off to a safe, efficient start, gather the right tools, materials, and PPE so you can work without interruptions or hazards.
Inspect and organize everything before you begin: you’ll save trips and stay safer.
- Gloves and safety glasses
- Knee pads and dust mask
- Tile cutter and trowel
- Thinset, grout, spacers
- Measuring tape and level
Step 1 Remove fixtures and prepare the room
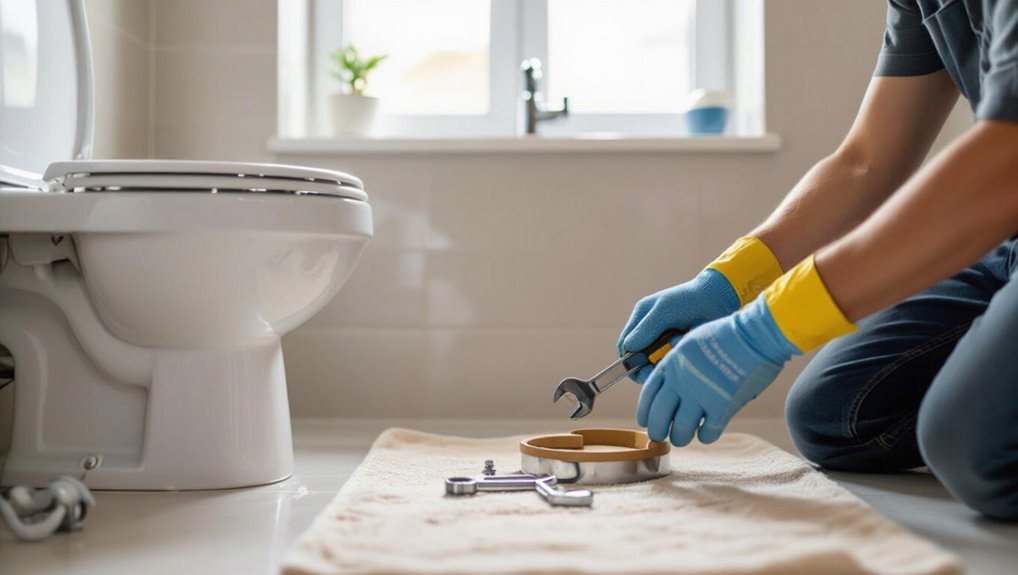
With your tools and PPE laid out, clear the room so you can work freely and safely.
Shut off water and power, remove towel bars and vanity items, and protect nearby surfaces.
Label small parts and keep a trash bin handy.
Visualize the task with these items:
- Empty vanity drawers
- Wrapped toilet base
- Covered mirror
- Drop cloths taped down
- Labeled hardware
Step 2 Remove existing tile and adhesive safely
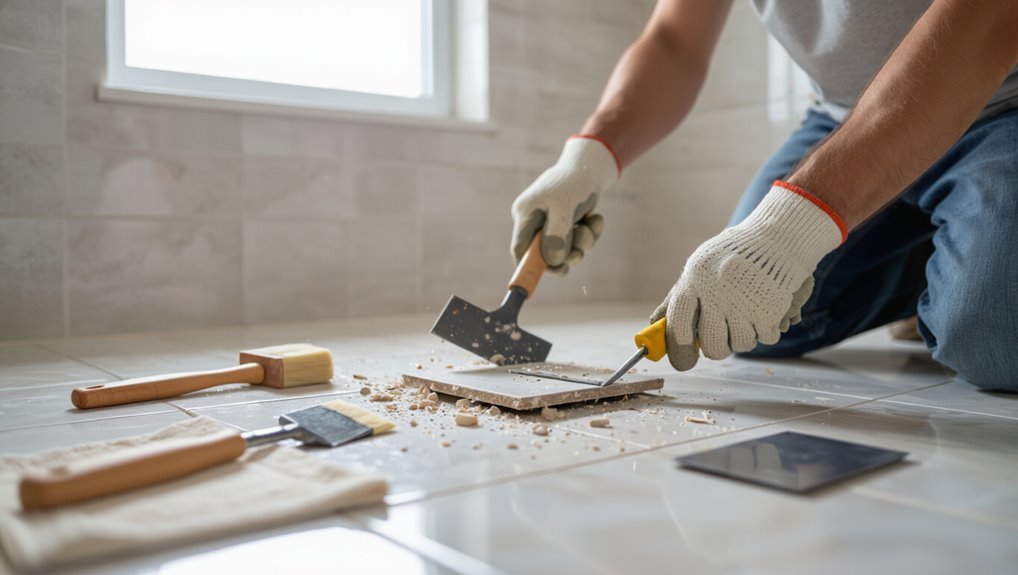
Start by scoring grout lines and loosening a few tiles to get a feel for how they’re adhered—this helps you choose the right tools and technique.
Wear safety goggles, gloves and a dust mask.
Use a chisel, hammer or oscillating tool to lift tiles, working from a removed edge.
Scrape remaining thinset with a floor scraper or grinder, keeping dust down with water or a vacuum.
Step 3 Inspect and repair the subfloor (leveling, joist issues, rot)
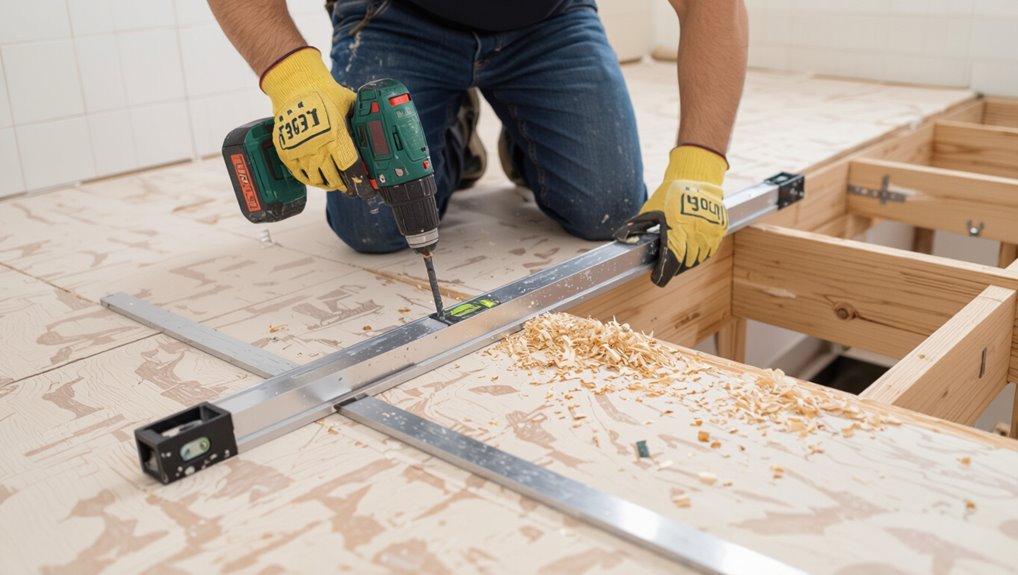
Now that the old tile and thinset are out, inspect the subfloor for level, joist integrity, and rot before laying any underlayment.
Walk the floor, look for soft spots, and use a straightedge and level to find dips.
Pry loose boards, tighten or sister damaged joists, and cut out rotten areas.
Dry and treat wood; guarantee a solid, even base.
Step 4 Install or repair backerboard/underlayment (thin-set or screws)
Prepare to lay a stable underlayment that’ll carry your tile job for years: choose the right backerboard (cement board, fiber-cement, or an approved plywood underlayment).
Cut and dry-fit the panels, then bond and fasten them according to manufacturer specs—either bedding in thin-set and using corrosion-resistant screws or adhering with mortar and mesh where required.
Seal joints with tape and thin-set, stagger seams, and leave recommended expansion gaps.
Step 5 Plan tile layout and dry-fit tiles (center lines, avoids small edge cuts)

1 clear layout will save you hours of rework, so take time to snap center lines, dry-fit tiles, and adjust your pattern until edge cuts are about the same size on opposite walls.
Work outward from those lines, spacing tiles with wedges or spacers, trimming full tiles at fixtures, and shifting the grid to avoid tiny slivers along doorways or cabinets.
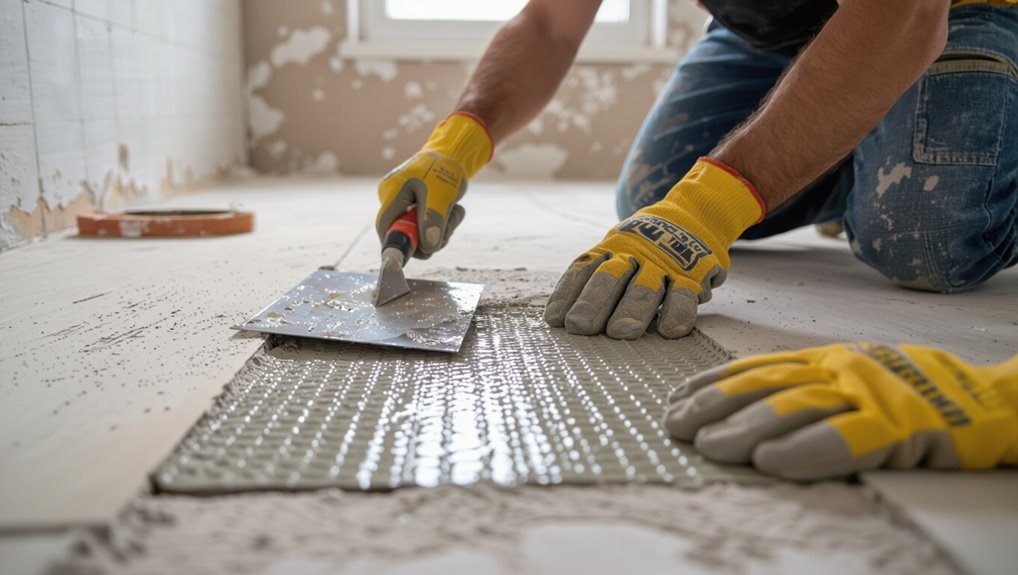
Step 6 Mix and apply thin-set mortar; set tiles with proper spacing
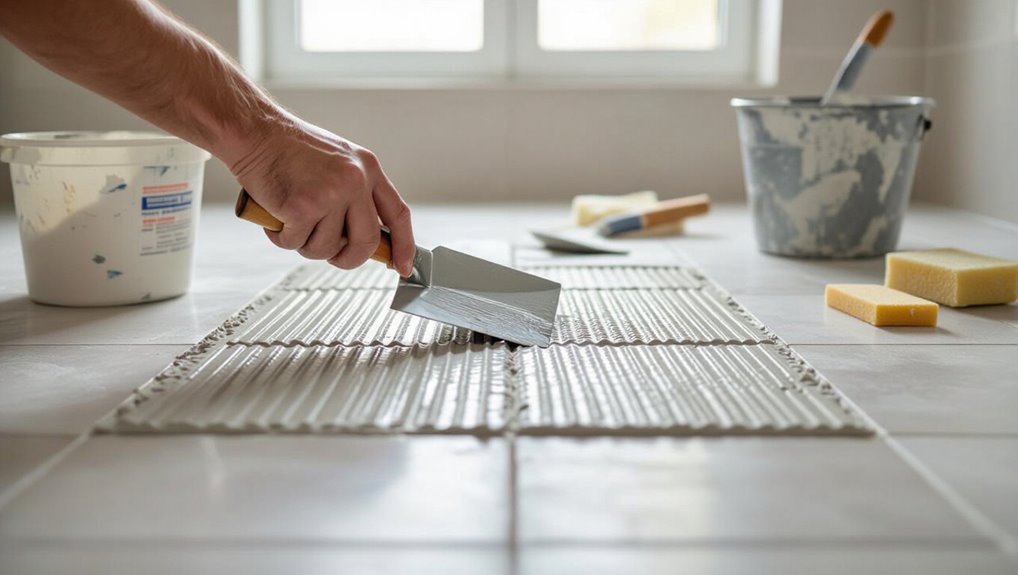
With your layout set and tiles dry-fit, it’s time to mix the thin-set and start setting tiles.
Mix per manufacturer ratios until smooth, use a notched trowel to comb mortar onto a small area, and press each tile firmly with a twisting motion.
Use spacers for consistent grout joints, check level and alignment frequently, and clean excess thin-set before it skins over.
Step 7 Cut tiles for edges, obstacles, and fixtures (tools & tips)
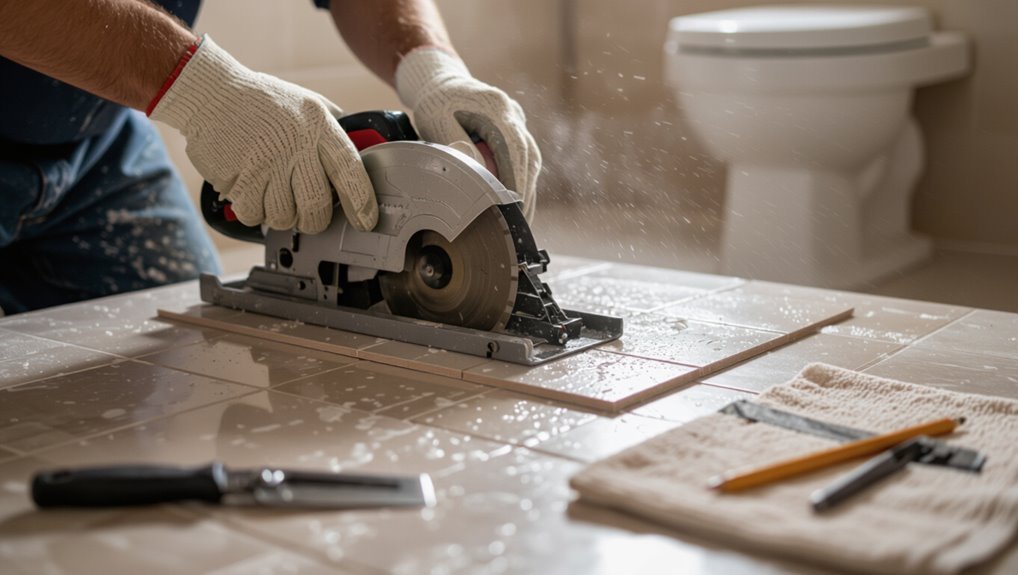
Cutting tiles for edges, obstacles, and fixtures is where precision matters most, so gather a wet saw, tile nippers, a carbide-grit wheel, and a pencil before you start.
Measure and mark tiles, account for grout gaps, and score straight cuts with the wet saw.
Use nippers for irregular notches, the carbide wheel for curves, and dry-fit pieces frequently to guarantee accurate placement.
Step 8 Allow cure time, then grout, clean, and seal grout if needed
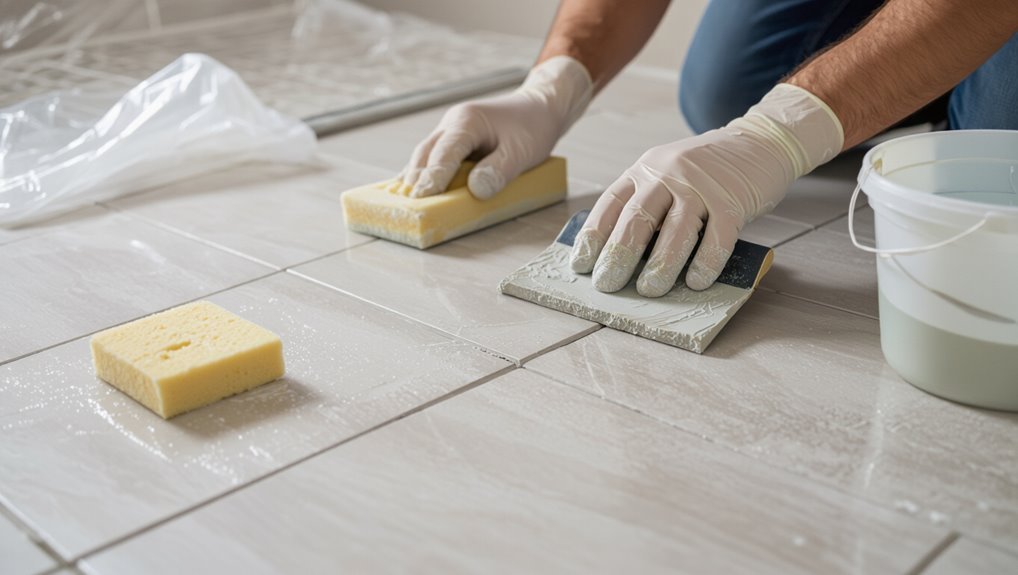
Wait for the thinset to cure fully before you grout; this usually takes 24–48 hours depending on the product and temperature, and rushing it can shift tiles or weaken the bond.
Mix grout per instructions, press into joints with a rubber float, then wipe haze with a damp sponge.
After full grout cure, consider sealing porous grout to resist stains and moisture.
Step 9 Reinstall trim, thresholds, fixtures, and finish caulking
After the grout and any sealers have cured, you can start putting everything back in place: reinstall baseboards, door thresholds, toilet and vanity, and apply final caulk where tile meets fixtures or walls.
Follow these simple tasks to finish neatly:
- snug baseboards against tile
- seat thresholds flush with flooring
- bolt toilet securely
- reinstall vanity and plumbing
- run a smooth silicone bead around edges
Step 10 Final inspection and maintenance advice for first 72 hours
1 final check helps you catch any issues before the room goes back into full use: walk the floor, inspect grout lines and tile alignment, press each tile to confirm a solid bond, and look for gaps in caulk or finish work that need touch-ups.
For 72 hours keep traffic light, avoid heavy objects, wipe spills promptly, and ventilate to help grout cure evenly.
Materials and Tools Deep Dive
You’ll want to pick tiles with the right size, finish, and water resistance for a bathroom to balance grip and style.
Choose compatible thin-set or mortar, the correct grout and a sealer that suits your tile and moisture level.
I’ll also list the essential tools you should own, useful optional tools, and when it makes sense to rent equipment.
Recommended tile types, sizes, and finishes for bathrooms
When choosing tiles for a bathroom, think regarding function first: durability, slip resistance, and water resistance should guide your choices, while size and finish determine aesthetics and maintenance. Pick porcelain or ceramic for durability; textured or matte for safety; larger tiles for fewer grout lines in bigger rooms.
| Type | Size | Finish |
|---|---|---|
| Porcelain | 12×24 | Matte |
| Ceramic | 8×8 | Textured |
Choosing thin-set, mortar, grout types, and sealers
Choosing the right adhesives, grout, and sealers makes the difference between a floor that lasts and one that fails prematurely; you’ll want products matched to your tile material, substrate, and moisture exposure.
Use polymer-modified thin-set for porcelain or large-format tiles, latex mortar for cement boards, sanded grout for wider joints, unsanded for narrow, and a penetrating sealer on porous tiles and grout.
Essential tools vs. optional tools and rental options
Although a full retile kit can be tempting, focus first on the essentials you’ll actually use: a good notched trowel, a tiling sponge, a wet tile saw or score-and-snap cutter (depending on tile type), a level, spacers, a rubber float, and proper personal protective equipment.
Rent bulky items, buy consumables. Visualize tools:
- Saw cutting clean edges
- Trowel spreading thin-set
- Level checking evenness
- Float smoothing grout
- Sponge wiping residue
Time-Saving Strategies and Cost-Cutting Tips
Choose the right substrate—prefab backerboard, cement board, or an uncoupling membrane—based on your floor movement, budget, and skill, and don’t assume the priciest option is best.
Rent specialty tools you’ll only use once but buy staples you’ll reuse, batch similar tasks, and work with a helper to cut time and mistakes.
Prep thoroughly (measure, lay out tile, and organize materials) so the actual install goes fast and stays on budget.
Prefab backerboard vs. cement board vs. uncoupling membrane comparison
When you’re weighing prefab backerboard, traditional cement board, and uncoupling membranes, think about installation speed, long-term performance, and total cost — not just the upfront price. You’ll choose prefab for speed, cement board for rugged durability, and membranes for movement resistance and fewer cracks.
| Option | Quick note |
|---|---|
| Prefab | Fast install |
| Cement board | Durable |
| Membrane | Prevents cracks |
| Cost | Varies by choice |
When to rent specialty tools vs. buy
Decide based on frequency, cost, and hassle: rent specialty tools if you’ll use them rarely, need them immediately, or want to avoid storage and maintenance, but buy when a tool will see repeated use, pays for itself within a few projects, or becomes essential to your workflow.
Compare rental daily rates, transport and setup time, and replacement costs; factor resale value and warranty before deciding.
Batch work, working with a helper, and prepping ahead
If renting or buying tools comes down to balancing cost and convenience, you’ll find similar trade-offs in how you organize the work itself.
Batch tasks—cut several tiles, mix multiple batches of thinset, grout in sections—so setup time pays off.
Recruit a helper for measuring, carrying, and aligning.
Prep thoroughly: clear, level, and mark before laying to avoid delays and wasted materials.
Common Problems, How to Avoid Them, and Fixes
As you re-tile, you’ll run into a few common issues—loose or hollow-sounding tiles, lippage or uneven tiles, grout problems like cracks, stains, or mold, and signs of water damage or subfloor failure.
I’ll show how improper substrate prep, poor adhesive coverage, and uneven setting cause these problems and how to prevent them.
When issues do appear, you’ll learn quick fixes and when to replace sections or call a pro.
Problem: Loose or hollow-sounding tiles causes and fixes
When tiles sound hollow or move underfoot, it’s a clear sign the bond between tile and substrate has failed. You’ll need to locate the cause before repairing.
Tap each suspect tile to map voids, check for grout cracks, moisture, or a flexible substrate.
Remove loose tiles, clean old mortar, dry the area, apply proper thinset, and rebed tiles with correct pressure and seating.
Problem: Lippage and uneven tiles prevention and correction
Loose or hollow tiles often point to bonding failures, but uneven tiles and lippage create tripping hazards and a sloppy finish that stand out even on a well-bonded floor.
You’ll prevent lippage by planning layout, using a level and spacers, applying consistent thinset thickness with a notched trowel, and employing tile leveling clips.
To fix minor lippage, grind or shim and re-bed tiles as needed.
Problem: Grout cracks, stains, or mold causes and remediation
If grout starts cracking, staining, or growing mold, it’s usually because moisture, movement, or improper installation let water sit where it shouldn’t.
You’ll want to address the cause before repairing the visible damage. Remove damaged grout, clean with a mildew solution, let dry, and regrout using correct mix and joint width.
Seal grout and improve ventilation to prevent recurrence.
Problem: Water damage and subfloor failure detection and repair
Because water’s damage often starts out of sight, you’ll want to spot problems early by checking for soft or spongy spots, buckling tiles, hollow sounds when you tap the floor, discoloration at seams, and persistent odors—these signs usually point to moisture intrusion and subfloor failure and mean you should investigate beneath the tile before reroofing with new grout or tile.
Remove damaged tile, dry, replace rotten subfloor, install waterproof membrane, and reseal.
Best Practices and Expert Tips
When planning your layout, pick patterns and grout colors that disguise small surface flaws and make cuts fall in less visible spots.
Be sure to leave proper expansion joints, caulk the perimeter correctly, and set a simple maintenance schedule to keep tile and grout lasting longer.
If you spot structural movement, persistent leaks, or suspect subfloor rot, call a structural or plumbing professional before you proceed.
Tile layout patterns that hide imperfections
Although small flaws are inevitable in most bathroom floors, choosing the right tile layout can make them nearly invisible; you’ll focus attention on intentional lines and patterns rather than minor irregularities.
Use staggered brick or herringbone to distract from uneven grout lines, diagonal layouts to mask crooked walls, and varied tile sizes to camouflage inconsistent cuts.
Plan focal points to draw the eye.
Proper expansion joints and perimeter caulking
Once your layout hides imperfections, you still need to control movement at the edges and breaks so tiles don’t crack or grout fails.
Install expansion joints at junctions, doorways and long runs using foam backer rod, then flexible silicone or polyurethane caulk.
Keep joints clean, angled slightly for drainage, and match caulk color to grout.
Allow full cure before light use.
Maintenance schedule to prolong tile and grout life
If you want your new tile and grout to look their best for years, follow a simple, regular maintenance schedule that balances routine cleaning with periodic deeper care.
Sweep or vacuum weekly, mop with pH-neutral cleaner biweekly, and spot-clean spills immediately.
Every six months scrub grout with a soft brush and mild cleaner, reseal grout annually, and inspect for cracks or loose tiles.
When to consult a structural or plumbing professional
When you uncover signs of structural damage—like sagging subfloor, widespread cracks, or unresolved water stains—or you notice persistent leaks, slow drains, or changes in water pressure, call a professional right away; delaying expert assessment can let hidden problems spread beneath your new tile and lead to costly repairs.
Have a pro inspect if joists rot, mold appears, or plumbing requires rerouting before you install underlayment and tile.
Cost and Time Comparison: DIY vs. Hiring a Contractor
You can save money by doing the work yourself or pay for speed and warranty with a contractor, so weigh costs and timelines before you start. Below is a quick cost breakdown and a pros/cons checklist to help you compare typical DIY expenses against contractor quotes. Use the table to spot where your priorities — budget, time, or quality — will matter most.
| DIY (typical) | Contractor (typical) |
|---|---|
| Materials: $150–$600; tools: $50–$300; time: several weekends | Labor + materials: $800–$3,000; time: 1–3 days |
| Pros: lower cost, control, learning | Pros: speed, expertise, warranty |
Typical DIY cost breakdown vs. contractor quotes
Comparing DIY costs to contractor quotes starts with a clear tally of materials, tools, and labor: you’ll spend $150–$600 on tile and mortar, $50–$300 on tools (saw, trowels, spacers) if you buy, and $0–$150 on underlayment and adhesives.
Expect 20–40 hours of hands-on work.
Contractors typically quote $800–$2,500 for the same job, including labor and cleanup.
Pros and cons checklist for DIY vs. pro
Anyone weighing DIY against hiring a pro should look at a clear checklist of pros and cons that focuses on cost, time, skill, and risk.
DIY: lower material costs, flexible schedule, learning reward, but slower, skill-dependent, tool rental, and higher rework risk.
Pro: faster, guaranteed quality, proper permits, but higher labor cost and less control.
Choose based on budget, timeline, confidence.
FAQ Retile a Bathroom Floor Without Hiring a Contractor
If you’re tackling a 5×8 ft bathroom yourself, you’ll want a realistic timeline and to know whether you can lay new tile over the old one.
You’ll also need to avoid common beginner mistakes, make the floor watertight for bathroom use, and decide if any electrical or plumbing work requires a pro.
Below are concise answers to those frequently asked questions to help you plan.
How long will a typical 5×8 ft bathroom take to retile by a DIYer?
Wondering how long a 5×8 ft bathroom will take to re-tile yourself? For a motivated DIYer expect 2–4 days:
day one for demo and prep,
day two for underlayment and layout,
day three for setting tile,
and day four for grouting and cleanup.
If you’re experienced you might finish in 2 days; beginners should allow extra time for drying and corrections.
Can I lay new tile over existing tile?
Can you lay new tile over existing tile? Yes, in many cases you can, but only if the old tile is sound, level, and well-adhered.
Clean thoroughly, roughen the glaze, and use a suitable thinset or bonding primer.
Check door clearances and floor height.
Avoid layering over cracked, loose, or heavily textured tiles—those need removal for a reliable, long-lasting installation.
What are the most common mistakes first-time DIYers make?
Tackle a retiling job with realistic expectations: the most common mistakes first-time DIYers make are poor surface prep, wrong thinset or grout choices, and rushing layout and cuts.
You’ll also falter by ignoring tile spacing and level, skimping on proper tools, failing to let adhesive cure, and not checking subfloor stability.
Take time, follow instructions, and measure twice before cutting.
How do I ensure the floor is waterproof and safe for a bathroom?
Having prepped the surface, chosen the right thinset and grout, and checked your subfloor, you now need to make the floor watertight and safe for bathroom use.
Apply a bonded waterproof membrane over seams and around fixtures. Seal junctions with waterproof tape, slope to drains, and use epoxy or urethane grout.
Test for leaks before final trim and allow full cure time.
Do I need to hire an electrician or plumber for tile-related work?
Do you need a pro for electrical or plumbing tasks when retiling?
If you’re moving fixtures, relocating drains, or altering wiring, hire licensed plumbers or electricians—these jobs affect safety, code compliance, and waterproofing.
For minor adjustments like tightening fixtures or replacing trim, you can DIY.
Always pull permits when required and get inspections to avoid costly mistakes or insurance issues later.