How to Replace a Single Ceramic Floor Tile Without Replacing the Whole Floor
You can replace a single ceramic floor tile yourself without redoing the whole floor by removing the grout, breaking and prying out the damaged tile, cleaning the substrate, and setting a matching replacement with thin-set, spacers, and grout. It takes a few hours, basic tools, and careful work to avoid harming surrounding tiles. Match the tile and grout color, let adhesives cure, and seal if needed — keep going and you’ll find step-by-step tips, tools, and pitfalls to watch for.
Quick Answer Can You Replace One Ceramic Floor Tile Without Replacing the Whole Floor?
Yes—you can usually replace a single ceramic floor tile without redoing the whole floor.
Expect the job to take about 1–3 hours, be of moderate difficulty, and cost roughly $10–$75 for materials (or $50–$150+ if you hire a pro).
With the right tools and a matching tile, it’s a quick, affordable fix.
Short, direct answer with expected time, difficulty, and cost range
You can replace one ceramic floor tile without redoing the whole floor; it’s doable DIY.
- Time: 1–3 hours, depending on grout removal and drying.
- Difficulty: Moderate—basic tools and care; learn how to replace a ceramic floor tile before starting.
- Cost: $10–$75 for tools/materials if you already own basic tools; pro labor raises cost.
Basic Understanding What Is Involved in Replacing a Single Ceramic Tile
Replacing a single ceramic tile means you’ll be working with the thin-set or mortar that bonds the tile to the underlayment and the grout that seals the joints.
You’ll also want to identify why the tile needs replacing—common causes are cracks, chips, stains, or a tile that’s gone loose.
Knowing both the installation layers and the specific damage helps you choose the right removal and replacement method.
How tiles are installed (thin-set, mortar, grout, underlayment)
Tile installations rely on a few key layers working together: a stable underlayment, a bed of thin-set or mortar to hold the tile, and grout to seal the joints.
You’ll remove damaged tile down to the mortar, clean the underlayment, apply fresh thin-set or mortar with the correct trowel notch, set the replacement, and grout once the adhesive cures for a durable, even finish.
Common reasons to replace a single tile (crack, chip, stain, loose)
Anyone who’s lived with ceramic floors knows a single damaged tile can draw the eye and invite bigger problems, so it’s worth addressing cracks, chips, stains, or looseness promptly.
You’ll replace tiles when cracks spread, chips catch dirt, stains resist cleaning, or a tile rocks from failed adhesive or subfloor movement.
Fixing one prevents water damage, tripping hazards, and aesthetic decline.
When You Should and Shouldn’t Replace Just One Tile
If the damage is limited to one tile—it’s cracked, chipped, or loose—and the surrounding grout and tiles match, you can replace just that piece.
But if multiple tiles are failing, grout is crumbling across an area, or the floor shows unevenness or widespread discoloration, you’ll want to replace a larger section or the whole floor.
Assess the extent of damage and how visible a repair would be before you decide.
Indicators a single-tile repair is appropriate
When a single ceramic floor tile cracks, chips, or comes loose without widespread damage around it, you can usually replace just that one tile instead of redoing the whole floor.
You’ll want to proceed when grout and surrounding tiles are sound, the tile matches available replacements, damage is localized, and subfloor is intact.
Choose full-tile replacements for cosmetic and structural success.
When whole-floor or larger-area replacement is recommended
Replacing a single tile works well in many cases, but you should consider a broader replacement if the damage repeats, tiles show widespread wear, or matching tiles aren’t available.
You’ll opt for larger replacement when:
- Multiple adjacent tiles are cracked or loose.
- Subfloor issues cause recurring failures.
- Tiles are discontinued or color/pattern mismatch across the room.
Tools and Materials Needed
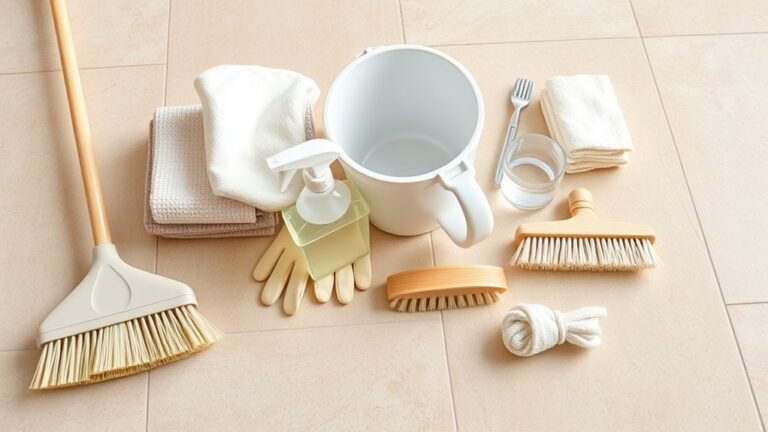
You’ll need a handful of essential tools—like a chisel, hammer, notched trowel, and grout float—plus replacement materials: a matching tile, adhesive thinset, grout, and sealant.
I’ll also mention optional items that make the job easier and safer, such as a tile cutter, spacers, knee pads, gloves, and eye protection.
Gather everything before you start so the repair goes smoothly.
Essential tools
Before you start, gather the right tools so the job goes quickly and cleanly: a utility knife, grout saw or oscillating tool with a grout blade, hammer and chisel, tile nippers, a notched trowel, thin-set mortar, a margin trowel, spacers, a level, and safety gear like gloves and eye protection.
- Inspect tile and surrounding grout.
- Remove damaged tile carefully.
- Clean cavity and check subfloor.
Replacement materials (tile, adhesive, grout, sealant)
Pick replacement materials that match the original tile in size, thickness, color, and finish, and choose adhesives and grout that suit the tile type and the room’s moisture conditions.
Get a compatible thinset or mastic, epoxy grout for wet areas, and sanded or unsanded grout based on joint width.
Use a penetrating sealant for porous tiles and grout to protect against stains and moisture.
Optional helpful tools and safety gear
Once you’ve selected matching tile, adhesive, grout, and sealant, gather a few optional tools and safety items that make the job faster, cleaner, and safer.
You’ll want items that protect you and improve precision:
- Safety goggles, dust mask, and knee pads
- Grout saw, utility knife, and small chisel
- Tile spacers, rubber mallet, and sponge
Preparation Before You Start
Before you start, make sure you’ve matched a replacement tile in color, size, thickness, and finish so the repair blends in.
If you don’t have a spare, check leftover boxes, contact the original manufacturer, or look for a close match at a salvage yard.
Protect nearby tiles and lay down drop cloths or cardboard to keep the workspace clean and prevent accidental damage.
How to match a replacement tile (color, size, thickness, finish)
Matching a replacement tile means more than finding a similar color—you’ll need to match size, thickness, edge profile, and finish so the new tile blends with the existing floor.
Measure length and width precisely, note grout gap width, and check tile thickness with calipers.
Compare sheen (matte, satin, glossy) and edge shape.
Photograph the tile under natural light for reference.
How to source a matching tile (leftovers, manufacturer, salvage)
If you’ve already measured and photographed the tile, start your search by checking for leftover boxes from the original install.
Then contact the manufacturer and local salvage yards—each option increases your chances of an exact match.
Don’t forget online marketplaces, tile forums, and social media groups; supply codes or photos help.
Ask suppliers about discontinued lines and accept slight color variation samples before buying.
Protecting surrounding tiles and workspace setup
Start by clearing and marking a workspace so you won’t nick nearby tiles: lay down thick cardboard or a drop cloth around the repair area, apply painter’s tape in a grid pattern to protect grout lines, and place foam or wood shims against adjacent tiles where you’ll be chiseling.
Wear safety goggles, use drop cloths for debris, keep a magnet for nails, and set tools within reach.
Step-by-Step Guide to Remove the Damaged Tile
Before you start, make sure you’re wearing safety gear and clear the surrounding area so nothing gets in the way.
Carefully remove the grout around the damaged tile to protect neighboring tiles, then break and lift the tile out in pieces while keeping your hands and feet safe.
Finish by scraping away old adhesive and cleaning the substrate so the new tile will bond properly.
Step 1: Safety precautions and clearing the area
When you’re ready to remove the damaged tile, protect yourself and clear the workspace: put on safety glasses, heavy-duty gloves, and a dust mask, and move furniture or rugs at least a few feet from the area so you won’t trip or scratch other tiles.
Sweep loose debris, set up a trash container, and use a drop cloth to contain dust; keep pets and kids away.
Step 2: Remove grout around the tile without damaging neighbors
Carefully score and remove the grout around the damaged tile so you can lift it without nicking adjacent tiles: use a grout saw, oscillating tool with a grout blade, or a rotary tool fitted with a grout removal bit, keeping the tool angled away from neighboring grout lines and working in short passes to avoid overheating or chipping.
Stay steady, clear debris often, and leave a clean grout channel for replacement.
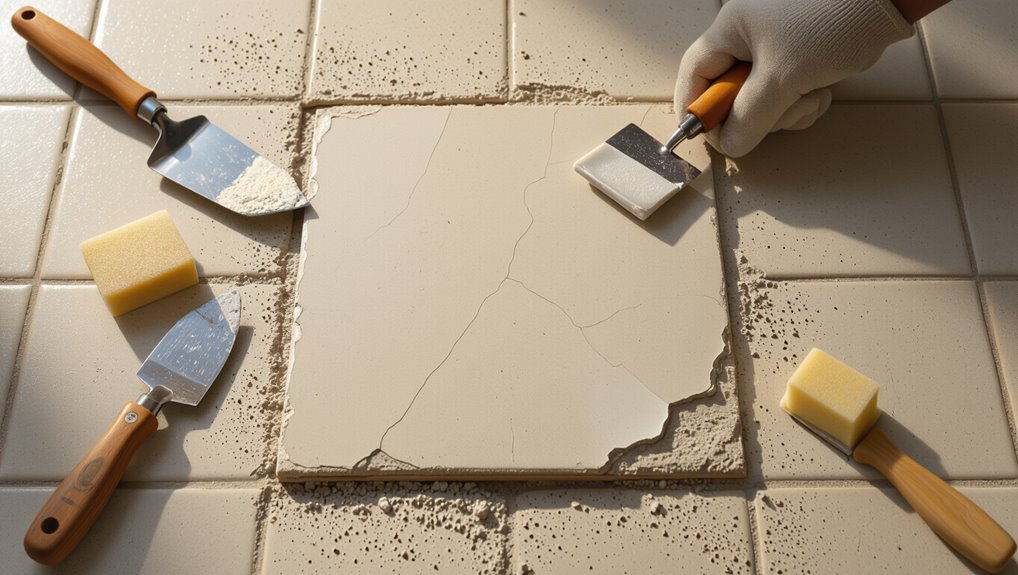
Step 3: Breaking and lifting the damaged tile safely
With the grout cleared, you can now focus on breaking and lifting the damaged tile without harming the surrounding ones.
Score the tile center with a cold chisel and hammer, then tap gently to fracture into manageable pieces.
Pry out shards using a flat chisel and putty knife, working from the center outward.
Wear gloves and safety glasses to protect hands and eyes.
Step 4: Removing old adhesive and cleaning the substrate

Start by scraping away the old thinset and mortar left on the substrate so the new tile will bond properly.
Use a chisel or oscillating tool to remove stubborn residue, working flat to avoid gouging.
Vacuum dust, wipe with a damp sponge, and let dry.
Inspect for damage; repair cracks or uneven spots with a patching compound before applying new adhesive.
Step-by-Step Guide to Install the Replacement Tile
Before you lay the new tile, inspect and repair the substrate so it’s level and clean.
Mix and apply the thin-set or adhesive per manufacturer instructions, then set the tile with correct alignment and spacing.
Finish by letting the adhesive cure fully before grouting or walking on the tile.
Step 1: Inspect and prepare the substrate (leveling, repairs)
Check the substrate carefully for cracks, loose mortar, or uneven areas that could prevent the new tile from seating properly.
Remove debris, old adhesive, and dust. Scrape high spots and fill low areas with a suitable patch or self-leveling compound.
Make certain repairs cure fully and the surface is flat, clean, and stable so the replacement tile will bond evenly and sit flush with surrounding tiles.
Step 2: Apply thin-set or adhesive correctly
1. Mix manufacturer-recommended thin-set to a peanut-butter consistency.
Use a margin trowel to apply a thin, even coat to the substrate, keeping coverage slightly larger than the tile.
Comb the adhesive with the correct notched trowel size, holding it at the proper angle to create uniform ribs.
Work in small sections to prevent skinning before you set the tile.
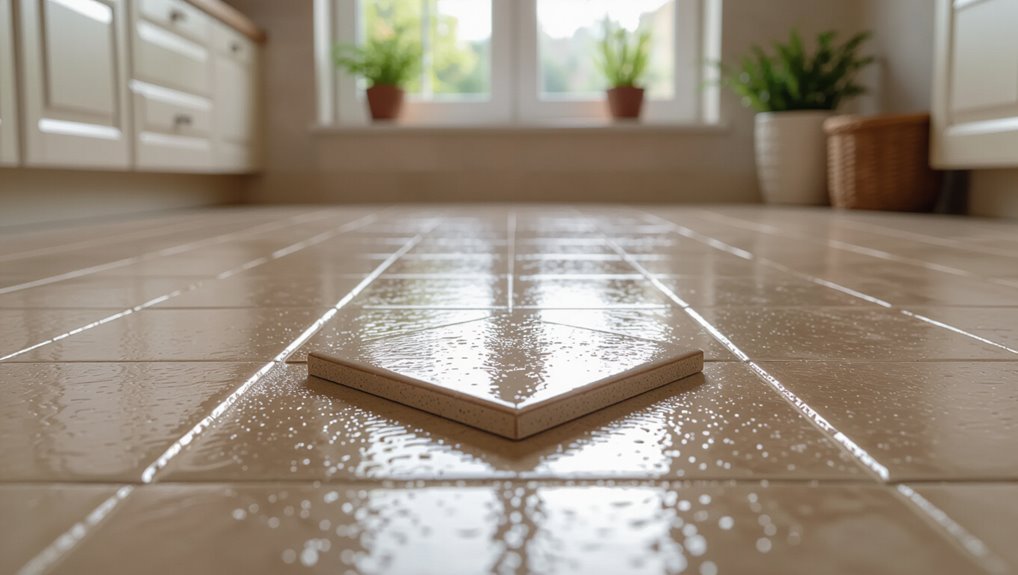
Step 3: Set the tile and ensure proper alignment and spacing
With the thin-set combed and still tacky, press the replacement tile into place, twisting it slightly to bed it fully into the adhesive.
Use spacers to match grout line width and confirm surrounding tiles’ alignment.
Tap edges gently with a rubber mallet and a block to level the surface.
Wipe excess thin-set from joints immediately for a clean grout line.
Step 4: Allowing proper curing time for adhesive
Give the thin-set at least 24 hours to cure before walking on the tile or grouting, because premature stress can shift the tile or weaken the bond.
After that initial period, keep traffic minimal for 48–72 hours to achieve full strength.
Protect the area with barriers and warning signs, avoid heavy loads, and follow manufacturer cure times for adhesives and recommended ambient temperature and humidity.
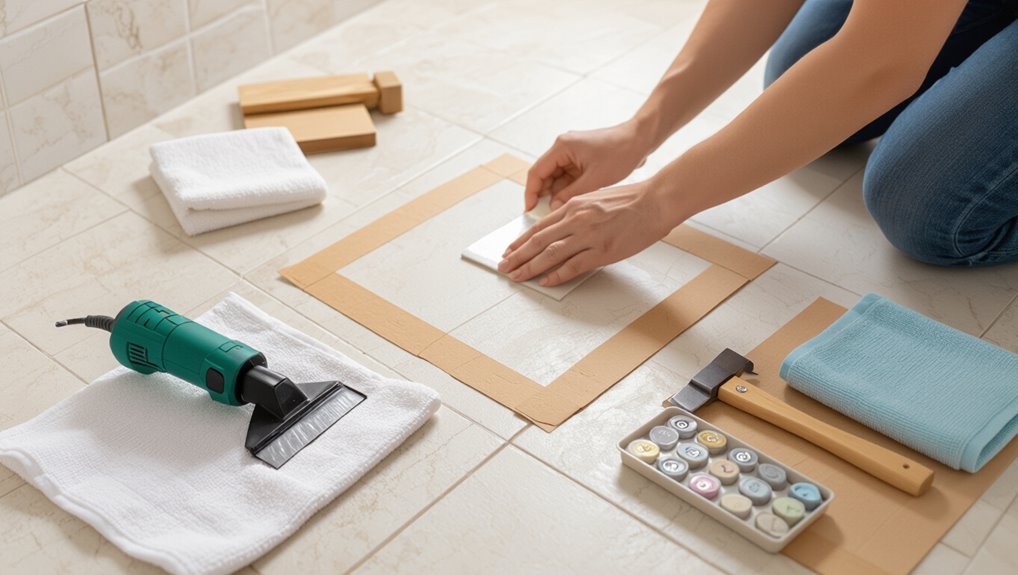
Grouting, Sealing, and Finishing
Pick a grout that matches your existing floor and mix it to the right consistency so it won’t wash out or stain the new tile.
Work the grout into the joint with a rubber float at a 45° angle, wipe excess promptly with a damp sponge, and finish edges cleanly.
After the grout cures, apply a sealer if recommended for your grout or tile type and buff any haze for a professional look.
Choosing the right grout and color matching
Choosing the right grout and matching its color to your surrounding tiles makes the repair blend in and lasts longer.
Pick grout type (sanded vs. unsanded) based on joint width, and match shade using samples or grout color charts. Test a small, discreet area.
Consider stain-resistant or sealed grout for durability, and adjust tint slightly if aging or existing grout shows discoloration.
How to grout the joint without staining the tile
With the grout color and type settled, you’ll want to grout carefully so the joints look seamless without smearing grout over the new tile surface.
Use a small rubber float at a 45° angle, press grout firmly into the joint, and remove excess immediately.
Keep a damp sponge handy to wipe tile edges gently between passes, avoiding abrasive scrubbing that could drag grout across the tile.
Cleaning excess grout and finishing touches
Once you’ve wiped away the bulk of the grout, go back over the joints and tile faces with a slightly damp sponge to clean residue before it hardens; work in small sections and rinse the sponge frequently so you’re not smearing grout back onto the tile.
After the haze clears, use a dry microfiber cloth to buff tiles, reshape joints with a grout tool, and remove any remaining grout strings for a neat finish.
When and how to seal grout and tile (if applicable)
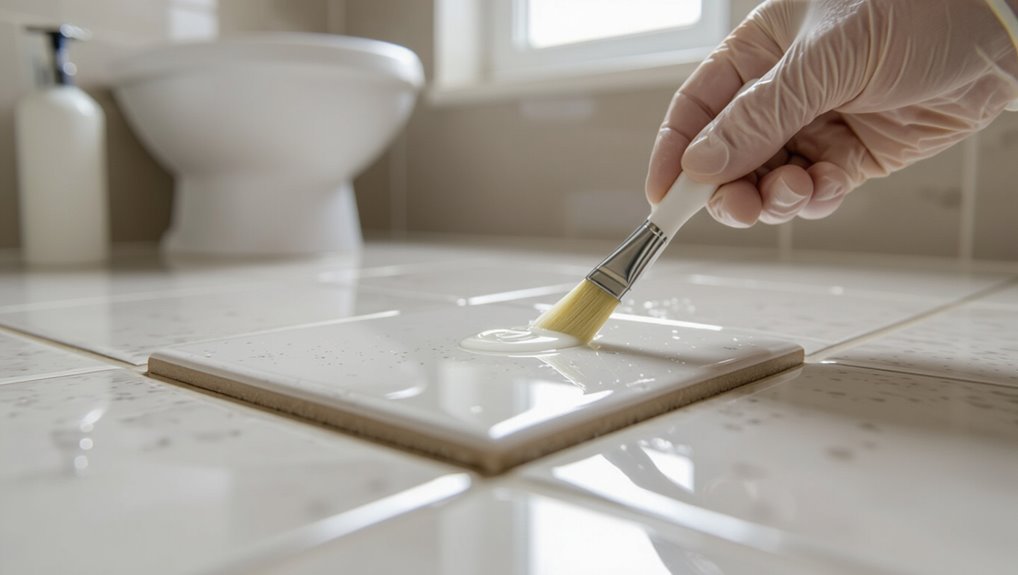
Although grout can sometimes be left unsealed, you should seal porous grout and natural stone tiles to prevent stains and water damage—do it after the grout has fully cured (usually 48–72 hours) and the surface is completely dry.
Choose a penetrating sealer, apply evenly with a brush or applicator, wipe excess, let cure per instructions, and reapply if recommended for high-traffic areas.
Troubleshooting Common Problems During Repair
If a neighboring tile cracks or loosens while you’re removing the damaged one, stop and secure or replace it before continuing.
If the new tile sits higher or lower, or sounds hollow after setting, you’ll need to lift it and correct the adhesive bed to get an even, solid fit.
If the color or texture doesn’t match, consider alternative grout shading, sealing, or replacing the tile to blend or correct the appearance.
Neighboring tiles cracked or loosened during removal
When neighboring tiles crack or loosen during removal, don’t panic—you can usually salvage the surrounding area with careful assessment and targeted repairs.
Inspect each tile and the substrate; tap to find hollow spots. Remove only unstable tiles, clean old adhesive, and re-bed replacements with thinset.
Re-grout and match joint width. Seal grout and monitor for movement before heavy use.
Replacement tile sits higher or lower than surrounding tiles
While you’re setting a new tile, it’s easy to end up with it sitting proud or recessed compared with the surrounding surface; this usually stems from uneven mortar thickness, leftover adhesive on the substrate, or uneven backing on the replacement tile itself.
Check and remove old adhesive, spread mortar evenly with a notched trowel, shim or tap the tile to level, then allow proper cure before grouting.
Adhesive failure or hollow-sounding tile after installation
Because tiles rely on a continuous bed of mortar, adhesive failure often shows up as a hollow or “thud” sound when you tap the surface, indicating poor bond, voids, or contaminated substrate.
If you hear that, remove the tile, clean old adhesive and substrate, check for moisture or dust, apply fresh thinset with proper coverage, bed the tile evenly, and cure before grouting.
Visible color or texture mismatch after installation
If the repaired tile stands out due to a color or texture mismatch, you’ll notice it right away and it can ruin the visual flow of the floor.
Check lighting, grout color, and finish—new tiles often differ slightly.
Try swapping grout, using a matching stain or sealer, or replacing with a closer match.
If needed, remove and source a better tile before re-installing.
Common Mistakes to Avoid
Don’t use the wrong adhesive or grout, because they’ll cause poor bonding or visible failure.
Take your time removing the old tile so you don’t chip or crack surrounding tiles.
Make sure the substrate is clean, flat, and dry before you set the new tile.
Using the wrong adhesive or grout
When you pick the wrong adhesive or grout, the new tile won’t bond properly and can crack, lift, or discolor over time.
Check tile type, substrate, and moisture exposure before buying. Use adhesive rated for ceramic and your subfloor, and pick grout compatible with joint width and traffic.
Follow manufacturer mixing and curing times—poor choices or shortcuts cause failures you’ll regret.
Rushing removal and damaging surrounding tiles
After you’ve picked the right adhesive and grout, take your time removing the damaged tile—rushing this step is how you chip or crack the surrounding tiles.
Work slowly, score grout, tap center to loosen the tile, and pry pieces out gently. Use small tools, apply steady force, and clear debris often so you don’t stress adjacent tiles or create hairline fractures.
Poor substrate preparation
If the substrate isn’t solid, flat, and clean, your new tile won’t last — you’ll see lippage, loose spots, or cracks over time.
You need to prep properly:
- Remove old thinset and debris until the surface is flat and sound.
- Repair cracks or soft spots with appropriate patch or backerboard.
- Prime porous areas and guarantee dryness before setting the tile.
Prevention and Best Practices to Reduce Future Tile Damage
To keep new tiles intact, you’ll want to focus on proper installation and a well-prepared substrate so tiles sit flat and adhesives bond correctly.
Use furniture pads, entry mats, and a routine cleaning schedule to prevent scratches and grout wear.
If you notice shifting, cracking, or persistent grout problems, call a pro for an inspection before small issues become bigger.
Proper installation and substrate preparation tips
When you want your repair to last, prepare the substrate and install the replacement tile correctly from the start: clean and level the substrate, remove any loose or soft materials, and confirm there’s a proper underlayment and waterproofing where needed so the new tile bonds firmly and won’t crack or come loose later.
Use compatible thinset, apply even trowel ridges, back-butter large tiles, and verify correct grout joint width.
Protective measures (furniture pads, mats, regular maintenance)
You’ve done the prep and set the replacement tile correctly, so now keep it that way by protecting the surrounding floor from everyday wear.
Use felt or rubber furniture pads, place durable mats at entryways and high-traffic zones, and avoid dragging heavy items.
Sweep and mop regularly with pH-neutral cleaner, inspect grout lines, and address chips promptly to minimize future damage and prolong tile life.
When to schedule professional inspection or maintenance
Schedule a professional inspection every 2–5 years or sooner if you spot recurring grout cracks, loose tiles, persistent moisture, or uneven surfaces—issues that often signal underlying substrate or waterproofing problems.
You should also call a pro after plumbing leaks, major impacts, or before remodeling. They’ll assess adhesion, waterproofing, and substrate integrity, recommend repairs, and help you prevent costly tile failures down the road.
Time, Cost, and When to Call a Professional
You can often replace a single ceramic tile yourself in an hour or two with basic tools and materials that usually cost under $50.
If the damage is extensive, the tile pattern is hard to match, or the subfloor looks compromised, you should call a pro—expect to pay $100–$300 or more for labor and materials.
Below we’ll look at typical DIY time and cost details and the clear signs that mean it’s time to hire a professional.
Typical DIY time estimates and cost breakdown
If you’re replacing a single ceramic tile, expect the whole job—from removing the old tile to grouting the new one—to take about 1 to 3 hours for a DIYer with basic tools and experience; beginners should budget extra time for careful removal and curing. Typical costs: small tile $1–$10, adhesive/grout $5–$20, tools rental $0–$30.
| Item | Typical cost |
|---|---|
| Tile | $1–$10 |
| Adhesive/Grout | $5–$20 |
| Tools/Rental | $0–$30 |
| Misc | $0–$10 |
Signs the job should be done by a pro and expected professional costs
Handing the job to a pro makes sense when removal risks damaging surrounding tiles, the floor has a large area of looseness or unevenness, the tile sits over radiant heat or an unusual substrate, or the tiling pattern and grout color must match perfectly.
You should call a pro if you lack tools or confidence; expect $100–$300 for a single-tile repair, more for complex fixes.
Frequently Asked Questions
You probably have quick questions about matching tiles, curing times, and safety with things like underfloor heating or a crawl space.
I’ll explain whether you can substitute a non-matching tile, how noticeable a repair might be, how long adhesive and grout need to cure before foot traffic, and special precautions for heated floors or tiles above a basement.
Read on for clear, practical answers.
Can I replace a tile if I don’t have a matching spare?
Wondering whether you can replace a broken tile without an exact spare? You can, but plan carefully.
Use a close color and size, or salvage from a hidden area like a closet threshold. Cut a larger tile to fit or use a complementary accent tile.
Match grout color and texture, and test placement before permanently setting to guarantee cohesion.
Will the new tile be noticeable after replacement?
If you picked a close match or salvaged a tile as suggested above, the replacement can blend in well—but it may still be noticeable on close inspection.
Small differences in shade, glaze sheen, grout width, or grout color can reveal the repair. Proper cutting, flush leveling, and matching grout minimize contrast, but expect a subtle telltale edge if you—or others—look closely.
How long does adhesive and grout take to cure before walking on it?
How long should you wait before stepping on a newly set tile?
Typically, thin-set adhesive needs 24 hours to cure sufficiently for light foot traffic; full strength can take 48–72 hours.
Grout firms in 24–72 hours depending on type and humidity.
Avoid heavy loads or cleaning for at least 72 hours.
Follow manufacturer instructions and keep area dry to guarantee proper bonding and grout cure.
Can underfloor heating complicate tile replacement?
Because underfloor heating adds wiring or electric mats beneath your tiles, replacing a single ceramic tile can become trickier than on an unheated floor.
You’ll need to locate and avoid heating elements, cut carefully to prevent damage, and use non-conductive adhesives or manufacturer-approved products.
Test the circuit, turn power off, and consult instructions—damaging wiring can be costly and unsafe.
Is it safe to remove a tile above a crawl space or basement?
Working over a crawl space or basement raises a few extra safety and practical concerns you’ll want to address before removing a tile.
Check for wiring, plumbing, insulation, and pests beneath the subfloor. Support any exposed edges to avoid collapse, wear eye and respiratory protection, and use a flashlight.
If utilities run below, shut them off and consult a pro to prevent damage or injury.