How to Install Underlayment and Laminate Flooring the Right Way
You can install underlayment and laminate flooring yourself in a weekend if you prep properly: clean and level the subfloor, test moisture, and let materials acclimate 48–72 hours. Roll a vapor barrier on concrete, lay underlayment with taped seams and consistent expansion gaps, then snap planks in from the longest wall, staggering seams and using spacers, a tapping block, and pull bar for tight joints. Keep tools handy and follow manufacturer specs, and keep reading to get detailed steps and tips.
Quick Answer Can You Install Underlayment and Laminate Flooring Yourself?
Yes — you can usually lay underlayment and install laminate yourself in a weekend by prepping the subfloor, rolling out underlayment, and snapping boards together.
You’ll save money if you’re comfortable with measuring, cutting, and maintaining straight seams.
Hire a pro if your subfloor is uneven, rooms are complex, or you want a guaranteed warranty and faster finish.
Short summary of process and time required
If you’re reasonably handy, you can install underlayment and click‑lock laminate yourself in a weekend for an average room.
First, prep subfloor, roll out underlayment, and trim. Then lay planks, stagger joints, and click them together.
Finish with trim and connections. Total time: 6–12 hours of active work plus breaks and acclimation.
This covers how to install underlayment and laminate flooring.
When to hire a pro
When should you call a pro? You can DIY simple rooms, but hire help when complexity, tools, or stakes rise. Consider:
- Large rooms, tricky layouts, or many cuts.
- Uneven subfloor needing leveling.
- Plumbing, stairs, or built-in connections.
- Tight deadlines or lack of confidence.
A pro saves time, guarantees warranties, and prevents costly mistakes.
Basic Understanding What Is Underlayment and Why It Matters
Before you lay planks, you’ll want to understand underlayment: foam, cork, rubber, felt, or combos with vapor barriers each offer different moisture protection, sound reduction, cushioning, and minor leveling.
Choosing the right type matters because some underlayments pair better with specific laminate locking systems and subfloor conditions.
Pick one that matches your floor’s locking profile and the room’s moisture and acoustic needs to avoid problems later.
Types of underlayment (foam, cork, rubber, felt, combination with vapor barrier)
Underlayment comes in several materials—foam, cork, rubber, felt, and hybrids with built-in vapor barriers—each offering different cushioning, sound control, and moisture protection.
So you’ll want to pick the one that matches your floor’s needs and installation environment.
- Foam: lightweight, budget-friendly, easy to cut.
- Cork: eco-friendly, durable, resists compression.
- Rubber: excellent sound damping, long-lasting.
- Felt: dense, smooths minor subfloor imperfections.
Functions: moisture barrier, sound reduction, cushioning, leveling
Think of underlayment as the hidden multitasker beneath your laminate: it blocks moisture, cuts noise, cushions foot traffic, and evens out minor subfloor imperfections so your finished floor performs and feels right.
You’ll choose underlayment to protect against damp, reduce echo and impact sound, provide slight give for comfort, and smooth small bumps or gaps—essential for durability and a stable, comfortable walking surface.
How underlayment interacts with different laminate locking systems
While different locking systems snap and click together in similar ways, the type and thickness of underlayment you use can change how easily boards engage and how the joint performs over time.
Choose thinner, firmer underlayment for tight click systems to guarantee accurate alignment; use slightly thicker, compressible pads for drop-lock or tongue-and-groove styles to absorb movement and reduce stress on joints.
Tools and Materials You’ll Need
You’ll want a concise toolkit before you start: cutting tools, a tapping block, pull bar, spacers, tape measure, utility knife, and a straightedge.
Gather materials too—your chosen underlayment, laminate planks, any moisture barrier, junction strips, and adhesive or seam tape.
Finally, measure the room and add a waste factor (typically 5–10%) so you order the right quantities.
Tools list (cutting tools, tapping block, pull bar, spacers, tape measure, utility knife, straightedge)
Before you start laying boards, gather the essential tools: cutting tools (a miter saw or jigsaw), a tapping block, pull bar, spacers, tape measure, utility knife, and a straightedge.
These let you cut accurately, fit planks snugly, and maintain expansion gaps. Keep everything handy, measure twice, and work safely.
- Measure and mark
- Cut to fit
- Tap and lock
- Pull and finish
Materials list (underlayment type, laminate planks, moisture barrier, transition strips, adhesive/seam tape)
Materials matter as much as tools: pick the right underlayment, laminate planks, and moisture barrier, and grab connector strips plus seam tape or adhesive so your floor performs and looks professional.
Choose foam or cork underlayment for sound and comfort, waterproof barrier for basements, and matching junctions for thresholds.
Seal seams where needed for moisture protection.
- Underlayment
- Laminate planks
- Moisture barrier/seam tape
- Junction strips
Estimating quantities and waste factor
Start by measuring the room’s length and width and multiply to get square footage, then add a waste factor—typically 5–10% for straight runs and 10–15% for rooms with irregular layouts or many cuts—to guarantee you buy enough planks, underlayment, moisture barrier, and edge strips. Calculate plank count, roll length, and trim lengths before ordering.
| Item | Unit | Notes |
|---|---|---|
| Planks | pcs | Include waste |
| Underlayment | m² | Roll coverage |
| Edges | pcs | Count doorways |
| Moisture barrier | m² | Overlap seams |
Preparation Before Installing Underlayment and Laminate
Before you lay underlayment or planks, inspect and prepare the subfloor—whether concrete, plywood, or an existing surface—so it’s clean, level, and secure.
Test for moisture and confirm levels are within the laminate manufacturer’s limits, then let the laminate and underlayment acclimate in the room.
Finally, plan your layout, stagger seams, and calculate expansion gaps so the floor can move properly.
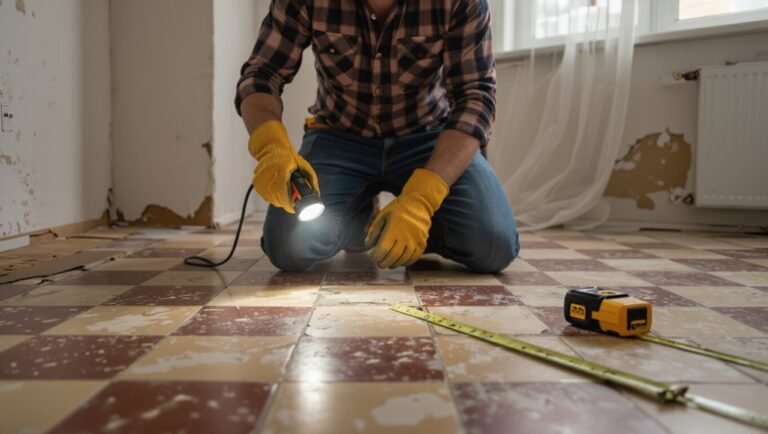
Assessing and preparing the subfloor (concrete, plywood, existing floor)
One clear step before you lay any underlayment is to inspect and prep the subfloor so your laminate locks together and lasts: check for level, moisture, damage, and cleanliness, then repair, sand, or seal as needed for concrete, plywood, or an existing floor.
- Remove debris and nails.
- Fix low/high spots.
- Repair rot or loose boards.
- Clean and dry thoroughly.
Moisture testing and acceptable moisture levels for laminate
Because moisture is the biggest threat to laminate, you’ll need to test the subfloor and confirm levels are within the manufacturer’s limits before you lay any underlayment.
Use reliable meters and document readings. If moisture exceeds limits, fix the issue first.
- Check concrete with a calcium chloride or RH test.
- Use a moisture meter on wood.
- Compare to manufacturer specs.
- Retest after repairs.
Acclimating laminate planks and underlayment
Start by bringing your unopened boxes of laminate and rolls of underlayment into the room where they’ll be installed and let them sit, undisturbed, for 48–72 hours so they can adjust to the room’s temperature and humidity.
During acclimation, keep windows closed, maintain normal HVAC settings, and avoid stacking materials.
Check planks for visible defects and moisture before unboxing and proceeding.
Room layout planning and expansion gap calculations
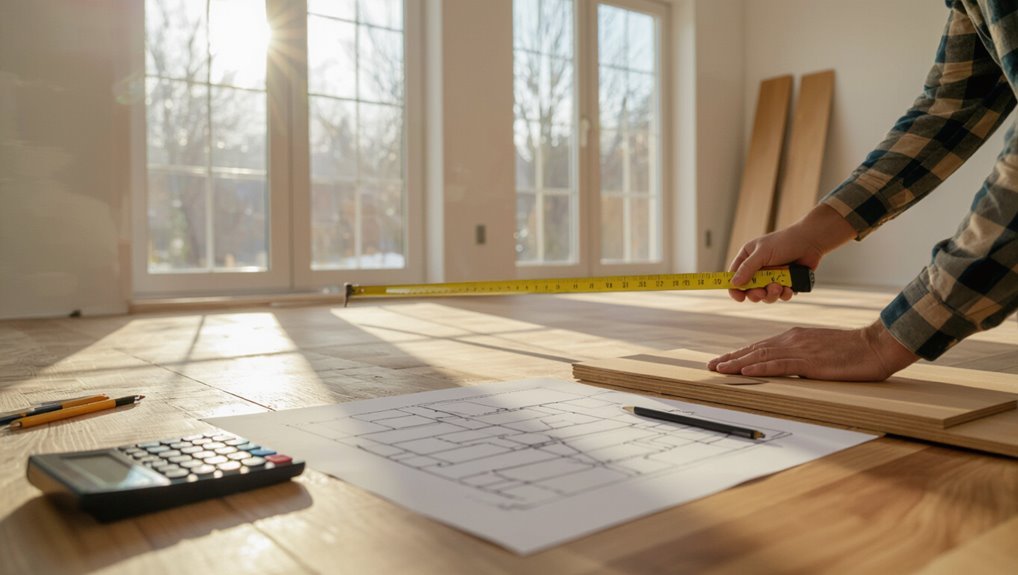
Before you roll out the underlayment, plan the plank layout and calculate expansion gaps so the floor looks balanced and has room to expand without buckling; measure the room, determine the direction of the planks (usually parallel to the longest wall or main light source), and sketch a layout that avoids creating very narrow starter or end rows.
Mark centerlines, dry-lay a row, and calculate required edge gaps—typically 1/4″ to 3/8″ perimeter, larger for big rooms—then plan junction strips for doorways.
Step-by-Step Installation Underlayment First, Then Laminate
Start by cleaning and leveling the subfloor so your underlayment and laminate sit flat and secure.
If you’re on concrete, put down a vapor barrier before rolling out the underlayment, making sure seams are overlapped and taped.
Cut around obstacles and doorways, then lay the first row of laminate with proper alignment and spacing.
Step 1 Clean and level the subfloor
Clear the room and inspect the subfloor for dirt, nails, loose boards, and high or low spots—you’ll need a clean, level surface for the underlayment and laminate to perform properly.
Remove debris, pull nails, tighten or replace loose boards, and sand or fill low areas with floor-leveling compound.
Verify flatness with a straightedge and repair any imperfections before laying underlayment.
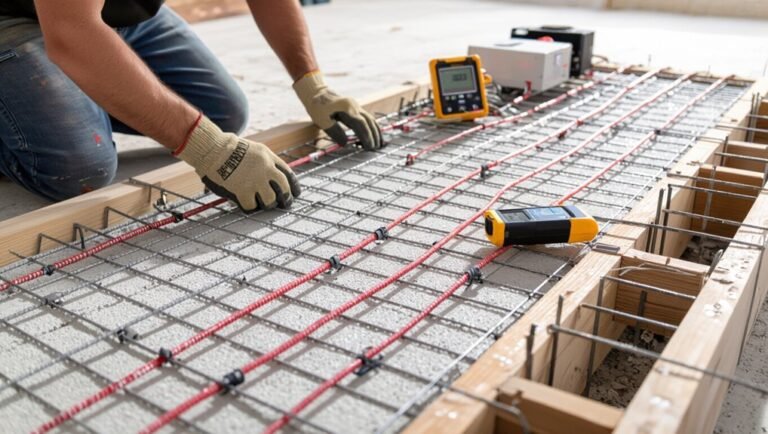
Step 2 Install vapor/moisture barrier on concrete (if required)
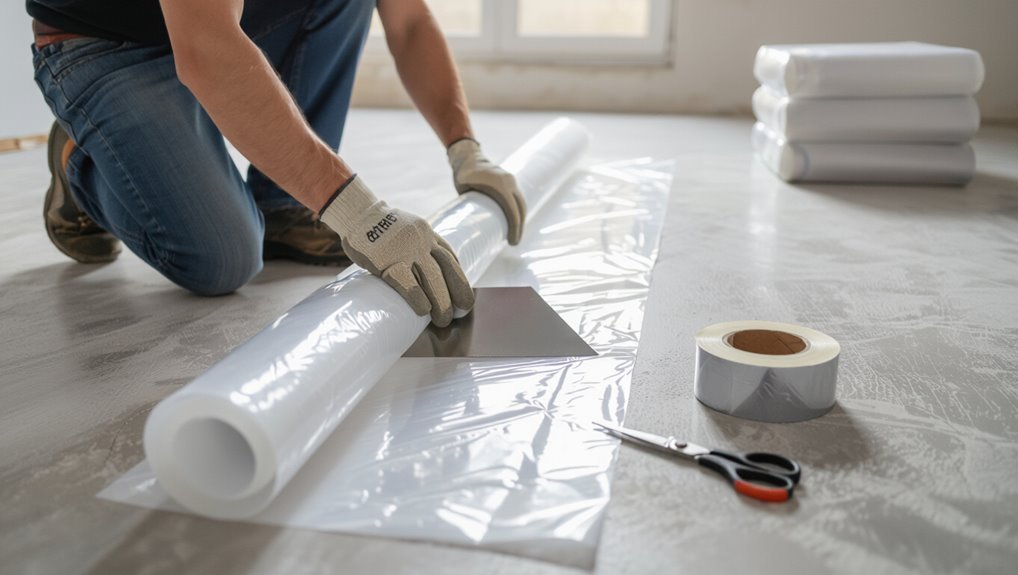
If your subfloor is concrete or prone to moisture, you’ll need to lay a vapor barrier before the underlayment to protect the laminate; this thin plastic sheet prevents ground moisture from warping the boards and voiding warranties.
Measure and cut sheets to fit, allow slight overlaps at edges, run barrier up walls a few inches, and seal seams with recommended tape to guarantee a continuous moisture block.
Step 3 Roll out or lay underlayment: seams, overlaps, and taping
Roll out the underlayment across the subfloor so it lies flat and smooth, aligning seams perpendicular to the direction you’ll lay the laminate boards. This layer cushions the floor, reduces sound, and evens minor irregularities.
Butt seams tightly or overlap per manufacturer instructions, tape seams with recommended tape, and trim excess at walls, keeping a consistent expansion gap around the room.
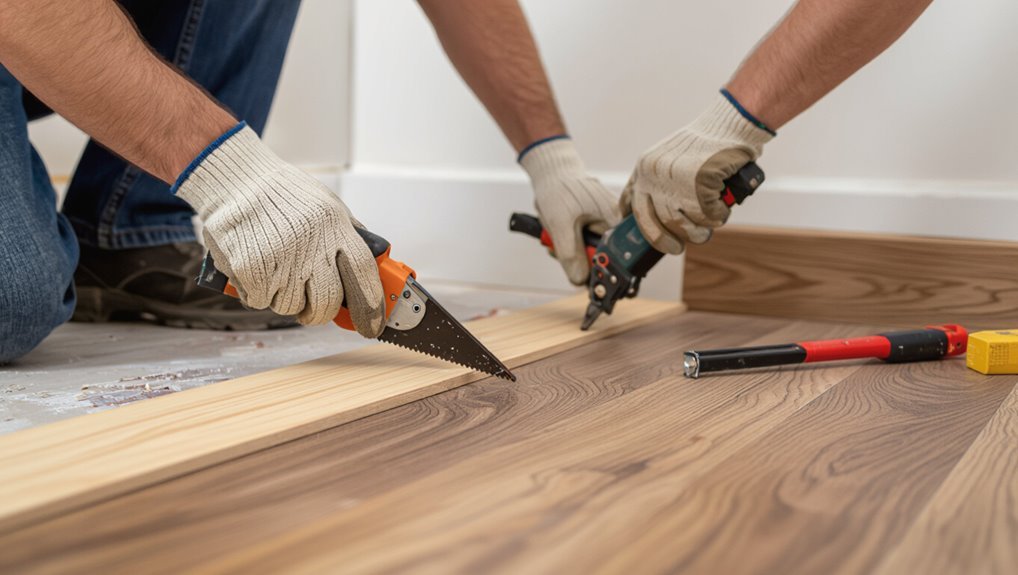
Step 4 Cutting around obstacles, doorways, and transitions
With the underlayment in place, you’re ready to cut around doorways, vents, pipes, and any other obstacles so the laminate fits neatly.
Measure carefully, mark cut lines on the plank underside, and transfer obstacle locations. Use a jigsaw for irregular shapes and a coping saw for tight spots.
Allow expansion gaps at walls and thresholds, and dry-fit pieces before final clicks to guarantee clean shifts.
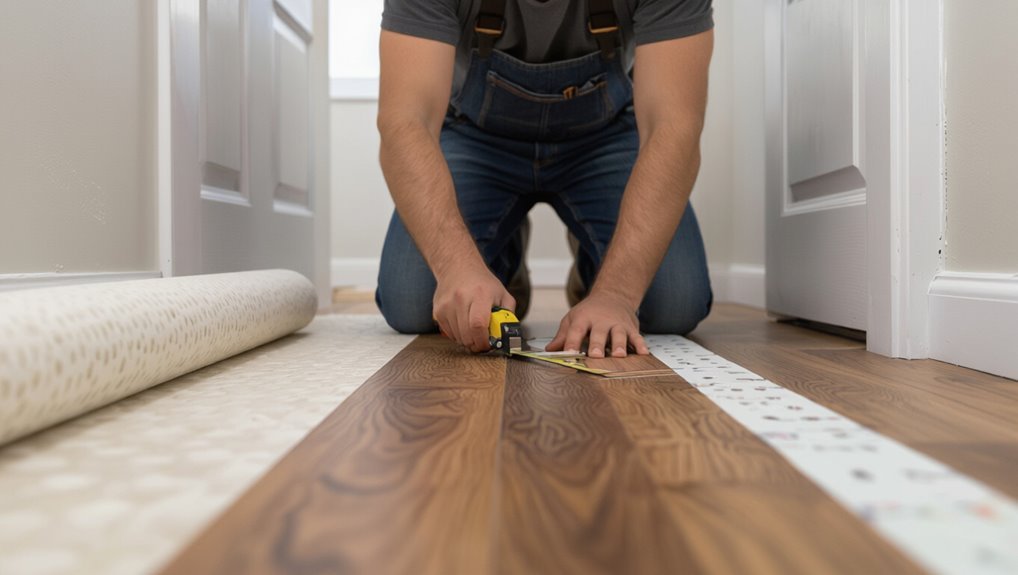
Step 5 Laying the first row of laminate: alignment and spacing
Start by placing your first plank along the longest, straightest wall so you’ll set a consistent baseline for the rest of the floor.
Use spacers to maintain the manufacturer’s recommended expansion gap. Check alignment frequently with a chalk line or square.
Tap planks gently to close seams without damaging edges. Trim the last plank of the row to fit, remembering the expansion gap.
Step 6 Subsequent rows: locking techniques and staggering seams
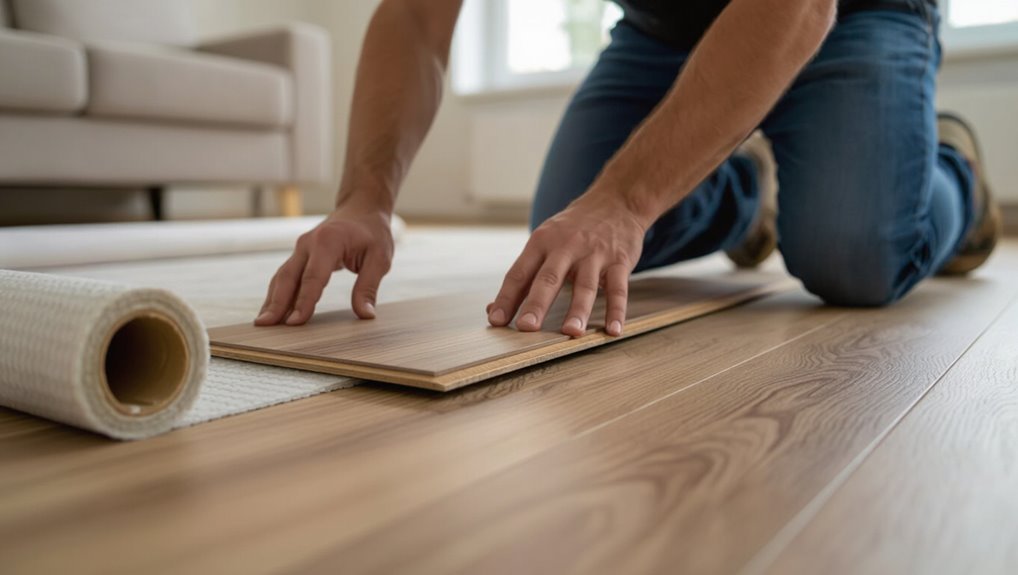
Continue building rows by angling each new plank slightly and snapping it into the previous row’s tongue-and-groove; this keeps joints tight and speeds installation.
Offset end joints at least 8–12 inches from adjacent rows to stagger seams. Use a tapping block and pull bar for snug fits without damage.
Check alignment frequently and trim starter pieces as needed to maintain consistent staggering.
Step 7 Fitting last row and trimming to fit
When you reach the last row, measure the remaining gap carefully and transfer that measurement onto your planks, remembering to account for the expansion gap and the thickness of the tongue.
Cut planks lengthwise with a table saw or circular saw, keeping cuts straight.
Dry-fit pieces, trim door jambs if needed, then tap the final row into place using a pull bar and mallet, maintaining the gap.
Step 8 Install transitions, baseboards, and trim while preserving expansion gap
After the floor’s down, you’ll fit junctions, baseboards, and trim so the room looks finished while keeping the required expansion gap around the perimeter.
Start by installing threshold strips at doorways, securing them to subfloor, not laminate.
Attach baseboards and quarter-round to walls only, nailing into studs.
Leave the gap visible behind trim for seasonal movement, sealing edges if needed.
Step 9 Final inspection and cleanup
Although the major work is done, you should perform a thorough final inspection and cleanup to guarantee the floor looks great and functions properly.
Walk the room, check seams, changes, and trim for gaps or loose boards. Remove debris, vacuum edges, and wipe planks with a manufacturer-approved cleaner.
Reinstall furniture carefully, using felt pads, and monitor for settling or squeaks over the next few days.
Common Problems and How to Fix Them
You’ll likely run into a few common issues—bouncy or hollow spots, squeaks, buckling or gaps from moisture and expansion, and uneven seams or lippage.
For each problem you’ll want to diagnose the cause (subfloor, underlayment, installation gaps, or moisture) and apply the right fix.
Below are clear checks and remedies so you can correct them quickly and prevent recurrence.
Bouncy or hollow feel possible causes and solutions
Sometimes a laminate floor that feels bouncy or sounds hollow signals installation or subfloor issues you can fix yourself; common causes include inadequate underlayment, gaps beneath boards, uneven subfloor, or floating planks that aren’t locked tightly.
Check and replace thin or damaged underlayment, shim or level low spots, secure loose boards, and re-lock or re-seat planks. Test patches before finishing the room.
Noisy floor (squeaks) diagnosis and remedies
When a laminate floor squeaks, start by pinpointing where the sound comes from—you can walk slowly, hop, or have someone press down while you listen—to distinguish between loose boards, movement at seams, or subfloor friction.
Tighten loose planks, add small finishing nails or screws near joints into the subfloor, apply powdered graphite or talc for friction, and replace damaged underlayment where needed.
Buckling or gaps after installation moisture and expansion issues
If boards start to buckle or gaps appear after installation, it usually means the floor didn’t have room to expand or moisture got into the core.
Check perimeter gaps, remove trim, and relieve pressure.
Measure humidity and dry the room; use dehumidifiers or fans.
Replace swollen planks and guarantee proper underlayment and expansion spacing to prevent recurrence.
Uneven seams or lippage correction techniques
Fix uneven seams and lippage by identifying high and low edges and addressing the root cause—improper subfloor prep, uneven joins, or tightened locking mechanisms.
Use a straightedge and feeler gauge, loosen problem joints, and reinstall affected planks with proper tapping techniques.
Sand or shim subfloor highs/lows, replace damaged boards, and guarantee expansion gaps.
Finish by reseating seams and checking flatness across the room.
Best Practices and Pro Tips
Before you start the final install, pick an underlayment that matches your room’s sound, thickness, and moisture needs so the floor performs and lasts.
Plan runs, changes, and irregular cuts ahead of time and coordinate with a partner for safe, efficient lifting and tapping.
Finish with simple preventive maintenance tips—cleaning, humidity control, and quick repairs—to keep the laminate looking great for years.
Choosing the right underlayment for your needs (sound rating, thickness, vapor barrier)
Though underlayment sits out of sight, it hugely affects how your laminate performs—so choose based on sound rating, thickness, and whether you need a vapor barrier.
Pick higher IIC/STS ratings for upstairs rooms, thicker padding for minor subfloor irregularities, and a vapor barrier over concrete or moisture-prone areas.
Match manufacturer requirements and don’t double-up incompatible layers; test connections for proper height.
Strategies for long runs, doorways, and irregular rooms
When you’re tackling long runs, doorways, or oddly shaped rooms, plan seams and shifts so they’re both sturdy and visually seamless.
Stagger end joints at least 12–16 inches, use connecting strips at doorways, and scribe or ripple-cut planks for curves.
Leave expansion gaps at walls and thresholds, fasten underlayment securely, and dry-fit sections to confirm patterns before gluing or locking.
Preventive maintenance to extend laminate life
After you’ve planned seams and handled tricky areas, keeping your laminate looking and performing its best relies on routine care and a few smart habits.
- Wipe spills immediately with a damp cloth to prevent swelling.
- Use felt pads on furniture to avoid scratches.
- Clean with manufacturer-approved solutions; avoid steam mops.
- Maintain stable indoor humidity to prevent gaps or buckling.
Safety tips and working efficiently with a partner
Because laminate planks are heavy and cuts can throw off your rhythm, prioritize safety and clear communication so you and your partner work fast without risking injury or mistakes.
Wear gloves, eye protection, and kneepads. Lift with knees, not back. Mark cuts, measure twice, and assign roles—one holds and aligns, the other cuts and taps.
Keep a tidy workspace and a first-aid kit nearby.
Comparison: Underlayment Options at a Glance
You’ll weigh foam, cork, rubber, felt and combined underlayment for cushioning, sound control and moisture resistance.
Consider cost versus performance—cheaper foam saves money but may not block moisture or reduce noise like cork or rubber.
I’ll compare key pros and cons so you can pick the best balance for your room and budget.
Foam vs. cork vs. rubber vs. felt vs. combined underlayment
When choosing underlayment for laminate, weigh sound control, moisture resistance, and comfort—because each material performs differently in those areas. Foam is affordable and cushioning; cork offers natural sound dampening; rubber excels at sound and moisture; felt adds warmth and minor sound control; combined layers balance perks. Choose based on room, subfloor, and moisture risk.
| Material | Strength |
|---|---|
| Foam | Cushioning |
| Cork | Sound dampening |
| Rubber | Moisture/sound |
| Felt/Combined | Warmth/balance |
Cost vs. performance tradeoffs
Although cheaper underlayment will save you up front, it can cost more over time if it fails to control moisture, sound, or comfort.
So weigh initial price against long-term performance.
- Foam: low cost, moderate cushioning, poor moisture barrier.
- Cork: mid cost, good sound and comfort, needs sealing.
- Rubber: higher cost, excellent sound and durability.
- Felt/combined: versatile, balanced protection, moderate price.
Cost and Time Estimates
You’ll want to budget for materials and tools across three tiers—budget, mid-range, and premium—since prices can vary widely.
Expect installation time to range from a few hours for a small room if you’re experienced to a couple of days for larger areas or if you’re new to the job.
Below I’ll break down typical costs and give time estimates by room size and skill level.
Typical material and tool costs (budget, mid-range, premium)
Before you order anything, get a clear sense of how much materials and basic tools will cost at three quality levels—budget, mid-range, and premium—so you can match product choices to your timeline and skill level. Compare price ranges and pick durable options that fit your skill set.
| Item | Budget | Premium |
|---|---|---|
| Laminate (per sq ft) | $0.80 | $3.50 |
| Underlayment (roll) | $15 | $75 |
| Tools (basic set) | $40 | $200 |
Time estimate by room size and skill level
Now that you’ve matched materials and tools to a budget, let’s look at how long installation will take based on room size and your experience.
- Small room (100 sq ft), beginner: 4–6 hours; experienced: 2–3 hours.
- Medium (200 sq ft), beginner: 8–10 hours; experienced: 4–6 hours.
- Large (400 sq ft), beginner: 2–3 days; experienced: 1 day.
- Complex layouts add 25–50% time for cuts and adjustments.
Mistakes to Avoid
Don’t install underlayment over wet or untested subfloors — moisture will ruin the floor.
Make sure you leave proper expansion gaps, tape seams correctly, and don’t use underlayment that’s incompatible with your laminate’s locking system.
Also don’t rush acclimation or skimp on staggering planks, or you’ll end up with gaps and buckling.
Installing underlayment over wet or untested subfloors
If you install underlayment over a wet or untested subfloor, you’ll trap moisture and invite warping, mold, and premature laminate failure.
Always test moisture with a meter or tape test first. Allow proper drying, repair leaks, and replace damaged sections.
Installing underlayment on a questionable subfloor wastes materials and risks costly repairs; pause and fix the substrate before proceeding.
Skipping expansion gaps or taping seams improperly
Because laminate expands and contracts with temperature and humidity, leaving proper expansion gaps and sealing seams correctly is essential to prevent buckling, noisy joints, and edge damage.
You should follow manufacturer gap recommendations, use spacers, and stagger end joints.
Don’t tape seams with improper adhesives or leave gaps unsealed; poor seams let moisture and dirt in, causing swelling and premature failure.
Using incompatible underlayment with your laminate locking system
Once you’ve got spacing and seams handled, pick the right underlayment for your laminate locking system — mismatches cause loose joints, uneven locking, and premature wear.
If your underlayment is too thick, compressible, or lacks vapor barrier compatibility, the tongues and grooves won’t engage properly.
Check manufacturer specs, test a short run, and replace any underlayment that voids the flooring warranty.
Rushing acclimation or improper plank staggering
While you’re keen to finish, rushing acclimation or skipping proper plank staggering will create problems that show up fast and costly.
You must let planks sit per manufacturer specs to stabilize against humidity and temperature.
Also stagger end joints at least 8–12 inches, avoiding repeated seams on adjacent rows.
If you rush either step, expect warping, gaps, and weak locking that demand repairs.
Frequently Asked Questions
You probably have a few quick questions before you start, like whether you need a vapor barrier or how thick the underlayment should be.
You’ll also want to know if you can install underlayment over an existing floor, whether it cuts noise enough for upstairs rooms, and if laminate can be glued to the underlayment or subfloor.
Below are clear answers to each point to help you finish the job right.
Do I need a vapor barrier under my laminate?
Wondering whether you need a vapor barrier under your laminate? You usually do on concrete slabs, basements, or any moisture-prone subfloor to prevent swelling and mold.
Many underlayments include a built-in vapor retarder; if not, add a separate vapor barrier.
For wood subfloors in dry, climate-controlled spaces, it’s often unnecessary—check manufacturer recommendations and local conditions before installing.
Can I install underlayment over an existing floor?
If your subfloor already has a finished surface—like vinyl, tile, or hardwood—you can often lay underlayment over it, but you’ll need to check compatibility and prepare the surface first.
Make sure the existing floor is level, clean, dry, and securely attached. Remove loose grout or trim high spots.
Verify manufacturer guidelines and local codes; some materials or moisture issues require removal before underlayment.
How thick should the underlayment be for laminate?
How thick should the underlayment be for laminate?
You’ll typically choose 2mm to 3mm for standard laminate—thin enough to keep locking joints tight, thick enough to smooth minor subfloor imperfections.
If your subfloor is uneven or you need added moisture protection, pick a combined foam/vapor barrier or 4mm product designed for leveling.
Always follow manufacturer specs.
Will underlayment reduce noise enough for upstairs rooms?
You’ve already picked the right thickness for stability and moisture control, but upstairs rooms add another concern: sound.
Underlayment helps—especially foam or cork with higher IIC/ΔIIC ratings—by reducing impact and airborne noise.
It won’t eliminate echoes or loud footsteps alone; pair it with quality laminate, tight joints, and area rugs, and check building codes or neighbor expectations before finishing.
Can I glue laminate to underlayment or subfloor?
Can you glue laminate to underlayment or a subfloor?
You generally shouldn’t glue click-lock laminate to underlayment; it needs to float for expansion.
You may glue some glue-down laminate planks directly to a clean, dry, level subfloor using manufacturer-approved adhesive.
Never glue over cushioning underlayment or plywood with moisture issues.
Always follow the flooring maker’s instructions to preserve warranties and performance.