How to Install Herringbone Tile: Layout Tips for a Flawless Pattern
You can create a flawless herringbone floor or backsplash by planning carefully, snapping straight reference lines, and dry-fitting tiles to set the pattern before any adhesive. Choose tile size and angle (45° for drama, 90° for speed), prep a level, dry substrate with the right underlayment, and mix thinset to a peanut-butter consistency. Start with a stable two-tile corner, use spacers, make precise cuts, grout and seal. Keep going to learn layout tricks, tool tips, and timing.
How to Install Herringbone Tile: Quick Answer and What You’ll Achieve
You can expect a herringbone tile install to take a weekend for a small area or a few days for larger floors, with moderate difficulty and a striking, professional-looking result when done right.
If you’ve got basic tiling skills, patience, and the right tools, you can tackle this as a DIY project; hire a pro if the layout is complex, the surface needs major prep, or you want guaranteed perfection.
This overview will help you decide whether to try it yourself or call in a contractor.
Direct answer overview of time, difficulty, and end result
Expect to spend a weekend (about 6–10 hours for a small room) installing a herringbone tile pattern if you’re reasonably handy.
You’ll follow steps on how to install herringbone tile, measure and snap precise lines, cut many pieces, and set with thinset.
Difficulty is moderate—requires patience and accuracy.
End result: a striking, professional-looking floor or backsplash that elevates the space.
Who should attempt this project vs. when to hire a pro
If you’re reasonably handy and comfortable with measuring, cutting tile, and working with thinset, this is a project you can tackle over a weekend; otherwise, bring in a pro.
You should DIY if you have patience, steady hands, basic tools, and can troubleshoot layout tweaks.
Hire a pro for large areas, complex patterns, uneven substrates, or when flawless grout lines and warranties matter.
Basic Understanding What Is Herringbone Tile and Why Choose It
Herringbone tile is a staggered zigzag pattern created by laying rectangular tiles at 45- or 90-degree angles, and you’ll recognize it by the strong sense of movement it creates.
Choosing it can make a room feel larger, add visual flow, and boost style whether you want classic or modern looks.
You’ll find herringbone in porcelain, ceramic, wood-look planks, and marble, with a range of common sizes to fit different spaces.
Definition and visual characteristics
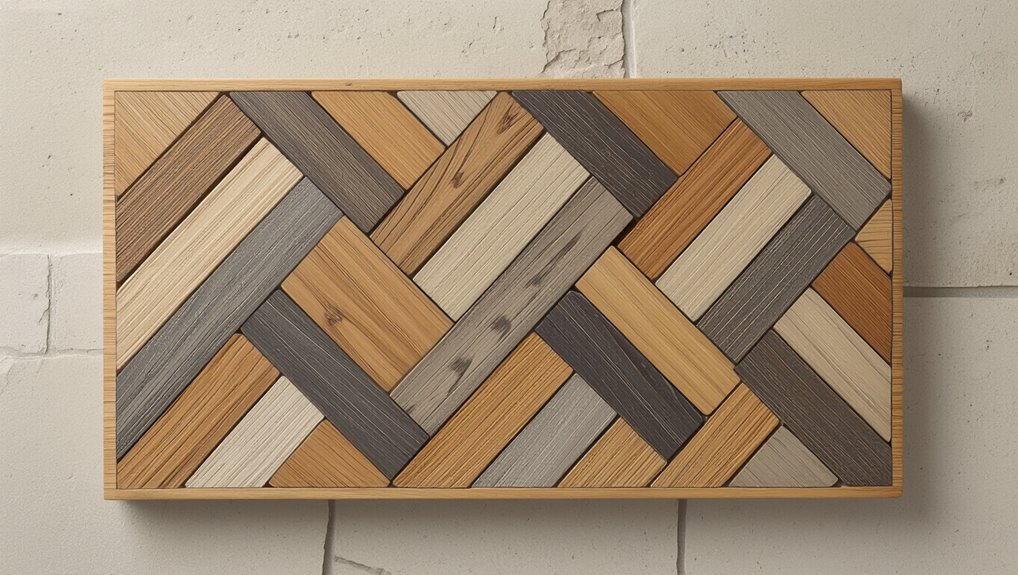
Think of a zigzag made from short rectangular tiles laid at a 45-degree angle to create a V-shaped weave; that’s the herringbone pattern, and you’ll recognize it by its distinctive broken-chevron rhythm and directional movement.
You’ll see alternating tiles meet end-to-side, creating interlocking rows, clear joints, and a textured surface. Sizes, grout width, and material change its scale and finish.
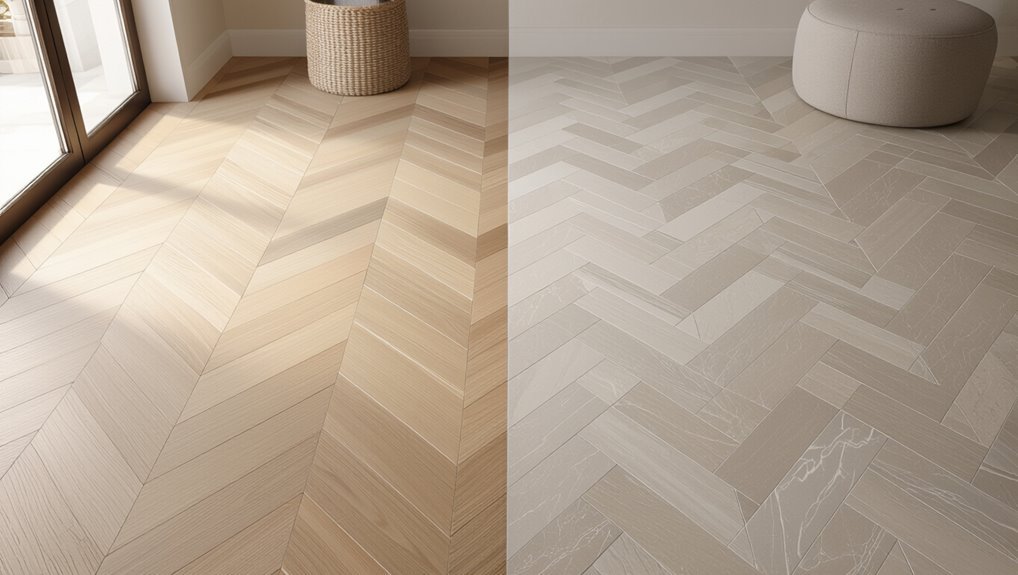
Design benefits: perception of space, movement, and style
Beyond its look, the pattern does more than decorate: it changes how a space reads and feels.
You’ll use herringbone to elongate rooms, draw the eye along corridors, or add focal movement to entries. Its directional rhythm creates depth and energy, elevating both modern and traditional schemes.
You’ll also achieve an instant sense of crafted sophistication without overpowering other design elements.
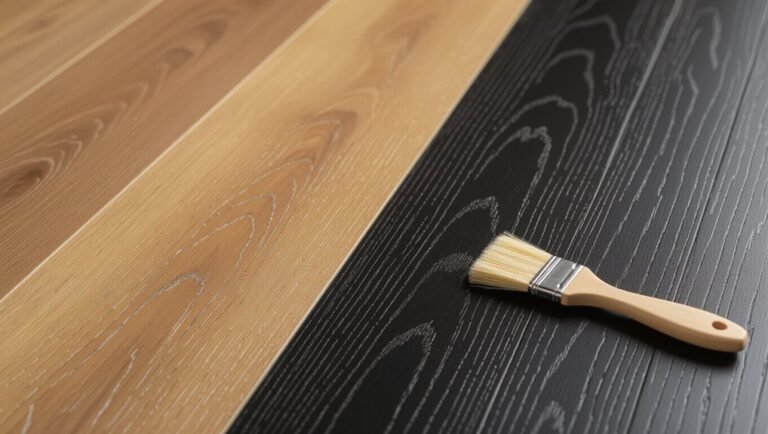
Common materials and sizes (porcelain, ceramic, wood-look, marble)
Material choice shapes both the look and performance of a herringbone installation, so pick tiles that suit the room’s traffic, moisture, and style. Porcelain is durable; ceramic is budget-friendly; wood-look offers warmth; marble delivers luxury—choose sizes (e.g., 2×8, 3×12) that fit scale and grout lines for the pattern.
| Material | Pros | Typical Sizes |
|---|---|---|
| Porcelain | Durable | 2×8, 3×12 |
| Ceramic | Affordable | 2×8, 4×12 |
| Wood-look | Warmth | 3×12, 4×16 |
| Marble | Luxurious | 2×8, 3×12 |
Tools, Materials, and Preparation Checklist
Before you start laying a herringbone pattern, gather the right tools and materials—trowels, spacers, a wet saw, adhesive, grout, and sealant—so you won’t stop mid-job.
Check and prepare the site by testing for moisture, confirming your subfloor type, leveling or adding underlayment as needed.
Finally, measure and calculate tile quantity with a waste allowance specific to the herringbone layout to avoid shortages.
Tools required
To get your herringbone tile project off the ground, gather the right tools and materials so you won’t stop mid-job hunting for something you need.
You’ll need precise hand and power tools plus safety gear.
- Tile cutter (wet or manual), notched trowel, rubber mallet
- Chalk line, carpenter’s square, level
- Knee pads, safety glasses, dust mask
Materials and consumables (adhesive, spacers, grout, sealant)
Once you’ve got the right tools, assemble the consumables you’ll use every day on the job: tile adhesive (thinset or mastic chosen for your tile and substrate), spacers in the correct size for your grout joint, grout (sanded or unsanded as required), and a suitable sealant or sealer for porous tiles or grout lines.
- Choose adhesive rated for your tile and substrate.
- Match spacer size to grout width.
- Pick grout color and seal porous grout/tiles promptly.
Site preparation: subfloor types, moisture testing, leveling, underlayment
Start by evaluating your subfloor type and condition so you know what prep is required: concrete, plywood, or existing tile each demands different checks for level, moisture, and structural soundness.
Test moisture with a meter or tape methods, repair cracks, shim or grind high spots, and apply self-leveling compound where needed.
Choose appropriate underlayment (cement board, uncoupling membrane) and fasten per manufacturer.
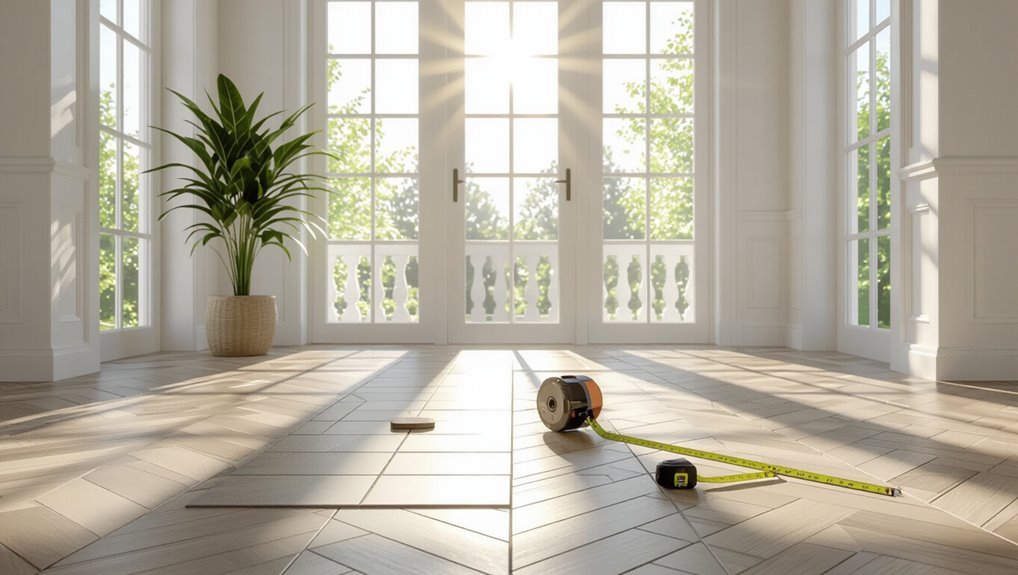
Calculating tile quantity and waste allowance (layout-specific tips)
Plan for materials before you mix mortar or snap chalk lines: measure the room’s square footage, decide on your herringbone pattern orientation and tile size, and calculate tile needed plus waste based on cuts and borders.
Account for diagonal layout waste—typically 10–20% depending on tile size and room complexity. Round up, buy extra for matching batches, and keep spare tiles for repairs.
Planning Your Herringbone Layout Key Decisions Before You Start
Before you mix mortar, you’ll need to pick tile size and orientation to match the room’s scale and flow.
Decide whether to start at the center, a doorway, or a focal point, and choose a 45° or 90° herringbone based on the look you want and how tricky the install will be.
Do a dry layout and snap a chalk-line grid so you can map the pattern and avoid surprises.
Choosing tile size and orientation for room scale
When you’re choosing tile size and orientation for a herringbone floor, focus on how the pattern will read in the room and how much cutting you’re willing to do.
Use longer planks to elongate narrow spaces, smaller tiles for compact rooms, and consider plank proportions to maintain rhythm.
Align orientation with sightlines so the pattern complements traffic flow and furniture placement.
Selecting starting point: center, doorway, or focal point
Where do you want the eye to land first: the center, the doorway, or a feature wall?
Decide based on sightlines and traffic. Start at the center for symmetrical balance, at the doorway to guide entry, or at a focal wall to highlight architecture.
Dry-lay tiles, mark reference lines, and adjust so cuts along edges are consistent and visually pleasing before you set anything.
Laying patterns: 45° vs. 90° herringbone and impact on install complexity
After you’ve chosen your starting point and checked sightlines, pick the herringbone angle—45° or 90°—because it shapes both the look and the work involved.
A 45° layout feels dynamic and hides irregular walls but needs more cuts and precision.
A 90° pattern is cleaner, faster, and wastes less tile, yet it reads more structured.
Choose based on style and skill.
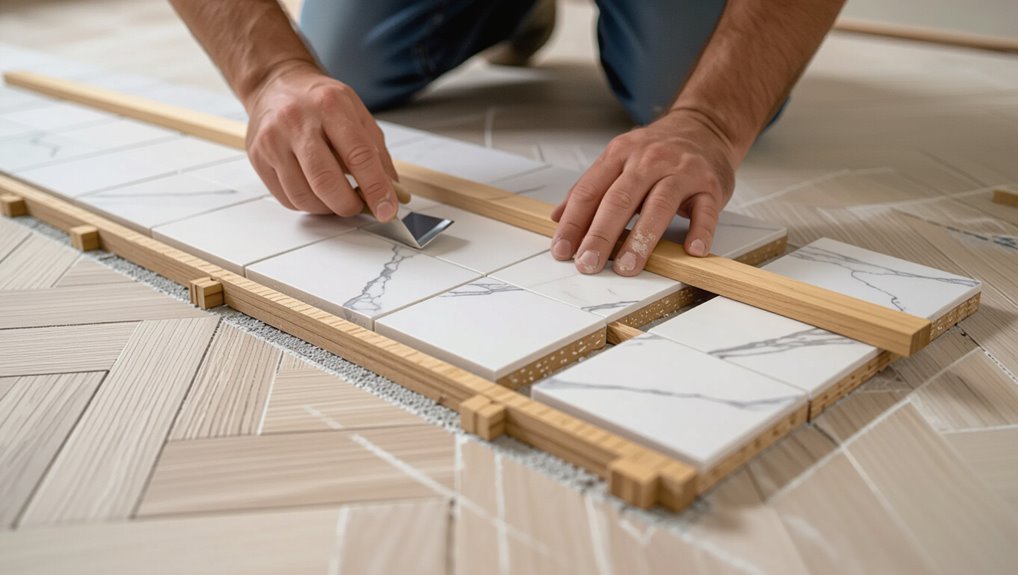
Dry layout and chalk line grid: how to map the pattern
Start by doing a dry layout so you can see the pattern, adjust spacing, and plan cuts before any thinset goes down.
Lay tiles loosely from your chosen focal point, check grout gaps, and mark high-visibility edges.
Snap a chalk line grid aligned to that center or wall. Use the grid to keep rows square, verify fit, and reduce costly mistakes during installation.
Step-by-Step Installation Guide
Now you’ll walk through each installation step so the layout you planned becomes a finished floor.
Start by prepping the surface and snapping reference lines, then mix thinset and set up a manageable working area.
From a stable starter block you’ll build the herringbone row-by-row, cutting tiles neatly at edges, corners, and obstacles as you go.
Step 1 Prepare the surface and set reference lines
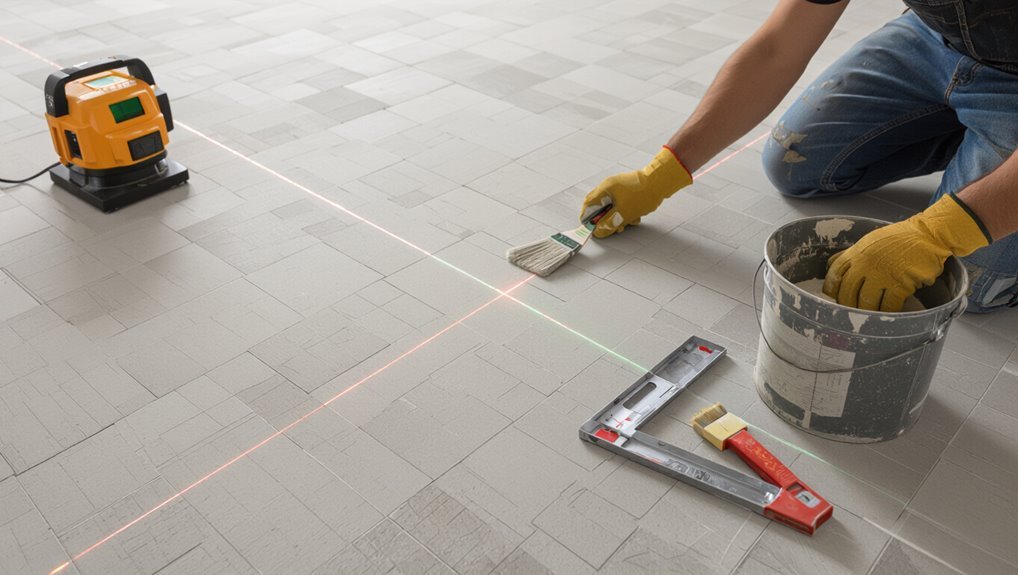
1. You’ll prep the floor, guarantee it’s clean, level, and dry before laying tile.
Set reference lines from the room’s center to guide the herringbone pattern.
- Remove debris and old adhesive.
- Patch low spots; verify flatness with a straightedge.
- Snap perpendicular chalk lines for alignment and consistent joints.
Step 2 Mix thinset and establish working area
Mix the thinset to a creamy, peanut-butter consistency and clear a tidy work zone so you can lay tiles without interruption.
Measure and mix only what you’ll use in 20–30 minutes, following manufacturer ratios. Keep tools, spacers, and a damp sponge within reach.
Mark a staging area for mixed mortar and stacked tiles, and maintain a clean edge for consistent adhesion and efficient workflow.
Step 3 Laying the first tiles: creating a stable starter block
With your thinset ready and tools staged, you’ll create a stable starter block to anchor the entire herringbone pattern.
Butter two tiles’ backs and set them at a 90° corner to form a right-angle block, using spacers for uniform joints.
Check alignment with your chalk lines and a square, tap tiles level, and remove excess thinset to keep edges clean.
Step 4 Building the herringbone pattern row-by-row (technique tips)
Begin laying tiles row by row by working outward from your starter block, setting each tile at the same 45° angle so the pattern stays consistent.
Place adhesive on the back, press each tile firmly into the bed, use spacers to maintain joint width, and tap tiles level as you go.
Check alignment frequently with a straightedge, adjust before adhesive skins, and keep joints uniform for a crisp herringbone.
Step 5 Cutting tiles at edges, corners, and obstacles (tools and techniques)
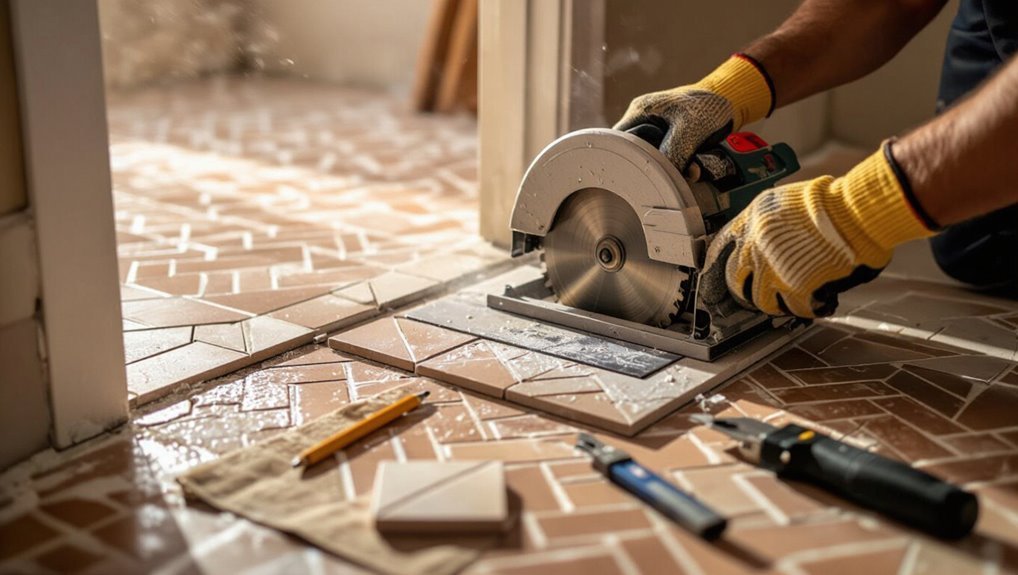
Cut tiles to fit edges, corners, and around obstacles using the right tools and a clear plan so your herringbone stays crisp and professional.
Measure carefully, mark cut lines, and choose a wet saw for straight cuts, a tile nipper for small notches, and a trim wheel for curves.
Dry-fit pieces, wear eye protection, and cut slowly to avoid chipping and waste.
Step 6 Allowing thinset to cure and cleaning before grouting
After you’ve dry-fit and cut the edge pieces, let the thinset set undisturbed so tiles bond fully—this usually takes 24 hours for standard mixes, longer in cool or humid conditions.
Keep traffic off, protect with barriers, and avoid tapping tiles.
Once cured, remove spacers, sweep joints, and wipe tile faces with a damp sponge to remove residue and haze, letting surfaces dry before grouting.
Step 7 Grouting, sealing, and final cleaning
Now it’s time to grout, seal, and do the final cleanup to finish your herringbone installation. Work methodically to fill joints, wipe haze, and protect tiles.
- Mix grout to consistency, pack joints, remove excess with a rubber float.
- After curing, apply appropriate sealer evenly; follow manufacturer timing.
- Final clean with a pH-neutral cleaner, buff dry, inspect for touch-ups.
Troubleshooting Common Problems and Mistakes
If your herringbone pattern starts to misalign, stop and re-adjust the layout before the adhesive sets so the whole run stays true.
Keep grout joints consistent with spacers and correct uneven spacing while tiles are still loose to avoid big fixes later.
Watch for lippage and use a leveling system, and plan junction strips or tapered cuts where walls or floors aren’t perfectly straight.
Mistake misaligned pattern and how to correct early
When you spot a misaligned herringbone run early, stop laying tiles and reassess the layout—continuing will only magnify the error.
Pull back to the last correct intersection, remove a few tiles, and relayout using your reference lines.
Realign tile noses and shoulders, check spacing with a spacer or wedge, then reset with fresh adhesive.
Verify alignment frequently as you proceed.
Mistake uneven grout joints and spacing solutions
A small misalignment can quickly lead to uneven grout joints if you keep going, so it’s worth pausing to fix spacing before more tile gets set.
Check and adjust your spacers frequently, align tiles to a consistent reference line, and remove adhesive excess that pushes tiles apart.
If joints vary, reset affected tiles while mortar’s still workable to restore uniform gaps.
Problem lippage and how to prevent it
Although herringbone’s angled layout looks intricate, you can prevent lippage by keeping tile faces level and supporting edges as you set them.
Check each tile with a straightedge and level, apply consistent mortar bed thickness, and use proper trowel size.
Tap tiles into place with a rubber mallet, remove excess adhesive, and allow full cure before grouting to maintain a flat, even surface.
Problem dealing with irregular walls and transition strips
Irregular walls and uneven doorways can throw off a herringbone layout fast, so measure and plan changes before you set a single tile.
Shim or scribe tiles to fit against bowed walls, cut starter pieces to maintain pattern, and use adjustable connection strips to absorb height differences.
Test connections dry, then trim or shim thresholds so grout lines stay consistent and connections sit flush.
Best Practices, Tips, and Time-Saving Strategies
Get your angles and seams consistent by using a reliable straightedge and setting temporary reference lines before you lay a single tile.
For large rooms, work in manageable grids and consider a motorized wet saw to cut faster, while in small spaces focus on dry-fitting and batch-cutting pieces to save time.
After installation, seal grout, clean promptly, and follow a simple maintenance schedule to keep the pattern sharp and durable.
Tips for consistent angle and seam alignment
When you set up your herringbone pattern, precise angles and tight seams are everything.
Start by snapping accurate layout lines and dry-fitting tiles to confirm alignment before you spread any adhesive. Use spacers sparingly and constant checks to keep rows true.
- Measure diagonals often.
- Adjust with a square, not guesswork.
- Trim end pieces for seamless flow.
Efficiency hacks for large vs. small rooms
If you’re tackling a large room, break the job into manageable zones and work outward from a central reference to keep the herringbone pattern consistent.
In smaller spaces, focus on precise layout and fewer, well-planned cuts so you don’t waste time repositioning tiles.
Use spacers and a chalk line to speed alignment, pre-cut border pieces, and stage materials nearby to minimize trips and downtime.
Maintenance and care tips post-installation
Once you’ve finished laying and grouting the herringbone pattern, plan a simple maintenance routine to keep the floor looking sharp and to save you time down the road.
Sweep or vacuum daily to remove grit, mop with pH-neutral cleaner weekly, and avoid harsh chemicals.
Re-seal grout annually, promptly wipe spills, use felt pads under furniture, and address chips or loose tiles immediately to prevent bigger repairs.
Cost, Time Estimate, and When to Hire a Professional
You’ll want a quick cost breakdown—materials might run a few hundred dollars while labor can be the bulk of the bill.
Expect a day or two for a small bathroom if you’re experienced, but several days to a week for larger rooms or if you’re learning as you go.
Hire a pro if the layout is complex, subfloor work is needed, or you don’t have time to get it right.
Typical cost breakdown (materials vs. labor)
While herringbone tile can look luxe, the cost usually splits between materials and labor, with materials accounting for roughly 30–50% and labor making up the rest; expect higher material shares for premium natural stone or specialty mosaics and higher labor shares when complicated cuts or layout challenges increase installation time.
| Item | Typical % | Notes |
|---|---|---|
| Materials | 30–50% | Tile, grout, mortar |
| Labor | 50–70% | Cutting, layout, grout |
| Extras | 5–15% | Waste, tools, substrate |
Time estimate by room size and experience level
Estimate time by pairing room size with your experience level: a small powder room can take a weekend for a confident DIYer but several days for a novice, whereas a large kitchen or open-plan floor can stretch from several days to a couple of weeks.
Factor in prep, cutting, and grout curing. If you’re efficient, plan tighter; if learning, add buffer time.
Signs you should hire a pro
If your project involves a large area, complex layout, or intricate cuts, hire a pro — the right installer can save time and prevent costly mistakes.
Consider cost vs. risk: pros reduce waste, secure even grout lines, and avoid rework.
If you lack experience, tight deadlines, or uncommon tile sizes, bring in a professional to assure a durable, visually accurate herringbone installation.
FAQ
You’ll likely have a few practical questions before you start, like how much extra tile to buy for the waste in a herringbone layout and whether you can install it over existing tile or vinyl.
You may also wonder which tile size suits small rooms best, how to choose a grout color that complements the pattern, and whether underfloor heating works with herringbone tile.
Keep these FAQs in mind as you plan so you can avoid surprises and get the look you want.
How much extra tile should I buy for a herringbone layout?
How much extra tile should you buy for a herringbone layout?
Buy 15–20% over your measured square footage for waste, pattern matching, cuts, and mistakes.
Increase to 20–25% for diagonal rooms, complex layouts, or small tiles that create more cut pieces.
Always purchase from the same dye lot and keep spare tiles for future repairs; returnable or extra boxes help avoid shortages.
Can herringbone be installed over existing tile or vinyl?
After ordering extra tile, you’ll also want to decide whether to remove your existing floor or lay herringbone over it.
You can install over sound, level tile or vinyl if you prep properly: clean, roughen, and use a bonded, flexible thinset or a suitable primer.
Remove loose or uneven material first. When in doubt, consult a pro to guarantee adhesion and flatness.
What tile size works best for small rooms?
Wondering which tile size makes a small room feel larger? Choose narrow, longer rectangles—like 2×8, 3×12, or 4×16 inches—to elongate sightlines and reduce visual clutter.
Smaller squares can overwhelm; very large tiles can dwarf scale. Keep grout lines thin and consistent to maintain flow.
Test a mock layout to confirm proportions before cutting and setting.
How do I match grout color with a herringbone pattern?
If you want the herringbone pattern to read as a continuous field, pick a grout shade that closely matches the tile tone so lines recede and the zigzag stays subtle.
For contrast, choose a darker or lighter grout to emphasize pattern.
Test samples on several tiles, view them in different lighting, and consider maintenance—darker grout hides stains, lighter grout brightens the layout.
Is underfloor heating compatible with herringbone tile?
Yes—you can absolutely use underfloor heating with herringbone tile.
It works well with both electric and hydronic systems if you use a flexible, polymer-modified thinset and a suitable uncoupling membrane.
Heat evenly across the pattern, avoid large temperature spikes, and follow manufacturer limits for tile and adhesive.
Consult an installer to guarantee proper spacing, expansion joints, and thermal compatibility for a durable installation.