How to Install a Linoleum Floor: A Step-by-Step Guide for Beginners
You can install linoleum yourself with basic tools, good prep, and patience. Measure the room, acclimate and unroll the material, repair and level the subfloor, then cut panels to fit. Apply the recommended adhesive, lay sheets or tiles carefully, smooth out air, and roll to seat the floor. Finish with trims and allow cure time before heavy use. Follow manufacturer instructions and keep an eye out for common mistakes—continue for step-by-step tips and troubleshooting.
How to Install a Linoleum Floor and What to Expect
Yes—you can install linoleum as a beginner with basic DIY skills and patience.
Expect a few hours to a couple of days depending on room size, moderate material and tool costs, and common tools like a utility knife, straightedge, adhesive, and a roller.
The job is moderate in difficulty: careful measuring and surface prep make the biggest difference in how it turns out.
Quick Answer: Can a Beginner Install Linoleum?
Curious if you can tackle a linoleum install yourself? Yes — with patience and basic DIY skills you can learn how to install a linoleum floor.
Expect clear steps: prep the subfloor, measure and cut, adhesive or click systems, and careful seams.
Start small, follow instructions, and practice cutting. You’ll avoid major issues by taking your time and double-checking measurements.
Summary of Time, Cost, Tools, and Difficulty
Expect to spend a weekend on a small room and a few days for larger areas; total time depends on prep, acclimation, and whether you’re using adhesive or a click-lock product.
You’ll pay $2–$8/sq ft plus supplies, need basic tools, and should budget patience.
Skill-wise, it’s beginner-friendly with careful measuring and prep.
- Time: weekend to several days
- Cost: low–moderate
- Tools: utility knife, straightedge, roller
- Difficulty: easy–moderate
Basic Understanding What Is Linoleum and Why Choose It
Before you start the install, it helps to know that linoleum is a natural floor made from linseed oil, cork or wood flour, and jute backing, available in sheet, tile, and plank formats.
You’ll weigh benefits like durability, eco-friendliness, and easy repair against drawbacks such as sensitivity to moisture and heavier installation vs. vinyl or hardwood.
Consider using linoleum in kitchens, hallways, and other dry areas with flat, stable subfloors for the best results.
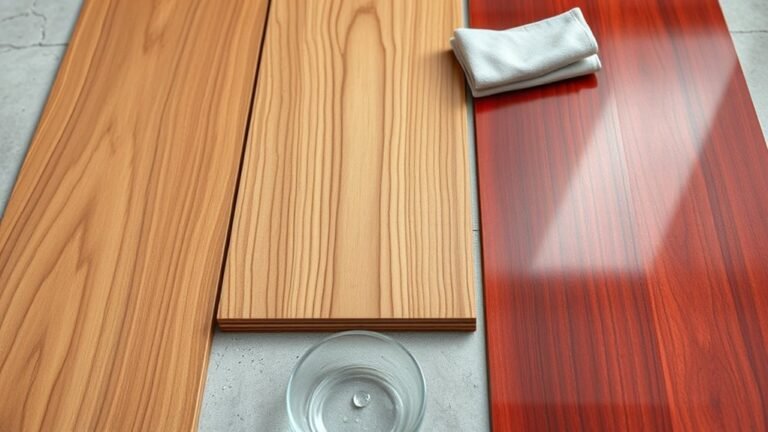
What Linoleum Is: Materials and Types
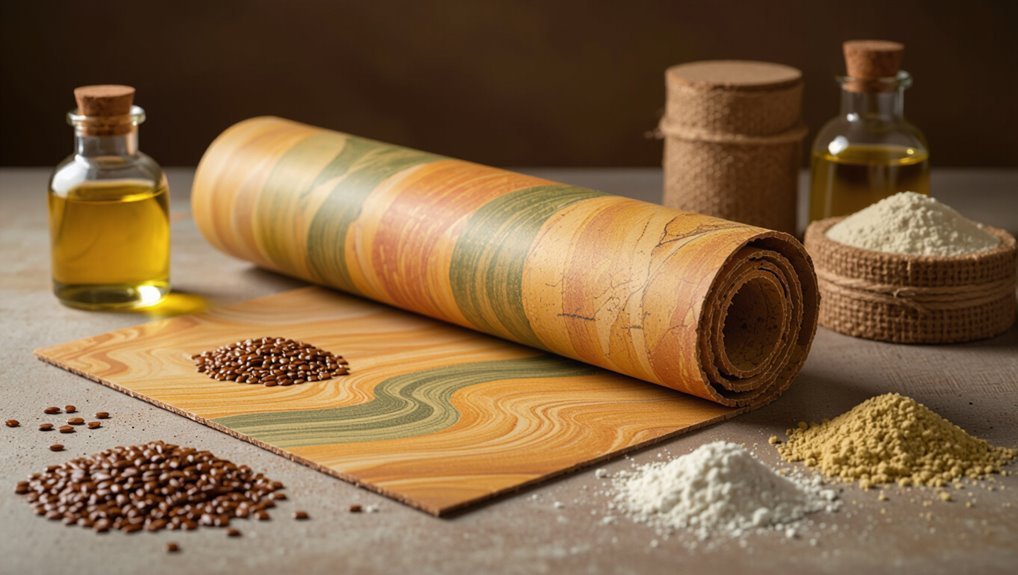
Linoleum is a durable, eco-friendly flooring made from natural materials—primarily linseed oil, cork or wood flour, pine rosin, and a jute backing—that’s been used for over a century.
You’ll find sheet, tile, and plank formats; homogeneous (solid color through thickness) and heterogeneous (printed surface with protective finish) constructions; and varied thicknesses for different traffic.
Choose type based on room use and installation method.
Benefits and Drawbacks Compared to Vinyl and Hardwood
When you’re weighing flooring options, linoleum stands out for its natural composition, resilience, and long lifespan, yet it isn’t the perfect choice for every situation. You’ll get eco-friendliness and repairable wear, plus warmth underfoot. Downsides include moisture sensitivity and higher upfront cost than vinyl.
| Pros | Cons |
|---|---|
| Natural, durable | Sensitive to water |
| Repairable, warm | Pricier than vinyl |
Where Linoleum Works Best (Rooms and Subfloors)
Knowing the pros and cons helps you figure out where linoleum will perform best.
You’ll want it in low- to moderate-moisture areas like kitchens, hallways, and mudrooms because it’s durable and water-resistant when sealed.
Avoid high-humidity rooms unless properly installed with a moisture barrier.
It adheres well to smooth, stable subfloors—plywood, OSB, or leveled concrete—free of movement or debris.
Preparation Measuring, Materials, Tools, and Safety
Before you start, measure the room carefully—include a waste allowance for seams and mistakes—so you buy the right amount of linoleum.
Gather a concise materials and tools checklist and put on safety gear, then clear and ventilate the workspace.
Finally, inspect the subfloor for levelness, moisture, and damage so you know what repairs or underlay are needed.
How to Measure Your Room Accurately (Waste Allowance)
Accurate measurements are the foundation of a clean linoleum installation, so double-check every dimension and factor in a waste allowance to avoid costly shortfalls.
Measure length and width at several spots, use the largest values, and sketch the room showing doors, alcoves, and fixtures.
Add 10%–15% waste for cuts and pattern matching; round up when ordering.
Materials and Tools Checklist
While you’re getting ready to lay linoleum, gather everything you’ll need so the job flows smoothly:
- Linoleum sheet with 10% extra for waste
- Adhesive recommended by manufacturer and a notched trowel
- Measuring tape, straightedge, utility knife with extra blades
- Roller or floor seam roller for firm adhesion and smooth finish
Safety Gear and Workspace Preparation
Because you’ll be working with sharp tools, adhesives, and heavy materials, put on safety glasses, knee pads, and gloves, and make sure the area is well-ventilated.
Clear furniture, tape down drop cloths, and lay out tools for easy access. Keep a first-aid kit and fire extinguisher nearby.
Use proper lifting technique and take breaks to avoid fatigue.
Subfloor Inspection: What to Look For
Now that your workspace is set and you’re protected, inspect the subfloor carefully to catch problems that will ruin a linoleum installation.
Look for rot, moisture stains, mold, soft spots, and loose or squeaky boards.
Check for levelness—use a straightedge and filler for gaps or high spots.
Guarantee a clean, dry, solid surface before proceeding with underlayment and adhesive.
Choosing the Right Linoleum and Adhesive
Now you’ll pick the linoleum style that fits your room—sheets for fewer seams, tiles for pattern flexibility, or planks for a wood-look.
Choose an adhesive based on installation type and traffic: pressure-sensitive for loose-lay or sticky-back tiles, acrylic for faster curing, or cold-set for full-spread bonding.
Also match your underlayment and a moisture barrier to subfloor conditions to prevent warping or adhesion failure.
Types of Linoleum Sheets vs. Tiles vs. Planks
Choosing the right linoleum format — sheets, tiles, or planks — determines not only the look of your floor but how you’ll install and glue it.
Sheets suit large, seamless areas and cut down seams.
Tiles offer pattern flexibility and easier replacement.
Planks mimic wood grain and fit narrow rooms.
Consider subfloor flatness, traffic, and repair needs when picking format.
Selecting Adhesive: Pressure-Sensitive, Acrylic, or Cold Adhesive
Which adhesive will hold up best for your room and linoleum type?
Choose pressure-sensitive for easy repositioning and traffic areas, acrylic for fast-setting, low-odor installations, or cold-set adhesive for heavier, permanent bonds.
Match adhesive to linoleum backing and room use—high-traffic, commercial, or flexible seams—read manufacturer recommendations, and test a small area to confirm bond and work time before committing.
Matching Underlayment and Moisture Barrier Needs
While you pick linoleum and an adhesive, consider the underlayment and moisture barrier as part of the same system so you don’t end up with delamination or mold later on; match vapor transmission, cushion, and thickness to adhesive specs, subfloor type, and room humidity to guarantee adhesion and longevity.
| Subfloor | Barrier | Recommended underlayment |
|---|---|---|
| Concrete | Vapor barrier | Cork or foam |
| Plywood | Felt paper | Plywood underlayment |
| Radiant | Permeable membrane | Thin cement board |
Step-by-Step Installation Process
Before you start, you’ll acclimate and unroll the linoleum so it relaxes. Then repair and level the subfloor for a smooth base.
Next you’ll cut the material to rough size, dry-fit pieces and make any seams before final placement.
Finally you’ll apply the adhesive and install the sheet or tiles, following the manufacturer’s timing and pressure recommendations.
Step 1 Acclimate and Unroll the Linoleum
Start by letting the linoleum sit in the room where you’ll install it for at least 24–48 hours so it can acclimate to the temperature and humidity; this prevents shrinking or buckling after installation.
Unroll the sheet gently, face up, and smooth any curls with light pressure.
Check for defects, match pattern direction, and allow the material to relax fully before cutting or trimming.
Step 2 Repair and Level the Subfloor
Inspect the subfloor carefully for squeaks, loose boards, cracks, or high spots, and mark any areas that need repair so you can level the surface before laying the linoleum.
Remove debris, tighten or replace loose boards, and fill gaps or holes with floor patch.
Sand high spots and screed low areas with leveling compound.
Confirm the surface is clean, dry, and flat before proceeding.
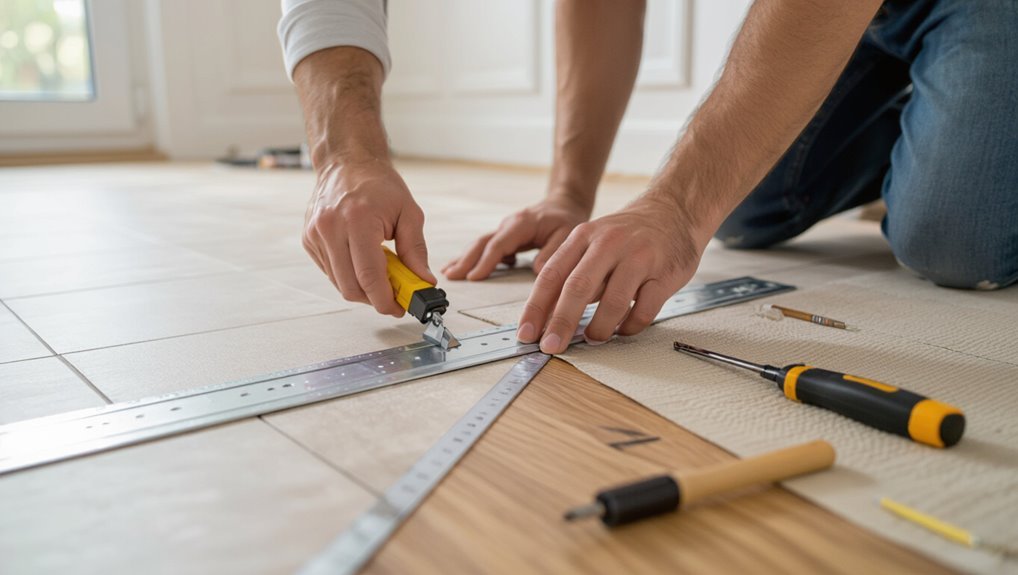
Step 3 Cut the Linoleum to Rough Size
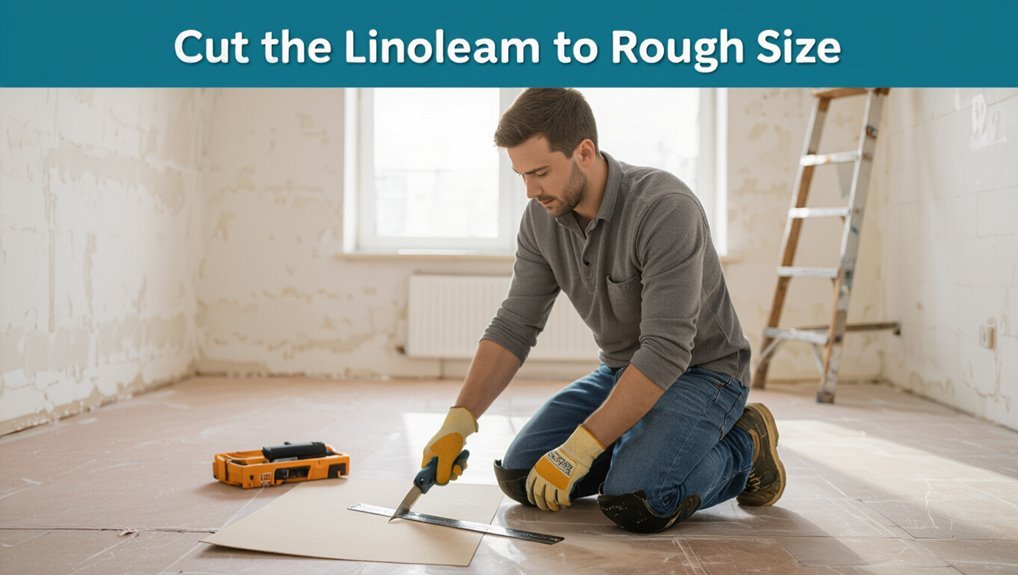
Measure the room and roll out the linoleum, then cut it roughly to size so you have a manageable piece to work with; leave an extra 2–4 inches on each side for trimming later and account for any patterns or seams when positioning the sheet.
Use a straightedge and utility knife, score several passes, and trim slowly. Keep scraps for templates and protect edges from damage.
Step 4 Dry Fit and Seaming (if multiple pieces)
Once you’ve cut the linoleum to rough size, lay the sheet(s) in place to dry fit them so you can check alignment, pattern match, and how seams will fall; adjust overlaps and trim as needed until everything sits flat without buckle or gap.
Mark seam locations, verify patterns line up, and scribe tight-fitting edges. If using multiple pieces, plan seam direction and leave slight overlap for final trimming.
Step 5 Apply Adhesive and Install Sheet or Tiles
With the sheets dry-fit and seams marked, you’re ready to spread adhesive and set the flooring in place.
Mix adhesive per manufacturer instructions. Work in small sections to prevent skinning.
Use a notched trowel for even coverage, follow grain direction, and lay sheets or tiles carefully, smoothing outward to remove air.
Keep seams tight and aligned as you progress across the room.
Step 6 Roll, Weigh Down, and Trim Edges
Roll the floor immediately after laying to seat the adhesive and remove trapped air; start with a 100–150 lb floor roller over the sheet or tile, then follow by hand-rolling seams and edges to guarantee full contact.
Next, place weights along seams and high-traffic zones for the recommended dwell time.
Trim excess material with a sharp blade, cutting toward walls and leaving a neat 1/8″ gap.
Step 7 Welding or Sealing Seams (for sheets)
Prepare to seal the seams to create a watertight, durable finish—this step prevents dirt and moisture from getting between sheets and reinforces the floor’s structural integrity.
Cut seam edges square, dry-fit sheets, then use a heat-welding gun with appropriate welding rod or apply a recommended seam sealant.
Run evenly, trim excess, and smooth joints. Allow cure time before traffic to guarantee a strong, invisible bond.
Step 8 Installing Transition Strips and Baseboards
Once your seams are cured and the floor lies flat, you’ll install threshold strips and baseboards to finish edges and guarantee a clean, safe junction between rooms and floor types.
Measure openings, trim connections to fit, and fasten strips per manufacturer instructions.
Nail or glue baseboards, leaving a small gap above the floor for expansion, then caulk and touch up paint or trim for a polished result.
Step 9 Curing Time and First Use Guidelines
Before you put furniture back or walk heavily on the new floor, let the linoleum cure for the full time recommended by the manufacturer—typically 24 to 72 hours—so adhesives set and seams stabilize.
During curing, keep the room ventilated, maintain moderate temperature, and avoid moisture.
After curing, replace furniture with protective pads, avoid rolling heavy items for a week, and clean gently.
Common Problems and How to Fix Them
You’ll likely run into a few common issues—bubbles or wrinkles, poor adhesion, visible seams or misaligned patterns, and post-install damage—and you’ll need to know how to spot each one.
For bubbles or wrinkles you’ll press and re-adhere or use a pin to release trapped air; for poor adhesion you’ll check the subfloor, adhesive type, and reapply or replace as needed.
If seams are visible or patterns don’t line up you’ll trim and reseat sections or use seam sealer, and for damage you’ll patch small areas or replace sheets.
Bubbles and Wrinkles Causes and Corrections
Bubbles and wrinkles in linoleum usually come from trapped air, inadequate adhesive coverage, or temperature changes.
To correct them, lift the sheet at the affected area, smooth out air with a roller toward the edge, and reapply adhesive where needed.
For small bubbles, puncture, press out air, and seal.
Avoid stretching; let material relax and acclimate before final fastening.
Poor Adhesion Diagnosis and Repair
If fixing bubbles and wrinkles didn’t fully remedy lifting, poor adhesion may be the real issue—often caused by improper substrate prep, incorrect adhesive type, contaminated surfaces, or temperature and moisture problems.
Check substrate for dust, paint, or old adhesive; test moisture with a meter.
Remove contaminant, roughen smooth concrete, choose manufacturer-recommended adhesive, apply correct open time, press and roll firmly, and allow proper cure.
Visible Seams or Misaligned Patterns Remedies
Wondering how to fix visible seams or patterns that don’t line up? You can shift seams before adhesive sets, gently lift and realign edges, and use seam rollers to flatten joins.
Apply a thin bead of seam sealer to hide gaps and press firmly. For pattern mismatch, trim and reseat adjacent sheets for better continuity, checking alignment from multiple angles.
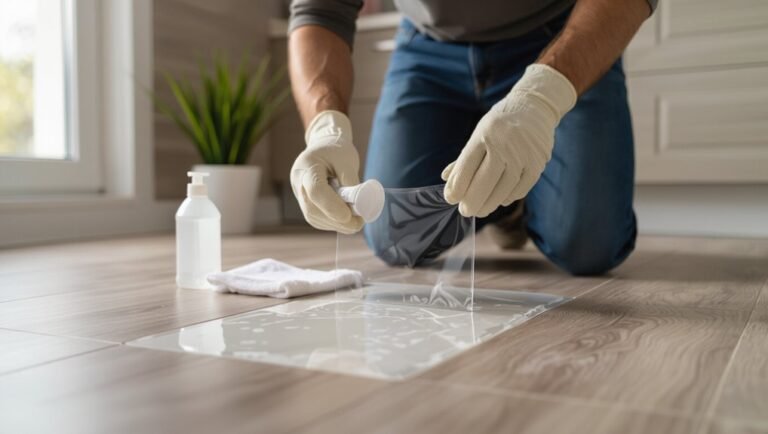
Damage After Installation Patching and Replacement
Even after you’ve fixed seams and patterns, wear and accidental damage can show up later, and you’ll want to know how to patch or replace sections without tearing up the whole floor.
Assess damage, cut out a neat patch using a matching scrap, adhesive, and seam sealer.
For large or warped areas, remove and replace the plank-sized section, glue and roll, then trim and seal edges.
Best Practices, Tips, and Maintenance
To make your linoleum last, follow proven installation best practices like acclimating the material, using the right adhesive, and ensuring a flat subfloor.
You’ll keep it looking great with routine cleaning, quick spill cleanup, and occasional resealing where recommended.
Prevent scratches, stains, and moisture damage by using protective pads, mats at entrances, and addressing leaks or dampness promptly.
Installation Best Practices to Ensure Longevity
When you take a few preventive steps during installation and follow simple maintenance routines afterward, your linoleum floor will stay attractive and durable for decades.
Use correct subfloor prep, acclimate sheets, and apply adhesive evenly. Protect edges and junctions. Inspect seams routinely and fix gaps promptly.
- Confirm level, dry subfloor
- Let linoleum acclimate
- Use recommended adhesive
- Secure seams and thresholds
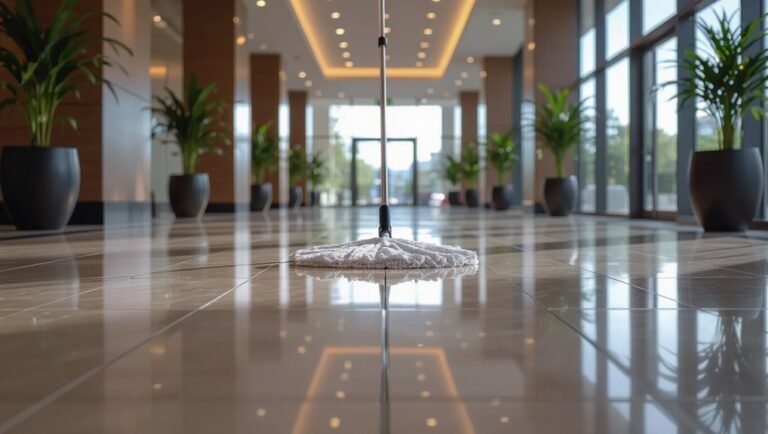
Routine Cleaning and Long-Term Care
Although linoleum is naturally resilient, regular care keeps it looking its best and extends its life; you should sweep or vacuum weekly, mop with a pH-neutral cleaner as needed, and address spills immediately to prevent staining.
Rotate rugs and furniture periodically, use nonabrasive tools, dry floors after cleaning, and check seams and edges for lifting so you can repair adhesive or trim loose edges before problems escalate.
Preventing Scratches, Stains, and Moisture Damage
Because linoleum holds up well only if you guard it against everyday wear, take simple steps to prevent scratches, stains, and moisture damage before they start.
Use felt pads on furniture, don’t drag heavy items, and place mats at entries.
Wipe spills immediately with a damp cloth, avoid harsh cleaners, and maintain sealers in humid areas.
Inspect seams and repair gaps promptly.
Cost, Time Estimates, and When to Call a Pro
You can compare a DIY cost breakdown—materials, underlayment, and tools—with professional quotes to see where you’ll save or spend more.
Expect a small bathroom to take a day or two while larger or irregular rooms can take several days, and complexity (cuts, subfloor repair) adds time.
Call a pro if you’re facing major subfloor issues, tricky layouts, or you don’t have the tools or confidence to get a seamless finish.
Typical DIY Cost Breakdown vs. Professional Installation
When weighing linoleum installation, compare DIY and pro costs, time, and risks so you can choose the right approach for your project; DIY often saves money on labor but adds time and potential mistakes, while pros charge more upfront and finish faster with reliable results.
| Item | DIY | Professional |
|---|---|---|
| Materials | Low–medium | Included/medium |
| Labor | Your time | Higher cost |
| Quality | Variable | Consistent |
| Risk | Higher | Lower |
| Time | Longer | Shorter |
Time Estimates by Room Size and Complexity
For a straightforward room under 150 sq ft, plan on a weekend for a DIY install—measuring, cutting, adhesive spread, and rolling usually take a day or two—while larger or oddly shaped spaces can stretch to several days and rack up extra material and labor costs.
So call a pro if tight tolerances, complex patterns, extensive subfloor repairs, or heavy foot traffic demand guaranteed results.
Expect prep, acclimation, and cleanup time.
Signs You Should Hire a Professional
Wondering whether to DIY or call in a pro? If budget’s tight and project’s small, you can likely handle it.
Hire a pro if your floor has lots of cuts, uneven subfloor, plumbing/electrical obstacles, or if you lack tools or time.
Expect professional costs and quicker, guaranteed results—get quotes, timelines, and warranties before committing.
Mistakes to Avoid
Don’t skip proper subfloor prep — uneven or dirty floors will ruin your linoleum.
Use the correct adhesive and underlayment, take your time finishing seams and trims, and follow the manufacturer’s instructions to the letter.
Avoiding these common mistakes will save you time and money in the long run.
Skipping Subfloor Prep
Skipping subfloor prep is one of the quickest ways to ruin a new linoleum floor, because gaps, unevenness, and moisture problems under the sheet will telegraph through and cause bubbles, tears, or premature wear.
You should inspect, clean, level, and repair cracks or ridges before laying. Don’t ignore moisture testing or fail to fasten loose boards; those faults show up fast.
Using the Wrong Adhesive or Underlayment
When you pick the wrong adhesive or underlayment, you’ll see the problems quickly: bubbling, lifting, seams that open, or a floor that wears out long before its time.
Use adhesive and underlayment specified for linoleum and your subfloor type. Follow manufacturer trowel, open-time, and conditioning guidelines.
Test a small area first to confirm bond and avoid costly repairs later.
Rushing Seams or Trimming
Even with the right adhesive and underlayment, rushing seams or trimming will undo your prep work fast.
Don’t cut too soon or force seams closed; you’ll create gaps, ridges, or weak joints.
Take time to align patterns, roll seams with the proper tool, and trim gradually.
Precise, patient trimming guarantees tight, durable seams and a professional-looking linoleum finish.
Ignoring Manufacturer Instructions
Because manufacturers test their products under specific conditions, ignoring their instructions can lead to poor adhesion, warping, or voided warranties.
You should follow recommended adhesives, acclimation times, subfloor prep, and temperature ranges. Skipping steps or substituting materials to save time often creates costly repairs.
Read labels, ask the manufacturer if unsure, and keep documentation in case warranty service is needed.
FAQ Linoleum Installation Frequently Asked Questions
You probably have a few quick questions before you start—like whether linoleum can go over existing floors, how long it lasts, or if it’s waterproof enough for a bathroom.
You’ll also want to know about seams and whether you can paint or refinish it.
Let’s answer those common concerns so you can move forward with confidence.
Can linoleum be installed over existing flooring?
Can linoleum go over your existing floor? Yes—if the surface is dry, level, clean, and securely attached.
Remove loose tiles, patch grooves, and sand glossy finishes. Thin-set or adhesive-grade underlayment may be needed over uneven or cushioned floors.
Avoid installing over water-damaged, highly cushioned, or unstable substrates.
Follow manufacturer guidelines and test a small area before committing to the whole room.
How long does linoleum last after installation?
If your subfloor was sound and you followed the manufacturer’s prep and installation instructions, linoleum can last a very long time—often 20 to 40 years with normal residential traffic.
Your maintenance matters: clean spills promptly, sweep regularly, and use mild cleaners.
Dense use areas may show wear sooner; you can extend life with felt pads under furniture and periodic refinishing or professional recoating when surface wear appears.
Is linoleum waterproof and suitable for bathrooms?
Wondering whether linoleum stands up to bathroom moisture? You’ll find linoleum is water-resistant but not fully waterproof.
Proper subfloor preparation, tight seams, and a quality finish keep moisture out. Clean spills quickly and seal edges near tubs or showers.
In regularly wet zones, consider additional waterproofing or choose a fully waterproof flooring to avoid long-term damage.
Do linoleum seams need to be welded?
Do you need to weld linoleum seams? You don’t always have to, but welding creates a watertight, durable joint ideal for wet areas or commercial use.
For residential rooms with light moisture, properly glued and seam-sealed edges can suffice.
If you want a permanent, sanitary finish—especially in bathrooms or kitchens—hot-welding with compatible rod is recommended.
Can I paint or refinish linoleum?
Welding seams gives linoleum a long-lasting, watertight finish, but you might still want to refresh an existing floor without replacing it.
You can paint linoleum if it’s clean, sanded lightly, and primed with a bonding primer. Use floor-grade polyurethane or epoxy as a topcoat for durability.
Refinish only in good condition; heavily worn or delaminated linoleum needs replacement.
Quick Checklist Before You Start
Before you roll out the linoleum, do one final pre-installation checklist to confirm measurements, subfloor condition, and material quantities.
Make sure the room is clean, dry, and at the recommended temperature.
If anything’s off, fix it now to avoid costly rework later.
Final Pre-Installation Checklist
Although you’ve prepared most materials and tools, take a final moment to verify everything on this quick checklist so you won’t stop mid-job for a missing item or unexpected issue.
Confirm measurements, room temp, and subfloor readiness before you roll out the linoleum. Check adhesives and safety gear, and guarantee helpers are scheduled.
- Measure twice, cut once
- Subfloor flat, clean, dry
- Adhesive/opening ready
- Safety gear and helpers available