How to Clean Commercial Tile Floors Efficiently for Long Lasting Shine
Keep a quick 5-step routine: sweep, spot-treat stains, mop with a pH-neutral cleaner, rinse, then dry with a microfiber pad to cut streaks and residue. First identify your tile and grout type so you use compatible cleaners and sealers. Tailor frequency to traffic zones and follow proper dilution, dwell time, and rinsing. Strip and reseal when finishes fail, use mats to reduce abrasion, and train staff—continue for detailed schedules, product choices, and step-by-step techniques.
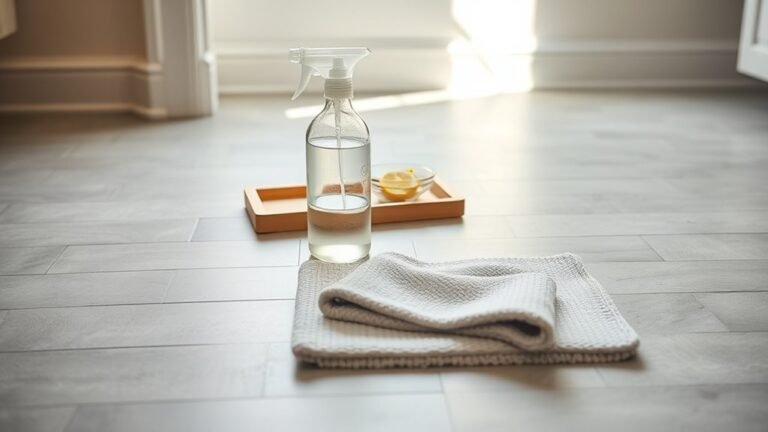
Quick 5‑Step Routine for a Fast, Durable Shine
Start with five simple steps you can complete in under 30 minutes to get a durable, commercial‑quality shine: sweep, spot-treat stains, mop with neutral cleaner, rinse, and dry with a microfiber pad.
You’ll use efficient techniques that save time and guarantee long lasting results.
Follow this routine regularly, and you’ll maintain professional-looking floors without heavy equipment or harsh chemicals.
Identify Tile & Grout Types That Affect Cleaning
Because different tiles and grouts react to cleaners and wear in different ways, you should identify the materials on your floor before you scrub or strip anything.
Inspect tile type—porcelain, natural stone, or Ceramic Variation matters—and test a discreet spot.
Check Grout Porosity to choose sealer and cleaner strength.
Match products to materials to avoid etching, staining, or premature wear.
Set Cleaning Frequency by Traffic Zone
Knowing your tile and grout helps you choose safe cleaners, and it also informs how often you should clean each area.
Knowing your tile and grout guides safe cleaner choices and determines how often to clean each area.
Use traffic analysis and zone identification to map high, medium, and low-traffic areas.
Schedule daily quick cleans for entryways, weekly deeper cleans for corridors, and monthly maintenance for seldom-used zones.
Adjust frequency after monitoring wear and soil levels.
Choose Commercial Tile Cleaners and Right pH
Choose cleaners based on pH: most tile does best with products in the neutral pH range (around 6–8).
You’ll usually want a neutral cleaner for routine cleaning and only use acidic or highly alkaline solutions sparingly and for specific soils.
Always check manufacturer recommendations and test a small area before treating large surfaces.
pH Range Selection
When you’re picking a commercial tile cleaner, start by matching the cleaner’s pH to the tile and grout type so you don’t damage surfaces or waste effort.
Assess pH effects: acidic cleansers remove mineral deposits, alkaline ones cut grease.
Check cleaner compatibility with ceramic, porcelain, natural stone and grout.
Test small areas, follow manufacturer guidelines, and adjust dilution to balance performance and safety.
Neutral Cleaners Preferred
A neutral cleaner is often the safest starting point for commercial tile maintenance, because it cleans effectively without risking etching or stripping finishes on ceramic, porcelain, or most sealed natural stone.
You’ll choose neutral cleaner benefits like safe daily use, residue-free results, and compatibility with finishes.
Pick concentrated formulas and eco friendly options to reduce waste and maintain shine while protecting grout and sealers.
Acidic/Alkaline Usage Limits
Although neutral cleaners suit most daily needs, you’ll still need acidic or alkaline products for specific soil types—use them sparingly and at the correct dilution to avoid damaging tiles, grout, or sealers.
You should monitor pH balance to optimize cleaning effectiveness, choose acidic cleaners or alkaline solutions based on surface compatibility, account for chemical interactions, follow safety precautions, and minimize environmental impact.
Safe Dilution & Application Steps for Cleaners
Always follow the manufacturer’s correct dilution ratios so you don’t damage grout or leave residue.
Use a mop, sprayer, or auto-scrubber with steady, overlapping passes and avoid over‑wetting the floor.
Allow the cleaner to work for the recommended contact time, then rinse or extract thoroughly.
Correct Dilution Ratios
1 key rule for diluting commercial tile cleaners is to follow the manufacturer’s ratio exactly, since overconcentrating can damage grout and underconcentrating wastes product and reduces effectiveness.
You should use correct ingredient ratios and effective dilution methods to protect surfaces and save costs.
- Measure with calibrated tools.
- Mix in clean water, then test a small area.
- Label and store mixed solution safely.
Application Technique And Timing
Start by applying the correctly diluted cleaner evenly across a manageable section of floor so you can work efficiently and avoid letting the solution sit too long.
Work in overlapping strokes, rinse or extract before residue dries, and follow manufacturer’s dwell-time for application timing.
Use microfiber pads or a low‑speed scrubber for technique efficiency, change solution often, and move systematically toward exits.
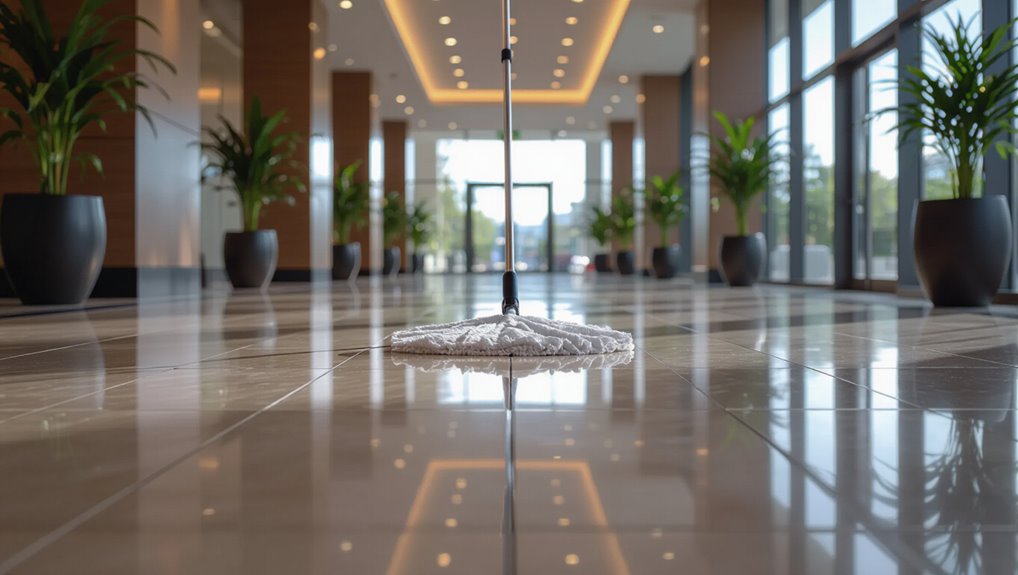
Essential Tools and Machines for Commercial Tile Care
A handful of reliable tools and a few purpose-built machines will make routine tile care faster, safer, and more consistent across commercial spaces.
You’ll pair proven tile maintenance techniques with modern cleaning equipment innovations to get durable results.
Use these essentials:
Use these essentials to streamline tile care: durable microfiber tools, adjustable low‑speed scrubbers, and portable vacuums with squeegees.
- High‑quality microfiber mops and dustpans.
- Low‑speed automatic scrubbers with adjustable pads.
- Portable wet/dry vacuums and squeegees.
Daily Micro‑Cleaning Routine to Prevent Buildup
You should start each day with a quick sweep to remove loose dirt and grit before it gets tracked around.
When you spot spills or sticky areas, grab a damp mop or microfiber pad for targeted spot cleaning.
These simple micro‑cleaning steps keep soils from building up and make deeper cleaning easier.
Quick Daily Sweep
Because grime settles fast in high-traffic areas, a quick daily sweep keeps dirt from turning into stubborn buildup and cuts down on longer, harder cleanings later.
You’ll improve tile maintenance by using efficient cleaning techniques and short routines.
- Sweep paths and entryways with a microfiber or soft-bristle broom.
- Empty debris canisters frequently.
- Inspect grout lines for early spots.
Spot Damp Mopping
Keep damp-mopping small trouble spots throughout the day to stop spills and tracked-in grit from hardening on tile and grout.
You’ll do spot cleaning quickly with a damp microfiber pad and appropriate mop selection—choose a low-moisture, easy-rinse head to avoid residue.
Blot sticky spills, rinse the pad often, and dry the area if needed to maintain shine and prevent grout staining.
Weekly Deep‑Cleaning Process With Machines
Once a week, bring in the machines for a thorough, efficient scrub that removes embedded dirt and restores grout contrast.
You’ll choose machine types by floor size and soil level, use appropriate cleaning techniques, and protect surrounding areas.
Follow this short routine:
- Test pad/solution, then machine-scrub with overlapping passes.
- Extract slurry, rinse thoroughly.
- Dry and inspect for touch-ups.
Grout Cleaning and Restoration Methods That Work
After you finish the weekly machine scrub, don’t overlook the grout—it’s where stains and bacteria hide and where restored contrast makes the whole floor look newer. You’ll deep‑clean with a brush and neutral cleaner, apply grout sealing, and use color enhancement for uniform appearance. Regular maintenance prevents deterioration and reduces costly restorations.
| Method | Benefit |
|---|---|
| Scrub | Removes soil |
| Steam | Sanitizes |
| Seal | Protects |
| Tint | Restores |
| Repair | Stabilizes |
Remove Grease, Rust, and Mineral Stains
Tackle grease, rust, and mineral stains with targeted treatments that break down each contaminant without harming tile or grout.
You’ll use effective degreasers for oil, oxide removers for rust, and acidic rinses for mineral buildup while prioritizing stain prevention.
- Apply enzyme or solvent-based effective degreasers, agitate, rinse.
- Use rust remover products, follow dwell time.
- Neutralize acids, dry thoroughly to prevent recurrence.
How to Strip and Reseal Tile for Protection
With stains removed and surfaces neutralized, you’ll want to strip old finish and reseal the tile to restore protection and make future cleaning easier.
Use approved stripping techniques—work in small sections, agitate gently, and rinse thoroughly. Allow drying time, then apply compatible sealing products evenly with a roller or applicator.
Test a small area first and follow manufacturer cure times for durable protection.
Spot‑Cleaning Protocols to Minimize Downtime
When spills happen, you need to respond quickly to prevent stains from setting and to keep foot traffic moving.
Use targeted treatments—absorbents for oils, enzyme cleaners for organic stains—so you don’t over-wet or damage surrounding tile.
With the right timing and product choice, you’ll cut cleanup time and minimize downtime.
Quick Response Timing
Act fast: spotting and removing spills within minutes keeps customers safe and prevents stains from setting, so have a clear, practiced spot‑cleaning protocol everyone can follow.
You should use quick response and efficient methods to minimize downtime, with trained staff and ready supplies.
- Immediate cordon and blot
- Fast neutral cleaner and mop
- Inspect, dry, reopen
Targeted Stain Treatments
Quick response keeps customers safe, but targeted stain treatments stop spots from coming back and reduce repeat cleaning.
You should assess the stain, choose compatible cleaners, and test a hidden area.
Apply targeted treatments sparingly, agitate gently, then rinse and dry to prevent residue.
Document products and times so you speed future stain removal and minimize downtime for customers.
Preventive Measures: Mats, Finishes, and Traffic Control
Because most wear and stains start at entry points and high-traffic zones, you should combine durable walk-off mats, protective finishes, and clear traffic control to extend tile life and reduce cleaning needs.
Use appropriate mats material and choose suitable finish types for your tile.
- Place heavy-duty mats at all entries.
- Apply low-maintenance protective finishes.
- Mark and route traffic to minimize abrasion.
Maintenance Schedule, Supplies Checklist, and Troubleshooting
A simple, consistent maintenance schedule keeps commercial tile looking its best and prevents small problems from becoming costly repairs, so set daily, weekly, and monthly tasks and stick to them. You’ll use maintenance scheduling and track supply inventory; inspect grout, mop, and buff. Troubleshoot stains, worn finish, and loose tiles promptly.
| Task | Frequency | Notes |
|---|---|---|
| Sweep | Daily | High traffic |
| Mop | Weekly | pH-neutral |
| Inspect | Monthly | Grout/finish |
Frequently Asked Questions
How Do Cleaning Protocols Change for Exterior Commercial Tile Areas?
You’ll adjust exterior cleaning techniques to handle weather, debris, and drainage, increase tile maintenance frequency during wet or snowy seasons, use pressure washing and UV-safe sealers, and schedule inspections to prevent slip hazards and grout deterioration.
Can Tile Cleaning Schedules Be Automated With Smart Building Systems?
Yes—you can automate schedules with smart technology; you’ll set sensors and IoT triggers so cleaning crews or machines engage at low-traffic times, improving cleaning efficiency, reducing wasted effort, and keeping tiles consistently maintained.
Are Steam Cleaners Safe for All Commercial Tile and Grout Types?
No, steam cleaners aren’t safe for all tile and grout; you’ll need to match steam cleaner types to surface materials, test first, and consider grout durability since high heat or pressure can damage softer tiles and weakened grout.
How Do Cleaners Affect Indoor Air Quality and Worker Safety?
You’ll want to avoid harsh surprises: cleaners with strong fragrances and solvents increase chemical exposure and indoor pollutants, so you should pick low-VOC products, ventilate well, use PPE, and train staff to minimize health risks.
Can Warranty or Insurance Be Voided by Certain Cleaning Methods?
Yes — if you use harsh chemicals or improper equipment, you can void cleaning warranties and complicate insurance claims; you should follow manufacturer guidelines, document procedures, and keep receipts so you’re covered and claims stay valid.
Conclusion
Stick to the simple routine and your floors will reward you. You’ll save time, avoid costly repairs, and keep a confident, professional look that customers notice. For example, when a small café you manage started following this schedule—daily spot-cleaning, weekly deep cleans, and seasonal resealing—foot traffic stayed high and complaints dropped, while the owner saw maintenance costs fall. Keep consistent, use the right products, and you’ll protect your investment for years.