How to Fix a Concrete Floor: Patching, Leveling, and Resurfacing Options
You can fix most concrete floors yourself by matching the repair to the problem: seal hairline cracks with caulk or epoxy, patch holes with cementitious compound or hydraulic cement, level dips with self-leveling compound or slab jacking, and resurface worn areas with polymer-modified overlays or microtoppings. Prep is key—clean, remove loose concrete, profile the surface, and use proper PPE. Start small and call a pro for structural issues, and keep going to learn specific step-by-step methods and materials.
Quick Answer Which Method to Use to Fix a Concrete Floor
If you’ve got small cracks, fill them with a concrete crack sealant; for large holes use a patching compound or mortar mix.
For an uneven slab consider grinding, leveling compound, or professional resurfacing, and for cosmetic wear use resurfacer or a thin overlay.
Follow a simple decision flowchart: identify the problem, assess extent, then pick the corresponding repair method.
Start with the least invasive fix and escalate to more extensive solutions if the issue is structural.
One-sentence summary by problem type (small cracks, large holes, uneven slab, cosmetic wear)
When you’re deciding how to fix a concrete floor, match the repair to the problem: use concrete crack filler or epoxy for small cracks, a patching compound or hydraulic cement for large holes, leveling compound or slab jacking for an uneven slab, and resurfacer or thin overlay for cosmetic wear.
For each issue, pick the method that fits severity, prep time, and budget so you get lasting results.
Decision flowchart overview
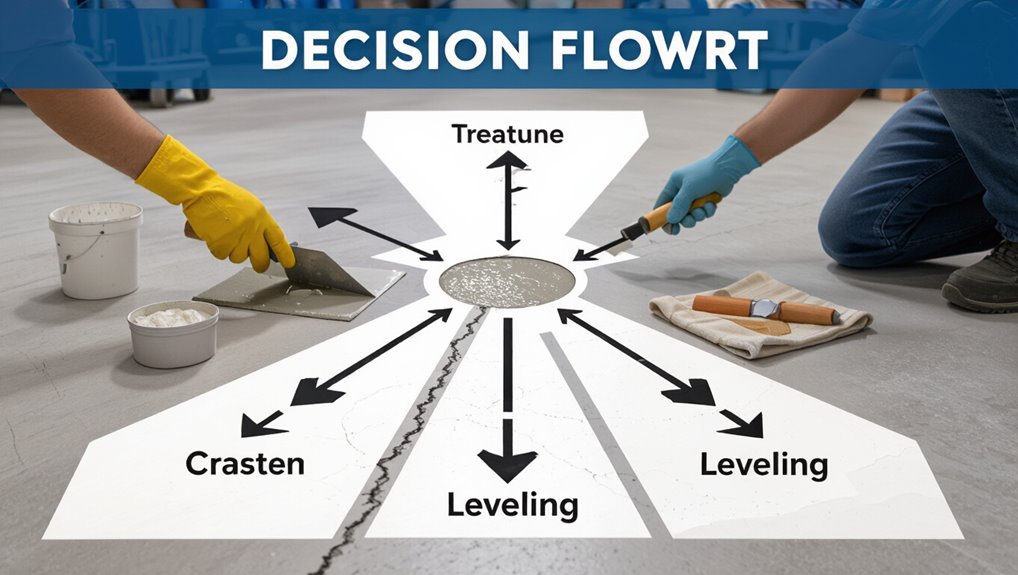
Because you want a quick, reliable answer, this flowchart walks you through four clear branches—small cracks, large holes, uneven slabs, and cosmetic wear—so you can pick the right repair method based on severity, location, and budget.
Start by evaluating size and structural risk, then follow: patch small cracks, use patch kits or epoxy for holes, level with a self-leveling compound, or resurface for aesthetic fixes.
Basic Understanding What Happens to Concrete Floors and Why Repairs Are Needed
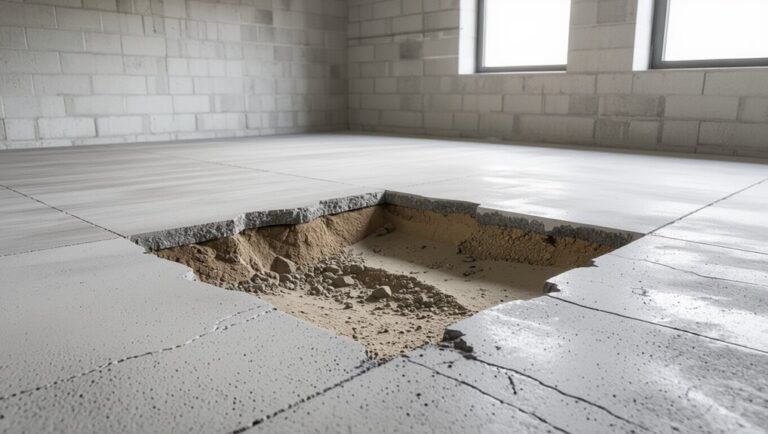
You’ll notice concrete fails for predictable reasons—settling, freeze‑thaw cycles, chemical attack, and everyday wear all show up as cracks, spalling, delamination, settlement or heaving, and surface crazing.
Understanding the difference between these problems helps you decide when a simple patch or resurfacing will do and when the job needs heavier repair.
If the damage is structural, active water infiltration, or widespread, call a pro; for small, stable surface issues, you can often fix it yourself.
Common causes of concrete damage (settling, freeze-thaw, chemical attack, wear)
Concrete floors get damaged for a few predictable reasons: settling and soil movement, freeze-thaw cycles, chemical attack, and simple wear from traffic and loads.
You’ll see effects when supporting soil shifts, water freezes and expands, deicing salts or acids eat paste, or repetitive loads scuff and abrade surfaces.
Recognizing these causes helps you choose proper repairs and preventive measures.
Types of concrete problems explained (cracks, spalling, delamination, settlement, heaving, surface crazing)
Knowing what causes damage helps you spot the specific problems that show up on a floor: cracks, spalling, delamination, settlement, heaving, and surface crazing.
Cracks range from hairline to structural. Spalling flakes off the surface from corrosion or freeze-thaw. Delamination peels between layers. Settlement and heaving shift slab elevation. Crazing creates fine surface networks that’re mostly cosmetic but can trap dirt.
When to DIY vs. call a pro
When should you tackle a repair yourself and when should you call a pro?
You can DIY small surface cracks, hairline crazing, and minor spalling with patch kits and basic tools.
Call a pro for structural cracks, settlement, heaving, extensive delamination, or moisture/intrusion that affects reinforcement.
If you’re unsure about causes or safety, hire an experienced contractor for diagnosis and durable repair.
Tools, Materials, and Safety Preparations
Before you start repairing, gather the essential tools and equipment—grinder, trowels, mixing buckets, level, and a quality vacuum—and pick materials like epoxy, polymer-modified mortars, microtoppings, or self-leveling compound that match the job.
Don’t skip personal protective equipment—respirator, gloves, eye protection, and knee pads—and follow basic jobsite safety.
Finally, run a quick surface-prep checklist: clean, remove loose concrete, etch or profile as needed, and make certain the substrate is dry and sound.
Essential tools and equipment list
You’ll need a compact set of tools, materials, and safety gear to tackle concrete floor repairs efficiently: a grinder or wire brush for surface prep, a chisel and hammer for removing loose concrete, a tuckpointing trowel and margin trowel for patching, bonding agent and repair mortar or epoxy, concrete sealer, and appropriate fasteners or patching mesh;
plus PPE—respirator, safety glasses, ear protection, gloves, and knee pads—and a shop vacuum, buckets, and mixing tools to keep the workspace clean and the repair consistent.
- Power tools: grinder, drill
- Hand tools: chisels, trowels
- Safety: respirator, glasses
- Cleanup: shop vacuum, buckets
Materials for patching, leveling, and resurfacing (epoxy, polymer-modified mortars, microtoppings, self-leveling compounds)
After gathering your grinder, chisels, trowels, and safety gear, pick materials that match the repair scope and traffic demands: epoxy systems bond and seal cracks or anchor anchors for high-strength repairs; polymer-modified mortars offer durability and better adhesion for patching deeper spalls; microtoppings restore worn surfaces and texture without adding much thickness; and self-leveling compounds create flat, smooth floors for coatings or finishes.
Choose cured-compatible products and follow substrate prep.
Personal protective equipment and jobsite safety
One clear rule: gear up like a pro—wear a respirator rated for silica dust, ANSI-approved safety glasses, hearing protection, cut-resistant gloves, knee pads, and steel-toe boots whenever you grind, chip, or mix compounds.
Secure ventilation, cordon off the area, and post warning signs. Keep a fire extinguisher and first-aid kit handy.
Inspect tools, use GFCI protection, and follow product SDS instructions.
Surface preparation checklist
Before you start any repairs, gather the right tools, materials, and safety gear so the job goes smoothly and safely.
You’ll need a broom, shop vacuum, chisel, hammer, grinder with diamond cup, wire brush, and mixing bucket.
Stock patching compound, primer, bonding adhesive, and sealant.
Wear gloves, eye protection, respirator, and knee pads.
Plan ventilation and disposal of debris.
Patching Small Damage Step-by-Step Repair for Cracks and Holes
Start by inspecting and documenting each crack and hole so you know what needs repair.
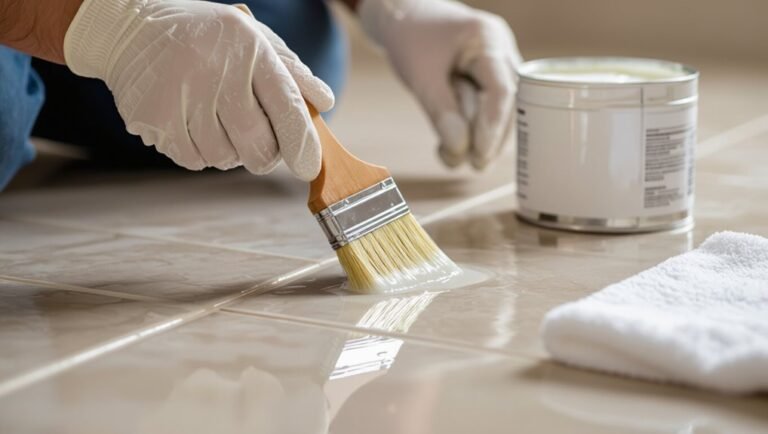
Clean and prepare the area — remove debris, oil, and efflorescence — then select the right patch material for the job, whether caulk, a cementitious patch, or epoxy.
Mix and apply per the product instructions, finish the surface smoothly, and follow proper curing practices.
Step 1: Inspect and document damage
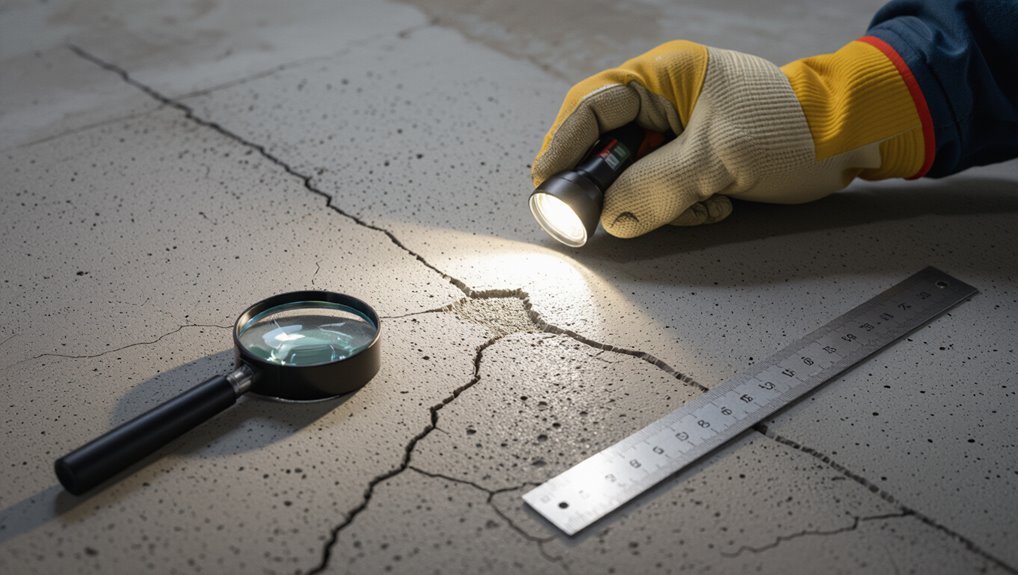
Begin by doing a thorough walk-through of the floor, noting every crack, chip, and hole you see and how long and wide each defect is.
Photograph damaged areas, label locations on a simple sketch, and record depth and whether cracks are active (widening).
Prioritize repairs by size and risk, estimate needed materials, and note any patterns suggesting deeper structural issues.
Step 2: Clean and prepare the area (remove debris, oil, efflorescence)
Clear the area so repairs will bond properly and last. Remove loose debris with a broom and vacuum, then chip out crumbling concrete with a chisel for sound edges.
Degrease oil stains using a concrete cleaner or trisodium phosphate, rinse thoroughly, and let dry.
Eliminate efflorescence with a stiff brush and mild acid wash, then neutralize and dry before patching.
Step 3: Choose the right patch material (caulk, cementitious patch, epoxy)
3 common options will cover most small concrete repairs: caulk or sealant, a cementitious patch, and epoxy. You’ll pick based on crack size, movement, and load. Caulk handles hairlines and movement; cementitious fills shallow chips; epoxy suits structural or chemical-resistant fixes. Compare quickly:
| Option | Best for |
|---|---|
| Caulk/sealant | Hairline, flexible |
| Cementitious | Shallow chips, cosmetic |
Step 4: Mixing and application techniques
Now that you’ve picked the right patch material, it’s time to mix and apply it correctly so the repair bonds and lasts.
Measure and mix per manufacturer ratios, avoiding lumps; aim for a stiff, workable paste.
Dampen the hole, pack material in layers, tamp each layer firmly, and tool the surface to match surrounding concrete.
Clean tools promptly to prevent hardening.
Step 5: Finishing and curing best practices
Once you’ve packed and tooled the patch, finish and cure it properly to guarantee maximum strength and a seamless appearance.
Smooth edges with a damp sponge, remove excess material, and texture to match surrounding concrete.
Keep repairs moist by covering with plastic or using a curing compound for at least 48–72 hours.
Protect from traffic, direct sun, and freezing until full cure.
Common mistakes when patching and how to avoid them
Although small cracks and holes might seem simple to fix, common mistakes—like inadequate cleaning, improper mix consistency, or skipping bonding agents—can cause repairs to fail quickly.
You should remove loose debris, dampen but not soak the area, follow manufacturer mix ratios, use a bonding primer when recommended, compact patch material, and cure properly.
Test small areas before full repair to guarantee adhesion.
Leveling Uneven Floors Step-by-Step Use of Self-Leveling Compounds and Grinding
Before you pour any compound, you’ll assess slope and flatness against level-tolerance standards so you know where to correct.
Next you’ll profile and prime the surface, mix and pour the self-leveling compound while feathering edges and respecting thickness limits.
If the floor has heavy highs, bonded contamination, or needs large reductions, you’ll opt for mechanical grinding or shot blasting instead.
Step 1: Assess slope and flatness (level tolerance standards)
Start by measuring the floor’s slope and flatness to determine whether you need grinding, a self-leveling compound, or both.
Use a long level, straightedge, or laser level and record high/low spots. Compare results to tolerance standards—typically 1/8″ in 6′ for finished floors.
That tells you if spot patching, extensive grinding, or full pour is required.
Step 2: Surface profiling and priming
With high and low spots mapped, you’ll prepare the surface so leveling materials bond and cure properly.
Grind glossy sealers, laitance, and contaminants using a floor grinder or shot blaster until texture is uniform.
Vacuum and tack to remove dust.
Repair deep gouges with patching mortar.
Apply manufacturer-recommended primer, working into pores, and allow proper flash time before proceeding to mixing and pouring.
Step 3: Mixing and pouring self-leveling compound
Mix the self-leveling compound in manageable batches so you can pour and spread it before it begins to set.
Measure water per manufacturer instructions, add powder slowly while mixing with a paddle on a drill, and mix to a lump-free, pourable consistency.
Pour from low height, work quickly with a gauge rake or smoother, and keep vents closed to avoid drafts that affect cure time.
Step 4: Feather edges, transitions, and compound thickness limits
After you’ve poured and smoothed the bulk of the compound, you’ll need to feather the edges and address thickness limits so the new surface blends with surrounding floor levels.
Use a margin trowel to taper toward existing concrete, working in thin passes.
Respect manufacturer minimum/maximum thickness; build up in layers if needed.
Check connections for smoothness and cure times before traffic or coverings.
Step 5: When to use mechanical grinding or shot blasting instead
Sometimes grinding or shot blasting is the smarter choice than pouring compound, especially when you’re dealing with heavy contamination, extremely uneven profiles, or large areas that need quick, uniform removal.
Choose mechanical methods when coatings, glued residues, or deteriorated concrete prevent bonding, when you need faster turnaround, or when depth control and texture for overlays are critical.
They’ll prep surfaces reliably for leveling or resurfacing.
Troubleshooting leveling problems
When your self-leveling compound or grinding approach isn’t giving the flat, bondable surface you expected, troubleshooting quickly will save time and materials.
Check for poor adhesion, active moisture, or contaminated substrate. Remove failed material, profile or grind glossy spots, and test moisture with a meter.
Reprime or use a bond-promoting additive. Feather edges, control thickness, and allow full cure before traffic.
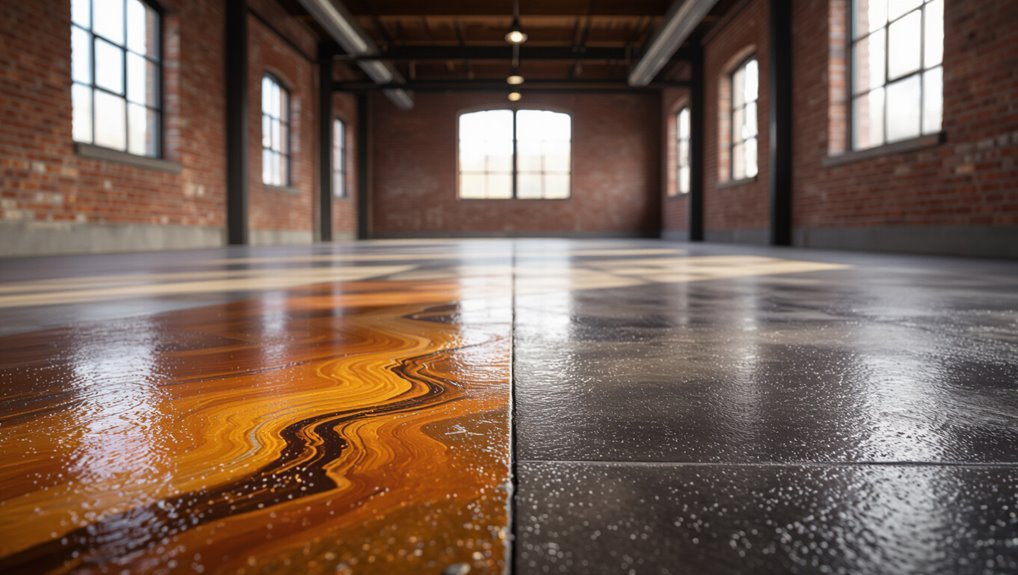
Resurfacing and Overlay Options Cosmetic and Performance Restorations
Now you’ll look at overlay options—from microtopping and acrylics to polymer-modified thin overlays and epoxy or polyurethane coatings—and how each performs.
You’ll learn how to pick the right system for garages, basements, commercial spaces, or decorative projects, plus the prep and bonding steps that make them stick.
Finally, you’ll get a concise run-through of common application steps and decorative finishes like stains, stamped texture, exposed aggregate, and sealers.
Overview of overlay types (microtopping, acrylic overlay, polymer-modified thin overlay, epoxy/polyurethane coatings)
Overlay systems give you a range of ways to refresh and protect worn concrete, from ultra-thin microtoppings for smooth decorative finishes to thicker polymer-modified and acrylic overlays that repair and level, and durable epoxy or polyurethane coatings that add heavy-duty protection and chemical resistance.
Microtopping offers thin decorative resurfacing. Acrylics balance appearance and flexibility. Polymer-modified thin overlays restore profile, and epoxies/polyurethanes provide tough, long-lasting wear and chemical resistance.
Selecting an overlay by use-case (garage, basement, commercial, decorative)
Because each space faces different stresses and aesthetic needs, you’ll pick an overlay based on where the floor will be used and what performance you expect. Choose epoxy or polyurethane for garages and commercial areas for durability; acrylic or microtopping for basements and decorative zones for looks and slip resistance.
| Use-case | Best overlay | Key benefit |
|---|---|---|
| Garage | Epoxy | Chemical, abrasion |
| Basement | Acrylic | Moisture tolerance |
| Commercial | Polyurethane | Heavy traffic |
| Decorative | Microtopping | Custom finish |
Preparation and bonding considerations for overlays
Before you apply any overlay, make certain the concrete is clean, sound, and properly profiled so the new material can bond reliably.
Remove oils, paints, loose debris, and efflorescence; pressure wash and etch or mechanically abrade as needed.
Repair cracks and spalls, ascertain proper moisture levels, and use recommended primers or bonding agents to match substrate porosity and overlay chemistry for durable adhesion.
Application steps for common overlay systems
Start by choosing the overlay system that matches your goals—cosmetic resurfacing for appearance, polymer-modified overlays for wear resistance, or cementitious microtoppings for thin, decorative finishes—and gather the specific tools and materials each requires.
Clean and profile the slab, repair cracks and delaminations, apply bonding primer, mix per manufacturer directions, spread and level the overlay, allow proper cure time, then inspect for uniform coverage.
Decorative finishes: stains, stamped texture, exposed aggregate, and sealers
Decorative finishes let you transform a plain concrete slab into a durable, attractive surface that suits your aesthetic and performance needs.
You can apply stains for color variations, stamp texture for pattern, expose aggregate for natural stone look, and seal for protection and sheen.
Choose finishes based on traffic, maintenance, and climate, and follow manufacturer prep, curing, and application guidelines for lasting results.
Structural Repairs and Reinforcement When Surface Fixes Aren’t Enough
If you spot settlement, corroded rebar, or voids beneath the slab, you’ll need to distinguish structural problems from simple surface defects before proceeding.
Techniques like crack stitching, epoxy injection, dowel repairs, underpinning, and slab jacking (polyurethane foam or mudjacking) address different causes and loads.
Call a structural engineer when repairs affect load-bearing elements or the damage is widespread so the chosen method is safe and effective.
Identifying structural vs. cosmetic issues (settlement, rebar corrosion, voids)
When you’re deciding whether a cracked or uneven slab is a cosmetic problem or a structural one, look beyond surface appearance to how the concrete is behaving: hairline shrinkage and surface spalling are cosmetic, but ongoing movement, wide cracks that widen over time, exposed or bulging rebar, and hollow sounds when you tap the slab point to settlement, voids, or corrosion that need structural attention.
You should document patterns, monitor changes, and consult a structural engineer promptly.
Crack stitching, epoxy injection, and dowel repairs
Start by recognizing that surface patches won’t stop structural cracks from widening or slabs from shifting—you’ll need targeted repairs that restore strength and load transfer.
Use crack stitching with stainless steel bars and grout for large structural fractures, epoxy injection to bond and seal hairline to moderate cracks, and dowel or tie-bar installations to restore load transfer across joints.
Follow engineer specs and cure times.
Underpinning and slab jacking (polyurethane foam vs. mudjacking)
One of the most effective ways to fix a settled or uneven slab is to lift and stabilize it from beneath using underpinning or slab jacking, and you’ll want to choose the method that matches the damage and soil conditions. You can use polyurethane foam for fast, light lifts or mudjacking for heavier, cheaper fills; both stabilize and restore level.
| Method | Best for |
|---|---|
| Polyurethane foam | Small voids, quick cure |
| Mudjacking | Large voids, cost-sensitive |
| Underpinning | Long-term structural support |
When to involve a structural engineer
If surface fixes haven’t stopped cracking, significant settlement, or visible structural movement, call a structural engineer before you proceed—don’t guess at repairs that could mask a deeper problem.
A pro will assess foundations, loads, and reinforcement needs, recommend underpinning, slab replacement, or steel/epoxy repairs, and produce plans you can trust.
Follow their specs to avoid unsafe, wasted work.
Comparison: Cost, Durability, and Time for Patching vs. Leveling vs. Resurfacing
You’ll weigh upfront cost and long-term ROI when choosing patching, leveling, or resurfacing, since prices and payback differ by scope.
Consider expected lifespan and maintenance—patches are cheapest but short-lived, leveling lasts longer with moderate upkeep, and resurfacing costs more but often gives the best durability.
Also factor in typical timelines and disruption: patches are quick, leveling takes a day or two, and resurfacing can require several days of work and curing.
Cost ranges and ROI by method
Comparing patching, leveling, and resurfacing lets you weigh upfront cost against longevity and the time you’ll invest; each method fits different budgets and problems. You’ll pay least for patching, more for leveling, and most for resurfacing. Consider ROI: lower cost fixes may need repeats; higher upfront cost often saves long‑term.
| Method | Avg Cost | ROI |
|---|---|---|
| Patching | $1–$3/ft² | Low |
| Leveling | $2–$6/ft² | Moderate |
| Resurfacing | $3–$10/ft² | High |
Expected lifespan and maintenance needs for each approach
Because each repair targets different problems, you should expect very different lifespans and upkeep:
Patching fixes localized damage, lasting 1–5 years with occasional resealing and spot repairs.
Leveling (self-leveling overlays) lasts 5–15 years with routine cleaning and moisture control.
Full resurfacing or overlays can last 10–25+ years if you maintain seals, avoid heavy abrasion, and address cracks promptly.
Typical project timelines and disruption levels
Now that you know how long different fixes typically last and what upkeep they need, let’s look at how long each project actually takes and how much it will disrupt your space.
Patching: a few hours to a day, minimal disruption.
Leveling: 1–3 days including cure, moderate access limits.
Resurfacing: 2–5 days plus curing, significant furniture removal and limited use for days.
Common Problems and Mistakes to Avoid
Before you start repairs, don’t skip proper surface preparation—poor prep is the top cause of failures.
Make sure you’re using the right product for the job and follow curing and sealing instructions closely.
Also investigate and address any moisture or structural issues beneath the slab so your fix actually lasts.
Failure to prepare surface properly
One common mistake is skipping thorough surface prep, and it’ll cost you in adhesion, durability, and finish.
If you don’t remove dust, oil, paint, or weak concrete, repairs won’t bond and will fail prematurely. Clean, etch, and mechanically profile the slab, address moisture and loose material, then verify dryness.
Proper prep lets patching and resurfacing perform as planned.
Using the wrong product for the job
If you pick the wrong product, your repair or coating will look fine at first but fail fast—peeling, cracking, or not bonding at all.
Match materials to the problem: use patching compounds for holes, polymer-modified cement for leveling, and epoxy or urethane for coatings.
Read labels for substrate compatibility, application thickness, and recommended traffic.
Don’t improvise with mismatched products.
Inadequate curing or sealing
Getting the right product won’t help much if you don’t let it cure or seal properly; improper drying and sealing causes coatings and patches to weaken, discolor, or flake off long before they should.
Follow manufacturer cure times, keep traffic off surfaces, and control temperature and humidity while drying. Use recommended sealers and apply even coats.
Skipping these steps wastes materials and shortens repairs’ lifespan.
Ignoring underlying moisture or structural causes
When you skip diagnosing underlying moisture or structural issues, surface fixes will only mask problems and soon fail; damp slabs, hydrostatic pressure, cracks from settling, or poor drainage can keep coatings from adhering and patches from curing.
You need to test moisture, inspect footings and drainage, and address settlement or leaks first.
Otherwise you’ll waste time and money replacing failed repairs repeatedly.
Prevention and Best Practices to Extend Concrete Floor Life
To keep repairs from coming back, plan proper grading, drainage, and joint placement so water never sits against your slab.
Set a routine for cleaning, sealing, and inspecting so small issues get fixed before they grow.
Adjust seasonal care—manage moisture in wet months and protect against freeze-thaw cycles—to extend the floor’s life.
Design and drainage tips to prevent future damage
Because proper design and drainage stop most moisture- and load-related problems before they start, you should plan slopes, gutters, and sub-surface drainage as an integral part of any concrete floor project.
Position drains away from foundations, grade exterior soil to shed water, install vapor barriers and proper compaction below slabs, and use expansion joints and adequate reinforcement to control cracking and channel runoff safely.
Routine maintenance schedule (cleaning, sealing, inspection)
Good design and drainage give your concrete the best chance at long life, but regular care keeps it performing.
You should clean monthly, seal every 2–3 years, and inspect for cracks quarterly. Follow a simple routine to catch issues early:
- Sweep and mop with pH-neutral cleaner
- Remove stains promptly
- Reapply sealer on wear areas
- Note and document new cracks
Seasonal care and moisture management
When seasons change, you need to adjust how you manage moisture and protect your concrete so small problems don’t turn into major repairs.
Winter freeze-thaw cycles, spring thaw runoff, and summer humidity each demand different steps to keep floors sound. Close gaps, maintain drainage, reseal annually, and use breathable coatings.
Monitor interior humidity, ventilate basements, divert water away from slabs, and address cracks promptly to prevent deterioration.
Tools and Materials Buyer’s Guide
When you’re preparing to fix a concrete floor, pick patching compounds and overlays rated for your crack size, traffic load, and moisture conditions.
Decide whether to rent specialty gear like grinders, trowels, or pumps for occasional use or buy if you’ll use them often.
Check warranties, certifications, and manufacturer specs so you’re sure the product meets performance and safety requirements.
How to choose quality patching compounds and overlays
Because a failed patch or thin overlay can cost you time and money, choose products based on the job’s demands rather than price alone.
Match compound type to repair depth, flex needs, and traffic. Look for polymer-modified mixes, proper cure times, and slip resistance.
Check tensile and compressive specs, and pick reputable brands with clear instructions and warranty coverage.
Rental vs. purchase for specialty equipment (grinders, trowels, pumps)
Decide whether to rent or buy specialty equipment by matching frequency of use, project scale, and budget:
If you’ll use grinders, trowels, or pumps occasionally, renting saves storage, maintenance, and upfront cost.
Buy when you’ll run frequent jobs, need consistent availability, or can justify long‑term savings.
Factor transport, training, and rental availability into your choice to avoid delays or extra expense.
Warranties, certifications, and manufacturer specs to check
A reliable warranty, proper certifications, and clear manufacturer specifications protect your investment and guarantee the materials and tools will perform as promised.
Check warranty length, coverage (labor, replacement, prorated terms), and claim process.
Verify ASTM, ISO, or local building approvals and VOC ratings.
Read mix ratios, curing times, and temperature limits.
Keep receipts and spec sheets for future claims or contractor coordination.
Project Planning Checklist From Inspection to Final Cure
Before you start, run through a pre-work checklist: confirm permits, test the substrate, order materials, and line up labor.
Use a step-by-step timeline—one version for DIY with longer cure times and one for pros with staged inspections—to keep the job on schedule.
Finish with a final inspection checklist and clear acceptance criteria so you know the repair meets standards before you reopen the space.
Pre-work checklist (permits, substrate testing, materials, labor)
When you’re preparing to repair a concrete floor, start by confirming permits, testing the substrate, and lining up materials and labor so nothing stalls the job.
Inspect for moisture, contaminants, and structural cracks; run a moisture vapor emission test if needed.
Order appropriate patch, leveler, primer, and tools.
Schedule qualified help, delivery windows, and safety gear.
Verify disposal and local code compliance.
Stepwise timeline template for DIY and pro projects
Start with a clear timeline that breaks the repair into discrete steps—from inspection and prep through patching, leveling, finishing, and final cure—so you know what to do each day and can coordinate tools, materials, and help without delays.
Plan tasks, assign roles, and allow cure times.
Key checkpoints:
- Day 1: inspection, prep, protection
- Day 2: patching
- Day 3: leveling
- Days 4–7: finishing, cures, cleanup
Final inspection and acceptance criteria
Although the concrete may look finished, you should perform a systematic final inspection to confirm every repair meets the project’s acceptance criteria and is ready for use.
Check surface flatness, bond integrity, color and texture match, and cure completeness.
Verify load and traffic limits, non-slip finish, and joint performance.
Document measurements, photos, and acceptance signatures before handing over the area.
FAQ Concrete Floor Repair
You probably have specific questions about cracks, coatings, cure times, stain resistance, and moisture before you start repairs.
We’ll explain how to tell if a crack is structural, whether toppings will bond over paint or sealer, and how long repairs need to cure.
You’ll also get guidance on oil- and chemical-resistant products and when moisture vapor can block overlays.
How do I know if a crack is structural?
Wondering whether a crack in your concrete is just a cosmetic issue or a structural problem?
Check width, pattern, and movement: hairline or shrinkage cracks under 1/8″ are usually nonstructural.
Wide cracks, stair-step patterns, separation at joints, or visible displacement indicate structural concerns.
Monitor for growth, slope changes, or water infiltration.
If you see these signs, consult a structural engineer for assessment and repair options.
Can I apply a new topping over old paint or sealer?
If a crack turns out to be nonstructural, you might be ready to resurface—but first check any existing paint or sealer.
You can apply a new topping over coatings only after proper removal or profiling. Solvent-based paints and peelable sealers must be stripped; tightly bonded acrylics may need mechanical abrasion.
Always clean, etch, and guarantee a sound, dust-free surface for adhesion.
How long before I can use the floor after repair?
How long before you can walk on or drive over a repaired concrete floor depends on the repair type and the product used: quick-setting patch compounds can take just a few hours for light foot traffic, while full-depth repairs and new toppings often need several days to reach safe use and up to 28 days to reach full strength.
Always follow manufacturer cure times; keep loads gradual and avoid moisture exposure until cured.
What products resist oil and chemical stains best?
Stains are toughest on porous concrete, so choose products that form a dense, impermeable surface or chemically neutralize contaminants.
Use epoxy and polyaspartic coatings for strong chemical and oil resistance; they create a sealed, nonabsorbent layer.
For localized spots, apply oil-specific poultices or enzymatic cleaners before coating.
Avoid thin acrylic sealers—they won’t stop heavy petroleum or solvent staining.
Is moisture vapor emission a problem for overlays?
Yes — moisture vapor emission can be a major problem for overlays because trapped moisture will blister, delaminate, or discolor the topping.
You need to verify vapor levels and prepare the slab before installing any overlay. Test with a calcium chloride or relative humidity probe, fix high vapor with vapor barriers or coatings, and choose vapor-tolerant systems.
Always follow manufacturer limits and document results.