How to Get Scratches Out of Vinyl Flooring With Simple Fixes
You can fix most light-to-moderate vinyl scratches yourself using simple steps: clean the area, buff with a microfiber cloth, then try a non-gel white toothpaste or mineral oil for shallow marks. For deeper scratches use a vinyl repair kit or matching filler, smooth it level, let it cure, then gently sand and polish. Test fixes in an out-of-the-way spot first and protect floors afterward with pads and rugs — keep going to learn specific techniques, tools, and tips.
Can Scratches Be Removed from Vinyl Flooring?
You can often reduce or hide light scratches on vinyl flooring with the right products and techniques, but deep gouges usually can’t be fully erased.
Small surface flaws respond well to cleaners, polishers, or DIY remedies, while structural damage may need patching or plank replacement.
Expect modest improvements for minor scratches and realistic limits for severe ones.
Short summary of effectiveness and limitations
Although deep gouges can’t be fully erased, many light-to-moderate scratches on vinyl flooring can be considerably reduced or hidden using simple DIY methods or commercial products.
You can use cleaners, heat, fillers, or polishers to address surface marks. Results vary with scratch depth and vinyl type, so test first.
If you’re asking how do you get scratches out of vinyl flooring, expect improvement, not perfection.
Basic Understanding What Causes Scratches and Types of Vinyl Flooring
You’ll often find scratches come from moving furniture, pets’ claws, trapped grit, or dropping heavy objects.
Different vinyl types—luxury vinyl plank, sheet vinyl, and vinyl tile—respond differently to repairs, so the fix you choose depends on which you’ve got.
Also note scratch depth: surface scuffs, superficial marks, and deep gouges each need a different approach.
Common causes of scratches (furniture, pets, grit, heavy objects)
1 thing to remember about vinyl flooring is that scratches usually come from predictable, avoidable sources—furniture legs dragged across the surface, pets’ claws, gritty debris brought in on shoes, and heavy objects dropped or slid.
You can prevent most damage by addressing these risks proactively.
- Use felt pads on furniture
- Trim pet nails regularly
- Shake off shoes outdoors
- Lift rather than slide items
- Use rugs in high-traffic areas
Types of vinyl flooring and how they affect repairability (luxury vinyl plank, sheet vinyl, vinyl tile)
Because vinyl comes in different constructions, knowing whether you have luxury vinyl plank, sheet vinyl, or vinyl tile changes how easily scratches can be fixed.
You’ll find luxury vinyl plank often has a wear layer that sanders and fillers can blend.
Sheet vinyl can be trickier because patterns repeat, so repairs must match.
Vinyl tile lets you replace individual tiles for cleaner results.
How deep scratches are classified (surface, superficial, deep gouges)
When evaluating scratches, start by determining how much material is missing: surface scratches only mar the wear layer and usually buff out with cleaners or mild abrasion.
Superficial scratches cut into the printed design but not through the wear layer and may need blending or filler.
Deep gouges penetrate the wear layer and vinyl core, often requiring tile/plank replacement or professional patching.
You’ll inspect depth, feel, and visibility to choose repair.
Safety and Preparation Before Repair
Before you start fixing scratches, gather the right tools and materials so you won’t have to stop midway.
Take basic safety precautions, clear and well-lit workspace, and wear gloves and eye protection to avoid injuries or chemical exposure.
Inspect each scratch to judge its depth and always test your chosen repair method on a small, inconspicuous area first.
Tools and materials checklist
Gather a few essential tools and materials so you can work safely and efficiently: gloves, safety glasses, a dust mask, a soft cloth, mild cleaner, fine-grit sandpaper or a scouring pad (for light scuffs), vinyl repair compound or filler, a putty knife, and a heat gun or hair dryer if you’ll be blending the repair.
Keep items organized and within reach.
- Assess damage type
- Match vinyl color
- Test cleaner first
- Use minimal pressure
- Blend repairs gradually
Safety precautions and workspace setup
If you’re going to work on vinyl flooring, set up a well-ventilated, clutter-free workspace and put on personal protective equipment—gloves, safety glasses, and a dust mask—so you stay safe and keep the repair area clean.
Keep pets and kids away, unplug appliances, and use good lighting.
- Clear floor space
- Ventilate for fumes
- Wear PPE
- Use stable lighting
- Keep tools organized
How to identify scratch depth and test a small area
With your workspace ready and protected, inspect the scratch closely to determine how deep it is: run your fingernail across the mark—if your nail catches, it’s likely cut through the wear layer; if it just skims the surface, it’s probably a superficial abrasion you can buff or fill.
Test a small, hidden area first with cleaner or repair product to confirm appearance and compatibility before proceeding.
Direct Methods to Fix Scratches Step-by-Step Solutions
Now you’ll learn direct, step-by-step fixes for common vinyl scratches.
Start with a quick clean and buff for light marks.
Try a vinyl repair kit for superficial scratches, or use simple household items for moderate damage.
For deep gouges or missing material, you’ll follow repair techniques that rebuild and blend the surface.
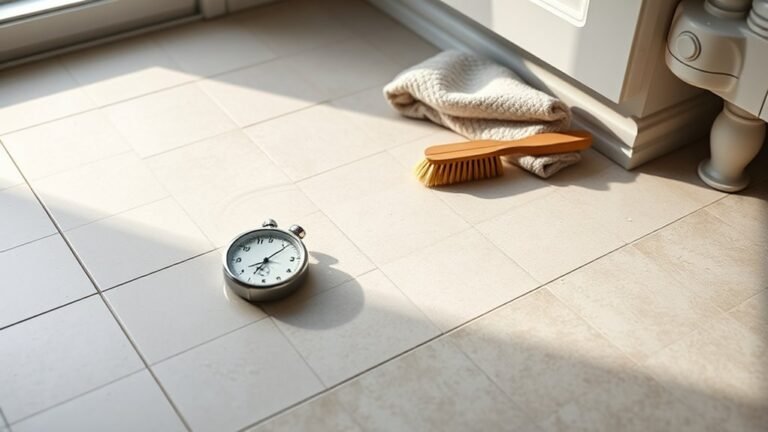
Quick surface clean and buff (best for light scratches)
Start by wiping the scratched area with a mild cleaner—like a mix of warm water and a few drops of dish soap—or a vinyl floor cleaner to remove dirt and grime.
Then use a soft microfiber cloth or a non-abrasive pad to buff the surface in circular motions, applying light pressure until the scratch becomes less noticeable.
You’ll see most light scuffs fade quickly with this gentle clean-and-buff routine.
Step 1: Cleaning agents and technique
Gather the right supplies and you’ll remove most light surface scratches quickly: a microfiber cloth, mild dish soap, warm water, and a non-abrasive cleaner (or a vinyl-specific cleaner) are all you need to clean and prepare the area before buffing.
Wet the cloth, wring it well, and gently wipe the scratch and surrounding area. Rinse residue, dry thoroughly, and inspect for remaining marks.
Step 2: Buffing with microfiber or non-abrasive pads
Reach for a clean microfiber pad or a non‑abrasive buffing pad and work the scratch with light, even pressure—you’re not trying to abrade the vinyl, just blend the surface.
Move along the grain or pattern, check progress frequently, and stop when the mark softens.
Wipe residue with a damp cloth, dry the area, and repeat once if necessary; avoid aggressive pads or harsh chemicals.
Using vinyl flooring repair kits for superficial scratches
You’ll want a repair kit that matches your vinyl’s color and finish and includes the right fillers and tools.
Once you have the kit, follow the manufacturer’s steps to clean, fill, smooth, and blend the scratch, being careful with application thickness.
Let the repair cure for the recommended drying time before walking on it or buffing for a seamless result.
Step 1: Choosing the right repair kit
1. Choose a kit that matches your vinyl color and finish—many kits include multiple pigments and clear sealants.
Pick a reputable brand with good reviews and non-toxic ingredients if indoors. Make sure it’s designed for vinyl (not hardwood or laminate).
Check included tools: filler, applicator, colorant, and instructions.
Confirm coverage amount suits your repair area before buying.
Step 2: Application process and drying time
With the right kit in hand, prep the area by cleaning the scratch with a soft cloth and mild cleaner, then dry completely so the filler bonds properly.
Apply filler sparingly into the scratch with the provided tool, smooth level, remove excess, and let cure.
Typical drying takes 1–24 hours depending on product and humidity; check manufacturer instructions before walking on the repair.
DIY solutions for moderate scratches (household items)
For moderate vinyl scratches you can often fix them with common household items in three simple steps.
First make a baking soda paste to gently abrade and lift the scratch.
Then try toothpaste or mineral oil to fill and blend the mark.
Finish by polishing and sealing the treated area to restore shine and protect the repair.
Step 1: Baking soda paste method
Start by mixing a thick paste of baking soda and water to gently buff out moderate scratches on vinyl flooring.
Apply a small amount to a soft cloth, rub the scratch in a circular motion for a minute, then wipe away residue with a damp cloth.
Dry the area and inspect; repeat once if needed.
Don’t scrub hard or use abrasive pads.
Step 2: Toothpaste or mineral oil methods
You can tackle light to moderate vinyl scratches using common items like non-gel white toothpaste or mineral oil; both work by filling and smoothing the damaged area so it blends with the surrounding floor.
For toothpaste, apply a small dab, rub gently with a soft cloth, then wipe clean.
For mineral oil, rub a few drops into the scratch and buff until it lessens.
Step 3: Polishing and sealing the treated area
Once the scratch is filled and smoothed with toothpaste or mineral oil, it’s time to restore the surface’s sheen and lock in the repair.
Gently buff the spot with a soft cloth in circular motions until it blends.
Apply a thin coat of vinyl floor polish or a water-based sealer, let it dry fully, then buff lightly to match surrounding gloss and protect the fix.
Repairing deep gouges and missing material
For deep gouges or missing chunks you’ll start by filling the void with a vinyl filler or epoxy putty, shaping it to match the surrounding surface.
Once the patch cures, you’ll sand it smooth, color-match the repair, and apply a protective topcoat so it blends and holds up.
If the damage is extensive or the repair would be visible, consider replacing the plank or tile instead.
Step 1: Filling with vinyl filler or epoxy putty
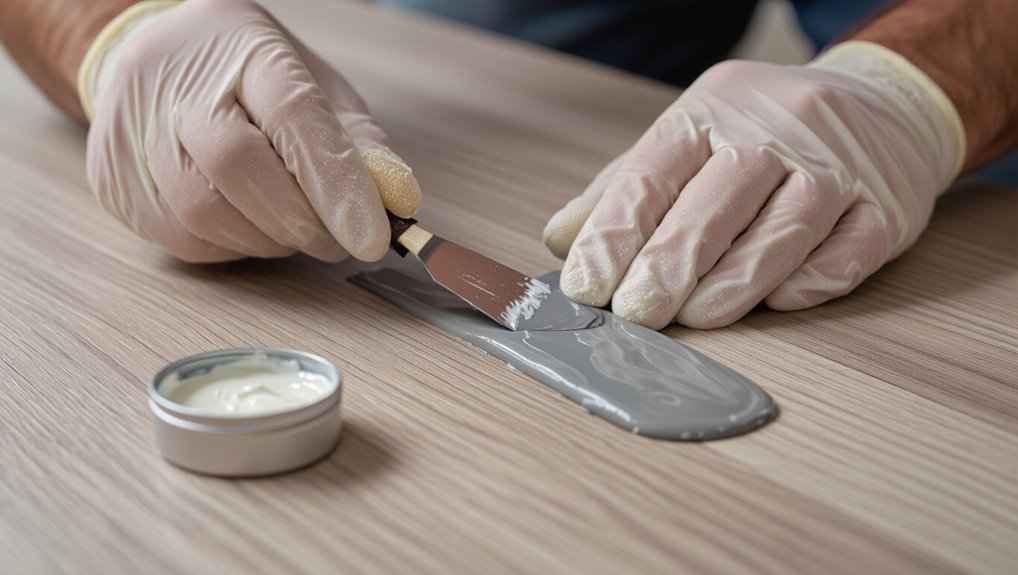
1 good way to repair deep gouges or missing bits in vinyl flooring is to fill them with a vinyl filler or epoxy putty, which bonds to the floor and restores the surface profile.
Clean the area, remove loose debris, and dry thoroughly.
Mix per instructions, press filler into the void, smooth level with the surrounding vinyl, and let cure fully before light use.
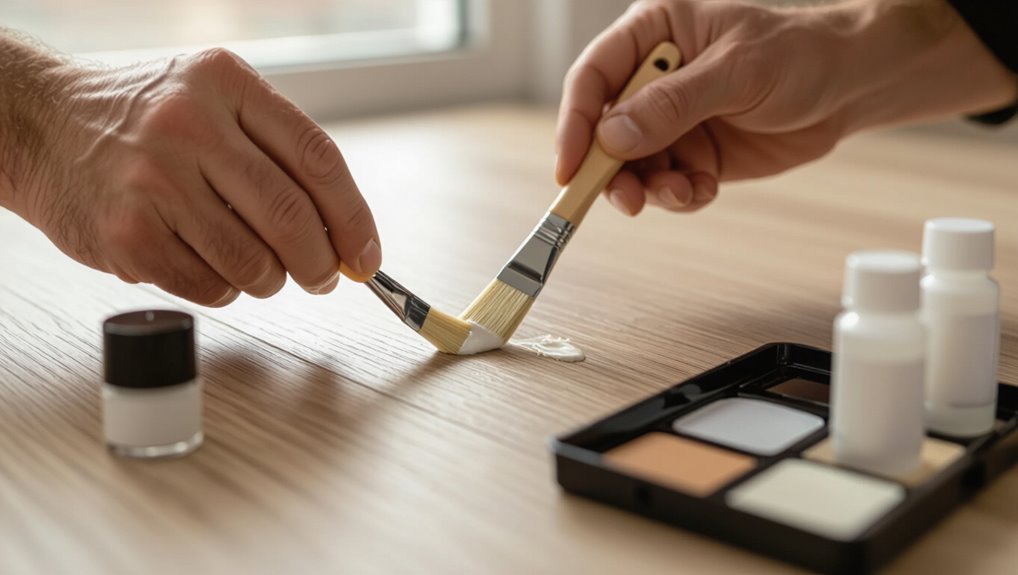
Step 2: Sanding, color-matching, and topcoat application
After the filler or epoxy has fully cured, you’ll need to sand the repair flush with the surrounding vinyl so the surface reads as one plane.
Use fine-grit sandpaper, feather edges, then clean residue.
Match color with vinyl touch-up pens or mixed pigments, apply thin layers, let dry.
Finish with a clear vinyl or polyurethane topcoat for durability and blend sheen to match adjacent flooring.
Step 3: When to replace a plank or tile instead
If a scratch or gouge removes vinyl material, creates a low spot you can’t sand level, or exposes the substrate, you’ll usually need to replace the plank or tile instead of trying to patch it.
Measure and source a matching piece, remove damaged flooring carefully to avoid harming neighbors, clean the subfloor, and install the replacement with proper adhesive and seam sealing for a seamless, durable repair.
Comparison of Repair Options Cost, Time, Durability
You’ll want to compare DIY fixes, repair kits, and professional services by cost, time, and expected durability to pick the right route.
A simple table can make those trade-offs easy to scan.
Call in a pro when scratches are extensive, match patterns are needed, or the floor’s warranty requires certified work.
Table comparing DIY vs repair kits vs professional repair
Choosing between DIY fixes, store-bought repair kits, and hiring a pro comes down to how much you’re willing to spend, how fast you need the job done, and how long you expect the repair to last. Use the mini-table below to picture tradeoffs and pick what fits your schedule and budget.
| Option | Snapshot |
|---|---|
| DIY | Low cost, longer time, short durability |
| Kit | Moderate cost, quick, moderate durability |
When professional help is recommended
Although small scratches are often fixable at home, call a pro when damage is deep, widespread, or affecting multiple planks—especially if the floor is textured, glued down, or under warranty—because professionals will assess structural issues, match color and texture more reliably, and can prevent costly mistakes that DIY or kits might make.
Pros cost more but save time and guarantee durable, warranty‑compliant repairs you can trust.
Common Mistakes to Avoid When Repairing Vinyl Flooring
Don’t use harsh abrasives or the wrong cleaners, because they’ll damage the vinyl’s finish and make scratches worse.
Don’t skip color-matching or apply filler improperly, or you’ll end up with obvious patches.
And don’t rush the job—always allow adequate curing time so the repair bonds and blends correctly.
Using harsh abrasives or wrong cleaners
If you reach for steel wool, scouring pads, or strong chemical cleaners, you’ll likely make scratches worse or strip the vinyl’s protective layer.
Instead, use a soft cloth, mild detergent, or manufacturer-recommended cleaner. Test any product in an inconspicuous spot first.
Don’t scrub aggressively; blot or rub gently. Finish with a vinyl-safe polish to restore shine without damaging the surface.
Skipping color-matching or improper filler application
When you skip matching the vinyl’s color or apply filler incorrectly, repairs stand out and draw attention to the damage instead of hiding it.
You should test color blends on a scrap, mix fillers to match grain and sheen, and apply thin layers for control.
Feather edges smoothly, remove excess before it cures, and inspect under different light to guarantee a seamless finish.
Not allowing adequate curing time
Failing to give fillers and sealants enough time to cure will undo hours of careful prep and leave you with a repair that chips, discolors, or feels tacky underfoot.
You should follow manufacturer curing times, control temperature and humidity, and avoid heavy traffic or cleaning until fully set.
Rushing the process forces repeats, wastes materials, and risks long-term damage to your vinyl’s finish and durability.
Prevention and Maintenance Best Practices
To keep scratches from coming back, you’ll want simple daily and weekly cleaning routines that remove grit without harsh chemicals.
Use protective measures like furniture pads, area rugs in high-traffic zones, and regular pet nail trimming to prevent damage.
Also schedule seasonal checks and long-term maintenance—replacing worn rugs, reapplying finish where recommended, and addressing seams or edges before they worsen.
Daily and weekly cleaning routines
Although daily care doesn’t seem like much, a short routine keeps scratches from forming and makes weekly maintenance quicker.
You should sweep or vacuum daily, mop with a mild cleaner weekly, spot-clean spills immediately, dry wet areas to avoid grit buildup, and inspect high-traffic zones for debris.
- Sweep or vacuum daily
- Weekly damp mop with pH-neutral cleaner
- Wipe spills immediately
- Dry any moisture
- Check high-traffic areas
Protective measures (furniture pads, rugs, pet nail care)
When you add simple protective measures—furniture pads, area rugs, and routine pet nail care—you’ll cut down on most everyday scratches and keep vinyl looking newer longer.
Use felt or rubber pads on chair and table legs, reposition rugs to spread wear, and trim pet nails regularly.
Check pads monthly and replace when worn to prevent hard contacts that scratch the surface.
Seasonal and long-term maintenance tips
Monthly checks and small habits help now, but seasonal and long-term care keeps vinyl resilient year after year.
Each season, deep-clean with manufacturer-safe products, inspect seams and shifts, and reapply protective coatings if recommended.
Trim pet nails, rotate rugs to prevent wear, and use humidity control to avoid expansion.
Schedule professional inspections every few years to catch hidden damage early.
Tools, Materials, and Products Recommended
You’ll need a few essential tools—soft cloths, a non-abrasive sponge, plastic scraper, fine-grit sandpaper, and a putty knife—to tackle most vinyl scratches.
Choose a repair kit or filler designed for vinyl flooring that matches your floor’s color and offers a flexible finish.
Use only cleaners and sealants labeled safe for vinyl to avoid damage and preserve the repair.
Essential tools list
Before you start repairing scratches, gather a handful of reliable tools and products so the job goes quickly and cleanly.
You’ll want items that help clean, assess, and gently restore vinyl without causing more harm. Keep things organized and work carefully to match finish and texture for the best results.
- Soft microfiber cloths
- Mild cleaner and water
- Fine-grit sanding pad
- Vinyl-safe marker
- Putty knife
Recommended repair kits and fillers
Once you’ve got your cleaning and assessment tools ready, pick a repair kit that matches your vinyl’s color and texture so repairs blend in.
Choose flexible fillers, color-matching waxes, and precise applicators for best results. Test on a hidden spot first.
- silicone-based filler
- heat-activated vinyl repair
- color-matching wax sticks
- fine spatula/knife
- clear finish pen
Cleaners and sealants that are safe for vinyl
When you’re tackling scratches on vinyl, pick cleaners and sealants formulated specifically for vinyl so you don’t strip protective coatings or cause discoloration.
Use pH-neutral cleaners, mild dish soap solutions, or commercial vinyl cleaners. Avoid abrasive scrubs, bleach, or solvent-based products.
For protection, apply a vinyl-approved sealant or polish sparingly, following manufacturer directions and testing in an inconspicuous spot first.
Troubleshooting If Repairs Don’t Work
If a patched area stays visible, flakes, or feels uneven, you’ll know the repair failed and should reassess your approach.
You can often fix color or texture mismatches with touch-up kits, stain pens, or by blending edges, but sometimes the repair draws more attention than replacement.
When scratches are deep, widespread, or the pattern can’t be matched, consider replacing the affected plank or tile for a seamless result.
Signs a repair has failed and next steps
Though a quick buff or patch can seem to fix a scratch, you’ll know a repair has failed if the blemish still catches the light, feels raised or rough under your fingernail, or the surrounding finish starts to peel or discolor.
If that happens, re-clean the area, reapply the appropriate filler or sealer, and test on a hidden spot.
If problems persist, consult a pro.
How to salvage color-mismatch or textured surfaces
Although color-matching fillers and sealers can help conceal scratches, you’ll sometimes end up with a noticeable shade or texture difference; start by evaluating how obvious the mismatch is and where it sits in the room.
If subtle, feather edges with fine sandpaper, blend with matching marker or diluted paint, and apply a thin clear topcoat.
For visible spots, use decorative rugs or furniture to distract attention.
When to consider full plank/tile replacement
When repairs keep failing or the damage runs deep, it’s time to think about replacing the whole plank or tile rather than patching it again.
Choose replacement when scratches penetrate the wear layer, edges lift, or repairs create uneven texture or color.
Match size, pattern, and adhesive type, and keep a spare plank for future damage.
Replacement gives a seamless, durable result.
FAQ
Got questions about fixing vinyl scratches? You’ll find answers here on using heat, whether toothpaste helps, how long repair kits hold up, if deep gouges can trap moisture, and whether it’s worth repairing older floors.
Read on to get clear, practical guidance.
Can I use heat to remove scratches from vinyl flooring?
Can you safely use heat to reduce scratches on vinyl flooring? You can cautiously apply gentle heat—like a low-setting hair dryer—briefly to soften surface-only scuffs, then rub with a soft cloth or vinyl-safe putty.
Avoid high heat or open flames; they’ll warp or melt vinyl.
Test a hidden spot first, work slowly, and stop if material softens excessively or discoloration appears.
Will toothpaste permanently fix vinyl scratches?
Wondering if toothpaste will permanently fix vinyl scratches?
You can use non-gel toothpaste as a mild abrasive to reduce superficial scuffs, but it rarely offers a permanent solution.
It temporarily blends fine scratches and improves appearance, yet deeper gouges need proper repair.
Repeat treatments wear thin; for lasting results, use a vinyl repair product designed for durability.
How long do vinyl repair kits last?
How long a vinyl repair kit lasts depends on the type of damage, the product quality, and how well you prep and apply it. Most kits for surface scratches hold up for several years, while kits that fill deeper gouges may need touch-ups sooner if they’re on high-traffic areas.
You’ll extend results by following manufacturer cure times, keeping traffic light during set, and avoiding harsh cleaners.
Can deep scratches lead to moisture problems?
If a scratch cuts through the vinyl wear layer down to the backing or seam, you could create a path for water to reach the subfloor and cause swelling, mold, or adhesive failure.
You should seal deep gouges promptly with a vinyl repair compound or patch to block moisture.
Monitor repaired areas and address persistent dampness to prevent structural damage and mold growth.
Is it worth repairing scratches on old vinyl flooring?
When deciding whether to repair scratches on old vinyl flooring, weigh the cost and expected lifespan—minor surface marks are often worth fixing, but extensive wear or multiple deep gouges may mean replacement is a smarter investment.
You should assess damage, age, and budget: patching and refinishing can extend life cheaply, but if seams lift or pattern fades, replacement prevents recurring fixes and improves long-term value.