Can You Install Tile on Drywall? What You Need to Know First
You can install tile on drywall in some dry, light‑use spots like kitchen backsplashes or bedroom feature walls, but you shouldn’t use drywall in showers, tub surrounds, floors, or areas with direct moisture or heavy loads. You’ll need to assess and repair the drywall, prime it with a bonding primer, and use the right thinset and layout techniques to guarantee adhesion and longevity. Keep manufacturer and local code rules in mind, and continue to learn the prep and installation steps.
Can You Install Tile on Drywall? and When It’s Appropriate
Yes — you can install tile on drywall in some cases, but only for light-duty, dry areas and with proper preparation like priming and using the right thinset.
It’s fine for backsplashes, low-moisture walls, and temporary surfaces, but not for floors, showers, or anywhere exposed to regular water or heavy loads.
If the wall gets wet or will bear weight, you’ll need cement board, greenboard alternatives, or a waterproofing system instead.
Direct answer summary (quick yes/no and key caveats)
If you’re aiming for a quick answer: you can install tile on drywall in certain low-moisture, low-traffic areas (like some bathroom walls or backsplashes), but you shouldn’t use drywall for floors, wet zones, or where long-term moisture exposure is likely.
In short: can you install tile on drywall? Yes, with proper prep and limiting to appropriate locations; avoid it where water, heavy loads, or movement occur.
Short scenarios when drywall is acceptable for tile
When you’re working in low-moisture, low-traffic spots—like a kitchen backsplash, a bedroom feature wall, or bathroom walls away from the shower—drywall can serve as an acceptable substrate for tile with the right prep.
You should use cement board or tile backer for added strength on heavier tiles, apply a bonding primer, guarantee flatness, and use proper thinset to prevent delamination.
Situations where drywall is not suitable
Those low-moisture examples are fine, but drywall isn’t the right choice for many tiling jobs—especially anywhere exposed to regular water, heavy impact, or significant movement.
You shouldn’t use drywall in showers, tub surrounds, steam rooms, or exterior walls. Avoid it on floors, entryways, or behind heavy fixtures.
Instead, choose cement board, backer board, or waterproof membranes to prevent failure and mold.
Basic Understanding Why Substrate Matters for Tile
You need to know that tile performance starts with the substrate because adhesive and grout bond differently depending on the surface and how much movement it sees.
Drywall is lightweight and absorbs moisture, while cement backerboard and other substrates resist water, support heavier loads, and limit deflection that can crack grout or tiles.
Consider moisture exposure, expected loads, and long-term durability when choosing or preparing the substrate for a lasting installation.
How tile adheres: adhesive, grout, movement
Because tile relies on mechanical and chemical bonds, you’ll want to understand how adhesive, grout, and substrate interact before setting any pieces.
Adhesive bonds tile to the surface; grout fills joints and resists moisture. Both must accommodate slight movement—thermal shifts, settling, and flex.
If movement exceeds their capacity, bonds fail. Choose compatible adhesive and grout, allow proper cure, and control movement with joints.
Properties of drywall vs cement backerboard and other substrates
When choosing a substrate for tile, think about strength, water resistance, and surface texture—drywall, cement backerboard, and other panels perform very differently in each area.
You’ll find drywall is smooth and easy but weak and low-moisture tolerance. Cement backerboard is rigid, rough for adhesive bite, and water-tolerant.
Other substrates (Wedi, plywood with membrane) offer hybrid properties for specific installs.
Moisture, load, and longevity considerations
Though it may seem like just a flat surface, the substrate controls how tile handles moisture, weight, and time—so pick it to match the room’s conditions and expected use.
You should avoid drywall in wet areas, choose cement board or waterproof membranes for showers, and reinforce floors for heavy fixtures.
Proper substrate and installation prevent mold, sagging, and premature tile failure, extending lifespan.
Types of Tile and How They Affect Substrate Choice
When you pick a tile, its material matters: ceramic and porcelain are lighter and more forgiving on drywall, while natural stone and large-format tiles need stiffer, more stable substrates.
You’ll also want to treat floor tiles differently from wall tiles because floors endure higher loads and movement. Understanding these differences helps you choose the right backer or reinforcement before you start.
Ceramic and porcelain tiles
Because ceramic and porcelain tiles have different densities, water absorption rates, and flexural strengths, the substrate you choose matters more than you might expect.
You’ll pick cement backer board or a properly prepared drywall for standard ceramic.
For denser, low-absorption porcelain, guarantee a rigid, crack-isolated underlayment and thin-set rated for porcelain.
Match substrate rigidity and adhesive to tile properties for lasting adhesion.
Natural stone and large-format tile
If you’re tiling with natural stone or large-format panels, plan for differences in weight, thickness variation, and sensitivity to movement from the start.
You’ll need a sturdier backing than standard drywall, use uncoupling membranes or cement board, and select adhesives rated for heavy, irregular pieces.
Allow for larger grout joints, careful lippage control, and reinforced fasteners to prevent cracking and sagging.
Floor vs wall tile differences
Although both live under the same finish, floor and wall tiles place very different demands on the substrate, so you’ll choose backing, mortar, and fasteners based on whether the tile must support foot traffic, resist vertical shear, or simply hold in place. You’ll pick sturdier backerboard and mortars for floors; lighter systems suit walls.
| Emotion | Choice |
|---|---|
| Confidence | Cement board |
| Relief | Lightweight drywall |
| Pride | Medium-bed mortar |
| Safety | Mechanical anchors |
Assessing Your Drywall Before Tiling
Before you start tiling, check the drywall thickness and type—regular, moisture-resistant, or paperless—to make sure it’s suitable.
Look for damage, hollow spots, and any deflection, and note whether the room will be wet or humid (showers and steam require different prep).
Have a straightedge, stud finder, moisture meter, level, and basic repair materials on hand before you begin.
Inspecting drywall thickness and type (regular, moisture-resistant, paperless)
When you’re preparing to tile, check the drywall’s thickness and type carefully because these factors determine whether the wall can support tile or needs upgrades.
Measure thickness—3/8″, 1/2″, or 5/8″—and identify paper-faced regular, green moisture-resistant, or paperless fiberglass.
Thicker or moisture-resistant panels are preferable for tile; paperless drywall resists mold but may need special adhesives and fasteners.
Checking for damage, hollowness, and deflection
Now that you’ve identified the drywall type and thickness, check the surface for damage, hollowness, and any deflection that could undermine tile adhesion.
Tap across the wall to find hollow spots, press to detect soft or crumbling areas, and use a straightedge to spot bows or dips.
Mark defects, repair or reinforce studs, and replace compromised panels before tiling.
Determining room conditions (wet areas, humidity, steam)
Because moisture and steam change how you should prep and protect drywall, assess the room’s conditions early: identify wet zones (showers, tub surrounds, backsplashes), measure typical humidity and ventilation, and note any direct water exposure or frequent steam sources.
Then decide whether drywall can stay or needs water-resistant backup, plan vapor management, and mark areas needing extra sealing or replacement before tiling.
Tools and materials needed for assessment
If you’re evaluating drywall before tiling, gather a few key tools and materials so you can quickly check for damage, moisture, and structural issues.
You’ll want reliable items to test surfaces, locate studs, and measure moisture levels:
- Stud finder
- Moisture meter
- Straightedge or level
- Utility knife and scraper
- Pencil and tape measure
Step-by-Step: How to Prepare Drywall for Tiling (If Acceptable)
If your drywall is sound, start by cleaning and repairing any damage.
Then reinforce the substrate to eliminate flex with blocking or fixes.
You’ll prime or apply a bonding agent, spread the correct thinset while following proper tile layout, and set tiles carefully.
Finish with appropriate grouting and sealing to protect the installation.
Step 1 Clean and repair drywall surface
Start by clearing the area and inspecting the drywall for damage, dirt, and loose paint—your tile will only stick to a stable, clean surface.
Remove dust and grease with a damp cloth, sand glossy spots, and scrape flaking paint.
Patch holes and cracks with joint compound, let it dry, sand smooth, and vacuum.
Prime the repaired area before tiling.
Step 2 Reinforce and eliminate flex (blocking, installation fixes)
Now that the surface is clean and patch-ready, you’ll address the next biggest issue: movement.
Secure studs with blocking behind the drywall where tile will go, add plywood backing or cement board support for large areas, and fasten drywall with extra screws near edges.
Eliminate any flex—shim gaps, reinforce corners, and test for firmness before proceeding to bonding or tiling.
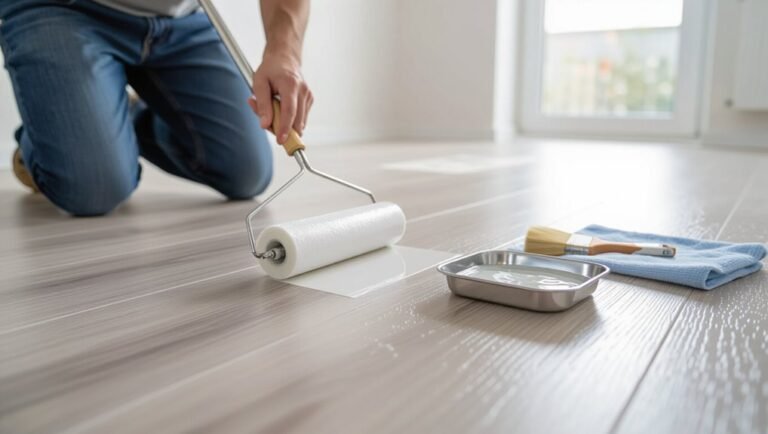
Step 3 Apply primer or bonding agent
Before you set any thinset or backer board, apply a proper primer or bonding agent so the tile adhesive will grab the drywall surface.
Choose a drywall primer or latex-modified bonding primer labeled for tile use. Roll or brush an even coat, let it dry per instructions, and cover seams and screw heads.
This improves adhesion and reduces moisture absorption before tiling.
Step 4 Use appropriate thinset and tile layout best practices
With the primer set and seams sealed, you’re ready to pick the right thinset and plan your tile layout so the installation is sound and looks professional.
Choose a thinset rated for your tile and substrate; mix to manufacturer specs. Butter the back of large tiles for full coverage.
Snap layout lines, dry-fit tiles, stagger joints, and maintain consistent spacers for even grout lines.
Step 5 Grouting and sealing considerations
After your tiles have set and you’ve removed the spacers, you’ll grout the joints and decide on sealing so the installation resists moisture and stays easy to clean.
Choose a grout type suited to joint width and exposure, mix to manufacturer specs, and work it fully into gaps.
Once cured, apply a penetrating sealer on porous grout and tiles as recommended to protect against stains and moisture.
Alternative Substrate Options and How to Convert Drywall
If you’re unsure about tiling directly over drywall, you can cover it with cement backerboard or an uncoupling membrane like Schluter Ditra, or remove the drywall and install cement board or exterior-grade plywood.
Each choice affects weight, waterproofing, and movement resistance, so you’ll want to weigh pros and cons for your space.
I’ll outline installation basics and when each method makes the most sense.
Installing cement backerboard over drywall
When you’re planning to tile over drywall in a wet area, installing cement backerboard gives you a much more stable, moisture-resistant substrate than paper-faced gypsum alone.
Remove loose drywall, fasten backerboard with corrosion-resistant screws on studs, stagger joints, tape seams with alkali-resistant mesh, and use thinset under panels.
Seal joints and corners with waterproofing before tiling to prevent moisture intrusion.
Using uncoupling membranes (e.g., Schluter Ditra)
Alongside backerboard, uncoupling membranes like Schluter Ditra offer a different way to prepare drywall for tile by isolating the tile bed from substrate movement and managing moisture.
You can use them over intact drywall or over properly prepared cement board to reduce cracking and debonding. You spread thinset, bed the membrane, then tile over it—follow manufacturer instructions for adhesive, seams, and perimeter movement joints to guarantee warranty compliance.
Replacing drywall with cement board or exterior grade plywood
You’ll get the most durable tile installation by removing drywall and installing cement board or exterior-grade plywood as a substrate.
Remove damaged drywall, check studs for plumb, and fasten cement board with corrosion-resistant screws and thinset at joints.
If using exterior-grade plywood, glue and screw to prevent movement, then install a waterproofing membrane.
Tape seams and follow manufacturer fastener spacing.
Pros and cons comparison for each method
Although switching from drywall to a tile-ready substrate adds work, it pays off in durability and water resistance; here’s a concise look at the pros and cons of cement board, exterior-grade plywood, waterproof backer boards, and membrane-over-drywall so you can pick the best approach for your room and budget.
| Option | Pros / Cons |
|---|---|
| Cement board | Durable / heavy, needs screws |
| Plywood | Strong, flexible / rots if wet |
| Waterproof board | Ready-made protection / cost |
| Membrane over drywall | Quick, waterproofing / limited longevity |
Common Mistakes and Problems When Tiling Over Drywall
When you tile over drywall, common failure causes are movement, moisture, and using the wrong adhesive.
Watch for early signs like hairline cracks, delamination, or tiles that feel loose underfoot.
Below are real-world examples and short case scenarios that show how these issues develop and how to prevent them.
Failure causes: movement, moisture, improper adhesive
If the tile starts popping, cracking, or the grout keeps failing, it’s usually because the wall moved, got wet, or the wrong adhesive was used.
You should control movement by securing studs, using backer board or movement joints, prevent moisture with proper vapor barriers and waterproofing, and choose the correct thinset for drywall and tile type.
Proper prep prevents most failures.
Signs of impending failure (cracks, delamination, loose tiles)
Many common tiling failures give clear early warnings you can spot if you know what to look for: hairline cracks radiating from grout lines, tiles that sound hollow when tapped, and thinset or tile edges peeling away from the drywall.
Watch for spreading cracks, grout loss, or shifting tiles after temperature changes or light impacts.
Catching these signs early lets you repair before larger delamination occurs.
Real-world examples and short case scenarios
Countless DIYers and pros alike learn the hard way that small shortcuts—skipping a waterproof backer board, using the wrong thinset, or not removing loose paint—lead to predictable failures; the following short case scenarios show how those mistakes play out in real jobs and what you can do differently.
Case 1: grout cracks after movement—use flexible membrane.
Case 2: delamination from paint—strip to paper.
Case 3: mold behind tile—install backer and waterproof.
Best Practices and Preventive Tips
Before you start, know when to swap drywall for cement backerboard or a waterproof membrane to prevent failures in wet areas.
Use the right thinset, primers, and grout specified for drywall-based installs, and follow proven installation steps—proper substrate prep, correct trowel size, and adequate curing—to maximize longevity.
Afterward, keep grout sealed, inspect caulking and joints regularly, and address small cracks or loose tiles immediately to avoid bigger repairs.
When to choose backerboard or membranes instead of drywall
If your project will see regular moisture, heavy tile loads, or direct water exposure, choose cement backerboard or a waterproof membrane instead of drywall; they resist swelling, provide a stable bond for thinset, and protect framing from rot.
Use backerboard in showers, tub surrounds, and floors under large-format or stone tile.
Apply membranes where waterproofing is required or movement is likely.
Best adhesives, primers, and grout for drywall-based installs
When you do choose drywall for low‑moisture walls—like backsplashes or dry areas—select materials that’ll bond well and limit future problems.
Use primers, adhesives, and grout rated for drywall and tile.
- Use a high‑bond, flexible thinset modified for gypsum board
- Apply a drywall primer-sealer first
- Choose sanded or unsanded grout per joint width
- Use mold‑inhibiting grout additive
- Avoid mastic in humid zones
Installation tips to maximize longevity and avoid repairs
Because proper preparation and careful technique cut down on future repairs, take your time at each step so the installation lasts.
Use a level chalk line, back-butter larger tiles, and maintain consistent thinset thickness.
Leave correct expansion joints, use alkali-resistant mesh where needed, and clean joints before grouting.
Check for full tile coverage and cure time per manufacturer before light use.
Maintenance tips after installation
Although the install is complete, you’ll get the longest life and best-looking tile by following a few simple maintenance habits:
sweep or vacuum weekly, mop with pH-neutral cleaner, wipe spills immediately, and avoid harsh chemicals.
Re-seal grout annually, check caulk and edges for gaps, and replace damaged grout promptly.
Address loose tiles at once to prevent bigger repairs.
Cost, Time, and Labor Considerations
You’ll weigh upfront costs of tiling directly on drywall against the higher expense of replacing the substrate for a more durable base.
Consider how time and complexity increase with substrate prep, layout precision, and grout curing when planning the job.
If the scope or risk of failure is high, hire a pro; for small, simple projects you can often save money by doing it yourself.
Cost comparison: tiling on drywall vs replacing substrate
When you compare tiling directly over drywall versus removing and replacing the substrate, the biggest differences show up in upfront costs, time to completion, and labor complexity. You’ll usually pay less for patch-and-tile, while substrate replacement raises material and demo costs. Choose based on moisture risk and longevity.
| Option | Typical Cost | Durability |
|---|---|---|
| Tile over drywall | Low | Moderate |
| Replace substrate | High | High |
Time and complexity differences
Because time and labor shape the true cost, plan around how much demo, prep, and skilled work each option needs.
Tiling over drywall saves demo time but may require careful prep and longer curing for adhesives.
Replacing the substrate adds demolition, drying, and framing time but simplifies waterproofing and tile work.
Balance schedule risks, lead times for materials, and availability of skilled labor.
When to hire a pro vs DIY
Wondering whether to tackle tile-on-drywall yourself or hire a pro?
Weigh cost, time, and skill: DIY saves money if you already have tools and basic tiling experience, but expect longer hours and mistakes that cost more later.
Hire a pro for large areas, complex patterns, wet zones, or tight timelines—they work faster, guarantee durability, and usually warranty their labor.
FAQ Common Questions About Tiling on Drywall
You’ll want to know whether bathrooms and showers can be tiled over drywall, and if greenboard is acceptable for wet areas.
Also ask about thinset cure times before grouting, whether tile will make drywall sag or fail, and if you can tile directly over painted drywall.
I’ll answer each of these common questions so you can choose the right prep and materials.
Can you tile in a bathroom/shower over drywall?
Can you tile a bathroom or shower over drywall?
You can tile bathroom walls outside direct wet zones, like above a tub splash or vanity backsplash, but you shouldn’t rely on standard drywall inside a shower or on continuously wet surfaces.
Use proper water-resistant backer or waterproofing in wet areas to prevent mold, deterioration, and tile failure.
Plan for ventilation and correct substrate.
Is greenboard acceptable for tile?
Is greenboard okay for tile?
You can use greenboard for wall tile in dry areas like backsplashes or bathroom walls outside the shower, since it resists moisture better than regular drywall.
Don’t use it where direct water hits—showers or tub surrounds need cement board or waterproof backer.
Always seal seams, use proper thinset, and follow manufacturer recommendations for long-term performance.
How long should thinset cure before grouting on drywall?
If you used greenboard for a backsplash or bathroom wall, you’ll still need to wait for the thinset to set before grouting to confirm a strong bond and avoid staining.
Generally, wait 24 hours for standard thinset at room temperature; rapid-setting mixes may cure in 2–4 hours.
Always check the manufacturer’s instructions and verify tiles are firmly set and dry before grouting.
Will tile cause drywall to sag or fail over time?
While properly installed tile usually won’t make drywall sag, you’ll see problems if the wall wasn’t prepared or the tile is too heavy for the substrate—standard drywall and greenboard can support ceramic backsplash tiles when you use the right thinset, keep tile sizes and weights appropriate, and follow manufacturer recommendations; otherwise moisture, inadequate adhesive, or large-format stone can cause bond failure, sagging, or delamination over time.
You should inspect studs, use proper backer or reinforcement for heavy or wet areas, control moisture, and follow installation specs to prevent long-term failure.
Can I tile directly over painted drywall?
Wondering whether you can tile directly over painted drywall? You generally shouldn’t.
Paint creates a slick surface that prevents thinset from bonding properly. You can tile only if you remove loose paint, sand glossy finishes, and apply a suitable primer or bonding agent—ideally switch to cement backerboard in wet areas.
Always clean, level, and test adhesion before tiling to avoid failures.
Visual Guide and Resources
You’ll find step-by-step photos and clear diagrams that walk you through preparation and installation.
Use the printable checklist to decide if your drywall is a good candidate for tile before you start.
I’ll also point you to recommended manufacturer guidelines and relevant building-code resources.
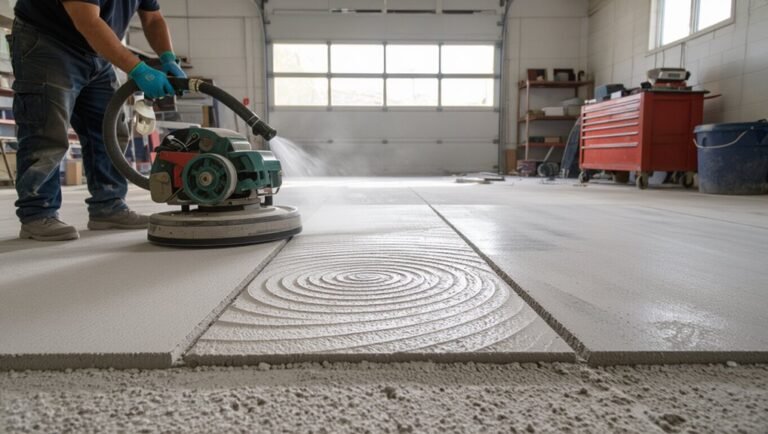
Step-by-step photos and diagrams for preparation and installation
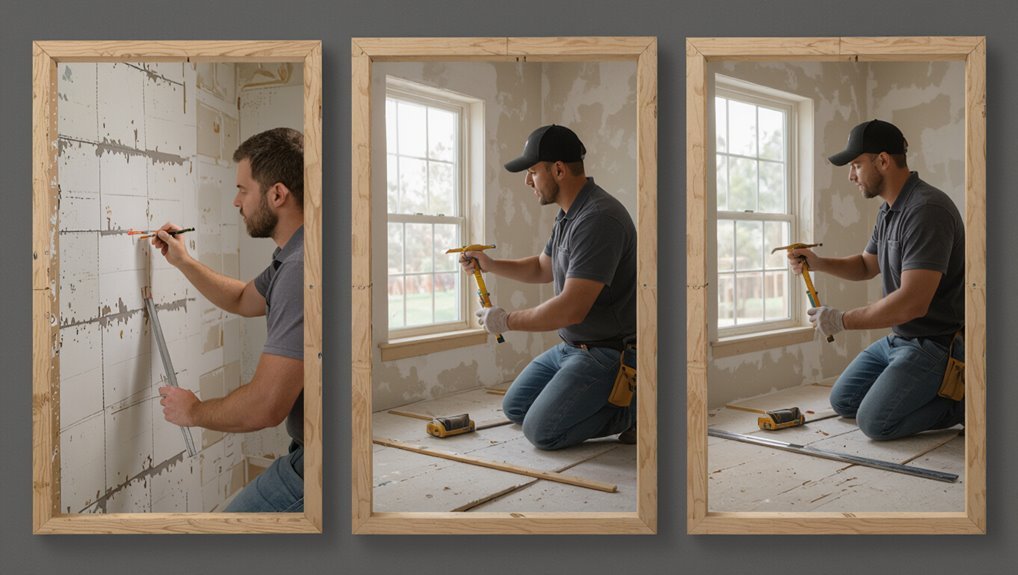
Start by gathering clear, sequential photos and labeled diagrams that show each preparation and installation step—measuring and marking the layout, cutting and scoring drywall or cement board, applying backer board tape and thinset, and setting tiles with spacers.
Then include close-ups of tools, joint details, and adhesive coverage, plus exploded views for changes and edge treatments so you can replicate each stage accurately.
Checklist printable for deciding whether to tile on drywall
Looking to tile over drywall and not sure if it’s the right move?
Use this printable checklist to decide quickly and confidently. Mark yes/no and act accordingly.
- Surface condition: intact, clean, dry?
- Location: wall, shower, backsplash?
- Moisture risk: high or low?
- Tile weight/size: suitable for drywall?
- Alternatives considered: backer board or cement board?
Recommended manufacturer and code resources
1 useful place to begin is with manufacturer installation guides and local building codes, since they tell you what products are approved for drywall applications and how to install them safely.
Check tile, thin-set, membrane, and backer board manufacturers (e.g., Schluter, Laticrete, Custom Building Products) and your municipality’s code office.
Follow specified materials, fasteners, and waterproofing to pass inspection and guarantee longevity.