How to Install Peel and Stick Tile That Actually Stays Down
You can make peel-and-stick tile stay down by prepping and stabilizing the surface, cleaning and degreasing thoroughly, and repairing or leveling any dips or loose boards. Prime porous or problematic substrates, plan a dry layout from a focal point, peel and align gradually, then press from center outward and roll firmly to remove bubbles. Use extra adhesive or caulk at edges in high-traffic or wet areas. Keep going to learn specific tools, tips, and fixes.
Will Peel and Stick Tile Stay Down?
Peel-and-stick tile will stay down when the surface is clean, dry, smooth, and you press each tile firmly with proper acclimation; it may fail on textured, dirty, or damp substrates.
You’ll also want quality adhesive-backed tiles and to avoid high-moisture areas unless the product is rated for them.
Quick checklist: clean surface, dry, level, proper acclimation, firm pressure, and correct product for the room.
Short summary of when it will and won’t
If you prepare the surface properly and choose tiles suited to the room, peel and stick tile will stay down reliably for years; however, it can fail quickly on damp, dirty, or highly textured substrates or in areas with heavy moisture or traffic.
You’ll get good results when you follow how do you install peel and stick tile steps, use primer, and avoid wet rooms or uneven floors.
One-line checklist for success
When you prep the surface, pick low-moisture rooms, and use a primer, the tiles will stick—and here’s a one-line checklist to make that happen every time.
- Clean, dry, and smooth substrate.
- Use compatible primer and press firmly.
- Seal edges and avoid heavy water exposure.
Follow these steps and your peel-and-stick tile will stay put.
Understanding Peel and Stick Tile
Peel and stick tile is a thin, finished tile with a pressure-sensitive adhesive backing that you remove a liner from and press into place.
The adhesive bonds to clean, smooth surfaces and activates with pressure and sometimes heat, so you’ll want to prep the floor or wall first.
They’re great for quick updates in low- to moderate-traffic areas but have limits on longevity, water exposure, and installation over uneven surfaces.
What is peel and stick tile?
Think of peel-and-stick tile as a thin, self-adhesive flooring or backsplash option that you can apply without messy mortar or specialized tools.
You’ll find options in vinyl, composite, and luxury-look designs that mimic ceramic, stone, or wood. They come pre-cut or in sheets, are lightweight, and let you retrofit surfaces quickly.
You’ll still need a clean, smooth substrate and careful alignment.
How the adhesive backing works
Most peel-and-stick tiles grab instantly because they use a pressure-sensitive adhesive layer that bonds to clean, smooth surfaces as you press the tile down; you’ll remove the liner, align the piece, and apply firm pressure to set the bond.
The adhesive combines tackifiers and elastomers so it sticks immediately yet allows slight repositioning before full seating and long-term shear strength once cured.
Common applications and limitations
You’ll find peel-and-stick tile works best in low- to medium-traffic areas where surfaces are flat, clean, and dry—think backsplashes, laundry rooms, closets, and temporary rental updates—because the pressure-sensitive adhesive bonds quickly and performs well without heavy subfloor demands.
Avoid high-moisture zones, heated floors, uneven substrates, and heavy wear; use it for quick cosmetic upgrades and short- to medium-term installations only.
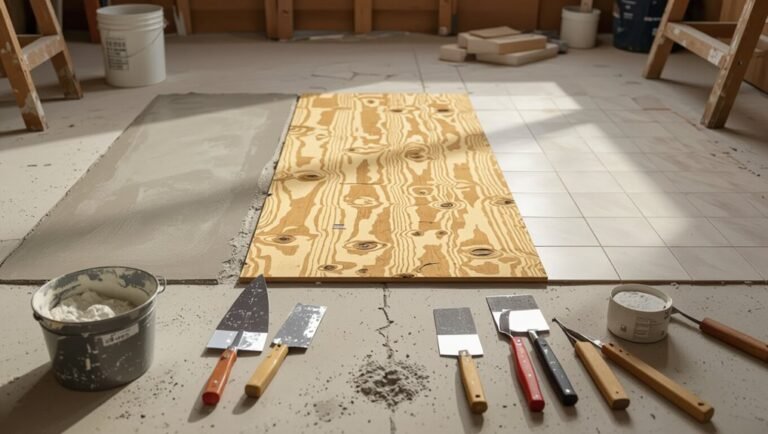
Tools and Materials Needed
You’ll need a concise checklist of essential tools—tape measure, straightedge, utility knife, roller, and a level—plus surface prep supplies.
We’ll cover recommended adhesives and primers for different subfloors and when the factory adhesive isn’t enough.
You’ll also learn clear signs for replacing stock adhesive with aftermarket products to guarantee a long-lasting install.
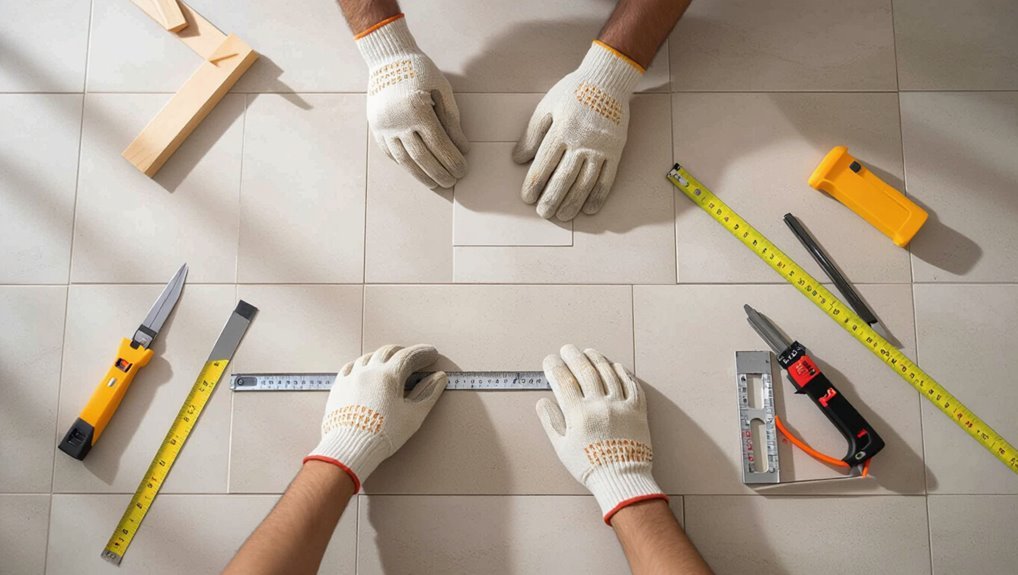
Essential tools checklist
Before you peel a single tile, gather the right tools so the job stays smooth and fast.
You’ll need basic hand and layout gear to measure, cut, and press tiles firmly. Don’t skip quality items that save time and prevent mistakes:
- Tape measure, straightedge, pencil
- Utility knife, snap cutter, tile nippers
- Roller, spacers, clean rags
Recommended adhesives and primers
Although peel-and-stick tiles are self-adhesive, you’ll often need primers and supplemental adhesives to guarantee long-term bond and prevent lifting, especially in high-traffic or moisture-prone areas.
You’ll choose products based on substrate and moisture. Consider these options:
- Acrylic primer for porous surfaces.
- Olefin or urethane-based adhesive for stubborn tiles.
- Waterproofing primer for wet rooms.
When to replace stock adhesive with aftermarket products
If the stock adhesive shows signs of failure—poor initial tack, edge lifting, or disintegration on rough or damp substrates—you should swap it for a stronger aftermarket product.
Choose a pressure-sensitive or high-bond acrylic designed for vinyl tiles, compatible with substrate and moisture levels.
Test a small area, follow manufacturer cure times, and use primer or seam sealer when recommended to guarantee long-term adhesion.
Pre-Installation Assessment
Before you start, check that your surface is compatible—peel-and-stick works well on smooth vinyl, cured concrete, clean wood, and drywall.
Avoid loose, uneven, painted, or water-damaged floors unless you repair or prime them first.
Measure the area, plan your layout, and add 5–10% extra for cuts and waste when ordering tiles.
Surface types that work (vinyl, concrete, wood, drywall)
When evaluating whether peel-and-stick tile will bond well, check the existing surface—vinyl, concrete, wood, or drywall—and note its texture, cleanliness, and integrity.
Smooth, non-porous vinyl and sealed concrete usually accept adhesive.
Sanded or primed wood and painted, clean drywall also work if flat.
Minor imperfections can be filled; avoid loose, crumbling, or highly textured substrates for reliable adhesion.
Surfaces to avoid or prepare heavily
Although peel-and-stick tile can work on many substrates, you should steer clear of or heavily prep surfaces that are loose, crumbling, excessively textured, oily, or damp—these conditions prevent reliable adhesion.
Inspect for peeling paint, warped boards, adhesive residue, mold, or efflorescence.
Remove contaminants, level deep textures, repair substrate damage, and guarantee full dryness before installing to maximize bond and longevity.
Measuring and layout planning
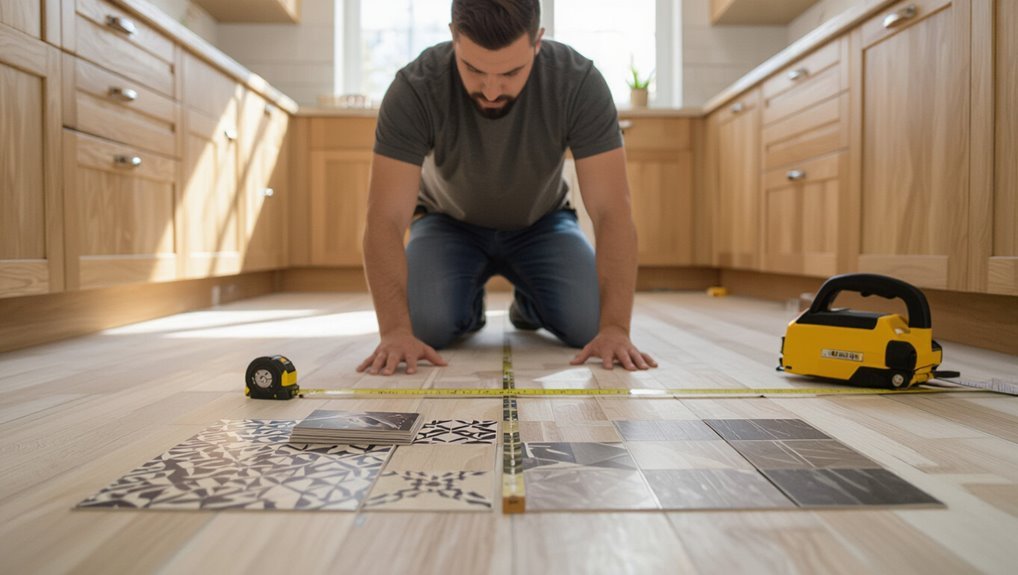
Start by measuring the room carefully and sketching a simple floor plan so you know exactly how many tiles you’ll need and where cuts will fall.
Mark focal lines (centerlines or doorway alignment), note obstacles, and plan full tiles along visible edges.
Account for groutless spacing, tile orientation, and patterns.
Double-check measurements and transfer layout marks to the floor before peeling any backing.
Estimating quantity and ordering tips
Count tiles based on your measured floor plan plus a waste allowance so you don’t run short mid-job.
Add 10–15% for cuts and pattern matching, 20% for diagonal layouts. Round up to full boxes.
Order from the same dye lot, keep extra tiles for repairs, and confirm lead time.
Verify return policy and shipping costs before finalizing the purchase.
Step-by-Step Installation Process
Now you’ll move through the installation step by step, starting with thoroughly cleaning and degreasing the surface.
Fix any dips or damage and level the subfloor, then apply a primer or bonding agent if the manufacturer recommends it.
Do a dry layout and cut tiles to fit, then stick them down using the proper adhesion technique and firm pressure for a lasting bond.
Step 1 Surface cleaning and degreasing
Before you lay a single tile, thoroughly clean and degrease the surface so the adhesive can bond properly.
Remove dust, dirt, wax, and old residue with a vacuum and a microfiber mop.
Use a degreaser or isopropyl alcohol for stubborn grease, rinse if needed, and let the floor dry completely.
A clean, dry surface guarantees long-lasting adhesion.
Step 2 Repairing and leveling the subfloor
With the surface clean and dry, inspect the floor for cracks, loose boards, high spots, or dips that would stop tiles from laying flat.
Secure loose boards with screws, fill cracks and gaps with patching compound, and sand high spots.
Use a self-leveling compound for larger depressions, follow drying times, and recheck flatness before proceeding to the next step.
Step 3 Applying primer or bonding agent (when required)
If your subfloor is porous, slick, or previously finished, apply a manufacturer-recommended primer or bonding agent so the peel-and-stick tiles will adhere properly; follow product instructions for coverage, drying time, and recommended trowel or roller application.
Work in small sections, spread evenly, avoid puddles, and allow full cure. Ventilate the area and discard contaminated rags per label directions before laying tiles.
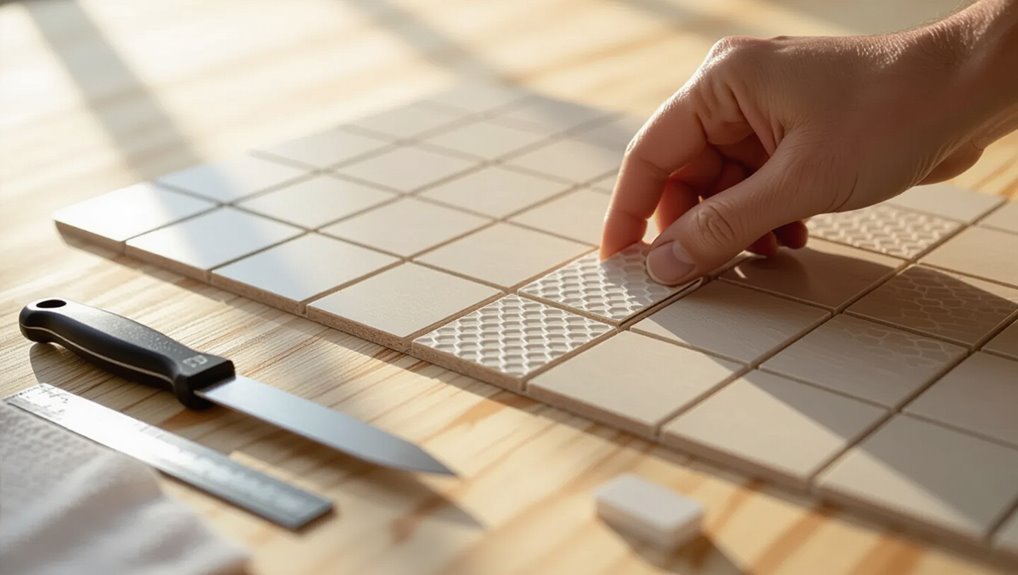
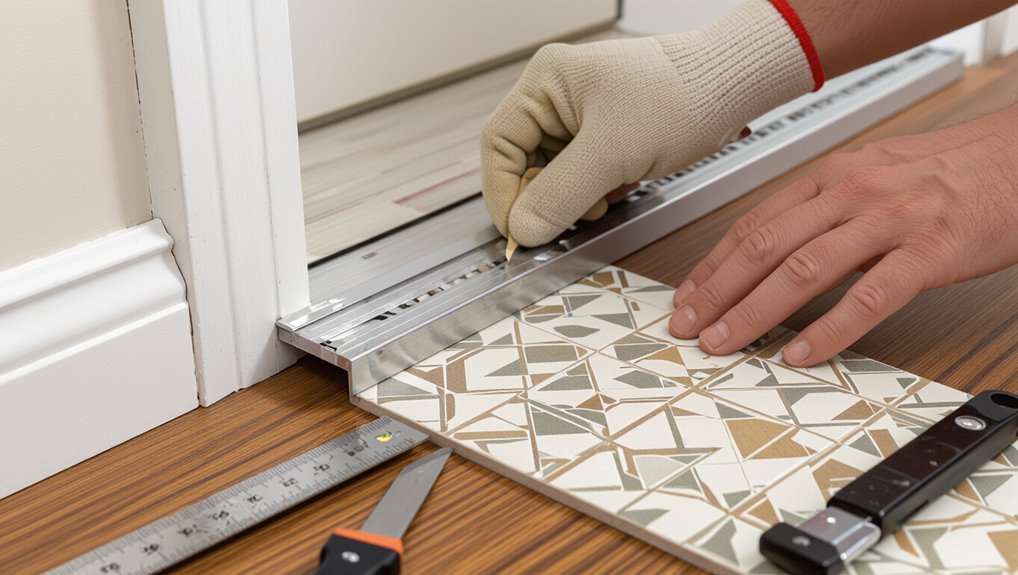
Step 4 Dry layout and cutting tiles
Start by laying out tiles dry across the room to plan seams, pattern, and cuts so you can adjust spacing and avoid tiny slivers at edges.
Work from the focal point outward, mark cut lines with a pencil, and score or trim tiles with a utility knife, straightedge, or snips.
Test-fit pieces frequently and label edge tiles for faster installation.
Step 5 Proper adhesion technique and pressure application
After you’ve dry-fit and trimmed the edge pieces, it’s time to stick the tiles down for real.
Peel backing gradually, align edges, and press from center outward to avoid bubbles. Use a rubber roller or firm hand pressure, making several passes with consistent force.
Hold seams tight for a few seconds. Work in small areas so adhesive stays tacky and bonds fully.
Step 6 Sealing seams and edges (wet areas)
6. In wet areas, seal seams and edges immediately.
Run a thin bead of silicone or waterproof sealant along perimeter joints and between tiles where water might penetrate.
Smooth the sealant with a wet finger or tool for a flush finish.
Verify adjacent surfaces are clean and dry first.
Wipe excess promptly and allow manufacturer-recommended cure time before exposing to moisture.
Step 7 Post-installation curing and traffic recommendations
Once the sealant’s cured and the surface looks clean, give the peel-and-stick tile its full cure time—typically 24 to 72 hours—before heavy use.
During this period, avoid dragging furniture, rolling chairs, or exposing the floor to water or heavy traffic so the adhesive can set properly.
After curing, reintroduce light foot traffic first, move furniture with sliders, and wait 7 days before wet mopping.
Comparison: Peel-and-Stick vs Other Flooring Options
Now that you’ve learned the installation steps, let’s compare peel-and-stick to other flooring choices like vinyl plank and ceramic tile.
You’ll see how they stack up on cost, durability, and maintenance so you can pick what fits your budget and lifestyle.
This quick comparison will help you weigh trade-offs between upfront price, long-term wear, and upkeep needs.
Peel-and-stick vs vinyl plank
While both peel-and-stick tiles and vinyl plank flooring aim to give you a quick, affordable update, they differ in thickness, installation method, and long-term performance; peel-and-stick is thin and easy to cut for small projects, while vinyl plank is thicker, often click-lock, and better at hiding subfloor imperfections and resisting wear.
| Peel-and-Stick | Vinyl Plank |
|---|---|
| Thin | Thick |
| Adhesive | Click-lock |
| Easy cuts | Better wear |
| Small jobs | Whole rooms |
Peel-and-stick vs ceramic tile
Although peel-and-stick tiles give you a fast, budget-friendly update, they differ sharply from ceramic tiles in durability, moisture resistance, and appearance; ceramic is thicker, harder, and meant for long-term use, while peel-and-stick is thin, easier to install, and better for temporary or low-traffic areas.
| Feature | Peel-and-Stick | Ceramic |
|---|---|---|
| Installation | Quick | Slower |
| Weight | Light | Heavy |
| Repair | Replace tiles | Grout/replace |
Cost, durability, and maintenance comparison
Having compared peel-and-stick and ceramic tiles, let’s look at how peel-and-stick stacks up against other common flooring choices on cost, durability, and upkeep so you can pick what fits your needs and budget. You’ll find it’s cheapest, moderate in durability, and low-maintenance versus hardwood and vinyl, but less long-lasting than ceramic.
| Option | Cost | Durability |
|---|---|---|
| Peel-and-stick | Low | Moderate |
| Hardwood | High | High |
| Vinyl | Medium | Moderate |
Common Problems and How to Fix Them
You’ll run into a few common issues like tiles lifting at the edges, bubbles or wrinkles, and adhesive failure on certain substrates.
I’ll show how to prevent and fix edge lifting, smooth and re-seat bubbled tiles, and choose or prep substrates to avoid bond problems.
We’ll also cover spotting and repairing moisture damage so you can keep your floor sealed and secure.
Tiles that lift at edges causes and fixes
When peel-and-stick tiles start lifting at the edges, it’s usually a sign of poor adhesion, moisture, or temperature changes—issues you can diagnose and fix without replacing the whole floor.
Check substrate cleanliness and flatness, re-clean with alcohol, and roughen glossy surfaces.
Use a stronger adhesive or contact cement for stubborn spots, apply weight while curing, and control room humidity and temperature to prevent recurrence.
Bubbles and wrinkles prevention and repair
Bubbles and wrinkles in peel-and-stick tile usually come from trapped air, surface contaminants, or applying tiles before the adhesive fully activates.
You can prevent most problems by preparing the substrate carefully, smoothing as you lay each tile, and addressing any defects immediately.
If small bubbles appear, press outward with a roller or pinhole and flatten; for larger wrinkles lift, re-clean, and reapply with firm pressure.
Adhesive failure on specific substrates
Because different substrates react to adhesives in different ways, peel-and-stick tiles can fail even when you follow the instructions precisely.
Check substrate type: vinyl, painted concrete, plywood, and existing tile bond differently.
Clean, scuff, and degrease surfaces; prime problematic substrates with a manufacturer-approved primer.
For flexible or low-energy plastics, use a specialty adhesive or consult tile maker for compatible products before installing.
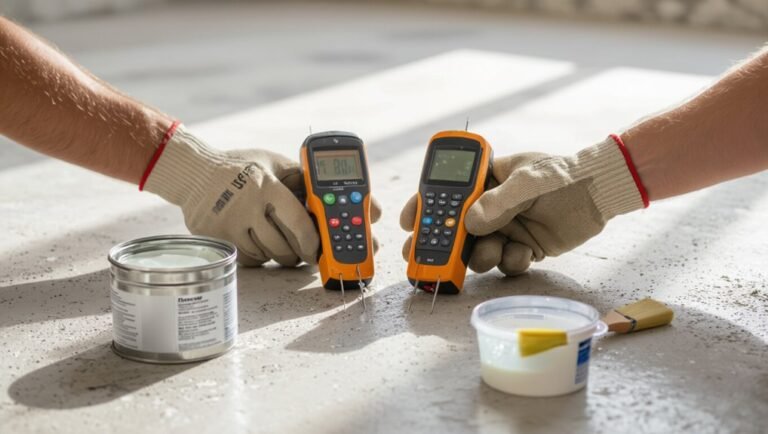
Water damage and moisture-related issues
If moisture gets under or behind peel-and-stick tiles, adhesive will fail and tiles can cup, lift, or grow mold—so you’ll want to identify sources, stop further water intrusion, and dry the substrate thoroughly before repairing or replacing tiles.
Check plumbing, grout, and seals, use a moisture meter, remove damaged tiles, clean or replace damp underlayment, apply a compatible primer, then reinstall.
Best Practices to Ensure Long-Lasting Adhesion
To keep your peel-and-stick tile bonded for years, pay attention to environmental conditions like temperature and humidity before and during installation.
Always run through a quick surface-prep checklist—clean, dry, level, and free of wax or oils—before you stick any tile.
After installation, follow simple maintenance tips like gentle cleaning and avoiding harsh chemicals to preserve adhesion and appearance.
Environmental conditions (temperature, humidity)
When you’re installing peel-and-stick tile, controlling temperature and humidity is critical for the adhesive to bond properly and last over time.
Work in conditions your tile manufacturer recommends, usually 60–80°F and 40–60% relative humidity. Avoid installing during extreme heat, cold, or high humidity.
Allow acclimation time for tiles and adhesive, and maintain stable conditions for 48–72 hours after installation.
Surface prep checklist before every install
Stable temperature and humidity set the stage, but proper surface prep is what actually lets the adhesive do its job.
You’ll want to:
- Clean thoroughly: remove dirt, grease, and old adhesive residue.
- Repair and level: fill cracks, sand high spots, guarantee flatness within tolerances.
- Prime porous surfaces: use recommended primer and let it cure.
Follow this checklist so tiles bond consistently and stay down.
Maintenance tips to preserve adhesion and appearance
Because peel-and-stick tiles rely on surface contact, regular care keeps the adhesive strong and the finish looking new:
Wipe spills immediately with a damp, soft cloth; avoid steam cleaners and abrasive pads; use pH-neutral cleaners sparingly; keep humidity controlled and rugs non-slip to prevent shifting; fix lifted edges with pressure or adhesive; inspect periodically and replace damaged tiles to prevent moisture intrusion.
Pro Tips and Advanced Techniques
Once you’ve mastered the basics, you’ll want to contemplate extra adhesives or a double-stick method for high-traffic areas to boost hold.
Plan clean changes at thresholds and between floor types so edges stay tight and look professional.
For bathrooms and laundry rooms, you’ll need moisture-resistant seams, proper substrate prep, and possibly a waterproofing layer to prevent failures.
Using additional adhesives or double-stick methods
If you want extra security—especially on uneven floors, high-traffic areas, or outdoor-facing spaces—adding adhesive or using a double-stick method can prevent shifting and edge lift.
Use a compatible vinyl adhesive or pressure-sensitive glue, apply thin beads or a skim coat, then press tiles firmly.
Test a small area first, clean excess immediately, and allow proper cure before traffic.
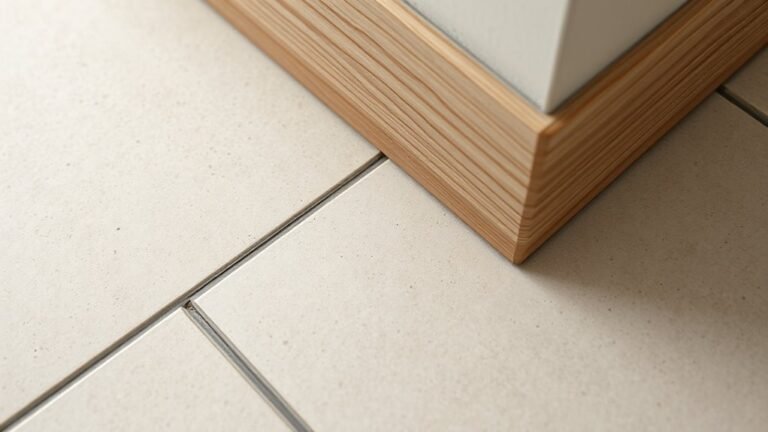
Transitioning between floor types and thresholds
When you meet another flooring type or a doorway threshold, plan the shift to protect edges, maintain a smooth walk, and keep the look professional.
Use transition strips sized to height differences, trim tiles cleanly, and leave a small expansion gap.
Secure edges with adhesive or metal/wood thresholds.
Match grout or seam color so the junction reads intentional and durable.
Working in high-moisture areas (bathroom, laundry)
Bathrooms and laundry rooms demand extra care because constant moisture and temperature swings can lift adhesive and promote mold; seal subfloor seams with waterproof membrane, choose waterproof-rated peel-and-stick tiles, and use a high-strength, moisture-resistant primer.
Keep ventilation running, avoid installing directly in shower pans, and press tiles firmly with a roller.
Re-seal edges with silicone caulk to prevent water intrusion.
Mistakes to Avoid
Don’t skip primer or proper surface prep, because poor adhesion will undo your work.
Avoid installing over soft or unstable substrates and don’t rush the layout or cutting, since misaligned or flexing tiles fail fast.
Always follow the manufacturer’s instructions to guarantee warranty coverage and long-term performance.
Skipping primer or surface prep
Skip surface prep at your own risk: failing to clean, sand, or prime the substrate will almost always lead to poor adhesion, edges that lift, and tiles that peel prematurely.
You should remove grease, dust, and old adhesives, sand glossy surfaces, and apply a manufacturer-recommended primer.
Proper prep guarantees a stable bond and long-lasting results—don’t skip these quick, necessary steps.
Installing over unstable or soft substrates
When you install peel-and-stick tile over soft, spongy, or crumbling substrates, the adhesive won’t hold and tiles will start to lift or crack within weeks.
Don’t apply tiles to damaged plywood, rotted underlayment, or buckling concrete.
Remove and repair unstable materials, replace rotten boards, level and dry the surface, then use a proper underlayment.
That guarantees lasting adhesion and prevents costly rework.
Rushing layout and cutting
Although it’s tempting to speed through layout and cutting so you can see progress fast, rushing this step causes crooked rows, awkward seams, and wasted tiles.
Take time to plan straight reference lines, dry-fit pieces, and measure cuts precisely. Use proper tools, score repeatedly for clean breaks, and trim gradually.
Slow, deliberate work saves material and gives a professional, long-lasting finish.
Ignoring manufacturer instructions
One common mistake is ignoring the manufacturer’s instructions — they tell you the recommended surface prep, temperature range, adhesive dwell times, and maintenance that make the tile perform as designed.
If you skip them, you’ll risk poor adhesion, warping, or voided warranties.
Follow specs for cleaning, priming, and install conditions, and check for updates or product-specific tips before you start.
Cost and Time Estimates
You’ll usually spend most on materials—peel-and-stick tiles, underlayment, and adhesives—while labor is minimal if you DIY or you’ll pay a contractor for hourly work.
For a small bathroom expect a few hours to a weekend; a kitchen or larger room can take a day to several days depending on prep and layout complexity.
Below I’ll break down typical material vs. labor costs and give time estimates by room size so you can plan.
Typical cost breakdown (materials vs labor)
A typical peel-and-stick tile project splits costs between materials—tiles, adhesive primers, grout and trim—and labor, with materials often accounting for 30–50% of the total and labor the rest; your exact share depends on tile quality, room complexity, and whether you handle prep work yourself. Balance budget and pride: cheap tiles save cash but cost time and patience.
| Emotion | Cost |
|---|---|
| Relief | Lower materials |
| Pride | DIY labor |
| Frustration | Hidden prep |
| Joy | Finished look |
Time required for DIY installs by room size
Expect a weekend for a small bathroom, a couple of days for a standard kitchen, and several days to a week for larger or irregular spaces when you DIY peel-and-stick tile; these estimates assume you handle basic prep, work at a steady pace, and use standard planks or squares rather than intricate patterns.
Factor in extra time for subfloor repair, acclimation, trimming, and grout or sealant curing.
Case Examples and Scenarios
You can use peel and stick tile for a quick bathroom refresh by replacing a few worn tiles and updating grout lines without a full remodel.
For a kitchen backsplash, you’ll learn how to plan patterns and handle cutouts around outlets and cabinets.
If you’re renting, you’ll see how to install temporary flooring that peels off cleanly when you move.
Quick bathroom refresh step highlights
Refresh your bathroom quickly by focusing on a few high-impact steps: clear and clean surfaces, repair grout and flaky paint, measure and plan tile layout, cut tiles for corners and outlets, peel and apply with firm pressure, roll seams, and seal edges with silicone.
Work from a focal wall outward, stagger joints for realism, and allow full cure before exposing to water.
Kitchen backsplash application
1 smart plan can save hours and give your kitchen a professional look when installing peel-and-stick tile for a backsplash.
Measure precisely, start centered above the sink, and dry-fit rows to avoid awkward cuts.
Clean and degrease the wall, use a level and straight edge, apply firm pressure when setting tiles, and seal edges near counters and outlets for lasting adhesion.
Rental-friendly temporary flooring
While backsplash projects typically focus on permanence and clean finishes, temporary peel-and-stick flooring offers a renter-friendly way to update a space without risking your deposit.
You can test patterns in living rooms, cover worn kitchen tiles, or create a uniform look in bedrooms.
Use low-tack options, protect edges with removable trim, and document before-and-after conditions for easy removal.
FAQ
You probably have questions about lifespan, installation over existing tile, extra adhesive for high-traffic zones, removal without damage, and using peel-and-stick in showers.
We’ll answer how long tiles typically last and whether you can or should add adhesive.
You’ll also get clear guidance on safe removal and where these tiles are and aren’t suitable in wet areas.
How long does peel and stick tile last?
How long will your peel-and-stick tile last depends largely on where you install it and how well you prepare the surface; with proper installation and typical residential use, expect 5–15 years of service life.
High-traffic areas, moisture, and improper prep shorten lifespan.
Maintain by keeping floors clean, avoiding standing water, using pads under furniture, and addressing lifting edges quickly to prevent further peeling.
Can you install peel and stick tile over existing tile?
Can you install peel-and-stick tile over existing tile? Yes, if the surface is clean, dry, flat, and firmly bonded.
Repair cracked grout, fill low spots, and sand glossy tiles to promote adhesion. Use a primer designed for nonporous surfaces when needed.
Test a small area first to confirm sticking. Avoid loose, uneven, or water-damaged tiles—those must be removed.
Is extra adhesive necessary for high-traffic areas?
If your existing tile passed the adhesion test and you’re planning a floor that gets heavy foot traffic, consider extra adhesive in key spots to reduce lifting and edge curl.
You’ll spot areas like doorways, stair landings, and appliance fronts to reinforce. Use compatible pressure-sensitive or construction adhesive sparingly, press tiles firmly, and weigh seams while curing to guarantee lasting bond without messy squeeze-out.
How do you remove peel and stick tile without damaging the floor?
Removing peel-and-stick tile without harming the floor is doable with the right tools and patience; start by warming the adhesive with a heat gun or hair dryer to soften it.
Then peel back a corner slowly and pull at a low angle while keeping the adhesive warm.
Use a plastic scraper to lift residue, adhesive remover or rubbing alcohol for stubborn spots.
Then clean and let dry before refinishing.
Can peel and stick tile be used in showers or full wet areas?
Wondering whether peel-and-stick tile holds up in showers and other fully wet areas?
You shouldn’t use standard peel-and-stick in constantly wet zones—adhesive fails and water seeps behind tiles.
For showers, choose waterproof sheet products, cement backer board with proper tile, or specialized marine-grade peel-and-stick made for submersion.
Always follow manufacturer specs, guarantee waterproofing membrane, and slope floors to drains for longevity.