How to Fit Vinyl Flooring Around Doors, Corners, and Edges
You can fit vinyl flooring neatly around doors, corners, and edges by measuring carefully, making templates, and using the right cuts and trims. Remove doors and trim as needed, undercut jambs for a flush fit, and dry-lay pieces to check clearances. Notch or scribe planks for inside and outside corners, glue or seam-roll edges, and install threshold strips where heights change. Keep expansion gaps and seal moisture-prone areas, and keep going to learn step-by-step tips and tools.
Can You Fit Vinyl Flooring Around Doors, Corners, and Edges?
You can fit vinyl around doors, corners, and edges with clean results if you take careful measurements and use the right cutting and trimming tools.
Simple doorways and outside corners are well within a DIYer’s reach, but complex inside corners, threshold adjustments, or shifts to other floor types may be worth hiring a pro.
If you’re unsure about matching patterns, achieving tight seams, or handling door trimming, get a professional to avoid costly mistakes.
Short summary of feasibility and expected results
Although it takes a bit of patience and the right tools, you can fit vinyl flooring neatly around doors, corners, and edges with reliable results.
You’ll learn how to fit vinyl flooring using straightforward cuts, proper measurements, and careful seaming. Expect durable, clean-looking connections if you follow templates, trim accurately, and use suitable adhesives or trim pieces.
Results are professional with attention to detail.
When to hire a pro vs. DIY
Now that you know the methods for cutting and fitting vinyl neatly around doors, corners, and edges, decide whether to tackle the job yourself or call a pro based on three factors: your skill level, the room’s complexity, and your time.
If you’re confident, have basic tools, and the layout’s simple, DIY saves money.
Hire a pro for tricky cuts, uneven subfloors, or limited time to guarantee a flawless finish.
Basic Understanding What Is Vinyl Flooring and Why Cutting Around Obstacles Matters
Vinyl comes in sheet, plank, and tile formats, and you’ll choose the type that best suits traffic, subfloor, and cutting needs.
You’ll notice vinyl reacts differently at doors, corners, and thresholds—expanding, lifting, or bunching if it’s not trimmed and secured correctly.
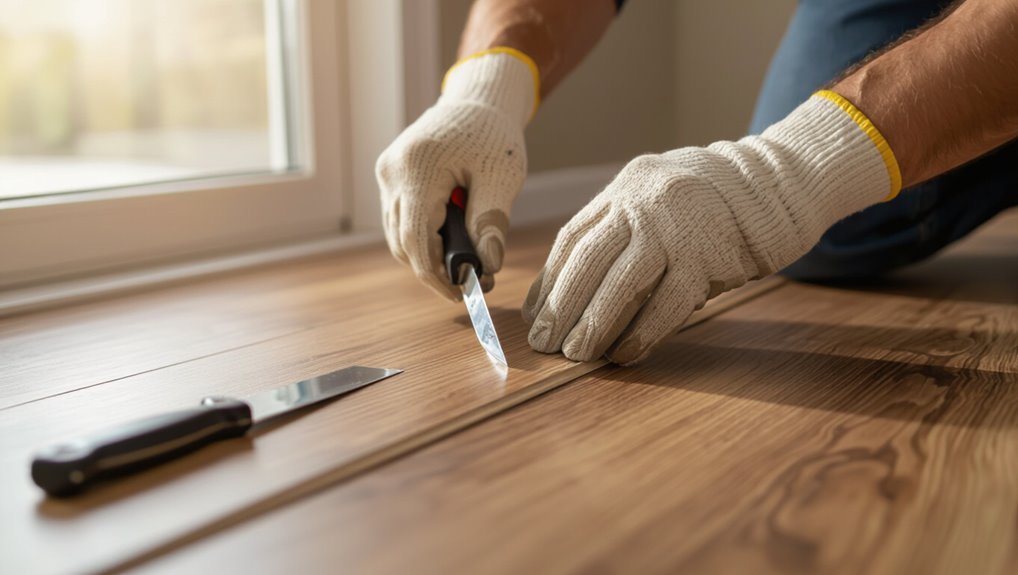
Get familiar with basic tools and materials (utility knife, straightedge, spacers, adhesive or underlay) before you start cutting around obstacles.
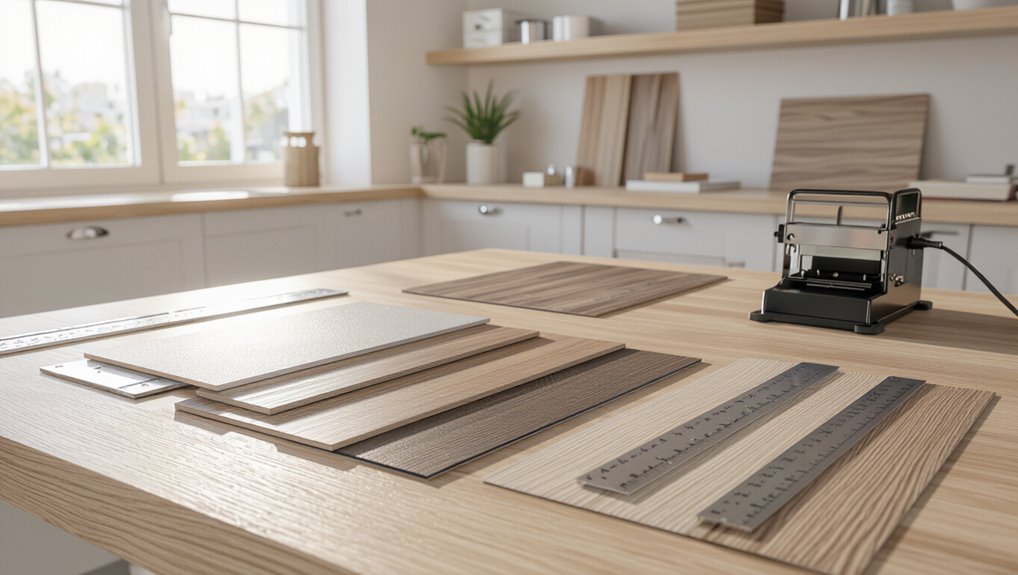
Types of vinyl flooring (sheet, plank, tile)
Flooring comes in three common vinyl formats—sheet, plank, tile—each shaped and installed differently to suit your room and skill level.
You’ll choose based on durability, pattern, and installation method. Consider these quick pointers:
- Sheet: large, seamless coverage
- Plank: wood-like, click or glue options
- Tile: modular, grout-look possible
- Peel-and-stick: DIY-friendly
- Luxury vinyl: thicker, more realistic
How vinyl behaves near doors, corners, and thresholds
When you install around doors, corners, and thresholds, expect the material to flex, compress, and sometimes lift if you don’t account for movement and clearance; cutting accurately and leaving proper expansion gaps keeps seams tight and doors operating smoothly.
You should allow clearance under door jambs, avoid binding at corners, and trim thresholds to prevent buckling.
Vinyl recovers slowly—plan joints where movement happens.
Tools and materials overview
You’ll need a handful of basic tools and a few key materials to cut and fit vinyl around obstacles accurately. Gather quality items to work cleanly and safely, so cuts are precise and edges finish well.
- Utility knife with sharp blades
- Straightedge or ruler
- Measuring tape and pencil
- Thresholds/transition strips
- Vinyl adhesive or seam sealer
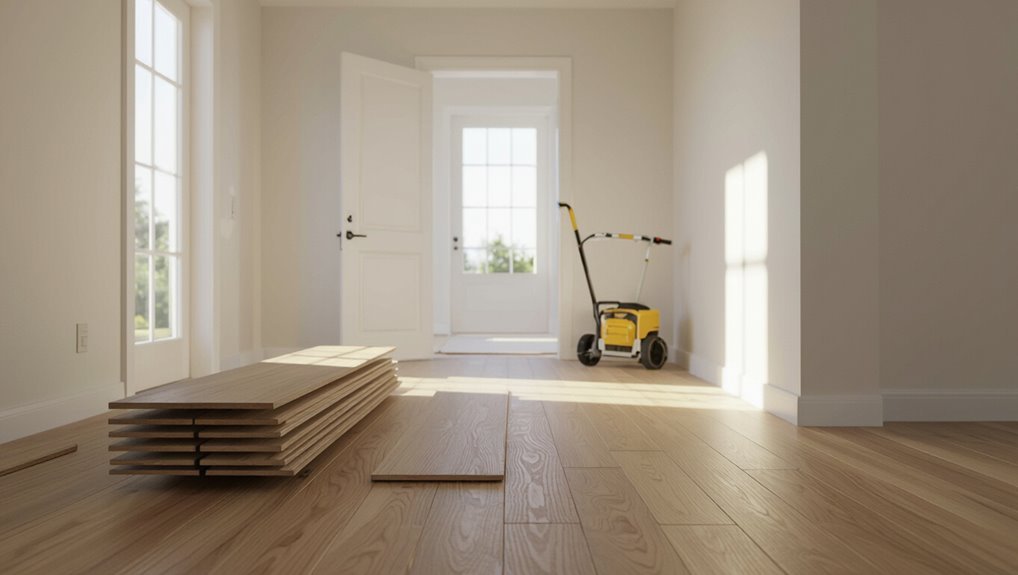
Preparation Steps Before Cutting and Installing
Before you start cutting, you’ll measure the room, map out any obstacles, and note where seams and cuts will fall.
Remove doors, trim, and thresholds carefully so you can get clean edges and accurate fits.
Finish by inspecting the subfloor for level, damage, and moisture, and address any issues on a simple checklist before laying the vinyl.
Measuring the room and mapping obstacles
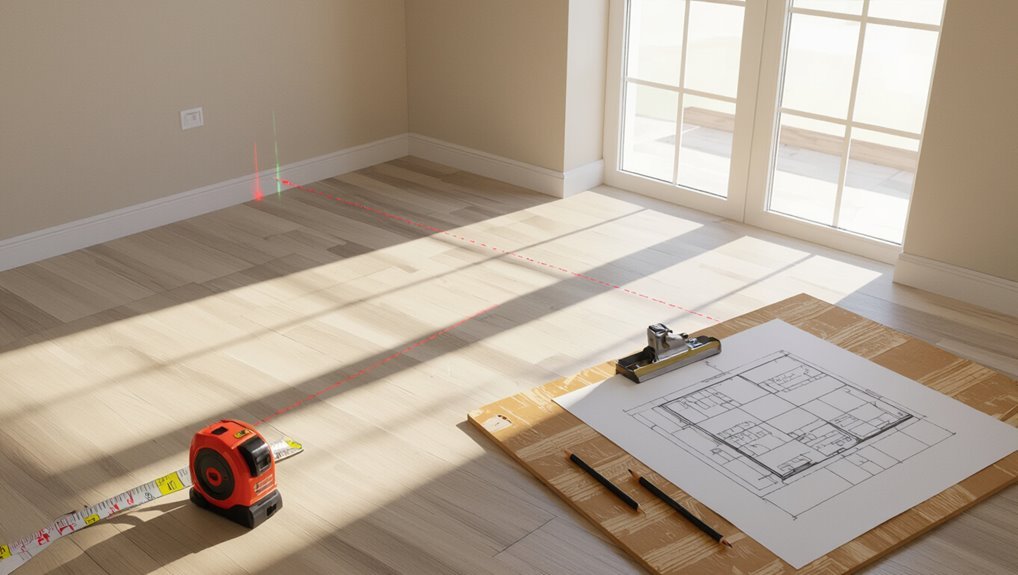
Start by measuring the room in a logical sequence: record length and width at several points, note the longest and widest measurements, and sketch a simple floor plan to scale so you can place seams and plank direction.
Then mark obstacles—door swings, built-ins, vents, columns—and measure from fixed reference walls. Label cuts, note changes, and double-check critical dimensions before cutting.
Removing doors, trim, and thresholds safely
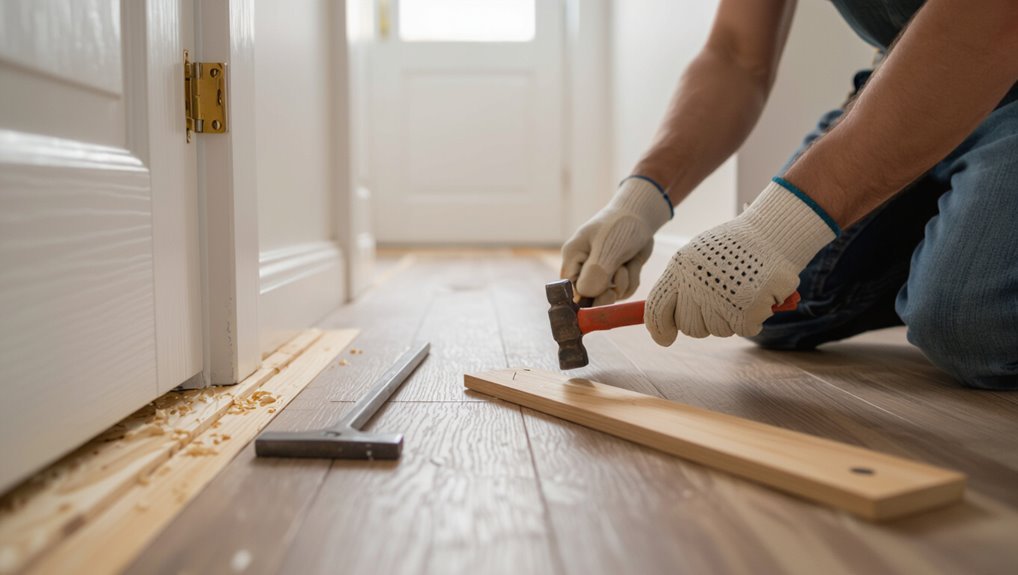
With your measurements and floor plan ready, remove doors, trim, and thresholds so you get clean, accurate cuts and a snug fit for the vinyl.
- Unscrew hinges; lift doors with a helper.
- Pry off baseboards gently to avoid damage.
- Remove thresholds or loosen screws.
- Label pieces and fasteners for reinstallation.
- Protect removed items and store hardware in a labeled bag.
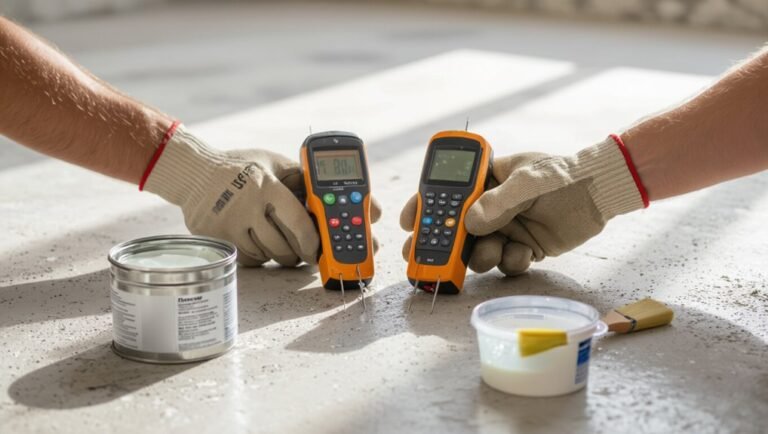
Subfloor inspection and leveling checklist
A level subfloor is the foundation of a lasting vinyl installation, so inspect it thoroughly for cracks, soft spots, high or low areas, moisture, and debris before you cut or lay any plank.
Check and address these points:
- Measure flatness with a straightedge and 1/8″ tolerance over 6′
- Repair cracks and loose sections
- Remove debris and old adhesives
- Test for moisture
- Apply leveler where needed
Quick Guide: How to Fit Vinyl Around Doors
Before you cut, dry-lay the vinyl and mark the door swing so you’ve got the clearance right.
Decide how to trim for jambs and reveals depending on whether you’re using planks or sheet, then undercut the door and jambs so the flooring sits flush.
Finally, reinstall the doors and tweak hinges or hardware to guarantee smooth opening and closing.
Step 1 Dry-lay vinyl and mark door swing clearance
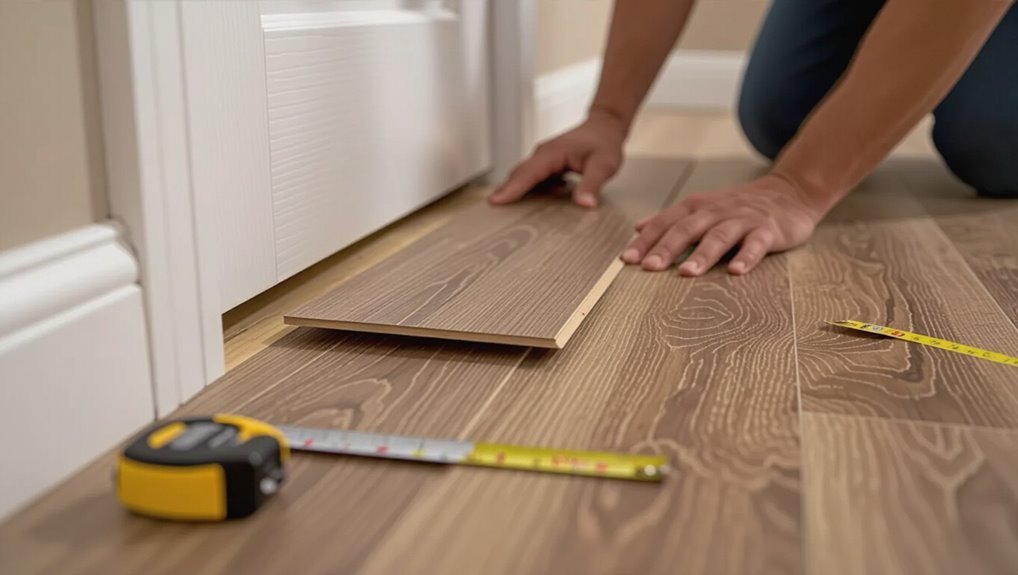
Start by laying out your vinyl planks or sheets across the room without fixing them, so you can check fit and pattern alignment; pay special attention where the door swings to guarantee the vinyl won’t block movement.
Walk the door through its full arc, mark clearance on the vinyl with a pencil, and note any areas needing additional trimming or undercutting before final installation.
Step 2 Cutting for door jambs and reveals (plank vs sheet)
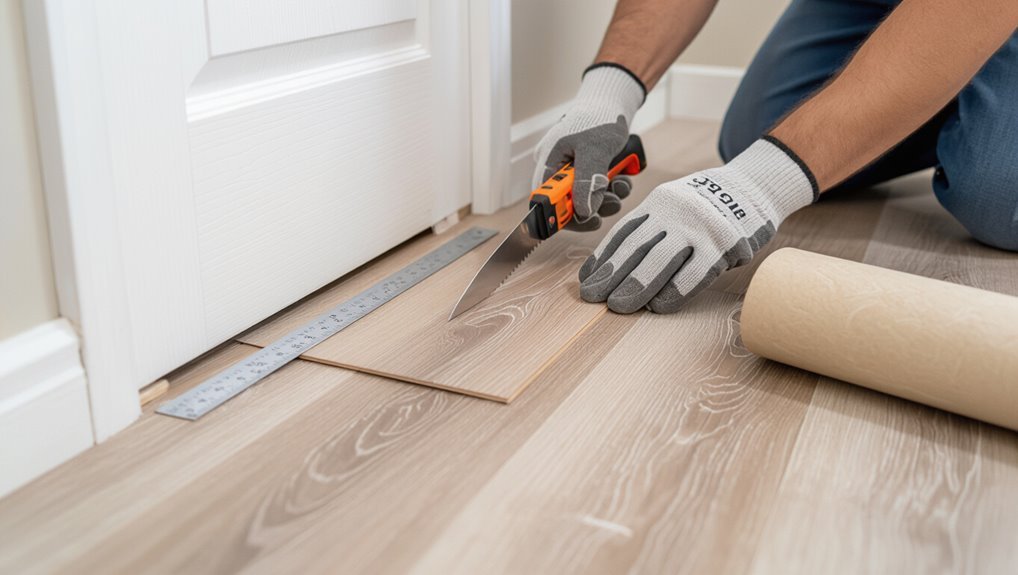
1 clear cut makes fitting around door jambs and reveals much easier: measure the gap, trace the jamb profile onto the vinyl, and cut to match so the material sits snugly without gaps.
For planks, cut individual boards to follow the reveal; for sheet vinyl, use a continuous pattern cut and trim edges.
Test fit, adjust small notches, and guarantee seams align for a neat finish.
Step 3 Undercutting doors and jambs for a flush fit
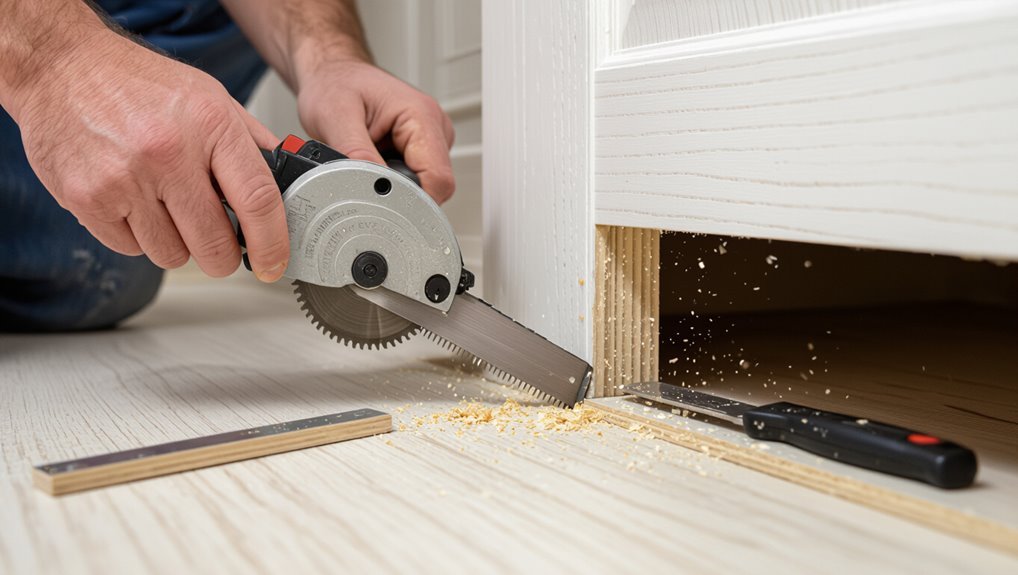
Trim the door jambs and bottoms so the vinyl can slide underneath for a clean, flush finish.
Mark cutting lines using a scrap piece of vinyl as a guide, then remove the door or prop it open.
Use a jamb saw or oscillating tool to shave the jamb and stop, test-fit the vinyl, and repeat until the sheet or plank slips under smoothly without lifting the threshold.
Step 4 Reinstalling doors and adjusting hardware
Once the vinyl’s tucked under the jamb and fits flush, put the door back and check clearances so it swings freely without catching the new flooring; you may need to plane a few millimeters off the bottom or tweak hinges to prevent rubbing and keep an even reveal around the edge.
Tighten hinges, trim weatherstripping, refit threshold and strike plates, and test latch alignment for smooth operation.
Fitting Vinyl Into Corners and Irregular Shapes
When you hit complex corners, start by making a simple cardboard or paper template to transfer exact shapes to your vinyl.
For inside corners you’ll trim and notch planks or tiles so they sit flush, and for outside corners you’ll shape edges and use junction pieces where the vinyl meets other flooring.
Follow each step carefully to keep seams tight and junctions smooth.
Step 1 Template techniques for complex corners

Start by making accurate templates for any complex corner or odd-shaped area so you can cut the vinyl to fit cleanly without guessing.
Trace shapes onto cardboard or kraft paper, mark reference lines and angles, and transfer cut lines to the vinyl.
Test-fit the template, adjust for baseboards or thresholds, then finalize the pattern before cutting the actual plank or tile.
Step 2 Trimming and notching planks/tiles for inside corners
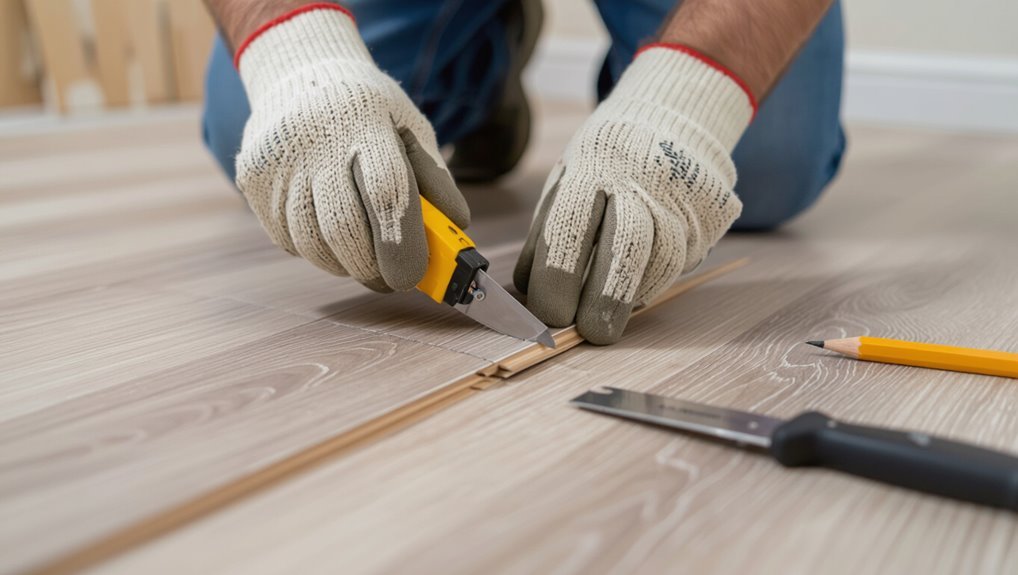
Measure the gap at the inside corner carefully, then mark and cut the plank or tile so it nests snugly against both walls; you’ll notch the piece to clear baseboards or trim and test-fit before committing to the final cut.
Use a sharp utility knife or jigsaw for accuracy, file notches smooth, and remove small amounts gradually until the piece fits tight without forcing or distorting adjacent planks.
Step 3 Handling outside corners and transitions to other flooring
After you’ve notched inside corners to fit snugly, you’ll tackle outside corners and where the vinyl meets other floor surfaces, which call for different cuts and finishing techniques.
For outside corners, scribe and trim to overlap slightly, then bevel edges for a clean break.
Use connection strips or reducers at thresholds, glue edges and fasten strips to secure a smooth, durable junction.
Edges, Thresholds, and Transitions Finishing Details
Now you’ll learn how to finish edges, thresholds, and changes so your vinyl looks professional and performs well.
You’ll pick the right change strip—T-mold, reducer, or threshold—based on height differences and traffic, and install edge trims securely.
Finally, you’ll seal doorways and moisture-prone areas to prevent water damage and keep seams tidy.
Types of transition strips and when to use each
Because vinyl meets other surfaces at different heights and movements, you’ll need the right threshold strip to create a safe, durable, and attractive edge. Choose based on height difference, traffic, and room junction.
| Strip Type | Best Use | Note |
|---|---|---|
| Reducer | Higher to lower floor | Gentle slope |
| T-mold | Same height rooms | Seam join |
| Threshold | Doorways/exterior | Seals/gap cover |
Installing edge trims, reducers, and T-molds
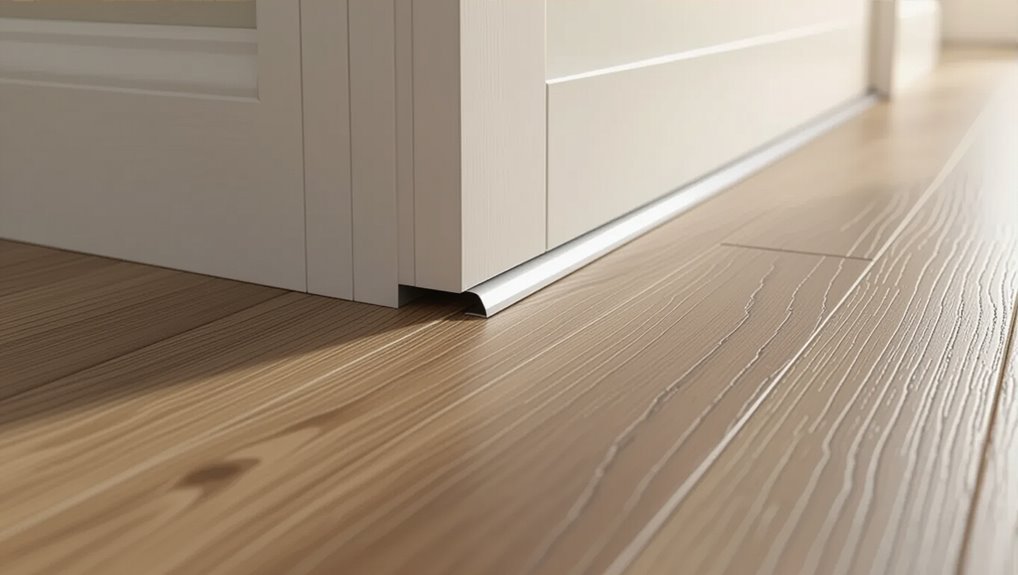
Choosing the right strip was only step one; next you’ll fit the actual edge trims, reducers, and T-molds to lock the installation in place and give the floor a finished look.
Measure, cut to length, and dry-fit each piece. Fasten per manufacturer instructions—screws into tracks or adhesive—keeping connections flush, gaps consistent, and profiles snug for smooth, safe walking surfaces.
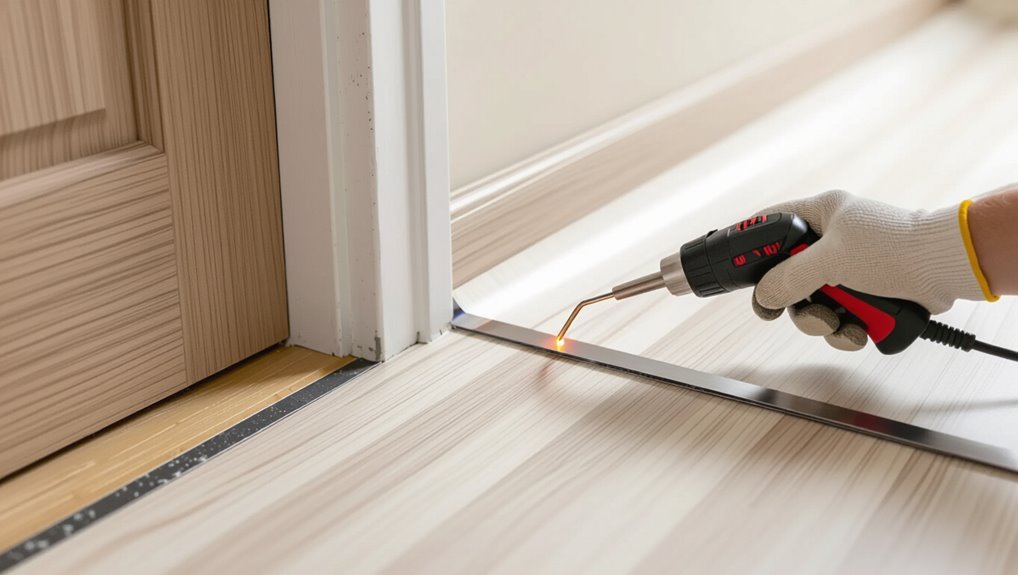
Sealing edges at doorways and moisture-prone areas
At doorways and other moisture-prone spots you’ll want a watertight seal that still allows the floor to expand and contract; use flexible, paintable silicone or urethane caulk rated for vinyl.
Leave specified expansion gaps, tuck edges under thresholds, and apply a continuous bead where vinyl meets doorframes or wet areas.
Secure thresholds with screws through slotted holes to maintain movement without leaks.
Special Cases by Vinyl Type
Now you’ll look at special cases by vinyl type so you can choose the right techniques.
For sheet vinyl you’ll work with one-piece cuts, carefully planned seams, and heat welding; for LVP/LVT you’ll decide between floating installations or various adhesive methods.
In commercial settings you’ll prioritize heavy-duty thresholds and proper expansion joints to handle traffic and movement.
Sheet vinyl: one-piece cuts, seams, and heat welding
Sheet vinyl installations often call for large, continuous cuts and carefully planned seams, and you’ll need to treat them differently from tile or plank products.
Measure and template openings precisely, cut one-piece sheets to minimize seams, and position seams where traffic is lowest.
Use seam tape and a hot-air welder for a watertight join, then trim and roll seams flat for a clean finish.
Luxury vinyl plank (LVP/LVT): floating installations and adhesive methods
Because luxury vinyl plank (LVP/LVT) mimics hardwood or tile while offering different backing and locking systems, you’ll need to choose between floating installations and adhesive methods based on subfloor condition, room size, and expected traffic.
For floating installs, leave expansion gaps, stagger seams, and use transition strips at doors.
For glue-down, make certain a smooth, clean subfloor and follow adhesive open‑time and trowel recommendations.
Commercial vinyl: heavy-duty thresholds and expansion joint needs
When you’re installing commercial vinyl, plan for tougher thresholds and deliberate expansion joints since high traffic, wide rooms, and HVAC-driven temperature swings demand it.
Use welded, recessed or surface-mounted metal thresholds rated for repeated use, and specify continuous expansion joints at doorways, long runs, and perimeters.
Follow manufacturer spacing guidelines, accommodate changes to adjacent floors, and secure seams to prevent moisture and edge lifting.
Common Problems and How to Fix Them
You’ll often run into gaps, buckling, or lifting—I’ll explain common causes and simple remedies like re-adhesive patches, weight and acclimation fixes, or reprofiling seams.
If seams are visible or patterns don’t match, you can trim, reglue, or use seam filler/tape for a quick repair.
And when doors rub after installation, you can trim the door, plane the jamb, or raise the threshold to restore clearance.
Issues with gaps, buckling, and lifting causes and remedies
If gaps, buckling, or lifting show up after you install vinyl, they usually point to issues with subfloor prep, acclimation, or installation technique. Diagnosing the specific cause lets you pick the right fix.
You can then:
- Check moisture and patch/level subfloor.
- Allow proper acclimation time.
- Reapply adhesive or use pressure-sensitive glue.
- Trim tight connections and relieve tension.
- Replace warped planks or re-lay affected area.
Visible seams or mismatched patterns quick fixes
Although vinyl’s seams are designed to be subtle, visible gaps or mismatched patterns can jump out and ruin the look.
So you’ll want quick, targeted fixes that don’t require ripping up the whole floor.
Tighten loose seams with seam roller and adhesive, trim edges for better alignment, use color-matched seam filler or caulk, and reposition planks where possible to disguise pattern misalignments.
Door clearance problems after installation adjustment options
When vinyl raises the floor height, doors can stick or scrape the new surface, but you’ve got several straightforward adjustment options to restore clearance without redoing the whole job.
Check swing and mark rubbing spots, then plane or sand the door bottom a little.
Alternatively, trim the jamb, install a thinner threshold, or fit a connector strip.
Test swing and refit hardware.
Best Practices, Tips, and Time-Saving Strategies
Plan your layout first to cut down on seams and avoid unnecessary trims.
Use simple tool hacks—like a straightedge, sharp blades, and scrap wedges—to get cleaner cuts and speed up fitting.
Finally, keep edges and connections sealed and checked regularly so the floor stays neat and lasts longer.
Layout planning to minimize cuts and seams
Because careful layout cuts down on waste and speeds installation, you should map your vinyl runs before you start cutting—measure the room, note doorways and fixtures, and sketch plank or sheet placement to keep seams out of high-traffic lines.
- Start from the longest straight wall
- Center main runs for symmetry
- Stagger seams at least 6 inches
- Use full-width pieces near doors
- Plan changes before trimming
Tool hacks for cleaner cuts and faster fitting
With your layout set, you’ll move on to the tools that make cuts cleaner and fitting faster—small tweaks and the right grips often save more time than perfect measurements.
Use a sharp utility blade and change blades often. Clamp a straightedge, score multiple times, then snap.
Use a low-friction cutting mat, tape seams before trimming, and label pieces to speed reassembly.
Maintenance tips for edges and transitions
When you finish installing vinyl, don’t treat edges and connections as an afterthought—maintaining them prevents gaps, lifting, and premature wear.
Regularly inspect seams, trims, and junction strips for looseness or cracks. Clean with a pH-neutral cleaner, avoid excess water, and tighten or replace fasteners as needed.
Reseal joints with compatible adhesive or caulk annually to keep junctions watertight and secure.
Materials, Tools, and Cost Considerations
You’ll need to weigh budget vs. premium vinyl since thicker or click-lock types can cost more but often make installation and durability easier.
Gather a simple tools checklist—utility knife, straightedge, spacers, tapping block, and a good adhesive or underlay if required—and plan on extras like a seam roller for glued seams.
For planning, expect an extra 15–45 minutes per door or corner for measuring, trimming, and fitting, or longer if you’re working with tricky profiles.
Budget vs. premium materials and impact on installation complexity
Although cheaper vinyl options save money up front, you’ll find they often cut corners on thickness, wear layer, and backing quality—factors that directly affect how easy the planks or sheets are to install and how long they’ll perform. Choose premium for better stability, easier trimming, and fewer gaps.
| Cost | Durability | Ease |
|---|---|---|
| Budget | Low | Hard |
| Mid | Medium | Moderate |
| Premium | High | Easy |
Essential tools checklist
Picking higher-quality vinyl makes the job smoother, but having the right tools matters just as much.
You’ll want reliable gear for clean cuts, tight seams, and neat edges. Essential items include:
- Utility knife with snap-off blades
- Straightedge/ruler and carpenter’s square
- Flooring roller
- Tapping block and mallet
- Pry bar and pull bar
Estimated time and labor for typical door/corner tasks
Door and corner work usually adds the most fiddly minutes to a vinyl install, but you can plan for it: expect 15–45 minutes per standard interior door and 10–30 minutes per inside corner, depending on complexity.
Factor in extra time for threshold molding or uneven frames. Budget one helper for faster cuts, basic tools, adhesive, and trim—estimate labor cost accordingly to your local hourly rates.
FAQ
You’ll probably have a few practical questions as you fit vinyl around doors and thresholds, like whether to remove the door, how much expansion gap to leave, and if curved or irregular doorways are workable.
You’ll also want to know how to shift to carpet or tile and whether special adhesives or underlayments are needed near door areas.
Below are concise answers to those common concerns.
Do I need to remove the door to install vinyl flooring?
Do you have to remove the door to install vinyl flooring? Not always. You can often lift the door off its hinges or trim the vinyl to slide underneath, depending on clearance and finish.
Removing the door gives cleaner results and easier cutting, especially for tight fits or thresholds.
If removal’s inconvenient, work carefully with the door in place, ensuring proper alignment and neat edges.
How much gap should I leave around the edges and under doors?
If you left the door in place or removed it for installation, remember to allow an expansion gap around the room and at doorways.
Leave 1/4″ to 1/2″ (6–12 mm) around all edges and under door clearances so planks can expand.
Check manufacturer specs; some vinyl needs up to 3/4″.
Cover gaps with trim or threshold, avoiding nail-through installations that restrict movement.
Can vinyl be fitted around curved or irregular doorways?
Wondering whether vinyl can be cut to fit curved or irregular doorways? Yes—you can.
Trace the curve onto the vinyl using a template (cardboard or craft paper), then score and trim with a sharp knife, cutting slowly for smooth edges.
Flexible sheet vinyl and smaller plank pieces are easiest.
Heat-forming and sanding edges help achieve a snug, professional-looking fit around irregular openings.
How do I handle transitions between vinyl and carpet or tile?
How do you create a clean, safe join where vinyl meets carpet or tile?
Use joining strips matched to finish and height—reducer strips for carpet, T-molding for equal heights, and threshold bars for tile.
Trim edges straight, secure vinyl edge under the strip, and fasten strip to subfloor.
Leave slight expansion gap and test door clearance so seams stay smooth and durable.
Will I need special adhesives or underlayment for door areas?
You can usually keep the same adhesive and underlayment around doorways, but a few adjustments make the area perform better and look neater.
Use pressure-sensitive or full-spread adhesive per manufacturer recommendations, and add a thin, dense underlayment strip under thresholds for stability.
Seal edges near door frames, allow expansion gaps, and choose connector strips rated for your vinyl thickness and traffic.
Final Checklist Before Finishing the Job
Before you call the job done, walk the room and check seam alignment, edge gaps, and any surface imperfections so nothing gets missed.
Reinstall trim and thresholds carefully, making sure they sit tight without pinching the vinyl.
Finish with a thorough cleanup—vacuum, wipe down, and remove all adhesive residue and scrap materials.
Walk-through quality inspection items
Although the installation’s done, take time for a systematic walk-through to catch any issues before you finish the job.
- Check seams for gaps or lifting
- Verify edges meet doorjambs and corners snugly
- Inspect pattern alignment and color consistency
- Confirm no adhesive residue or surface defects
- Test floor stability by walking and pressing high-traffic areas
Reinstalling trim, thresholds, and final cleanup
Reinstalling trim and thresholds ties the room together and protects the new vinyl, so gather your tools and work methodically to guarantee a clean, secure finish.
Reattach baseboards, door casings, and connector strips, caulk seams, and tighten fasteners. Final cleanup removes debris and adhesive residue so seams stay intact.
- Check alignment
- Secure fasteners
- Caulk gaps
- Trim excess
- Vacuum and wipe