Can You Install Peel and Stick Tile Over Ceramic Tile? Pros and Cons
Yes — you can install peel-and-stick tile over sound, flat ceramic tile if you prep the surface properly. You’ll need to clean, degloss, repair cracks and level grout lines so the adhesive can bond. It’s quick, inexpensive and perfect for low-traffic, low-moisture areas, but it may peel, wear faster, and create height/transition issues compared with new ceramic. Follow manufacturer guidelines, use a roller, and take care at edges — keep going to learn the full how-to, pros and cons, and tips.
Can You Install Peel and Stick Tile Over Ceramic Tile? Quick Answer
Yes — you can install peel-and-stick tile over ceramic tile in many cases, as long as the surface is clean, flat, and secure.
Pros: quick installation, lower cost, and minimal demo;
Cons: adhesion issues on uneven or glazed tiles, potential height/transition problems, and shorter lifespan than full-tile replacements.
Check the existing tile for loose pieces, deep grout lines, and a glossy finish before you start.
Direct yes/no summary and when it applies
Because ceramic tile provides a stable, nonporous surface, you can usually install peel-and-stick tile directly over it—provided the existing tiles are clean, level, well-bonded, and free of a glossy sealant or heavy grout haze.
Short list of pros and cons for immediate decision
If your existing ceramic tiles are clean, flat, and well-adhered, you can usually stick peel-and-stick tiles right on top—here’s a short, clear list of pros and cons to help you decide quickly.
- Pro: Fast, inexpensive update with minimal prep.
- Pro: Less mess and no demo; good for rentals or temporary fixes.
- Con: May peel on uneven grout, less durable long-term, limited heat/water resistance.
Basic Understanding What Are Peel-and-Stick Tiles and Ceramic Tile?
You’ll find peel-and-stick tiles are thin vinyl planks or squares with a pressure-sensitive adhesive backing that you just peel off and press into place.
Ceramic tile is hard, fired clay with a glazed surface that needs grout and a solid substrate.
The main differences you’ll notice are in materials, how they stick (adhesive backing versus mortar/grout), and their durability under wear and moisture.
What is peel-and-stick vinyl tile?
Peel-and-stick vinyl tile is a thin, flexible flooring tile with a pressure-sensitive adhesive backing that you peel off and press onto a clean, smooth surface.
You’ll find it made from vinyl or luxury vinyl with printed patterns, a wear layer for durability, and easy-to-cut edges.
It’s designed for quick DIY installation, low maintenance, and temporary or budget-friendly updates without adhesive curing time.
What is ceramic tile?
Ceramic tile is a hard, durable flooring and wall material made from natural clay that’s shaped, fired in a kiln, and often glazed for color and water resistance.
You’ll find it in varied sizes, textures, and finishes for floors, walls, and backsplashes.
It’s rigid and long-lasting, resists stains and moisture when glazed, and needs proper grout and substrate for stable installation and upkeep.
Key differences in materials, adhesion, and durability
While both look like tile, they’re made and installed very differently: peel-and-stick tiles are thin, flexible sheets or vinyl-backed pieces with pressure-sensitive adhesive, whereas ceramic tiles are rigid clay units glazed and kiln-fired.
You’ll rely on surface cleanliness and flatness for peel-and-stick adhesion; ceramic needs mortar and grout.
Peel-and-stick resists water differently and wears faster, while ceramic offers superior longevity and scratch resistance.
When It’s Appropriate to Install Peel-and-Stick Over Ceramic
You can overlay peel-and-stick only when the ceramic surface is sound, flat, clean, and free of loose grout or heavy texture.
Choose this option for low-traffic areas or rooms with limited moisture exposure, and avoid it where heavy wear or standing water are likely.
Always check the tile manufacturer’s guidelines and your peel-and-stick product’s warranty to make sure the installation won’t void coverage.
Surface conditions that allow overlay installation
If the existing tile is solid, level, and well-bonded, you can often install peel-and-stick tile over it; the overlay works best when grout joints are shallow and the surface is free of grease, loose debris, and deep cracks.
You should confirm substrate soundness, flatness within tolerance, and clean adhesion.
- Sound, uncracked tile
- Level surface, minimal grout relief
- Clean, dry, grease-free finish
Room types and use-cases suitable for overlay
Having confirmed that your ceramic tile is sound, level, and clean, consider where peel-and-stick works best: low- to moderate-traffic areas like bedrooms, home offices, closets, and guest bathrooms are ideal because they don’t face heavy wear or constant moisture.
You can also use it for temporary updates in rentals, laundry rooms with low humidity, and entryways with rugs, but avoid commercial, high-moisture, or heavy-traffic zones.
Manufacturer recommendations and warranty considerations
When considering peel-and-stick over existing ceramic, check the tile and the adhesive maker’s instructions first: manufacturers set specific substrate, temperature, and surface-prep requirements, and they may void warranties if you ignore them.
Follow recommended primers, repair cracked grout, and guarantee tiles are clean and flat. If the product disallows overlays, don’t proceed—otherwise document compliance to protect your warranty.
Step-by-Step Preparation and Installation Process
Before you start installing peel-and-stick over ceramic, inspect the existing tile for cracks, loose pieces, and high-gloss areas that need sanding.
Clean and degrease thoroughly, repair grout lines and fill cracks, then level any uneven spots.
Finally, measure and plan your layout and let the new tiles acclimate so your installation goes smoothly.
Step 1 Inspecting the existing ceramic tile for suitability
Although you’re keeping the existing floor, you’ll need to inspect every tile and grout line to make sure the surface is sound, clean, and level enough for peel-and-stick to adhere properly.
Check for:
- Loose, cracked, or hollow tiles by tapping and probing.
- High or low spots with a straightedge.
- Missing or crumbling grout that could weaken adhesion.
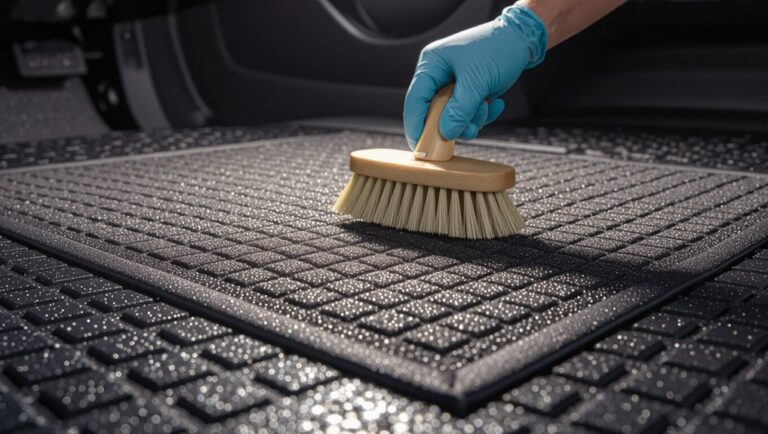
Step 2 Cleaning and degreasing the ceramic surface
Now that you’ve confirmed the tiles are sound and level, clean and degrease the ceramic surface so the adhesive can bond properly.
Remove dirt, oils, and residue for a stable peel-and-stick installation. Use appropriate cleaners and rinse thoroughly, then let dry completely before proceeding.
- Sweep and vacuum debris.
- Wipe with a degreasing cleaner.
- Rinse and air-dry fully.
Step 3 Repairing grout lines and filling cracks
Someone’s going to notice gaps and hairline cracks if you don’t address them, so repair grout lines and fill cracks before laying peel-and-stick tile.
You’ll want a smooth, even base to guarantee adhesion and prevent telegraphing. Follow these steps:
- Remove loose grout, vacuum debris, and dry the area.
- Use a flexible, sandable grout or patching compound.
- Smooth, cure, then wipe clean before proceeding.
Step 4 Leveling and sanding high-gloss tiles
Check the surface for high spots and glossy sheen, because peel-and-stick tiles won’t adhere well to slick, uneven ceramic—so you’ll need to level and dull those tiles before you install anything.
Use these steps to prep:
- Sand glossy tiles with 120–150 grit to remove sheen and roughen surface.
- Spot-level low areas with a thin cementitious patch.
- Clean dust thoroughly before priming.
Step 5 Measuring, planning layout, and acclimating tiles
With glossy spots dulled and low areas patched, it’s time to plan how the peel-and-stick tiles will sit on the floor or wall; accurate measurements and a thoughtful layout prevent wasted tiles and awkward cuts.
You’ll measure field areas, mark centerlines, dry-fit edge rows, and let tiles acclimate in the installation space per manufacturer recommendations before sticking.
- Measure and mark centerlines
- Dry-fit tiles first
- Acclimate tiles 24–48 hours
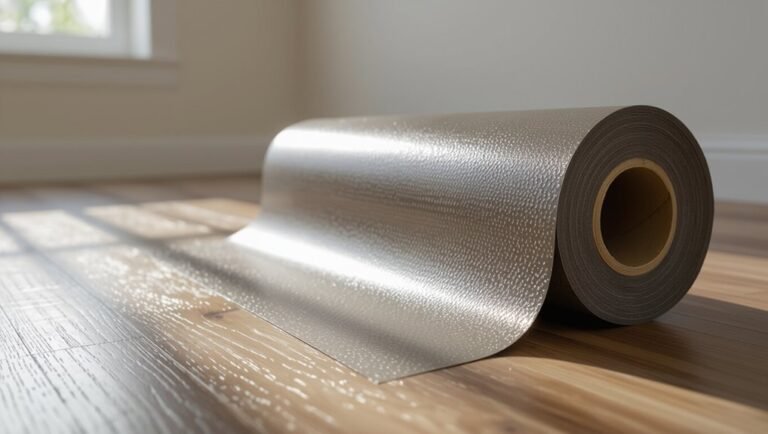
Step 6 Applying primer or underlayment (when needed)
If the existing ceramic surface is glossy, damaged, or the manufacturer recommends it, you’ll apply a primer or thin underlayment to promote adhesion and create a uniform bonding surface. This step can make the difference between a long-lasting installation and tiles that lift or shift.
You’ll clean, sand lightly, then roll or trowel the recommended product, following dry times.
- Choose compatible primer/underlayment
- Apply evenly per instructions
- Allow full cure before proceeding
Step 7 Installing peel-and-stick tiles (technique tips)
Now that the primer or underlayment has fully cured, you can start laying the peel-and-stick tiles.
Work from the center or a straight reference line, peel backing gradually, press firmly, and align seams precisely.
Use a roller for full adhesion and trim with a utility knife for tight fits.
- Dry-fit first
- Peel and press in sections
- Roll seams and edges
Step 8 Finishing edges, transitions, and sealing (if applicable)
Finish edges and changes carefully to give the installation a clean, professional look and protect vulnerable seams.
Trim tiles flush, apply matching trim or reducer strips at doorways, and seal cut edges with appropriate caulk or edge trim.
Press connectors firmly and let sealant cure per instructions to prevent moisture intrusion and lifting.
- Trim cleanly
- Install connector strips
- Caulk and cure
Typical time and cost estimates
After you’ve trimmed edges, set connectors, and let sealant cure, plan time and budget for the remaining work so the project doesn’t stall.
Expect 2–6 hours for a typical 50–100 sq ft room if you work alone; pros finish faster.
Material costs run $1–$5 per sq ft; tools and trim add $20–$100.
Allow a contingency for mistakes and extra trim.
Pros and Benefits of Installing Peel-and-Stick Over Ceramic
When you choose peel-and-stick tile over existing ceramic, you’ll save money and time since there’s little demo and no need for costly contractors.
It’s a DIY-friendly option that gets a fresh, modern look with functional benefits like improved water resistance and easier maintenance.
Below we’ll look at those cost, time, and aesthetic advantages in more detail.
Advantages (cost, time, minimal demo, DIY-friendly)
Because you skip heavy demolition and specialized tools, installing peel-and-stick tiles over existing ceramic saves you both time and money while staying DIY-friendly.
You’ll cut labor costs, finish faster, and avoid disposal fees. Prep’s simple: clean, level, and stick.
- Lower material and labor expenses
- Faster project completion
- Minimal mess and tool needs
Aesthetic and functional benefits
While you keep the existing ceramic as a stable base, peel-and-stick tiles let you completely refresh a room’s look without a full renovation.
You’ll get instant style updates, varied patterns and textures, and coordinated color schemes.
Functionally, they add a wear layer, improve traction, and can simplify cleaning.
You’ll also mask imperfections and protect the old tile from stains and chips.
Cons, Risks, and Common Problems
You should be aware that peel-and-stick tiles can fail to bond to glossy or greasy ceramic, or loosen if the substrate shifts.
They’ll usually wear faster than ceramic, and trapped moisture or a damaged subfloor can cause bubbling and mold risks.
Also consider that they can hurt resale value and are often hard to remove cleanly later.
Adhesion failure causes (gloss, grease, movement)
If your peel-and-stick tiles start to lift, it’s usually due to surface issues like high gloss, grease, or tile movement that keep the adhesive from bonding.
- Gloss: shiny ceramic repels glue, so you need sanding or a primer.
- Grease: residue prevents contact; degrease thoroughly before installing.
- Movement: loose or flexing tiles break the seal, causing edges to peel.
Longevity and wear concerns
Because peel-and-stick tiles aren’t as durable as full-set tile or sheet vinyl, you’ll see common wear issues over time—edges lifting, seams staining, and surface scuffing—especially in high-traffic or moisture-prone areas.
You’ll notice color fading, printed patterns wearing thin, and corners peeling after heavy use.
Repair is often temporary; individual tiles may need frequent replacement, raising long-term cost and maintenance.
Subfloor and moisture-related risks
Wear and tear isn’t the only threat—moisture and subfloor issues can quietly sabotage a peel-and-stick installation.
If underlying tiles trap water or the subfloor flexes, adhesive will fail and tiles will lift or bubble.
You’ll need to verify waterproofing, address leaks, and guarantee a rigid, dry substrate before installing.
Skipping this risks costly repairs and premature replacement.
Impact on resale value and future removal difficulties
Resale value can take a hit when buyers spot a peel-and-stick overlay; many regard it as a short-term, budget fix and worry about hidden issues beneath.
You may lower your asking price or face picky offers.
Removal later can damage existing ceramic, requiring repairs or full retiling.
Factor potential repair costs and buyer perceptions before choosing this quick, inexpensive solution.
Comparison: Peel-and-Stick Over Ceramic vs. Alternatives
You’ll want to weigh peel-and-stick overlay against other options by comparing cost, time, durability, and prep. Below is a quick comparison to help you spot the main trade-offs before deciding.
| Option | Pros | Cons |
|---|---|---|
| Overlay vs. Full Replacement | Faster, cheaper, less demolition | Less durable, can hide substrate issues |
| Overlay vs. Floating Vinyl Planks | Easier install, thinner profile | Floating can be more stable and replaceable |
Overlay vs. Full Tile Replacement
While overlaying peel-and-stick tile directly over existing ceramic can save time and money, it’s important to weigh that convenience against the durability and longevity you’d get from a full tile replacement.
Overlay suits quick updates and lower cost, but may hide damage, reduce lifespan, and limit resale value.
Full replacement costs more, demands labor, yet guarantees structural repair, moisture protection, and longer-lasting results.
Overlay vs. Floating Vinyl Planks
Because both peel-and-stick tiles and floating vinyl planks can be installed over existing ceramic, choosing between them comes down to priorities like durability, feel underfoot, water resistance, and ease of installation.
You’ll get a firmer, thinner surface with peel-and-stick and quicker DIY install; floating planks offer better resilience, comfort, and expansion gap needs but may require underlayment and edge shifts.
Overlay vs. Installing Underlayment and New Finished Floor
If you’re weighing peel-and-stick over ceramic against tearing out tile to install underlayment and a new finished floor, focus on long-term performance, floor height, and prep work.
Overlay saves time and money but may trap moisture and raise thresholds.
Installing proper underlayment yields better stability, longevity, and warranties, though it costs more and requires demolition and skilled labor for a true professional result.
Mistakes to Avoid
Don’t rush prep—skipping proper cleaning, leveling, or priming is the most common DIY mistake and will shorten the life of your new tiles.
Pick products that match your subfloor and traffic needs, and don’t assume every peel-and-stick is the same.
Always follow the manufacturer’s installation and warranty requirements to avoid problems later.
Common DIY errors during prep and installation
Installers commonly trip up during prep and installation by skipping critical surface checks, rushing measurements, or neglecting adhesive and edge details—errors that cause tiles to lift, misalign, or look uneven.
- Failing to clean and degloss the ceramic surface so adhesive can’t bond properly.
- Cutting tiles inaccurately and not dry-fitting layouts before sticking.
- Skipping edge trimming and junction planning, causing gaps and peeling.
Incorrect product choices and ignoring manufacturer specs
After you’ve prepped the surface and handled cuts and edges, choosing the wrong products or ignoring manufacturer specs will undo that work fast. You’re liable to void warranties, cause poor adhesion, or pick tiles unsuited for moisture and traffic.
Always match adhesive type, substrate recommendations, and temperature limits. Follow installation guides and contact manufacturers when in doubt to avoid costly repairs.
Best Practices and Expert Tips for a Lasting Installation
Pick a peel-and-stick tile made for overlays that’s rated for floors and has a strong adhesive and waterproof backing.
Keep temperature and humidity stable during installation, clean gently to preserve the bond, and use rugs or pads in high-traffic areas to extend life.
If the tile or substrate is uneven, damaged, or you’re unsure about layout and changes, call a pro.
Selecting the right peel-and-stick product for tile overlay
Choosing the right peel-and-stick tile overlay starts with matching the product to your existing ceramic substrate and the room’s conditions.
You’ll check adhesive strength, thickness, and flexibility for uneven grout and traffic.
Prioritize waterproof ratings for wet areas and UV stability for sunlit spots.
- Adhesive strength and peel rating
- Tile thickness/flexibility
- Waterproof and UV ratings
Environmental and maintenance tips to extend life
1 simple habit—and a few preventive steps—will keep your peel-and-stick tile overlay looking great for years: control moisture, clean gently, and protect surfaces from heavy impact.
Wipe spills promptly, use pH-neutral cleaners, and avoid steam mops. Maintain room humidity, add rugs in high-traffic zones, and use felt pads under furniture.
Inspect seams periodically and reseal edges if they lift.
When to call a pro
When should you call a pro?
Call a professional if tiles are uneven, cracked, or adhesive won’t bond, or if moisture, mold, or complex layouts (stairs, niches) exist.
Pros guarantee proper surface prep, leveling, and waterproofing, preventing failures.
Hire one for large areas, warranty-backed installations, or if you lack tools or confidence—it’s cheaper than redoing a failed job.
Cost, Timeline, and Tools Checklist
You’ll want a clear picture of estimated material and labor costs so you can budget the job realistically.
Plan for a typical weekend or two depending on room size and prep work, and we’ll outline a step-by-step timeline.
Finally, I’ll list the essential tools and a few optional accessories you’ll likely need to get the job done cleanly.
Estimated material and labor cost ranges
Costs for installing peel-and-stick tile over ceramic tile typically range from very affordable for DIY projects to moderate if you hire help, and knowing the main line items—tiles, primer/adhesive, underlayment (if needed), tools, and labor—lets you create a realistic budget. Expect materials $1–$8/ft²; pros charge $3–$10/ft².
| Item | Low | High |
|---|---|---|
| Tiles | $1/ft² | $6/ft² |
| Adhesive/primer | $10 | $50 |
| Labor | $3/ft² | $10/ft² |
Typical project timeline
Having a clear timeline makes budgeting and tool prep much easier, since material costs and labor rates you just reviewed will shape how long each step can take.
For a typical room, expect 1–2 hours prepping and cleaning, 2–6 hours for layout and cutting, 3–8 hours for installation, plus 1–2 hours for trimming and changes.
Allow a day for adhesive cure before light use.
Essential tools and optional accessories
A short, well-chosen tool list will speed the job and prevent costly mistakes, so gather a straightedge, utility knife, marker, pry bar, silicone sealant, and a quality notched trowel or roller before you start.
You’ll also want optional items for ease and finish.
- Knee pads and gloves
- Floor primer and cleaner
- Roller or seam roller for adhesion and smoothing
FAQs
You probably have a few practical questions before you start, like whether peel-and-stick will bridge grout lines or adhere to glazed ceramic.
You’ll also want to know if it holds up in moist kitchens and bathrooms, how long an overlay typically lasts, and how easy it’s to remove later.
I’ll answer each so you can decide confidently.
Can peel-and-stick tile be installed over grout lines?
Wondering whether peel-and-stick tile can go over grout lines? You can, but you’ll need to prep.
Deep or cracked grout should be filled and sanded smooth; shallow, even grout can work if it’s clean and dry.
Use a primer on porous grout for better adhesion.
Test a small area first to verify tiles bond and lay flat before covering the whole surface.
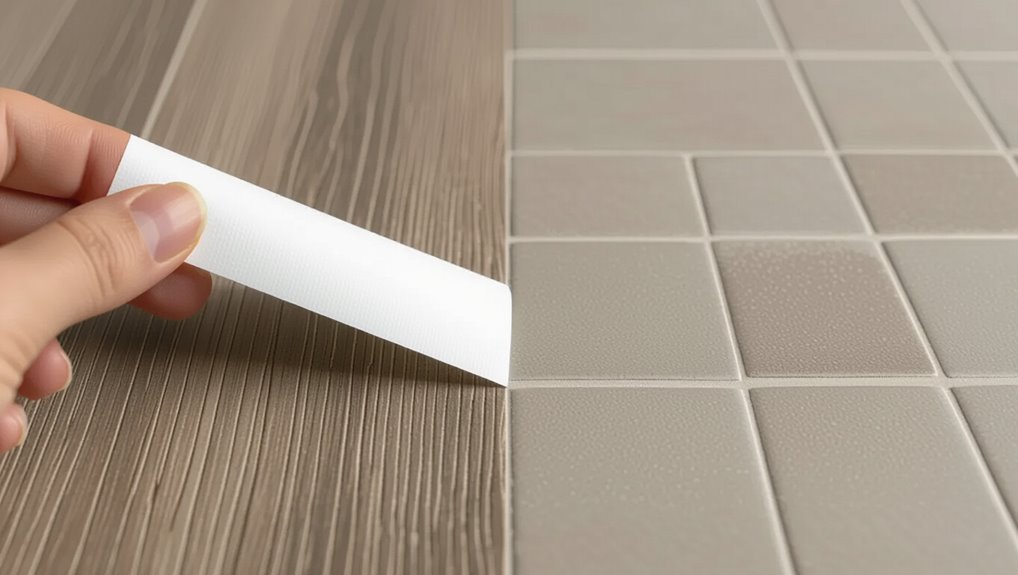
Will peel-and-stick tiles stick to glazed ceramic?
Will peel-and-stick tiles bond to glazed ceramic? Yes, they can adhere, but success depends on surface condition and tile finish.
Clean thoroughly, remove grease, and scuff high-gloss glaze with fine sandpaper to improve grip.
Use a primer if manufacturer recommends.
Test a few tiles first to confirm adhesion before covering the entire surface.
Can I install peel-and-stick in bathrooms and kitchens with moisture?
Can peel-and-stick tiles handle humid rooms and occasional splashes? Yes—many brands tolerate humidity and light splashes if you prep properly.
Clean, degrease, and roughen ceramic; use a moisture-resistant adhesive or primer where recommended.
Avoid standing water, grout joints that trap moisture, and walls with constant steam unless you choose products rated for wet areas.
Regular sealing helps.
How long will peel-and-stick overlay last over ceramic?
Those moisture and prep considerations also affect how long a peel-and-stick overlay lasts over ceramic tile.
If you prepare the surface correctly, control humidity, and use quality products, expect 5–10 years in low-traffic areas and 3–7 years in kitchens or bathrooms.
Heavy traffic, poor adhesion, or trapped moisture shorten lifespan.
Regular cleaning and prompt repairs help maximize longevity.
How do I remove peel-and-stick tile from ceramic later?
Removing peel-and-stick tile from ceramic is straightforward if you take it slowly and use the right tools.
Warm the adhesive with a heat gun or hair dryer, lift an edge with a putty knife, and peel gently.
Use adhesive remover and a plastic scraper for residue, then clean with soapy water.
Sand lightly only if necessary, and always wear gloves and eye protection.
Visual Guide and Troubleshooting Gallery
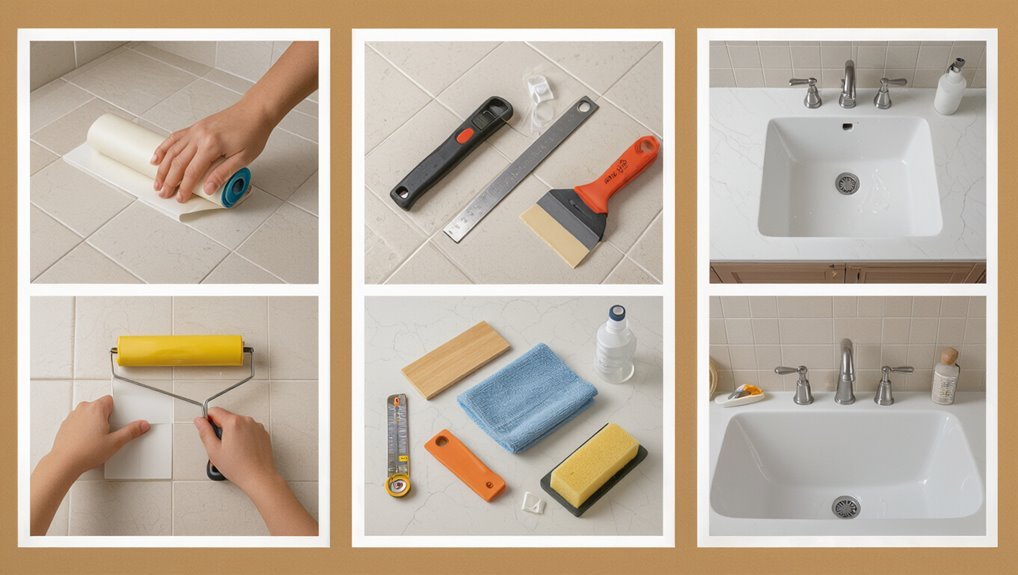
When you start, this visual guide walks you step-by-step through common layouts, edge treatments, and alignment techniques so you can see exactly how each stage should look.
You’ll find close-up photos of seams, corner shifts, and pattern matching plus captions explaining fixes for bubbles, lifting edges, and misalignment.
Use the troubleshooting gallery to compare issues and apply the correct repair method quickly and confidently.