How to Unclog a Bathroom Floor Drain Fast Using Simple Tools
You can clear a bathroom floor drain fast with a few simple tools: remove standing water, lift the grate with a screwdriver, then pull out hair and gunk with gloved fingers or a straightened wire hanger. Use a plunger with plenty of water for 15–30 seconds, follow with hot (not boiling) water, and snake deeper blockages if needed. Wear gloves, avoid mixing cleaners, and sanitize afterward—keep going for step-by-step tips and prevention tricks.
How to Unclog a Bathroom Floor Drain Fast
If you need an immediate fix, start with a quick flush using hot water and a plunger to dislodge the clog.
You’ll want a cup plunger, a bucket, rubber gloves, and a screwdriver or zip tool to remove the grate.
If that doesn’t clear it, be ready to use a drain snake or a handheld auger next.
solution for immediate action
Start by clearing standing water so you can see what’s blocking the drain and avoid splashing.
Next, remove the grate, reach down with gloved fingers or a straightened wire hanger to pull out hair and debris.
If that fails, pour a kettle of hot water, then use a plunger firmly.
These quick steps show how to unclog bathroom floor drain immediately and safely.
What tools you’ll need right now
You’ll want a few basic tools on hand before you dig in: rubber gloves, a flathead screwdriver or nut driver to remove the grate, a flashlight, a straightened wire hanger or drain snake, a plunger, and a kettle of hot water (plus baking soda and vinegar if you prefer a chemical-free option).
- Gloves, screwdriver, flashlight
- Hanger or snake, plunger
- Hot water, baking soda/vinegar
Basic Understanding Why Floor Drains Clog and How Fast Methods Work
You’ll usually find floor drains clog from hair, soap scum, dirt, and small debris that build up over time.
Simple tools like a plunger, drain snake, or a straightened coat hanger can dislodge or pull out those different blockages quickly.
Just remember that quick fixes often clear the symptom but not the underlying buildup, so recurring clogs may need a more thorough cleaning or professional help.
Common causes of bathroom floor drain clogs
Because bathroom floor drains handle water, soap, hair, and debris every day, they clog for a few predictable reasons: hair mats combine with soap scum to form sticky plugs, dirt and grit settle and narrow passages, small objects fall in, and mineral buildup from hard water narrows pipes.
Poor venting or slow flow worsens accumulation, causing standing water and odors.
How simple tools remove different types of blockages
Start by matching the tool to the clog: a plunger dislodges soft, close-to-the-surface blockages like hair and soap scum by forcing and pulling water to break the seal;
a plumbers’ snake or auger reaches deeper to snag or cut through compacted hair, trapped debris, or small objects;
a wet/dry vacuum pulls out loose material and standing water;
and chemical or enzymatic cleaners loosen organic buildup and mineral scale—each works by changing pressure, mechanical contact, suction, or chemistry to restore flow quickly.
Use each tool where its action fits the material and depth of the clog, working from least to most invasive.
When a quick fix is only temporary
When a quick fix clears a floor drain but the problem returns, it usually means the underlying cause wasn’t addressed—hair, grease, and mineral buildup often remain deeper in the trap or pipes, and temporary methods only remove surface symptoms.
You should inspect the trap, use a snake or brush to reach deeper, and consider enzymatic cleaners or professional help to fully remove entrenched deposits and prevent recurrence.
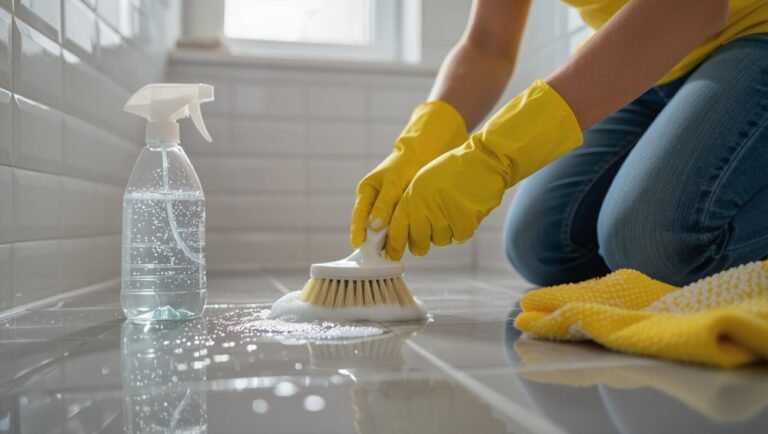
Safety Precautions Before You Start
Before you start, put on gloves and eye protection and have soap or hand sanitizer ready so you can avoid contact with dirty water and bacteria.
If nearby fixtures or valves could feed water into the drain, shut them off to prevent surprises and flooding.
Don’t mix or use harsh chemicals like bleach with drain cleaners—some combinations release toxic gases or damage pipes.
Personal protective equipment and hygiene
One simple rule: protect your hands, eyes, and lungs—wear sturdy gloves, safety glasses, and a mask whenever you’re handling drain debris, chemical cleaners, or old standing water.
Also wear closed-toe shoes and long sleeves.
Wash hands thoroughly after work, launder contaminated clothes separately, and disinfect tools and surfaces.
Dispose of waste safely and ventilate the area during and after the job.
When to shut off nearby water sources
If you can, shut off nearby water supplies before you start work to prevent accidental flushing or leaks that could spread contaminated water or undo your progress.
Turn off the toilet and sink valves and, if possible, the room’s shutoff. Test taps briefly to confirm.
Shutting water reduces mess, protects tools, and lets you focus on clearing the clog without surprise backups.
Chemicals: which to avoid and why
While it might be tempting to reach for heavy-duty drain cleaners, avoid mixing or using caustic chemicals like lye-based (sodium hydroxide) drain openers, bleach mixed with ammonia, or acid-based products—these can produce toxic gases, cause severe burns, and damage pipes and seals.
Instead, use a plunger, drain snake, or enzyme cleaner.
Wear gloves and eye protection, ventilate the area, and read labels carefully.
Tools and Materials What to Gather (Quick Checklist)
Before you start, gather the essentials so you won’t be scrambling mid-job.
Here’s a quick checklist to collect:
- Household tools: plunger, drain snake or wire hanger, bucket, gloves.
- Optional upgrades: wet/dry vacuum, drain auger, plumbing tape.
- Cleaning agents: enzyme cleaner, mild drain cleaner or baking soda and vinegar.
Household tools (plunger, drain snake, wire hanger, bucket, gloves)
Grab these basic tools and you’ll be ready to tackle most bathroom floor drain clogs: a cup plunger, a drain snake (or auger), a straightened wire hanger, a bucket for water and debris, and a pair of gloves to protect your hands.
Use the plunger first, then the snake or hanger to dislodge debris. Collect waste in the bucket and dispose of it safely.
Optional tools for better results (wet/dry vacuum, drain auger, plumbing tape)
If the basic toolkit doesn’t clear the clog, consider adding a few optional tools that boost your chances of success: a wet/dry vacuum for powerful suction, a longer drain auger for deeper blockages, and plumber’s (thread) tape to seal pipe connections after you’ve worked.
Use the vacuum on wet settings, feed the auger slowly to avoid damage, and wrap threads before reassembling joints.
Recommended cleaning agents and safe homemade solutions
When you’re gathering cleaning agents, stick to products and homemade mixes that dissolve organic buildup without damaging pipes or finishes.
Use enzyme-based drain cleaners, mild biodegradable detergents, or a paste of baking soda and water followed by white vinegar and hot water.
Avoid harsh acids or bleach with ammonia.
Keep a bottle brush, rubber gloves, and a bucket handy for safe, controlled application.
Fast Step-by-Step Guide to Unclog the Floor Drain
Start by doing a quick inspection and removing any visible hair or debris from the grate.
Then work through these proven methods—plunging with proper technique, using a straightened hanger or manual snake to fish out clogs, trying a wet/dry vacuum for suction, and, if needed, a safe baking soda and vinegar treatment with proper timing.
Follow them in order and stop once water drains freely.
Step 1 Quick inspection and removing visible debris
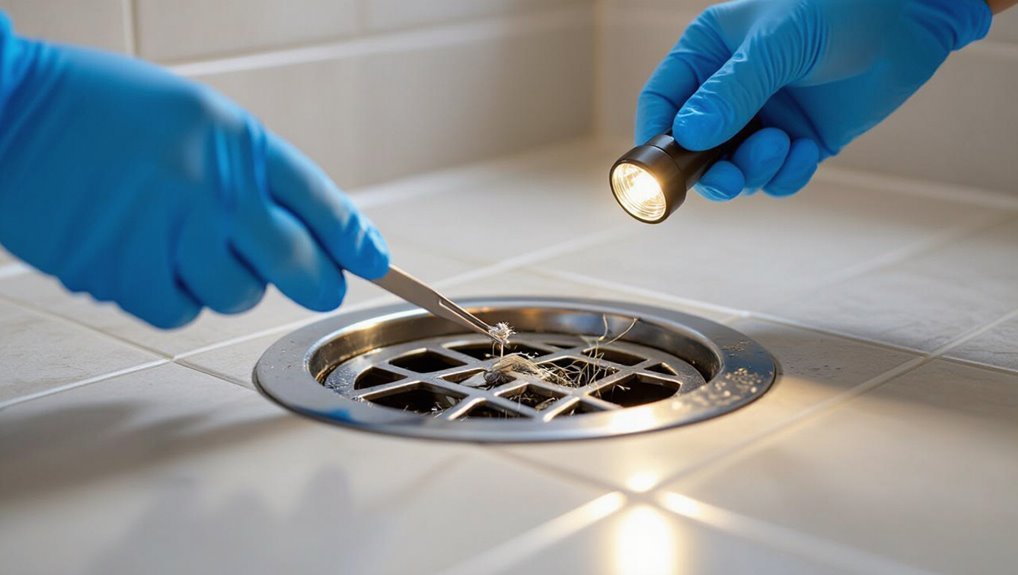
1 quick look can save you time: clear the area around the floor drain, remove the grate, and inspect the opening for hair, soap scum, or visible gunk you can pull out by hand or with a gloved grabber.
Check the trap visible under the grate, fish debris gently, wipe away residue, and reseat the grate before testing drainage to see if flow improved.
Step 2 Use a plunger effectively: technique and common mistakes
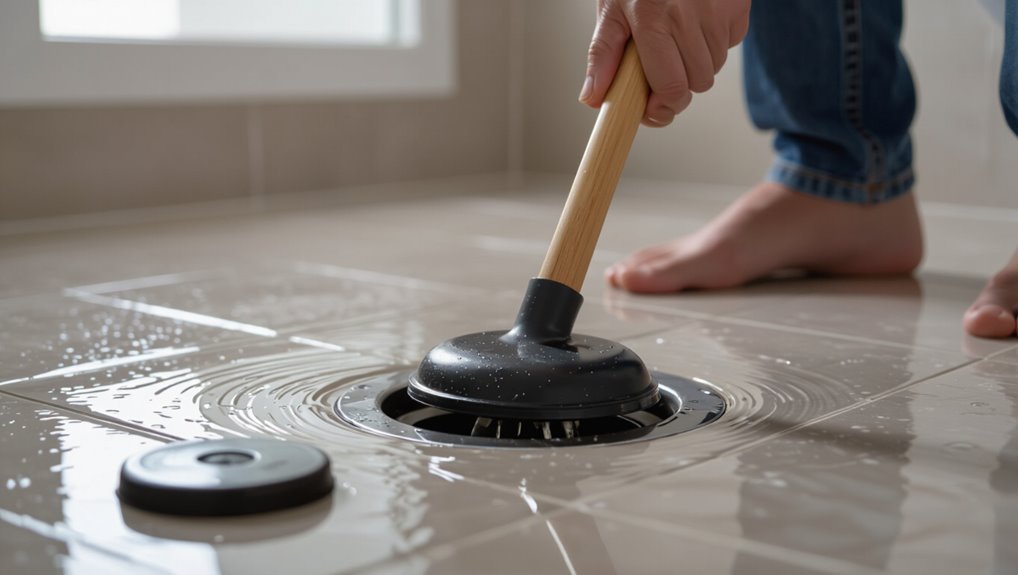
Grab a good-quality cup plunger and position it squarely over the drain so you get a solid seal; push down firmly and then pull up sharply in a steady rhythm to loosen the clog.
Keep water level high enough to cover the cup, maintain steady strokes for 15–30 seconds, break the seal occasionally to check flow, and avoid excessive force that could damage fittings.
Step 3 Wire hanger or manual snake method: how to maneuver and extract the clog
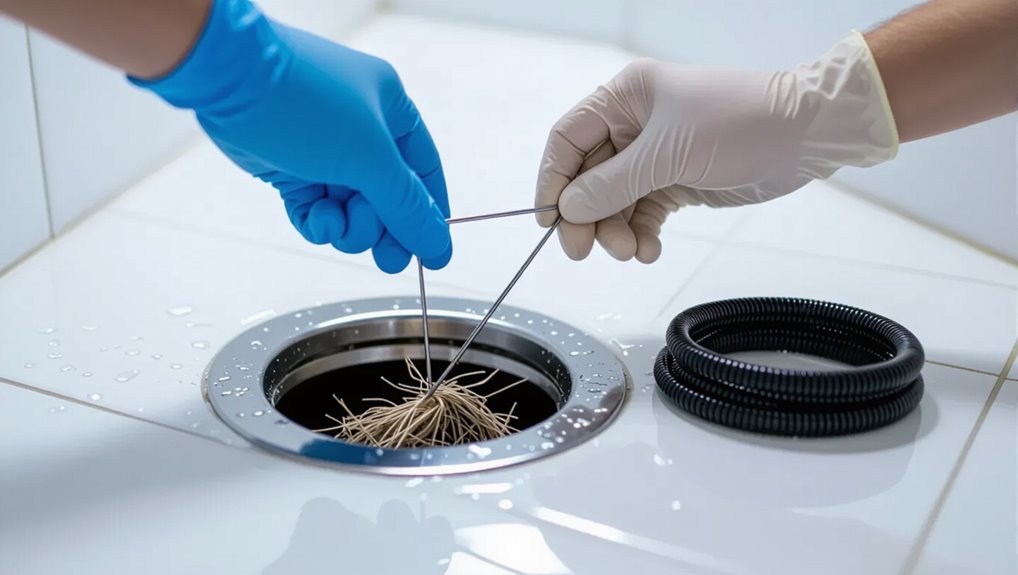
Reach into the drain with a straightened wire hanger or a manual snake, feeling for resistance as you probe and hook the clog; gently work the tool deeper with slow, controlled strokes, then pull up steadily to extract hair and debris, repeating until you feel free flow.
Rotate the snake when needed, clear removed gunk into a paper towel, and recheck flow; repeat briefly if necessary.
Step 4 Wet/dry vacuum method: setup and suction technique
If you’ve got a wet/dry vacuum, it’s one of the fastest ways to pull a clog out of a floor drain: fit a narrow nozzle or adapter, seal around the drain with a damp rag or duct tape, set vacuum to liquids, and start on low.
Gradually increase power while keeping the hose steady. Empty the tank, inspect debris, and repeat until flow is clear.
Step 5 Safe homemade chemical solution (baking soda + vinegar) procedure and timing
Mixing baking soda and vinegar creates a safe, fizzing reaction that can loosen mild clogs without harsh chemicals.
Pour a cup of baking soda down the drain, then follow with one cup of white vinegar.
Cover the drain to concentrate the fizz, wait 15–30 minutes, then flush with hot (not boiling) water.
Repeat once if needed.
Step 6 When to use a hand or power auger and how to avoid pipe damage
When basic rinsing and the baking soda–vinegar treatment haven’t cleared the clog, you’ll need an auger to mechanically break it up; choose a hand auger for short, accessible clogs and a power auger for deeper or tougher blockages.
Feed cable slowly, rotate gently, and avoid forcing. Use short bursts with a power unit, keep tension steady, and stop if you feel resistance to prevent pipe damage.
Step 7 Final flush, testing flow, and cleaning up
Flush the drain with a steady stream of hot water to wash away loosened debris.
Then run cold water to confirm steady flow and check nearby fixtures for backups.
Wipe the grate and surrounding floor, disinfect tools and gloves, and dry surfaces.
Note any slow spots; repeat snaking if needed.
Dispose of waste properly and wash your hands thoroughly when finished.
Troubleshooting If the Clog Won’t Budge
If the water hardly moves or smells foul after basic snaking, the clog may be deeper in the line.
Try progressively stronger methods—longer augers, a wet/dry vacuum, or enzyme cleaners—only after removing standing water and wearing protection.
Stop and call a professional if nothing shifts after these steps, you suspect a main-line issue, or you risk damaging pipes.
Signs the clog is deeper in the system
Because some blockages sit farther down the line, you’ll notice different symptoms than a simple surface clog—recurrent backups in multiple fixtures, gurgling sounds, slow drains throughout the bathroom, or water that refuses to go down even after plunging are all clues the obstruction’s deeper in the system.
You’ll also smell sewage, see bubbling in toilets or sinks, and experience frequent repeats despite basic clearing attempts.
Progressive escalation: what to try next (tools and techniques)
When a simple plunge or quick snake won’t budge the blockage, start escalating methodically with safer, targeted tools and techniques you can handle yourself before calling a pro.
Try a longer manual auger, glove-protected manual removal, wire coat-hanger probe, and a detachable-head hand-crank snake.
Use enzymatic drain cleaners overnight, then flush with hot water.
Repeat progressively, checking results after each step.
When to stop and call a professional
Although you want to keep trying fixes yourself, stop and call a pro when the clog won’t budge after progressive steps, you smell sewage, water backs up into other fixtures, or DIY attempts risk damaging pipes.
A plumber has tools and experience for deep blockages, collapsed traps, or sewer-line issues.
Don’t wait until damage or mold appears; get expert service promptly.
Common Mistakes to Avoid
Don’t pour strong chemicals into the drain without reading labels and using proper protection, because they can harm pipes and your health.
Don’t force tools or yank on stuck parts—you can crack pipes or dislodge seals.
And don’t ignore signs of bigger problems like poor venting or main-line issues; those need a plumber, not DIY shortcuts.
Using harsh chemicals improperly
If you reach for harsh drain chemicals without reading the label, you can make a clog — and your plumbing — far worse.
Don’t mix products or pour concentrated solvents into slow drains; they can corrode pipes, ruin seals, and create toxic fumes.
Use labeled, appropriate cleaners sparingly, ventilate the area, wear gloves and eye protection, and stop if you smell strong chemicals.
Forcing tools and risking pipe damage
Avoid yanking or shoving tools down the drain—forcing a snake, wire hanger, or oversized brush can bend, crack, or dislodge pipes and seals, turning a simple clog into a costly repair.
Work gently: feed a drain snake slowly, rotate rather than jam, and use appropriate-sized tools.
If you meet firm resistance, stop and reassess—call a pro rather than risk structural damage.
Ignoring underlying causes (venting, main line issues)
When you focus only on the visible clog, you can miss bigger problems like a blocked vent or a failing main line that’ll keep causing backups no matter how often you clear the trap.
Check for persistent slow drains, gurgling noises, or multiple fixtures backing up at once, since those signs point beyond the floor drain and need a different diagnosis.
If you ignore them, call a pro to inspect vents and the main sewer.
Prevention and Best Practices to Keep Floor Drains Clear
Keep simple daily and weekly habits—like clearing hair and letting water run—so you reduce buildup before it becomes a clog.
Do a quick monthly maintenance checklist (flush with hot water, check the trap, and remove the grate for inspection).
If you’re frequently clogging, consider installing a screen or adding trap access to make future cleanouts much easier.
Simple daily and weekly habits
If you want fewer clogs and less scrubbing, make a few simple daily and weekly habits part of your routine:
- Rinse hair and soap down the drain after showers; use a mesh strainer daily.
- Wipe floor and remove visible debris weekly; flush with hot water to move residue.
- Keep toiletries sealed and dispose of cotton/swabs in trash to prevent buildup.
Monthly maintenance checklist
Once a month, set aside a short block of time to run through a simple maintenance checklist that prevents buildup and spots minor issues before they become clogs.
Remove the grate, clear visible debris, flush with hot water, use a bendable brush or drain snake to dislodge residue, pour a mild enzymatic cleaner if needed, check the trap for odors, and dry the area before replacing the grate.
Installation or retrofit tips to reduce future clogs (screens, trap access)
Although you’ve already been doing monthly upkeep, installing a few simple retrofit features can dramatically cut future clogs and make maintenance faster.
Fit a removable stainless-steel strainer to catch hair and debris.
Add an access panel or larger trap primer for easy snaking and inspection.
Consider a keyed floor-drain cover to prevent solids entry.
These quick upgrades save time and plumbing calls.
Quick Comparison Tools and Methods at a Glance
You’ll want a fast snapshot of each unclogging option so you can pick the best balance of effectiveness, cost, speed, and risk. Below is a quick table summarizing common methods to help you compare at a glance. Use this to match the method to your situation and budget.
| Method | Effectiveness | Risk/Cost |
|---|---|---|
| Plunger | Moderate | Low risk / Very low cost |
| Drain snake | High | Low risk / Low cost |
| Chemical cleaner | Variable | Higher risk / Moderate cost |
Effectiveness, cost, speed, and risk for each method
When you’re choosing how to unclog a bathroom floor drain, focus on four basics—how well each method clears common clogs, what it costs, how fast it works, and what risks or precautions each carries—so you can pick the fastest, safest, and most cost‑effective option for your situation.
Plunger: cheap, quick, low risk.
Snake: moderate cost, very effective, needs care.
Chemicals: fast, risky, moderate cost.
Remove grate: free, time‑consuming.
FAQ Fast Answers to Common Questions
Got quick questions?
You’ll get straight answers on timing, safety of bleach and commercial cleaners, reusing tools, lingering smells, and whether hot water can harm your pipes.
Read on for clear, practical guidance.
How long should a quick unclog take?
How long a quick unclog takes depends on the method and what’s causing the blockage, but most simple clogs clear in 10–30 minutes.
You’ll usually finish faster with a plunger, plumber’s snake, or removing visible debris.
If water drains slowly afterward, run a test and repeat mechanical clearing.
Call a pro if the clog resists 30–60 minutes or affects multiple fixtures.
Is it safe to use bleach or commercial drain cleaners?
Wondering if bleach or commercial drain cleaners are safe?
You should avoid harsh chemical drain cleaners for routine clogs—they can damage pipes, seals, and finishes and pose inhalation risks.
Bleach won’t clear hair or grease clogs and can react dangerously with other chemicals.
For stubborn blockages, use a mechanical snake or call a pro.
If you must use chemicals, follow label precautions strictly.
Can I reuse a plunger or snake after cleaning?
Yes—you can reuse a plunger or snake after cleaning, as long as you sanitize them properly and inspect for damage.
Rinse with hot water, scrub with detergent, then disinfect (bleach solution or household disinfectant). Let parts dry fully to prevent rust or mold.
Check rubber seals, handles, and coils for cracks or weak spots; replace any damaged tool before reuse to guarantee safe, effective performance.
What if the drain smells after unclogging?
If your drain still smells after unclogging, don’t panic—you can usually eliminate odors quickly by cleaning out residual gunk, flushing with hot water and baking soda/vinegar, and checking the trap for trapped debris or dry seals.
Remove visible residue with a brush, rinse thoroughly, and pour baking soda followed by vinegar. Wait 10–15 minutes, then flush.
Repeat or inspect vents if odor persists.
Will pouring hot water damage pipes?
How hot is too hot? You can pour hot tap water to help dissolve soap and grease clogs, but avoid boiling water.
Boiling can soften PVC, loosen joints, or crack older metal pipes. Use water that’s hot but not boiling—around 120–140°F (49–60°C).
Pour slowly in stages, letting the drain absorb heat between batches to protect pipes and seals.
Final Checklist Fast Unclogging Recap and Next Steps
Once you’ve finished the steps, take a moment to run through a quick checklist to confirm the drain’s clear and everything’s back in place:
- Run water for 2–3 minutes; watch flow and listen for gurgles.
- Reinstall grate, clean surrounding area, and dry surfaces.
- Dispose of debris properly and note any recurring clogs; plan professional help if it returns within a week.