How to Stagger Vinyl Plank Flooring for a Flawless Finish
You’ll stagger vinyl planks by offsetting end joints 6–12 inches (minimum 6″) and keeping a 1/4″ expansion gap at walls, avoiding aligned seams across rows. Start with a full-length starter row, mix plank lengths, and use offcuts to reduce waste while ensuring end pieces aren’t under 6–8 inches. Prep the subfloor, have the right tools, and dry-fit before gluing or locking. Follow manufacturer specs for offsets and keep scanning ahead for cut placement to get flawless results, and keep going to learn patterns, tips, and common fixes.
How to Stagger Vinyl Plank Flooring for a Flawless Finish
To get a flawless finish, you’ll want a quick answer: stagger end joints at least 6–12 inches and use a random stair-step pattern rather than lining seams up.
Aim for a mix of short and long planks so no two adjacent rows have matching seams, and keep spacing consistent across the floor.
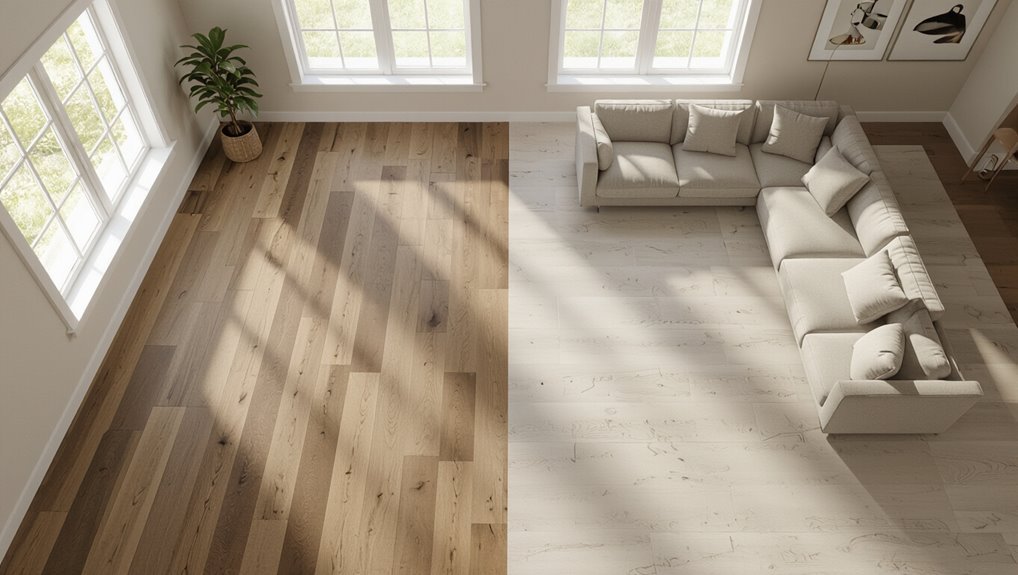
Below is a clear visual overview of proper staggering to help you plan your layout.
Quick Answer Best Stagger Pattern and Spacing for Vinyl Planks
A simple, consistent stagger pattern and proper spacing are what make vinyl plank flooring look natural and hold up over time.
You’ll follow basic rules for how to stagger vinyl plank flooring so seams won’t align and installation stays stable.
- Stagger ends by 6–12 inches.
- Offset adjacent rows by at least one-third plank length.
- Keep 1/4 inch expansion gap at walls.
Visual Overview of Proper Staggering
Wondering how the stagger should look across your floor? Visualize staggered end joints offset at least 6–12 inches, avoiding a continuous seam.
Alternate plank lengths each row, vary joint placement, and keep random-looking patterns without repeating offsets. Aim for balanced shifts across the room, minimizing short pieces at walls.
This creates a natural, stable layout that conceals seams and improves strength.
Basic Understanding What Staggering Means and Why It Matters
Staggering means offsetting the end joints of adjacent vinyl planks so seams don’t line up row to row, and you’ll want to follow basic rules for minimum and maximum offsets.
You’ll get structural strength, improved stability against movement, and a more natural, attractive layout when joints are staggered correctly.
Common standards call for offsets of at least 6–8 inches, avoid short end pieces under 6 inches, and keep random-looking patterns rather than repeating joint lines.
Definition of Staggering in Vinyl Plank Installation
Think of staggering as the intentional offset of seams between vinyl planks so they don’t line up in neat columns; it makes the floor stronger and looks more natural.
You control plank placement so end joints fall at varied distances, avoiding continuous seams.
Staggering follows a planned pattern or random offsets within recommended limits, ensuring consistent visual flow and proper interlocking during installation.
Structural, Aesthetic, and Movement Benefits of Staggering
Because seams never line up, staggering gives your vinyl-plank floor greater strength and a more natural look while accommodating normal material movement.
You’ll reduce weak lines that could separate or trap moisture, and you’ll hide joint patterns for a wood-like appearance.
Staggering also lets planks expand and contract harmlessly, minimizing gaps or buckling and keeping the installation durable and visually pleasing.
Common Stagger Standards (minimum/maximum offsets and end-joint rules)
Now that you know why staggering strengthens the floor and lets planks move, you’ll want clear rules to follow so the pattern works. Aim for 6–12″ minimum offset, avoid aligning end joints across rows, and keep randomized lengths. Follow manufacturer specs for maximum offsets and end distance from walls.
| Standard | Minimum | Maximum |
|---|---|---|
| Offset | 6″ | 12″ |
| End joints | staggered | 24″ |
| Wall gap | 1/4″ | 1/2″ |
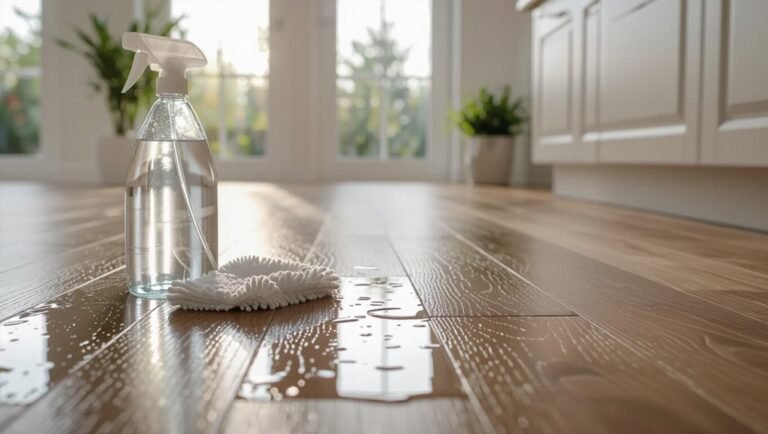
Tools, Materials, and Prep Before Staggering
Before you start staggering, gather the required tools and materials—planks, spacers, a tapping block, pull bar, utility knife, tape measure, and underlayment if needed.
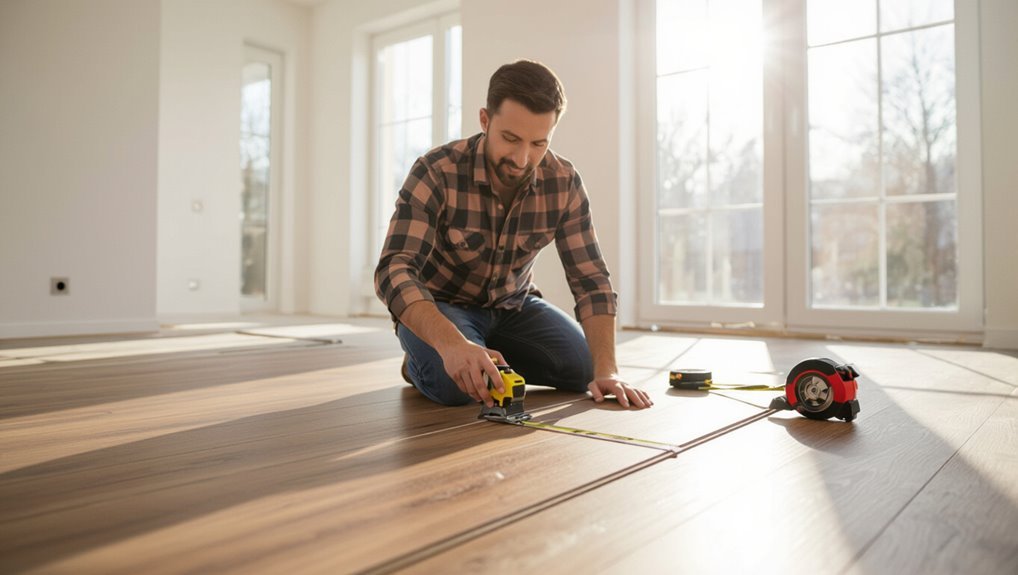
Measure the room and plan starter rows, calculating material needs and expected waste so you don’t run short mid-job.
Inspect and prepare the subfloor for flat, clean, and straight runs, fixing high or low spots to guarantee the stagger pattern lays correctly.
Required Tools and Materials
A few basic tools and the right materials will make staggering vinyl plank flooring faster and give you a professional-looking result.
You’ll need safety gear, cutting tools, and underlayment. Prepare a clean, dry subfloor before starting.
- Safety: gloves, knee pads, eye protection
- Tools: utility knife, T-square, pull bar
- Materials: plank packs, underlayment, adhesive
Measuring and Planning Materials: Calculating Starter Rows and Waste
Having your tools and safety gear ready lets you focus on measuring and planning the layout so the stagger looks balanced and waste stays low.
Measure room width and divide by plank length to determine starter row sizes.
Account for doorways and offsets, plan 6–8 inch minimum offset between end joints, and add 5–10% extra for cuts and mistakes when ordering materials.
Subfloor Inspection and Preparation to Ensure Straight Runs

Because a flat, clean subfloor is what keeps your staggered planks running straight, start by inspecting for level, damage, and moisture so you can correct problems now rather than after installation.
Clear debris, pull staples, and remove loose boards. Use a straightedge, level, and moisture meter.
Patch low spots with leveling compound, repair or replace damaged sections, and let everything dry before laying planks.
Step-by-Step Staggering Method
You’ll start by choosing a stagger pattern—random, uniform offset, or broken-bond—and deciding the minimum and maximum offsets you’ll accept.
Dry-lay a few rows and snap chalk lines to plan the layout, then begin the first row to establish a true reference edge.
Continue installing subsequent rows while keeping each plank within your offset rules.
Step 1 Choose a Stagger Pattern (random, uniform offset, broken-bond)
Before you lay a single plank, pick a stagger pattern—random, uniform offset, or broken-bond—because it sets the look and structural behavior of the floor and guides every subsequent row.
Choose random for a natural, varied appearance; uniform offset for clean, predictable alignment; broken-bond to mimic brickwork and hide seams.
Match pattern to room scale, traffic, and visual preference.
Step 2 Determine Minimum and Maximum Offset Distances
Step 2 sets the rules for how far each row should offset from the previous one, and you’ll need to pick both a minimum and maximum distance to guarantee visual balance and structural stability.
Choose a minimum to avoid tiny end pieces (often 6–8 inches) and a maximum to prevent repetitive seams (commonly 12–24 inches).
Record limits and apply consistently across the room.
Step 3 Plan the Layout: Dry-Lay and Chalk Lines
1. You’ll dry-lay rows to visualize staggering and verify plank lengths before adhering.
Fan out several rows, keeping offsets within your decided min/max. Mark a straight guideline parallel to the longest wall with chalk lines for row alignment.
Check joints, end-piece sizes, and shifts. Adjust layout to avoid tiny end cuts and guarantee consistent, balanced seams across the room.
Step 4 Start the First Row and Establish a Reference Edge
Begin the first row by snapping your chalk line against the reference edge you planned—this line will keep the planks straight and the seams consistent as you work.
Place the first plank with its tongue facing the wall, leaving the manufacturer’s recommended expansion gap.
Trim the last plank to fit, lay underlayment edge neatly, and secure the row so it stays aligned for subsequent placement.
Step 5 Install Subsequent Rows Maintaining Offset Rules
Now start the second row by locking the short end of the plank into the first row at a slight angle and pressing down to secure it, keeping the stagger rule in mind so end joints are at least the minimum distance apart your manufacturer specifies (often 6–12 inches).
Continue row by row, alternating starter lengths, checking alignment, tapping seams closed, and maintaining consistent gaps at walls.
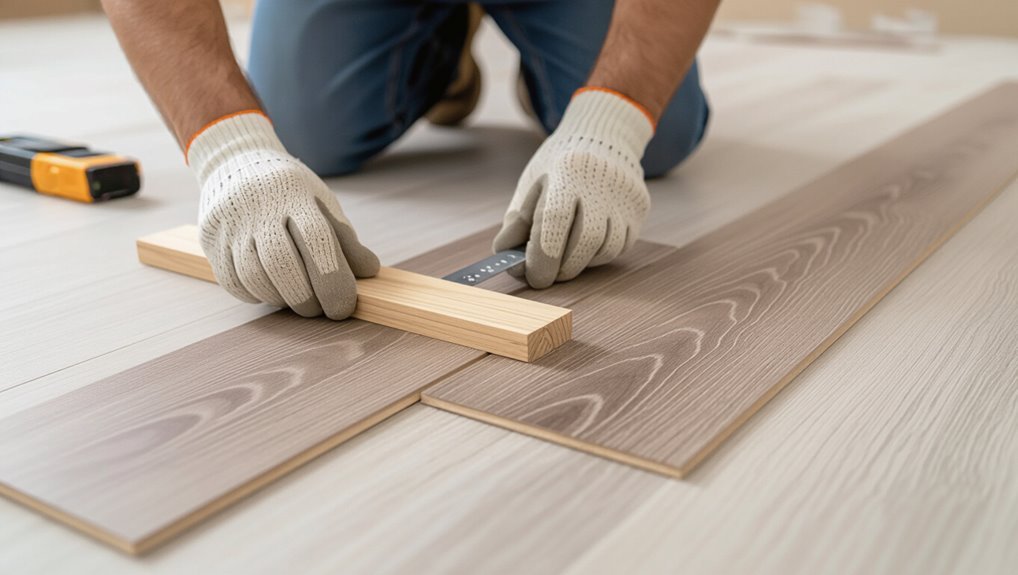
Step 6 Cutting Ends and Managing Short Pieces at Room Edges
When you reach the room edges, measure twice and cut once: fit full planks until you can’t place another without exceeding the wall gap.
Then measure the remaining space, subtract the expansion gap, and transfer that dimension to the plank before cutting so the short piece fits snugly and maintains your stagger pattern.
Trim ends square, dry-fit pieces, and use leftover offcuts at adjacent rows to minimize waste and keep joints varied.
Step 7 Handling Transitions, Doorways, and Small Nooks
As you approach doorways, shifts, and tight nooks, plan each cut and sequence so your stagger pattern carries through cleanly and the expansion gap is preserved; fit a threshold or reducer where two floor types meet, scribe and trim planks to irregular walls, and use tapered junction strips at height changes to protect edges and maintain a seamless look.
Then work systematically: dry-fit pieces, cut accurately, and fasten junctions.
Step 8 Final Inspection and Adjustments
Before you finish, walk the entire floor and inspect each seam, interchange, and edge for gaps, height differences, or misaligned stagger joints; address any issues immediately so they don’t worsen.
Tighten loose planks, trim edges, and add or remove underlayment where needed.
Clean debris, verify junctions sit flush, and test for movement.
Make final cosmetic touch-ups and let adhesive or seams cure before light traffic.
Supporting Techniques and Variations
You can mix plank lengths and widths to create a more natural, less repetitive look that hides seams.
Alternate which side you start each row so patterns don’t line up across the floor.
Use simple templates or spacing gauges to keep your offsets consistent and save time.
Staggering with Mixed Plank Lengths and Widths
Mixing plank lengths and widths gives your floor a custom, dynamic look, and it also helps hide seams and irregular subfloors.
Use a mix of long and short, narrow and wide planks to break up joints and create visual interest.
Plan layout beforehand, maintain minimum end-joint stagger (usually 6–12 inches), and rotate widths to avoid alignment clusters for a natural, balanced result.
Alternating Starter Rows to Avoid Repeating Patterns
When you alternate starter rows—beginning one row with a full-length plank and the next with a trimmed piece—you break up repeating patterns and make seams less noticeable; this simple rotation keeps the eye moving and prevents a banded appearance across the floor.
Rotate end joints regularly, vary cut lengths, and avoid lining up seams every few rows so the layout looks natural and balanced throughout the room.
Using Templates or Spacing Gauges for Consistent Offsets
Although a straight eye and careful measuring help, using templates or spacing gauges makes keeping consistent offsets fast and reliable; they’ll save you from re-measuring each row and prevent accidental alignment of end joints.
Cut a simple template matching your desired offset, clamp or mark it, and use it row after row.
Spacing gauges speed installation, guarantee uniformity, and reduce visible joint patterns.
Common Mistakes and How to Avoid Them
Watch for common mistakes that make your stagger look amateurish: repeating end-joint alignment, visible seams, and using end pieces that are too short.
Don’t ignore the manufacturer’s stagger recommendations, and plan for room irregularities so joints land on solid subfloor. A little upfront planning will prevent weak seams and uneven appearance.
Mistake: Repeating End-Joint Alignment and Visible Seams
Ever notice a row of repeating end joints drawing your eye across the floor? That pattern makes seams obvious and looks amateurish.
Stagger boards so end joints fall at least 6–12 inches apart, vary plank lengths, and plan layout before you cut.
Use random starter lengths and offset subsequent rows to break straight lines and disguise seams for a natural, seamless appearance.
Mistake: Too-Short End Pieces Causing Weak Seams
Along with avoiding repetitive end-joint patterns, you should watch the length of those cut end pieces—too-short scraps create weak, exposed seams that billow, separate, or wear prematurely.
Always aim for end pieces at least 6–8 inches long (or follow product guidance) so seams lock securely.
Plan cuts, shift starting rows, and discard tiny leftovers to maintain strength and a professional-looking surface.
Mistake: Ignoring Manufacturer Stagger Recommendations
If you ignore the manufacturer’s recommended stagger pattern, you risk voiding warranties and creating performance issues like uneven wear, plank buckling, or visible seams.
Follow the specified minimum and maximum offset distances and recommended row sequencing. Manufacturers test for stability and appearance; deviating can cause failures you’ll have to fix yourself.
Read guidelines, measure carefully, and mark pattern repeats before installing.
Mistake: Failing to Account for Room Irregularities
Manufacturer specs matter, but your room’s quirks matter just as much — walls bow, floors slope, and doorways or built-ins can force odd cuts that throw your stagger pattern off.
Measure multiple points, scribe planks where walls aren’t square, and plan end-piece widths so tiny strips don’t sit at visible edges.
Mock up runs to adjust stagger before gluing or locking.
Tips, Best Practices, and Quality Checks
When you stagger vinyl planks, follow recommended offset ranges for each plank type and adjust patterns for large open areas versus small rooms.
Check alignment, seam tightness, and connections as you go and do a final quality check for gaps, cupping, or repeat patterns.
If layout problems persist, or subfloor issues and uneven seams appear, call a pro before you finish.
Best Practice: Recommended Offset Ranges by Plank Type
Because different vinyl plank profiles lock and flex differently, you’ll want to choose offset ranges that suit the plank type to prevent alignment issues and minimize visible pattern repetition.
Use these guidelines:
- 48–60% offset for rigid, click-lock planks to avoid end joints lining up.
- 30–50% for flexible, glue-down planks to reduce buckling.
- 20–40% for herringbone or patterned planks to preserve visual rhythm.
Best Practice: Staggering for Large Open Spaces vs. Small Rooms
Those offset ranges help prevent end joints from lining up and keep patterns balanced, but you’ll handle staggering differently depending on room size.
In large open spaces, vary offsets widely and use random starter lengths to break visual repetition across sightlines.
In small rooms, keep offsets moderate to avoid short remnants and maintain stability; plan shifts so seams don’t cluster near doorways.
Quality Checks During and After Installation
If you want a durable, visually consistent vinyl plank floor, perform checks throughout installation and again after cleanup to catch issues early.
Inspect seam alignment, stagger pattern, and plank orientation as you work. Verify tight joints, consistent gaps at walls, and proper adhesive or click engagement.
After finishing, clean debris, recheck seams, and walk the floor to detect hollow spots or loose boards.
When to Call a Pro Signs a DIY Stagger Plan Won’t Work
When a stagger plan starts to strain your skills or the jobsite throws unexpected challenges, call a pro—it’s cheaper than repairing a badly installed floor.
If you spot uneven subfloor, persistent gaps, warped planks, or complex shifts, stop.
Pros handle moisture issues, intricate layouts, warranty concerns, and time-sensitive projects.
Don’t gamble—hire help to guarantee alignment, secure seams, and lasting results.
Comparison: Stagger Patterns and When to Use Each
You’ll want to choose a stagger pattern that matches both the look you want and the room’s wear demands.
Random stagger creates a natural, varied appearance but can be less forgiving for recurring stress points, while a uniform offset gives a clean, consistent rhythm and can simplify installation.
Brick or broken bond balances visual interest and stability, making it a good middle ground for high-traffic areas.
Random Stagger vs. Uniform Offset vs. Brick/Broken Bond
Choosing the right stagger pattern—random, uniform offset, or brick/broken bond—shapes both the look and performance of your vinyl plank floor, so it’s worth matching the pattern to the room and plank size. You’ll pick random for organic variation, uniform for predictable seams, and brick for classic alignment and easier cuts.
| Pattern | Best for | Cut complexity |
|---|---|---|
| Random | Varied rooms | Moderate |
| Uniform | Long runs | Low |
| Brick | Small spaces | Moderate |
Visual Impact and Durability Differences Between Patterns
Because pattern affects both appearance and wear, pick a stagger that balances the look you want with how the floor will perform over time.
You’ll choose random for a natural, forgiving look and better seam distribution; uniform offset for streamlined continuity in modern spaces; brick/broken bond for classic stability and reduced plank shifting.
Match pattern to room traffic, room size, and aesthetic goals.
FAQ Frequently Asked Questions
You’ll likely have specific questions about staggering, like how far to offset end joints, whether offcuts are safe to use, and which pattern suits wide planks.
Check if your manufacturer’s warranty mandates a stagger distance and learn quick fixes for visible seams or repeats.
Keep reading for clear, practical answers you can use during planning and installation.
How far should I stagger vinyl plank end joints?
Aim to offset end joints by at least 6 to 8 inches between adjacent rows to keep the floor stable and visually balanced.
For larger rooms, stagger by 12 inches or more where possible to avoid pattern repetition.
Maintain random-looking offsets, avoid aligning multiple seams across several rows, and plan layouts before cutting.
Proper staggering reduces movement, shows fewer seams, and improves overall appearance.
Can I use offcuts to create staggered patterns or will that weaken the floor?
Yes—you can use offcuts to create staggered patterns, and when done correctly they won’t weaken the floor.
Use full-length starter rows, pair offcuts with substantial adjoining pieces, and maintain recommended minimum end-joint offsets.
Glue or click-lock connections should be intact; avoid tiny fragments that sit between four seams.
Proper installation and adhesive coverage guarantee strength and a seamless appearance.
What stagger pattern looks best with wide-plank vinyl?
When working with wide-plank vinyl, a random or brick-style stagger usually looks best because it emphasizes the board’s length and natural grain without creating repetitive seams.
You’ll want offsets between 6 and 18 inches to avoid T-joints and visual runs.
Mix full boards with calculated offcuts for balanced joints, and plan runs across the room to maintain flow and stability.
Do manufacturer warranties require specific staggering?
If you’re following a brick-style or random stagger for wide-plank vinyl, check your manufacturer’s warranty next—many brands spell out acceptable seam offsets and installation patterns.
You should follow those specs or risk voiding coverage. Note required minimum stagger distances, end-joint staggering, and any prohibited repeating sequences.
If instructions conflict with your plan, contact the manufacturer for written clarification before installing.
How do I fix visible seams or pattern repeats after installation?
Notice seams or repeating patterns after the floor’s down? You can often fix this without ripping up everything.
First, check plank alignment and remove any loose pieces to re-seat them. Small gaps hide with color-matched seam filler or matching caulk.
For pattern repeats, replace select planks with different batches or rotate planks before gluing. Consult the manufacturer for warranty-safe repairs.