How to Remove Bathroom Floor Tile Without Damaging the Subfloor
You can remove bathroom floor tile without wrecking the subfloor by working slowly, using the right tools, and matching your technique to the substrate. Score grout, test a corner, then pry tiles with chisels and slim pry bars, vacuuming debris as you go. Start with manual tools and only use power tools if needed, and tailor adhesive removal for plywood, OSB, concrete, or cement board to avoid damage. Keep PPE on, and continue for step-by-step guidance and tips.
How to Remove Bathroom Floor Tile Without Damaging the Subfloor
You can often remove bathroom tiles without wrecking the subfloor, but expect some careful work and occasional repairs.
We’ll cover how to tell when removal is feasible versus when it’s better to install new flooring over the existing tile.
That choice depends on tile condition, subfloor stability, and your budget or timeline.
Is it possible and what to expect
Although removing bathroom floor tile without harming the subfloor takes patience and the right technique, it’s definitely doable for a careful DIYer.
You can learn how to remove tile bathroom floor with minimal damage by using proper tools, slow prying, and evaluating adhesive type.
Expect some dust, occasional chipped subfloor patches to repair, and extra time for stubborn tiles—but success is common with care.
When you should consider removing tiles vs. replacing over them
Having patience and the right technique makes preserving the subfloor realistic, but you’ll still want to weigh whether to remove the old tile or install new flooring over it.
Remove tiles if they’re cracked, uneven, or the substrate is compromised.
Consider overlay when tiles are level, solid, and height differences won’t disrupt connections.
Factor cost, time, and long-term durability before deciding.
Basic Understanding: Tile Installation and Subfloor Types
Before you start prying up tiles, you should know how they were installed — thinset, mastic, mortar, or with a backerboard — because each method affects removal technique.
Also check the subfloor material (plywood, OSB, concrete, cement board) since some are more fragile and may need gentler handling.
Finally, understand that adhesive and grout create a mechanical bond to the subfloor, so loosening that bond safely is the key to avoiding damage.
Common tile installation methods (thinset, mastic, mortar, backerboard)
There are a few common ways tiles get attached to a bathroom floor—thinset mortar, mastic, sanded mortar, and various backerboard systems—and each one suits different subfloors and moisture conditions.
You’ll encounter thinset for ceramic/porcelain, mastic for dry areas and small tiles, sanded mortar for heavy loads, and backerboard to create a stable, water-resistant plane beneath tiles.
Subfloor types and vulnerability (plywood, OSB, concrete, cement board)
When you remove or install bathroom tile, the type of subfloor beneath it determines how vulnerable the floor is to moisture and how easy repairs will be; common options are plywood, OSB, concrete, and cement board.
You’ll find plywood swells with water, OSB delaminates faster, concrete resists moisture but cracks, and cement board tolerates wet areas.
Match repair methods to each material.
How adhesive and grout bond tiles to the subfloor
Adhesive and grout work together to lock tiles to the subfloor: the thinset or mastic creates a mechanical and sometimes chemical bond between the tile back and the substrate, while grout fills joints to stabilize the field, keep out moisture, and distribute small loads.
When you pry tiles, adhesive strength and grout integrity determine effort and risk; brittle grout exposes edges, strong thinset grips deeply.
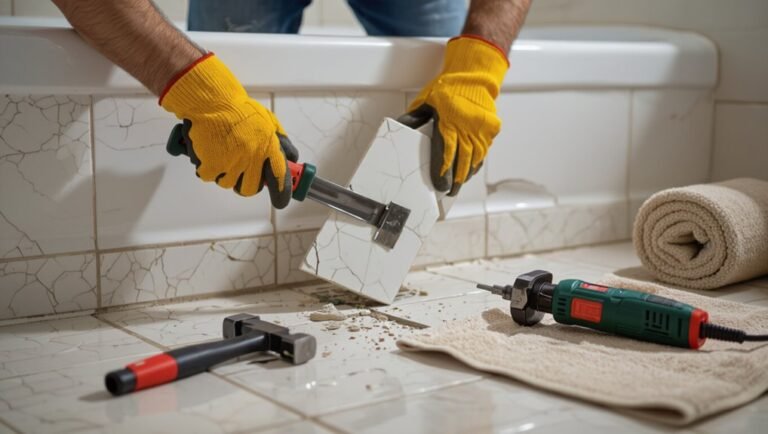
Tools, Materials, and Safety Preparations
You’ll need a clear list of essential tools—hammer, chisel, putty knife, floor scraper—and some optional power tools like an oscillating tool, pry bars, or a mini jackhammer to make the job cleaner and faster.
Put on PPE (gloves, eye protection, a dust mask or respirator) and set up plastic sheeting and ventilation to control dust.
I’ll cover which tools to prioritize, how to use the optional ones to reduce damage, and the best dust-control steps next.
Essential tools list
Before you tear into the floor, gather a compact kit of must-have tools, materials, and safety gear so the job goes smoothly and safely.
You’ll want sturdy, reliable items that protect you and preserve the subfloor beneath.
- Safety glasses, dust mask, ear protection
- Utility knife, grout rake, putty knife
- Hammer and cold chisel
- Heavy-duty shop vacuum
Optional tools that reduce damage (oscillating tool, pry bars, mini jackhammer)
Save time and protect the subfloor by adding a few optional tools to your kit: an oscillating multi-tool for precise tile and grout removal, slim pry bars to lift tiles with minimal tear-out, and a compact jackhammer or mini demolition hammer for stubborn sections.
- Oscillating multi-tool: targeted cuts, less chipping
- Slim pry bars: controlled leverage
- Mini jackhammer: localized power
- Thin-bevel scrapers: adhesive cleanup
Safety gear and dust control (PPE, plastic sheeting, ventilation)
One clear priority is protecting yourself and the rest of the house from dust and debris: wear a respirator rated N95 or higher, safety goggles, hearing protection when using power tools, and sturdy gloves and knee pads.
Seal off the work area with plastic sheeting and a taped zipper door while running a window fan or HEPA air scrubber to ventilate and direct dust outdoors.
- Fit PPE properly
- Layer plastic sheeting
- Create negative airflow
- Clean with HEPA vacuum
Pre-Removal Assessment and Planning
Before you start, inspect the tiles, grout lines, seams, thresholds, and any nearby fixtures to spot weak spots and plan how to avoid unnecessary disturbance.
Check the subfloor at exposed areas for rot, soft spots, or water damage so you can decide if it’s worth salvaging.
Then map out a clear step-by-step removal plan and timeline that prioritizes fragile zones and the order of work.
Inspect tile, grout, and transition areas for weak spots
Start by carefully scanning the entire floor, checking each tile, grout line, and junction strip for cracks, loose edges, or soft spots you can feel when you press or tap—those are the areas that’ll dictate how the removal goes.
Mark weak tiles and cracked grout with chalk or tape, note bubbling or movement near junctions, and prioritize fragile zones to avoid unexpected subfloor damage.
Locate seams, thresholds, and fixtures to minimize disturbance
When you map out seams, thresholds, and fixtures first, you’ll limit unnecessary damage and make removal go faster.
Mark junction strips, door thresholds, and plumbing or vanity footprints so you can remove tiles in clean sections.
Plan cuts along seams, loosen edges near fixtures, and protect exposed hardware. This preserves adjoining materials and reduces pry pressure on the subfloor.
Determine whether subfloor will be salvageable (signs of damage)
Although tile removal often looks straightforward, you should inspect the subfloor carefully to decide if it’s reusable or needs replacement.
Check for soft spots, sagging, rot, mold, and water stains. Probe with a screwdriver, tap for hollow sounds, and smell for mildew.
Measure thickness and fastener integrity. If damage’s localized and structural framing is sound, you can often repair rather than replace.
Create a step-by-step removal plan and timeline
Map out a clear, step-by-step removal plan and timeline before you touch the tile so you’ll know what tools, manpower, and downtime are required.
List tasks:
- clear room
- shut off utilities
- remove baseboards
- score grout
- lift tiles
- scrape adhesive
- inspect subfloor
- patch as needed.
Assign who does each step, estimate hours per task, schedule breaks and debris disposal to avoid surprises.
Step-by-Step Tile Removal Process
Start by prepping the room and protecting fixtures and adjacent floors so you won’t create more work.
You’ll then score and remove grout, test a single tile to judge adhesion, and begin with manual pry and chisel methods.
If the tile won’t budge, escalate to power tools carefully to limit damage to the subfloor.
Step 1 Prepare the workspace and protect surrounding areas
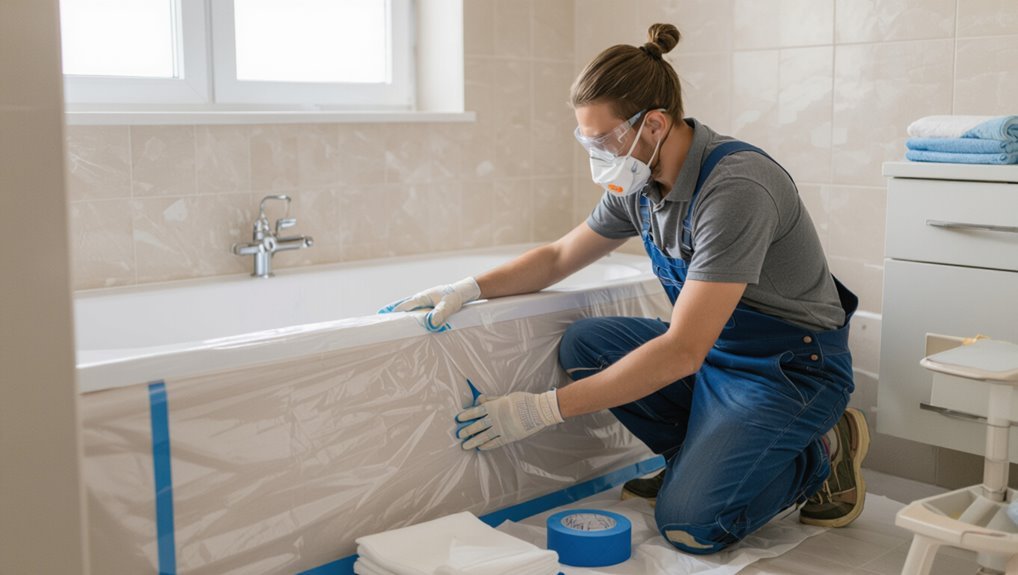
Before you pick up any tools, clear the room and give yourself a clean, level workspace—remove rugs, movable fixtures, and anything fragile that could get damaged by dust or falling tiles.
Tape plastic to doorways and vents, switch off power to nearby outlets, and lay down protective plywood or heavy cardboard to distribute weight.
- Seal vents and doorways
- Turn off electricity
- Protect adjacent surfaces
- Lay down sturdy floor protection
Step 2 Remove grout lines to release tiles (tools and technique)
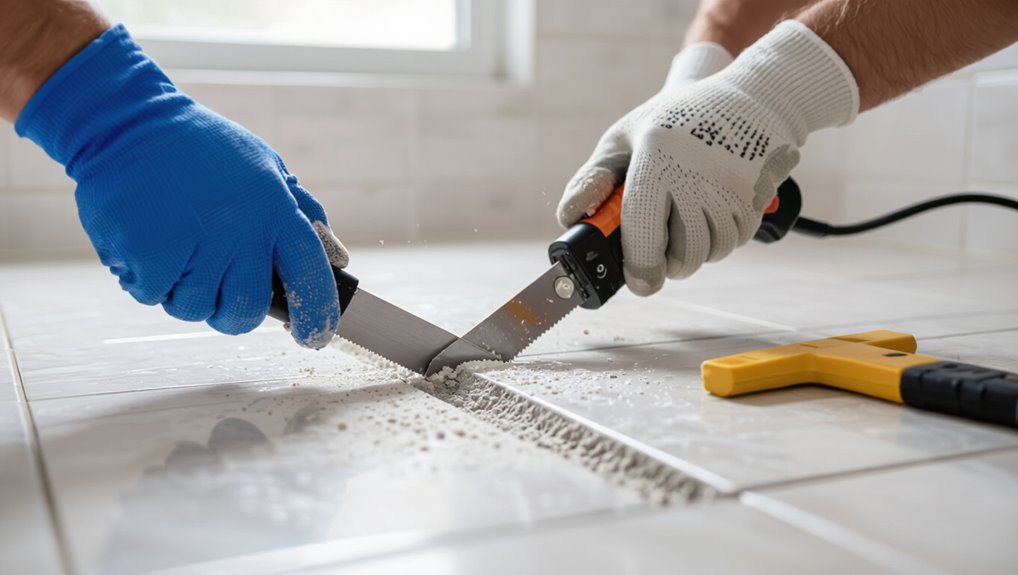
With the room prepped, use grout removal to free the tiles so you can lift them without cracking nearby pieces.
Score grout with a handheld grout saw, oscillating tool, or rotary with a grout bit, staying just above the tile surface. Work in short sections, clear debris with a vacuum, and wear eye, ear, and dust protection.
Check progress frequently to avoid gouging tiles.
Step 3 Start removing a test tile to evaluate adhesion and method
Pick a corner or edge tile as your test piece and gently pry at it to judge how it’s bonded to the floor.
Work slowly, observing whether the tile lifts in one piece, flakes, or resists.
Note adhesive hardness, mortar remains, and any movement in the subfloor.
Use these observations to choose tools and adjust pressure for subsequent tiles without risking damage.
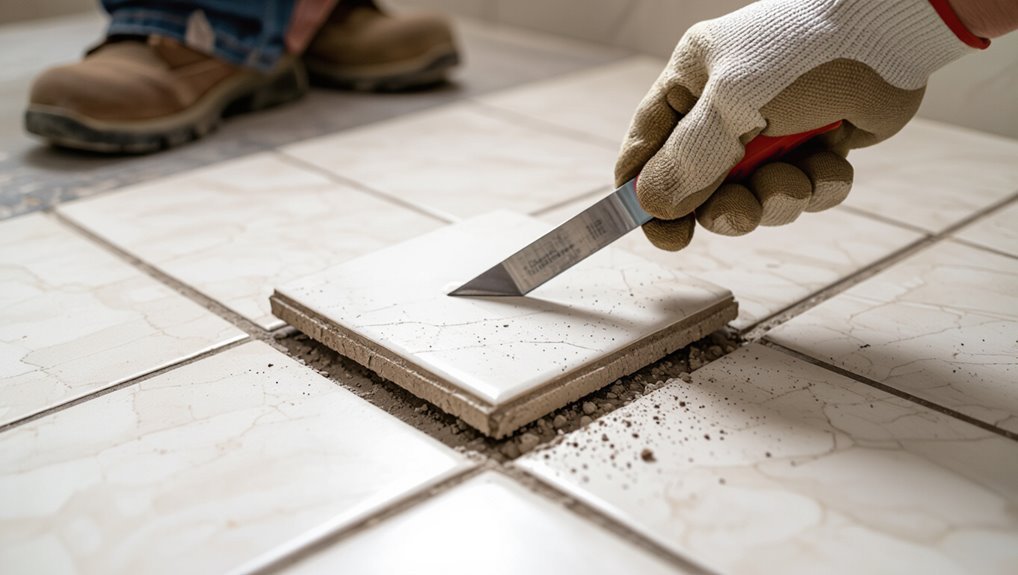
Step 4 Use the least aggressive method first (manual pry, chisel)
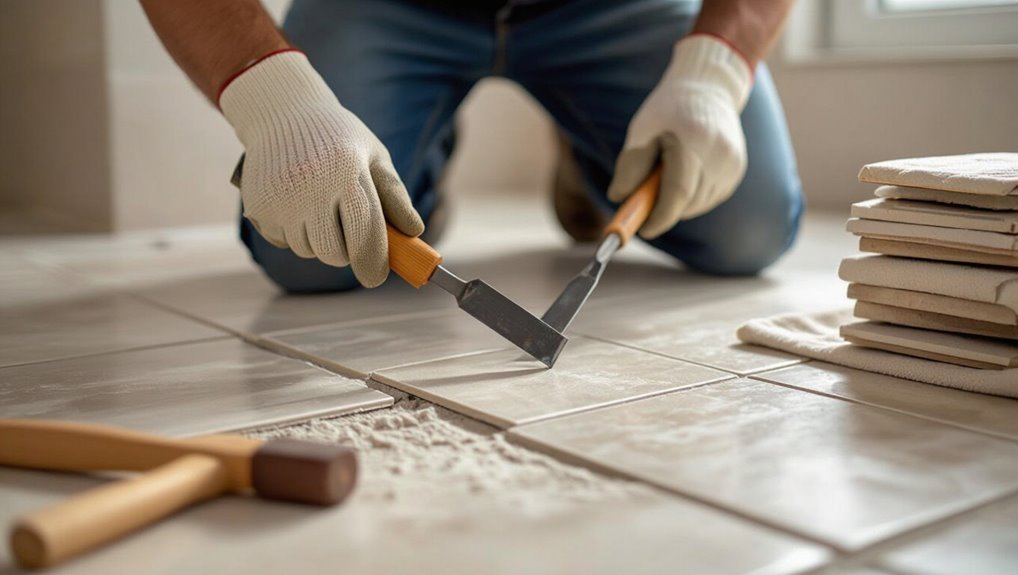
Now that you’ve tested a corner tile and seen how it behaves, start with the least aggressive removal methods: a manual pry bar, flat chisel, and hammer.
Work slowly, wedging the chisel at a shallow angle, tapping gently to break the bond.
Pry one tile at a time, keeping pressure low and controlled to protect the subfloor beneath.
Step 5 When to escalate to power tools and how to minimize subfloor damage
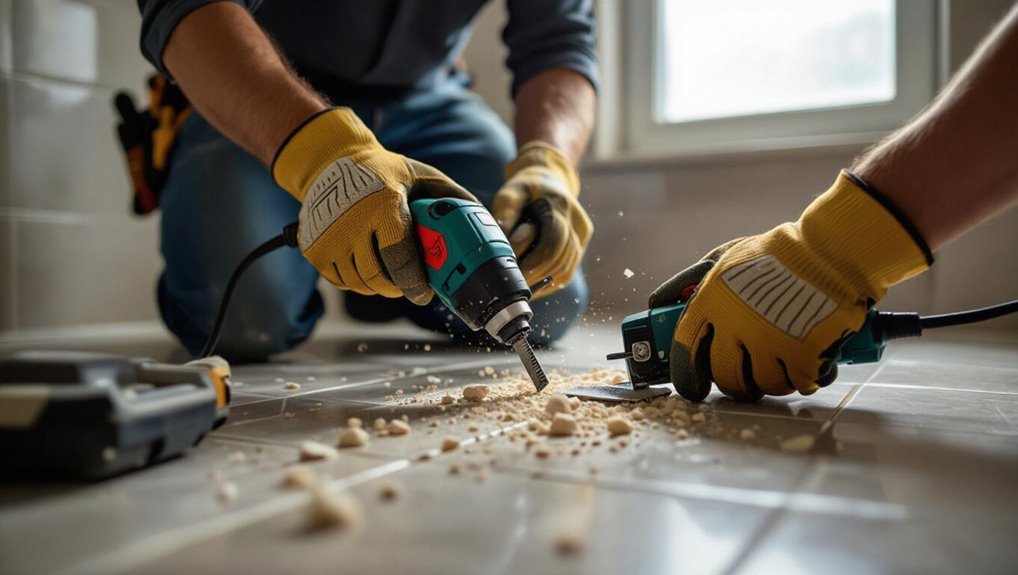
If tiles resist your chisel or the mortar’s holding fast after a few tries, it’s time to switch to power tools—but do so deliberately to protect the subfloor.
Use an oscillating multi-tool with a rigid scraping blade or a rotary hammer with a tile‑specific chisel on low impact.
Work slowly, keep blade angle shallow, support surrounding areas, and stop at the first sign of subfloor damage.
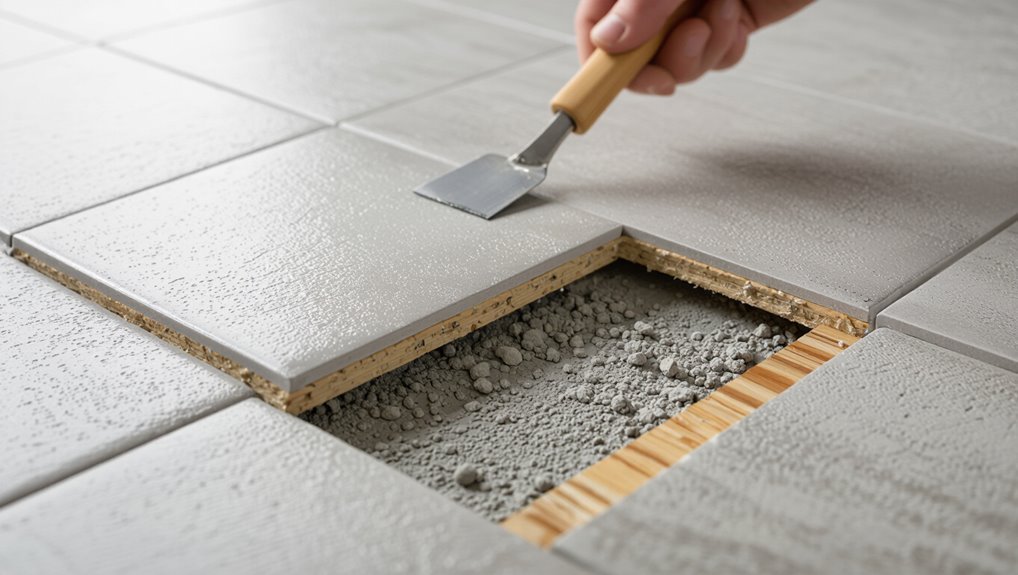
Step 6 Removing adhesive/mortar residues safely from different subfloors
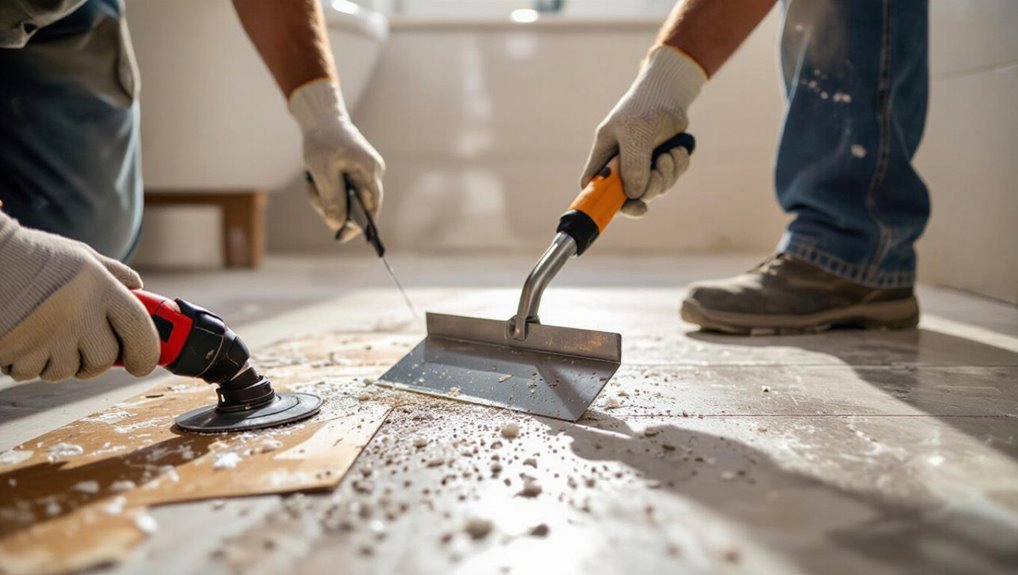
Scrape leftover mortar and adhesive with care, tailoring your method to the subfloor material so you don’t create new problems while cleaning up.
For plywood, use a floor scraper and solvent sparingly; for cement or concrete, grind lightly or chip with a masonry chisel; for backer board, scrape and vacuum debris.
Always ventilate, wear PPE, and test solvents on a small area first.
Step 7 Inspecting and repairing minor subfloor damage during removal
After you’ve cleared adhesive and mortar, inspect the subfloor closely for gouges, soft spots, or loose sections that could compromise the new tile.
Probe damaged areas, mark them, then sand minor high spots and fill shallow gouges with a thinset-friendly patch.
Replace or sister small rotten sections, fasten loose boards, and recheck flatness.
Let repairs cure before proceeding with underlayment or tile.
Dealing with Specific Challenging Situations
You’ll face different challenges depending on substrate and tile type, from tiles bonded to plywood or OSB to ceramic, porcelain, or natural stone.
I’ll cover when you can remove and reuse cement board or backerboard, plus techniques for delicate removal around toilets, tubs, and other fixed fixtures.
Follow the right approach for each situation to avoid damaging the subfloor or surrounding plumbing.
Tiles bonded directly to plywood or OSB best approaches
When tiles are bonded directly to plywood or OSB, you’re facing a delicate job because those substrates can delaminate or splinter if you’re too aggressive.
Plan to remove the tile while preserving as much of the structural sheathing as possible, then assess whether repair, local patching with cement backerboard, or complete replacement is required.
Use pry bars, oscillating tools with rigid scrapers, and work slowly to avoid tearing the sheathing.
Tiles over cement board or backerboard removal and reuse considerations
If your tiles sit on cement board or other backerboard, you’ve got a sturdier, more forgiving substrate to work with—but you still need to remove tiles carefully if you hope to reuse the backerboard.
Score grout, pry tiles with a thin chisel, and lift gently to avoid cracking the board. Remove remaining thinset with a floor scraper and check fastener integrity before reinstalling.
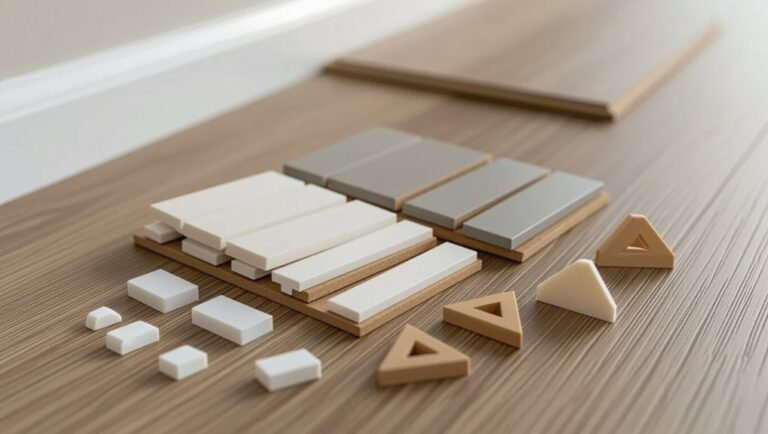
Ceramic vs. porcelain vs. natural stone tile removal techniques
Having removed tiles from cement board you’ll notice different materials demand different approaches: ceramic tends to be thinner and breaks more predictably. Porcelain is denser and often bonds more aggressively, and natural stone can be brittle, heavy, and sensitive to chipping.
For ceramic, pry and lift carefully; for porcelain, score grout and use a hammer and chisel with controlled taps; for stone, use wider tools and suction cups to prevent cracks.
Removing tile around toilets, tubs, and fixed fixtures without damage

Tackling tile around toilets, tubs, and other fixed fixtures calls for patience, the right tools, and a plan to protect plumbing and finishes.
Turn off water, remove toilet and trim; loosen grout with a grout saw, then use a small cold chisel and hammer or oscillating tool to pry tiles carefully.
Work slowly near edges, cover exposed pipes, and check subfloor for damage as you go.
Common Mistakes and How to Avoid Them
Don’t start with overly aggressive demolition or you’ll damage the subfloor and make repairs harder.
Make sure you remove grout first, support exposed edges to prevent subfloor lifts, and control dust so other rooms don’t get contaminated.
Following those steps will keep the job cleaner and save time and repair costs.
Using excessively aggressive demolition first
Start by resisting the urge to go full demolition mode—ripping out tiles and substrate with a sledgehammer can do more harm than good.
Move methodically: score, lift individual tiles, and pry gently to expose fasteners. Use smaller tools and controlled force to prevent gouging the subfloor.
Take breaks to reassess technique, and switch tactics if you spot delamination or thinset still bonding tightly.
Ignoring grout removal and causing larger breaks
Ignore grout at your own risk—skipping grout removal often turns a straightforward tile pull into a bigger mess when tiles break unpredictably.
You should cut or rake grout first so pry bars lift whole tiles instead of shards. Clean joints reduce chipping, speed removal, and protect the subfloor from gouges.
Use a grout saw or oscillating tool, work methodically, and remove debris as you go.
Not supporting edges and creating subfloor lifts
If you leave tile edges unsupported when prying, you’ll often lift chunks of the subfloor along with the tile.
Support edges with a flat pry bar and a thin shim beneath the adjoining tiles to distribute force.
Work from multiple points, score adhesive lines, and lift gradually.
Keep tools close to the tile surface to avoid levering against the plywood or cement board.
Failing to control dust and contaminating other areas
Because tile removal throws up fine dust that travels farther than you’d expect, failing to contain it can coat vents, furniture, and neighboring rooms with grit and silica-laden particles.
Seal doorways with plastic, run a HEPA air scrubber, and cover HVAC intakes.
Wet-sanding adhesives and using a shop vacuum with a HEPA filter keep dust down.
Wear an N95 or P100 respirator.
Repairing and Preparing the Subfloor After Tile Removal
Once the tiles are out, you’ll inspect the subfloor for rot, soft spots, and structural damage to decide if it needs patching or replacement.
Use appropriate materials—plywood or cement backer for replacements, wood filler or epoxy for gouges and small holes—and follow recommended methods for bonding and fastening.
Finally, clean and level the surface, then prime or apply a leveling compound so the subfloor’s ready for your new flooring.
Assessing the subfloor for structural integrity
Start by inspecting the exposed subfloor for soft spots, sagging, cracks, or water damage—these signs tell you whether the structure can support new flooring.
Walk the area, press and probe suspicious spots with a screwdriver, and measure for levelness.
Check joist spans and attachment points from below if accessible.
Note any movement, rot, or prolonged moisture before planning repairs or replacement.
Repairing gouges, delamination, and small holes (materials & methods)
After you’ve checked for sagging, rot, and levelness, address any surface damage before laying new material: gouges, delaminated plywood, and small holes weaken adhesion and create uneven spots that will telegraph through new flooring.
Use these materials and methods to fix them quickly and reliably:
- Clean and dry the area; remove loose veneer.
- Fill small holes with exterior-grade wood filler.
- Bond delaminated layers with epoxy and clamps.
- Sand flush and prime before underlayment.
When to replace sections of subfloor vs. repair
Decide whether to repair or replace by inspecting the subfloor for structural damage, widespread rot, or extensive water staining.
If more than a couple of joist bays or a large perimeter area is compromised, you’ll want to replace the affected sections.
If damage is localized to small soft spots, delaminated veneer, or isolated gouges, targeted repairs and patching will usually suffice.
You’ll also check joist integrity, fastener holding, and moisture sources.
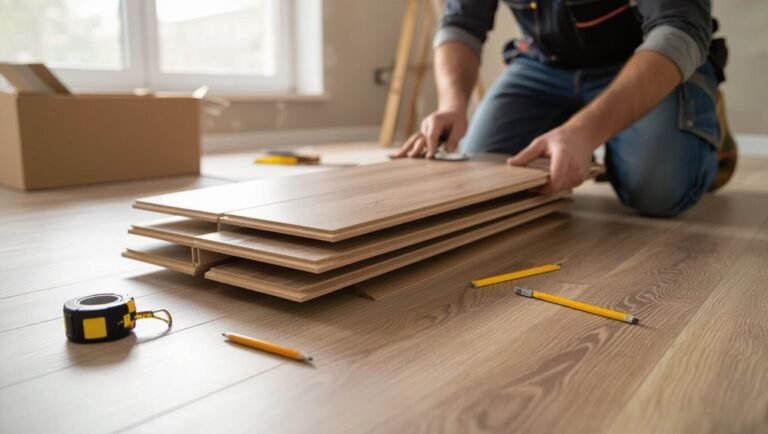
Preparing the cleaned subfloor for new flooring (leveling, priming)
Level the cleaned subfloor so your new flooring will sit flat and perform well: sweep and vacuum all debris, check with a straightedge for dips or high spots, and mark areas that need leveling or sanding.
Patch low spots with a fast-setting floor patch or self-leveling compound, sand high spots, then apply a primer or bond coat recommended for your finish to guarantee adhesion and moisture protection.
Best Practices and Time-Saving Tips
You’ll learn techniques to preserve large sections of underlayment so you don’t tear out more than necessary.
Plan an efficient workflow and assign clear team roles to speed removal and reduce fatigue.
I’ll also cover eco-friendly disposal and recycling options to handle tile waste responsibly.
Techniques to preserve large sections of underlayment
When you pry up tiles, aim to keep as much intact underlayment as possible to save time and reduce waste; targeted methods—like scoring grout lines, removing tiles in small controlled sections, and using a thin pry bar—let you expose and lift tiles without gouging the subfloor.
Work slowly, support edges with a putty knife, remove adhesive lumps, and replace only damaged underlayment pieces.
Efficient workflow and team roles for faster removal
Organize the crew and sequence tasks before you pry a single tile up. Assign roles: leader, extractor, scraper, hauler.
Work in lanes so one person loosens tiles while another removes debris; a third protects exposed underlayment. Keep tools staged and breaks brief.
- Leader directs flow and inspects progress
- Extractor focuses on tiles only
- Scraper follows for clean subfloor
- Hauler clears debris promptly
Eco-friendly disposal and recycling options for tile waste
After the crew clears and stages debris, plan how you’ll handle the old tile to minimize landfill waste and save time.
Sort salvageable pieces, set aside hazardous material, and prep loads for drop-off. Contact local recyclers and donation centers before removal to avoid delays.
- Reuse intact tiles for projects
- Recycle ceramic at local facilities
- Donate usable tiles
- Hire a hauling service
Tools and Method Comparison Table
Now let’s compare power tools and manual tools so you can pick what suits your job.
You’ll see the pros and cons of speed, effort, and control, plus the relative risk of damaging the subfloor or surrounding fixtures.
That way you’ll know when to use a demo hammer or stick with a chisel and pry bar.
Power tools vs. manual tools: pros, cons, and damage risk
Whether you’re tackling a small patch or a whole bathroom, choosing between power and manual tools affects speed, effort, cost, and the chance of damaging the subfloor or surrounding fixtures. You’ll favor power for speed but risk overcutting; manual gives control but tires you.
| Tool | Speed | Damage Risk |
|---|---|---|
| Demo hammer | Slow | Low |
| Oscillating tool | Fast | Medium |
| Pry bar | Medium | Low |
| Rotary hammer | Very fast | High |
FAQ
You can usually remove tile yourself without harming the subfloor if you work carefully and use the right tools.
Expect a typical bathroom to take anywhere from a few hours to a full day depending on tile size, thinset stubbornness, and your experience.
Below are answers about warranty and structural concerns, stubborn adhesive, and whether you can lay new tile directly over the cleaned subfloor.
Can I remove tile myself without damaging the subfloor?
If you take your time and use the right tools, you can often remove bathroom tile yourself without wrecking the subfloor.
Work methodically: score grout, pry tiles with a chisel and hammer, lift thinset gently, and replace damaged sections as you go.
Wear safety gear, check for moisture or rot beneath, and stop if the subfloor resists or splinters—call a pro then.
How long does tile removal take for a typical bathroom?
How long will it take to remove tile from a typical bathroom?
For a 5×8 or similar small bathroom, expect 4–8 hours for a DIYer, depending on tile type, adhesive, and tools.
Larger bathrooms or stubborn thinset can push this to a day.
Plan breaks, cleanup, and inspection for any subfloor repairs, which add time beyond removal itself.
Will removing tile create structural issues or void warranties?
Because removing tile can expose or damage underlying materials, you should consider both structural risks and warranty implications before starting.
Inspect joists, subfloor thickness, and moisture barriers; repair rot or weak spots first to avoid settling or squeaks.
Check product warranties (flooring, waterproofing) — some require professional removal or specific methods.
Document condition and get approval if unsure to protect coverage.
What if the adhesive won’t come off without sanding the subfloor?
When stubborn mastic or thinset won’t scrape off, you’ll need to weigh sanding the subfloor against less invasive options so you don’t create unnecessary damage.
Try chemical adhesive removers, heat, slow mechanical scraping with a floor scraper, or oscillating tools with a gentle blade first.
If sanding’s unavoidable, use fine-grit, dust containment, and minimal passes to preserve plywood/OSB integrity.
Can I install new tile directly over the cleaned subfloor?
Can you install new tile directly over the cleaned subfloor? Yes, if the subfloor is flat, dry, structurally sound, and free of residual adhesive; otherwise prep or patch as needed.
Use a suitable thinset and cement backer board or uncoupling membrane where required by tile type or moisture.
Follow manufacturer and local code guidelines, and test adhesion on a small area before tiling fully.