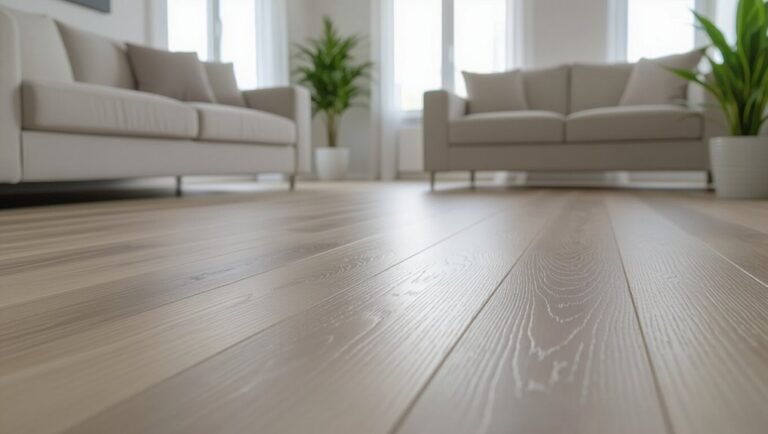
How to Clean Plywood Floors Without Warping or Dulling the Surface
You can clean plywood floors safely by sweeping or vacuuming first, then using a well‑wrung microfiber mop with a pH‑neutral cleaner to avoid excess moisture and harsh chemicals. Spot‑treat sticky spills promptly, rinse with a damp mop, and dry immediately to prevent warping or dulling. Skip steam mops, abrasive brushes, bleach, and ammonia, and test any product in an inconspicuous spot. Continue for step‑by‑step methods, seasonal care, and repair tips.
How to Clean Plywood Floors Without Warping or Dulling the Surface
You can protect plywood by following a quick, safe three-step cleaning routine that removes dirt without soaking or scratching the surface.
This guide is for homeowners and renters with finished or sealed plywood floors who want fast, low-risk maintenance. Use it whenever you need routine cleaning or spot treatment without risking warping or dulling.
Quick Answer Safe Cleaning in 3 Steps
Keep the routine simple: follow three safe steps to clean plywood floors without warping or dulling the finish.
You’ll sweep, spot-clean, then lightly mop with a pH-neutral solution so the surface stays intact and looks fresh.
Learn how to clean plywood floors quickly and safely.
- Sweep debris
- Tackle stains promptly
- Use minimal water
- Choose pH-neutral cleaner
- Dry immediately
Who this guide is for and when to use it
After you’ve got the basic three-step routine down, this guide tells who’ll benefit most and when to follow these same precautions to avoid warping or dulling plywood.
Use it if you own unfinished, sealed, or veneered plywood floors, maintain rental properties, or care for high-traffic areas.
Follow these steps after spills, seasonal deep cleans, or before refinishing to protect grain and finish.
Basic Understanding of Plywood Floors
Plywood floors are layered panels with various finishes—sealed, oil-treated, varnished, painted, or raw—that change how you should clean them.
They’re sensitive to moisture and abrasion, which can cause warping, swelling, or finish damage if you use the wrong methods.
Knowing the construction and finish type helps you pick the gentlest, most effective cleaning approach.
What plywood floors are (construction, finishes, and common types)
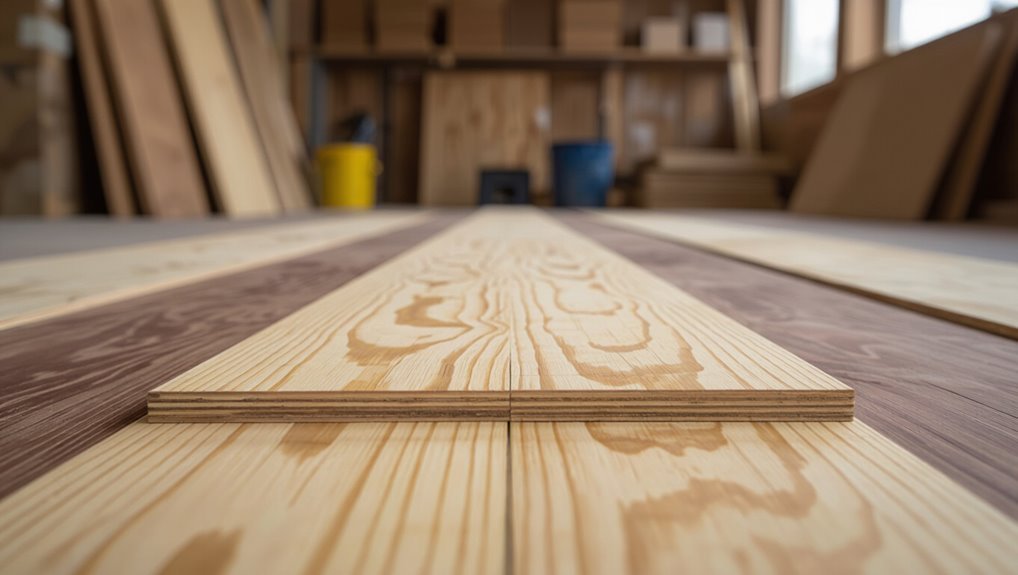
Think of plywood floors as layered wood panels made by gluing thin veneer sheets with their grains alternating, which gives the board strength, stability, and resistance to warping.
You’ll find construction-grade, Baltic birch, and structural plywood used for subfloors or visible surfaces.
Finishes include clear varnish, water-based polyurethane, oil, or laminate veneers—each affecting appearance and maintenance.
Why plywood reacts to moisture and abrasion (warping, swelling, finish damage)
Because plywood’s thin veneer layers and glued seams absorb and release moisture differently, it reacts to humidity changes and surface wear more noticeably than solid lumber.
You’ll see cupping, edge swelling, or gaps when moisture penetrates joints or fastener holes.
Abrasion removes protective layers faster, exposing inner plies and glue lines, which accelerates staining, delamination, and permanent distortion if you don’t control moisture and traffic.
How different finishes change cleaning needs (sealed, oil-based, varnished, painted, unfinished)
When a finish seals the surface, it changes what cleaners and tools you can use and how often you’ll need to clean. Different treatments — sealed, oil-finished, varnished, painted, or left unfinished — each create distinct limits and vulnerabilities you should respect.
You’ll use mild, pH-neutral cleaners on sealed/varnished floors, gentle oil-specific products on oil finishes, nonabrasive methods on paint, and minimal water plus prompt drying for unfinished plywood.
Tools and Materials You Should Use and Avoid
You’ll want a few gentle tools—soft-bristle broom, microfiber mop, and pH-neutral wood cleaner—and you’ll learn which stronger products to avoid.
Steer clear of bleach, ammonia, abrasive powders, and oil-based solvents because they can strip finishes, swell veneer, or stain the plywood.
Before using any cleaner, always do a small spot test in an inconspicuous area and wait to confirm there’s no discoloration or finish damage.
Recommended tools and cleaning products
A few essential tools and the right cleaners make plywood floor care fast and safe: use a soft-bristle broom or microfiber dust mop for daily debris, a well-wrung microfiber mop for wet cleaning, and pH-neutral hardwood or wood-floor cleaner; avoid steam mops, abrasive brushes, and ammonia- or bleach-based products that can warp or strip the plywood.
- Microfiber dust mop
- Soft-bristle broom
- Well-wrung microfiber mop
- pH-neutral cleaner
- Soft microfiber cloth
Items and chemicals to avoid (and why they damage plywood)
Although plywood is tougher than it looks, certain tools and chemicals can quickly cause swelling, delamination, or finish loss, so steer clear of anything that soaks, scrubs, or chemically strips the surface.
Avoid steam cleaners, saturated mops, abrasive pads, ammonia, bleach, acetone, paint thinners, and oil soaps—they lift veneers, soften adhesives, dull finishes, or leave residues that attract dirt and cause long-term damage.
How to test a cleaner safely on your floor (spot test method)
Want to make sure a cleaner won’t harm your plywood? Pick an inconspicuous spot, like inside a closet or under a cabinet.
Use a cotton swab or microfiber cloth with the diluted cleaner, apply briefly, blot dry, and wait 24 hours.
Check for discoloration, swelling, or finish loss. If unchanged, it’s likely safe; if not, avoid that product.
Step-by-Step Cleaning Process
Start by prepping the room and protecting baseboards and edges so you won’t track dirt or splash cleaner where it shouldn’t go.
Then follow a three-part cleaning sequence: dry cleaning (dust, sweep, vacuum), gentle wet cleaning with the correct dilution and mop, and a final rinse and thorough drying to prevent standing water.
Finish with targeted spot treatments for sticky spills and stubborn stains.
Step 1 Prepare the room and protect edges
Clear the room so you can move freely and avoid tracking dirt back onto the plywood. Seal vents and windows to prevent dust, unplug electronics, and lift rugs. Protect edges and baseboards before cleaning.
- Move furniture to center or out
- Use felt pads on legs
- Apply painter’s tape to trim
- Lay rosin paper at thresholds
- Keep pet areas contained
Step 2 Dry cleaning: dusting, sweeping, and vacuuming techniques
Before you get the mop out, remove loose grit and dust with dry methods so you don’t grind debris into the plywood finish.
Use a microfiber dust mop for wide coverage, sweep with a soft-bristled broom along the grain, and vacuum with a hard-floor setting or brush attachment.
Empty vacuum frequently and check corners and under furniture for trapped grit.
Step 3 Gentle wet cleaning: correct dilution, mop type, and application
1 key rule: use the mildest solution that actually cleans.
Dilute pH-neutral wood cleaner per label, usually a teaspoon per quart.
Use a well-wrung microfiber mop or flat mop with a washable pad.
Work small sections, apply lightly, and avoid scrubbing finish.
Rinse mop frequently in fresh solution.
Finish when surface looks clean and slightly damp, not wet.
Step 4 Rinsing, drying, and ensuring no standing water
Now that the surface looks only slightly damp, you’ll want to remove any remaining cleaner so water won’t sit on the plywood.
Rinse with a microfiber mop dampened in clean water, change water often, and follow with a dry microfiber or cotton towel.
Open windows or use fans to speed drying.
Check edges and seams; wipe any trapped moisture to prevent warping.
Step 5 Dealing with sticky spills and stains (spot treatments)
When you spot a sticky spill or stain, tackle it right away to prevent residue from attracting dirt or sinking into the plywood’s pores.
Blot with a soft cloth, don’t rub. Use a mild cleaner or diluted vinegar solution for stickiness; test in an inconspicuous spot first.
For stubborn spots, gently scrape with a plastic scraper, then wipe dry immediately to avoid water absorption.
Deep Cleaning and Maintenance Schedule
You should do routine spot cleaning weekly and schedule a gentle deep clean every few months or after heavy traffic or spills.
For deep cleaning, skip steam and use a damp mop with a pH-neutral cleaner, soft scrub on stains, and quick drying to protect the plywood.
Also monitor seasonal humidity, use dehumidifiers or humidifiers as needed, and inspect finishes each season to prevent warping.
When to perform routine cleaning vs. deep cleaning
Although everyday spills and dust are best handled with quick, routine cleaning, deep cleaning is necessary at set intervals and after specific events to keep plywood floors in top condition.
You should sweep or dust-mop daily, spot-clean spills immediately, and mop lightly weekly.
Schedule a gentle deep clean every 3–6 months and after heavy traffic, renovations, or moisture exposure to prevent buildup and damage.
Safe methods for periodic deep clean (steam-free alternatives)
1 practical deep-clean routine avoids steam and still restores plywood floors without risking warping or finish damage.
You’ll vacuum, spot-treat with a pH-neutral wood cleaner, and mop with a barely damp microfiber pad.
Rinse the pad frequently, dry the floor immediately, and buff with a soft cloth.
Finish by applying a manufacturer-approved refresher or polish sparingly to protect and revive sheen.
Seasonal maintenance and humidity management
When seasons change, so do humidity levels and the stress on your plywood floors.
Set a simple deep-clean and maintenance schedule to prevent warping, gaps, and finish breakdown.
Check humidity monthly; aim for 35–55%. Use a humidifier or dehumidifier as needed.
Inspect seams, finishes, and moldings each season.
Reapply finish or tighten boards promptly to maintain stability and appearance.
Repairing and Restoring Surface Damage
You’ll first want to spot common issues like dulling, surface scratches, scuffs, and small warps so you can match the fix to the problem.
For light scratches and finish dullness you can often buff, touch up, or use a repair kit, while deeper gouges may need filler or localized sanding.
Reserve full sanding and refinishing — or bring in a pro — when damage is widespread, the plywood is warped through the thickness, or structural integrity is at risk.
Identifying common problems: dulling, scratches, minor warping

Although plywood floors are durable, they still show signs of wear you should address early—dulling from foot traffic and cleaners, surface scratches from furniture, and minor warping from moisture are the most common issues.
You’ll spot dull areas where sheen fades, light scratches that catch your fingernail, and cupping or buckling along seams.
Early detection guides appropriate cleaning and restoration choices.
Repair steps for scratches, scuffs, and finish dullness
Start by evaluating the damage so you can choose the right fix: light scuffs and surface dullness usually need cleaning and a refresh of finish.
Shallow scratches can be blended with a wood marker or fine abrasive, and deeper gouges call for filler and refinishing.
Clean area, apply appropriate touch-up products, feather edges, buff to match sheen, and follow manufacturer cure times before light use.
When to sand and refinish vs. when to call a professional
If damage is limited to surface scratches, worn finish, or small localized gouges, you can usually sand and refinish the area yourself; call a professional when structural issues, extensive water damage, large-area sanding, or matching historic finishes are involved.
Inspect for cupping, rot, deep gouges, or uneven thickness.
DIY when repairs are cosmetic and confined; hire pros for structural fixes, moisture remediation, or full refinishes.
Comparison: Cleaning Methods and Their Risks
You’ll want to weigh how well each cleaning method removes dirt against its chances of warping the plywood or dulling the finish. Below is a quick comparison to help you pick the safest effective option. Use it to match methods to your floor’s condition and finish.
| Method | Key trade-off |
|---|---|
| Damp mop | Effective for light soil; low warping risk if wrung well, minimal dulling |
| Steam cleaner | High cleaning power; high warping risk, can dull finish |
| Abrasive scrub | Good for stubborn spots; moderate warping, high dulling risk |
| Oil-based cleaner | Gentle on finish; low warping, low dulling |
| Detergent solution | Versatile and cheap; moderate warping, moderate dulling |
Method vs. Effectiveness vs. Risk of Warping vs. Risk of Dulling
When choosing how to clean plywood floors, weigh method, effectiveness, and two common trade-offs: warping from excess moisture and dulling from abrasive or harsh cleaners.
You’ll favor dry dusting or microfibre mops to minimize moisture and preserve finish. Use damp mopping sparingly with pH-neutral cleaners, and avoid scrubbing pads or harsh solvents that strip sheen or raise grain.
Balancing cleanliness and surface integrity is key.
Common Mistakes That Cause Warping or Dulling
Don’t soak plywood—over-wetting and slow drying will warp the boards, so you should use only damp mops and dry promptly.
Avoid abrasive tools and harsh chemicals that can scratch or strip the finish.
Always check your floor’s finish and spot-test cleaners first so you don’t dull the surface.
Over-wetting and improper drying
Although a little water helps lift dirt, over-wetting plywood and letting it dry slowly can cause the veneer to swell, warp, or lose its finish.
Using abrasive tools or harsh chemicals
If you grab steel wool, scouring pads, or strong chemical strippers to tackle stains, you’ll likely scratch the veneer and strip protective finishes, leaving plywood dull or prone to moisture damage.
Instead, choose nonabrasive cleaners and soft cloths, test mild solutions in an inconspicuous spot, and remove residues promptly.
Gentler methods preserve sealants and prevent surface roughness or accelerated wear.
Ignoring finish type and skipping spot tests
You also need to pay attention to the floor’s finish and always spot-test cleaners before widespread use.
Different finishes—waxed, polyurethane, or oil—react differently to products. Test in an inconspicuous area, wait to see any discoloration, dulling, or swelling.
If a cleaner alters the finish, stop immediately and choose a compatible product. Regular testing prevents costly damage and preserves appearance.
Prevention, Best Practices, and Tips
To keep plywood looking its best, you’ll want a few simple daily habits—sweeping grit, wiping spills quickly, and using doormats to cut down on dirt.
Also consider protective finishes, area rugs, and felt pads under furniture to prevent scratches and wear.
Finally, monitor humidity and use dehumidifiers or humidifiers as needed so boards don’t warp or separate.
Best daily habits to protect plywood floors
Start by making small daily habits part of your routine so your plywood floors stay strong and attractive.
You’ll prevent damage and keep surfaces clean without harsh methods. Simple actions add up:
- Wipe spills immediately with a soft cloth
- Use doormats to trap grit
- Sweep daily with a soft broom
- Lift, don’t drag, furniture
- Keep indoor humidity stable
Protective products and finishes to consider
When you pick the right finish and maintenance products, your plywood floors resist wear and moisture and look better longer.
Choose a durable water-based polyurethane for clarity and low VOCs, or a penetrating oil finish if you want a natural look and easier repairs.
Use pH-neutral cleaners and microfiber mops.
Avoid oil soaps and waxes that build residue or attract dirt.
Humidity control and furniture protection strategies
Because plywood expands and contracts with moisture, keeping indoor humidity steady is one of the simplest ways you can prevent cupping, gaps, and joint loosening.
Pair a reliable humidifier/dehumidifier with consistent HVAC use and aim for 30–50% RH year-round.
Use furniture pads, felt glides, and area rugs under heavy pieces. Lift rather than drag, and rotate rugs to distribute wear evenly.
FAQ Cleaning Plywood Floors (4 Questions)
You probably have a few quick questions about caring for plywood floors, so let’s answer them.
You’ll learn whether steam mops are safe, how often to reapply polish or a protective coat, what cleaner to use on unfinished plywood, and ways to fix a warped plank without replacing the whole floor.
Keep reading for clear, practical answers.
Can I use a steam mop on plywood floors?
Wondering if a steam mop is safe for plywood floors? You shouldn’t use one routinely: steam can force moisture into seams, swell veneers, and delaminate glue lines.
For spot cleaning, use minimal steam and keep mop moving; test an inconspicuous area first.
Prefer a damp microfiber mop and manufacturer-approved cleaners to clean without risking warping or finish damage.
How often should I apply a polish or protective coat?
How often should you polish or add a protective coat to plywood floors?
Check finish type and traffic: lightly used rooms need a refresh every 12–24 months; high-traffic areas benefit from reapplication every 6–12 months.
Solid polyurethane lasts longer; wax or oil finishes require more frequent upkeep.
Always clean thoroughly before coating and follow manufacturer drying times to avoid trapping moisture.
What’s the safest cleaner for unfinished plywood?
Which cleaner is safest depends on how raw the plywood is and what soiling you’re tackling.
For light dust and dirt, dry sweeping or a microfiber dust mop works best.
For sticky spots, use a barely damp cloth with plain water or a few drops of mild dish soap.
Avoid bleach, ammonia, or strong solvents that can swell or darken the wood.
How to fix a warped plank without replacing the floor
A single warped plank doesn’t have to mean a full replacement—you can often flatten or stabilize it with a few targeted steps.
First, loosen surrounding fasteners and weigh the plank down with damp towels and heavy boards until it dries flat.
If that fails, remove the plank, plane or sand the high spots, dry-fit, then reattach with glue and screws, sealing edges to prevent future warping.