How to Clean Dog Poop From the Floor Without Leaving Odor or Stains
When your dog soils the floor, scoop solids with gloves or paper towels, blot any residue, then spray a pet-safe enzymatic cleaner to neutralize odor and break down stains; rinse lightly if your flooring allows and blot dry with clean towels. For carpets, pretreat and use a carpet extractor or shampooer; for wood and laminate limit moisture and use pH-neutral cleaners. Dry thoroughly with fans or a dehumidifier, and keep a quick-response kit handy—keep going to learn specific floor tips and fixes.
How to Clean Dog Poop from the Floor Without Leaving Odor or Stains
You’ll want a fast routine that removes the waste, neutralizes odor, and treats the spot to prevent stains.
Use enzyme cleaners and blotting techniques right away to avoid lingering smells or discoloration.
If the damage is severe or the surface is porous, call a professional or consider replacing the flooring.
Quick Answer Fast routine to remove waste, neutralize odor, and prevent stains
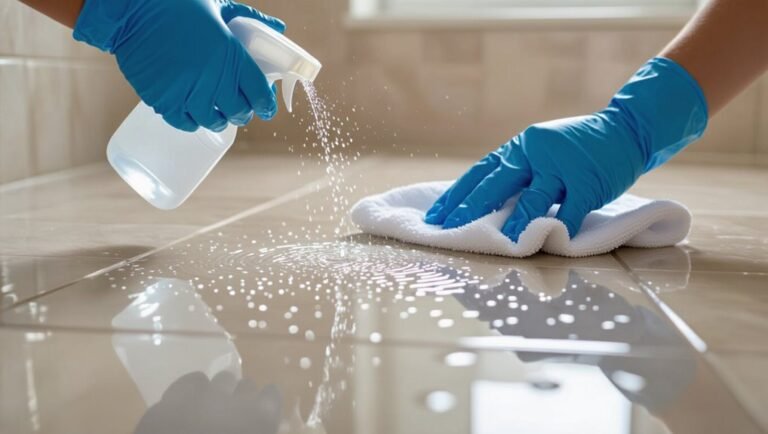
Act quickly: scoop up solids with a paper towel or disposable glove, blot the spot to pick up residue, then apply a pet-safe enzymatic cleaner to neutralize odor and break down stains before wiping dry.
For how to clean dog poop from floor fast, rinse area lightly if safe for flooring, blot again, then air-dry.
Repeat treatment if odor lingers.
When to use professional help or replacement (severe damage, porous surfaces)
If stains, lingering odor, or soft spots persist after thorough cleaning, call a pro or consider replacing the affected flooring—porous materials like unfinished wood, natural stone, or older grout can trap bacteria and pigments that home treatments can’t fully remove.
You’ll want a flooring specialist or restoration service to assess structural damage, deep clean, seal, or replace sections to guarantee safety, odor elimination, and lasting results.
Basic Understanding What happens when dog poop contacts different floor types
When dog poop touches a surface, its moisture, oils and organic matter can leave stains and release odor-causing bacteria you’ll want to remove quickly.
How long you wait matters—immediate cleanup usually prevents staining and deep odor, while delays let pigments soak in and bacteria multiply.
Different floors—hardwood, laminate, tile, vinyl, linoleum, carpet, rugs, concrete and grout—each absorb or resist those components in different ways, so the method you use should match the material.
Composition of dog feces and why it stains or smells
Dog poop contains water, undigested food, bacteria, bile pigments and digested fats and proteins, and those components determine how it stains and smells on different floors.
You should know: moisture soaks into porous surfaces; oils and pigments bind to fibers and grout; bacterial breakdown creates volatile odors; and acidic or enzymatic residues can discolor finishes, so choose cleaners targeting specific components.
How odor and stains set: differences between immediate cleanup and delayed cleanup
Because feces contain moisture, oils, pigments and bacteria, the moment it lands on a floor it starts interacting with the surface: liquids soak into pores, oils grab onto fibers and grout, pigments can stain finishes, and bacteria begin producing odor-causing compounds—so cleaning immediately limits penetration and smell, while delays let those components bind, darken, and set.
Act fast: blot solids, lift residues, rinse, and sanitize to prevent permanent stains and lingering odor; waiting increases bonding and microbial breakdown, making removal harder and smell worse.
Floor material overview: hardwood, laminate, tile, vinyl, linoleum, carpet, rugs, concrete, grout
Different floor types react differently to feces, so you’ll want to tailor your cleanup to the material.
On hardwood and laminate, blot promptly to avoid staining and warping; use minimal moisture.
Tile, vinyl, linoleum and sealed concrete resist stains and clean easily with detergent.
Unsealed concrete and grout absorb odors and need deep cleaning.
Carpets and rugs require fast solid removal, enzyme cleaners, and possible professional steam cleaning.
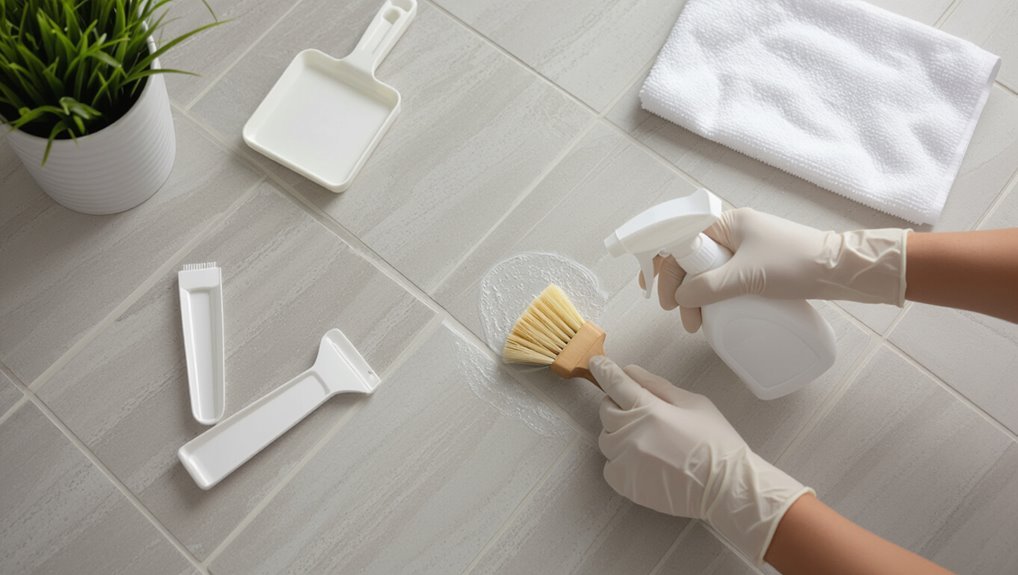
What You Need Before You Start Tools and safe cleaning products
Before you start cleaning, gather essential tools and PPE like gloves, paper towels, a scraper, and a mask to protect yourself.
Pick cleaners suited to your floor—enzyme cleaners for organic stains, vinegar or baking soda for sealed tile and vinyl, and hydrogen peroxide or ammonia-free detergents where safe.
Avoid harsh products such as bleach on wood, strong acids on grout, and oil-based cleaners on vinyl.
Essential tools and PPE
Gloves and a few basic tools will make the job faster and safer, so gather them before you start cleaning.
You’ll want protective gear and sturdy implements to remove solids, prevent splatter, and block odor transfer. Keep everything disposable or easy to sanitize.
- Nitrile gloves, mask, and eye protection
- Stiff paper towels or disposable scooper
- Scrub brush and microfiber cloths
Recommended cleaners by floor type (enzyme cleaners, vinegar, baking soda, hydrogen peroxide, ammonia-free detergents)
Now that you’ve got your protective gear and tools ready, match the cleaner to your floor type to avoid damage and remove stains and odor effectively. Use enzyme cleaners for organic odor, vinegar diluted for tile, baking soda to neutralize smells, hydrogen peroxide for stubborn stains, and ammonia-free detergent for sensitive surfaces.
| Floor type | Recommended cleaner |
|---|---|
| Hardwood | Ammonia-free detergent |
| Tile/grout | Vinegar (diluted) |
| Laminate | Enzyme cleaner |
| Vinyl | Baking soda paste |
| Stain spot | Hydrogen peroxide |
Products to avoid (bleach on wood, harsh acids on grout, oil-based cleaners on vinyl)
Because some cleaners can ruin floors faster than the mess itself, you’ll want to know which products to avoid and have the right tools and gentle alternatives on hand.
Don’t use bleach on wood—it strips finish. Skip harsh acids on grout; they etch and discolor. Avoid oil-based cleaners on vinyl; they swell and stain.
Stick to pH-neutral, enzyme, or mild detergent solutions.
Step-by-Step Cleanup Process
Start by containing the mess and removing solids carefully so you don’t spread it.
Then follow best practices for blotting versus wiping, pick a cleaner that’s safe for your floor type, and treat the area according to whether it’s hard flooring or carpet.
I’ll walk you through step-by-step deep-clean methods for hard floors (dilution, dwell time, agitation, rinse) and for carpets/rugs (solids removal, enzyme treatment, extraction, drying).
Step 1 Immediate containment and removal of solids
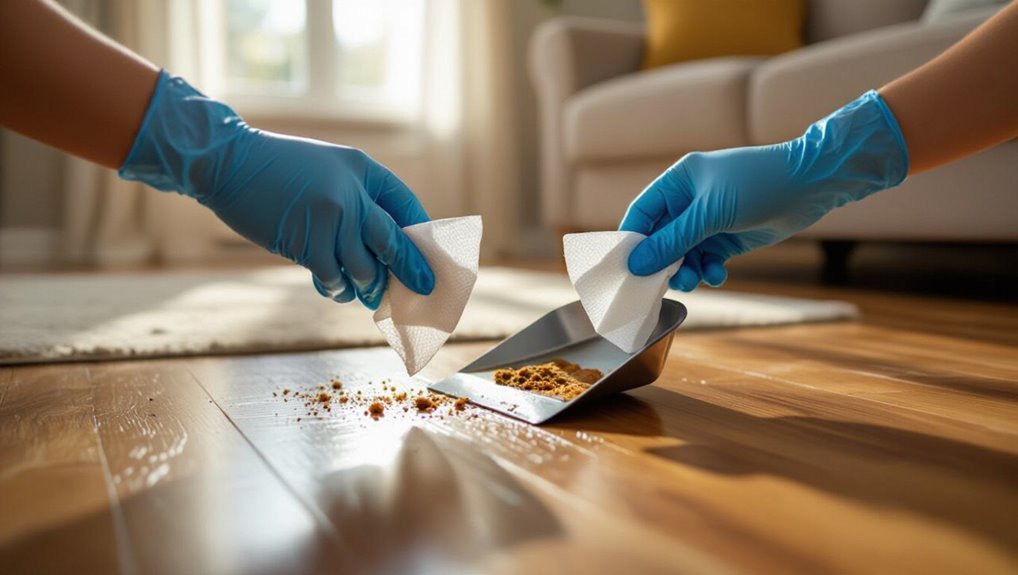
Contain the mess immediately by keeping pets and kids away, then pick up the solid waste as soon as you can.
Use disposable gloves and a sturdy bag or scooper, lift solids without smearing, seal the bag tightly, and dispose of it outdoors.
Check the area for residue, removing any remaining chunks gently, and ventilate the room briefly to reduce immediate odor.
Step 2 Blotting vs. wiping: best practices to avoid spreading
When you’re ready to clean the stain, choose blotting over wiping whenever possible to lift moisture and prevent smearing; blot with clean, absorbent paper towels or a cloth, pressing gently from the edges toward the center to avoid spreading material.
Use fresh towels as they become soiled, rotate to dry sections, and avoid scrubbing until solids are gone to minimize stain set and surface damage.
Step 3 Choosing the right cleaner for your floor type
3 simple rules will guide you to the right cleaner: match the product to your floor material, choose something safe for finishes, and prefer enzyme-based or mild detergent solutions over harsh chemicals; this prevents damage and helps remove odor-causing bacteria effectively.
For tile, laminate, hardwood, or vinyl, pick labeled cleaners, avoid bleach on porous or finished wood, and test any product in a hidden spot first.
Step 4 Deep clean procedure for hard floors (dilution, dwell time, agitation, rinse)
Now that you’ve picked a cleaner suited to your floor, it’s time to perform a deep clean that removes residue and odor.
Dilute per label, apply, and let sit briefly. Agitate gently, then rinse thoroughly and dry.
- Mix correct dilution and test a small area.
- Allow proper dwell time for enzymes/disinfectant.
- Agitate with a soft brush, rinse, towel-dry.
Step 5 Deep clean procedure for carpets and rugs (solids removal, enzyme treatment, extraction, drying)
Start by removing all solid matter with a gloved hand or paper towel, taking care not to press debris deeper into the fibers.
Pretreat with an enzyme cleaner, let it sit per label, then agitate gently with a soft brush.
Use a wet-dry extractor or carpet shampooer to lift residue and rinse thoroughly, then blot excess moisture.
- Enzyme soak
- Gentle agitation
- Mechanical extraction
Step 6 Drying and airing to prevent lingering odor and mildew
Step 6 focuses on thoroughly drying and airing the area so odors don’t linger and mildew can’t take hold; after extraction, blot remaining moisture with clean towels.
Lift the carpet or rug edges to let air circulate beneath, and position fans or a dehumidifier to speed drying until the fibers feel completely dry to the touch.
Check padding and underside; keep airflow until cool and dry.
Step 7 Post-clean inspection and spot-treatment for stubborn stains
Once the area feels dry, inspect the floor and any padding closely for discoloration, lingering residue, or odor so you can target trouble spots quickly.
Use good lighting and run your hand over the surface to feel for tackiness or texture changes that indicate remaining soil.
Treat stains with a gentle enzyme cleaner, blot—not rub—repeat as needed, then dry and reassess.
Special Procedures for Specific Floor Types
Different floors need different care, so you’ll want to follow specific steps for hardwood/engineered wood, laminate/vinyl, tile/grout, carpets/rugs, and upholstery.
Use cleaners that won’t strip finishes or saturate wood, mind moisture limits on laminates and vinyl, and choose grout-safe scrubbing and sealing for tile.
For fabrics, pretreat and extract promptly and call professionals if stains or odors persist.
Hardwood and engineered wood: safe cleaners, avoiding water damage, refinishing tips
Because hardwood and engineered wood are sensitive to moisture and harsh chemicals, you’ll want to act quickly but carefully: scoop solids, blot gently with a damp microfiber, then dry immediately.
Use pH-neutral wood cleaner sparingly; never saturate.
For stains or odor that persist, consult a pro about spot-sanding and refinishing rather than DIY flooding.
Protect finish with timely repairs and felt pads.
Laminate and vinyl: safe moisture limits and stain lifting techniques
Although laminate and vinyl can handle a bit more moisture than hardwood, you still need to limit wetting: scoop solids, wipe up residues promptly with a barely damp cloth, then dry the area immediately to prevent swelling or adhesive failure.
For stains, blot with diluted dish soap, avoid abrasive scrubs, use a plastic scraper for dried spots, then finish with a vinyl-safe cleaner and dry.
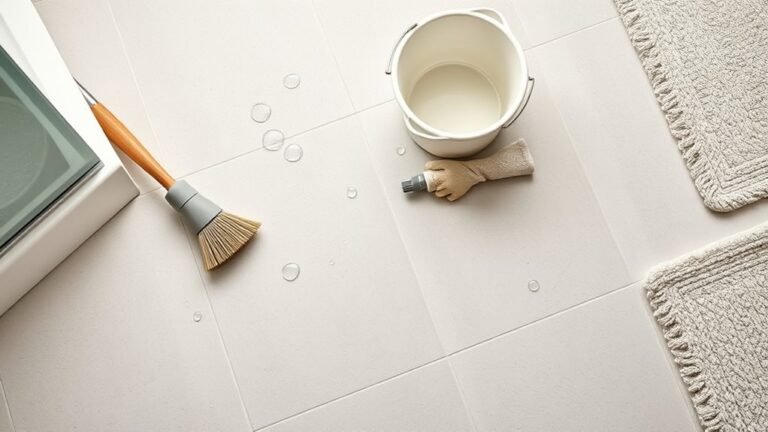
Tile and grout: grout-safe cleaners, scrubbing techniques, sealing grout
When you clean tile and grout, use products formulated for grout to avoid discoloration or damage.
Remove solids, blot moisture, then apply a grout-safe enzyme cleaner.
Scrub grout lines with a stiff nylon brush, rinse thoroughly, and dry to prevent staining.
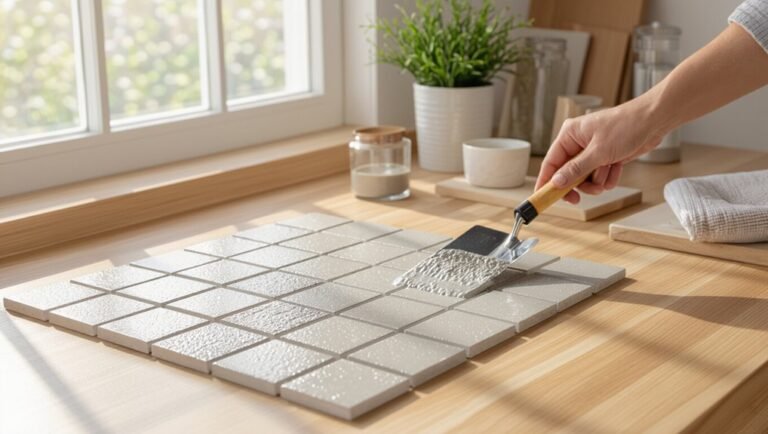
Once clean, consider sealing grout to repel future messes and odors; reapply sealant per manufacturer instructions for lasting protection.
Carpets and area rugs: pretreat, extract, professional cleaning when necessary
If your carpet or area rug gets soiled, act quickly: remove solids, blot excess moisture with paper towels or a clean cloth, then pretreat the spot with an enzyme-based cleaner or a mild carpet solution to break down organic residue and neutralize odor.
After pretreatment, extract with a wet-vac or carpet cleaner, repeat if needed, and call professionals for deep stains or persistent smells.
Upholstery and soft surfaces: immediate steps and enzyme application
Because upholstery soaks up moisture and odors fast, act immediately: remove solids with a gloved hand or paper towel, blot—don’t rub—the area to lift excess moisture, then apply an enzyme cleaner according to the label to break down organic residue and neutralize odor before it sets.
After treatment, blot with clean damp cloth, air-dry, and vacuum once fully dry to restore texture and remove residue.
Outdoor concrete, patios, and garage floors: power washing and degreasers
Upholstery soaks up moisture and odors fast, but outdoor concrete, patios, and garage floors behave differently and call for more robust cleaning.
Scrape solids, rinse debris, then apply a concrete-safe degreaser or enzymatic cleaner. Let it dwell, scrub with a stiff brush, then power-wash at moderate pressure to avoid etching.
Repeat if needed and let surfaces fully dry to prevent lingering odor.
Comparison Best Cleaners and Methods by Scenario
When you’re choosing a cleanup approach, decide whether you need a fast wipe-up or a solution that removes odor for good.
You’ll weigh DIY mixes against commercial enzyme cleaners for effectiveness, safety, and cost.
I’ll compare scenarios so you can pick the best method for your situation.
Quick cleanup vs. long-term odor elimination
If you need to get mess off the floor fast, you’ll reach for paper towels and a pet-safe disinfectant; if you’re dealing with lingering smells or repeated accidents, you’ll want enzyme cleaners and a deeper approach. Act quickly for surface cleanup; treat recurring odors with enzyme products, thorough rinsing, and patience.
| Scenario | Immediate Tools | Long-term Tools |
|---|---|---|
| Fresh mess | Paper towels | N/A |
| Dried mess | Scraper | Enzyme cleaner |
| Repeat accidents | Disinfectant | Deep cleaning |
DIY solutions vs. commercial enzyme cleaners (effectiveness, safety, cost)
Although DIY mixes can handle quick spot-cleaning and save money up front, commercial enzyme cleaners usually outperform homemade solutions on lingering odors and repeated accidents.
You can use vinegar, baking soda, or mild soap for fresh messes, but enzymes break down organic stains and scents.
Commercial products cost more but work faster, are pet-safe when used as directed, and reduce repeat marking.
Common Mistakes That Cause Odor or Permanent Stains
Don’t rub a fresh mess — you’ll spread bacteria and push stains deeper instead of blotting them up.
Don’t mix or misuse ammonia or bleach, and give enzyme cleaners the full dwell time they need to break down odors.
Also avoid over-wetting porous floors, which can cause mold, warping, or long-term damage.
Rubbing instead of blotting
When you rub at a fresh mess, you push the waste deeper into fibers and spread the stain across a larger area, making odors linger and stains harder to remove.
Instead, dab gently with paper towels or a clean cloth, lifting material without grinding it in. Work from the edges toward the center, changing towels as they soak to prevent recontamination.
Using ammonia or bleach incorrectly
After blotting, resist the urge to reach for bleach or ammonia as a quick fix: mixing or misapplying these cleaners can lock in odors, strip dyes, or even create toxic fumes.
Don’t pour strong solutions directly onto stains; dilute only when manufacturer permits.
Test inconspicuously, ventilate the area, and never combine ammonia with bleach—chemical reactions can harm you and worsen the mess.
Insufficient dwell time for enzyme cleaners
If you rinse an enzyme cleaner off too soon, you’ll defeat the whole point: those products need time to break down organic matter so odors and stains don’t return.
Follow label instructions for dwell time—often 10–30 minutes. Keep the area undisturbed and slightly damp so enzymes stay active.
Reapply only if the mess is still damp or smells; scrub gently after full dwell.
Over-wetting porous floors leading to mold or warping
Because porous floors soak up moisture, dousing them with water or cleaning solution can push waste deep into seams and fibers, encouraging mold growth and warping that’s costly or impossible to fix.
Blot gently with paper towels, use minimal cleaner, and finish with a damp microfiber—avoid soaking.
Dry thoroughly with fans or a dehumidifier, and treat stains immediately to prevent long-term damage.
Prevention and Best Practices to Minimize Future Incidents
To cut down on future messes, you’ll want a consistent house-training plan and a predictable schedule for bathroom breaks.
Use washable mats, easy-clean rugs, and training aids, and keep a quick-response kit handy for accidents.
Stick to regular cleaning routines so odors don’t build up between incidents.
House-training strategies and scheduling bathroom breaks
When you’re preventing indoor accidents, consistent house-training and a predictable bathroom schedule are your best tools: set regular outings after meals, naps, and playtime, praise your dog for going outside, and use short, frequent trips for puppies or senior dogs so they learn where and when it’s appropriate to relieve themselves.
Monitor cues, keep feeding times regular, crate briefly when needed, and reward successful outdoor toileting to reinforce habits.
Protective measures: washable mats, easy-clean rugs, training aids
Although you can’t eliminate every mistake, you can drastically reduce cleanup and damage by using washable mats, low-pile or waterproof rugs, and targeted training aids.
Place absorbent mats under food bowls and in known trouble spots. Choose rugs with nonstick, water-resistant backings that wipe clean easily.
Use pheromone pads, bell-training, or indoor potty systems to guide habits while you reinforce outdoor toileting.
- Washable mats for high-traffic areas.
- Low-pile, water-resistant rugs under furniture.
- Training aids: bells, pheromone pads, indoor potties.
Quick-response kit to keep on hand
Keep a compact quick-response kit within reach so you can tackle accidents fast and limit stains, odors, and stress.
Include disposable gloves, paper towels, sealed waste bags, an enzymatic spray, a gentle floor-safe cleaner, and a microfiber cloth.
Store a small scrub brush and an odor-neutralizing spray for stubborn spots.
Replace used items promptly and keep the kit accessible.
Regular cleaning routines that prevent odor buildup
If you stick to a simple, consistent cleaning schedule, you’ll cut down on lingering smells and make accidents easier to handle.
Wipe high-traffic areas daily, disinfect weekly, and launder washable rugs promptly. Clean pet bowls and litter/poop zones routinely.
Use enzyme cleaners after messes, ventilate rooms, and replace air filters per schedule.
Consistency prevents buildup and makes problems rare.
Troubleshooting When odor or stain persists
If the smell or stain won’t go away, test whether it’s surface-level by blotting with water and a paper towel—if color or odor transfers, it’s likely embedded.
Try repeating an enzyme cleaner and, for carpets, consider professional cleaning or refinishing for hard floors if that doesn’t help.
If persistent after those steps, you may need to replace the flooring or call a restoration service to address deeper contamination.
How to test if odor is surface-based or embedded
Wondering whether the smell’s just on the surface or soaked into the floor? Blot the area with a damp white cloth; if odor transfers and color appears, it’s surface-level.
Next, press a dry paper towel after dampening—persistent smell means deeper absorption.
Smell again after the spot dries; if odor remains strong, it’s likely embedded and needs targeted treatment.
Escalation steps: repeat enzyme treatment, professional carpet cleaning, refinishing floors
When spot treatments don’t cut it, step up your approach: repeat enzyme applications following package directions, hire a professional carpet cleaner for deep extraction, or consider refinishing hard floors to remove trapped residue.
Reapply enzymes after thorough cleaning, let them fully dry, then reassess. If smell or staining persists, a pro’s hot-water extraction or sanding and resealing wood often eliminates embedded organic matter.
When to replace flooring or call restoration services
After you’ve exhausted enzyme treatments and professional cleaning but still notice persistent stains or odors, it’s time to contemplate whether repair or replacement will solve the problem.
Inspect subflooring, grout, and wood for discoloration, warping, or lingering smells. If damage’s extensive or remediation costs approach replacement, call restoration professionals to assess structural issues and quote repairs or replacement.
Then decide based on longevity and budget.
FAQ
Got questions? You’ll find answers on timing for odor removal, whether enzyme cleaners are pet- and child-safe, and when simple vinegar and baking soda will do the job.
We’ll also cover removing color stains on wood or tile and the best methods for older, set-in stains.
How long after an accident can I realistically remove all odor?
How soon can you expect the smell gone? You can often eliminate most odor within hours if you act quickly: remove solids, blot moisture, then clean with a targeted cleaner.
Deep or soaked accidents may need repeated treatments and 24–72 hours drying with ventilation.
Porous surfaces or missed residue can trap scent longer, requiring stronger or professional intervention for complete removal.
Are enzyme cleaners safe for pets and children?
Removing odor quickly often means reaching for a cleaner that breaks down organic matter—so you’ll want to know whether enzyme cleaners are safe around your pets and kids.
Yes: most are non-toxic when used per label. Let areas dry before letting pets back. Avoid concentrated or scented formulas, rinse surfaces children touch, and store products out of reach.
Check ingredient lists and consult your vet for concerns.
Can I use vinegar and baking soda to remove poop odor?
Yes—you can often use vinegar and baking soda to neutralize poop odor, and they’re a good low-toxicity option for many hard surfaces and washable fabrics.
Mix equal parts water and white vinegar, spray the area, blot, then sprinkle baking soda once dry. Let it sit to absorb smells, vacuum, and repeat if needed.
Test fabrics first to avoid discoloration.
How do I remove color stains left on wood or tile?
If the vinegar-and-baking-soda method handled the odor but left a colored stain, you can still fix most marks on wood or tile without harsh chemicals.
For tile, scrub gently with a paste of baking soda and water, rinse, then repeat with diluted hydrogen peroxide if needed.
For sealed wood, blot, clean with mild dish soap and water, then dry; sand and refinish only if discoloration persists.
What’s the best way to clean older stains that have set for weeks?
When stains have had weeks to set, you’ll need stronger, targeted steps rather than quick spot-cleaning.
Scrape dried residue gently, vacuum, then apply an enzyme cleaner and let it sit per instructions to break down proteins.
For stubborn color, use a diluted bleach solution on tile or a wood-safe cleaner for finish-safe sanding and refinishing.
Rinse, dry, and ventilate well.