How to Cut Vinyl Flooring Around a Toilet for a Professional Look
You can get a clean, professional vinyl cut around a toilet by measuring twice, dry-fitting the sheet or planks, and using sharp tools—a fresh utility knife for sheet vinyl or a vinyl-cutting blade for planks. Decide whether to remove the toilet for the neatest fit; if not, mark the flange center, cut carefully, and trim for a snug fit. Secure with adhesive or double-sided tape and finish with silicone at the perimeter for a watertight look. Learn detailed steps and tool options next.
How to Cut Vinyl Flooring Around a Toilet for a Professional Look
Yes—you can cut vinyl around a toilet cleanly with the right approach and steady hands.
First we’ll give an overview of the process so you know the steps, then cover the specific tools and materials you’ll need.
Follow those guidelines and you’ll get a tight, professional-looking fit.
Can You Cut Vinyl Around a Toilet Cleanly?
Even though the toilet’s base looks awkward to work around, you can cut vinyl flooring cleanly with the right tools and technique.
You’ll measure and mark precisely, use a sharp blade or jigsaw with a fine blade, and score gently for control.
Practice cuts, steady pressure, and trimming for fit let you achieve neat seams.
Learn how to cut vinyl flooring around toilet confidently.
Overview of the Process
When you want a professional look, follow a clear sequence: measure and mark precisely, cut carefully using the right tool, dry-fit and trim for accuracy, then secure and seal the edges.
You’ll work methodically: remove the toilet if needed, transfer measurements, and test-fit pieces before final adhesion.
Focus on tight seams and neat seals for a finished appearance.
- Plan steps
- Test-fit pieces
- Finish seams
Tools and Materials Needed
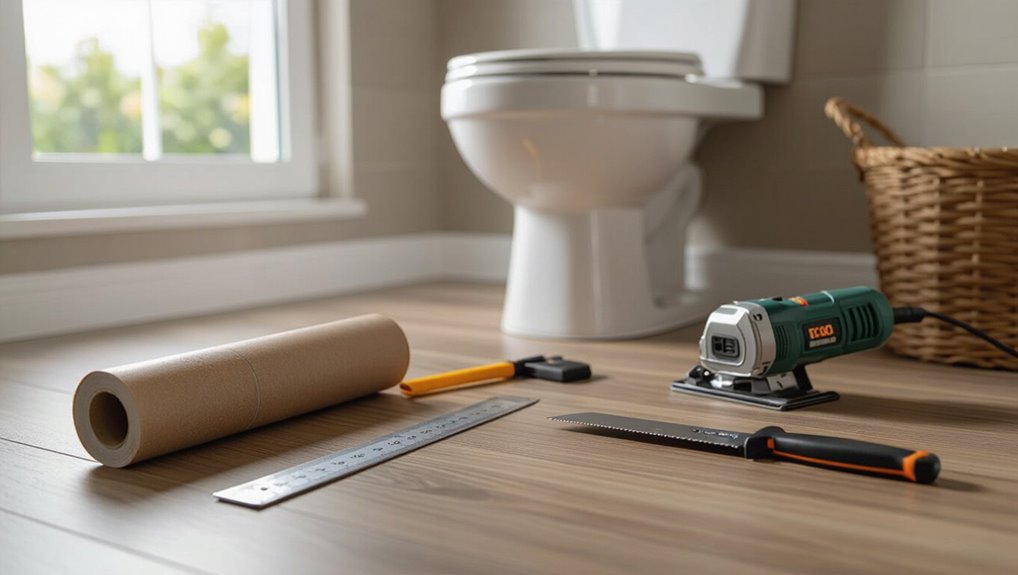
You’ll need a compact set of tools and a few quality materials to get clean, precise cuts around a toilet: a utility knife with fresh blades or a vinyl-cutting blade, a straightedge and flexible contour gauge for tight curves, a tape measure and marker, safety gear (glasses and gloves), adhesive or double-sided flooring tape, and sealant for the final perimeter.
- Utility knife, blades
- Contour gauge, straightedge
- Adhesive/tape, sealant
Understanding Vinyl Flooring and Toilet Installations
You’ll want to know which vinyl you’re working with—LVP and LVT planks behave differently than sheet vinyl when you cut and fit around a toilet.
Check the toilet base style and flange location because bolt placement and skirted or close-coupled designs change how you trim and seal the flooring.
Proper cuts matter for waterproofing, a clean look, and a tight seal that prevents odors and damage.
Types of Vinyl Flooring (LVP, LVT, Sheet Vinyl)
Choosing the right vinyl makes cutting around a toilet much easier, because LVP, LVT, and sheet vinyl behave differently under the saw and around tight curves. You’ll prefer rigid LVP for straight cuts, flexible LVT for detail work, and sheet vinyl for seamless runs. Use the table to compare.
| Type | Best for |
|---|---|
| LVP | Straight cuts |
| LVT | Detailed cuts |
| Sheet | Seamless areas |
Toilet Base Types and Flange Locations
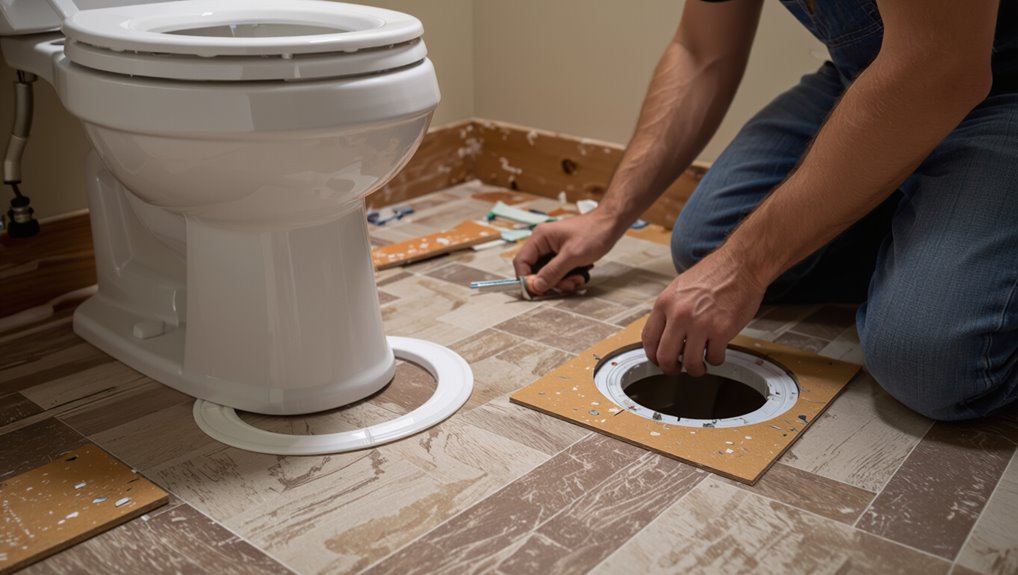
Because toilet bases and flange positions vary, you’ll want to identify both before cutting vinyl so your measurements match the actual install.
Check whether the toilet is skirted, two-piece, or floor-mounted; note flange location relative to wall and centerline.
Measure offset from finished wall, mark bolt locations, and plan relief cuts for bolts and flange access so reinstallation stays accurate.
Why Proper Cutting Matters (waterproofing, aesthetics, sealing)
Now that you’ve identified the toilet base and flange, cut accuracy becomes the next priority because poorly fitted vinyl can let water seep under the toilet, look sloppy, and make a proper seal impossible.
You’ll preserve waterproofing, allow a continuous bead of caulk, and avoid gaps that trap moisture or grime.
Precise cuts also keep the finish crisp and simplify future maintenance.
Preparing the Bathroom and Toilet Area
Before you start cutting, shut off the water and take basic safety steps like wearing gloves and eye protection.
Decide whether you’ll work with the toilet in place or remove it—each option affects the tools and ease of cutting.
Measure carefully and mark the vinyl around the flange and base to guarantee a precise fit.
Safety Precautions and Shutoff Procedures
Start by turning off the water supply and clearing the area so you can work safely and without interruptions.
Wear gloves and eye protection, place towels to catch drips, and keep a flashlight handy.
Verify the shutoff works and test for leaks before cutting.
Keep tools organized and a phone nearby for emergencies.
- Confirm valve is fully closed
- Protect fixtures and drains
- Have a bucket ready
Options: Working With the Toilet In Place vs. Removing the Toilet
When deciding whether to cut vinyl with the toilet in place or remove it, weigh the trade-offs between convenience and precision: keeping the toilet saves time and avoids reinstalling the flange, but removing it gives you full access for cleaner cuts and a better seal.
- Keep toilet: faster, less plumbing work
- Remove toilet: cleaner edges, easier fit
- Consider skill level and time constraints
Measuring and Marking the Cut Area
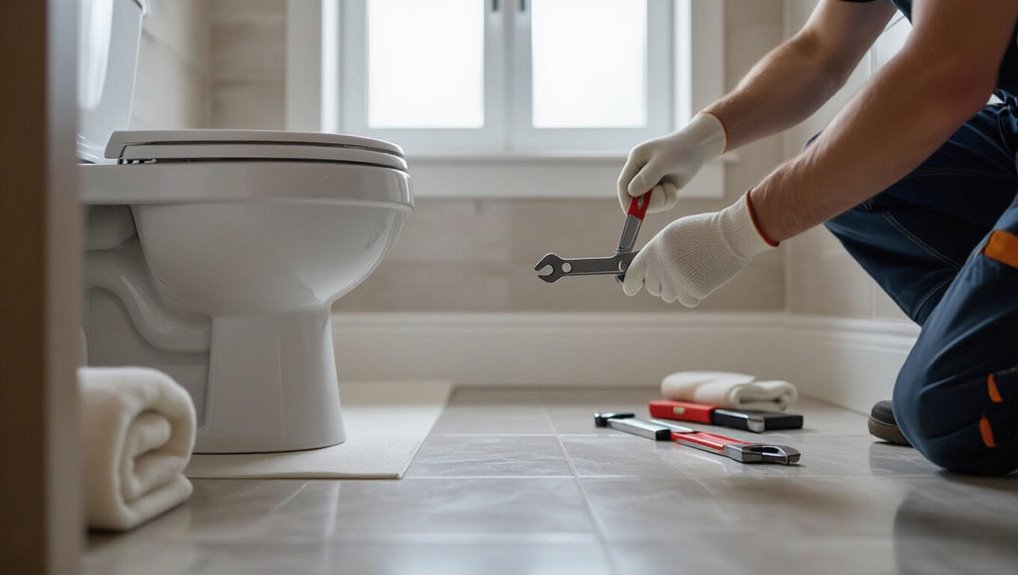
Whether you left the toilet in place or removed it, you’ll need a clean, dry workspace and clear access to the flange to measure accurately.
Measure from the flange center to the wall and both sides; note bolt locations.
Transfer dimensions to the vinyl, marking cut lines and bolt holes with a pencil.
Double-check measurements, allowing a small expansion gap before cutting.
Step-by-Step Cutting and Fitting Process
Before you start cutting, decide whether you’ll remove the toilet or protect it in place and gather the tools for safe work.
Dry-fit the vinyl, mark your cut lines, then use your chosen method—hole saw, jigsaw, or utility knife—to cut around the flange, choosing either a flush or offset technique.
Finally, test the fit and fine-tune the edges with smoothing and trimming until the vinyl sits cleanly around the toilet.
Step 1 Remove Toilet or Protect It If Leaving In Place
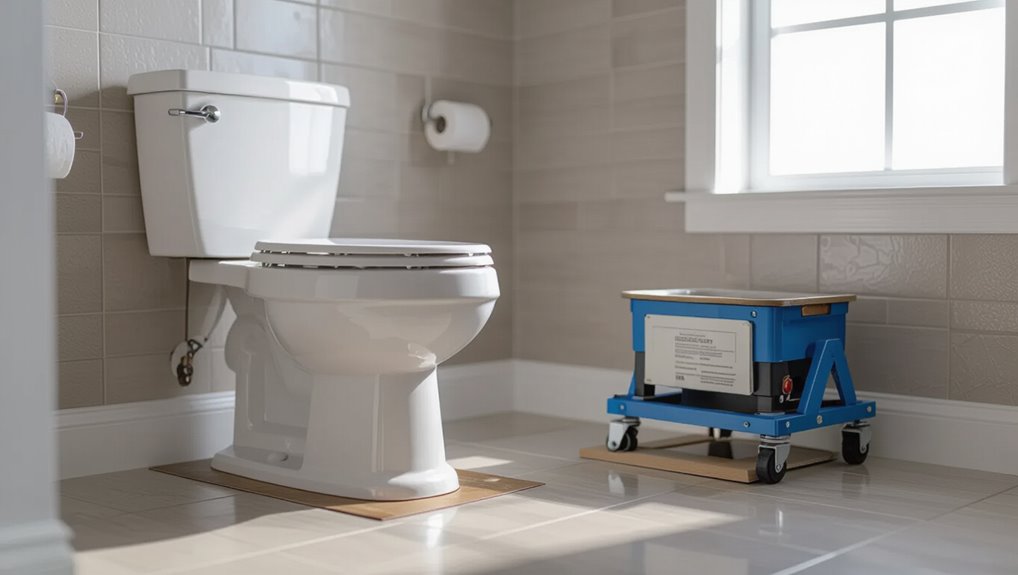
Preparation matters: you’ll either remove the toilet for the cleanest cut or protect it well if you plan to leave it in place.
Decide by skill, time, and plumbing confidence. If removing, shut off water, drain, and unbolt carefully. If keeping, seal edges and cover the bowl and tank.
- Turn off water and drain
- Use flange bolts and caps
- Protect with heavy plastic
Step 2 Dry Fit the Vinyl and Mark Cut Lines
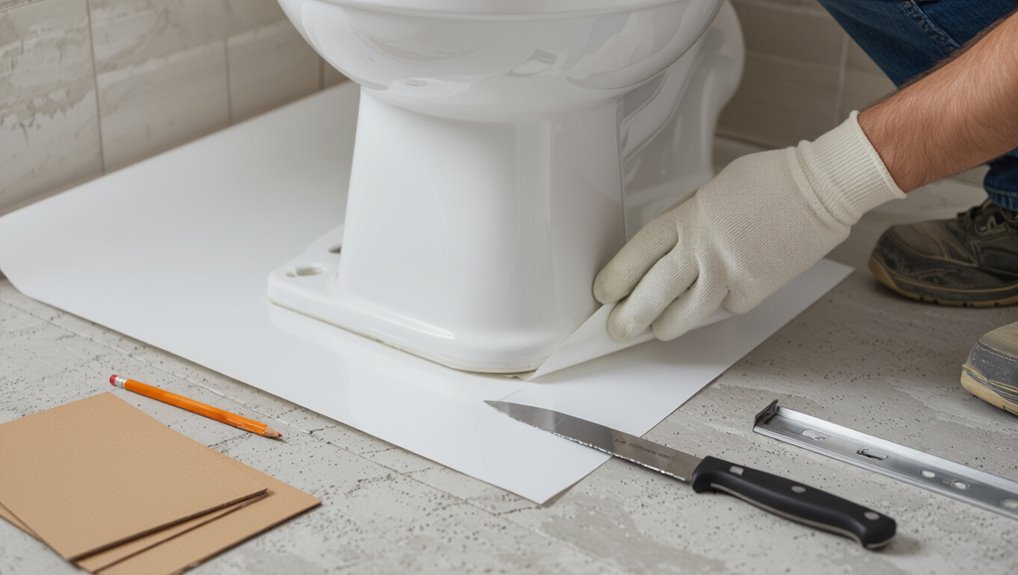
With the toilet removed or well-protected, lay your vinyl in place and roughly align it so seams and pattern flows look right.
Smooth out wrinkles, tape edges temporarily, and check fit around the flange and base.
Use a pencil or fine-tip marker to trace cut lines, leaving a small reveal for trim or sealant.
Reposition and recheck before cutting.
Step 3 Cut Around the Toilet Flange Using Preferred Methods (Hole Saw, Jig Saw, Utility Knife)
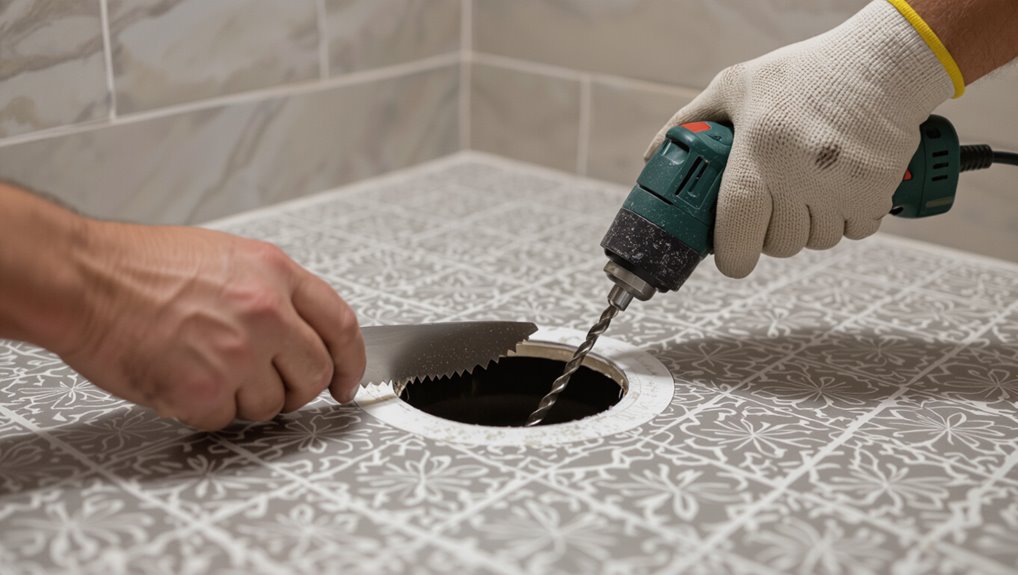
Start cutting the flange opening using the method you prefer—hole saw, jigsaw, or utility knife—so the vinyl fits snugly around the toilet base without gaps.
Work slowly, keep the blade steady, and test fit frequently. Clean edges after cutting to prevent lifting.
- Use a hole saw for precise round cuts.
- Choose a jigsaw for irregular shapes.
- Trim fine with a utility knife.
Step 4 Cutting a Flush Fit vs. Offset Cut Techniques
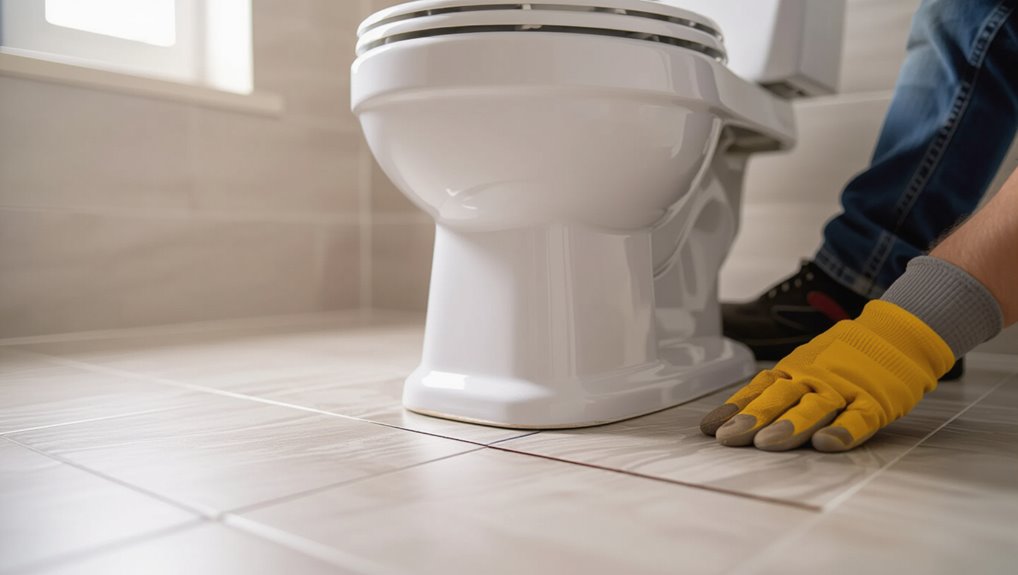
Though a snug flush fit looks cleaner, you’ll sometimes prefer an offset cut that leaves a small gap to tuck and seal—both methods require careful measuring, cutting, and test-fitting to get the toilet to sit solidly without gaps or lifting.
For a flush fit, trace and trim precisely to the flange profile.
For an offset, leave a uniform gap, clean edges, and plan sealant or trim coverage.
Step 5 Test Fit and Fine-Tune Cuts (smoothing, trimming)
Set the cut piece in place and check every edge, seam, and flange notch for fit—don’t just eyeball it, press down around the toilet flange and sit the vinyl where it’ll rest to reveal any high spots, gaps, or catches.
Trim small areas with a sharp utility knife, sand or file rough edges, and re-test until perfect.
- Trim incremental passes
- Smooth with fine file
- Re-seat and inspect
Step 6 Install Underlayment or Backer Where Needed
Once your vinyl fits perfectly around the flange, you’ll check whether the subfloor needs an underlayment or backer to provide a stable, level base; uneven spots, soft areas, or seams under the cutout can cause the vinyl to flex or wear prematurely.
If needed, cut a thin plywood or cement backer to size, fasten securely, and sand or shim for a flat, smooth surface before relaying vinyl.
Step 7 Secure Vinyl and Seal Around Flange (caulk, wax ring options)
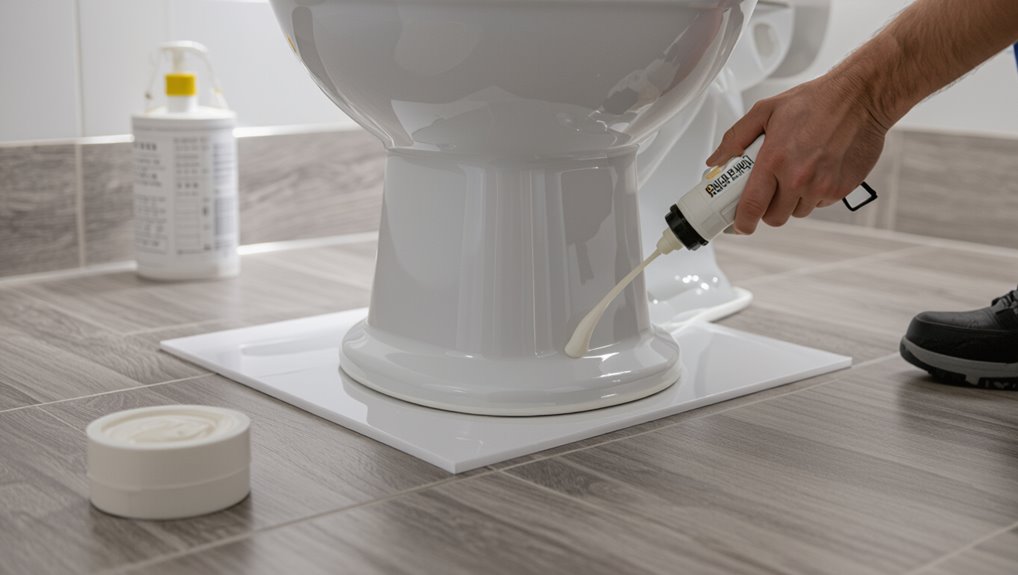
Finish securing the vinyl around the toilet flange so it lies flat and won’t shift.
Then choose a sealing method that matches your flange and toilet setup.
Press vinyl tight, trim excess, and fasten with adhesive or screws into flange slots only when appropriate.
Pick a seal:
- Silicone caulk for removable toilets
- Wax ring for traditional seals
- Wax-free gasket for easier future removal
Step 8 Reinstall Toilet and Final Checks
With the vinyl secured and the flange sealed, you’re ready to reinstall the toilet and confirm a proper fit.
Lower the bowl onto the wax ring, align bolts, tighten evenly, reconnect water, and test for leaks.
Check stability and flush performance; trim excess flooring if needed.
- Tighten bolts evenly
- Inspect for leaks
- Test flush and wobble
Alternative Methods and Tools Comparison
You’ll weigh different cutting tools by their speed, accuracy, and safety to pick what fits your skill level.
Decide whether a template or jig will give you cleaner cuts than freehand work and when the extra setup pays off.
If the cut looks too tricky or you’re short on time, don’t hesitate to hire a professional.
Cutting Tools Compared: Pros and Cons
When choosing how to cut vinyl around a toilet, weigh the trade-offs between accuracy, speed, and safety: a utility knife gives clean control but takes time, a jigsaw or oscillating tool speeds the job but risks chipping, and a rotary cutter or hole saw can make tight cuts quickly yet needs steady hands and proper bits.
| Tool | Feeling |
|---|---|
| Utility knife | Patient |
| Jigsaw | Bold |
| Oscillating tool | Efficient |
| Rotary cutter | Precise |
| Hole saw | Confident |
Templates and Jigs Versus Freehand Cutting
Although freehand cutting can work in a pinch, using templates or simple jigs makes getting a snug, repeatable fit around a toilet much easier and faster.
You’ll cut more accurately, reduce waste, and speed up installation. Templates are ideal for identical repeats; jigs give guided precision. Freehand suits minor adjustments.
- Faster, consistent cuts
- Less material waste
- Easier alignment and trimming
When to Hire a Professional
If the cutouts are complex, your floor’s layout is tricky, or you’re short on time, hire a professional to avoid costly mistakes and rework.
You’ll get precise cuts, proper sealing around the flange, and correct subfloor prep. Compare costs versus time and risk; pros often prevent leaks and uneven joints.
- Faster, precise results
- Proper sealing and warranty
- Reduced leak and rework risk
Common Mistakes and How to Avoid Them
You’ll avoid most problems by planning your cuts, measuring the drain offset accurately, and keeping edges protected during installation.
If you overcut or make cuts too tight, I’ll show simple fixes and how to prevent them next.
You’ll also get best practices for sealing to stop leaks and tips for repairing nicked vinyl edges.
Overcutting or Too-Tight Cuts Prevention and Fixes
When you’re cutting vinyl around a toilet, the most common mistakes are cutting too much or making holes that’re too tight to fit the flange and bolts; both lead to gaps, awkward trimming, or a toilet that won’t sit flush.
To prevent this, measure twice, mark generously, test-fit with the flange, score slowly, and trim incrementally. Use a template and keep backup scraps for adjustments.
Ignoring Drain Offset How to Measure Correctly
Because drains rarely sit perfectly centered, measuring for your toilet cutout by eye can leave you with a hole that’s off by inches, causing misalignment and leaks.
You should locate the flange center, measure from two fixed room references (wall studs or tub edge), record both dimensions, and transfer them to the vinyl.
Double-check before cutting so the hole aligns with the drain offset.
Poor Sealing Leading to Leaks Best Practices
Measuring the flange center accurately won’t help if you don’t seal the cutout correctly; a precise hole still leaks when gaps or weak seals let water through.
Use a quality waterproof caulk or ring gasket, apply even bead around the flange, and press vinyl snugly.
Check for voids, tighten bolts evenly, and wipe excess sealant.
Test with water before finishing the job.
Damaging Vinyl Edges During Installation Repair Tips
Avoid nicking or tearing the vinyl edge as you cut and fit around the toilet—those small mistakes are the ones that show up every time someone steps into the bathroom.
Use a sharp blade, steady pressure, and support beneath the cut. If edges fray, trim cleanly, apply thin seam adhesive, and press with a roller.
Patch with matching vinyl if needed.
Tips and Best Practices for a Professional Finish
To get a professional look, match patterns and grain direction so seams blend with the rest of the room.
Treat seams and edges carefully with proper adhesives, trims, and tight cuts, and follow simple maintenance tips to keep the area watertight and clean.
You can also use budget-friendly tricks—like using scrap pieces for tricky cuts and painter’s tape for straight lines—to get cleaner results without spending more.
Matching Patterns and Grain Direction
When you’re laying vinyl around a toilet, line up the plank or tile seams so the pattern flows naturally from the room into the cutout; doing this preserves the visual continuity and hides small inaccuracies.
Match grain direction to adjacent flooring, orient planks consistently, and stagger joints for realism.
Check patterns under natural light, trim carefully to maintain veining, and preview before final cuts.
Seam and Edge Treatment Techniques
1 smart seam or edge can make your vinyl install look like it was done by a pro, so focus on clean joins, consistent gaps, and secure edges from the start.
Trim precisely, use matching seam tape, and compress edges firmly. Seal around the flange neatly to prevent lifting.
- Use seam tape for invisible joins
- Maintain 1/8″ gap at walls
- Roll edges with pressure
Maintenance Tips After Installation
Although the initial install looks great, regular care keeps your vinyl around the toilet looking professional and prevents problems before they start.
Wipe spills quickly, check seals monthly, and avoid harsh cleaners to protect seams and adhesive. Small repairs stop bigger issues and preserve appearance.
- Wipe spills immediately with a damp cloth
- Inspect and reseal joints monthly
- Use mild, nonabrasive cleaners
Budget-Friendly Tricks for Cleaner Results
Keeping up with maintenance helps, but a few budget-friendly tricks will get you cleaner, more professional-looking results without spending much.
Use a utility knife with fresh blades for neat cuts, mask edges with painter’s tape while trimming, and dry-fit pieces before final adhesive.
Keep a straightedge and chalk line handy, clean seams promptly, and press joints with a rolling pin or seam roller for tight, invisible joins.
Estimated Time, Cost, and Difficulty
You’ll want a quick time breakdown by task—measuring and marking (15–30 minutes), cutting and fitting (30–60 minutes), and cleanup/adjustments (15–30 minutes).
Expect typical costs of $20–$100 for vinyl and underlayment, $10–$50 for basic tools or rentals, and $100–$300+ if you hire a pro.
The difficulty is moderate: if you’re comfortable with precise measurements and a utility knife, you can do it yourself; otherwise factor in the cost of professional help.
Time Breakdown by Task
When planning the project, break the job into clear tasks—measuring and marking, cutting and fitting, adhesive and rolling, and reinstalling the toilet—so you can estimate time, cost, and difficulty for each step. You’ll allocate time, buy needed supplies, and judge skill level realistically.
| Task | Time | Difficulty |
|---|---|---|
| Measure/Mark | 15–30 min | Easy |
| Cut/Fit | 30–60 min | Moderate |
| Adhesive/Roll | 20–40 min | Moderate |
Typical Cost Range (materials, tools, optional professional help)
Budgeting for this part of the job is straightforward: expect to spend roughly $30–$150 on materials and basic tools if you DIY, $150–$400 if you need specialty tools or underlayment, and $200–$600+ if you hire a pro.
You’ll also factor in difficulty: DIY is low-to-moderate skill; specialty tools raise complexity; pros add cost but save time and guarantee fit.
FAQ
You’re probably wondering whether you can cut vinyl with the toilet in place, how to make a perfect flange circle, which seal to use, and what to do if a cut goes wrong.
I’ll also cover whether cutting around the toilet affects your flooring warranty.
Read on for clear, practical answers to those common questions.
Can I cut vinyl flooring while the toilet is installed?
Can you cut vinyl flooring with the toilet still bolted down? Yes, but it’s harder and riskier.
You can trim around the base with a sharp utility knife or a rotary tool, working slowly to avoid gaps or jagged edges.
Remove the tank lid, protect fixtures, and keep cuts precise.
For best results, unbolt the toilet when feasible to guarantee clean, accurate seams.
How do I cut a perfect circle for the flange?
Wondering how to cut a perfect circle for the flange?
Mark the flange center on the vinyl, measure the flange diameter, and draw the circle with a compass or template.
Cut slowly with a sharp utility knife or jigsaw for accuracy, scoring multiple times rather than forcing a single pass.
Test-fit, trim small amounts as needed, then clean edges before reinstalling the toilet.
Should I use a wax ring or a rubber seal with vinyl?
Which seal should you pick: a traditional wax ring or a rubber (wax-free) seal?
You’ll usually prefer a wax-free rubber seal with vinyl because it tolerates slight height changes, won’t melt or deform against vinyl, and creates a reliable compression seal.
Use wax rings only if flange level and toilet fit are perfect; they’re messier and less forgiving with modern vinyl underlayment.
How do I repair a bad cut around the toilet?
If you opted for a rubber seal with vinyl and still ended up with an uneven or oversized hole, don’t panic — most bad cuts are fixable without ripping out the whole floor.
Trim ragged edges with a sharp utility knife, tuck a thin strip of matching vinyl or underlayment under the flange, and secure with adhesive.
For large gaps, use a color-matched caulk or vinyl patch.
Will cutting vinyl around the toilet void the flooring warranty?
Will cutting vinyl around the toilet void your flooring warranty?
It depends on the manufacturer and installer terms. Many warranties allow field cuts if you follow guidelines and use recommended tools and adhesives.
Check your warranty for exclusions related to improper installation, moisture, or damage during cutting.
When in doubt, contact the manufacturer or a certified installer to confirm and document compliance.