How to Lay Sheet Vinyl Flooring on Concrete Like a Professional
You can lay sheet vinyl on concrete like a pro by thoroughly testing and prepping the slab, fixing cracks, and ensuring it’s flat, clean, and dry. Acclimate the sheets, plan seams to minimize joins, and cut precisely. Use the correct moisture-tolerant adhesive, roll the floor with a heavy roller, and allow proper cure time before traffic. Follow maintenance tips to prevent issues, and keep going for step-by-step guidance and pro tricks to finish neatly.
Can You Lay Sheet Vinyl on Concrete and How Long It Takes
You can lay sheet vinyl directly over clean, dry concrete by patching cracks, smoothing imperfections, and using a recommended adhesive; a small room usually takes a day or two including prep, while larger or moisture-troubled slabs can add extra time.
If the concrete has significant moisture, unevenness, or requires leveling, call a pro to test, repair, or install an underlayment.
For straightforward, low-moisture floors you can DIY, but get professional help when structural or moisture issues exceed basic repairs.
Short, direct summary of the process and typical time estimate
Lay sheet vinyl directly over a clean, dry concrete slab if the surface is smooth, level, and free of moisture issues—otherwise you’ll need to patch, grind high spots, or install an underlayment first.
You measure, cut, acclimate, adhesive-roll or loose-lay, seam-weld or seam-tape, and trim.
For a typical room expect 3–8 hours for prep and installation; larger jobs take longer.
When to call a pro vs. DIY
Anyone comfortable with straightforward measuring, cutting, and working on concrete can usually install sheet vinyl themselves, but call a pro if the slab has moisture, major unevenness, or complicated layouts.
If you lack tools, time, or patience for surface prep, seam matching, or adhesive work, hire help.
Pros guarantee proper moisture testing, leveling, and long-lasting seams; DIY saves money on simple, dry, flat jobs.
Understanding Sheet Vinyl and Concrete Subfloors
Sheet vinyl is a continuous roll of resilient flooring that comes in various types and common thicknesses, so you’ll choose based on durability and comfort.
Concrete can be an excellent substrate for sheet vinyl because it’s stable, but it can also cause problems if it’s wet, alkaline, or subject to temperature swings.
Before you lay vinyl, you’ll need to test and address concrete moisture, pH, and surface temperature to guarantee a long-lasting installation.
What is sheet vinyl? Types and common thicknesses
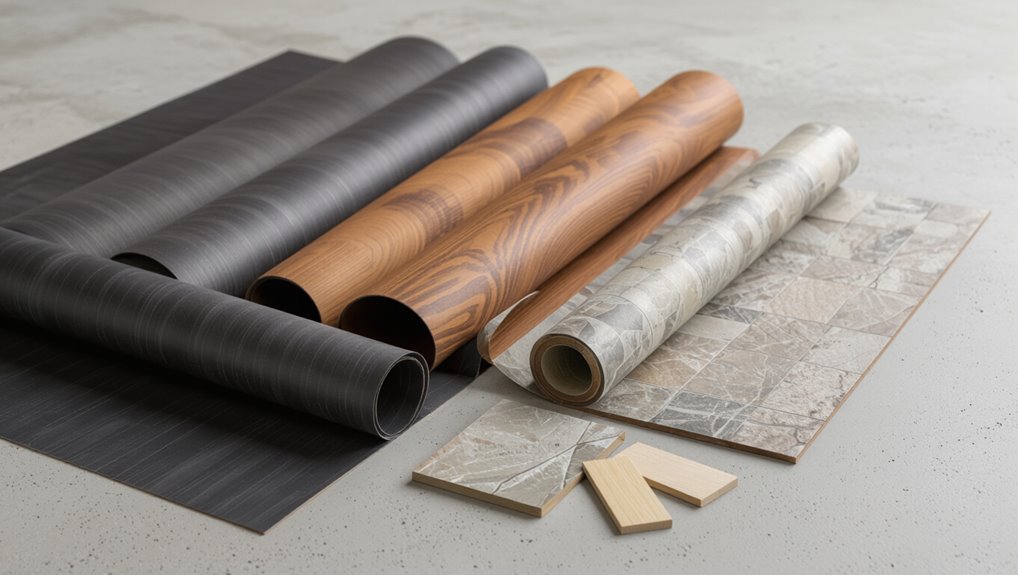
Because it’s manufactured as wide, continuous rolls rather than individual planks or tiles, sheet vinyl lets you cover large areas with fewer seams. This helps keep moisture out and makes cleaning easier.
You’ll find homogeneous, heterogeneous, cushioned, and luxury vinyl sheet types. Thicknesses commonly range from 1.5mm to 4mm; commercial grades go thicker.
Choose based on traffic, underlayment needs, and desired cushion.
Why concrete is a good or challenging substrate
While concrete gives you a stable, durable base that resists rot and pests, it can also present moisture, level, and surface-smoothness challenges that affect how well sheet vinyl performs.
You’ll appreciate its strength and longevity, but you must assess flatness, surface damage, and contamination.
Proper preparation—repairing cracks, grinding high spots, and cleaning—lets sheet vinyl adhere and look professional.
Moisture, alkalinity, and temperature considerations for concrete
If your concrete holds moisture, it can ruin adhesive bonds and warp vinyl, so you’ll need to test and control dampness before installation.
Check moisture with a calcium chloride or relative humidity test, measure pH for alkalinity, and guarantee stable room and slab temperatures per adhesive specs.
Remedy issues with vapor barriers, moisture mitigation coatings, neutralizers, and acclimation before laying the vinyl.
Tools, Materials, and Safety Gear You’ll Need
Before you start laying vinyl, you’ll want a clear list of essential tools like a utility knife, straightedge, trowel, and roller.
You’ll also need to choose the right adhesive or seam treatment and decide whether an underlayment is required for your subfloor.
Finally, make sure you have proper safety gear—gloves, eye protection, knee pads—and prepare the site for a clean, well-ventilated workspace.
Essential tools list
You’ll need a compact set of tools, materials, and safety gear to lay vinyl flooring efficiently and avoid costly mistakes.
Gather measuring, cutting, and surface-prep items, plus protective equipment.
- Tape measure, straightedge, utility knife
- Heavy-duty roller, knee pads, pry bar
- Trowel alternatives, smoothing tool, respirator/goggles for dust control
Adhesives, underlayments, and seam options
When choosing adhesives, underlayments, and seam methods, consider the vinyl type, subfloor condition, and room use so you pick products that bond properly and last.
Select pressure-sensitive or full-spread adhesive, vapor-barrier underlayments for moisture, and heat-weld or adhesive-backed seams.
Follow manufacturer specs, test adhesion, and plan seam placement to minimize stress.
- Adhesive choice
- Underlayment type
- Seam method
Safety equipment and site preparations
Although vinyl installation isn’t overly complex, getting the right tools, materials, and safety gear lined up will save you time and prevent accidents.
Gather knee pads, safety glasses, dust mask, gloves, and ear protection. Bring a utility knife with extra blades, straightedge, notched trowel, seam roller, tape measure, chalk line, and a pry bar.
Clear, clean, and ventilate the workspace first.
Inspecting and Preparing the Concrete Subfloor
Before you lay vinyl, you’ll inspect the concrete for moisture, flatness, cracks, and surface defects so the floor will bond and last.
Test moisture with a calcium chloride or relative humidity (RH) test, check for uneven spots and cracks, and decide whether repairs, grinding, shot‑blasting, or a skim coat are needed.
I’ll cover products and methods for fixing cracks, spalling, and other defects so you can choose the right preparation.
How to test for moisture (calcium chloride & RH test)
Because excess moisture can ruin vinyl flooring, you need to test the concrete subfloor before you install anything.
Use two reliable methods: calcium chloride for surface emission and in-situ relative humidity (RH) probes for internal moisture.
Follow manufacturer instructions, seal edges during tests, and compare results to vinyl limits. If results exceed limits, remediate or delay installation.
- Calcium chloride
- RH probe
- Compare limits
Checking flatness, cracks, and levelness
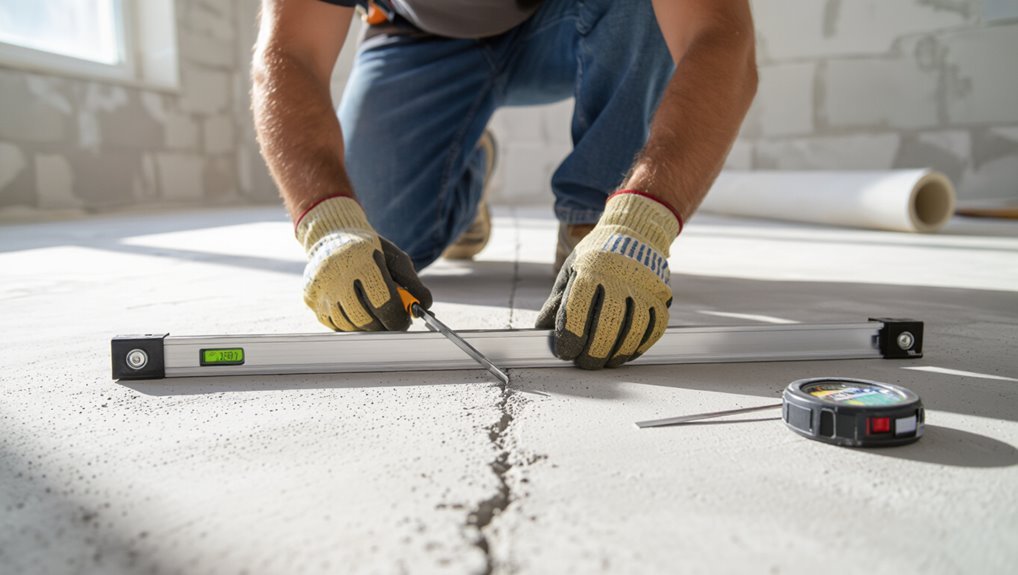
After you’ve verified moisture levels, inspect the concrete for flatness, cracks, and levelness—these defects will affect how vinyl lays and how seams and changes perform.
Walk the floor with a straightedge and 1/8″ or 3/16″ gauge to spot high or low areas. Mark any irregularities, note slope toward drains, and check for hairline versus structural cracks so you can plan appropriate repairs.
Repairing cracks, spalling, and surface defects (products & methods)
Fix cracks, spalling, and surface defects so your vinyl has a smooth, stable base to bond to and won’t telegraph imperfections later.
Clean debris, etch or prime per manufacturer. Fill hairline cracks with flexible epoxy or polyurethane; use cementitious patch for wider gaps and spalls.
Trowel and feather edges, cure fully, then sand high spots. Always follow product instructions and moisture guidelines.
Grinding, shot-blasting, or skim-coating: when to use each
When the concrete surface is rough, contaminated, or uneven enough to threaten adhesion or telegraphing, you’ll choose between grinding, shot-blasting, or skim-coating based on the severity and type of defect, the thickness you can add, and the floor’s moisture and traffic conditions.
Grind for localized high spots and coatings removal; shot-blast for large-area profile and contamination; skim-coat to fill voids or smooth for thin vinyl.
Acclimating and Measuring Sheet Vinyl
Before you roll out sheet vinyl, let it acclimate in the room for 48–72 hours at normal temperature and humidity so it settles to the same conditions as your subfloor.
Measure the space carefully, plan seam locations, patterns, and focal points to minimize visible joins, and mark your layout before cutting.
Finally, calculate total material by adding a sensible waste allowance (usually 5–10%) for seams, matching patterns, and mistakes.
How to acclimate vinyl sheets (time and conditions)
Although vinyl feels sturdy, you should let sheets acclimate in the room where they’ll be installed so temperature and humidity equalize; unroll sheets flat, keep them off direct sunlight and heating vents, and maintain room temperature between 65–85°F (18–29°C) with relative humidity 35–65%.
Let them sit 24–72 hours—manufacturer guidance takes precedence—to minimize expansion, contraction, and installation problems.
Accurate measuring and layout planning (patterns, seams, focal points)
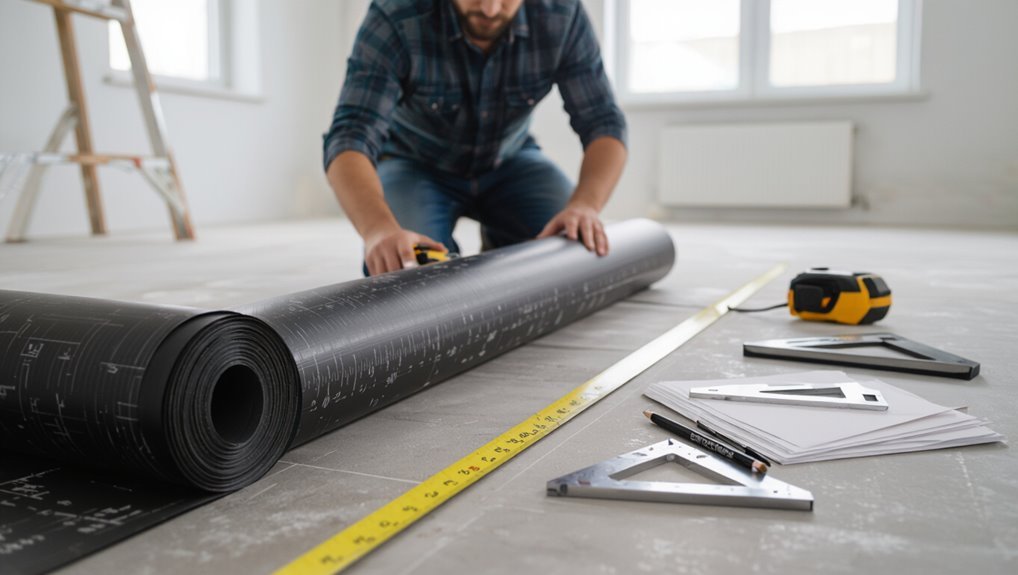
Once the sheets have equalized to room conditions, measure the space and plan your layout so seams, patterns, and focal points fall where you want them.
Mark centerlines, doorways, and high-traffic zones. Align patterns for visual flow, stagger seams away from entrances, and position seams in low-visibility areas.
Double-check measurements, mock up sheet placements, and adjust before cutting or adhering.
Calculating material needs and waste allowance
Start by measuring your room’s length and width, then calculate the total square footage you’ll need for the sheet vinyl plus an allowance for waste; aim for 5–10% extra in simple layouts and 10–20% for patterned or irregular rooms. Add seams, focal areas, and matching repeat when estimating. Check roll width and buy full rolls to avoid shortages.
| Item | Factor | Note |
|---|---|---|
| Room sqft | Measure | Base need |
| Waste % | 5–20% | Depends on layout |
| Roll width | Match | Affects seams |
| Extra | 1–2 rolls | For repairs |
Step-by-Step Installation Process
Now you’ll walk through the installation steps in order, starting with dry-fitting and aligning the sheets to guarantee a proper layout.
You’ll learn cutting techniques for clean seams and around fixtures, how to choose and apply the right adhesive with proper open time and spread rate, and how to roll and seat the vinyl to remove bubbles.
Finally, you’ll compare seaming methods—heat-welding versus seam adhesive and filler—so you can pick the best finish for your job.
Step 1 Dry fitting and aligning the sheet(s)
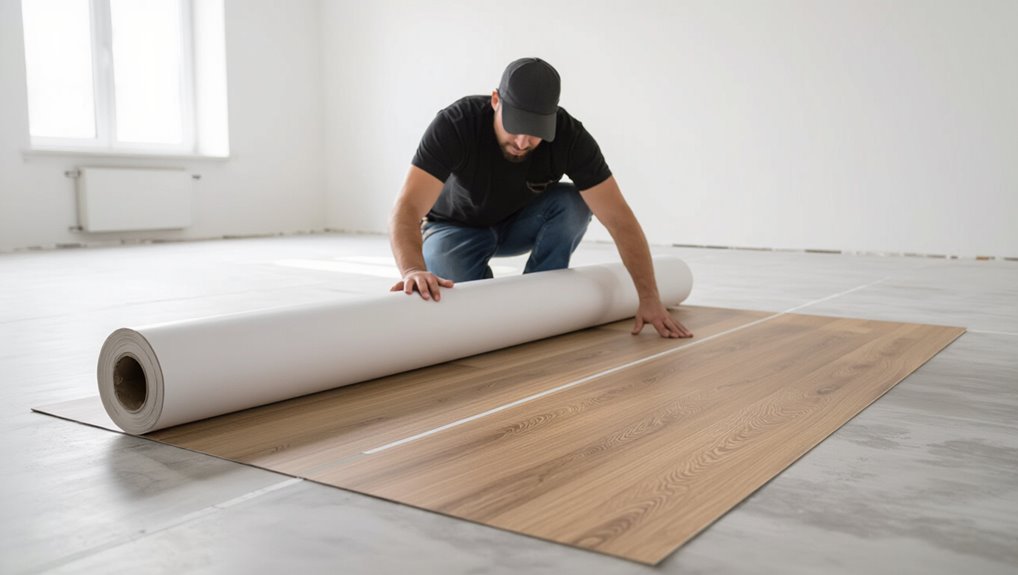
1. You’ll dry fit the vinyl to check layout, seam placement, and grain direction. Unroll sheets, let them relax, and position overlaps so seams fall in low-traffic areas.
Align patterns with room lines and trim excess later. Walk the sheet edge to edge, smoothing bubbles and confirming fit around thresholds.
Mark seam locations lightly for final installation.
Step 2 Cutting techniques for clean seams and around fixtures
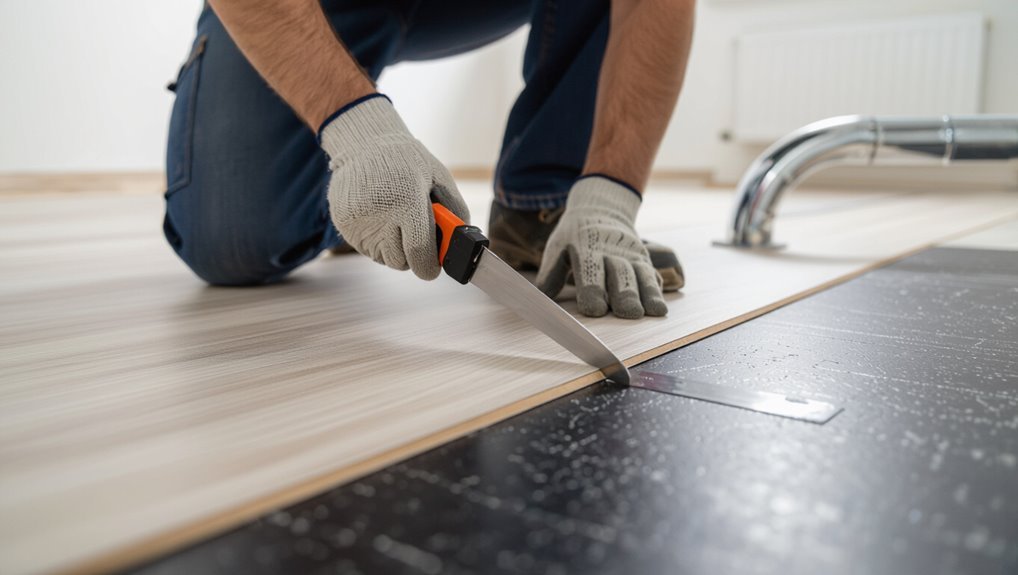
With your sheets dry-fitted and seams marked, cut carefully to create tight, invisible joints and neat openings around fixtures.
Use a sharp utility knife with a straightedge for long cuts, and snips or a compass cutter for curves. Score shallowly, then finish with full passes.
Trim slightly undersized for expansion, test-fit, and adjust small amounts until seams close flush.
Step 3 Applying adhesive: types, open time, and spread rate
Before you spread any adhesive, pick the right type for your vinyl and subfloor—pressure-sensitive for sheet goods that need repositioning, wet-set for permanent bonds, or double-stick tape for perimeter installations—and follow the manufacturer’s open time and spread-rate specs exactly so the floor bonds correctly.
- Measure and mix per label.
- Use correct trowel notch.
- Work within open time, avoiding contamination.
Step 4 Rolling and seating the vinyl to eliminate bubbles
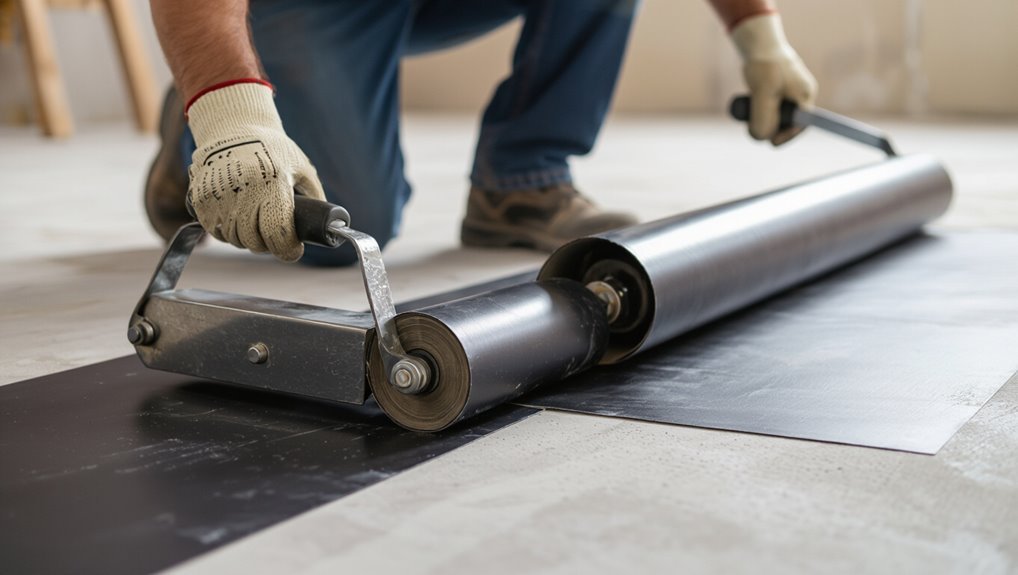
Start rolling the vinyl immediately after laying it to seat the material into the adhesive and drive out air pockets; use a 100–150 lb (45–68 kg) floor roller.
Work in overlapping passes from the center toward the edges, and change direction (lengthwise, then crosswise) to guarantee full contact and a smooth surface.
After rolling, tap seams and edges with a hard roller or hand roller, trim any excess, and recheck for trapped bubbles.
Step 5 Seaming methods: heat-welding vs. seam adhesive and filler
Once your vinyl is rolled and seated, you’ll decide how to finish the seams—either heat-welding for a durable, nearly invisible join or using seam adhesive and filler for a simpler, lower-cost option; each method needs the right tools and technique to prevent water infiltration and visible gaps. Choose heat-welding for longevity; use adhesive/filler for quick repairs.
| Method | Tools | Result |
|---|---|---|
| Heat-weld | Hot air gun, rod | Seamless |
| Adhesive | Glue, filler | Visible joint |
| Prep | Clean, tape | Better bond |
Step 6 Trimming, finishing edges, and fitting to walls and transitions
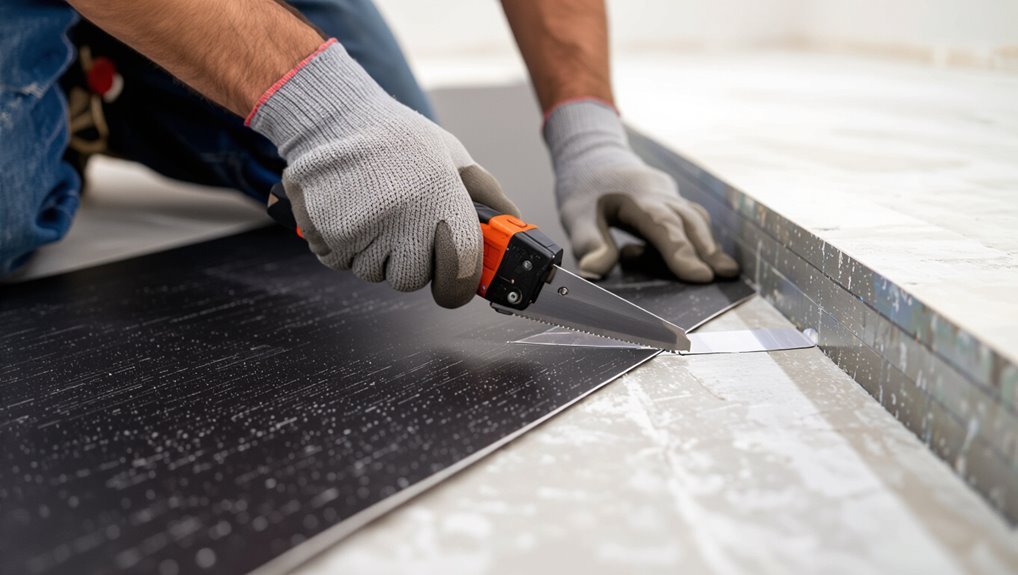
Trim the excess vinyl to fit walls and thresholds, then finish edges so the floor looks clean and resists moisture.
Use a sharp utility knife and straightedge to cut flush, leaving a small expansion gap. Tuck edges into the gap or under quarter round with a tucking tool or putty knife.
Seal exposed seams with caulk where needed and press edges firmly for a neat fit.
Step 7 Installing transitions, thresholds, and trims
1 finished edge makes the room look intentional and keeps moisture out, so now you’ll fit connections, thresholds, and trims to bridge height differences and seal exposed edges.
Measure openings, cut profiles to size, and dry-fit components. Secure metal or vinyl junction strips with adhesive or screws, recess thresholds where needed, and caulk seams.
Check alignment, trim excess, and guarantee smooth, safe transitions.
Post-Installation Care and Curing
Give the adhesive the full cure time recommended by the manufacturer and avoid heavy foot traffic or placing furniture on the floor until it’s set.
Wipe up spills promptly, use nonabrasive cleaners, and follow a gentle maintenance schedule for new sheet vinyl.
For long-term protection, use proper underlays, avoid sharp or heavy impacts, and check seams periodically to prevent delamination.
Adhesive cure time and initial walking/weight restrictions
Because the adhesive needs time to reach full strength, you should limit foot traffic and heavy loads for the period specified by the manufacturer.
Follow these practical restrictions and checks:
- Wait initial walking time (usually 24–48 hours) before light use.
- Keep heavy furniture off for the full cure window (often 72 hours to 7 days).
- Use plywood sheets to distribute weight if you must move items.
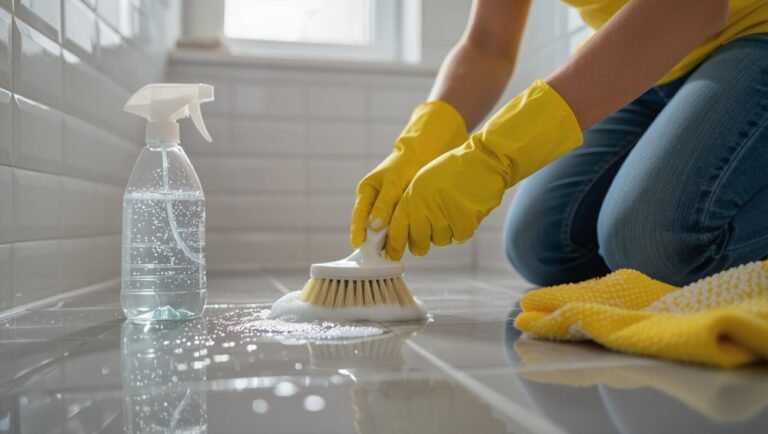
Cleaning and maintenance tips for new sheet vinyl
Start with gentle care: for the first week after installation, avoid wet-mopping and limit cleaning to dry methods like sweeping or vacuuming with a soft-brush attachment, and blot spills promptly with a soft cloth.
After curing, mop with a damp microfiber mop using a manufacturer-approved, pH-neutral cleaner.
Use felt pads on furniture, avoid harsh chemicals, and dry spills quickly to protect seams and finish.
Long-term care to prevent delamination and damage
While the adhesive and seams finish curing over the first few weeks, you should treat the floor gently and follow a few ongoing habits to prevent delamination and wear:
- avoid heavy traffic and rolling loads,
- use felt pads under furniture,
- clean spills promptly with pH-neutral cleaner,
- maintain stable indoor humidity and temperature,
- inspect seams yearly, and
- reseal or re-glue edges at the first sign of lifting.
Common Problems and How to Fix Them
You’ll run into a few predictable issues—bubbles, wrinkles, and telegraphing—so learn what causes each and how to fix them.
Check for moisture and use the right underlayment and adhesives to prevent failures.
If seams open or discolor, inspect adhesion, clean and re-seal or replace affected strips promptly.
Bubbles, wrinkling, and telegraphing causes and remedies
When vinyl develops bubbles, wrinkles, or telegraphs, it usually signals an installation or substrate issue that you can fix before things get worse; identifying whether the problem stems from trapped air, moisture, inadequate adhesion, or an uneven subfloor is the first step toward a reliable repair.
Remove flooring, flatten subfloor, replace damaged underlayment, roll out adhesive evenly, use a seam roller, and reapply heat if manufacturer’s instructions allow.
Moisture-related failures and mitigation options
If moisture’s present in the slab or subfloor, vinyl can lift, warp, discolor, or suffer adhesive failure—and you’ll want to diagnose and stop the source before reinstalling flooring.
Test with a moisture meter and perform a calcium chloride or relative humidity test.
Fix leaks, improve drainage, install a vapor barrier or moisture-mitigation primer, and allow concrete to fully dry before adhesive application.
Seams opening or discoloring troubleshooting steps
1 common issue with vinyl floors is seams that open or show discoloration—but these problems usually point to a few predictable causes like inadequate adhesive, temperature swings, moisture intrusion, or dirt and wear at the joints.
Inspect seams, clean with manufacturer-approved cleaner, dry thoroughly, then reapply seam sealer or adhesive.
Address moisture and stabilize temperature; replace badly damaged sections.
Best Practices and Pro Tips from Professionals
Use a simple checklist to get crisp seams, straight rows, and a professional-looking finish every time.
I’ll share time-saving techniques, common mistakes to avoid, and quick tricks that cut install time without risking quality.
You’ll also learn when to upgrade adhesives or underlayments for high-traffic areas so your floor lasts.
Checklist for a professional-looking finish
A short, practical checklist will help you finish your vinyl flooring like a pro:
- Confirm substrate is flat, clean, dry and level; fix imperfections.
- Align seams and patterns before cutting; use a sharp blade and straightedge.
- Apply adhesive evenly, roll seams, trim edges, and allow proper cure time.
Follow these steps, check measurements twice, and keep tools handy for a crisp, lasting result.
Time-saving techniques and mistakes to avoid
When you plan and prep smartly, vinyl installation goes faster and cleaner. Measure twice, cut once, and pre-fit seams to avoid rework.
Use a heavy-duty roller and straightedge for tight seams. Keep adhesive open-time in mind, but don’t overapply.
Work in manageable sections, maintain a clean workspace, and avoid rushing—mistakes cost time and look unprofessional.
When to upgrade adhesives or underlayments for high-traffic areas
Smart planning and careful prep cut down rework, but high-traffic zones still demand stronger solutions.
You should upgrade adhesives to heavy-duty, moisture-resistant formulations where rolling loads or constant foot traffic occur.
Consider dense, cushioned underlayments or reinforced tapes in commercial zones or entryways.
Test adhesion on concrete, follow manufacturer weight ratings, and prioritize longevity over initial savings to avoid premature failure.
Comparison: DIY vs. Hiring a Professional
You can save money by doing vinyl flooring yourself, but expect to spend more time and risk uneven results if you’re inexperienced.
Hiring a pro costs more upfront but usually gets the job done faster and with higher-quality finishes.
If your subfloor is damaged, the layout is complex, or you don’t have the tools or time, it’s a clear sign to outsource.
Cost, time, and quality trade-offs
Budget often drives the decision between DIY and hiring a pro, but time and finish quality matter just as much; doing it yourself saves labor costs yet usually takes longer and risks imperfect seams or misaligned planks, while a professional charges more up front but finishes faster and delivers a more consistent, durable result.
| Factor | Trade-off |
|---|---|
| Cost | DIY cheaper |
| Time/Quality | Pro faster, cleaner |
Signs your job should be outsourced
If cost, time, and finish quality are already shaping your choice, next look for concrete signs that this project should go to a pro.
Hire someone when the slab’s uneven, moisture’s unknown, complex layouts or shifts exist, or you lack specialized tools and experience.
Also outsource if tight deadlines, resale value concerns, or warranty protection matter—pros mitigate risk and guarantee a lasting, smooth result.
FAQ
Got questions about sheet vinyl over concrete, moisture checks, adhesives for big slabs, basement installs, or when to move furniture back in?
You’ll find clear answers on testing concrete moisture, choosing the right adhesive, installing below grade, and recommended cure times.
Read on and you’ll know what to check and when it’s safe to replace your furniture.
Can I lay sheet vinyl directly over existing flooring on concrete?
Wondering whether you can lay sheet vinyl directly over existing flooring on concrete? Yes, sometimes.
If the existing floor is stable, smooth, level, and securely bonded (no loose tiles, cushioning, or wax), you can install sheet vinyl over it.
Remove trim, repair seams or gouges, and use an appropriate underlayment or primer per manufacturer instructions to guarantee adhesion and a flat, durable finish.
How do I know if my concrete is too wet for installation?
How can you tell whether concrete is too wet for vinyl? Use a reliable moisture test: a calcium chloride test or an electronic moisture meter designed for concrete.
Follow manufacturer moisture limits for your vinyl and adhesive.
Also look for dark patches, efflorescence, or a musty smell.
If readings exceed limits, dry the slab with time, heat, or a vapor barrier before installing.
What adhesive should I use for large concrete slabs?
For large concrete slabs you’ll want a high-performance, moisture-tolerant adhesive that stays flexible and bonds well to both concrete and your vinyl product; pressure-sensitive acrylic or epoxy-based adhesives are common choices depending on slab conditions and manufacturer recommendations.
Check the vinyl maker’s adhesive list, verify moisture limits, use the recommended trowel notch, and allow proper cure times to prevent failure or telegraphing.
Can sheet vinyl be installed in basements or below-grade spaces?
If your basement slab meets the moisture and flatness requirements you checked when choosing adhesives, sheet vinyl can work well in below-grade spaces.
You should test for moisture, use a vapor-compatible adhesive or isolation membrane, and seal cracks.
Maintain good drainage and humidity control.
Professional installation guarantees seams and edges resist water intrusion and the floor performs reliably over time.
How long before I can replace furniture on the new floor?
When can you move furniture back onto the new vinyl? Wait until adhesive and seams cure to avoid shifting or trapped moisture. Generally:
- Light furniture after 24–48 hours.
- Medium pieces after 72 hours.
- Heavy furniture and appliances after 7 days.
Always follow adhesive manufacturer guidelines and use protective pads to prevent indentations or scratches once items are returned.