How to Install Laminate Flooring: The Complete Step-by-Step Guide
You can install laminate flooring yourself with basic tools, patience, and careful planning. Measure the room, buy 5–10% extra planks, and let boards acclimate 48 hours. Prep and level the subfloor, lay recommended underlayment, and maintain expansion gaps. Stagger seams, cut precisely for edges and obstacles, and use a tapping block and pull bar for tight locks. Finish with trim and care for seasonal humidity. Keep going to get full step-by-step tips and troubleshooting.
Can You Install Laminate Flooring Yourself?
You can often install laminate yourself if you’re comfortable with basic tools and patience.
Expect a weekend or two for a typical room, lower cost than hiring pros, and a modest learning curve.
If the space has tricky cuts, uneven subfloor, or complex changes, plan extra time or professional help.
Short summary of feasibility, time, cost, and skill level
Although it takes some planning and patience, installing laminate flooring is a realistic DIY for most homeowners and can save money compared with professional installation.
You’ll learn how to set laminate flooring, measure and prepare subfloor, and handle cuts.
Expect a weekend for a medium room, modest tool and material costs, and basic carpentry skills—no pro training required but attention to detail matters.
What Is Laminate Flooring and Why Choose It?
Laminate flooring is a multi-layered product with a wear layer, printed design layer that mimics wood or tile, a core, and a backing. You’ll find versions focused on durability, water resistance, or budget.
Compared with hardwood, vinyl, and tile, it’s generally more affordable and easier to install while offering good scratch resistance, though it can vary on moisture performance.
You’ll commonly use it in living areas, bedrooms, and kitchens (with water-resistant options for bathrooms and basements).
What laminate flooring is construction and common types
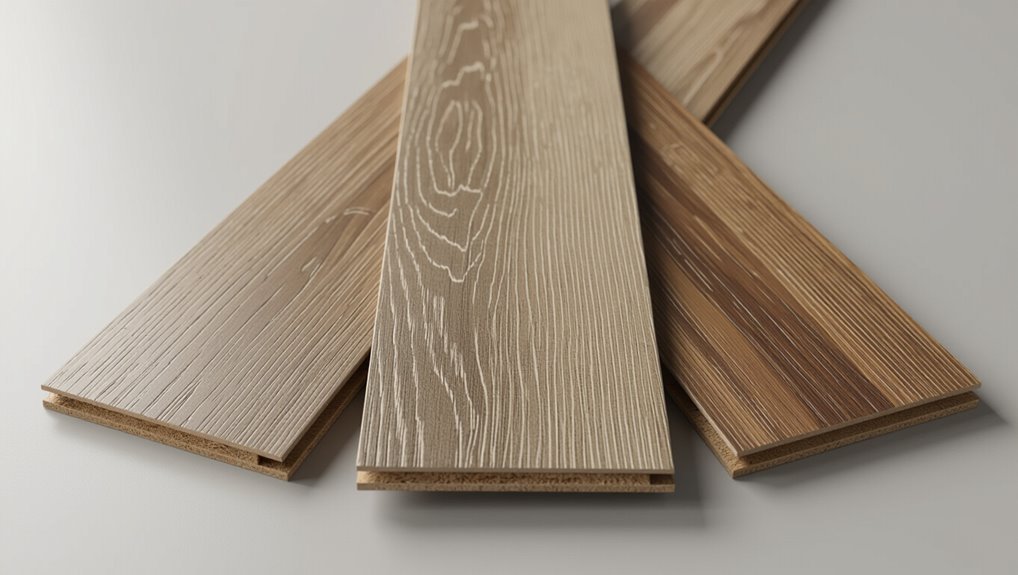
Think of laminate flooring as a smart, layered floor system that mimics wood or tile without the cost and upkeep. It’s built from a high-density fiberboard core, a printed decorative layer, a transparent wear layer, and often a stabilizing backing.
Those components determine durability, look, and installation method. You’ll find residential, commercial, water-resistant, and glued or click-lock panels, each suited to different traffic and moisture conditions.
Benefits vs. alternatives (hardwood, vinyl, tile)
Now that you know how laminate is built and the types available, you can weigh how it stacks up against hardwood, vinyl, and tile for your space. Laminate is lower cost, scratch-resistant, and DIY-friendly, though less repairable than hardwood and less waterproof than vinyl. Tile beats it for durability but costs more and needs cementing.
| Advantage | Note |
|---|---|
| Cost | Lower than hardwood/tile |
| Durability | Good, but varies |
| Maintenance | Easy |
| Installation | DIY-friendly |
| Water resistance | Less than vinyl |
Typical uses and suitable rooms
Durable, attractive, and easy to install, laminate works well in living areas, bedrooms, home offices, and low-moisture kitchens where you want a wood look without the cost.
You’ll also use it in hallways, basements with proper underlayment, and rental units.
Avoid high-humidity bathrooms and mudrooms unless you choose water-resistant or waterproof options designed for those conditions.
Tools, Materials, and Preparations
Before you start, gather a checklist of required tools and materials—saw, tapping block, underlayment, spacers, and any connector pieces.
Consider optional helpers like a pull bar, jigsaw, or spacers for tricky cuts, and make certain the boards acclimate in the room for at least 48 hours.
Measure the space carefully and plan your layout to minimize waste and guarantee a clean first row.
Required tools checklist
To get your laminate floor installed cleanly and efficiently, gather the right tools and materials so you won’t be stopping mid-job to hunt for supplies.
You’ll need basic carpentry and installation tools to measure, cut, secure, and finish the planks safely.
- Tape measure, pencil, square
- Saw (miter, circular, or jigsaw)
- Rubber mallet, pull bar, tapping block
Materials checklist (underlayment, spacers, transition pieces)
Now that you’ve gathered the right tools, assemble the materials that let the floor perform and finish properly: underlayment to cushion and dampen sound, spacers to keep consistent expansion gaps at walls, and connector pieces to join rooms and cover thresholds.
- Underlayment: choose moisture barrier or acoustic type for subfloor.
- Spacers: multiple sizes for uniform gaps.
- Junction pieces: T-mouldings, reducers, and end caps for clean joins.
Optional helpful tools and accessories
A few extra tools and accessories can speed the job, improve results, and make tricky cuts or changes much easier, so consider adding them to your kit: pull bar, tapping block, rubber mallet, laminate cutter or jigsaw, knee pads, pry bar, utility knife, measuring tape, combination square, chalk line, dust mask, and adhesive for thresholds.
These help accuracy, protect boards, and ease installation.
Site preparation acclimation, room measurements, and layout planning
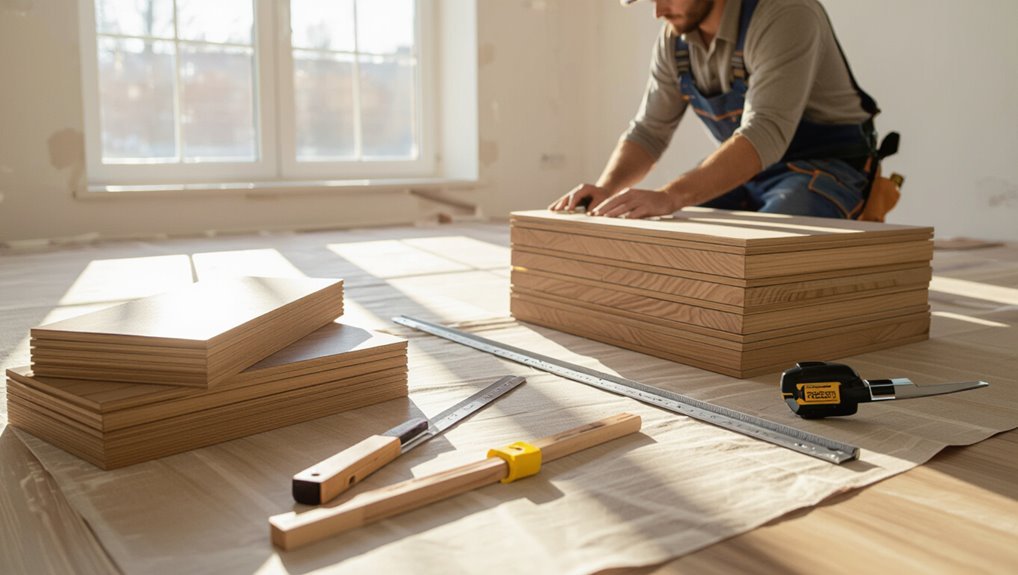
Preparation matters: you’ll acclimate the boards, measure the room precisely, and plan the layout before any cutting or fastening begins.
Open boxes 48–72 hours in the installation area, maintain temperature and humidity. Remove baseboards, underlayment debris, and fix subfloor irregularities.
Measure length and width, mark reference lines, stagger end joints at least 12 inches, and calculate starter row to avoid narrow final planks.
Quick Planning and Cost Estimate
Start by measuring the room’s length and width to get the area, then add about 8–10% for waste to know how many planks to buy.
Factor in underlayment, junctions, trim, and labor when setting your budget—expect basic laminate to run low, mid-range higher, and pros to add labor costs.
Finally, plan your timeline: DIY installations often take a weekend or two, while professional jobs are faster but depend on room size and prep work.
How to measure room area and calculate needed planks + waste
Measure the room’s length and width in feet (or meters) and multiply them to get the square footage so you know how much laminate you’ll need.
Then add 5–10% for waste; round up to whole cartons.
Use plank coverage on the box to convert square footage to cartons.
- Calculate area.
- Add waste percentage.
- Convert to cartons and round up.
Budget factors and typical price ranges
Now that you’ve figured out how many planks and cartons you’ll need, it’s time to plan your budget so costs don’t catch you off guard.
Factor in material grade (basic to premium), underlayment, trim, adhesives, and delivery.
Include tools you’ll buy or rent, disposal fees, and contingency (10–15%).
Typical costs range $1–$6 per sq ft for materials; add labor if hiring pros.
Timeline estimate for DIY vs. pro installation
A simple timeline helps you decide whether to tackle laminate installation yourself or hire pros:
For a typical 300–500 sq ft room, expect 1–3 days DIY (prep, underlayment, installation, trims), longer if inexperienced.
A pro crew usually finishes in 4–8 hours.
Factor drying times, furniture moves, and unexpected repairs.
Choose DIY to save labor; hire pros for speed and guaranteed finish.
Step-by-Step Installation Guide
Now you’ll follow a clear, numbered process to install your laminate.
Start by preparing the subfloor and laying the underlayment with a moisture barrier.
Then plan your layout and dry-fit the first row.
From there you’ll cut planks safely, stagger and lock rows, and use tapping techniques to secure seams.
Step 1 Prepare the subfloor (cleaning, leveling, moisture check)
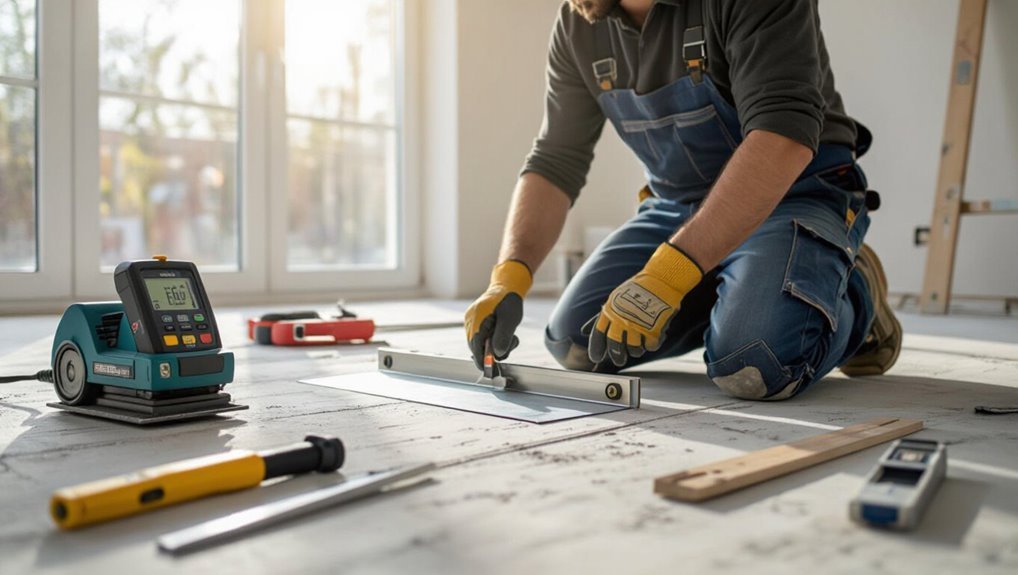
Start by thoroughly preparing the subfloor so your laminate lays flat and lasts—clean, level, and check for moisture before you begin.
Remove debris, vacuum, and scrape adhesive or paint.
Repair low spots with floor-leveling compound and sand high spots.
Measure moisture with a meter; for concrete, verify readings meet manufacturer specs.
Fix leaks and allow drying before proceeding.
Step 2 Install underlayment and moisture barrier
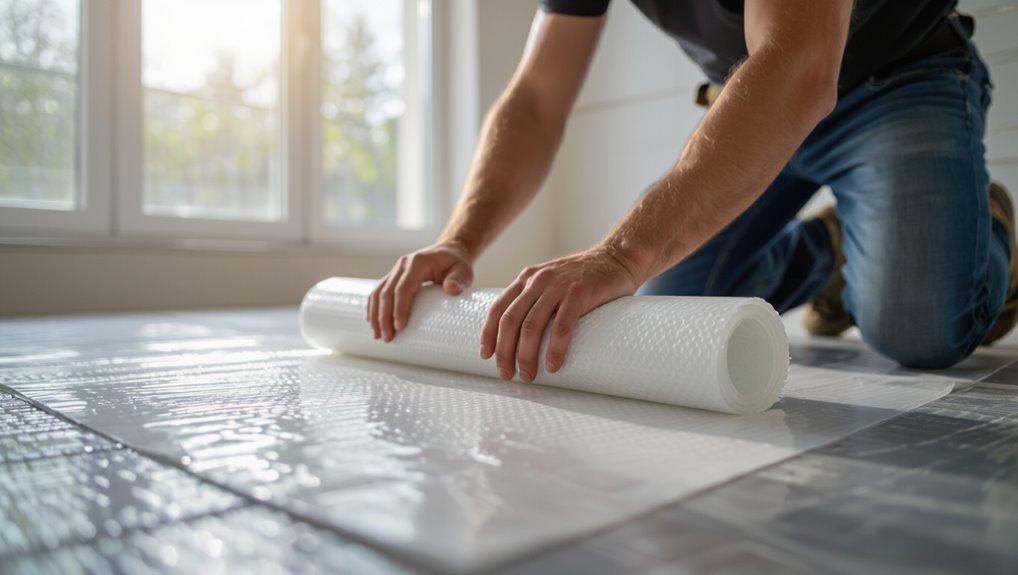
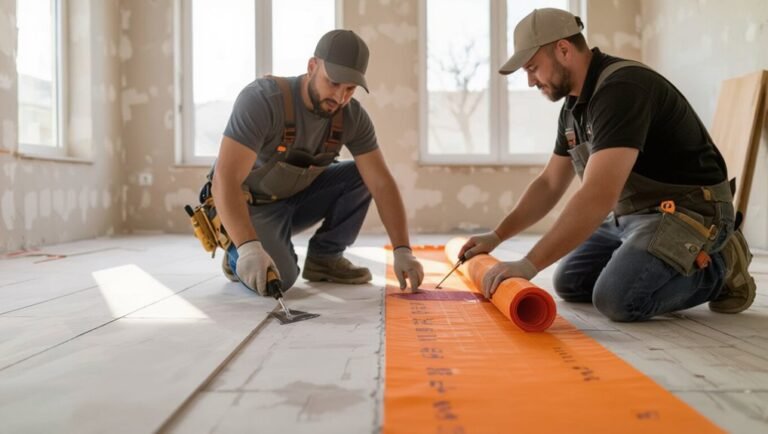
Roll out the underlayment and moisture barrier carefully, aligning seams and trimming as needed so the layers lie flat against the subfloor.
Overlap or tape seams per manufacturer instructions, and cover entire floor area.
Cut around vents and doorframes for a snug fit.
Keep underlayment seams perpendicular to plank direction when recommended, and maintain recommended expansion gap at walls before proceeding.
Step 3 Decide layout and starting wall; dry-lay first row
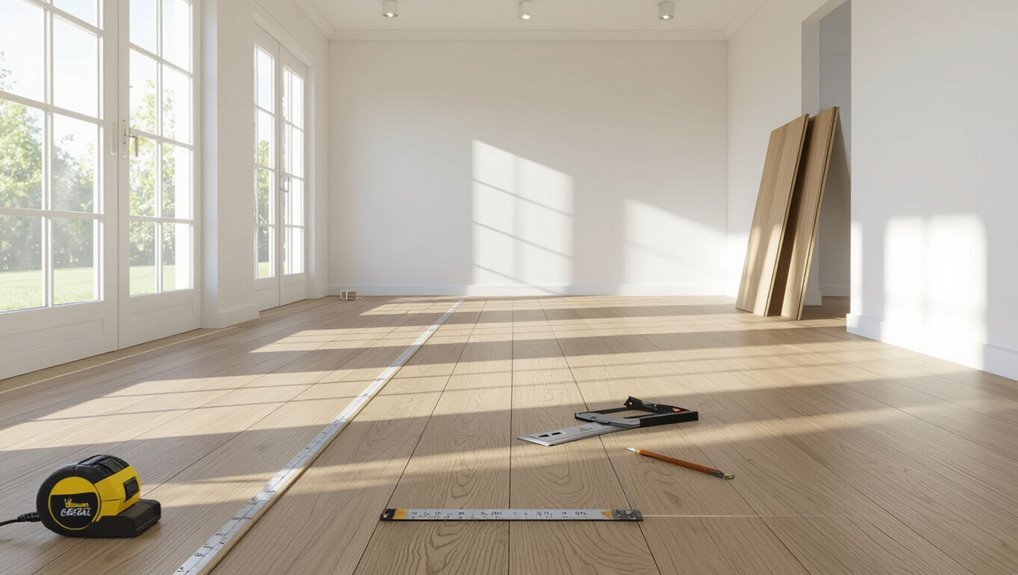
Choose which wall will be most visible when the room’s furniture is in place and dry-lay a few rows along that wall to test your pattern and plank fits before installing any pieces.
Stagger joints at least 12 inches for a natural look, check for awkward narrow end pieces, adjust start width if needed, and guarantee expansion gaps at walls.
Verify alignment down the room.
Step 4 Cutting planks: tools, techniques, and safety
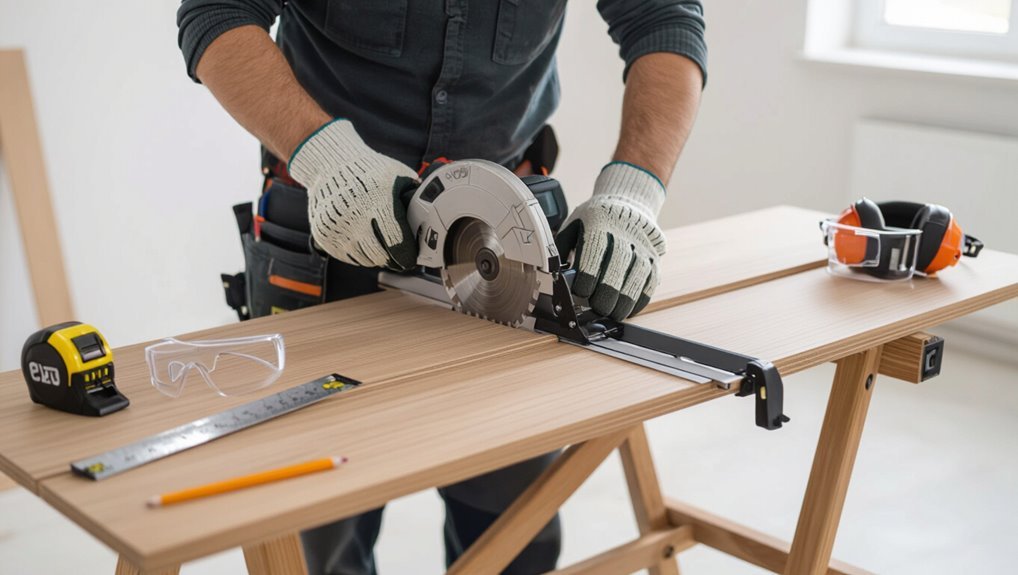
Before you cut any planks, gather the right tools—laminate cutter or circular saw with a fine-tooth blade, measuring tape, pencil, square, and safety gear—and plan each cut so you only trim where necessary.
Measure twice, mark clearly, and support planks to prevent splintering. Use slow, steady cuts, clamp where possible, wear eye and ear protection, and clear debris between cuts.
Step 5 Locking and installing rows (staggering seams, tapping methods)
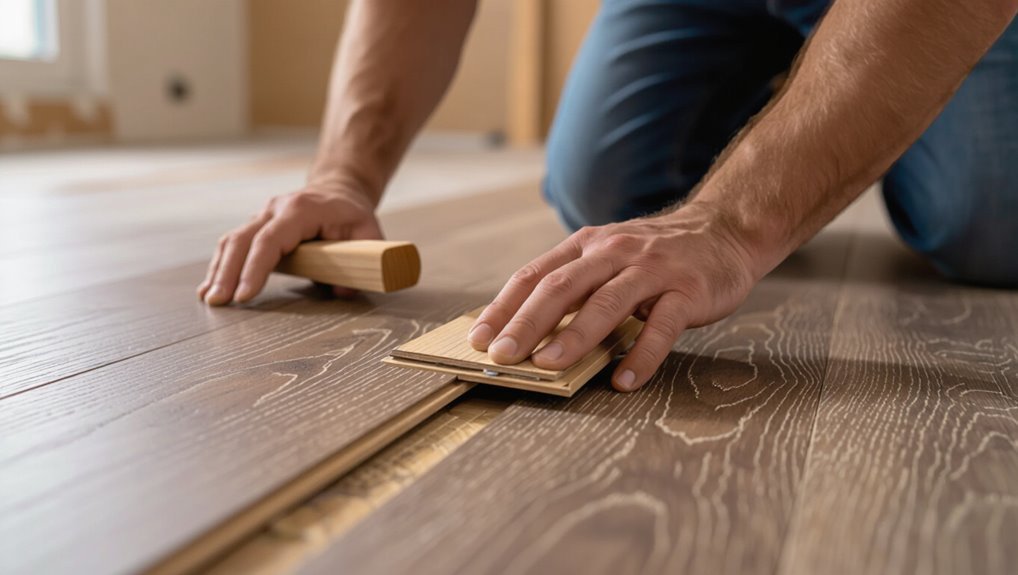
Now you’ll lock and install each row, working left to right and keeping seams staggered for strength and appearance.
Fit end joints at least 6–8 inches offset from adjacent rows. Angle and drop the plank into the previous row, then tap with a tapping block and mallet to secure the click lock.
Check alignment and use spacers at the wall for expansion.
Step 6 Fitting around obstacles (doorways, vents, pipes)
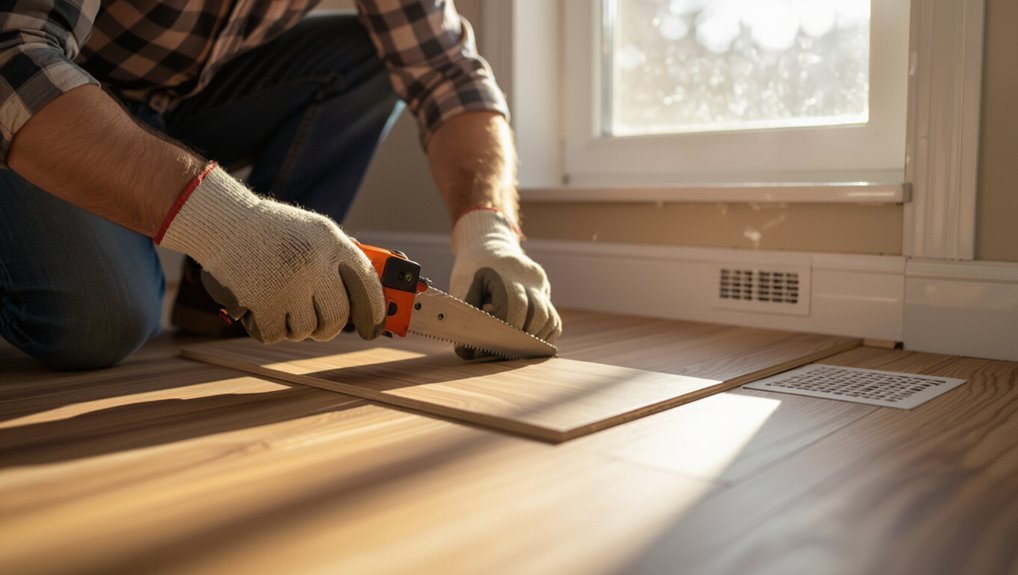
When you reach doorways, vents, or pipes, measure and cut each plank carefully so it fits snugly while leaving the required expansion gap. Mark the cut lines on the plank, cut with a jigsaw or handsaw, and test-fit before final installation.
For pipe collars, scribe and drill a neat opening; for vents, trim frames to clear grilles. Chamfer edges for a clean finish.
Step 7 Install final row and trim excess
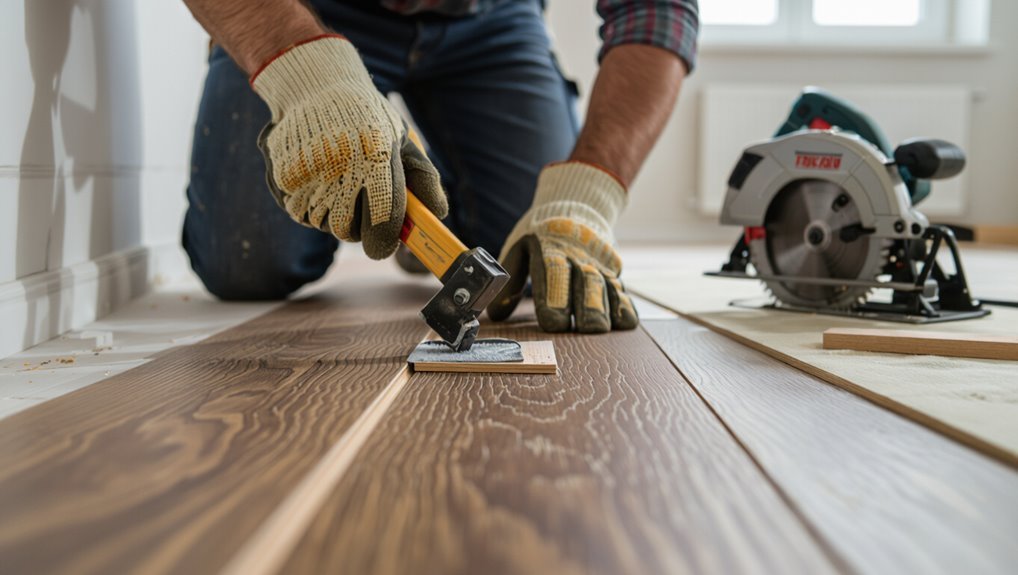
After fitting planks around obstacles and testing each cut, you’ll tackle the final row and trim excess to finish the floor.
Measure remaining gap, cut planks lengthwise to fit, preserving expansion gap. Use a pull bar to lock the final pieces.
Trim tongue if necessary, sand rough edges, and remove spacers.
Check alignment and guarantee seamless, even fit before proceeding.
Step 8 Install transitions, thresholds, and baseboards
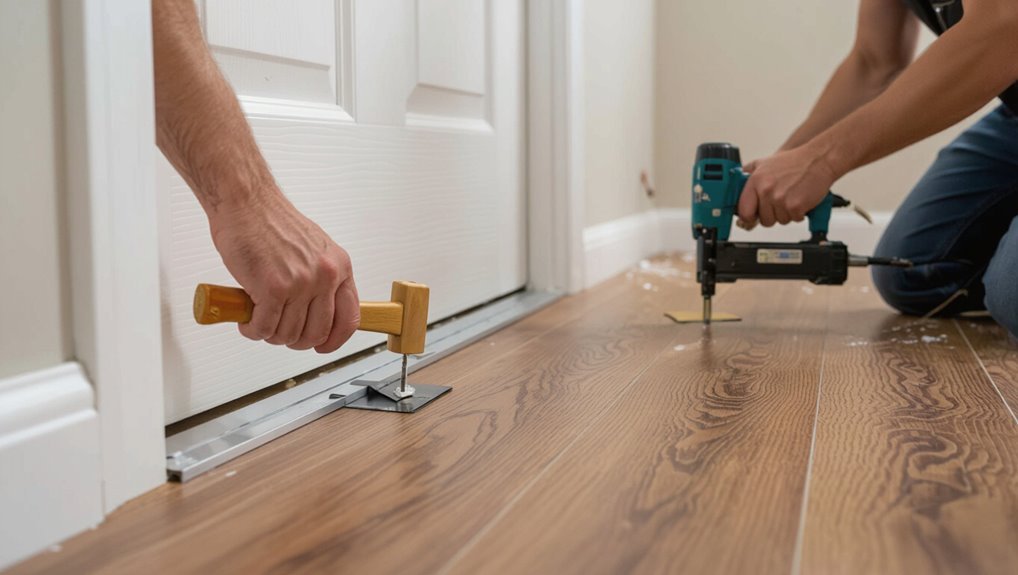
Step 8 brings the finishing touches: you’ll install connectors, thresholds, and baseboards to cover expansion gaps and create a polished edge where the laminate meets other flooring or walls.
Fit junction strips at doorways, secure thresholds to subfloor, and nail or glue baseboards leaving a small gap above the flooring.
Caulk seams where needed and check clearances for doors and appliances.
Step 9 Clean-up, initial care, and first-use precautions
9 things you should do right away: wipe away dust and adhesive residue, remove protective spacers, and dispose of scrap planks so your new floor looks its best and functions properly.
Sweep and vacuum thoroughly, then damp-mop with a manufacturer-approved cleaner.
Keep heavy furniture off for 24–48 hours, use felt pads, maintain 30–50% humidity, avoid wet mopping, and follow warranty care instructions.
Special Situations and Room-by-Room Tips
When you’re tackling kitchens or bathrooms, you’ll need strict moisture control and waterproof connections to protect the flooring.
Check the substrate—concrete, plywood, or existing floors—because each needs different prep, and follow specific steps for radiant-heated systems to guarantee compatibility and prevent damage.
For large or irregular rooms, plan your layout and expansion gaps carefully so panels stay stable and the finish looks professional.
Installation in kitchens and bathrooms moisture control
Because kitchens and bathrooms see more water and humidity than other rooms, you’ll need to take extra steps to protect laminate flooring from moisture damage.
Use water-resistant or waterproof-rated laminate, install a proper underlayment with a moisture barrier, seal expansion gaps at perimeters and around fixtures, slope thresholds toward wet areas, and wipe spills promptly.
Maintain ventilation and check seals regularly.
Over concrete, plywood, and existing flooring substrate-specific steps
If your subfloor isn’t standard drywall and joists, you’ll need to adapt your install steps for concrete, plywood, or existing flooring to affirm a stable, dry base; each substrate has specific prep, underlayment, and moisture-control requirements that affect how the laminate performs and how long it lasts.
For concrete, test moisture, install vapor barrier and foam underlayment.
On plywood, secure loose boards and level.
Over existing vinyl or tile, verify it’s bonded, flat, and use proper underlayment.
Radiant-heated floors compatibility and precautions
Although many laminate lines work with radiant heat, you’ll need to confirm the manufacturer’s maximum surface temperature and approved heating systems before you start; exceeding their specs can warp boards or void the warranty.
Use thermostatic controls and gradual temperature increases, maintain recommended surface limits, install proper underlayment or decoupling membranes specified for heated floors, and monitor for hot spots to protect seams and finish.
Large or irregular rooms layout strategies and expansion gaps
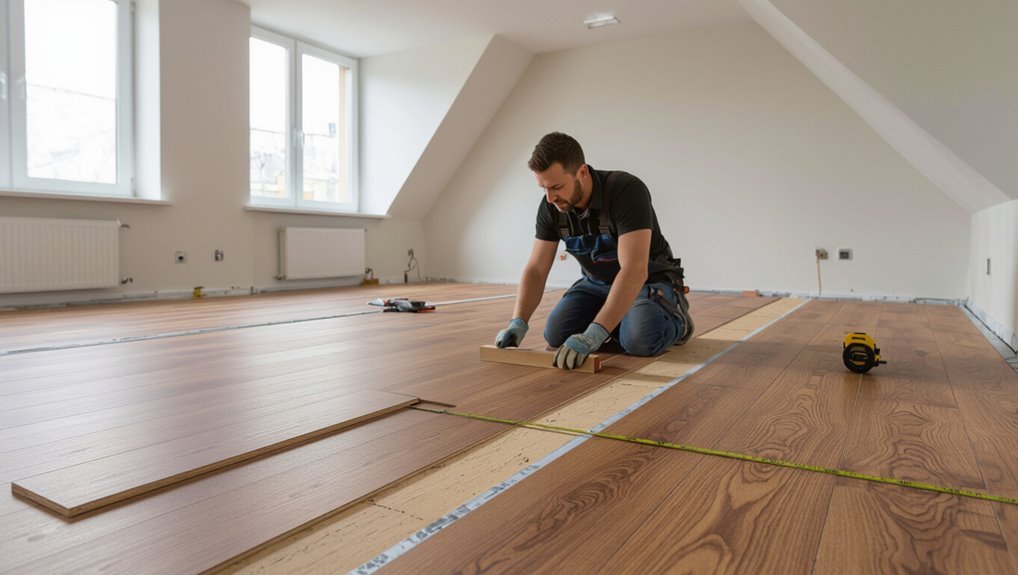
Large or irregular rooms need a clear plan before you lay a single plank: break the space into manageable sections, map out a primary run that follows the longest sightline, and sketch seams and junction points so you can stagger boards and keep end joints away from doorways or high-traffic paths.
Maintain consistent expansion gaps around perimeters and at connections, use reducers or T-molding at joins, and measure for even final rows.
Common Problems, Causes, and Fixes
You’ll run into a few common issues when installing laminate, and knowing the causes helps you fix them fast.
Learn how to spot and remedy buckling or gapping, diagnose and tighten squeaky or loose planks, and take emergency steps for water damage and swelling before replacing boards.
Also cover how to prevent and correct uneven seams or color variation so your floor looks and performs its best.
Buckling or gapping causes and remedies
When boards buckle or gaps appear, it usually means the floor wasn’t given room to expand or the subfloor conditions weren’t right; you can fix most issues by identifying whether moisture, improper acclimation, or installation errors caused the movement and then addressing that root cause before repairing the planks.
Remove affected rows, replace cupped or swollen boards, correct moisture sources, adjust expansion gaps, and reinstall per manufacturer specs.
Squeaky or loose planks diagnosis and repair
1 common issue you’ll run into with laminate floors is squeaky or loose planks, which usually mean either the boards aren’t locking properly, the underlayment or subfloor is uneven, or nails/fasteners and glue have failed;
inspect seams, press and relock joints, tighten or replace fastening strips, lay shims under low spots, add adhesive to delaminated tongues, and replace any damaged plank to stop movement and noise.
Water damage and swelling emergency steps and replacement
If water reaches laminate seams or the subfloor, act fast to limit swelling and warped boards: stop the source, blot moisture with towels, and run fans and dehumidifiers immediately.
Remove baseboards and lift affected planks to dry the underlayment.
Replace any swollen or delaminated boards, confirm the subfloor’s dry and level, then reinstall new planks with proper expansion gaps.
Uneven seams or color variation prevention and correction
Although a few gaps or shade differences might seem minor at first, uneven seams and color variation can ruin the look and longevity of your laminate floor if you don’t address their causes.
Prevent by acclimating boards, keeping consistent batch/box mixing, and maintaining tight locking during installation.
Fix by re-seating loose planks, replacing mismatched boards, and using color-matched filler for minor gaps.
Best Practices, Tips, and Maintenance
Keep up with preventive care and everyday maintenance—sweep or vacuum regularly, wipe up spills quickly, and use protective pads to avoid scratches.
Watch seasonal issues by leaving proper expansion gaps and controlling humidity to prevent buckling or gaps.
For long-term upkeep, know when to refinish borders or replace boards rather than patching endlessly.
Preventive care and everyday maintenance
A few simple habits will keep your laminate floor looking new for years:
- Wipe spills immediately with a damp cloth and dry thoroughly to prevent staining or warping.
- Use felt pads on furniture legs and area rugs in high-traffic zones to reduce scratches.
- Sweep or vacuum (soft-brush setting) regularly to remove grit that wears the finish over time.
Seasonal considerations (expansion gaps, humidity control)
When temperatures and humidity shift with the seasons, your laminate floor will expand and contract.
So you should leave the recommended expansion gaps and manage indoor moisture to prevent buckling or separation.
Check gaps around walls and thresholds, use connector strips where needed, and maintain indoor humidity between 35–55% with humidifiers or dehumidifiers.
Inspect joints seasonally and adjust HVAC or ventilation as needed.
Long-term upkeep and when to refinish or replace
Seasonal gap checks and humidity control will only take you so far — regular upkeep keeps your laminate looking and performing its best for years.
Clean spills quickly, use felt pads, and avoid harsh cleaners.
Buff minor scratches with a repair kit; replace severely worn planks.
If wear is widespread or water damage has warped boards, plan for full replacement rather than refinishing.
Cost-Benefit Comparison: DIY vs Professional Installation
You can save money by doing laminate flooring yourself, but you should hire a pro when the job has complicated layouts, moisture issues, or structural repairs. Watch for red flags like uneven subfloors, extensive changes, or time constraints that push complexity beyond your skill level. Use the table below to quickly compare typical scenarios and decision triggers.
| Scenario | DIY Suitable? | When to Hire |
|---|---|---|
| Simple room, flat subfloor | Yes | Not needed |
| Multiple room changes | Maybe | If you’re short on time |
| Uneven or damaged subfloor | No | Pro required |
| High-moisture areas | No | Pro and moisture barrier needed |
When to hire a pro red flags and complexity thresholds
How do you decide whether to tackle laminate flooring yourself or call in a pro?
If subfloors are uneven, moisture-prone, or you need complex cuts, changes, or stair work, hire a pro.
Red flags include warped joists, extensive leveling, or electrical/plumbing obstacles.
If time, tools, or skill are lacking, the cost of mistakes will outweigh DIY savings—get a quote.
Mistakes to Avoid During Installation
Before you start, know the top 10 DIY mistakes that commonly trip people up so you can avoid costly rework.
I’ll walk you through each error—from bad subfloor prep to uneven expansion gaps—and give clear prevention tips.
Follow these steps and you’ll save time, money, and frustration.
Top 10 DIY mistakes and how to prevent them
While laminate flooring is a popular DIY project, mistakes during installation can turn a satisfying weekend job into costly rework.
Knowing the top pitfalls and how to avoid them will save time and money. You’ll avoid gaps, buckling, and wasted planks by prepping, measuring, and installing correctly.
- Poor subfloor prep — level, clean, dry.
- Wrong expansion gap — follow manufacturer.
- Bad cutting/measuring — double-check before cutting.
Tools and Materials Comparison Guide
You’ll want to pick the right underlayment thickness and type for your subfloor and noise or moisture needs, and compare locking systems and plank grades to match durability and budget. Below is a quick comparison to help you weigh trade-offs at a glance. Use this to decide what tools and materials to prioritize for your project.
| Feature | Best for | Notes |
|---|---|---|
| Underlayment thin (1–2 mm) | Concrete subfloors | Minimal height, basic sound control |
| Underlayment thick (3–6 mm) | Uneven/wood subfloors | Adds cushioning and better sound dampening |
| Click-lock system | DIY ease | Fast installation, requires clean edges |
| Tongue-and-groove | Professional finish | Tighter seam, may need adhesive |
| AC rating (AC3–AC5) | Traffic level | Higher = more durable, higher cost |
Choosing underlayment types and thicknesses
Several common underlayments can dramatically affect your laminate’s feel, sound, and longevity, so pick one that matches your subfloor, room conditions, and budget.
Use foam for basic cushioning over plywood, cork or rubber for superior sound and thermal insulation, and moisture-barrier combinations for concrete.
Match thickness to plank tolerance—usually 2–3mm—avoiding excessive compressibility that can void warranties and cause instability.
Comparing locking systems and plank quality grades
Now that you’ve picked an underlayment that suits your subfloor and room conditions, turn your attention to how the planks lock together and the quality grades that affect performance and appearance.
Choose click-lock for DIY ease or tongue-and-groove if installers prefer glue.
Compare AC ratings: AC3 for homes, AC4/AC5 for heavy traffic.
Inspect core density, wear layer thickness, and finish for durability and realism.
FAQ
You probably have a few quick questions before you start, like how long laminate lasts and whether it can go in basements or other wet areas.
You’ll also want to know about underlayment, how to repair a damaged plank, and if you can install laminate over existing tile or wood.
I’ll answer each of these so you can move forward with confidence.
How long does laminate flooring last?
How long will your laminate flooring last? Expect 10–25 years depending on quality, traffic, and care.
Higher AC ratings and thicker planks last longer. Keep moisture low, use pads under furniture, clean gently, and replace damaged boards promptly.
Proper installation and maintenance extend lifespan; heavy wear or poor installation shortens it.
Regular inspections help you catch issues early.
Can laminate be installed in basements or wet areas?
Lifespan depends a lot on moisture control, so it’s natural to ask whether laminate belongs in basements or other wet areas.
You generally shouldn’t install standard laminate where moisture or flooding occurs. If the basement is dry, warm, and well-sealed, choose water-resistant or waterproof-rated products and follow manufacturer guidelines.
Always monitor humidity and address leaks promptly to protect the floor.
Do you need underlayment for laminate flooring?
Need underlayment? Yes—most laminate needs underlayment for moisture protection, sound reduction, and cushioning.
If your flooring has built‑in underlayment, you can skip extra layers.
On concrete or uneven subfloors, use vapor barrier or foam underlayment.
Match underlayment type to manufacturer recommendations to keep warranties valid and guarantee stable, comfortable flooring performance.
How do you repair a damaged laminate plank?
Start by evaluating the damage—small surface scratches, chips, and deep gouges each need different fixes—so you can choose the right repair method and materials.
For scratches use a color-matched repair kit or wax stick; for chips fill with epoxy or putty, sand lightly and touch up; for a badly warped or split plank, remove and replace it, preserving underlayment and snapping in a new plank.
Can laminate be installed over existing tile or wood?
If your existing floor is flat, stable, and clean, you can usually install laminate right over tile or wood—saving time and disposal costs—though you’ll need to check for levelness, missing grout, or loose boards first.
Remove trim, repair irregularities, and use underlayment for moisture and sound control.
Confirm door clearances, follow manufacturer specs, and allow expansion gaps around perimeter before floating the new floor.
Helpful Visuals and Resources
You’ll find a step-by-step photo checklist for a typical room helpful for tracking progress and avoiding common layout mistakes.
Check manufacturer installation manuals for product-specific instructions and warranty rules, and review local code considerations before you start.
Keep links and printable photos handy so you can reference them on the job.
Step-by-step photo checklist for a typical room
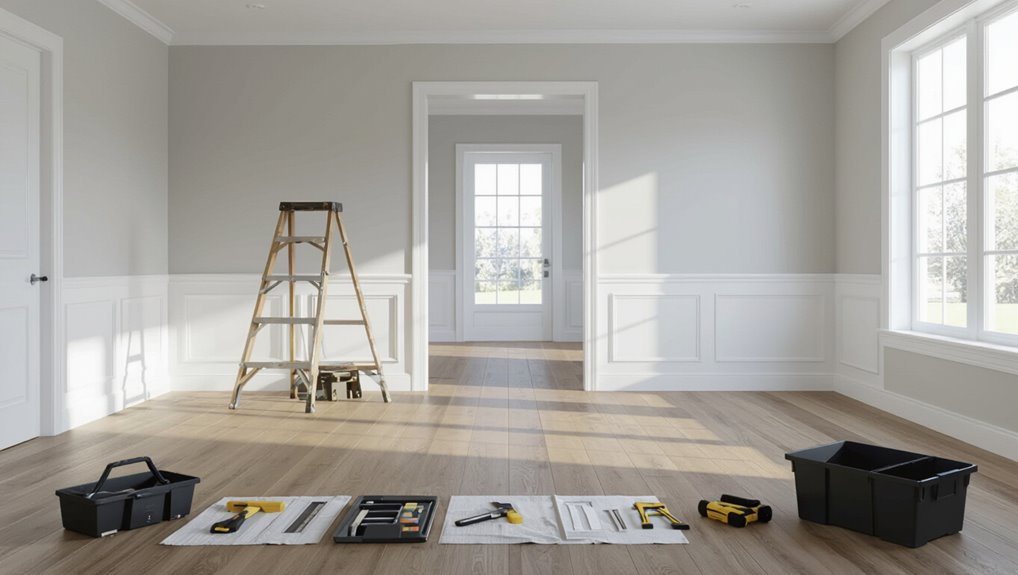
A clear photo checklist walks you through each install stage so you can compare your progress to proven results and spot mistakes early.
Photograph subfloor prep, underlayment layout, first row alignment, staggered seams, cut end placement, junctions, and finishing trims.
Label shots with measurements and notes. Use consistent lighting and angles.
Review images to correct gaps, height issues, or misaligned planks before proceeding.
Links to manufacturer installation manuals and code considerations
Those progress photos will help you spot on-the-spot installation problems, but you’ll also want the manufacturer’s installation manual and local code references on hand before you lay the first plank.
Follow official specs to protect warranties and meet safety rules. Keep digital and printed copies accessible.
- Manufacturer installation PDF and specs
- Local building code summary (moisture, changes)
- Warranty and inspection checklist