How to Stagger Laminate Flooring for a Professional-Looking Result
To get a professional-looking laminate floor, stagger end joints 6–12 inches so seams don’t line up and the floor flows naturally. Pick a pattern—half, third, or varied—based on plank lengths and room size, mock up starter rows, and blend planks from multiple boxes. Keep consistent offsets, maintain expansion gaps, use offcuts first, and follow manufacturer minimums to avoid weak seams. Follow the step-by-step layout and installation guidance below to learn pro tips and common pitfalls.
How to Stagger Laminate Flooring for a Professional-Looking Result
Choose a stagger pattern that offsets end joints by at least 8–12 inches to create a balanced, natural look.
You’ll get a cleaner appearance and stronger seams when you spread joints properly across rows. Proper staggering also helps the floor handle traffic and movement, reducing gaps and buckling over time.
The Right Stagger Pattern in One Sentence
When you lay laminate, stagger end joints so no two adjacent rows line up, aiming for offsets of at least 6–12 inches to create a natural, stable pattern that hides seams and strengthens the floor.
For a simple rule asking how do I stagger laminate flooring, offset each row by a random or planned 6–12 inch variation, avoiding repeats and short leftover pieces.
Why Proper Staggering Matters for Appearance and Performance
Now that you know the basic stagger rule, understand that how you stagger affects both look and longevity: properly offset joints create a natural, continuous grain that hides seams and prevents weak lines where planks can separate or flex.
You’ll boost visual flow, reduce pattern repetition, and strengthen the floor against movement and wear, so plan stagger lengths and end-joint spacing before you install.
Basic Understanding of Staggering Laminate Flooring
Staggering means you offset the end joints of planks so seams don’t line up, and you’ll hear this described as stagger offset or end-joint placement.
You can use patterns like random, half-offset, or third-offset to control the look. Proper staggering improves the floor’s stability, allows for expansion gaps to work, and creates a smoother visual flow.
What “Staggering” Means (Stagger Offset, End-Joint Placement)
Because laminate flooring planks lock together along their long edges, you’ll want to offset the end joints so they don’t line up in adjacent rows; staggering means deliberately placing the short ends at different distances from the wall to create strength, stability, and a more natural look.
You’ll plan each row so end joints avoid lining up, improving load distribution and hiding seams for a cleaner finish.
Common Stagger Patterns: Random, Half-Offset, Third-Offset
There are three common ways to stagger laminate flooring—random, half-offset, and third-offset—and each gives you a different look and structural benefit depending on the room and plank length. You’ll choose based on aesthetics and ease: random feels natural, half-offset is simple, third-offset looks engineered. Use the table to compare quickly.
| Pattern | Look | Ease |
|---|---|---|
| Random | Varied | Moderate |
| Half‑offset | Traditional | Easy |
| Third‑offset | Modern | Moderate |
How Staggering Affects Stability, Expansion, and Visual Flow
When you stagger laminate planks thoughtfully, you help the floor resist movement and guide the eye across the room; proper offsets break up continuous seams so joints don’t line up and create weak lines.
You’ll improve structural stability, allow even expansion gaps, and prevent buckling.
Visually, staggered seams create flow and rhythm, disguising repeats and making installations look intentional and seamless.
Planning Before You Start
Before you lay a single plank, measure the room and calculate how the boards will fall so you won’t end up with tiny slivers at the walls.
Pick a stagger pattern that fits your room dimensions and plank length—longer planks need bigger offsets to look right and stay stable.
Finally, make a checklist of materials and tools so you’ve got spacers, underlayment, a saw, and enough extra planks on hand.
Measuring the Room and Calculating Plank Layout

Start by measuring the length and width of the room in several places and sketching a simple floor plan with doorways, alcoves, and any irregularities marked.
Calculate total square footage, then determine how many full planks you’ll need plus 10% waste.
Lay out plank runs on your sketch to check end-piece widths, plan starter and final row cuts, and note changes or thresholds before you begin.
Choosing a Stagger Pattern Based on Room Size and Plank Length
If your room is narrow or long, you’ll want a stagger pattern that reduces visible seams and avoids repeating short joints.
So plan offsets based on plank length and room proportions. Use stagger distances of at least one-third to two-thirds of plank length, vary end-joint distances between rows, and avoid aligning seams across three adjacent rows.
Mock up a few starter rows to confirm visual balance.
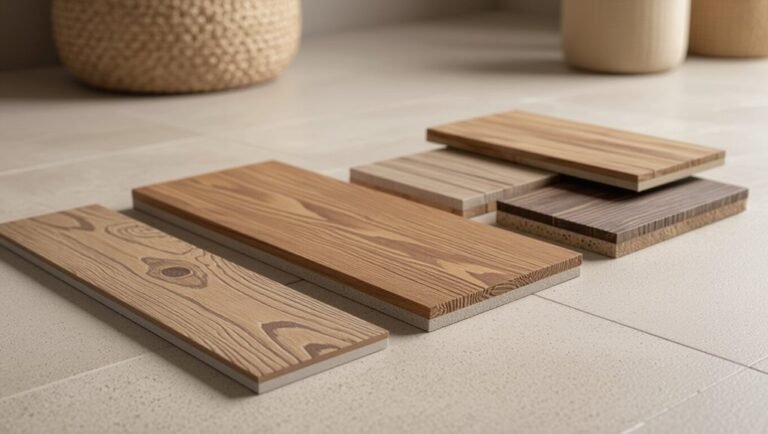
Materials and Tools Checklist
One clear checklist keeps you organized and prevents costly delays once you begin laying planks.
Gather quality materials and essential tools so you’ll work efficiently and avoid mistakes. Check plank count, underlayment, and trims before cutting. Keep safety gear and extras on hand.
- Laminate planks and trims
- Underlayment and vapor barrier
- Spacers, saw, tapping block
- Safety glasses, knee pads, adhesive
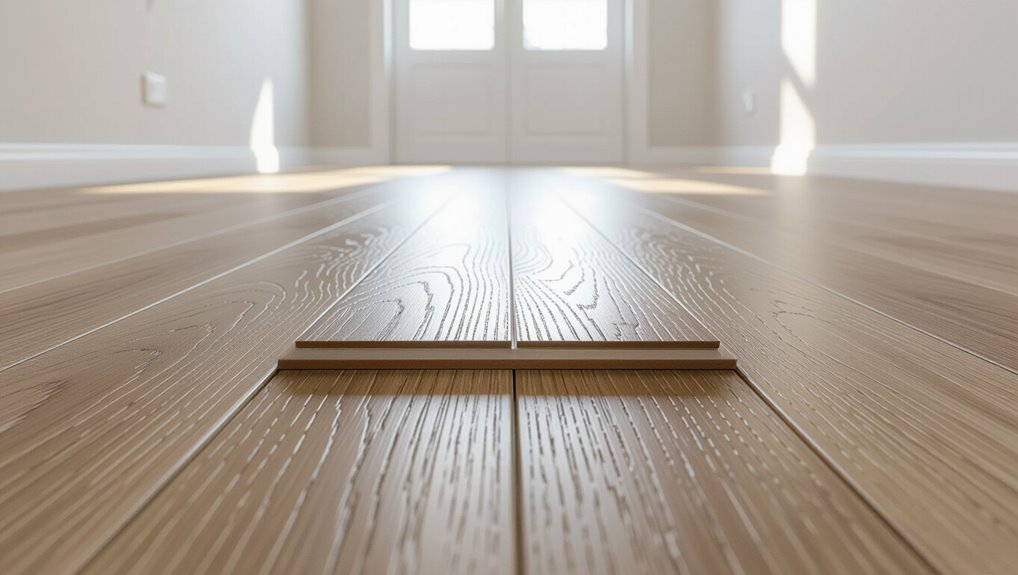
Step-by-Step Installation Steps with Staggering Focus
Start by prepping the subfloor and laying underlayment so your first row sits flat and true.
Pick a starting wall, align the first row carefully, and map a stagger plan with templates or marked cut lines.
Then install row by row keeping consistent offsets, cutting end pieces and managing small remainders as you go.
Step 1 Prepare the Subfloor and Underlayment
Before you lay a single plank, make sure the subfloor is clean, level, and dry and that the underlayment is appropriate for your laminate and locking system.
Remove debris, repair dips or squeaks, and sand high spots.
Roll out underlayment smoothly, butt edges (or overlap per instructions), and tape seams.
Keep moisture barrier and expansion gap requirements in mind before you start installing.
Step 2 Establish a Starting Wall and First Row Alignment
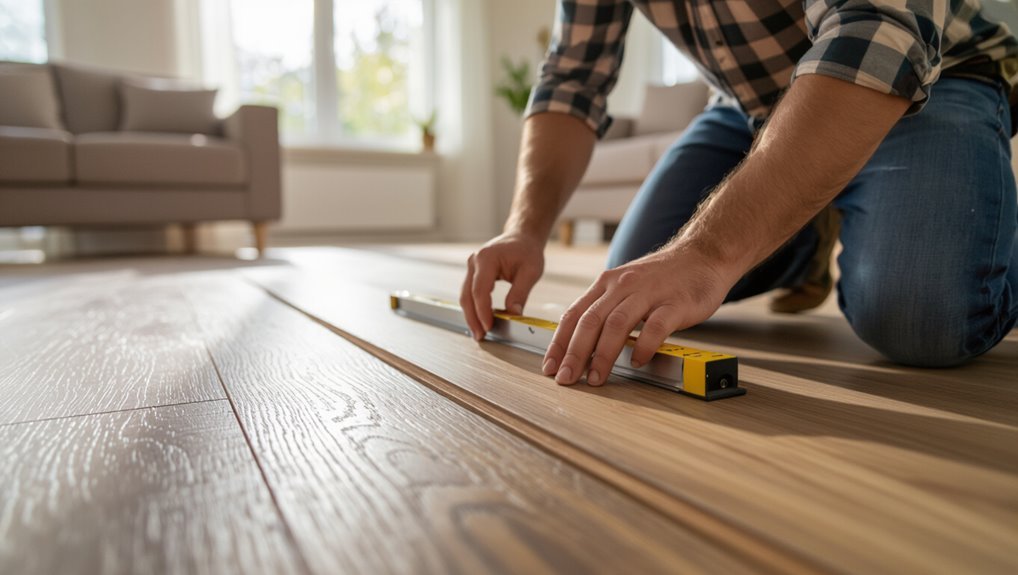
Pick the straightest, most visible wall as your starting line and snap a chalk line to guide the first row so your planks stay square to the room; measure and add spacers for the expansion gap, check plank orientation and tongue direction, and dry-fit the first few boards to make certain tight seams.
Trim the starter row if needed to maintain consistent stagger and visual balance.
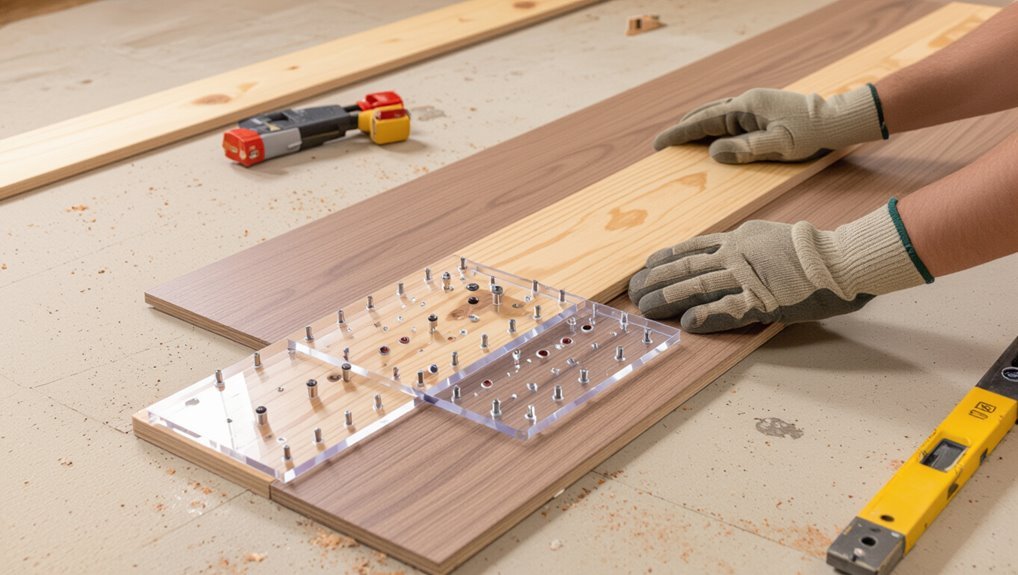
Step 3 Create a Stagger Plan (Templates, Marking Cut Lines)
With your first row placed and aligned, plan the stagger so seams fall where they’ll look balanced and remain structurally sound.
Sketch a row-by-row template on cardboard, indicating board lengths and joint offsets. Transfer cut lines to boards, allowing expansion gaps.
Number templates to match layout sequence. Double-check measurements before cutting to avoid mismatched joints or wasted planks.
Step 4 Install Row-by-Row: Maintaining Consistent Offsets
Once you’ve laid out your templates and marked cut lines, start installing each row by snapping the tongue-and-groove together and keeping the offset you planned for that row.
Use spacers at walls, a tapping block for tight seams, and a pull bar at the ends to maintain consistent gaps and alignment as you work across the room.
Work methodically, checking offsets each row, and stagger end joints per plan.
Step 5 Cutting End Pieces and Managing Small Remainders
Measure the remaining space at the end of each row and cut end pieces so they maintain your planned stagger distance. You’ll often need to trim a plank’s length and occasionally its width to fit, so mark cuts accurately, use a straightedge and a fine-tooth blade, and always account for the expansion gap at the wall.
Use leftover offcuts first, test-fit pieces, and sand tight spots.
Step 6 Dealing with Doorways, Transitions and Irregular Walls
Step 6 covers how to handle doorways, passages, and irregular walls so your stagger pattern stays consistent and looks professional; you’ll learn where to cut, when to use reducers or T-molding, and how to scribe and trim boards to fit odd shapes while preserving expansion gaps and stagger distances.
Cut to allow door swings, use threshold strips at height changes, and scribe boards to curves, keeping consistent end-joint offsets.
Recommended Stagger Patterns and When to Use Them
When choosing a stagger pattern, you’ll want to weigh the half-offset (50%), third-offset (~33%), and a random/varied stagger based on appearance and structural needs.
Each option has clear pros and cons and suits different room sizes, plank lengths, and traffic levels.
Below we’ll compare their benefits, drawbacks, and best uses so you can pick the right pattern for your project.
Half-Offset (50%) Pros, Cons, Best Uses
If you’re aiming for a classic, balanced look, a half-offset (50%) stagger is one of the simplest and most reliable patterns to lay out for laminate flooring. You’ll get uniform joints, easier planning, and faster installs. Use it in open rooms or straight-grain boards. Avoid on narrow or highly patterned planks where seams become obvious.
| Benefit | Consideration |
|---|---|
| Uniform look | Can highlight plank pattern |
| Easy layout | Less random appearance |
| Fast install | Not ideal for narrow rooms |
| Stable seams | Predictable joints |
| Good for beginners | Less natural variation |
Third-Offset (~33%) Pros, Cons, Best Uses
A third-offset (about 33%) stagger gives you a more natural, ship-lap look by spacing end joints roughly one-third of a plank length apart.
It works well to disguise seams on wider or patterned boards. You’ll get balanced visual flow, fewer short starter pieces, and stronger joint distribution.
It’s ideal for medium-to-large rooms and patterned planks, though layout planning takes slightly more measuring.
Random/Varied Stagger Pros, Cons, Best Uses
Because random or varied staggering mixes short and long offsets across the floor, you get a lively, natural look that hides end joints and masks repeat patterns, especially on narrow or heavily grained planks.
You’ll benefit from flexibility and camouflaged seams, but cutting’s less predictable and waste can rise.
Use this for open plans, mixed-width boards, or rustic styles where variety suits the design.
Common Mistakes and Problems When Staggering Laminate
Watch for common mistakes that make staggered layouts look amateurish or fail structurally.
Don’t repeat end-joint lines (the brick effect) or use too-short end pieces that create weak seams, and always plan for expansion gaps to avoid locking failures.
Also check your layout beforehand so you don’t end up with unsightly narrow rows at walls.
Repeating End-Joint Lines (Brick Effect) and How to Avoid It
When planks line up across rows, you’ll see repeating end-joint lines—often called the brick effect—which makes the floor look manufactured and unstable; avoiding it means planning staggered offsets and varied plank lengths before you start.
Alternate starting lengths, use random-length bundles, and shift each row by at least 6–12 inches.
Check patterns as you go to prevent accidental alignment and maintain a natural, stable appearance.
Too-Short End Pieces Causing Weak Seams
One common mistake is using end pieces that are too short, which creates weak seams that can pop open or show gaps over time.
You should cut end pieces to a minimum recommended length—usually several inches—so joints land on solid planks.
Short ends concentrate stress, loosen locks, and look amateurish, so plan your layout and trim boards to maintain strong, stable seams.
Ignoring Expansion Gaps and Locking Failures
If you skip proper expansion gaps or force boards together during installation, the floor won’t have room to move and locking joints can buckle or break.
You should leave manufacturer-recommended gaps at walls, around pipes, and at thresholds. Use spacers, stagger joints correctly, and avoid tapping seams closed with excessive force.
Otherwise boards can warp, panels pop, or clicks fail, necessitating costly repairs.
Poor Planning Leading to Unsightly Narrow Rows
Mistakes with expansion gaps often signal a larger planning problem: failing to lay out your boards before you start can leave you with narrow, awkward rows at the far wall that ruin the look of the whole floor.
You should dry-fit rows, adjust plank widths, and shift starter cuts to avoid slivers.
Plan end-row widths so the final row is at least half a plank.
Prevention, Best Practices and Professional Tips
To avoid weak seams and pattern clashes, follow the manufacturer’s minimum offset recommendations and keep a clear stagger template or sequence list as you work.
Blend planks from multiple boxes to prevent visible color runs, and use careful cutting techniques for clean last rows.
Finish with a targeted inspection and touch-up checklist so you catch gaps, raised edges, or scuffs before the job’s done.
Maintain Minimum Offset Recommendations (manufacturer guidelines)
When you follow the manufacturer’s minimum offset recommendations, you keep rows interlocked securely and reduce the risk of plank separation or visible seams.
These guidelines are based on the product’s locking system and board length, so always check them before you start laying boards.
Stick to the specified minimum stagger, document offsets, and measure each row.
Don’t improvise beyond those limits to protect warranty and performance.
Use a Stagger Template or Sequence List to Prevent Repeats
After you’ve followed the manufacturer’s minimum offset rules, set up a stagger template or sequence list to keep patterns from repeating and to speed installation.
Lay out several rows dry, note plank lengths and end joints, then record a repeating sequence.
Follow the list as you work, adjust for trims or odd cuts, and mark used planks to avoid accidental repeats.
Blend Planks from Multiple Boxes to Avoid Color/Pattern Runs
One simple rule will save you from obvious color runs: always mix planks from several boxes as you install, grabbing pieces from different cartons for each row so tones and pattern variations distribute evenly across the floor.
Inspect batches, separate noticeably lighter or darker planks, and intersperse them.
Work diagonally when possible, keep a balanced eye on the whole room, and adjust as you go.
Tips for Cutting and Fitting Last Rows Cleanly
Mixing planks from multiple boxes helps the whole floor read uniformly, but you’ll still face tight fits at walls and obstacles that need careful cutting.
Measure twice, cut once: scribe the last row to wall contours, allow expansion gap, and use a jigsaw for irregular profiles.
Test-fit each plank, trim tongues if needed, and install with a pull bar to avoid damaging adjacent boards.
Final Inspection and Touch-Up Checklist
When you finish laying the last row, take a systematic walk-through to catch any gaps, height differences, or surface blemishes before the adhesive or finish fully sets.
Inspect seams, connections, and edges, then address issues immediately.
Use this checklist to guide touch-ups:
- Fill small gaps with matching putty
- Sand high spots lightly
- Replace damaged planks
- Re-seat loose joints and trim edges
Tools, Materials and Time Estimates
You’ll need a shortlist of essential tools and a few optional pro tools if you want faster, cleaner results.
I’ll cover how much laminate and underlayment to buy (including a typical waste allowance) so you don’t run short.
Finally, I’ll give realistic time estimates based on room size and your experience level.
Essential Tools and Optional Pro Tools
Getting your tools organized before you start will save time and prevent mistakes.
You’ll need a few essentials and some optional pro gear to speed work, improve cuts, and guarantee tight joints.
- Tape measure, pencil, spacers
- Pull bar, tapping block, rubber mallet
- Jigsaw or circular saw (clean cuts)
- Flooring clamps, pneumatic nailer (optional pro)
Typical Material Quantities and Waste Allowance
Plan on ordering about 5–10% extra laminate for cuts and mistakes, plus an additional 5% if your room has many alcoves or angled walls.
Also order matching underlayment, threshold pieces, and trim — typically 10% extra trim length for scrap.
Buy adhesive or sealant per manufacturer recommendations.
Keep a few spare planks sealed for future repairs and verify all materials match batch numbers.
Time Estimates by Room Size and Skill Level
Time estimates depend on room size, your skill level, and the tools you have on hand; a small 100–150 sq ft room can take a confident DIYer with proper tools 3–6 hours, while a novice might need a full day.
For medium rooms (200–300 sq ft) plan one to two days; large or complex spaces can take several days.
Allow extra time for cuts, acclimation, and cleanup.
Before-and-After Visual Examples and Layout Sketches
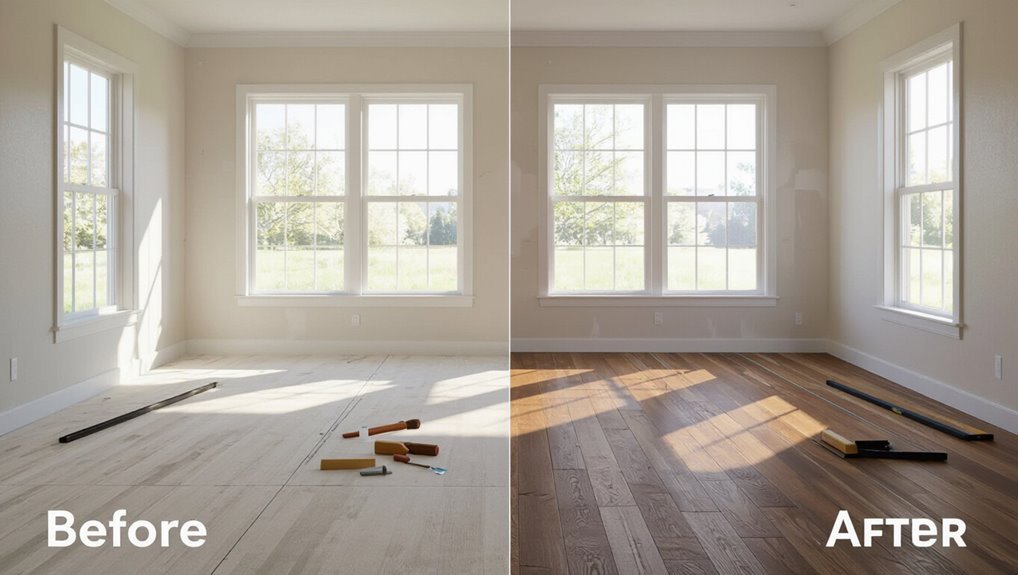
Visual examples and simple layout sketches make it easy to see how staggered seams will look in your space before you cut a single plank.
Use photos of sample layouts, mark plank lengths and end joints, and sketch walk paths to check visual flow.
Compare before-and-after images to confirm balance, avoid repeating short end joints, and refine your plan until seams look natural and consistent.
FAQ
You’ll likely have specific questions about staggering, like how far to offset end joints and whether you can lay planks randomly or need a pattern.
You’ll also want to know minimum plank lengths, what to do with small leftover pieces, and if poor staggering could affect your warranty.
Let’s answer those common concerns so you can plan and install with confidence.
How far should end joints be staggered for laminate flooring?
A good rule is to stagger end joints at least 12 inches (30 cm) apart—ideally 16–24 inches—so you avoid weak seams and a repetitive, brick-like pattern; smaller offsets can make the floor look choppy and create more potential for movement and squeaks.
Aim for consistent offsets across rows, avoid lining up seams, and cut starter boards to maintain pattern and accommodate room dimensions for a stable, attractive install.
Can I stagger laminate randomly or should I follow a pattern?
Having staggered end joints at proper distances, you might wonder whether you can just stagger randomly or should follow a pattern.
You can mix both: avoid repetitive short pieces aligning across rows, but you don’t need rigid symmetry.
Use a loose, intentional rhythm—vary plank lengths, keep offsets consistent, and step back often to check balance.
That yields a natural, stable look.
What is the minimum plank length to avoid weak seams?
Although specific recommendations vary by manufacturer, most pros advise keeping end pieces at least 8–12 inches long to avoid weak seams. Shorter pieces create more joints and concentrate stress, which can lead to gaps or clicks over time.
You should also stagger joints so no two meet within 6–8 inches across adjacent rows, boosting stability and reducing visible seams.
How do I handle small leftover pieces at the ends of rows?
When you end up with short leftover pieces at the ends of rows, don’t force them into place—use them strategically or trim them to make longer, stronger end joints.
Cut small remnants into longer pieces and join them to create staggered seams at least 6–8 inches apart.
Save tiny scraps for starter or filler pieces, ensuring consistent grout lines and a clean, stable layout.
Will poor staggering void my laminate flooring warranty?
Can poor staggering actually void your laminate flooring warranty? It can, if the manufacturer’s installation guidelines require specific staggering patterns or minimum joint offsets.
You should check your warranty and follow recommended stagger distances, board lengths, and seam placement. If you ignore those rules and damage or excessive wear occurs, the manufacturer may deny claims, so document and follow instructions carefully.