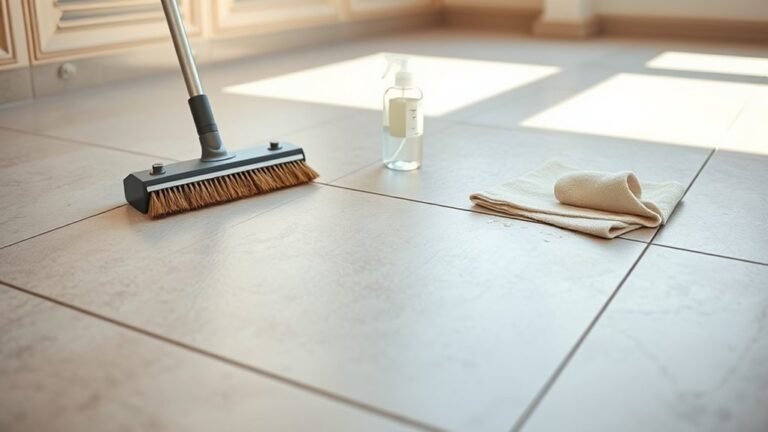
How to Install Vinyl Sheet Flooring on Concrete the Right Way
You can install vinyl sheet flooring on concrete the right way by testing and fixing moisture, cleaning and leveling the slab, and acclimating the sheets for 24–48 hours. Measure and dry-fit panels, plan seams, then apply the correct adhesive (full-spread, perimeter, or pressure-sensitive) following open times. Smooth bubbles with a roller, weld or tape seams, trim edges, and install connectors. Allow proper cure time before heavy use—keep going to learn the detailed prep, tools, and troubleshooting.
How to Install Vinyl Sheet Flooring on Concrete the Right Way
Yes — you can install vinyl sheet flooring over concrete if the slab is clean, dry, and level.
Start by testing for moisture, patching cracks and low spots, and applying a suitable primer or underlayment as needed.
Then lay the sheet, trim to fit, and use the recommended adhesive or loose-lay method for a secure, long-lasting finish.
Quick Answer Can you install vinyl sheet flooring on concrete?
Wondering whether you can install vinyl sheet flooring over concrete? Yes — you can.
If the slab is dry, clean, level, and free of cracks, you’ll successfully install vinyl.
Learn how to install vinyl sheet flooring on concrete by testing moisture, prepping the surface, repairing imperfections, and using the right adhesive or underlayment.
Proper prep guarantees a durable, smooth finish you’ll be happy with.
One-paragraph summary of the recommended approach
If your concrete slab is dry, clean, level, and crack-free, you can install vinyl sheet flooring successfully by testing moisture, repairing any imperfections, and choosing the right adhesive or underlayment.
Then acclimate the vinyl, lay it carefully, trim edges, and seam or weld joins as needed.
Press, roll, and allow curing time before trimming threshold strips and reinstalling baseboards for a durable, smooth finish.
Basic Understanding What is vinyl sheet flooring and why choose it for concrete?
Vinyl sheet flooring is a continuous, flexible sheet of synthetic material that you can glue or float over a prepared concrete slab.
You’ll often choose it for concrete because it’s durable, cost-effective, and resistant to moisture and stains.
It’s not ideal, though, for uneven or heavily cracked slabs or for rooms where you need thick cushioning or high-end aesthetics.
What is vinyl sheet flooring?
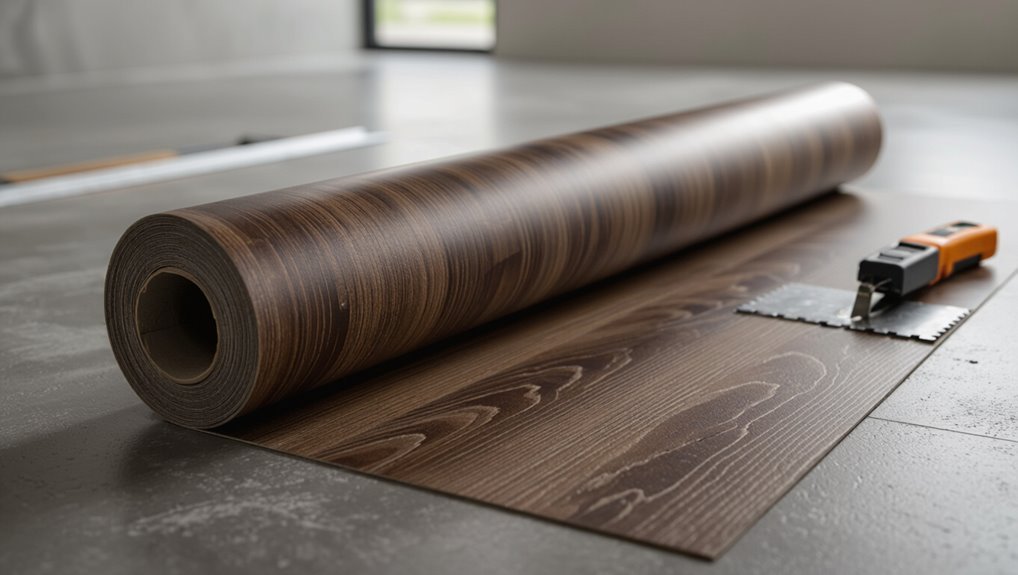
Sheet vinyl sheet flooring is a continuous, flexible flooring material made of PVC and reinforcing layers that comes in wide rolls, so you can cover a concrete floor with few seams.
It offers printed surface options that mimic tile, wood, or stone. You’ll cut, fit, and adhere it to the concrete; seams can be welded or sealed for a smooth, low-profile finish.
Advantages for concrete subfloors (durability, moisture resistance, cost)
Durability and moisture resistance make vinyl sheet flooring a strong choice for concrete subfloors, and it also keeps installation costs lower than many alternatives.
You’ll get a wear layer that stands up to foot traffic, spills and minor abrasions, plus a watertight surface that tolerates concrete’s dampness.
You’ll save on prep, materials and labor compared with tile or hardwood.
Limitations and situations when it’s not ideal
While vinyl sheet flooring works well for many concrete subfloors, it isn’t the right choice in every situation—especially where extreme wear, uneven concrete, or solvent-based cleaning is common.
You should avoid it over badly cracked, sinking, or highly textured slabs unless you level and repair first.
Also skip it in high-heat, outdoor, or industrial chemical-exposure areas; adhesive failure and damage can occur quickly.
Pre-Installation Assessment Evaluate the concrete subfloor
Before you start laying vinyl, assess the concrete subfloor by checking moisture with a calcium chloride test or moisture meter and inspecting for cracks, uneven spots, or old coatings.
Measure the room and plan your sheet layout—seam placement, direction, and waste—to avoid surprises.
Finally, gather the right tools and materials so you’re ready to repair, level, and install.
Check moisture levels (calcium chloride test, moisture meter)
Because excess moisture will ruin vinyl sheet flooring, you need to verify the concrete subfloor’s moisture level before you install.
Use both a calcium chloride test and a reliable moisture meter to confirm dryness. If results exceed manufacturer limits, don’t proceed. Follow remediation guidance.
- Perform calcium chloride test per ASTM.
- Spot-check with a pinless meter.
- Record and compare readings.
Inspect for cracks, unevenness, and previous coatings
A thorough visual and tactile inspection of the concrete subfloor will reveal cracks, uneven areas, and any existing coatings that could interfere with vinyl sheet adhesion and performance.
Walk the area, mark hairline and wider cracks, tap for hollow spots, note high or low spots, and identify paint, sealers, or adhesive residues.
Remove or repair issues before proceeding.
Measure and plan layout (seams, direction, waste calculation)
Once you’ve fixed cracks and removed old coatings, measure the room to determine sheet widths, seam placement, and the best direction for laying the vinyl.
You’ll plan seams to minimize visible joins, run lengthwise with light flow, and calculate waste (add 5–10% per pattern or awkward cuts).
- Measure longest run and doorways.
- Mark seam locations on floor.
- Tally total square footage.
Tools and materials checklist
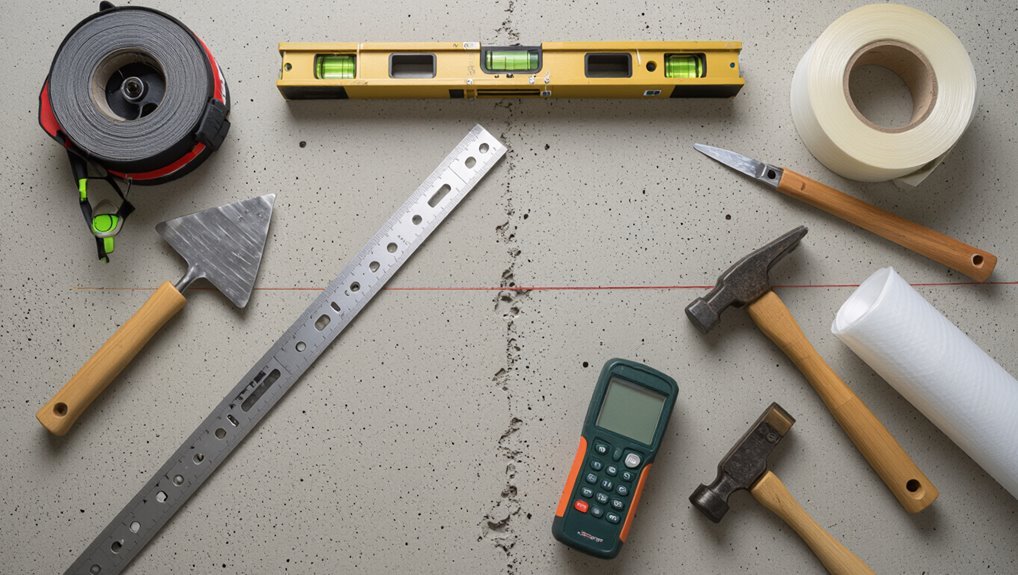
Start by gathering the essential tools and materials so you won’t stop mid-job: utility knife with extra blades, straightedge, tape measure, chalk line, seam roller, trowel and recommended adhesive, primer and patching compound for the concrete, a moisture meter, and safety gear (gloves, knee pads, eye protection).
Confirm concrete is clean, level, dry, and patched before adhesive.
- Verify moisture levels
- Prime and patch as needed
- Lay out seams and dry-fit
Preparation Make the concrete ready
Before you lay vinyl sheet, get the concrete spotless—degrease, vacuum, and remove any efflorescence so adhesives bond properly.
Patch cracks and holes with the right compound and follow best practices, then use a self-leveling compound where low spots would telegraph through the vinyl.
Finally, test and address moisture with vapor barriers, primers, or approved alternatives to protect the finish.
Clean the surface (degreasing, vacuuming, efflorescence removal)
While the concrete’s cured, you’ll need to remove oil, dust, and salts so the vinyl adhesive can bond properly.
Clean systematically: degrease stained areas, vacuum grit and dust, and treat efflorescence. Use appropriate cleaners, stiff brushes, and a wet/dry vacuum.
Test a small area first and let the slab dry completely before proceeding.
- Degrease
- Vacuum
- Descale salts
Repairing cracks and holes (patching compounds and best practices)
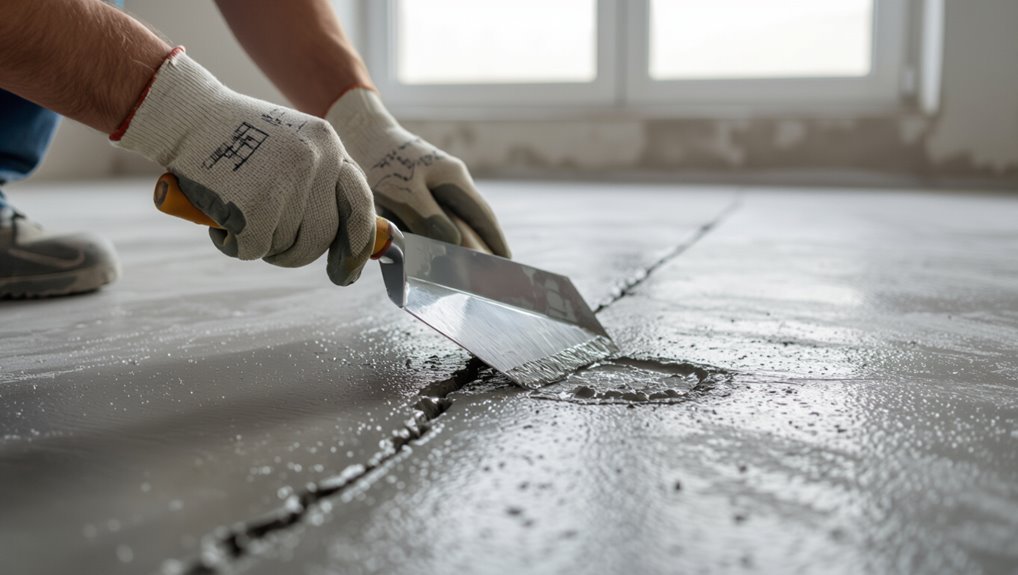
Patch cracks and fill holes so your vinyl lays flat and the adhesive bonds evenly.
Scrape loose material, blow out dust, and dampen the area.
Use a cement-based patch or polymer-modified compound suited for thin repairs; apply with a trowel, feather edges, and follow manufacturer cure times.
Sand high spots, recheck for hollows, and verify a clean, dry surface before adhesive.
Leveling the floor (self-leveling compounds: when and how)
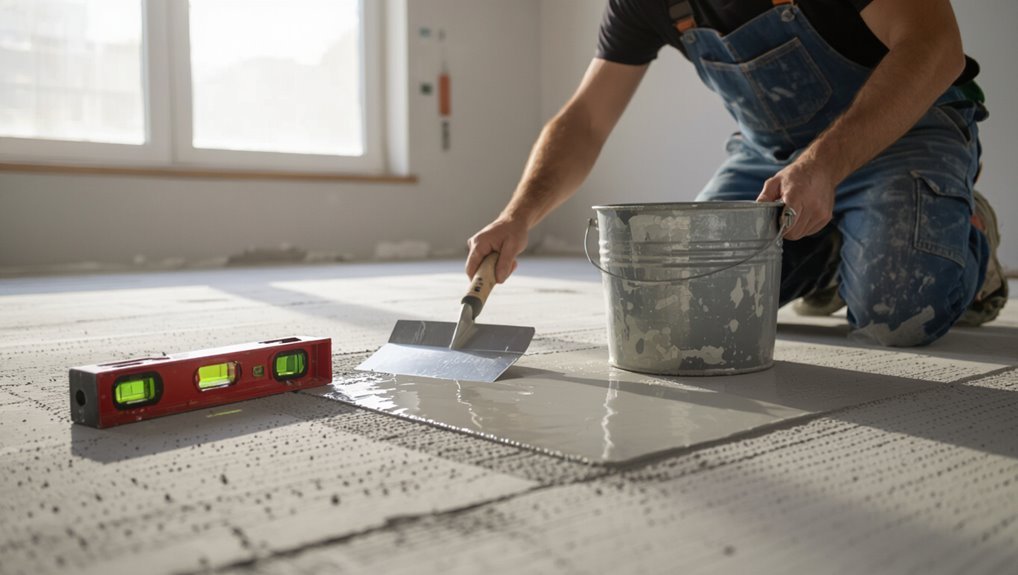
If your concrete has dips, slopes, or areas that won’t flatten with simple patching, you’ll need a self-leveling compound to create a smooth, uniform substrate for vinyl sheet flooring.
Mix per manufacturer directions, pour from low spots, and use a gauge rake or smoother to spread.
Allow proper cure time, sand any high ridges, and check flatness before laying vinyl.
Addressing moisture problems (vapor barriers, primers, and alternatives)
After you’ve smoothed low spots and confirmed the slab is flat, check for moisture before you lay the vinyl: excessive vapor can ruin adhesives and the flooring itself.
Use a moisture meter or calcium chloride test, then address issues with appropriate treatments.
- Apply a liquid vapor barrier or epoxy primer per manufacturer directions.
- Install a sheet membrane if high moisture persists.
- Consider raised underlayment systems for chronic vapor.
Installation Steps Step-by-step procedure
Before you glue anything down, you’ll acclimate the vinyl and materials, dry-fit the sheets, and snap layout lines so everything aligns.
Cut and plan seams for single or multiple-sheet installations, then choose the right adhesive and application method.
Finally, lay the sheet, smooth out air bubbles, and trim edges for a clean finish.
Step 1: Acclimate the vinyl sheet and materials
Start by unrolling the vinyl sheet and leaving it in the room where you’ll install it for at least 24–48 hours so the material can adjust to the temperature and humidity.
Also bring any adhesive, underlayment, and threshold pieces into the space.
Check carton temperatures, inspect for defects, and keep sheets flat and covered from dust.
Proper acclimation prevents buckling and adhesive failures.
Step 2: Dry-fit and mark layout lines
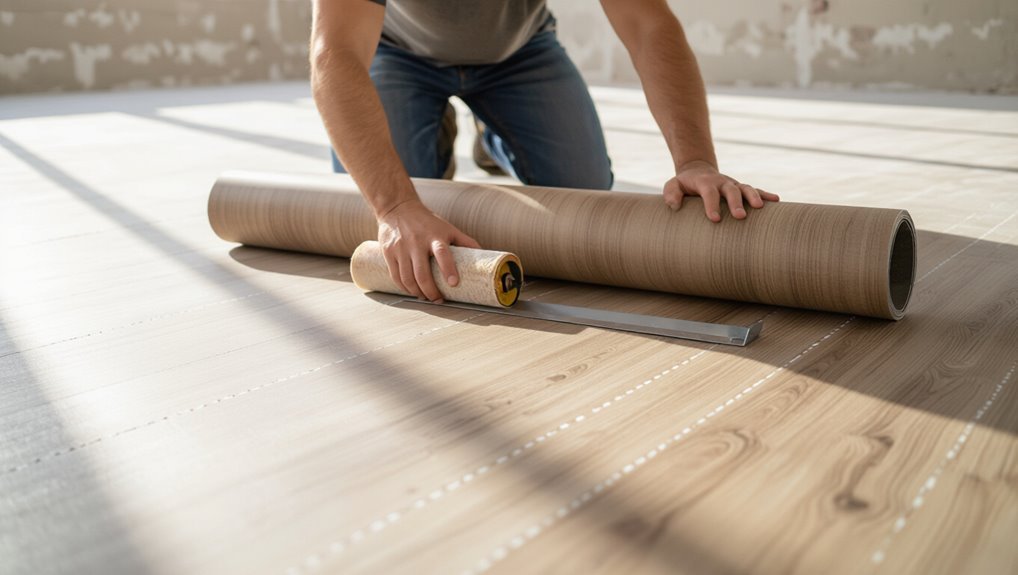
Unroll the acclimated vinyl in the room and position it roughly where it will sit, allowing a few extra inches at each wall for trimming.
Smooth out wrinkles and let it relax.
Use a chalk line to mark straight reference lines aligned with the longest wall and any focal points.
Snap perimeter guide lines and mark locations of doorways, vents, and fixtures for accurate trimming later.
Step 3: Cut sheets to size and plan seams (single vs. multiple sheets)
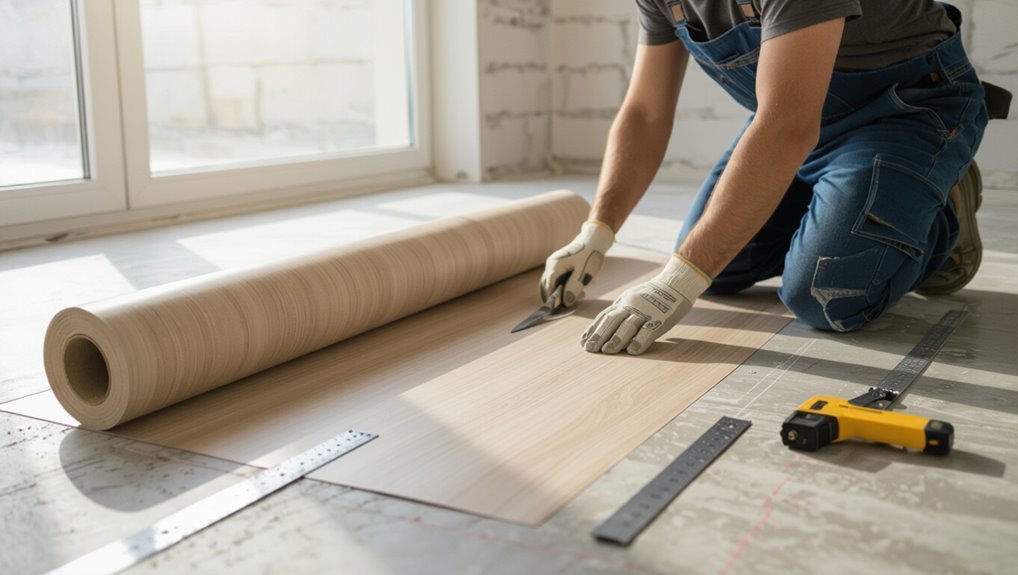
Once you’ve got your layout lines down and the vinyl relaxed, measure the room and cut each sheet so edges meet neatly at planned seams.
You’ll choose between running one continuous sheet for small rooms or matching multiple sheets with a careful seam plan in larger spaces.
Trim with a straightedge and utility knife, leaving extra at walls.
Label pieces, test-fit seams, and adjust cuts.
Step 4: Apply adhesive types and methods (full-spread, perimeter, pressure-sensitive)
With your sheets cut, fitted, and labeled, it’s time to secure them to the subfloor. Choose full-spread for permanent, perimeter for floating edges, or pressure-sensitive for repositionable installs. Apply adhesive evenly, follow open time, and use a roller to guarantee contact.
| Method | Best for | Notes |
|---|---|---|
| Full-spread | High traffic | Permanent bond |
| Perimeter | Large sheets | Saves adhesive |
| Pressure-sensitive | Patterns | Repositionable |
Step 5: Laying the sheet and smoothing out air bubbles
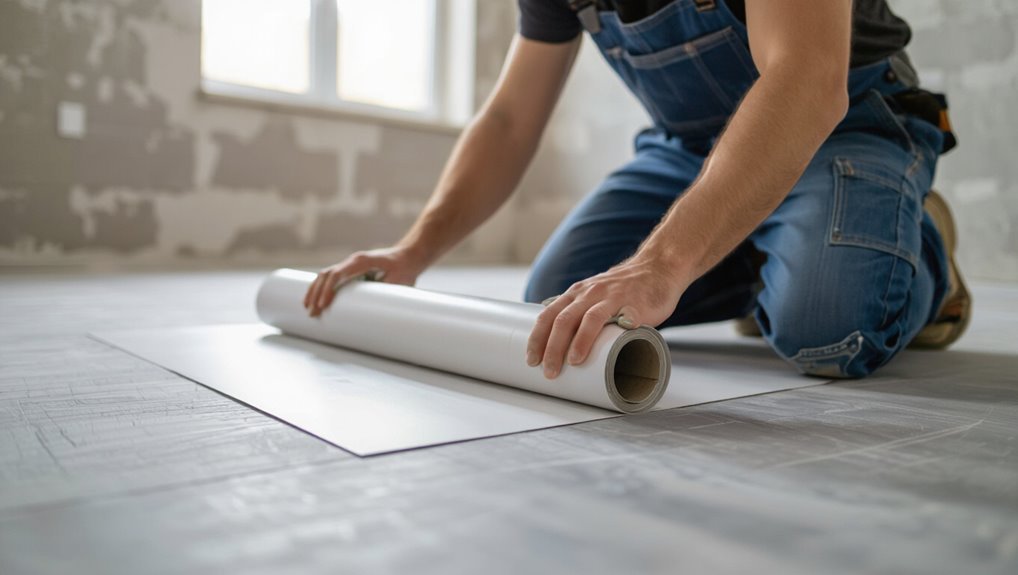
After you’ve aligned the sheet over the adhesive, press it down gradually from the center toward the edges so trapped air and excess adhesive can escape.
Use a kneading motion with a floor roller or a clean, soft-bristle push broom, working in overlapping passes.
Smooth seams and edges, lift to remove persistent bubbles, then re-roll to guarantee full contact and even adhesion.
Step 6: Seaming techniques and heat-welding vs. seam tape
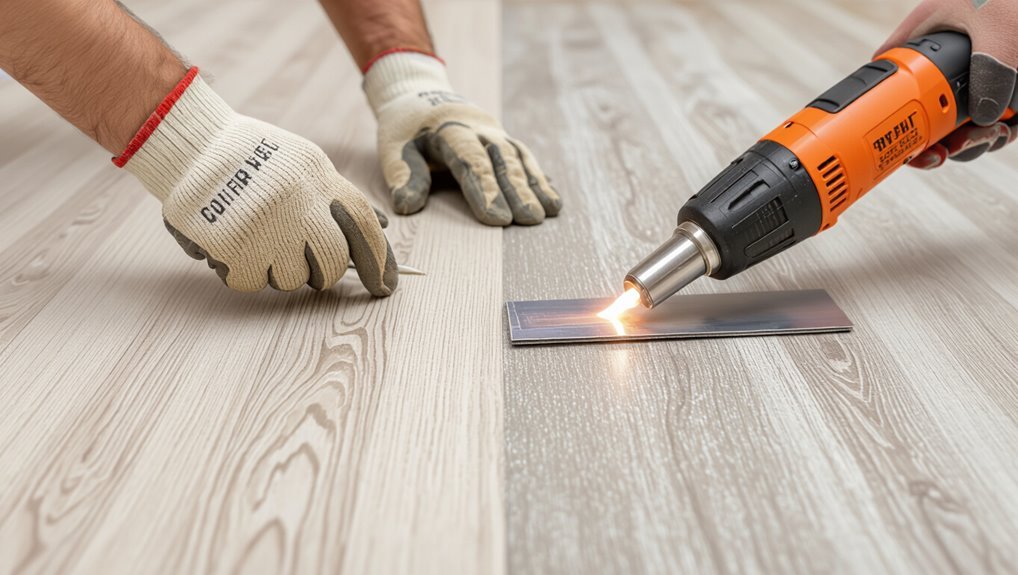
Now that the sheet is smoothed and firmly set, you’ll move on to joining adjacent sheets so the floor looks seamless and stays watertight.
Choose heat-welding for a permanent, professional seam or seam tape for a simpler DIY fix.
Prepare edges, align carefully, and finish cleanly.
- Heat-weld: durable, needs tool.
- Seam tape: quick, less permanent.
- Test bond before trimming.
Step 7: Trim edges and install transition strips and moldings
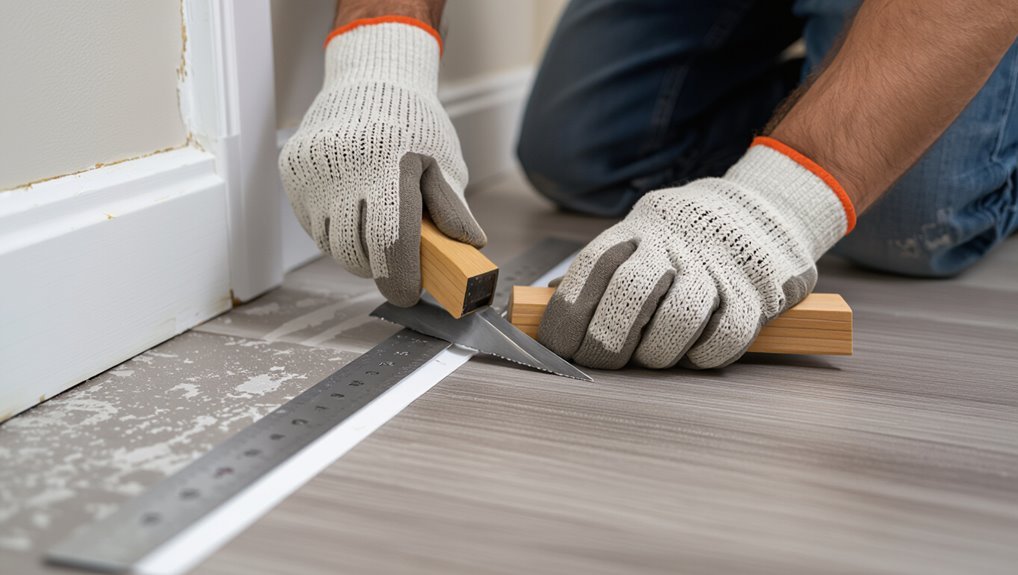
Finish the edges by trimming the excess vinyl so it fits snugly against walls and fixtures.
Then attach threshold strips and moldings to protect seams and create a clean, professional look.
Use a sharp utility knife and straightedge for precise cuts.
Tuck vinyl into gaps with a pull bar, fasten connector strips with screws or adhesive, and install quarter-round or base shoe for a finished, secure perimeter.
Step 8: Roll the floor and allow cure time
With the edges trimmed and moldings secured, you’re ready to roll the vinyl to guarantee full adhesive contact and a smooth surface.
Use a 100–150 lb floor roller, work slowly in overlapping passes from center outward, and re-roll high-traffic areas.
Wipe any adhesive squeeze-out immediately.
Let the adhesive cure per manufacturer instructions—usually 24–72 hours—before moving furniture or heavy traffic.
Finishing and Aftercare
Once the sheet’s trimmed and adhered, you’ll clean up residue and inspect seams for any gaps.
Let the adhesive cure per the manufacturer’s timeline before heavy use or moving furniture onto the floor.
For long-term care, use recommended cleaners, protect high-traffic areas, and avoid sharp or abrasive items that can damage the surface.
Cleanup and initial maintenance steps
1 important task remains after laying your vinyl sheet: clean up carefully and start regular maintenance so the floor stays looking new.
Remove adhesive residue with manufacturer-recommended cleaner, wipe seams dry, and trim stray edges. Wait until the surface’s tack is gone before heavy traffic.
Sweep daily, damp-mop weekly with mild solution, and place protective pads under furniture to prevent scratches and tears.
Recommended curing and usage timelines
Although vinyl sheet feels stable after installation, it needs time to cure before you put it under regular stress; allow 24–48 hours for light foot traffic, 72 hours for furniture with glides, and up to 7 days for heavy rolling loads like appliances or loaded carts, following the manufacturer’s specific recommendations.
Check adhesive cure charts, keep temperature and humidity stable, and avoid cleaning or sealing until full cure.
Long-term maintenance tips (cleaners, avoiding damage)
After the curing period, you’ll want to protect your vinyl sheet flooring with regular, sensible care to keep it looking new and lasting years.
Sweep or vacuum frequently to remove grit. Mop with a pH-neutral cleaner and avoid harsh chemicals, waxes, or steam cleaners.
Use felt pads under furniture, door mats at entrances, and promptly wipe spills to prevent staining and adhesive breakdown.
Common Problems and How to Fix Them
If you spot issues after installation, don’t panic—you can usually fix them yourself with the right steps.
You’ll learn how to diagnose and remove trapped moisture and bubbling, reseal visible seams or lift edges, and treat stains, discoloration, or surface damage.
Follow straightforward remediation and repair tips to restore your vinyl sheet floor.
Trapped moisture and bubbling diagnosis and remediation
When moisture gets trapped beneath vinyl sheet flooring, you’ll often see bubbling, lifting, or soft spots that spread if you don’t act quickly.
Diagnosing the cause lets you choose the right fix—whether it’s localized drying, adhesive replacement, or substrate repair.
Check for recent spills, plumbing leaks, or high RH.
Use a moisture meter, cut a small test patch, dry and patch or replace adhesive and damaged substrate as needed.
Visible seams or lifting edges repair steps
Moisture issues can also show up as visible seams or lifting edges. So once you’ve handled any trapped water, move on to inspecting joins and perimeters for gaps, curling, or exposed underlayment.
Clean debris, lift edges, and apply recommended adhesive beneath the sheet; press seams with a roller. Trim damaged edges, seam-weld or glue, and weight until cured to prevent recurrence.
Stains, discoloration, and surface damage treatment options
Many stains, fading, and surface damage are fixable without replacing the whole sheet—start by identifying the problem type and its cause.
For surface marks, clean with a mild detergent and soft scrub; for discoloration from sunlight, consider area rugs or UV-blocking film; for gouges, use vinyl repair kits or color-matched filler.
Deep stains may need professional extraction or targeted replacement.
Best Practices and Pro Tips
Pick an adhesive rated for concrete and follow the manufacturer’s instructions to guarantee a lasting bond.
Decide whether the job is within your skill set—hire a pro for large areas, tricky seams, or problems with subfloor prep.
Save money by buying quality materials in bulk and tackling simple prep work yourself without cutting corners.
Choosing the right adhesive for concrete
Before you spread any adhesive, assess the concrete’s condition and the job’s demands so you can choose a product formulated for your substrate, traffic level, and environment.
Pick a pressure-sensitive or permanent vinyl adhesive rated for concrete, moisture-tolerant if needed, and compatible with your sheet backing.
Follow manufacturer drying times, trowel size, and temperature guidelines to guarantee proper bond and long-term performance.
When to hire a professional vs. DIY considerations
If you’ve never worked with large sheet materials or your subfloor has damage, hire a pro—otherwise you can save money doing it yourself with careful planning and the right tools.
Decide based on skill, time, and complexity.
- Skill: practice seams, cutting, adhesive application.
- Time: allow full-day installation plus curing.
- Complexity: uneven concrete or intricate layouts need pros.
Cost-saving tips without sacrificing quality
One smart way to cut costs without skimping on results is to prioritize prep and tools: get your measurements right, fix subfloor issues, and invest in a few quality tools you’ll use again (straightedge, utility knife, seam roller), and you’ll avoid costly mistakes and rework.
Buy durable vinyl remnants for small areas, compare adhesive prices, reuse underlayment when sound, and time purchases during sales.
Comparison Installation Methods and Materials
You’ll compare glue-down, loose-lay, and adhesive-backed vinyl sheet options so you can pick the best fit for your project. Below is a quick snapshot comparing their installation style and typical use; then consider how sheet compares to plank/tile on concrete. Use this to decide which method and material match your skill level and subfloor condition.
| Method/Material | Key difference |
|---|---|
| Glue-down vs loose-lay vs adhesive-backed | Glue-down is permanent, loose-lay relies on weight/friction, adhesive-backed has peel-and-stick convenience |
| Vinyl sheet vs vinyl plank/tile on concrete | Sheet gives seamless coverage and tolerates minor imperfections; plank/tile may need underlayment or moisture mitigation |
| Best choice guide | Choose based on permanence desired, subfloor prep required, and room use (wet areas, high traffic) |
Glue-down vinyl sheet vs. loose-lay vs. adhesive-backed
When choosing between glue-down vinyl sheet, loose-lay, and adhesive-backed options, consider how each method affects installation time, floor stability, and future maintenance.
Glue-down offers permanent, smooth adhesion ideal for high traffic but needs careful subfloor prep.
Loose-lay installs fastest and is replaceable but can shift without textured backing.
Adhesive-backed balances ease and stability, yet may complicate removal and repairs.
Vinyl sheet vs. vinyl plank/tile for concrete
Choosing between vinyl sheet and vinyl plank/tile for concrete comes down to how the materials handle subfloor prep, moisture, and movement.
Vinyl sheet covers seams and tolerates minor imperfections, reducing prep and moisture risk when fully adhered.
Planks/tiles mimic wood/stone and allow easier repairs but need flatter, drier concrete and careful perimeter fastening to accommodate movement without buckling or gaps.
FAQ Frequently Asked Questions
You’ll find answers here to common concerns like installing over painted concrete, testing for moisture, and expected lifespan on concrete.
Learn whether occasional basement dampness is a deal-breaker and how to check if seams will show over time.
If a question isn’t covered, ask and we’ll clarify for your situation.
Can I install vinyl sheet flooring over a painted concrete floor?
Can you install vinyl sheet flooring over a painted concrete floor? Yes, but only if the paint is firmly bonded, non-peeling, and smooth.
Clean thoroughly, sand glossy finishes, and remove loose paint. Use a compatible adhesive recommended for painted substrates and follow manufacturer guidelines.
If paint fails or traps moisture, remove it and prep bare concrete for a reliable, long-lasting installation.
How do I test concrete for moisture before installing?
How do you know if your concrete is dry enough for vinyl sheet flooring?
Use a reliable moisture test: a calcium chloride test or in-situ relative humidity probe.
Follow manufacturer’s moisture limits (usually % or RH).
Also tape a plastic sheet to the slab for 24–72 hours; condensation indicates moisture.
Record results, address excess moisture with mitigation before installing.
How long does vinyl sheet flooring last on concrete?
Wondering how long vinyl sheet flooring will last on concrete?
Properly installed and maintained, vinyl sheet can last 10–25 years depending on traffic, quality, and care.
Use a quality underlayment, avoid sharp objects, clean spills promptly, and follow manufacturer guidelines.
Higher-grade products and low-moisture, moderate-traffic areas push lifespan toward the upper end; heavy use shortens it.
Can I install vinyl sheet flooring in basements with occasional dampness?
If your basement gets occasional dampness, vinyl sheet can still be a good option—but you’ll need to manage moisture first and choose the right product and installation methods.
Test for moisture, fix leaks, and use a vapor barrier or moisture-mitigating adhesive.
Pick waterproof, glued-down or loose-lay vinyl rated for basements.
Allow proper acclimation and slope water away; monitor humidity to prevent mold.
Do seams in vinyl sheet flooring on concrete show over time?
Will seams remain visible over time on vinyl sheet installed over concrete? Properly welded or tightly glued seams become nearly invisible, especially with matching patterns.
If seams are poorly aligned, allowed to lift, or the subfloor shifts, gaps and edges can show. Maintain stable concrete, use recommended adhesives or heat welding, and address damage promptly to keep seams discreet and durable.