How to Clean Stained Cement Floors and Restore Their Natural Look
You can often restore stained cement floors to a natural look by identifying the stain, using the right cleaners or mechanical methods, and sealing the surface to prevent recurrence. Start by sweeping and testing spots with water, vinegar, or solvents to gauge depth. Use degreasers for oil, biocides for organic growth, oxalic or rust removers for rust, and mild acid or grinders for deep stains, then neutralize and rinse before sealing. Keep going to learn specific steps and tips.
Quick Answer Can You Restore Stained Cement Floors to Their Natural Look?
Yes — you can often get cement floors looking much closer to their natural state, but results depend on the stain type and how long it’s been there.
For quick fixes, degreasers, concrete cleaners, and a scrub brush or pressure washer usually work fast on fresh or surface stains.
Expect deeper or old stains to need stronger treatments like poultices, muriatic acid, or professional restoration, and know complete perfection isn’t guaranteed.
Immediate Summary: What Works Fast and What to Expect
Although you can’t always return heavily stained or color-treated concrete to a brand-new appearance, you can quickly improve most stains with the right approach: degrease, scrub, and either etch or apply a mild acid cleaner for mineral marks, then rinse thoroughly.
You’ll learn how to clean stained cement floors efficiently, what tools and cleaners work fast, realistic results to expect, and when to call a pro.
Basic Understanding Cement Floors, Stains, and Surface Types
Before you start cleaning, you should know the difference between cement, concrete, mortar, and surface toppings since each responds differently to cleaners.
Identify the finish—polished, sealed, painted, or epoxy—because porosity and sealants control how chemical, organic, rust, oil stains or efflorescence penetrate and how deeply you’ll need to treat them.
That basic understanding helps you pick the right cleaner and method so you don’t damage the floor while removing the stain.
What Is “Cement” vs. Concrete, Mortar, and Toppings
Materials matter: cement itself is a powdered binder you mix with water to make paste, while concrete is that paste combined with sand and gravel to form the structural material you walk on.
Mortar is cement mixed with sand (no large aggregate) for bonding bricks or blocks, and toppings are thin cement-based layers or finishes applied over existing slabs to level or protect them.
Know which material you’re cleaning—porosity, strength, and surface residue differ.
Common Types of Cement Floor Finishes (Polished, Sealed, Painted, Epoxy)
When you’re deciding how to finish a cement floor, know that the surface treatment changes how stains behave and how you’ll clean them.
Polished concrete is dense and easier to wipe. Sealers block penetration but may wear.
Paint hides but chips. Epoxy creates a durable, nonporous layer that’s chemical-resistant.
Choose based on traffic, maintenance effort, and desired appearance.
Why Stains Happen: Chemical, Organic, Rust, Oil, Efflorescence
Different finishes change how stains look and behave, so you’ll want to match cleaning methods to the surface type.
Stains occur when substances contact cement: acids and chemicals etch, organic matter (coffee, food) leaves pigments and molds, rust from metal oxidizes, oils soak into pores and darken, and efflorescence deposits salts that whiten surfaces.
Identify type before treating.
How Porosity and Sealants Affect Stain Penetration
Because cement soaks up liquids like a sponge unless you block the pores, how deep a stain goes depends largely on porosity and whether the surface’s sealed.
If your slab’s porous or unsealed, oil and liquids penetrate, needing stronger cleaners or grinding.
A good penetrating sealer or topical finish limits absorption, makes stains stay surface-level, and simplifies routine cleaning and stain removal.
Safety, Tools, and Materials Checklist
Before you start, make sure you’ve got the right PPE and proper ventilation to protect your lungs and skin.
Gather essential tools like brooms, scrubbers, a pressure washer or grinder, and the cleaning agents you’ll need—degreasers, alkaline cleaners, oxalic or acid wash, and rust removers—plus any sealers, densifiers, or polishes for restoration.
If stains are extensive or you’re unsure about using strong chemicals or equipment, call a professional.
Personal Protective Equipment (PPE) and Ventilation
Safety gear and good airflow are essential when you clean stained cement—don’t skip them. You’ll need chemical-resistant gloves, eye protection, a respirator rated for dust and fumes, and knee pads for prolonged work.
Open doors and windows, use fans or a ventilator to exhaust fumes, and avoid confined spaces. Check labels for additional PPE recommendations before you start.
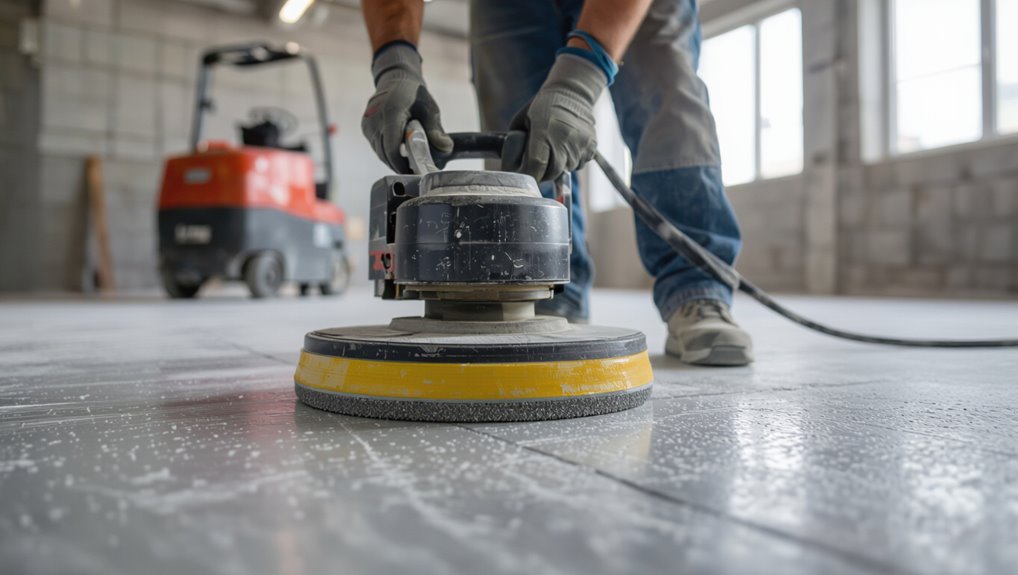
Essential Tools (Brooms, Scrubbers, Pressure Washer, Grinder)
Now that you’ve got your PPE and airflow sorted, gather the right tools so the job goes faster and cleaner.
You’ll need stiff brooms, push broom, and hand brushes for debris; a deck brush or rotary scrubber for deep scrubbing; a pressure washer with adjustable PSI for outdoor areas; and a concrete grinder or diamond cup wheel for heavy stains, smoothing, or prep before sealing.
Cleaning Agents and Chemicals to Have (Degreasers, Acid Wash, Oxalic Acid, Rust Removers, Alkaline Cleaners)
Because different stains need different chemistries, you’ll want a small, organized kit of cleaners: a degreaser for oil and grease, an alkaline cleaner for general dirt and organic soils, oxalic acid or a rust remover for iron stains, and a mild acid wash (like diluted muriatic acid) for efflorescence and mineral buildup—plus pH-neutral rinses and a neutralizer.
Wear goggles, gloves, respirator; ventilate, store safely.
Sealers, Densifiers, and Polishes for Restoration
Before sealing or polishing, make sure you’ve planned the restoration steps and gathered the right PPE and supplies so the finish goes on clean and performs well.
Choose a compatible densifier to harden porous cement, select a breathable sealer (penetrating or topical) for desired sheen, and pick a polish or buffing pad.
Have respirator, gloves, cleaner, squeegee, sprayer, and timers ready.
When to Call a Professional
Once you’ve prepared the surface and picked products, decide whether the job stays DIY or needs a pro—especially when safety, tools, or material limits come into play.
You should call a professional if:
- You lack PPE or ventilation for harsh chemicals.
- The stain is extensive or structural.
- You need heavy grinders or diamond pads.
- Warranty or code compliance matters; pros handle permits.
Quick Test How to Diagnose the Stain Type and Depth
Start by doing simple spot tests—drop water, vinegar, and a solvent on separate small areas—to see how the stain reacts.
If a quick scrape or light sanding removes color, it’s likely a surface stain; if it persists, the stain has penetrated deeper.
Photograph and map the stained spots so you can track tests and treatments.
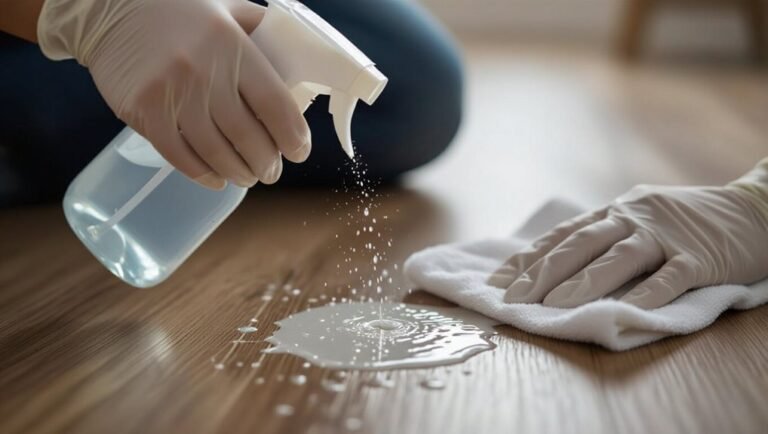
Simple Spot Tests (Water, Vinegar, Solvent)
Because different stains react differently, doing three quick spot tests with water, vinegar, and a solvent helps you identify what’s on the concrete and how deep it goes.
Dab clear water—if it beads, surface sealer is present.
Use diluted vinegar for organic stains; fading means organic.
Apply a small solvent (acetone) for oil/paint; lifting indicates penetrating hydrocarbons.
Rinse and note results.
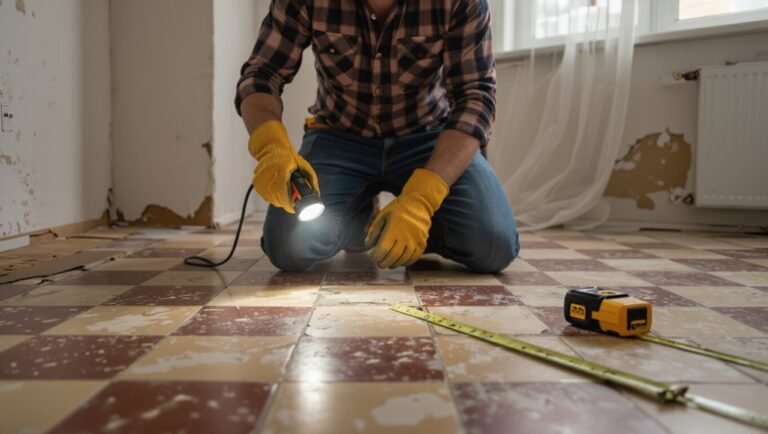
Scrape/Sand Test to Check Surface vs. Penetrating Stains
After your spot tests tell you whether a stain is likely organic, oily, or sealed at the surface, use a quick scrape or light sanding to see how deeply it’s set.
Scrape with a plastic scraper or sand gently with 120–220 grit. If pigment lifts, it’s surface-level; if color remains, it’s penetrated.
Note results to choose cleaning or deeper removal methods.
Photo Documentation and Mapping Stained Areas
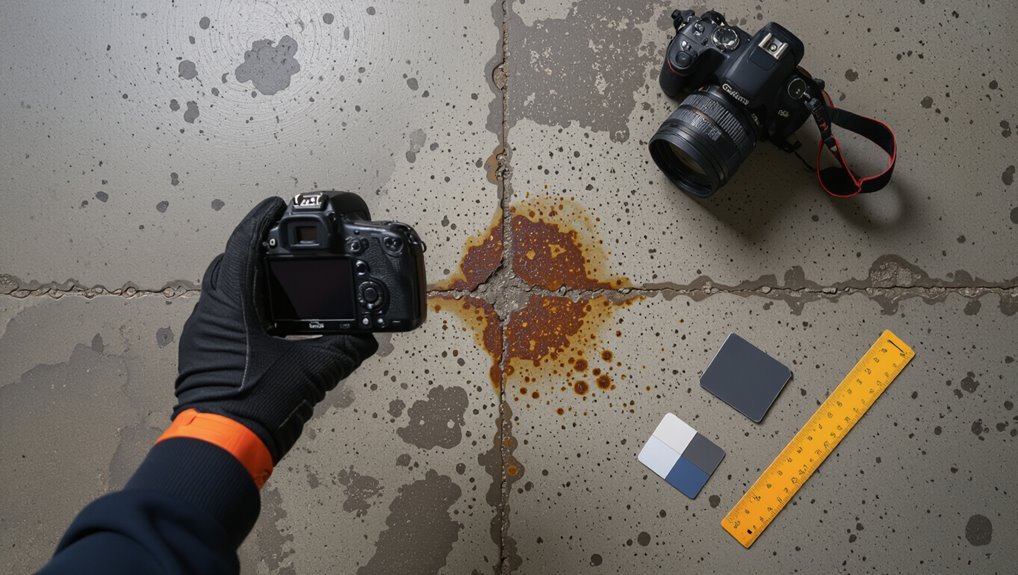
When you’re ready to move beyond spot tests, photograph and map every stained area so you’ve got a clear record of type, size, and depth for planning repairs.
Use a scale or ruler in shots, label images with locations, note visible color, texture, and moisture, and mark penetrating versus surface stains.
Store files chronologically to track changes and treatment progress.
Step-by-Step Restoration Process
Now that you’ve identified the stain type and depth, you’ll follow a clear restoration sequence to get the cement back to shape.
Start by preparing and protecting the area, then remove loose debris and tackle contaminants from grease and oil to organic growth and rust with the appropriate treatments.
I’ll walk you through each step so you know which cleaner and method to use for every stain.
Step 1 Prepare the Area: Clear, Sweep, and Protect Surroundings
Start by clearing the room of furniture, rugs, and loose items so you can work freely and see every stained area.
Sweep thoroughly to remove dust and grit that can scratch the floor during cleaning, and lay down plastic sheeting or drop cloths to protect nearby walls, cabinets, and anything that stays in place.
Tape edges, protect vents and electricals, and guarantee good ventilation before starting.
Step 2 Remove Loose Debris and Surface Contaminants
With the area prepared, move on to removing loose debris and surface contaminants so your cleaning solutions can work directly on the stain.
Sweep thoroughly with a stiff broom, then vacuum or blow out remaining dust.
Use a plastic scraper for stuck-on grit and a stiff nylon brush to loosen dirt.
Rinse with clear water and let the surface dry before treating stains.
Step 3 Grease and Oil Removal Techniques
Start by blotting fresh grease with absorbents like cat litter or baking soda. Then sweep them up to lift surface oil.
Use a commercial degreaser for stubborn residue, scrubbing with a stiff brush and rinsing thoroughly.
For deep-set spots, make a poultice of powdered absorbent and degreaser. Apply it to the stain, cover, let it sit, then remove and repeat as needed.
Using Absorbents and Degreasers
Step 3 focuses on removing grease and oil using absorbents and degreasers, and you’ll want to act quickly to prevent the stain from setting.
Blot excess oil, cover with kitty litter or baking soda for 30–60 minutes, then sweep.
Apply a concrete-safe degreaser, scrub with a stiff brush, rinse thoroughly, and repeat if needed.
Dry and inspect before proceeding.
Poultice Methods for Deep Oil Spots
Although surface treatments often lift fresh spills, deep-set oil needs a poultice to draw it out: mix absorbent (diatomaceous earth or baking soda) with a solvent or degreaser to form a thick paste.
Spread over stain, cover with plastic, seal edges, and weight. Let sit 24–48 hours, then scrape, vacuum, and rinse.
Repeat if needed until stain fades.
Step 4 Organic Stains (Mold, Algae, Food) Removal
For organic stains like mold, algae, and food you’ll get the best results by using a targeted biocide or enzyme cleaner that breaks down the organic material.
Apply the product according to the label, let it sit the recommended time, then scrub with a stiff brush or deck brush to lift the residue.
Rinse thoroughly and repeat spot treatments as needed until the stain is gone.
Biocide/Enzyme Cleaners and Scrubbing Procedures
Start by choosing the right biocide or enzyme cleaner for the specific organic stain—mold, algae, or food—and follow the product label for dilution and dwell time.
Apply evenly, let dwell, then scrub with a stiff nylon brush or mechanical scrubber in small sections.
Rinse thoroughly, repeat if needed, and neutralize per label.
Wear PPE and ventilate the area throughout the process.
Step 5 Rust and Metal Stain Treatment
Rust and metal stains often need stronger treatments, and you’ll usually reach for oxalic acid or a commercial rust remover.
You should read labels carefully, wear gloves and eye protection, and test a small hidden area first.
Work in a well-ventilated space and neutralize or rinse thoroughly after treatment to protect the concrete and surrounding surfaces.
Safe Use of Oxalic Acid and Commercial Rust Removers
When you’re ready to tackle rust and metal stains, use oxalic acid or a commercial remover cautiously and with protective gear—gloves, eye protection, and a respirator if the product label recommends it—because these chemicals can irritate skin, eyes, and lungs and may damage surrounding surfaces if misapplied.
Test a small area, dilute per instructions, apply briefly, scrub gently, rinse thoroughly, and neutralize any residue.
Step 6 Efflorescence and Mineral Stains (Acid Washing)
When you’re ready to tackle efflorescence and mineral stains, mixing the acid at the correct ratio is critical to avoid etching the concrete.
Use the manufacturer’s recommended dilution and always have a neutralizer (like a baking soda solution) on hand to stop the reaction when you’re done.
Rinse thoroughly and test a small area first so you know the solution and neutralization will work safely.
Proper Acid Wash Ratios and Neutralization
Although acid washing is effective on efflorescence and mineral stains, you’ve got to mix the solution correctly and neutralize thoroughly afterward to avoid etching or ongoing chemical reactions.
Use one part muriatic acid to ten parts water for light deposits; stronger stains may need one to five. Rinse well, then apply a bicarbonate solution to neutralize, rinse again, and dry completely.
Step 7 Paint, Epoxy, and Sealant Stripping
When you need to remove old paint, epoxy, or sealant from cement, you’ll choose between mechanical methods like grinders and shot blasting or chemical strippers.
Mechanical methods remove coatings faster and without harsh solvents but create dust and require more protective gear.
On the other hand, chemical strippers can reach tight areas and reduce dust but need careful handling and rinsing.
We’ll compare effectiveness, safety, and cleanup to help you pick the right approach for your floor.
Mechanical Methods (Grinders, Shot Blasting) vs. Chemical Strippers
Decide whether to attack old paint, epoxy, and sealant with mechanical means or chemical strippers by weighing speed, dust and fume control, surface profile, and substrate sensitivity.
Use grinders or shot blasters for fast removal and profile creation but contain dust and protect nearby surfaces.
Choose chemical strippers for delicate substrates or confined spaces; ventilate, neutralize residues, and test a small area first.
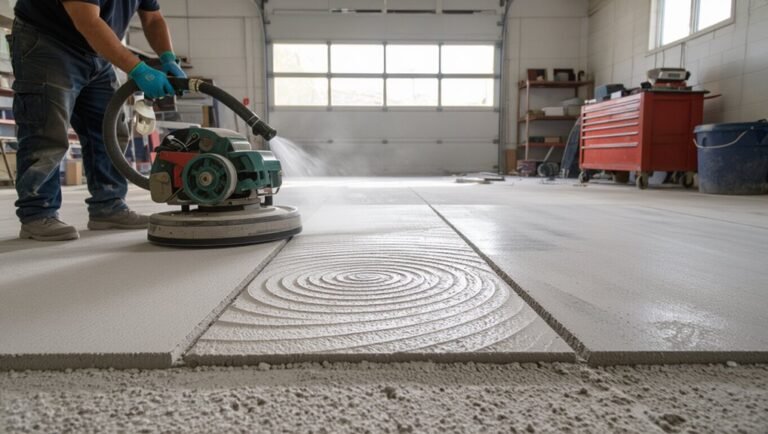
Step 8 Grinding and Polishing for Surface-Level Restoration
Now you’ll choose grit progression strategically, starting with coarser grits to remove deep blemishes and moving to finer grits for a smooth finish.
You should switch to diamond pads when you need faster cutting action or are working on very hard or dense concrete.
Match pad grit to the surface condition and don’t skip too many steps to avoid swirl marks and uneven gloss.
Grit Progression and When to Use Diamond Pads
Because abrasion builds gradually, you’ll work through a planned grit progression so each pass removes the scratches from the previous one and readies the surface for finer polishing.
Start coarse (30–60) to remove stains and pits, move to mid (100–200) to refine, then fine (400–1500+) for shine.
Use resin-bond diamond pads for finer grits and metal-bond for heavy stock removal.
Step 9 Rinse, Neutralize, and Drying Best Practices
After rinsing away cleaning residues, you’ll neutralize any remaining alkaline or acidic agents and then dry the surface thoroughly to prevent re-soiling or efflorescence.
Use a pH-neutralizer per label, mop or rinse twice, then squeegee to remove water.
Ventilate, run fans, and use dehumidifiers in humid areas.
Confirm concrete is bone-dry before proceeding to sealing or finish work.
Step 10 Repairing Cracks and Pitting Before Sealing
Before sealing, you’ll need to choose a patch material that’s compatible with your cement and the sealer you plan to use.
Use polymer-modified cement or epoxy fillers for larger cracks and a thin cementitious patch for shallow pitting, following manufacturer mixing and cure times.
Apply in thin layers, tool smooth, and sand or grind flush before sealing to guarantee adhesion and a uniform finish.
Compatible Patch Materials and Application Tips
Step 10 focuses on choosing compatible patch materials and applying them correctly so your repairs bond well and look seamless. Use polymer-modified cement, epoxy, or vinyl patch compounds depending on the depth and movement of the crack, and match cure times and thermal expansion to the existing slab.
Clean, widen cracks, dampen substrate, trowel or pour compound, tool edges, cure fully, and sand flush before sealing.
Step 11 Choose and Apply Sealer or Finish (Densifier, Penetrating, Topcoat)
Now you’ll pick a sealer that matches the natural look you want—matte for subtlety, satin for a soft sheen, or gloss for a wet look.
Consider how densifiers and penetrating sealers preserve texture while topcoats change appearance and durability.
Test your choice on a small patch to confirm color shift and finish before treating the whole floor.
How to Match Finish to Desired Natural Look
Want your concrete to look natural rather than plastic? Choose a finish based on sheen and depth:
Densifiers preserve texture with a matte feel, penetrating sealers enhance color subtly, and topcoats add gloss and protection.
Test small areas to compare sheen, slip resistance, and color shift.
Pick the least reflective option that still meets durability needs for an authentic, natural appearance.
Comparative Table Best Methods by Stain Type and Floor Condition
Although stain removal depends on variables like stain type, concrete porosity, and finish, a compact comparative table helps you pick the fastest, safest method for each situation.
| Stain Type | Floor Condition | Recommended Method |
|---|---|---|
| Oil/Grease | Porous/Old | Degreaser + poultice |
| Rust | Sealed/New | Oxalic acid rinse |
| Paint | Chipped/Damaged | Mechanical scrubbing |
Common Mistakes and How to Avoid Them
Don’t grab the strongest cleaner or mix chemicals without checking compatibility—you can etch or discolor the concrete.
Don’t over-grind or strip so much surface that you weaken the slab, and don’t seal until the concrete is fully dry and free of contaminants.
Also watch for subsurface problems like moisture or salt migration, since they’ll ruin any finish if you ignore them.
Using the Wrong Chemical or Concentration
When you grab a cleaner without checking its label or dilution, you can seriously damage the concrete or leave residues that attract more dirt.
Using too-strong acids can etch the surface while over-diluted solutions won’t remove the stain.
Read product instructions, test a small hidden area, use recommended dilutions, and choose pH-appropriate cleaners for oil, rust, or organic stains to avoid costly mistakes.
Over-Grinding or Removing Too Much Surface
If you grind too aggressively or use the wrong grit sequence, you can strip off more of the concrete’s surface than planned, weakening the slab, exposing aggregate, and creating uneven patches that’re hard to blend back in.
Stop, reassess grit progression, test in a small area, keep consistent passes, and use dust-control tools.
When unsure, hire a pro to avoid irreversible damage.
Sealing Over Wet or Contaminated Concrete
Because moisture and contaminants can ruin a sealer’s bond, you shouldn’t apply any coating until the slab’s completely dry and clean.
Sealing over wet or oily concrete traps moisture and contaminants under the film, causing blisters, peeling, and poor adhesion.
Test dryness with a moisture meter or tape method, degrease thoroughly, and allow full cure time.
If unsure, wait—rework beats costly failures.
Ignoring Subsurface Issues (Moisture, Salt Migration)
You may think the surface is the only thing that matters, but hidden moisture and salt migration will undermine any cleanup or coating you apply.
Test for moisture and efflorescence before cleaning or sealing. Use vapor barriers, proper drainage, or professional remediation if readings are high.
Address salts by dry brushing and suitable neutralizers.
Don’t seal until substrates are dry and stable.
Prevention and Long-Term Maintenance Strategies
To keep stains from coming back, you should set a simple routine cleaning schedule with gentle concrete cleaners and pH-neutral products.
Protect high-traffic areas with mats and consider topical coatings, then check seasonally for efflorescence or moisture issues.
Plan to recoat or reseal according to manufacturer intervals to preserve appearance and durability.
Routine Cleaning Schedule and Recommended Products
A simple weekly routine keeps stained cement looking its best and prevents small spots from becoming stubborn problems.
Sweep or dust-mop, then damp-mop with pH-neutral cleaner diluted per label. Treat spills immediately with a mild degreaser.
Monthly, use a gentle deep-clean product or enzymatic cleaner for organic stains.
Always test products in an inconspicuous spot before full application.
Protecting High-Traffic Zones (Mats, Coatings)
High-traffic zones get the brunt of wear and need extra protection, so place durable entrance mats, chair pads, and runners to trap grit and prevent abrasion while applying a tough, breathable topical coating where traffic is heaviest.
Combine physical barriers with periodic recoatings and spot inspections to extend the life of your stained cement. You should clean mats, rotate runners, and address scuffs promptly to avoid deep damage.
Seasonal Checks for Efflorescence and Moisture
Because moisture and salts can quietly ruin stained cement over time, you should schedule seasonal checks for efflorescence and hidden dampness to catch problems early.
Inspect baseboards, joints, and exterior walls for white powder, bubbling, or dark spots. Use a moisture meter, probe suspicious areas, and improve drainage or ventilation if readings are high.
Document findings and act promptly to prevent deterioration.
Recoating and Resealing Intervals
Recoating and resealing stained cement usually follows a simple schedule: inspect finish yearly and plan a light recoat every 2–4 years, with full resealing every 3–7 years depending on wear and exposure.
You should clean thoroughly, repair chips or cracks, then apply compatible product and follow cure times.
Track traffic zones and adjust intervals sooner where abrasion, sunlight, or chemicals accelerate wear.
Cost, Time, and When to Hire a Pro
Expect small DIY stain jobs to cost a few dollars to a couple hundred and take a couple hours, while larger restoration or replacement projects can run into the thousands and take days.
If stains won’t lift, the surface is crumbling, or coatings keep failing, you’ll want a pro to assess restoration versus replacement.
Ask contractors about their experience with cement, warranty, timeline, total cost breakdown, and whether they handle sealing and cleanup.
Typical DIY Cost and Time Estimates by Project Size
For a straightforward stained cement floor, you’ll usually spend far less time and money than a full resurfacing—small projects like a single garage bay can take a weekend and cost $50–$300 in materials, while larger areas or complex stains run $300–$1,200 and take a few days to a week.
Professional help becomes worth it when the job needs specialized prep, extensive repairs, or a flawless finish that you can’t achieve with basic tools.
Plan labor: expect 4–16 hours for small jobs, 1–5 days for bigger ones.
Factor in rental tools ($30–$100/day), sealers ($20–$200), and cleanup supplies.
Signs a Professional Restoration or Replacement Is Needed
Look for deep cracks, widespread flaking, large pits, or areas where the stain and sealer have worn away down to bare concrete—these are clear signs you should call a pro rather than try another DIY patch.
Hire one if structural movement, persistent moisture, extensive discoloration, or uneven surfaces persist.
Professionals can assess cost versus replacement, schedule the job, and deliver lasting repairs you likely can’t achieve alone.
Questions to Ask a Contractor
When should you call a contractor, and what should you ask before they start?
You’ll want clear answers on scope, cost, timeline, and guarantees. Ask:
- What’s the full estimate and payment schedule?
- How long will work take and any disruptions?
- Do you carry insurance and references?
- What warranty covers stains, repairs, or replacements?
Use responses to compare and decide.
Before-and-After Case Examples and Expected Results
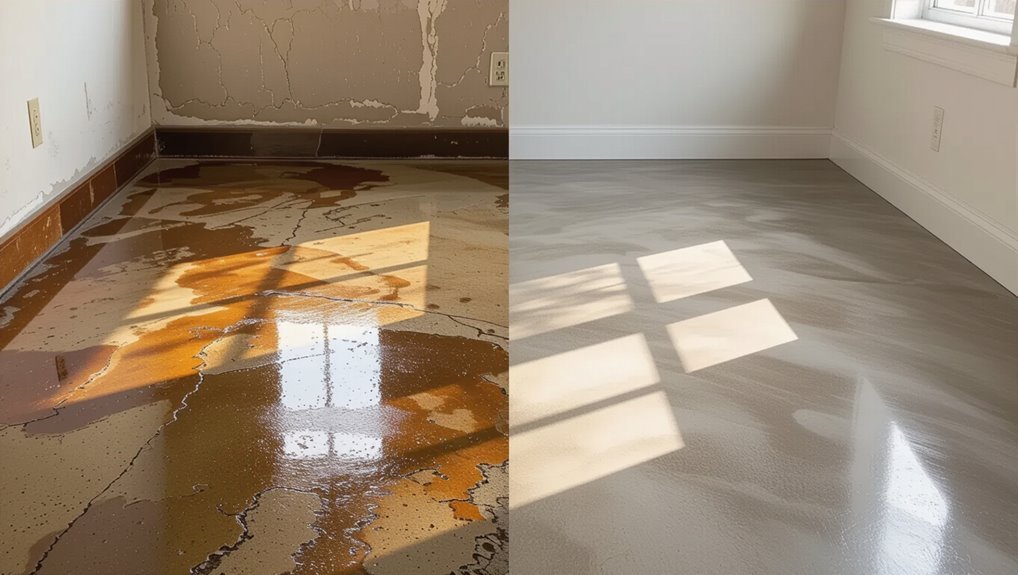
Anyone tackling stained cement wants to know what to expect, and before-and-after examples give you a realistic roadmap.
Look for photos showing similar stains, surface types, and treatments. Note how deep-set stains, etching, or color loss responded.
Expected results vary: light improvement to near-original look. Use examples to set realistic goals, timeline, and follow-up maintenance needs.
FAQ Fast Answers to Common Questions
You’ll get quick, practical answers to whether household bleach can lift stains, if pressure washing might harm your concrete, and how long to wait before sealing.
You’ll also learn whether you can restore stained concrete to a truly natural look and if eco-friendly cleaners handle oil and rust.
Use these FAQs to decide the best, safest next steps for your floor.
Can household bleach remove cement stains?
Curious whether household bleach can lift stains from cement? You can use diluted bleach for organic stains like mildew or algae—test a small area first.
Bleach won’t remove oil, rust, or deep-set pigments. Rinse thoroughly, protect surrounding plants, and wear gloves and eye protection.
For stubborn or non-organic stains, choose a targeted cleaner or consult a professional.
Will pressure washing damage my concrete?
If bleach won’t tackle certain stains, pressure washing often seems like the next step—but can it hurt your concrete?
You can use a pressure washer safely if you pick the right pressure (usually 1500–3000 PSI for exterior concrete), a wider nozzle, and keep the tip at least 12 inches away.
Test a small area first and avoid old, spalled, or decorative surfaces.
How long after cleaning should I wait to seal a floor?
After cleaning, wait until the concrete is completely dry before sealing—typically 24 to 72 hours depending on temperature, humidity, and how thoroughly you rinsed; use a moisture test (plastic sheet or probe) to confirm no trapped dampness.
Also make sure surface is free of residues and efflorescence, and repair cracks or loose material first.
Apply sealer per manufacturer instructions in thin, even coats.
Can stained concrete be returned to a truly “natural” look?
Want to remove stain and bring your concrete back to a more natural look? You can often reduce or remove surface stains with proper cleaners, scrubbing, and occasional light grinding.
Deep discoloration or chemical stains may need professional grinding or poultices. Expect some variation in color and texture; complete restoration to original, untouched concrete isn’t always guaranteed, but significant improvement is realistic.
Are eco-friendly cleaners effective on oil and rust?
Curious whether eco-friendly cleaners can tackle oil and rust? You can often remove fresh oil with plant-based degreasers and enzyme formulas; they lift stains without harsh chemicals.
Rust is trickier—citric-acid or vinegar-based eco products help light rust, but deep stains may need chelating agents or mild abrasion.
Always test a hidden spot and follow product instructions for best results.