How to Install a Tile Shower Floor Like a Pro
You can install a tile shower floor like a pro if you plan carefully, use the right tools, and follow proper waterproofing and slope rules. Start by evaluating the subfloor and drain, choose a preformed pan or mortar bed, set a 1/4″ per foot slope to the drain, install a reliable membrane and weep system, then lay tile with appropriate thinset and grout. Take your time and follow manufacturer instructions—keep going and you’ll learn detailed tips and fixes.
Can You Install a Tile Shower Floor Yourself?
Yes — you can install a tile shower floor yourself if you’re comfortable with basic tiling and plumbing prep.
Expect the project to take a weekend to a few days depending on complexity, and plan to use tools like a wet saw, trowel, level, grout float, and a membrane or mortar system.
It’s moderate difficulty: if you’re unsure about proper waterproofing or drain slopes, hire a pro.
One-paragraph direct answer with time, difficulty, and tools required
If you’re handy with basic tools and willing to follow detailed instructions, you can install a tile shower floor yourself; expect the project to take a weekend for a simple replacement (16–24 hours spread over 2–3 days) and longer—up to 3–4 days—for a full waterproofing and pan build.
- Time: weekend to several days.
- Difficulty: moderate; precision required.
- Tools: trowel, wet saw, level — learn how do you install a tile shower floor.
Basic Understanding What Is a Proper Tile Shower Floor?
To build a proper tile shower floor you need the right components—pan, mortar bed, waterproofing, drain and tile—and you should know how they work together.
You’ll choose among systems like preformed pans, traditional mortar beds with bonded waterproofing, and different drain layouts (linear or center).
Getting the slope and waterproofing correct keeps water flowing to the drain and prevents leaks and damage.
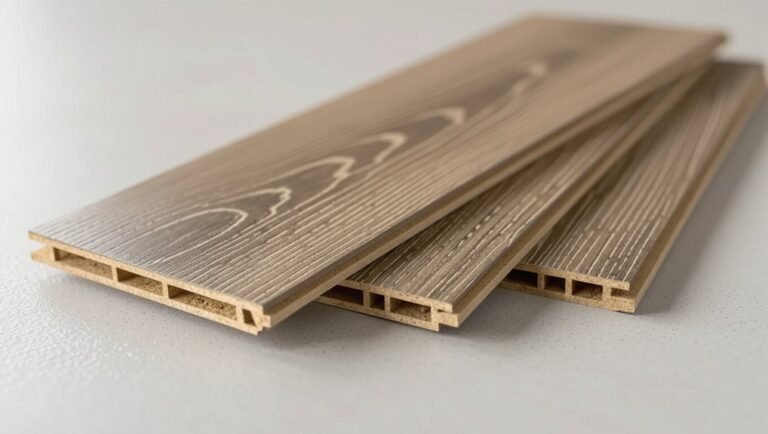
Components of a tiled shower floor (pan, mortar bed, waterproofing, drain, tile)
A proper tiled shower floor relies on five coordinated components—the pan (or pre-sloped base), a solid mortar bed, reliable waterproofing, a correctly installed drain, and the tile with suitable grout and sealant—and each one has to do its job for the floor to stay watertight and durable.
- Make certain the pan and slope direct water to the drain.
- Embed tile in a stable mortar bed.
- Apply continuous waterproofing and seal grout to prevent leaks.
Types of shower floor systems (preformed pans, mortar beds, bonded waterproofing, linear vs center drains)
You’ll encounter four main shower‑floor systems—preformed pans, traditional mortar beds, bonded waterproofing over a substrate, and variations in drain layout like center vs. linear—and choosing the right one decides how you’ll build slope, manage waterproofing, and tile the surface. Pick what fits your skill, budget, and style.
| Practical | Emotional |
|---|---|
| Preformed pan: quick, consistent | Relief |
| Mortar bed: custom, durable | Pride |
Why proper slope and waterproofing matter
When water doesn’t flow efficiently toward the drain, it soaks into grout and substrate, leading to mold, soft spots, and costly repairs—so you need a proper slope and reliable waterproofing from the start.
You’ll create a consistent 1/4″ per foot slope to shed water, choose tested membranes or pans, and seal junctions. That prevents leaks, preserves structure, and extends tile life.
Tools, Materials, and Safety Preparations
Before you start tiling, gather essential tools like trowels, a mixer, level, floats, and a tile cutter so you won’t stop mid-job.
Make a materials checklist—backer board, waterproof membrane, a proper weep system, thinset, grout, and your tiles—to guarantee everything’s on hand.
Set up ventilation, wear protective gear, and plan for a temporary shower closure to keep the workspace safe and functional.
Essential tools (trowels, mixer, level, floats, tile cutter)
Though the mix of tools might look intimidating at first, getting the right trowels, a reliable mixer, a true level, grout floats, and a good tile cutter will make the job predictable and much faster.
You’ll use them to set beds, mix consistent mortar, and cut clean edges.
Checklist rhythm:
- Trowels and mixer
- Level and floats
- Tile cutter and safety gear
Materials checklist (backer board, waterproof membrane, weep system, thinset, grout, tiles)
If you want a durable, leak-free tile shower floor, you need the right materials in the right quantities: cement backer board or a bonded mortar bed for a stable substrate, a waterproof membrane (sheet or liquid-applied), a weep/drainage system, polymer-modified thinset, grout suited to your tile and joint width, and the tiles themselves.
- Confirm quantities and compatibility.
- Choose membrane type and appropriate weep mat.
- Buy polymer thinset, suitable grout, spacers, and tile.
Safety and workspace setup (ventilation, protective gear, temporary shower closure)
With materials in hand, set up a safe, well-organized workspace so you can work efficiently and avoid accidents.
Seal the shower to prevent use, post warnings, and ventilate thoroughly—open windows, run exhaust fans, or use a respirator when cutting or mixing thinset.
Wear gloves, eye protection, a dust mask, knee pads, and sturdy shoes.
Keep tools orderly and a first-aid kit handy.
Step-by-Step Installation Guide
Now you’ll walk through the installation in clear, practical steps starting with evaluating the shower and measuring for the drain location.
You’ll demo and prep the subfloor, install or relocate the drain and choose between a preformed pan or a mortar bed for your pan build.
Finally, you’ll install the appropriate waterproofing membrane—whether a PVC liner, hot mop, liquid-applied system, or surface sheet—before tiling.
Step 1 Assess existing shower and measure for drain location
Before you cut or remove anything, take a close look at the existing shower and measure for the drain location so you know what you’re working with.
Confirm drain type, center point, and any offsets. Then record clear measurements to walls and curb.
Follow these steps:
- Note drain style and size.
- Measure from fixed reference points.
- Mark and photograph for future reference.
Step 2 Demo and prep the subfloor (remove old finish, inspect joists, ensure structural soundness)
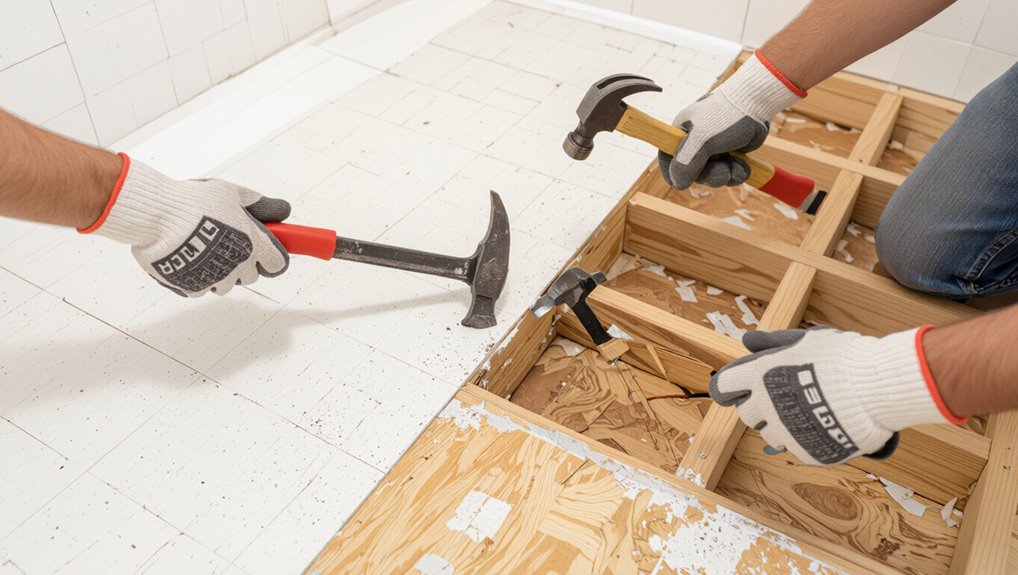
Start by stripping the old finish back to the structural subfloor so you can see what you’re working with; remove tile, mortar, thinset, and any underlayment down to the joists.
Then:
- Pry up damaged decking, clear debris, and vacuum the area.
- Inspect joists for rot, sag, and proper spacing; sister or replace as needed.
- Confirm the subfloor is flat, rigid, and securely fastened.
Step 3 Install or relocate drain assembly and weep/weep-less system
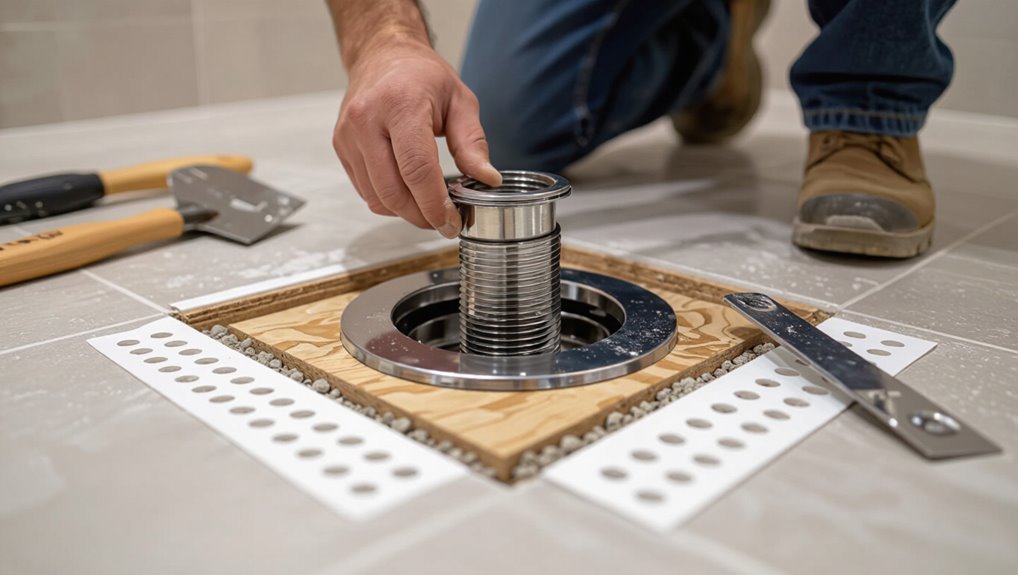
With the subfloor exposed and joists secured, you can move on to installing or relocating the shower drain and choosing between a traditional weep system or a weep-less assembly.
Follow these steps:
- Set drain flange height flush with finished pan thickness and secure waterproof flange.
- Install or convert to a weep-less cartridge if tight on clearance.
- Test for level, alignment, and watertight seal before proceeding.
Step 4 Build or install shower pan (preformed pan vs mortar bed) options and when to choose which
Although you can choose a preformed pan for speed or a mortar bed for customization, pick the option that matches your site conditions, skill level, and long-term maintenance goals.
- Preformed: quick, less skill, limited slope options.
- Mortar bed: custom slopes, higher skill, durable.
- Choose based on access, subfloor, and renovation scope.
| Type | Skill | Best use |
|---|---|---|
| Pan | Low | Retrofit |
| Mortar | High | New build |
| Hybrid | Medium | Compromise |
Step 5 Install waterproofing membrane (hot mop, PVC liner, liquid-applied membrane, surface-applied sheet)
Now that your shower pan choice is set and the substrate is prepared, you’ll install the waterproofing membrane that keeps water out of the structure.
Choose method, prep seams and drain, and follow manufacturer steps precisely.
- Apply membrane (hot mop, PVC liner, liquid, or sheet) per spec.
- Seal all seams, corners, and drain flashing.
- Test for leaks before tiling.
Step 6 Create proper slope (1/4 per foot) in mortar bed and compact
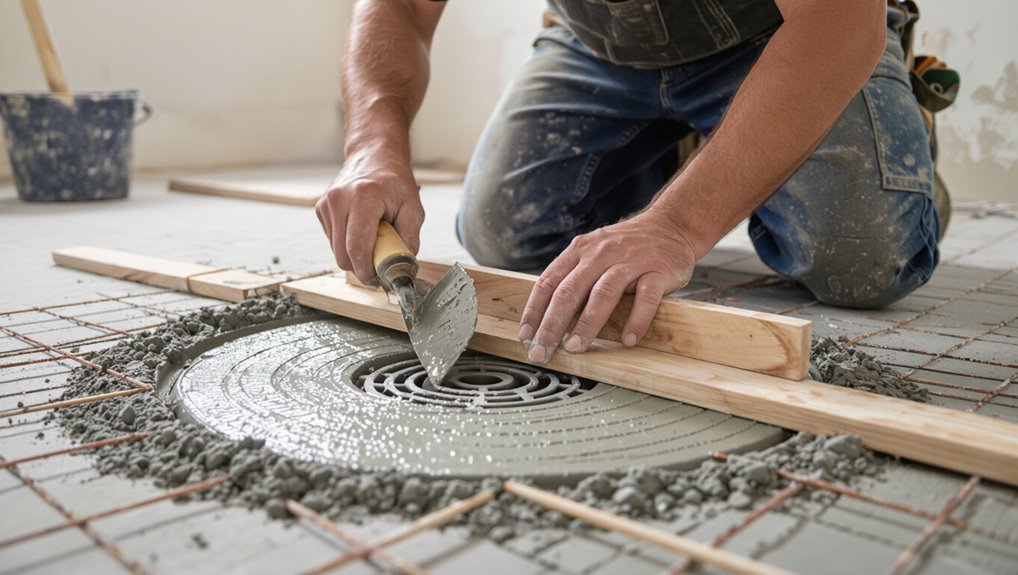
Start the mortar bed by setting screed guides from the drain outward so you can build a consistent 1/4‑inch per foot slope toward the drain.
Work in small sections, tamping and compacting mortar until firm.
Follow these steps:
- Screed between guides to rough grade the slope.
- Pack and compact with a wood float.
- Check slope with a level and adjust.
Step 7 Install tile backer and tile layout planning (dry layout, cuts, spacing)
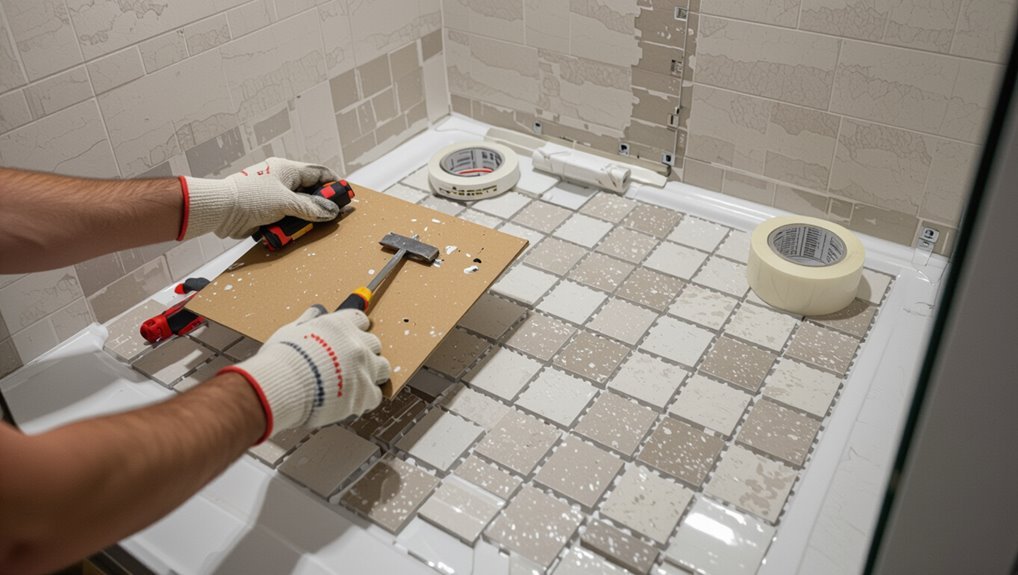
Step 7 brings the tile backer into place and lets you plan the tile layout so seams, cuts, and spacing look and perform right; you’ll dry-fit tiles, mark cuts, and set backer panels to guarantee a flat, supported surface that follows the mortar slope to the drain.
- Position backer panels, screw at recommended spacing.
- Dry-lay tiles, adjust pattern and grout lines.
- Mark and trim edge tiles for clean changes.
Step 8 Thinset application and tile setting (technique for small floor tiles and mosaics)
Spread a layer of thinset and set tiles with steady pressure and a twisting motion so each piece bonds fully to the mortar bed and sits flush with adjacent tiles.
- Use a 1/16″ or 1/8″ trowel for mosaics, comb in one direction.
- Press tiles into thinset, tapping with a rubber float to level.
- Clean excess thinset from joints before it skins over.
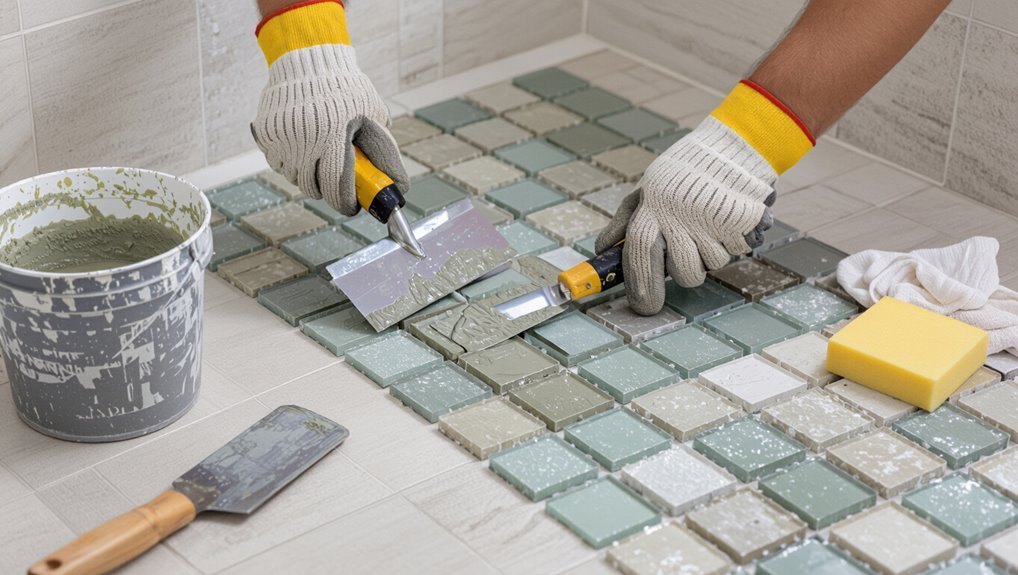
Step 9 Grouting, sealing, and finishing edges
Once your tiles are firmly bedded and you’ve wiped away excess thinset, you’ll move on to grouting, sealing, and finishing the edges to lock everything in and give the floor a clean, watertight finish.
- Mix grout to consistency, force into joints, and tool smooth.
- Wipe haze after skin forms; inspect for voids.
- Seal grout, apply silicone at perimeter, trim cleanly.
Step 10 Curing time, testing for leaks, and final cleanup
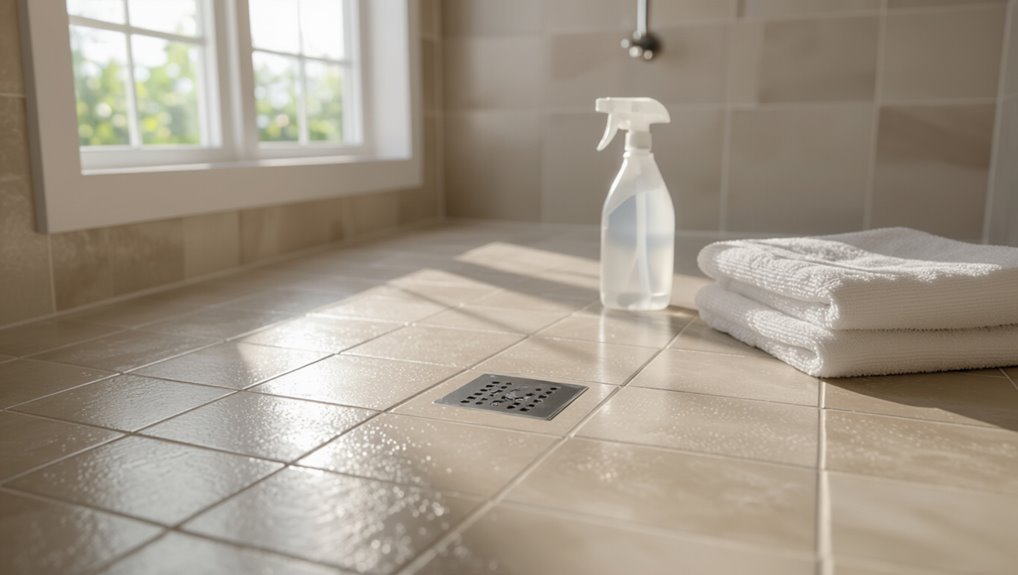
Give the newly finished shower floor at least 24–48 hours to cure before any regular use, and follow the grout and thinset manufacturer’s exact cure times if they specify longer.
During this period, keep the room dry, avoid stepping on the tiles, and maintain stable temperature and humidity so materials set properly.
- Inspect seams, test drain for slow fill, watch for leaks.
- Tighten fixtures, re-caulk joints where needed.
- Clean haze, vacuum grout lines, and apply sealer per instructions.
Common Problems and How to Fix Them
You’ll want to watch for a few common problems—poor slope that causes standing water, membrane leaks, loose or cracked tiles, and drain clogs.
Learn how to diagnose each issue (water pooling, slow drainage, visible cracks, or damp spots) and the corrective steps to take, from reshaping the slope and repairing or replacing the membrane to resetting tiles and clearing the drain.
Addressing these early will keep your shower watertight and functioning properly.
Issue Poor slope leading to standing water: diagnosis and corrective actions
If your shower floor holds water after a rinse, it’s usually because the mortar bed wasn’t pitched correctly toward the drain.
Diagnose and fix it promptly to prevent mold and tile damage.
- Measure slope with a level; target 1/4″ per foot toward the drain.
- Remove tile and thinset; assess mortar depth.
- Re-pitch bed or install a new pre-sloped liner, then retile.
Issue Membrane failure or leaks: detection and repair steps
When a shower membrane fails, water can sneak into the substrate and framing before you even notice damp spots or mold.
So you should act quickly to locate and repair the breach. Follow these steps:
- Inspect visually and probe grout, joints, and drain for soft spots or odor.
- Dry and camera-check cavity if possible to confirm leak path.
- Replace damaged membrane, reseal seams, and pressure-test before tiling.
Issue Loose or cracked tiles: causes and remediation
Although a few loose or cracked tiles might seem like a minor cosmetic problem, they signal underlying issues like poor adhesion, substrate movement, or impact damage that you should address promptly to prevent water intrusion and larger repairs.
- Remove damaged tiles, clean substrate, inspect for rot.
- Rebuild or level substrate, apply proper thinset or mortar.
- Re-tile, grout, seal, and test for secure bonding and waterproofing.
Issue Drain clogs and slow drainage: prevention and clearing methods
1 common nuisance in shower floors is slow drainage and clogs, which usually start from hair, soap scum, mineral buildup, or small objects collecting around the drain and in the trap.
You can prevent and clear them with routine checks and simple tools.
- Remove cover, clear hair and debris.
- Flush with hot water and vinegar.
- Use a drain snake or replace the trap if needed.
Best Practices, Tips, and Professional Shortcuts
You’ll get the best results by focusing on reliable waterproofing, proper thinset application, and solid substrate prep to keep tiles bonded and leak-free.
Use time-saving techniques like premixed membranes, factory-slope pans, and batching materials, and call a pro for complex drains, plumbing reroutes, or if you’re unsure about waterproofing details.
Regular cleaning, grout sealing, and prompt repairs of cracked grout will extend the life of your shower floor.
Tips for long-lasting waterproofing and tile adhesion
When you want a shower floor that stays watertight and tiles that don’t pop loose, focus on surface prep, proper materials, and attention to seams; these three areas account for most long-term failures and are where pros spend most of their time.
- Remove dust, level substrate, and seal joints.
- Use quality waterproof membranes and thinset rated for wet areas.
- Tape seams, flash corners, and test for continuity before tiling.
Time-saving techniques and when to hire a pro
If you’re short on time or want to avoid common pitfalls, focus on techniques that cut steps without sacrificing waterproofing or tile adhesion: pre-sloped, prefab foam pans save day-long mortar work; decoupling membranes let you tile sooner by reducing curing-dependent failures; and using premixed, pump-delivered thinset speeds large jobs.
- Pick prefab pans for tight schedules.
- Use membranes to avoid wait times.
- Hire a pro for complex drains, slope fixes, or warranty-backed work.
Maintenance tips to extend shower floor life
Although a well-built tile shower depends on proper installation, regular care keeps the floor performing and prevents small issues from becoming costly repairs.
You should inspect grout, clean drains, and maintain sealant. Follow these steps:
- Clean grout weekly with pH-neutral cleaner and a soft brush.
- Rinse and clear the drain monthly; remove hair and debris.
- Re-seal grout every year or when it beads water.
Cost, Time, and When to Call a Professional
You can expect materials to run a few hundred dollars while labor can add several hundred to a few thousand.
A typical DIY install takes a weekend to a few days depending on drying times.
If you’re short on time, unsure about waterproofing or floor slope, or face plumbing or structural complications, call a pro.
Getting an estimate and timeline from a contractor helps you weigh cost versus risk.
Typical cost breakdown (materials vs labor) and time estimate
Expect to spend most of your budget on labor rather than materials—installing a tile shower floor typically breaks down to about 60–75% labor and 25–40% materials—because skilled waterproofing, substrate prep, and shaping the floor demand time and expertise; total costs usually range from $800–$3,500 depending on tile choice, drain type, and complexity, and a straightforward job can take 1–3 days while more complex custom showers often need 3–5 days plus curing time.
| Item | Typical Cost Share | Time |
|---|---|---|
| Labor | 60–75% | 1–5 days |
| Materials | 25–40% | procurement |
| Extras | 0–15% | varies |
| Total | $800–$3,500 | 1–7+ days |
Signs the job requires professional expertise
When your bathroom has uneven subflooring, complex curb or bench shapes, or a multi-slope drain layout, call a pro—these conditions add hidden costs and time and demand skills most DIYers don’t have.
If you spot water damage, poor framing, plumbing reroutes, or tight timelines, hire someone.
Pros prevent leaks, meet code, estimate realistic costs, and finish faster with guaranteed results.
Materials and Product Comparison
Now you’ll compare waterproofing systems—PVC liners, liquid membranes, and prefabricated sheet membranes—to pick the one that matches your skill level and budget.
Then weigh tile choices for the floor: porcelain and ceramic for durability, mosaics for slope and grout control, and natural stone for looks but extra sealing.
Finally, check each option’s slip-resistance rating so your finished shower is both safe and stylish.
Compare popular waterproofing systems (PVC liner vs liquid membranes vs sheet membranes)
Although each system aims to keep water out of the substrate, PVC liners, liquid-applied membranes, and sheet membranes work very differently and suit different projects and skill levels. You’ll pick based on readiness to patch, slope needs, and DIY comfort.
| Type | Strength | Best for |
|---|---|---|
| PVC liner | Durable, needs pan | Full remodels, pros |
| Liquid membrane | Seamless, flexible | DIY, detailed areas |
| Sheet membrane | Consistent thickness | Quick installs, pros |
Best tile types for shower floors (porcelain, ceramic, natural stone, mosaics) and slip resistance
After you pick a waterproofing system, the next choice is the tile itself—you’ll want materials that stand up to constant moisture, provide a safe walking surface, and suit your style. Choose porcelain for durability, ceramic for budget, mosaics for grip, and sealed stone for luxury; prioritize tiles with high COF and textured finishes to prevent slips.
| Tile type | Best use |
|---|---|
| Porcelain | Durable, low absorption |
| Ceramic | Affordable, glazed |
| Natural stone | Luxurious, needs sealing |
| Mosaics | Excellent grip |
| Textured | High slip resistance |
Frequently Asked Questions
You probably have a few practical questions before you start, like how long a mortar bed needs to cure and whether you can tile over a prefabricated shower pan.
You’ll also want to know how to make the drain weep-hole compatible, whether Schluter Kerdi is a good choice, and what slope is required for proper drainage.
I’ll answer each of these so you can move forward with confidence.
How long does it take for a mortar bed to cure before tiling?
How long should you wait for a mortar bed to cure before laying tile?
You’ll typically wait 24 to 48 hours for a dry-pack or cement mortar bed to set sufficiently for standard thinset bonding.
For best results, give it 72 hours in cool or humid conditions.
Verify the bed is firm, dry to the touch, and free of movement before you start tiling.
Can I tile directly over a prefabricated shower pan?
Wondering if you can tile right over a prefabricated shower pan? You generally shouldn’t tile directly onto smooth fiberglass or acrylic pans because adhesives won’t bond reliably and movement can crack grout.
Instead, add a bonded mortar underlayment or use a manufacturer-approved membrane system designed for tiling. Always follow pan maker instructions and local codes to guarantee a waterproof, durable finished floor.
How do I ensure the drain is weep-hole compatible?
Want to make sure water drains properly? Check that your drain assembly has open weep holes and sits above the weep channels in the mortar bed.
Use a compatible clamping ring and flange, and avoid coverings that block holes. Test by pouring water and inspecting flow through weeps.
Replace or modify drains that lack proper openings before tiling.
Is Schluter Kerdi a good option for a shower floor?
Is Schluter Kerdi a good choice for a shower floor? Yes.
Kerdi’s waterproof membrane simplifies installation, bonds well to thinset, and protects substrate from moisture. You’ll get a reliable, tiled surface when you follow manufacturer instructions and use compatible drain assemblies.
It’s lightweight, cuts easily, and reduces leak risk compared with traditional liners — ideal for DIYers and pros seeking consistent results.
What slope is required for a safe shower drain?
A properly sloped shower floor keeps water moving toward the drain and prevents pooling or slow drainage, so you should plan for a minimum slope of 1/4 inch per foot (2%) across the field of the shower and up to 1/2 inch per foot on short runs if needed for better flow.
Check local code, set consistent pitch, and use a straightedge to verify uniform slope toward the drain.