How to Clean a Fiberglass Shower Floor and Remove Stubborn Stains
You can restore a fiberglass shower floor by rinsing, scrubbing gently with a soft brush and mild soap, then treating stubborn stains with a baking-soda paste or a commercial nonabrasive cleaner. For mildew, use gloves and a diluted bleach solution (1:10), and for mineral buildup try vinegar or a descaler. Rinse thoroughly, neutralize cleaners, and dry with a squeegee. Avoid abrasives and harsh chemicals to protect the gelcoat—keep going to learn step-by-step tips and prevention.
Quick Answer How to Clean a Fiberglass Shower Floor and Remove Stubborn Stains
You can quick-clean a fiberglass shower floor with a mild nonabrasive cleaner, a soft brush, and targeted spot treatment for stubborn stains.
Expect about 15–30 minutes for routine cleaning and 30–60 minutes if you’re tackling set-in grime; difficulty is low to moderate and you’ll want gloves and ventilation.
Avoid bleach on colored fiberglass and don’t use abrasive pads to protect the finish.
One-paragraph direct solution summary
Start by rinsing and removing loose debris, then spray a mild, nonabrasive cleaner (diluted dish soap or a commercial fiberglass cleaner) and let it sit for 5–10 minutes.
Scrub gently with a soft-bristled brush or non-scratch sponge, rinse, and dry.
For tougher spots, apply a paste of baking soda and water, scrub lightly, rinse, and repeat until you’re satisfied—this answers how do you clean a fiberglass shower floor.
Time, difficulty, and safety at a glance
Although a full deep-clean with stain removal can take 30–60 minutes including dwell time, most routine cleans only need 10–15 minutes. You’ll finish faster if you pre-rinse and work methodically from top to bottom.
You’ll need basic supplies, low effort, and simple safety steps:
- Time: 10–60 minutes depending on stains
- Difficulty: easy to moderate
- Safety: gloves, ventilation
- Tools: soft scrub, nonabrasive cleaner
Understanding Fiberglass Shower Floors
Fiberglass shower floors are made of a gelcoat finish over woven glass fibers and resin, which gives you a lightweight, molded surface but also a somewhat porous finish.
That porosity and the thin gelcoat mean soaps, hard water minerals, and hair products can stain or etch the surface more easily than tile.
You can handle most cleaning and mild stain removal yourself, but call a professional if the gelcoat is deeply etched, cracked, or requires refinishing.
What fiberglass shower floors are made of
Think of a fiberglass shower floor as a layered composite: a polyester resin reinforced with glass fibers forms a rigid, water-resistant shell, often topped with a gelcoat that gives the surface its smooth, colored finish and protects against stains and UV.
You’ll also find optional backing layers—foam or fiberglass mat—for support, and adhesives or sealants bonding the assembly to the substrate beneath.
Why fiberglass stains easily (porosity, finish, common stain types)
Because the gelcoat layer is thin and slightly porous, your shower floor soaks up dirt, soap scum, and minerals more readily than nonporous surfaces.
That micro-roughness makes stains stick rather than bead up and rinse away. Oils, hard-water minerals, mold, and rust penetrate tiny pits; cleaners can lift many stains, but prolonged exposure darkens or etches the finish, making stains harder to remove.
When to call a professional vs. DIY
When deciding whether to tackle a stained or damaged shower floor yourself or call a pro, weigh the scope of the problem, your skills, and the risk of making repairs worse.
If stains are surface-level and you have basic cleaners and patience, DIY.
Call a professional for deep scratches, structural damage, persistent mildew, or failed repairs—especially if waterproofing or reglazing may be required.
Safety Precautions and Materials Needed
Before you start, make sure you’ve got the right personal protective equipment—gloves, goggles, and good ventilation—to protect your skin, eyes, and lungs.
Gather a simple tools-and-supplies checklist (soft brushes, nonabrasive pads, mild cleaners, and a bucket) so you’re ready to work efficiently.
Also note which chemicals to avoid—bleach, ammonia, and abrasive powders can damage fiberglass finishes.
Personal protective equipment (gloves, goggles, ventilation)
One simple step will make the job safer: suit up with proper personal protective equipment—chemical-resistant gloves, splash-resistant goggles, and good ventilation.
Wear nitrile or neoprene gloves to protect skin from cleaners, and seal-style goggles to prevent splashes.
Open windows, run an exhaust fan, or use a mask-rated respirator if ventilation is poor.
Remove jewelry and wash hands after cleaning.
Tools and supplies checklist
Gather the right tools and supplies so you can clean efficiently and avoid damage or extra trips to the store.
You’ll need basics and gentle options to protect the finish. Gather spare rags and a soft brush, plus a bucket and scraper for residue.
- Soft nylon brush
- Microfiber cloths
- Plastic scraper
- Bucket and mild cleaner
Chemicals to avoid (what damages fiberglass)
Because fiberglass is durable but porous, certain cleaners and chemicals can dull, pit, or strip its finish—so avoid using harsh acids, bleach at full strength, abrasive powders, and solvent-based products.
Don’t use acetone, paint thinner, undiluted ammonia, or drain cleaners. Avoid metal scouring pads and oven cleaners.
Choose mild, nonabrasive cleaners, test in a hidden area, wear gloves, and ventilate the space.
Preparation Steps Before Cleaning
Before you start scrubbing, inspect the floor to identify soap scum, mildew, or stubborn stains so you can choose the right cleaner.
Cover faucets, drains, and nearby surfaces with plastic or towels to protect them from cleaners and splashes.
Make sure the room is well ventilated and use warm (not hot) water to improve cleaning effectiveness and comfort.
Inspecting the floor and identifying stain types
Where do the spots and discoloration come from, and what’re they telling you about the cleaning they’ll need?
Walk the floor, note location, color, texture and odor.
Rust, soap scum, mildew, hard water and mineral etching each look different: brown/orange flakes, chalky white film, black or green spots, or pitted dullness.
Photograph trouble areas and prioritize gentler methods first.
Protecting fixtures and surrounding surfaces
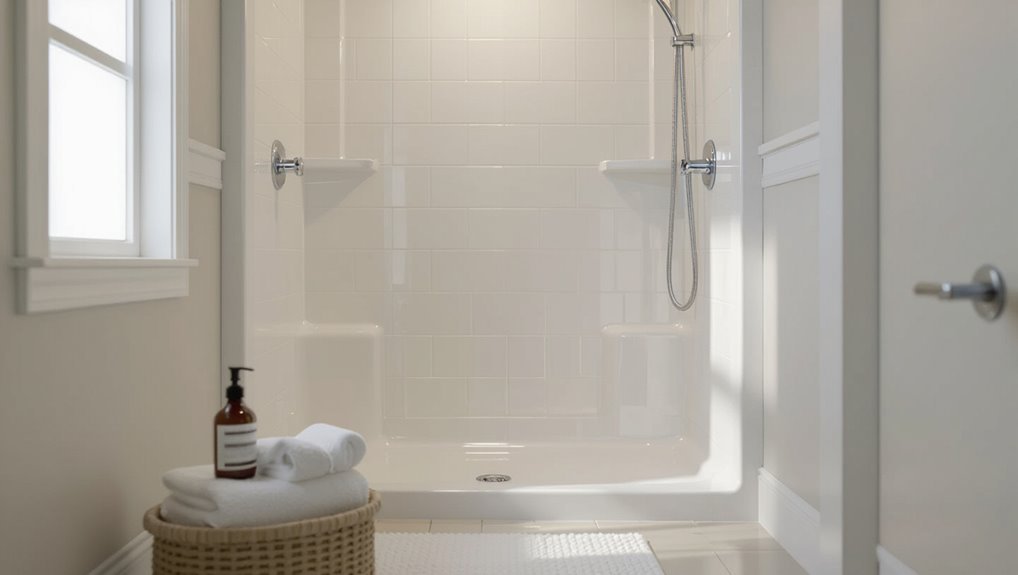
Now that you’ve mapped stains and noted sensitive areas, protect fixtures and nearby finishes so cleaning doesn’t trade one problem for another.
Cover faucets, handles, and trim with painter’s tape and plastic wrap. Remove or shield soap dishes and shampoo bottles.
Lay down towels or a drop cloth over the threshold and tub edge to catch drips, and secure edges to prevent slipping.
Ventilation and water temperature recommendations
Because chemical fumes can linger and hot, stagnant air traps moisture, make sure you ventilate the bathroom well and set the water temperature appropriately before you start cleaning.
Open windows, run the exhaust fan, and keep the door ajar.
Use warm—not scalding—water to loosen grime; extreme heat can warp fiberglass or activate stronger fumes.
Test temperature on your wrist first.
Step-by-Step Cleaning Process
Now you’ll work through a clear, step-by-step routine that handles light soap scum, mildew, rust, and stubborn stains in order.
I’ll show how to treat each problem safely—routine cleaning first, then mildew removal, mineral and rust treatment, and methods for deep discoloration.
Finally, you’ll rinse, neutralize any cleaners, and fully dry the surface to protect the finish.
Step 1 Routine cleaning for light dirt and soap scum
Start by removing loose debris and rinsing the floor with warm water to loosen dirt and soften soap scum.
Mix a mild, nonabrasive cleaner or dish soap with warm water.
Scrub gently using a soft sponge or microfiber mop, working in circular motions.
Rinse thoroughly, squeegee excess water, and dry with a clean towel to prevent water spots and residue.
Step 2 Removing mildew and mold safely
Before tackling stubborn mildew and mold, ventilate the bathroom and put on gloves and a mask so you protect your lungs and skin.
Mix a 1:10 bleach-to-water solution or use a commercial mildew remover. Apply, let sit 10–15 minutes, scrub gently with a soft brush, rinse thoroughly, and repeat only if necessary.
Dry the area and keep ventilation to prevent return.
Step 3 Treating rust and mineral deposits
When rust stains or mineral buildup show up on your fiberglass shower floor, tackle them promptly with the right cleaners and gentle tools to avoid scratching the surface.
Apply a diluted white vinegar solution or a commercial calcium-remover, let it sit a few minutes, then scrub gently with a soft nylon brush or nonabrasive pad.
Rinse thoroughly and repeat if traces remain.
Step 4 Tackling hard, set-in stains (oxidation, deep discoloration)
If stubborn oxidation or deep discoloration won’t budge with regular cleaners, you’ll need a targeted, step-by-step approach that uses stronger but safe methods so you don’t damage the fiberglass.
Wear gloves and eye protection. Test a small inconspicuous area.
Use a diluted nonabrasive bleach or oxalic-acid cleaner per label, apply, let sit briefly, agitate gently with a soft brush, then repeat as needed.
Step 5 Rinsing, neutralizing cleaners, and drying
Once you’ve loosened stains and lifted residues, rinse the floor thoroughly to remove cleaner traces and any loosened grime.
Use clear water until suds disappear, then neutralize stronger cleaners with a mild vinegar solution if recommended by product instructions.
Squeegee excess water, blot remaining damp spots with a microfiber cloth, and allow the shower to air-dry completely to prevent mildew and water spots.
Tools and techniques to use for each step
Before you start, gather the right tools so each step goes faster and protects the fiberglass: a soft-bristle brush or non-abrasive sponge for scrubbing, a microfiber cloth for wiping and drying, a plastic scraper for stuck-on gunk, a spray bottle for diluted cleaners or vinegar, rubber gloves and eye protection, a squeegee for rinsing, and a bucket for fresh rinse water—use gentle, non-abrasive cleaners and test any stronger product in an inconspicuous area first.
- Scrub gently with the brush or sponge.
- Use the scraper for stubborn spots.
- Rinse thoroughly with the squeegee and bucket.
- Dry and polish with microfiber to prevent water spots.
Homemade vs. Commercial Cleaners
You can make effective DIY cleaners from simple ingredients like baking soda, vinegar, and dish soap, and I’ll show how to use them safely on fiberglass.
I’ll also recommend the best commercial products—mild nonabrasive gels, enzyme cleaners, and bleach alternatives—and explain when each type is appropriate.
Finally, we’ll compare the pros and cons of homemade versus store-bought options so you can pick what fits your needs.
Effective DIY cleaner recipes and how to use them
Although homemade solutions can tackle light soap scum and stains, commercial cleaners often deliver stronger, faster results for tough buildup—so you’ll want to weigh cost, convenience, and damage risk when choosing.
Use these DIY recipes safely and spot-test before full use:
- Baking soda paste: scrub gently, rinse well.
- Vinegar spray: dissolve mineral deposits, avoid prolonged contact.
- Hydrogen peroxide: lift organic stains, rinse.
- Mild dish soap: daily maintenance, gentle cleaning.
Best commercial products for fiberglass floors (types and when to use)
Picking the right commercial cleaner can save you time and prevent damage: choose gentle, non-abrasive formulas for routine maintenance, stronger gel or cream cleaners for stubborn soap scum, and specialized stain removers or mold-killing sprays for deep-set discoloration—always follow label instructions and spot-test first.
| Type | Use | Tip |
|---|---|---|
| Mild spray | Daily | Rinse well |
| Gel/cream | Scum | Apply, wait |
| Stain remover | Deep stains | Spot-test |
Comparing pros and cons of DIY vs. store-bought
When deciding between DIY and store-bought cleaners, weigh convenience and control against consistency and power: homemade solutions let you avoid harsh chemicals and tailor ingredients to sensitivities, while commercial products deliver formulated strength, predictable results, and clearer usage instructions.
You can mix vinegar, baking soda, and mild soap for gentle stains, but buy commercial cleaners for tough soap scum, mold, or faster, guaranteed results.
Restoring and Repairing Surface Damage
Check the surface for scratches, a dull finish, or small chips so you know whether polishing or a repair kit is needed.
You can restore shine with progressively finer polishing compounds and a soft buffing pad, keeping pressure even to avoid heat damage.
Save repair kits for deeper chips or gouges and follow the kit’s instructions to sand, fill, and finish for a seamless patch.
Assessing scratches, dull finish, and small chips
Start by standing in good light and closely inspecting the shower floor for surface issues: faint scratches, a dulled or cloudy finish, and small chips or nicks in the gelcoat.
Note location, size, and depth of each defect. Lightly run your fingertip over scratches and chips to judge texture.
Photograph problem areas for reference before choosing repair steps or products.
Polishing and buffing techniques for restoring shine
Polish the surface with the right pads and compounds to bring back the shine without removing too much gelcoat.
Start with a mild polishing compound and a soft foam pad. Work small sections with light pressure, then progress to finer compounds and a finishing pad.
Keep the area cool, wipe residue, and inspect often so you don’t over-polish or create uneven gloss.
When to use repair kits and how to apply them
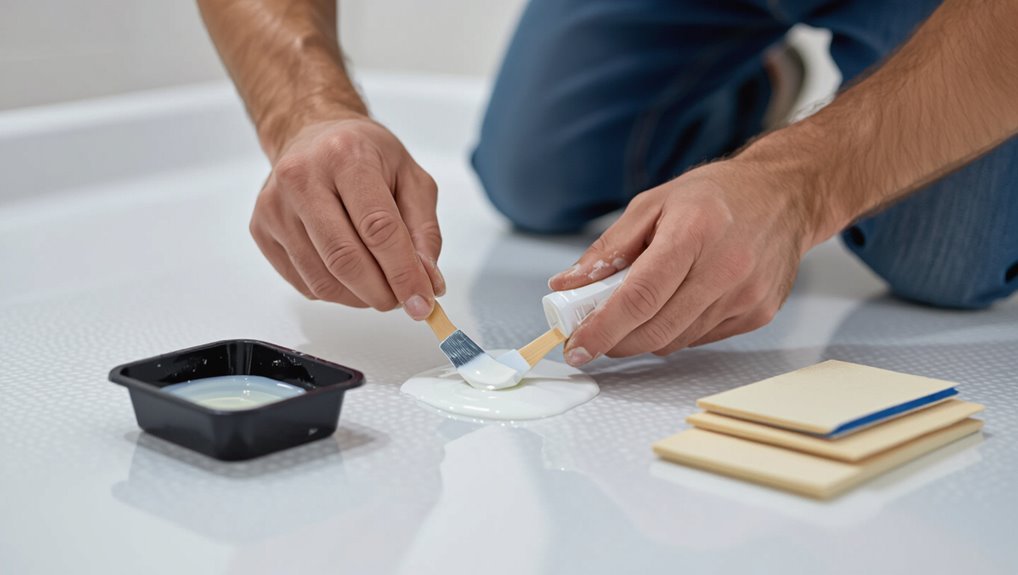
After you’ve restored surface shine, you’ll still need to address chips, cracks, or worn-through gelcoat that polishing can’t fix.
Use a fiberglass repair kit for hairline cracks, small chips, or thin gelcoat loss.
Clean, sand, and degrease the area, mix resin and hardener per instructions, apply in thin layers, sand smooth after curing, then polish and seal for a seamless finish.
Common Mistakes and How to Avoid Them
Don’t grab harsh chemicals or steel pads that can eat away your fiberglass finish.
Don’t over-scrub—scratches from too much pressure or the wrong tool can make stains worse.
And don’t treat every mark the same; identify the stain first so you use the correct, gentle treatment.
Harsh chemicals and abrasive tools that ruin fiberglass
One common mistake is reaching for strong acids, bleach, or rough scrubbing pads when your fiberglass floor looks grimy — those choices can dull the gel coat, etch the surface, and create micro-scratches that trap dirt.
Instead, pick pH-neutral cleaners, nonabrasive sponges, and soft brushes.
Test products on a hidden area, rinse thoroughly, and avoid prolonged contact to protect finish and color.
Over-scrubbing and causing scratches
Besides harsh cleaners and rough pads, scrubbing too hard is another common way people damage fiberglass floors. If you press and scour repeatedly, you’ll dull the gel coat and create fine scratches that trap dirt.
Use gentle, circular motions with a soft cloth or non-abrasive sponge, rinse frequently, and let cleaners soak instead of scrubbing aggressively to protect the surface.
Misidentifying stains and using incorrect treatments
When you mistake mineral deposits, soap scum, mildew, or dyed stains for one another, you’ll pick a cleaner that won’t work—or that can make the problem worse.
Identify stains first, then match treatments. Try these checks:
- Rub with vinegar on a hidden spot for minerals
- Test peroxide for organic mildew
- Use mild detergent for soap scum
- Avoid bleach on dyed resin stains
Prevention and Best Practices for Long-Term Care
To keep your fiberglass shower floor looking good, you’ll want a simple weekly wipe-down and a deeper monthly clean to stop soap scum and grime from building up.
If you have hard water, consider a water softener or routine mineral-removal to prevent stubborn deposits.
Finally, think about a protective coating or sealant and follow the manufacturer’s maintenance schedule to extend the surface’s life.
Weekly and monthly cleaning routines
If you keep up with simple weekly and monthly tasks, your fiberglass shower floor will stay cleaner and last longer.
Do quick weekly rinses and a gentle wipe, and do a monthly deeper clean with a nonabrasive cleaner.
Follow these tips:
- Rinse and squeegee after each use
- Weekly mild soap scrub with a soft brush
- Monthly nonabrasive cleaner and rinse
- Inspect for damage and recaulk as needed
Water softening and mineral-deposit prevention
Keeping up with weekly and monthly cleaning helps, but hard water can still leave mineral stains that wear on fiberglass over time.
Install a water softener or use an inline filter to reduce calcium and magnesium.
Wipe surfaces dry after use, run a vinegar rinse weekly to dissolve deposits, and check plumbing fixtures for buildup so you address mineral problems before they etch or dull the finish.
Protective coatings and sealants: options and maintenance
When you want to keep a fiberglass shower floor looking new, applying a protective coating or sealant creates a barrier against soap scum, minerals, and light abrasion; choosing the right product and maintaining it regularly will extend the finish and reduce repair needs.
Pick a marine-grade or acrylic sealant, follow cure times, recoat yearly, clean with nonabrasive cleaners, and spot-treat chips promptly.
Troubleshooting Difficult Stains and Scenarios
If a stain won’t lift with your usual cleaner, you’ll want to escalate methodically—from stronger cleaners to gentle abrasives and, if needed, professional restorers.
If odors linger after cleaning, check for trapped grime, clogged drains, or damaged sealant and treat with enzymatic cleaners and thorough rinsing.
Watch for black streaks, discoloration beneath the finish, or soft spots—those can signal mold penetration or structural damage that may need refinishing or repair.
Stain persists after cleaning: escalation steps
Even after scrubbing and rinsing, some stains can cling to fiberglass—so you’ll need a clear, step-by-step escalation plan to remove them without damaging the surface.
Start with a milder cleaner, test in an inconspicuous spot, then use a baking soda paste or diluted vinegar.
If the stain remains, try a non-abrasive commercial fiberglass cleaner, then consult a pro before considering bleaching or refinishing.
Odors that linger after cleaning and how to eliminate them
Stains that won’t budge often come with stubborn smells, so after you’ve exhausted cleaning options it’s time to tackle lingering odors directly.
Ventilate the bathroom, rinse residue, then neutralize with a diluted vinegar spray or baking soda paste.
For organic smells, use an enzymatic cleaner.
Dry thoroughly and run a fan or dehumidifier.
Repeat treatment until odor disappears.
Black streaks, discoloration under finish, and structural concerns
Black streaks, discoloration beneath the finish, and signs of structural damage point to problems beyond routine cleaning, so you’ll need to diagnose and address the root cause before resurfacing or repair.
Inspect for mold, water intrusion, gelcoat failure, or delamination.
Probe soft spots, tap for hollow sounds, and lift trim to check for rot.
Consult a pro if you find delamination or persistent stains.
FAQ
You probably have a few quick questions like whether bleach or vinegar will harm the surface, how to remove rust without scratching, or how often to deep-clean.
I’ll also cover when refinishing is a realistic option for badly stained or worn fiberglass.
Read on for clear, practical answers.
Can I use bleach on a fiberglass shower floor?
Curious whether bleach is safe for your fiberglass shower floor? You can use diluted household bleach for mildew and mold, but avoid undiluted or prolonged exposure.
Ventilate well, wear gloves, and rinse thoroughly. Test a small hidden area first to check for discoloration.
For routine cleaning, milder cleaners or a vinegar solution are gentler and reduce risk to the finish.
How do I remove rust without scratching the fiberglass?
How can you lift rust stains from a fiberglass shower floor without scratching the surface?
Use a nonabrasive rust remover or a paste of baking soda and a rust-specific cleaner applied gently.
Let it sit, then blot or rinse—don’t scrub hard.
Test in an inconspicuous spot first, repeat as needed, and finish by rinsing thoroughly to remove residue and prevent damage.
Will vinegar damage fiberglass?
Wondering whether vinegar will harm your fiberglass shower floor? You can use diluted white vinegar safely for routine cleaning—mix equal parts vinegar and water, test a small hidden area first, and avoid prolonged soaking.
Don’t use undiluted vinegar repeatedly or leave it sitting on the surface, as acidity can dull finish over time.
Rinse thoroughly and dry after cleaning.
How often should I deep-clean my fiberglass shower floor?
When should you deep-clean your fiberglass shower floor? Aim for a thorough deep clean every 1–3 months, depending on use and water hardness.
If you notice stubborn soap scum, discoloration, or reduced traction, clean sooner. For busy households or hard water, monthly works well; for light use, every two to three months is fine.
Regular maintenance extends finish and prevents buildup.
Can I refinish a badly stained or worn fiberglass shower floor?
Yes—you can refinish a badly stained or worn fiberglass shower floor, and doing so can restore appearance and slip resistance without replacing the unit.
You’ll strip loose finish, clean thoroughly, sand lightly, apply a compatible gelcoat or epoxy kit, then finish per manufacturer instructions.
For large damage or structural cracks, consult a pro. Proper prep guarantees durable, non-slip results and safer showers.
Quick Reference: Cleaning Timeline and Product Cheat-Sheet
Start with a simple schedule: daily rinse and squeegee, weekly gentle scrub, and monthly deeper treatment for stains or buildup. Stick to this rhythm to keep the floor bright and calm. Use mild cleaners, nonabrasive pads, and targeted stain removers when needed.
| Task | Product |
|---|---|
| Daily | Water |
| Weekly | Mild cleaner |
| Monthly | Stain remover |