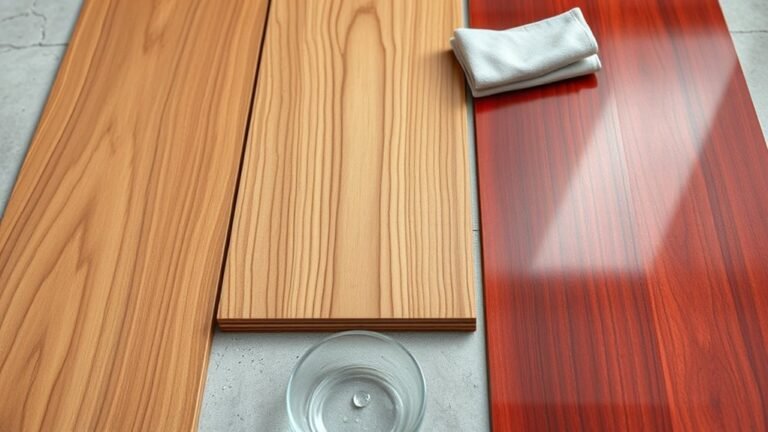
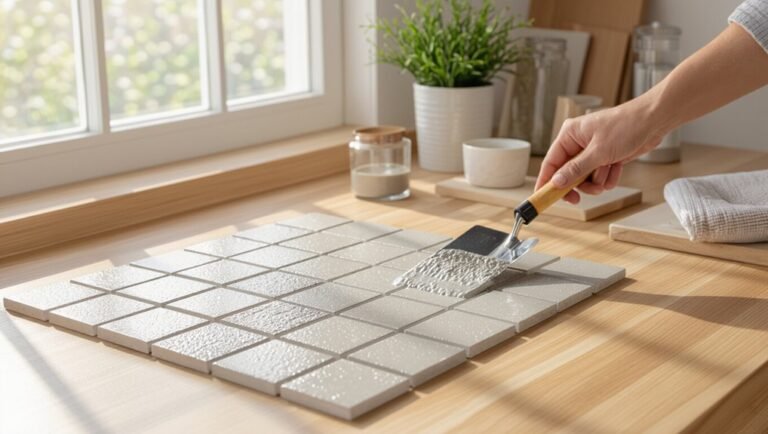
Best Flooring for Bathrooms: What to Choose for Moisture and Style
You’ll want a bathroom floor that’s waterproof, slip-resistant, and durable while matching your style. Porcelain tile is the top pick for moisture and longevity; luxury vinyl gives you waterproof comfort and budget-friendly looks; engineered or sealed hardwood works in low‑moisture baths; natural stone is high‑end but needs sealing and care. Prioritize subfloor prep, proper waterproofing, and slip resistance. Keep your long‑term maintenance, budget, and ventilation in mind to make the best choice and learn practical next steps.
What’s the Best Bathroom Flooring? and Summary
You’ll want to prioritize moisture resistance first, then durability, style, and budget when choosing bathroom flooring.
Start by considering top options like porcelain tile, luxury vinyl, and sealed natural stone for a quick sense of what works best overall.
From there you can match your priorities to the best-fit material.
Short Recommendation by Priority (Moisture Resistance, Durability, Style, Budget)
Start by prioritizing moisture resistance, then durability, style, and finally budget—this order keeps your bathroom functional and attractive over time.
For guidance on what flooring is best for a bathroom, choose waterproof options first (tile, luxury vinyl), then consider wear, maintenance, and slip resistance.
Balance looks with longevity, and pick the most durable style you can afford to avoid costly replacements later.
Best Overall Choices at a Glance
Having prioritized moisture resistance, durability, style, and budget, it’s time to pick the specific flooring types that best balance those needs. You’ll likely choose tile, luxury vinyl, waterproof laminate, sealed hardwood, or natural stone based on water exposure and style. Pick what fits your routine and budget—durability and proper installation matter most.
| Option | Best for |
|---|---|
| Porcelain tile | Wet areas |
| Luxury vinyl | Budget + looks |
| Waterproof laminate | Resale |
| Sealed hardwood | Warmth |
| Natural stone | High-end style |
Why Flooring Choice Matters in Bathrooms
You’ll want flooring that stands up to constant moisture, humidity, and occasional splashes without warping or staining.
It should also reduce slip risk to keep you safe and lower the chance of falls.
Choosing durable, easy-care materials boosts longevity and maintenance ease while protecting your home’s value.
Moisture, Humidity, and Water Exposure Risks
Because bathrooms are constantly exposed to splashes, steam, and occasional leaks, the flooring you pick has to resist moisture rather than just look good.
Choose materials that tolerate dampness, prevent warping, and block water penetration. Consider seams, grout integrity, and edge sealing.
Proper installation and ventilation reduce mold and mildew risks, prolonging floor life and preserving subfloor structural integrity.
Safety Concerns: Slip Resistance and Falls
Moisture control helps protect your subfloor, but wet or damp surfaces also raise a very different risk: slips and falls.
You should prioritize slip-resistant flooring and textured finishes, especially near tubs, showers, and sinks.
Look for materials with high COF ratings, non-slip treatments, and rugs with non-skid backing.
Proper lighting and grab bars also reduce fall risk in slippery conditions.
Longevity, Maintenance, and Home Value Impact
Durability matters: the flooring you pick determines how often you’ll repair or replace surfaces, how much cleaning and upkeep you’ll need, and how much value your home retains.
Choose low-maintenance, water-resistant materials like porcelain or vinyl to minimize repairs and preserve resale appeal. Regular sealing or proper ventilation extends life.
Investing upfront saves money later and makes your bathroom a selling point, not a liability.
How Bathroom Flooring Types Compare (Direct Evaluation)
Now you’ll see how common bathroom flooring choices stack up: porcelain and ceramic tile, luxury vinyl plank/tile (LVP/LVT), natural stone like granite or marble, engineered wood and waterproof wood-look options, and sheet vinyl or linoleum.
I’ll compare them on water resistance, durability, maintenance, cost, and style.
Use this quick evaluation to match the floor to your bathroom’s needs.
Porcelain and Ceramic Tile
Tiles are a top choice for bathrooms because porcelain and ceramic resist water, clean easily, and come in endless styles you can mix to match any look. You’ll get durability, low maintenance, and heat-friendly surfaces. Grout needs sealing. Installation is labor-intensive but long-lasting.
| Property | Note |
|---|---|
| Water resistance | Excellent |
| Maintenance | Simple |
Luxury Vinyl Plank and Tile (LVP/LVT)
If you like the water resistance and style variety of porcelain or ceramic but want a warmer, softer underfoot option, luxury vinyl plank and tile (LVP/LVT) makes a strong case for bathrooms. You’ll get easy maintenance, good durability, and varied looks at a lower cost.
| Benefit | Note |
|---|---|
| Water resistance | Often waterproof |
| Comfort | Softer than tile |
| Cost | Budget-friendly |
| Installation | DIY-friendly |
Natural Stone (Granite, Marble, Slate)
Natural stone—granite, marble, and slate—brings timeless beauty and a high-end feel to bathrooms, but it also demands more care and cost than many other flooring options. You’ll enjoy unique veining and durability, yet you’ll seal, clean gently, and accept cold, heavy tiles. Consider finishes and slip resistance for safety.
| Stone | Look | Care |
|---|---|---|
| Granite | Speckled | Low-medium |
| Marble | Veined | High |
| Slate | Textured | Medium |
| Overall | Luxurious | Requires maintenance |
Engineered Wood and Waterproof/Wood-Look Options
Stone brings luxury, but you might want a warmer look and easier maintenance—enter engineered wood and waterproof wood-look options. You get real wood tops with stability or vinyl/luxury-click that tolerates spills. Choose based on moisture risk, budget, and desired grain realism.
| Type | Strength |
|---|---|
| Engineered wood | Warmer, needs care |
| Waterproof vinyl plank | Highly water-resistant |
| SPC/WPC rigid core | Extremely stable |
| Finish | Affects durability |
Sheet Vinyl and Linoleum
Sheet vinyl and linoleum give you affordable, low-maintenance flooring that handles bathroom moisture better than many wood options. You’ll get resilient, warm-underfoot surfaces, easy cleaning, and lots of patterns; linoleum is natural, vinyl is waterproof. Compare choices:
| Feature | Vinyl | Linoleum |
|---|---|---|
| Water resistance | High | Moderate |
| Durability | Very good | Good |
| Eco-friendliness | Lower | Higher |
Concrete and Polished/Microcement Floors
If you want an ultra-durable, low-profile bathroom floor that can take standing water and heavy use, concrete or polished/microcement is a strong choice: it’s virtually waterproof when sealed, easy to clean, and resists scratches and stains better than many tile or wood options. You’ll get modern looks, thermal mass for radiant heat, and low maintenance.
| Feature | Pros | Cons |
|---|---|---|
| Durability | Very high | Can crack |
| Moisture | Excellent when sealed | Requires resealing |
| Style | Sleek, customizable | Cold/industrial feel |
Cork, Bamboo, and Other Alternatives
When you want a warm, eco-friendly bathroom floor that’s softer underfoot than tile, consider cork, bamboo, or similar alternatives; they offer natural looks, good slip resistance, and better comfort for standing tasks. You’ll need moisture-sealed finishes and prompt cleanup. They’re quieter and sustainable but less water-tolerant than vinyl or tile.
| Feature | Snapshot |
|---|---|
| Comfort | High |
| Water resistance | Moderate |
| Maintenance | Sealed care |
| Style | Natural |
| Lifespan | Variable |
Detailed Pros, Cons, and Best Use Cases for Each Material
Now we’ll break down each material—porcelain/ceramic, luxury vinyl, natural stone, engineered wood-look, and sheet vinyl/linoleum—so you can weigh pros, cons, ideal rooms, and installation notes.
You’ll get concise, practical points for choosing and fitting each option. That way you can match performance and style to your bathroom’s needs.
Porcelain/Ceramic Pros, Cons, Ideal Rooms, Installation Notes
Porcelain and ceramic tile offer durable, water-resistant surfaces that work exceptionally well in bathrooms, giving you lots of design options from matte stone looks to glossy mosaics.
You’ll get longevity, low maintenance, and strong stain resistance. Watch for cold, hard underfoot feel and grout upkeep.
Ideal for showers, floors, and walls; install with proper underlayment and waterproofing to prevent cracking.
Luxury Vinyl Pros, Cons, Ideal Rooms, Installation Notes
Because it mimics wood, stone, or tile so convincingly while staying waterproof and soft underfoot, luxury vinyl has become a go-to bathroom choice for many homeowners.
You get durable, low-maintenance, affordable flooring that tolerates moisture and warmth well.
Cons: can dent, fade, or trap odors; lower resale appeal vs. real stone.
Install: floating click, glue-down, or loose-lay—easy DIY or pro.
Natural Stone Pros, Cons, Ideal Rooms, Installation Notes
If you want a bathroom that feels timeless and luxurious, natural stone delivers distinctive patterns, strong durability, and—when sealed properly—excellent moisture resistance.
You’ll enjoy marble, slate, travertine, or granite’s unique look and resale appeal.
Downsides: cost, porosity, slipperiness, and cold underfoot.
Best for master baths and powder rooms with professional installation, proper sealing, and heated floors to mitigate chill and slip.
Engineered/Wood-Look Pros, Cons, Ideal Rooms, Installation Notes
Wood-look flooring gives you the warmth and character of real timber while standing up to bathroom moisture better than solid hardwood.
Engineered planks resist warping, offer realistic surface textures, and install floating or glued.
Cons: veneer can scratch, edges may swell with prolonged leaks.
Ideal for vanities, entries, and family baths when paired with vapor barriers and quick spill cleanup.
Sheet Vinyl/Linoleum Pros, Cons, Ideal Rooms, Installation Notes
Sheet vinyl and linoleum give you durable, water-resistant flooring at a lower cost than many alternatives, making them a practical choice for busy bathrooms and utility areas.
You’ll get easy cleaning, wide pattern choices, and cushioned comfort.
Watch for seams, potential fading, and less resale appeal.
Ideal for rentals, family baths, and laundry rooms; install over a smooth, dry subfloor with proper seam sealing.
Concrete/Microcement Pros, Cons, Ideal Rooms, Installation Notes
Vinyl and linoleum offer budget-friendly, water-resistant options, but concrete and microcement bring a different aesthetic and performance profile you might prefer for modern or industrial-styled baths.
You get durable, seamless surfaces, custom colors, and easy cleaning. They’re cold, hard, and need proper sealing and slope for drains.
Best in ground-floor or contemporary bathrooms; professional prep and waterproofing are essential.
Cork/Bamboo Pros, Cons, Ideal Rooms, Installation Notes
Cork and bamboo bring warm, sustainable alternatives to bathroom floors that balance comfort with water-resistance when properly finished.
You’ll enjoy cork’s cushioning, natural insulation, and mold resistance when sealed; it’s best for low-splash areas.
Bamboo gives a hardwood look, is durable when strand-woven and sealed, and suits main bathrooms.
Both need moisture barriers, routine resealing, and prompt leak management.
Choosing Flooring by Bathroom Type and Use Case
Whether you’re updating a main bathroom, outfitting a powder room, or planning a master suite, you’ll pick different materials based on traffic, privacy, and style.
For family bathrooms with kids you’ll prioritize durability and slip resistance, while small baths benefit from light colors and large-format tiles to make the space feel bigger.
For wet rooms, showers, and floor-level drains you’ll focus on waterproofing, proper slopes, and materials rated for constant moisture.
Main Bathroom vs. Powder Room vs. Master Bath
Because each bathroom gets used differently, you’ll want flooring that fits the room’s traffic, moisture exposure, and style needs.
For a powder room, pick a stylish, water-resistant option like porcelain or luxury vinyl since spills are light.
Main bathrooms need durable, slip-resistant tile or waterproof vinyl.
For master baths, prioritize comfort and warmth—heated tile or water-resistant engineered hardwood create a spa-like feel.
Family Bathrooms with Kids and High Traffic
When kids and constant foot traffic are part of everyday life, pick flooring that’s tough, water-ready, and easy to clean—so spills, muddy shoes, and bath splashes won’t slow you down.
Choose waterproof luxury vinyl or glazed porcelain for durability and slip resistance. Go for scratch-resistant finishes, simple grout lines, and warmer underfoot options.
Prioritize low maintenance, stain resistance, and quick drying.
Small Bathrooms and Tight Spaces (Visual Tricks)
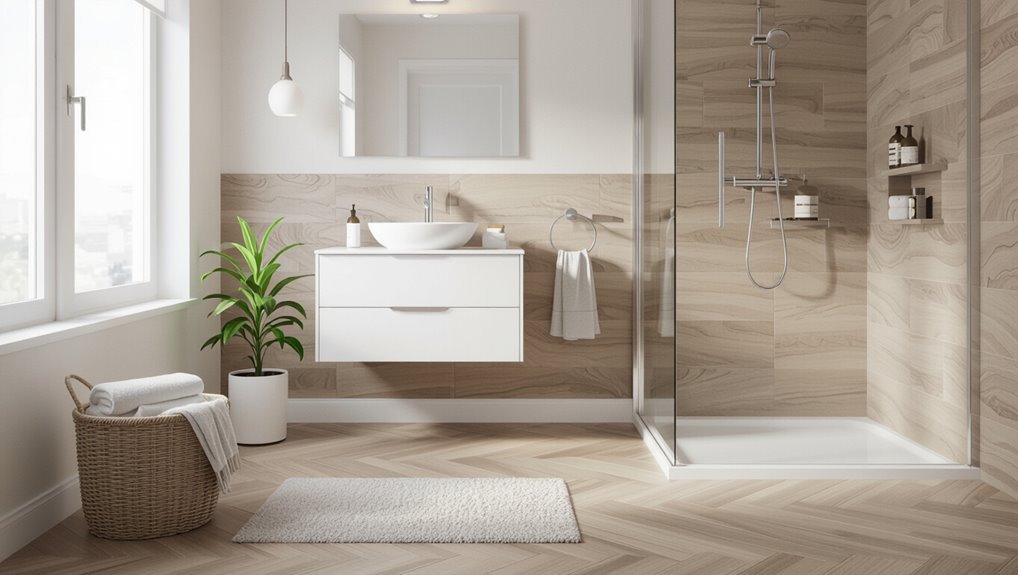
Want to make a small bathroom feel larger? Choose light, reflective flooring—pale porcelain or glossy vinyl—to bounce light.
Use larger-format tiles or continuous planks to minimize grout lines and visual breaks. Lay planks parallel to the room’s longest dimension to elongate space.
Keep patterns subtle, grout matched to tiles, and junction strips minimal to maintain an airy, seamless look.
Wet Rooms, Showers, and Floor-Level Drains
Light-reflective floors work great for small baths, but wet rooms and floor-level showers ask for a different set of priorities: waterproofing, slip resistance, and reliable drainage.
You’ll choose fully waterproof substrates, continuous membrane systems, and textured tiles or non-slip vinyl.
Grade the floor toward a linear drain, seal joints meticulously, and pick materials rated for constant wetting to prevent mold and slips.
Installation Considerations and Step-by-Step Overview
Before you start, check the subfloor and test for moisture so you know what prep and waterproofing you’ll need.
You’ll then prepare the floor, choose a waterproofing method, and pick an installation technique—floating, glue-down, or mortar—based on the material.
Finish with grout, sealants, and trim to protect the installation and guarantee a neat look.
Pre-Installation: Subfloor Assessment and Moisture Testing
Because a bathroom’s lifespan depends on what’s underfoot, you should start by evaluating the subfloor and testing for moisture before laying any new material.
Inspect for damage, measure moisture, and document findings. Use appropriate tools and report results to your installer or supplier.
- Check for soft spots
- Test with a moisture meter
- Look for mold or stains
- Note subfloor type
- Record ambient humidity
Step 1: Preparing the Subfloor
Once you’ve confirmed the subfloor is sound and dry, you’ll clear, level, and repair it so the new bathroom flooring lays flat and bonds properly.
Remove debris, old adhesive, and loose boards. Sand high spots, fill low areas with patching compound, and tighten or replace squeaky subflooring fasteners.
Verify edges are straight and connections match adjacent rooms before installing underlayment.
Step 2: Waterproofing Options and Methods
Step 2 covers the waterproofing choices and methods you’ll use to keep moisture from damaging your bathroom — from surface membranes and liquid-applied coatings to sheet systems and curb-to-drain details.
It also outlines key installation considerations and a clear step-by-step approach so you can pick the right system for your layout and skill level.
- Assess substrate and slope
- Choose membrane type
- Seal seams and penetrations
- Protect drying times and cures
- Test before finishing
Step 3: Installation Methods by Material (Floating, Glue-Down, Mortar)
3 methods—floating, glue-down, and mortar—cover the majority of bathroom floor installations, and each demands different prep, tools, and skill levels.
You’ll float engineered vinyl or click-lock wood over underlayment for quick, forgiving installs.
Glue-down vinyl or LVP needs adhesive and careful positioning.
Mortar-set tile requires backerboard, thinset, and consistent troweling—it’s durable but more labor-intensive.
Step 4: Grout, Sealants, and Finishing Touches
After the flooring is laid—whether it’s floating planks, glue-down vinyl, or mortar-set tile—you’ll finish the job by focusing on grout, sealants, and final trims that protect the floor and give it a polished look.
Use waterproof grout for tile, seal porous stone, caulk edges and fixtures, and install trim and thresholds. Wipe joints clean, cure per manufacturer instructions, and inspect for gaps or uneven sealant.
When to Hire a Pro vs. DIY
When weighing whether to tackle bathroom flooring yourself or hire a pro, consider your skill level, the material you’ve chosen, and how much time and risk you’re willing to accept.
If you’re comfortable with precise cuts, subfloor prep, waterproofing, and basic tile or vinyl tools, DIY can save money.
Hire a pro for complex layouts, radiant heat, drain adjustments, or if you want warranty-backed work.
Cost, Lifespan, and Maintenance Comparison
Now let’s compare what you’ll pay and how long each bathroom flooring will last, from initial price per square foot to expected lifetime.
You’ll also see what daily cleaning and periodic upkeep each material needs, plus how easy — or costly — repairs and replacements can be.
This will help you weigh upfront cost against long-term value and maintenance effort.
Typical Cost Ranges and Lifetime Expectancy
Choosing the right bathroom flooring means balancing upfront cost, expected lifespan, and the time you’ll spend on maintenance. You’ll pay $2–$15/ft² for vinyl (10–25 years), $3–$10 for ceramic (30–50 years), $5–$20 for porcelain (50+ years), and $6–$20 for natural stone (40+ years). Compare cost vs. longevity to match budget and replacement plans.
| Material | Cost / Lifespan |
|---|---|
| Vinyl | $2–$15 / 10–25 yrs |
| Ceramic | $3–$10 / 30–50 yrs |
| Porcelain | $5–$20 / 50+ yrs |
| Stone | $6–$20 / 40+ yrs |
Daily and Long-Term Maintenance for Each Material
Although each flooring type handles moisture differently, you can keep any bathroom floor looking good with a few routine habits and the right long-term care.
You’ll balance cost, lifespan, and upkeep by choosing materials that match your routine. Consider cleaning, sealing, and preventive measures:
- Sweep and mop weekly
- Wipe spills immediately
- Reseal grout/stone annually
- Refinish wood every few years
- Replace worn caulk as needed
Repair and Replacement Considerations
You’ve covered routine care, but sooner or later you’ll face repairs or full replacement—so weigh how much time and money each material will demand over its life.
Tile lasts decades but grout needs periodic regrouting; vinyl is inexpensive and easy to replace but may show wear sooner; engineered wood requires refinishing; luxury options cost more upfront but lower long-term upkeep.
Plan for access and moisture damage.
Common Mistakes and Problems to Avoid
Don’t skip checking subfloor moisture or proper waterproofing, because hidden dampness ruins floors fast.
Don’t pick flooring just for looks—you’ll regret slippery surfaces and weak durability.
Also, watch grout and sealant choices, maintenance, and correct junction strips and thresholds to prevent leaks and tripping hazards.
Ignoring Subfloor Moisture and Waterproofing
If you skip checking subfloor moisture and skip proper waterproofing, you’re setting yourself up for warped boards, mold growth, and costly repairs down the line.
Inspect moisture levels, seal gaps, and install appropriate membranes or underlayments before laying flooring.
Don’t assume existing layers are dry or intact.
Take preventive steps now to protect structural integrity, indoor air quality, and avoid premature replacement.
Choosing Looks Over Function (Slip Risk, Durability)
Once you’ve secured the subfloor and waterproofing, don’t undo that work by picking flooring that looks great but fails in a wet room.
You should prioritize slip resistance, wear rating, and water tolerance over aesthetics alone. Choose textured finishes, durable materials, and proper installation.
Skimping on function leads to slips, warping, and costly replacements—style is secondary to safe, long-lasting performance.
Poor Grout/Sealant Choices and Maintenance Neglect
Although grout and sealant are small components, choosing the wrong types or skipping regular maintenance will quickly undo even the best-installed bathroom floor.
You should use mildew-resistant grout and silicone sealants rated for wet areas, reapply or reseal when cracks appear, and clean grout lines regularly.
Neglect leads to water intrusion, stains, and mold—issues that force costly repairs or full replacements.
Incorrect Transition Strips and Thresholds
After fixing grout and sealant problems, don’t overlook the strips and thresholds that join your bathroom floor to adjacent rooms—improper choices here cause tripping hazards, water gaps, and visible finish issues.
Choose profiles that match floor heights, seal edges to prevent moisture migration, and use corrosion‑resistant materials.
Install connections snugly to avoid movement, and inspect periodically for wear to maintain safety and water integrity.
Best Practices, Tips, and Design Strategies
When choosing bathroom flooring, you’ll want to balance style and function by picking tile size, color, and texture that hides dirt and complements fixtures.
Focus on traction—matte finishes, small-format tiles, and textured where you stand—so you don’t sacrifice aesthetics for safety.
Also consider coordinating floor and wall tiles, and look into eco- or allergy-friendly materials like recycled porcelain or low-VOC vinyl.
Balancing Style and Function: Tile Size, Color, and Texture
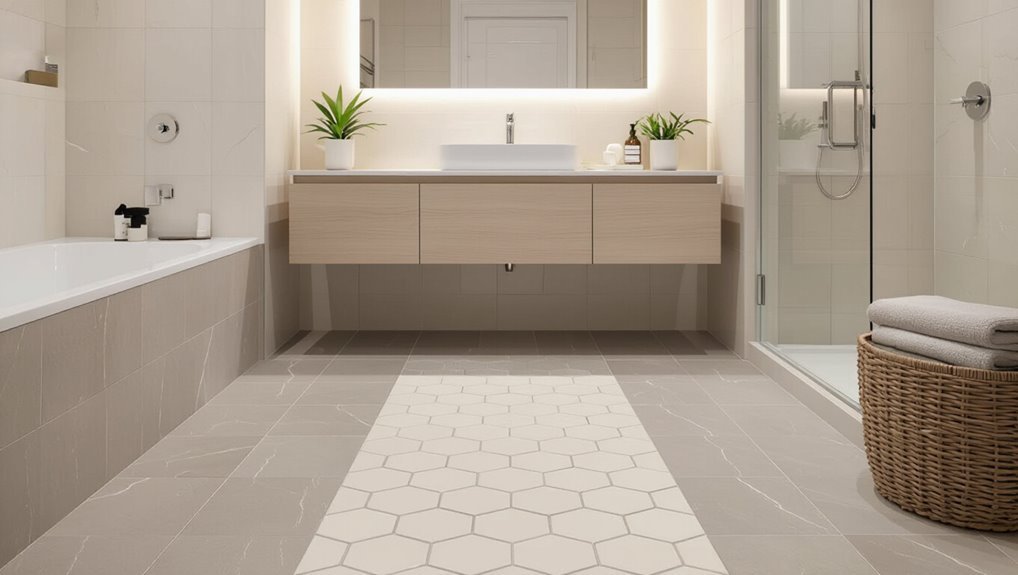
Choosing the right tile size, color, and texture lets you balance aesthetics with safety and maintenance, so think about how each choice affects slip resistance, visual scale, and cleaning needs.
Use larger tiles to widen small rooms, lighter tones to brighten, and subtle textures to hide wear.
Match grout color to reduce visual clutter and pick finishes that resist staining and are easy to wipe.
Improving Traction Without Sacrificing Style
Although you want a stylish bathroom, you shouldn’t compromise on safety—improving traction is about smart choices that blend function and design.
Choose textured or matte tiles, smaller-format or mosaic for more grout friction, and narrow grout lines.
Add slip-resistant treatments or rugs with rubber backing.
Keep floors clean, dry, and well-sealed to maintain grip without sacrificing your aesthetic.
Coordinating Floor with Wall Tile and Fixtures
Because your bathroom’s floor, walls, and fixtures share visual real estate, coordinating them creates a cohesive look and prevents the space from feeling disjointed.
Pick a dominant material or color, then echo it in grout, trim, or accessory finishes. Balance scale—large floor tiles with simple wall tiles—and match metal tones for fixtures.
Use contrast sparingly to add focal points without clutter.
Eco-Friendly and Allergy-Friendly Options
When you want a bathroom that’s kinder to the planet and to sensitive noses, focus on low‑VOC materials, durable natural surfaces, and finishes that resist mold and trap less dust; these choices cut environmental impact and reduce common allergy triggers.
Choose cork, sustainably harvested wood with waterproofing, or recycled-content tiles.
Seal grout, use hypoallergenic mats, guarantee ventilation, and pick nonoff-gassing adhesives for long-term indoor air quality.
Product Selection Checklist and Decision Flow
Before you buy, use a quick decision flowchart to narrow materials by moisture resistance, budget, and maintenance.
Check our 10-point checklist—covering warranty, slip resistance, installation method, and long-term costs—so you don’t miss anything important.
And come prepared with key questions to ask retailers and installers about prep, timelines, and guarantees.
Quick Decision Flowchart: How to Pick the Right Material
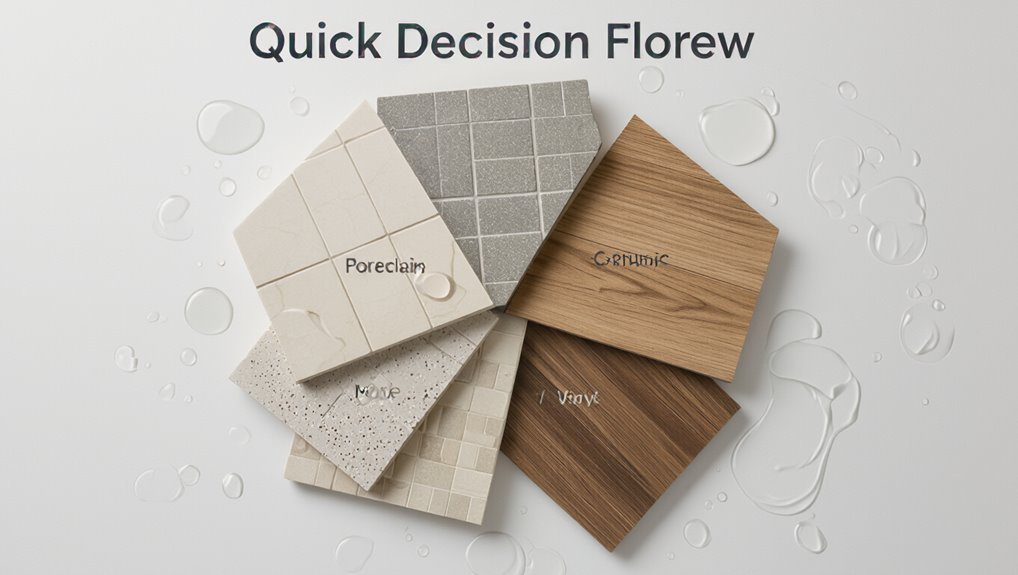
Wondering which bathroom flooring will actually work for your space? Follow a simple flow: assess moisture level and traffic, choose slip-resistant and water-tolerant options for high moisture, consider warmth and comfort for low-moisture areas, factor maintenance and budget, then match style.
If unsure, pick resilient vinyl or porcelain tile for broad reliability; consult pros for complex layouts or subfloor issues.
10-Point Checklist Before Buying Flooring
Now that you’ve narrowed options with a quick flowchart, use a focused 10-point checklist to make the final pick.
Check moisture resistance, slip rating, durability, maintenance, and budget.
Verify warranties, waterproofing method, installation complexity, matching trim, and resale impact.
Prioritize safety and real-world samples before deciding.
- Test water exposure
- Feel texture
- Compare warranties
- Calculate total cost
- Review maintenance
Questions to Ask Retailers and Installers
How should you cut through sales pitches and technical jargon to get the right bathroom flooring?
Ask about water resistance rating, warranty specifics, and recommended subfloor prep.
Request installation timelines, skill level needed, and cost breakdowns.
Confirm maintenance needs, replacement options, and warranty exclusions in writing.
Ask for references or photos of similar installs and whether installers are certified or insured.
FAQs
You’ll find answers here to common concerns like which floors stand up to standing water and whether real wood’s a smart choice in a bathroom.
You’ll also learn about grout sealing frequency, compatibility with radiant floor heating, and ways to prevent mold and mildew under flooring.
If you have a specific scenario, ask and I’ll give tailored advice.
What flooring handles standing water best?
Wondering which bathroom floors stand up to puddles and spills?
Vinyl (sheet or plank) and ceramic or porcelain tile resist standing water best; they won’t warp or absorb moisture and clean easily.
Rubber is waterproof and slip-resistant for wet areas.
Avoid porous stone unless sealed meticulously.
Guarantee proper installation and sealed seams to prevent water intrusion and prolong flooring life.
Can I use real wood in my bathroom?
Curious whether real wood can work in a bathroom? You can use hardwood, but it’s riskier than engineered wood or waterproof options.
Solid wood swells with moisture, so limit it to low‑humidity bathrooms, add proper ventilation, and finish thoroughly.
Consider engineered planks or waterproof vinyl with wood looks for better durability.
Maintain seals and clean spills promptly to reduce warping and staining.
Does grout need sealing and how often?
How often you should seal grout depends on the type and location: cement-based grout generally needs sealing every 6–12 months in high-moisture areas (showers, floors) and every 1–2 years elsewhere, while epoxy grout is already water-resistant and usually won’t need a sealer.
You should inspect grout annually, reseal worn or stained areas, and follow manufacturer recommendations for best protection.
Is radiant floor heating compatible with these materials?
If you’re sealing grout to protect against moisture, you’ll also want to contemplate how floor heating affects your choice of tile and grout.
Radiant heat works well with ceramic, porcelain, and stone; they conduct heat efficiently.
Use flexible, heat-rated adhesives and grout, and guarantee membranes or underlayment are compatible.
Avoid thick, insulating underlays that reduce heat transfer for best comfort and efficiency.
How do I prevent mold and mildew under flooring?
Because moisture often starts small and out of sight, preventing mold and mildew under flooring means controlling water, ventilation, and materials from the start.
Seal subfloors and seams, use moisture-resistant underlayment, and install proper waterproof membranes.
Fix leaks promptly, guarantee good airflow with vents or fans, and maintain humidity below 50%.
Regularly inspect and dry spills to stop growth early.
Visual Inspiration and Real-World Examples
You’ll see how real bathrooms transformed with before-and-after case studies that list materials, budgets, and final outcomes.
Use style boards to match looks—modern, traditional, rustic, or minimalist—to the flooring choices you prefer.
Let these examples help you picture costs and aesthetics for your own remodel.
Before-and-After Case Studies (Material, Budget, Outcome)
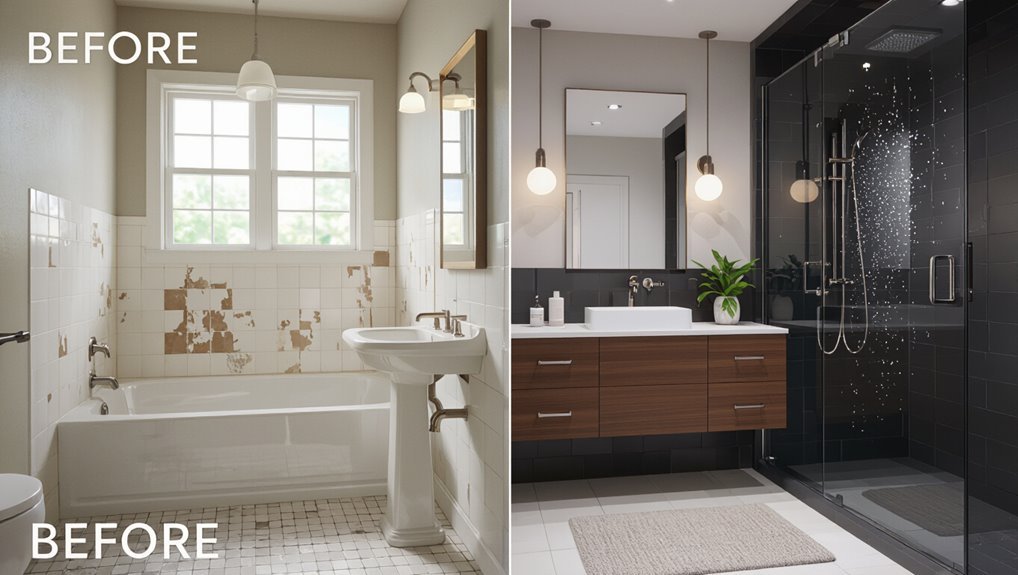
When you’re planning a bathroom overhaul, real before-and-after case studies show what’s possible: they reveal which materials performed well, how much projects actually cost, and what outcomes looked like in similar spaces.
Review concise case summaries: material chosen, total budget, installation challenges, maintenance notes, and photographed results.
Use comparable room size and moisture conditions to judge durability, aesthetics, and value for your project.
Style Boards: Modern, Traditional, Rustic, Minimalist
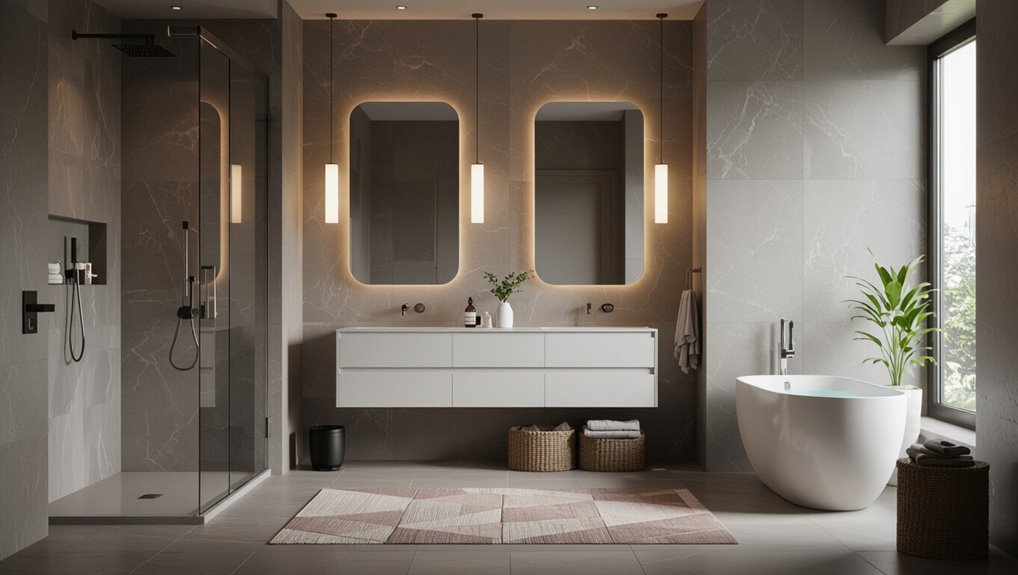
If you want clear visual direction, style boards—curated collections of materials, colors, and fixtures—help you envision how flooring ties a bathroom’s look together.
You’ll see modern boards with large-format porcelain and matte black accents, traditional with patterned encaustic tiles and warm wood tones, rustic with reclaimed wood or stone, and minimalist with neutral planks and seamless grout for calm, practical execution.