How to Clean Any Type of Floor the Right Way
You can keep every floor in your home looking great by matching tools and cleaners to the material: sweep or vacuum daily, spot-clean spills immediately, and use a barely damp mop for laminate and hardwood (no soaking), pH-neutral cleaners for stone and concrete, gentle nonwax cleaners for vinyl, and scrub grout on tile. Protect floors with mats and felt pads, reseal porous stone periodically, and call pros for deep stains—keep going to learn specific steps and schedules for each type.
How to Clean Any Type of Floor Right Away
You can tackle any floor fast by using a one-sentence summary for each major type—hardwood, tile, laminate, vinyl, and carpet—so you know the right method at a glance.
Keep a 5-minute daily routine checklist (sweep or vacuum, spot-clean spills, quick mop or damp wipe, dry high-traffic areas, and tidy up mats) to prevent buildup.
Follow those steps and you’ll handle spills and dirt right away without overthinking it.
One-sentence summary for each major floor type
Floors differ in material and care, so here’s a quick one-sentence cleaning tip for each major type to get you started:
- Hardwood: Sweep, spot-clean with a damp mop and mild solution, and learn how to clean a floor without soaking it.
- Laminate: Use a barely damp mop and avoid abrasive cleaners.
- Tile: Scrub grout and rinse well.
- Vinyl: Use gentle cleaners and no wax.
- Stone: Use pH-neutral cleaners.
Fast daily routine (5-minute checklist)
After those quick, type-specific tips, set aside five minutes each day to keep dirt from building up and to make deeper cleaning faster.
You’ll stay ahead of grime and extend floor life. Do this short routine consistently:
- Shake out rugs and mats
- Sweep high-traffic paths
- Spot-wipe spills
- Empty dustpan or vacuum crevices
- Check and dry damp areas
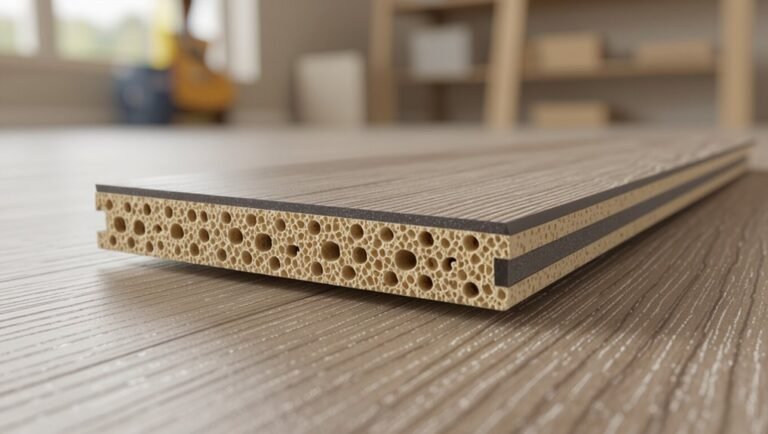
Basic Understanding Floor Materials and Why They Matter
You’ll encounter common floors like hardwood, laminate, vinyl, tile, stone, concrete, carpet, rugs, and linoleum, and each one needs a different approach.
The material determines which tools and cleaners are safe and effective, and whether you’re dealing with sealed, unsealed, waxed, or polyurethane-coated surfaces.
Knowing these differences helps you pick the right method to protect the finish and extend the floor’s life.
Common residential and commercial floor types (hardwood, laminate, vinyl, tile, stone, concrete, carpet, rugs, linoleum)
Different flooring materials wear, clean, and react to moisture in their own ways, so knowing whether you’re dealing with hardwood, laminate, vinyl, tile, stone, concrete, carpet, rugs, or linoleum matters before you start cleaning.
You’ll identify surface, finish, and porosity to choose safe care.
Consider these common types:
- Hardwood
- Laminate
- Vinyl
- Tile and stone
- Carpet and rugs
How floor material affects cleaning method and products
Because each flooring material reacts differently to moisture, wear, and cleaning agents, you should match your methods and products to the surface to avoid damage and get the best results.
Hard surfaces may need pH‑neutral cleaners and minimal water; porous stone, gentle rinses and seal-aware care; carpets require vacuuming and spot treatments; vinyl and laminate benefit from low‑moisture mopping and nonabrasive cleaners.
Common finishes and coatings (sealed vs. unsealed, waxed, polyurethane)
When your floor has a finish, it changes how dirt, moisture, and cleaners interact with the surface.
So you’ll need to treat sealed, unsealed, waxed, and polyurethane‑coated floors differently.
Sealers repel moisture and resist stains; unsealed porous floors absorb spills and need pH‑neutral cleaners.
Waxed floors require gentle solvents and buffing; polyurethane provides durable protection and tolerates mild detergents without stripping.
Safety and Preparation Before You Clean
Before you start, gather the right tools and supplies—brooms, mops, vacuums, microfiber cloths, and appropriate cleaners—so you won’t stop midway.
Wear gloves, keep the area well ventilated, and follow basic personal safety measures to avoid fumes and slips.
Test any cleaner on a hidden patch first to make sure it won’t damage your floor.
Tools and supplies checklist (brooms, mops, vacuums, microfiber, cleaners)
A reliable toolkit makes cleaning faster and safer, so gather brooms, a vacuum with appropriate attachments, a sturdy mop (or two), microfiber cloths, and cleaners suited to your floors.
You’ll prep tools by checking condition, selecting floor-safe solutions, and organizing supplies for efficient work.
- Broom (soft/hard bristles)
- Vacuum (attachments)
- Mop(s)
- Microfiber cloths
- Floor-specific cleaners
Personal safety and ventilation guidelines
Start by evaluating hazards in the room and putting on basic protective gear so you’ll clean safely and breathe easier.
Open windows or run exhaust fans for fresh airflow, and use a mask when mixing chemicals or dusty tasks.
Wear gloves, kneepads, and non-slip shoes.
Keep kids and pets out, read product labels, and store cleaners upright and away from heat.
Spot test procedure for cleaners {step-by-step}
Now that you’ve assessed hazards and put on protective gear, check cleaners on an inconspicuous spot to avoid surprises.
Apply a small amount, wait the recommended dwell time, then blot with a white cloth. Look for color change, finish dulling, or residue.
If safe, proceed; if not, rinse thoroughly and choose a milder product or test elsewhere until you find a compatible option.
Core Cleaning Procedures by Floor Type
Now you’ll learn the core cleaning procedures tailored to each floor type so you can protect finish and longevity.
For hardwood, laminate, vinyl/LVP, tile and grout, and natural stone, I’ll cover the right dry or wet methods, stain and gouge repairs, and when to refinish, polish, or seal.
Follow these specific do’s and don’ts to prevent damage and keep floors looking their best.
Hardwood Floors dry cleaning, deep clean, removing stains, refinishing care {step-by-step}
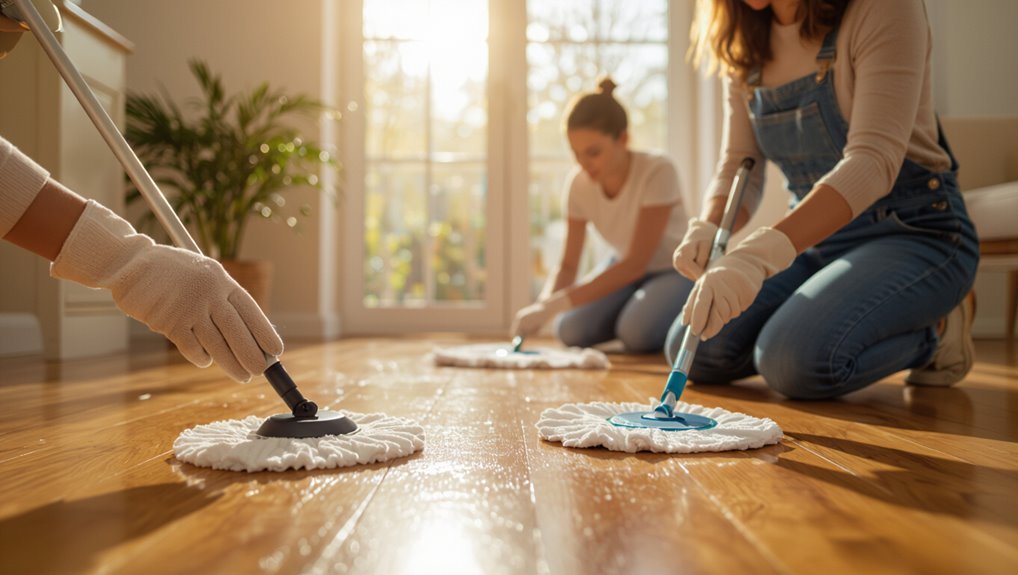
Because hardwood shows wear quickly, you’ll want a clear routine for dry cleaning, periodic deep cleans, stain removal, and refinishing care to keep boards looking their best.
Sweep or vacuum daily with a soft-brush attachment, use microfiber mops for light damp cleans, spot-treat stains with recommended cleaners, refinish when finish thins, and address scratches promptly to prevent moisture damage and costly repairs.
Laminate Floors dusting, wet mopping dos and don’ts, scratch prevention {step-by-step}
Hardwood needs gentler care and occasional refinishing, but if your home has laminate you’ll handle cleaning differently because the surface is a sealed, printed layer over a fiberboard core.
Dust or vacuum with a soft-brush attachment daily. Use a damp (not wet) microfiber mop and pH-neutral cleaner sparingly.
Avoid steam cleaners, standing water, abrasive pads, and dragging heavy furniture; use felt pads to prevent scratches.
Vinyl and Luxury Vinyl Plank (LVP) safe cleaners, deep clean, dealing with gouges {step-by-step}
When you care for vinyl or LVP, use cleaners formulated for resilient floors and avoid harsh chemicals that can dull or warp the wear layer; a pH-neutral, non-abrasive solution applied with a damp microfiber mop is usually all you need for routine cleaning.
For deep cleaning, use manufacturer-approved cleaners and a soft scrubber.
Repair gouges with color-matched filler or replacement planks to prevent moisture damage.
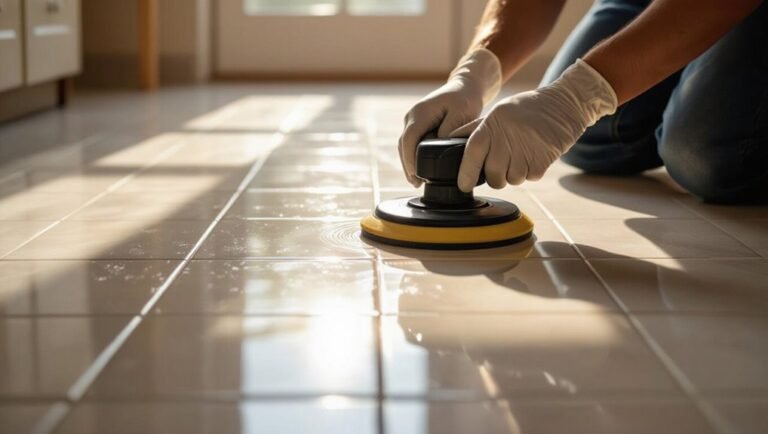
Tile and Grout sweeping, mopping, grout cleaning, sealing grout {step-by-step}

Vinyl and LVP resist stains differently than tile, so you’ll need a slightly different routine for tiled floors and the grout between them.
Sweep or vacuum grit, mop with a neutral pH cleaner, scrub grout lines with a stiff brush and a baking soda paste or commercial grout cleaner, rinse thoroughly, let dry, then apply grout sealer per manufacturer directions to protect and repel stains.
Natural Stone (marble, granite, slate) pH-safe cleaning, polishing, sealing schedule {step-by-step}
How should you care for natural stone to keep it looking its best?
Clean with pH-neutral stone cleaner and soft mop or cloth; avoid acids and ammonia.
Dry promptly to prevent etching.
Polish with a manufacturer-recommended product when shine dulls.
Reseal porous stones every 6–12 months, less often for dense granite.
Test sealers and cleaners in an inconspicuous spot first.
Concrete Floors dust control, wet cleaning, stain removal, sealing and polishing {step-by-step}
Natural stone needs gentle, pH-neutral care, but concrete tolerates tougher methods—so you’ll handle dust, spills, and stains differently.
Sweep or dust-mop daily, then wet-clean with a neutral cleaner and a microfiber mop.
Treat oil or rust with appropriate degreasers or poultices, rinse thoroughly.
Seal every 1–3 years and polish or burnish sealed concrete to enhance appearance and protect surfaces.
Carpet and Area Rugs vacuuming techniques, spot removal, steam cleaning frequency {step-by-step}
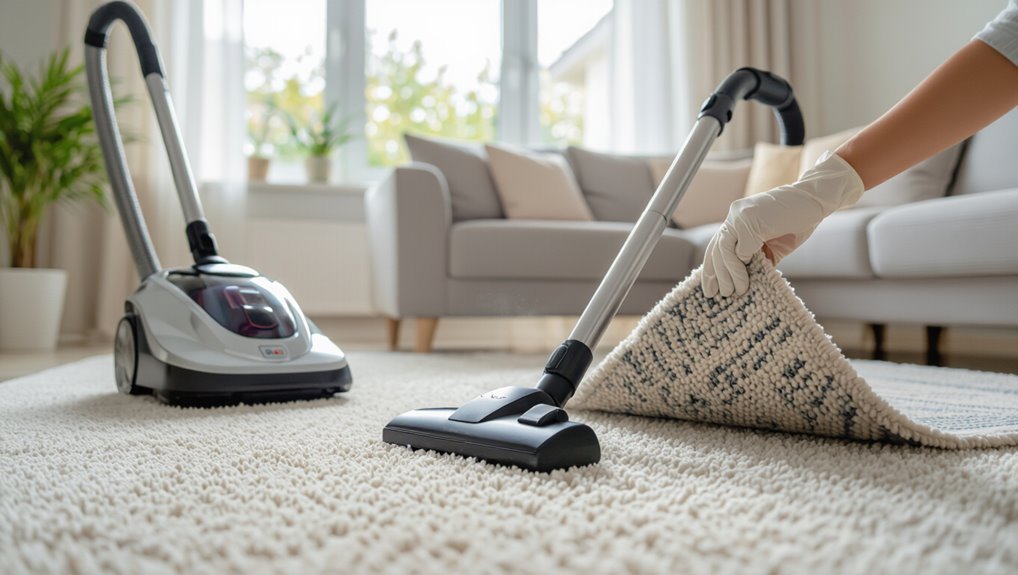
Start by vacuuming high-traffic areas daily and the whole carpet at least weekly to lift dirt before it embeds; use slow, overlapping passes with a vacuum set to the correct pile height and with a beater brush for cut pile or an adjustable suction for loop or delicate rugs.
Blot spills immediately with a clean cloth, treat stains with appropriate cleaners, and steam-clean low-moisture every 12–18 months or as needed.
Specialty floors (bamboo, cork, rubber, heated floors) tailored care tips
Specialty floors like bamboo, cork, rubber, and radiant-heated surfaces each need specific cleaning steps to protect their finish and function, so you’ll want to follow tailored routines rather than a one-size-fits-all approach.
You should:
- Use pH-neutral cleaners for bamboo and cork.
- Avoid excess water on cork.
- Mop rubber with mild soap.
- Protect heated floors from abrasive tools.
- Check manufacturer guidelines before treatments.
Universal Cleaning Techniques and Solutions
You’ll learn simple DIY cleaners—like diluted vinegar (1 cup per gallon for tile), baking soda pastes for stains, and a teaspoon of mild soap per gallon for general mopping—and when their gentleness makes them a better choice than harsh chemicals.
You’ll also see when commercial products are worth using, such as pH-specific formulations for stone or heavy-duty degreasers.
Finally, you’ll get clear guidance on equipment—which vacuums, steam cleaners, mop types, and floor buffers to use for each surface.
How to create safe DIY cleaners (vinegar, baking soda, mild soap) with dilution ratios
One simple rule will keep your DIY floor cleaners safe and effective: dilute concentrated ingredients to gentle, appropriate strengths—typically 1 part white vinegar to 10 parts water for general hard-floor cleaning, ½ teaspoon of mild liquid dish soap per quart of water for greasy spots, and sprinkle baking soda dry for stubborn stains or make a paste with a few drops of water for targeted scrubbing.
| Ingredient | Ratio | Use |
|---|---|---|
| Vinegar | 1:10 | Routine hard floors |
| Dish soap | ½ tsp/qt | Grease |
| Baking soda | Paste | Stains |
When to use commercial cleaners vs. homemade solutions
When should you reach for a store-bought cleaner instead of a DIY mix?
Use commercial products for stubborn stains, heavy grease, pet accidents, or manufacturer-recommended maintenance—they’re formulated for specific surfaces and faster results.
Choose homemade cleaners for regular light cleaning, delicate finishes, or when avoiding harsh chemicals.
Always test first, follow label instructions, and don’t mix products to prevent damage or toxic reactions.
Equipment use guide: vacuums, steam cleaners, mop types, floor buffers
Start by matching the tool to the task: use vacuums for dry debris and quick daily upkeep, steam cleaners for sanitizing and lifting grime on sealed hard floors, mops for targeted wet cleaning and finishing, and floor buffers for restoring shine on resilient surfaces.
Choose vacuum attachments for corners, adjust steam settings for floor type, pick microfiber or sponge mops appropriately, and use buffers sparingly to avoid damage.
Targeted Problem-Solving Common Stains and Damage
When you tackle common floor problems, you’ll need specific methods for each issue—grease and wax require different cleaners by floor type, while pet stains call for enzymatic treatments and follow-up protocols.
Check for water damage like cupping or swelling immediately and take quick steps to dry and assess the subfloor.
For scratches, chips, and etching, use temporary surface fixes for minor damage and contact a pro for structural or extensive repairs.
Removing grease, oil, and wax buildup by floor type
Got stubborn grease, oil, or wax on your floors? Act fast: blot oil, scrape wax gently, then apply appropriate cleaner for the surface—degreaser for tile, mineral spirits sparingly on finished wood, warm soapy water for vinyl, and solvent-free restorers for sealed stone. Test first. Remove residues and buff dry to restore grip and shine.
| Floor | Cleaner | Technique |
|---|---|---|
| Tile | Degreaser | Scrub |
| Wood | Mineral spirits | Wipe |
| Vinyl | Soap water | Mop |
| Stone | Restorer | Rinse |
| Laminate | Isopropyl mix | Dry mop |
Pet stains and odors enzymatic cleaners and protocols
Although pet accidents can seem permanent, enzymatic cleaners break down urine proteins and odors at their source so you can fully remove both stain and smell.
Blot fresh messes, rinse solids, then saturate the spot with enzyme solution per label. Let it dwell long enough, blot again, and air-dry.
Repeat for persistent marks and test on hidden areas before full use.
Water damage, cupping, and swelling (assessment and immediate steps)
Pet stains and spills sometimes lead to lingering moisture that can cause bigger problems for your floors. Water that soaks into seams or underboards often shows up later as cupping or swelling.
Inspect affected areas, measure gap or crown depth, and dry with fans and dehumidifiers. Remove area rugs, lift boards if needed, and avoid heat that warps.
Call a pro for structural damage.
Scratches, chips, and surface etching temporary fixes and professional repair
A single scratch or chip can make a whole floor look tired, but many surface blemishes are fixable without a full refinish.
For minor scratches, use matching wax sticks or colored markers; buff gently.
Fill chips with epoxy tinted to match.
Surface etching on stone may respond to poultices or honing by a pro.
Deep damage needs professional sanding, color-matching, and sealing.
Mistakes to Avoid When Cleaning Floors
You’ll want to avoid common mistakes like over-wetting, using harsh chemicals, and the wrong tools, since each can damage your floors.
If you spot problems—staining, warping, dullness—act quickly with the right cleaners, drying, or gentle repair techniques to limit harm.
The next section will list the top ten errors and practical steps to reverse or mitigate damage.
Top 10 common errors (over-wetting, harsh chemicals, improper tools)
Ten common mistakes can turn a quick floor-cleaning task into a long-term problem, and knowing them helps you avoid damage and wasted effort.
You should skip shortcuts and follow correct methods. Common errors include:
- Over-wetting wood or laminate
- Using harsh chemicals on delicate surfaces
- Scrubbing with abrasive tools
- Ignoring manufacturer instructions
- Using dirty water or mop heads
How to reverse or mitigate damage from cleaning mistakes
If you’ve soaked wood floors or used the wrong cleaner, quick action can often stop minor damage from getting worse: blot moisture, dry with fans, and raise humidity slowly to prevent cupping.
Neutralize harsh residues with a manufacturer-safe rinse, test stain removers in an inconspicuous spot, sand and refinish small scratches, and call a pro for large warping or persistent stains to avoid worsening damage.
Maintenance Plans and Best Practices
Create a simple maintenance plan that lists daily, weekly, monthly, and annual tasks tailored to each floor type so you know what to do and when.
Use protective measures like entrance mats, felt pads, humidity control, and footwear rules to prevent damage between cleanings.
Reserve tough repairs and deep restorations for professionals and handle routine upkeep yourself.
Daily, weekly, monthly, and annual maintenance schedules by floor type
A simple, consistent schedule keeps each floor type looking its best and extends its lifespan: daily spot-cleaning and debris removal, weekly deeper cleaning, monthly inspections and maintenance tasks, and annual professional treatments where appropriate. You’ll follow tailored rhythms for hardwood, tile, vinyl, and carpet to prevent wear and costly repairs.
| Routine | Promise |
|---|---|
| Daily/Weekly | Care |
| Monthly/Annual | Respect |
Protective measures: mats, felt pads, humidity control, footwear rules
When you set up simple protections—entry mats, felt pads under furniture, stable humidity levels, and clear footwear rules—you’ll cut down on scratches, moisture damage, and grit that shortens a floor’s life.
- Place absorbent mats at all entrances
- Use felt pads on chair and table legs
- Keep indoor humidity 35–55%
- Ban high heels and cleats indoors
- Shake or vacuum mats regularly
When to call a professional vs. DIY maintenance
Those simple protections will prevent a lot of wear, but you’ll still face issues that need either routine DIY or a pro’s expertise.
For spills, scratches, or routine sealing, you can handle maintenance with proper tools and products.
Call a pro for deep stains, water damage, structural concerns, or specialized finishes.
Schedule inspections for aged floors and after major incidents to avoid costly repairs.
Eco-Friendly and Budget-Friendly Options
You can choose low-toxicity cleaners and look for certifications like Green Seal or EPA Safer Choice to protect your home and the planet.
You’ll also find that simple swaps—like concentrated refills, DIY vinegar solutions for certain floors, and using microfiber mops—cut costs without harming surfaces.
Below are practical tips for picking products and saving money while keeping floors in great shape.
Low-toxicity cleaning products and certifications to look for
Because harsh chemicals can linger on surfaces and in the air, choosing low-toxicity cleaning products matters for your health and your home.
You want effective cleaners with clear labels and trusted certifications. Look for:
- EPA Safer Choice
- Green Seal
- ECOLOGO
- Fragrance-free or phthalate-free
- Readable ingredient lists and minimal synthetic dyes
Cost-saving tips without compromising floor care
Picking affordable, low-toxicity cleaners is a great start, but you can save more by pairing smart habits with simple swaps that protect floors and your wallet.
Use microfiber mops, dilute concentrates, and make DIY vinegar solutions for tile and sealed wood.
Place doormats, trim pet nails, and sweep daily to reduce wear.
Schedule deep cleans less often to cut costs.
Quick Reference Charts and Checklists
Keep a one-page cleaning cheat sheet for each floor type so you can grab the right method and supplies at a glance.
You’ll also want an emergency stain-response flowchart that guides you through immediate steps and safe products.
These quick references save time and prevent costly mistakes when spills happen.
One-page cleaning cheat sheet for each floor type
One clear, one-page cheat sheet for each floor type gives you fast access to the right tools, cleaning solutions, and step-by-step actions so you can clean efficiently and avoid damage. Use concise lists, timings, and warnings to guide quick jobs.
| Floor Type | Key Steps |
|---|---|
| Hardwood | Dust, mop damp, dry |
| Tile | Sweep, scrub grout, rinse |
| Vinyl | Sweep, gentle mop, dry |
Emergency stain-response flowchart
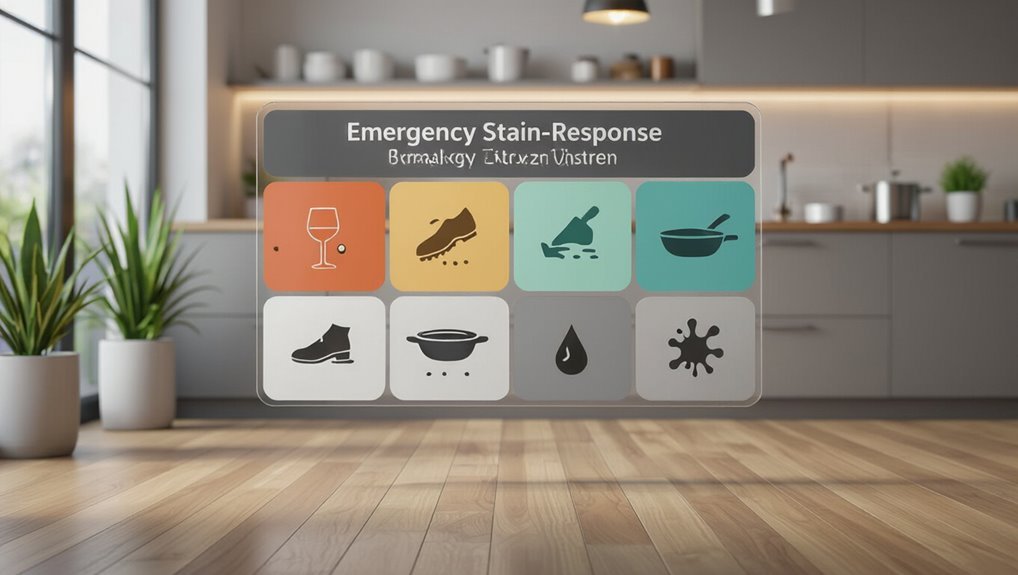
What do you do the moment a spill hits your floor?
Use a simple flowchart:
- Identify surface (hardwood, tile, laminate, carpet).
- Blot excess immediately.
- Test cleaner on hidden spot.
- Apply appropriate solution.
- Rinse and dry.
If stain persists, escalate to specialized treatment or professional service.
Keep printable checklist near cleaning supplies for quick, confident action.
FAQ Answers to Common Reader Questions
You probably have a handful of practical questions—how often to deep clean each floor type, whether a steam cleaner is safe, and which cleaner works for mixed-floor open plans.
You’ll also want to know the safest way to restore shine to dull floors and whether natural cleaners match commercial products.
Let’s answer those points clearly so you can pick the right method for your home.
How often should I deep clean each type of floor?
Curious how often to deep clean different floors?
For hardwood, do a thorough clean and reseal annually, spot-clean monthly.
Engineered wood and laminate need deep cleans every 6–12 months.
Tile and grout benefit from deep scrubs every 3–6 months.
Vinyl and linoleum: deep clean every 6 months.
Stone floors require professional sealing and deep cleaning every 6–12 months.
Adjust for traffic and pets.
Can I use a steam cleaner on my floor?
Wondering whether a steam cleaner’s a good fit for your floor? You can use steam on sealed hard floors like ceramic, porcelain, and some sealed stone; it sanitizes and lifts grime.
Don’t steam unsealed wood, laminate, vinyl with manufacturer warnings, or delicate inlays—steam can warp or strip finishes.
Always check manufacturer guidance and test a small hidden area first.
What cleaner should I use for mixed-floor open-plan spaces?
Which cleaner should you reach for when different floor types meet in one open-plan space?
Use a neutral, pH-balanced floor cleaner labeled safe for all surfaces, or mix two: one mild wood-safe solution for timber and a general-purpose tile/vinyl cleaner for hard surfaces.
Clean edges with appropriate pads, avoid excess water, test in an inconspicuous spot, and follow manufacturers’ instructions.
How do I restore shine to dull floors safely?
If you’ve just finished balancing cleaning products across different floor types, the next common concern is bringing back lost shine without harming surfaces.
First, identify your floor material. Use manufacturer-approved polish or a diluted, pH-neutral cleaner for sealed surfaces; buff gently with a soft cloth or microfiber pad.
For hardwood, lightly sand and recoat only if finish is worn through. Test in a hidden spot.
Are natural cleaners as effective as commercial products?
How well do natural cleaners work compared to commercial products?
You can get good results with vinegar, baking soda, and castile soap for routine cleaning and mild stains, especially on sealed floors. They’re gentler and eco-friendly but may not disinfect or remove heavy buildup as effectively as formulated commercial cleaners.
For tough grime or sanitizing, choose a product designed for the job.
Closing Action Steps
Now that you’ve got the basics, let’s set up a simple 3-step floor-care routine tailored to your surfaces and lifestyle.
Decide when to schedule professional maintenance based on wear and stubborn stains, and note what services and guarantees to ask for.
With that plan, you’ll keep floors cleaner longer and avoid costly repairs.
How to create your personalized floor-care routine (3-step template)
Before you start, decide which floor tasks matter most to your home and how often you can realistically do them—this lets you build a simple, three-step routine that you’ll actually follow.
Pick daily, weekly, and monthly actions, then stick to them. Use this checklist to customize:
- Spot-clean high-traffic areas
- Sweep or vacuum regularly
- Mop or deep-clean weekly
- Treat spills immediately
- Inspect for damage monthly
When to schedule professional maintenance and what to ask for
If you notice persistent stains, warping, or a decline in finish despite your routine care, schedule professional maintenance so small problems don’t become costly repairs.
Call a certified specialist for inspection, detailed estimate, and timeline.
Ask about cleaning methods, compatible products, stain removal, refinishing or sealing options, warranty coverage, and preventive tips.
Get work and guarantees in writing before they start.