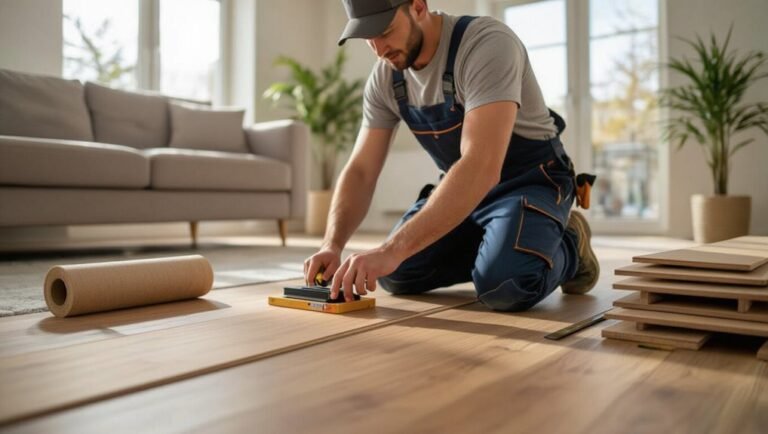
How to Lay Wood Laminate Flooring Without Common Mistakes
You can lay wood laminate flooring without common mistakes by preparing well, acclimating planks, and checking the subfloor for levelness and moisture before you start. Remove baseboards, undercut door jambs, and choose the right underlayment and vapor barrier. Use spacers for expansion gaps, a tapping block and pull bar for tight joints, and stagger seams properly. Measure carefully and cut precisely to fit edges and obstacles, and follow proper locking techniques for a stable finish—keep going and you’ll get step-by-step guidance.
Quick Answer Can You Lay Wood Laminate Flooring Without Common Mistakes?
Yes — you can lay wood laminate flooring without common mistakes if you plan carefully and follow proper techniques.
Focus on acclimating the boards, preparing a flat subfloor, and using the right spacers and tapping tools.
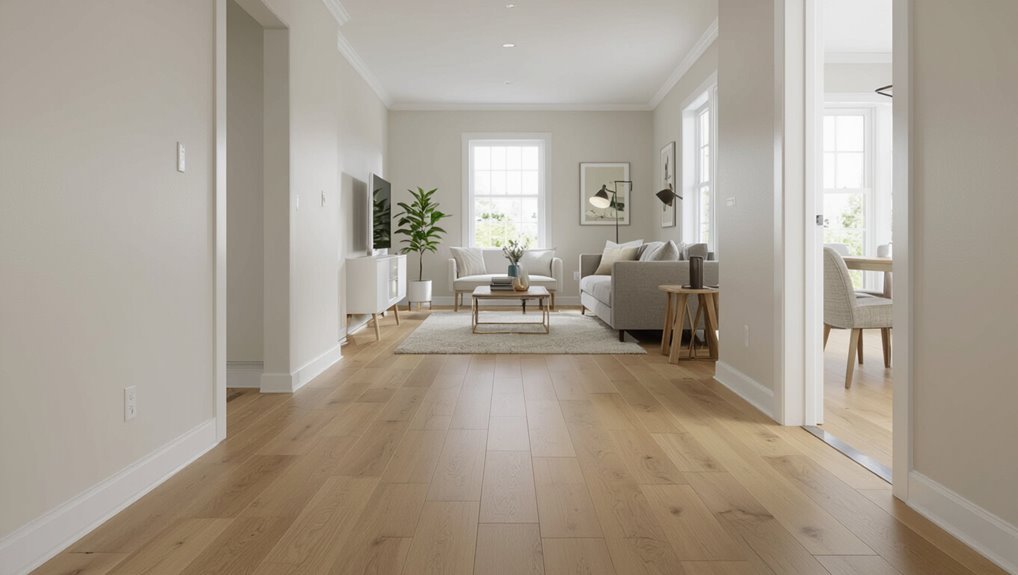
With patience and attention to detail you’ll get a professional-looking result.
Direct verdict and one-sentence summary of best approach
Although mistakes are common, you can lay wood laminate flooring cleanly if you follow proper prep, use the right tools, and take your time; the best single-step approach is to level and moisture-proof the subfloor, acclimate and inspect the planks, and install them with consistent expansion gaps and staggered seams.
You’ll avoid errors by measuring carefully, using spacers, staggering joints, and checking alignment as you progress.
Basic Understanding What Is Wood Laminate Flooring and Why Common Mistakes Matter
You’ll learn that laminate flooring is a layered product—typically a melamine wear layer, a printed design layer, and an HDF or MDF core—with options like AC-rated, water-resistant, and rigid core.
Proper installation matters because it determines how long the floor lasts, how it looks, and whether you keep the manufacturer’s warranty.
Before you start, get familiar with key tools, materials, and terms like underlayment, expansion gap, and click-lock.
What laminate flooring is (composition and common types)
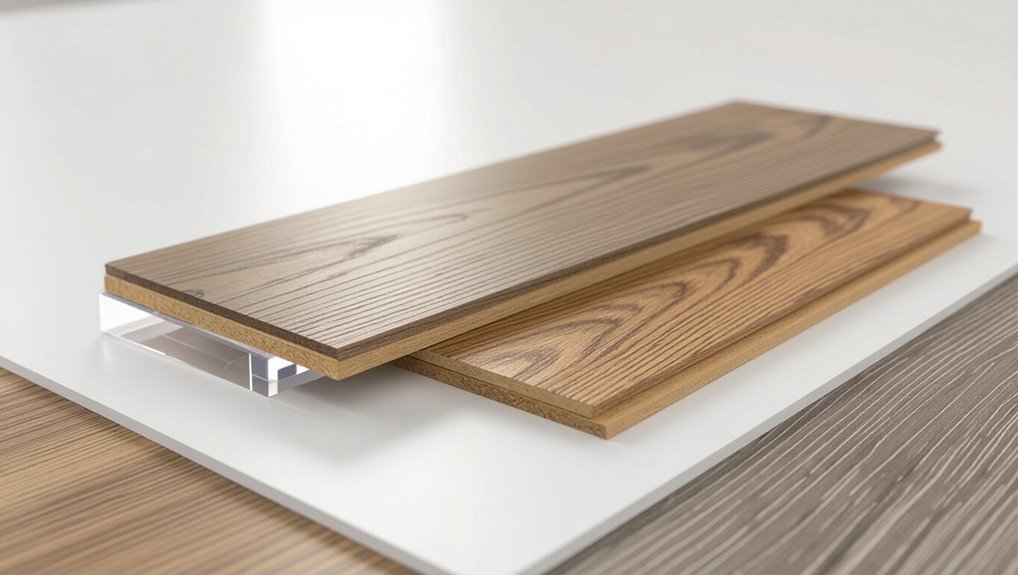
Think of laminate flooring as a layered system that mimics real wood while giving you greater durability and easier maintenance. It’s made of a high-density fiberboard core, a printed decorative layer that recreates wood grain, a clear wear layer on top, and often a stabilizing backing layer.
You’ll choose among AC ratings, plank sizes, textures, thicknesses, and click or glued edges to match use and budget.
Why proper installation affects durability, appearance, and warranty
Because laminate is a precision-built, layered product, the way you install it directly determines how long it lasts, how good it looks, and whether the manufacturer will honor the warranty.
You must control subfloor flatness, allow expansion gaps, follow locking procedures, and prevent moisture exposure.
Proper installation prevents warping, surface wear, and joint failure, and keeps your warranty valid if issues arise.
Tools, materials, and terminology beginners must know
Having the right tools, materials, and a clear grasp of key terms makes proper installation achievable and keeps your warranty intact.
You’ll need basics, know measurements, and understand expansion gaps. Learn these essentials so you avoid common errors and finish with a professional look.
- Tape measure, spacers, tapping block, pull bar
- Underlayment type and moisture barrier
- Plank locking system terminology
- Connector strips and trim
Preparation Assessing and Preparing the Space
Before you lay a single plank, inspect the subfloor for levelness and damage and make any necessary repairs.
You’ll test for moisture, fix any damp issues, and let the laminate acclimate in the room for the recommended time.
Finally, remove trim and baseboards and check door clearances so the new floor fits and expands correctly.
Inspecting subfloor condition and levelness
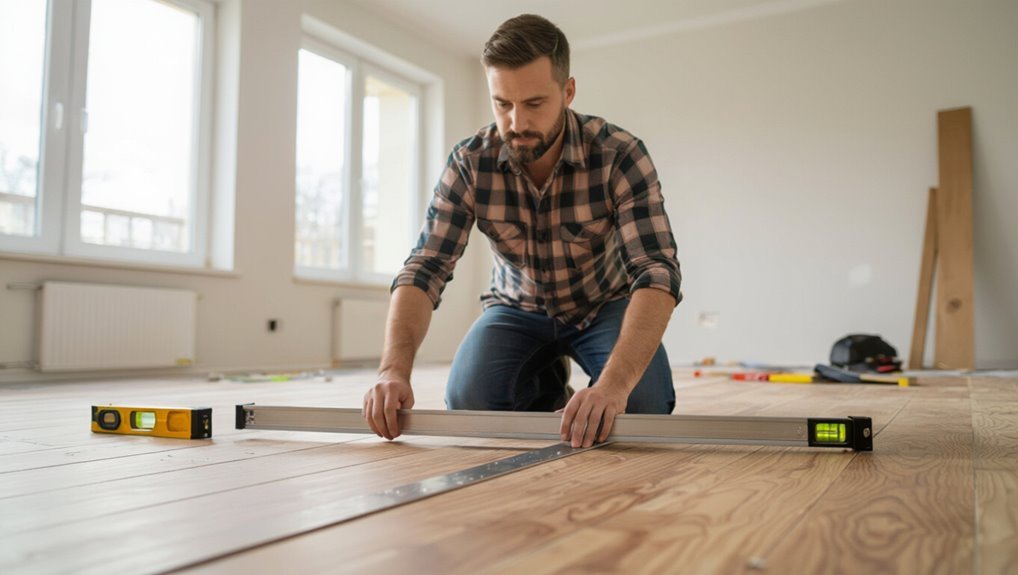
Start by thoroughly inspecting the subfloor for damage, moisture, and levelness—these factors determine whether your laminate will lay flat and last.
Look for soft spots, loose boards, gaps, and high or low areas. Use a straightedge and level to spot deviations over 3/16″ in 10′.
Repair or replace damaged sections and sand or shim uneven areas so panels sit uniformly.
Moisture testing and addressing moisture issues
Once the subfloor is sound and level, check for moisture because laminate and water don’t mix.
Use a moisture meter and follow manufacturer’s limits for subfloor and concrete.
Fix any excess moisture: repair leaks, improve ventilation, install a vapor barrier or moisture mitigation on concrete.
Retest after fixes.
Don’t install until readings stay within recommended range to prevent warping and failure.
Acclimating laminate planks to the room
Let the laminate planks sit in the room where they’ll be installed for at least 48 hours so they can reach the same temperature and humidity as the space; this prevents gaps, buckling, and uneven seams after installation.
Stack unopened boxes flat, away from heat or direct sun.
Check planks for damage, mix boards from different boxes for color variation, and maintain room conditions during installation.
Removing trim, baseboards, and door clearances
Remove the baseboards and trim carefully before you lay the laminate so you can conceal expansion gaps and get clean edges; use a utility knife to cut paint seals, a pry bar and block to lever trim away, and label each piece so it can be refitted.
You’ll also check door clearances and undercut jambs for smooth plank fit.
- Score paint seams
- Pry with block
- Label pieces
- Undercut door jambs
Planning Your Layout Minimizing Cuts and Visual Flaws
Decide which direction to run the planks and which wall you’ll start from so seams fall in the least conspicuous places.
Measure the room to calculate how many boards you need, include waste for cuts and staggering, and plan to keep end joints at least three planks apart.
Finally, mark where expansion gaps and shifts will go to avoid last-minute adjustments and visual flaws.
Choosing installation direction and starting wall
Because the direction you install the planks affects both the look and how many cuts you’ll make, plan your layout before you click the first row in place.
Run planks lengthwise toward the main light source and longest room dimension for a natural, expansive look.
Start along the straightest, most visible wall, allow expansion gaps, and adjust the first row to minimize thin edge cuts.
Calculating materials, waste, and plank staggering
With your layout and starting wall chosen, you’ll want to calculate how many planks and how much extra material to buy, then plan staggering to avoid repetitive seams. Measure area, add 5–10% waste for cuts and mistakes, and arrange stagger lengths so end joints sit at least 8–12 inches apart. Use the table below to pace decisions and track quantities.
| Step | Action |
|---|---|
| 1 | Measure room |
| 2 | Compute area |
| 3 | Add waste |
| 4 | Plan stagger |
| 5 | Buy planks |
Planning expansion gaps and transition placements
When you plan expansion gaps and shifts, leave consistent space around the room perimeter and at doorways so the floor can expand and contract without buckling; a standard 1/4″–1/2″ gap works for most laminate, but check the manufacturer’s recommendation and use spacers to maintain uniformity.
Place thresholds at doorways, between rooms, or where plank runs change direction; they hide gaps, reduce cutting, and guarantee smooth movement.
Step-by-Step Installation Guide
Now you’ll walk through the actual installation, starting with laying the underlayment and vapor barrier exactly as needed.
You’ll set the first row straight, lock and tap subsequent rows into place, and make precise cuts for edges, doorways, and obstacles.
Finally, you’ll fit the last row and trim it to maintain proper expansion gaps.
Step 1 Installing underlayment and vapor barrier correctly
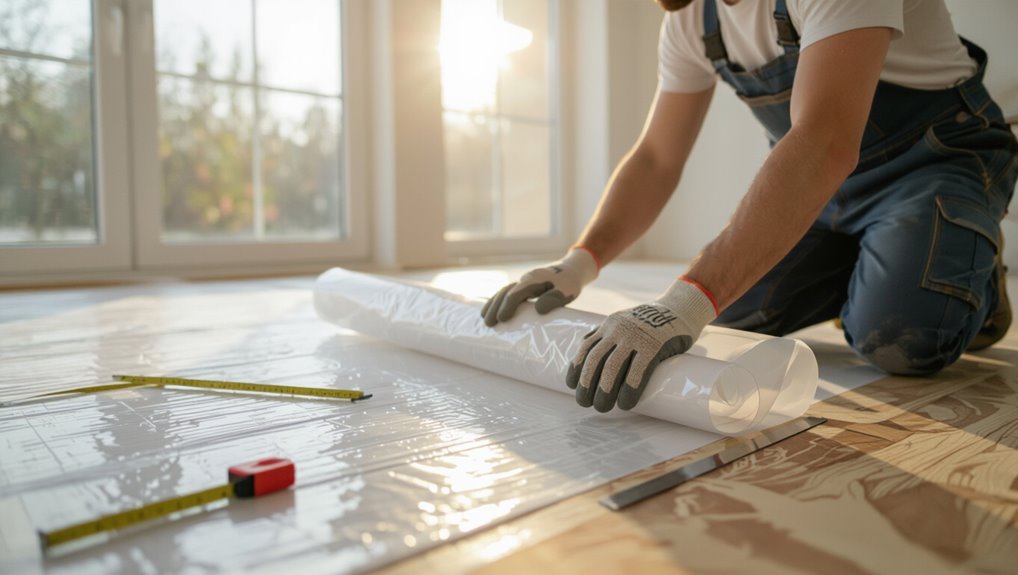
Step 1 is laying a proper underlayment and vapor barrier—do this right to protect the laminate from moisture, smooth minor subfloor imperfections, and reduce noise.
Clear, dry subfloor; roll underlayment perpendicular to boards, butt seams tightly without overlap.
Tape vapor barrier seams, trim excess at walls, and maintain required expansion gap.
Work toward doorways, checking for flatness and secure seams as you go.
Step 2 Laying the first row and ensuring straightness
1. Lay the first row with tongues facing the wall, using spacers to maintain the recommended expansion gap.
Align the ends carefully, checking straightness with a chalk line or straightedge. Trim the last plank to fit, keeping the gap.
Secure the row to the underlayment only as manufacturer allows. Recheck alignment frequently before proceeding to the next row.
Step 3 Locking subsequent rows and tapping techniques
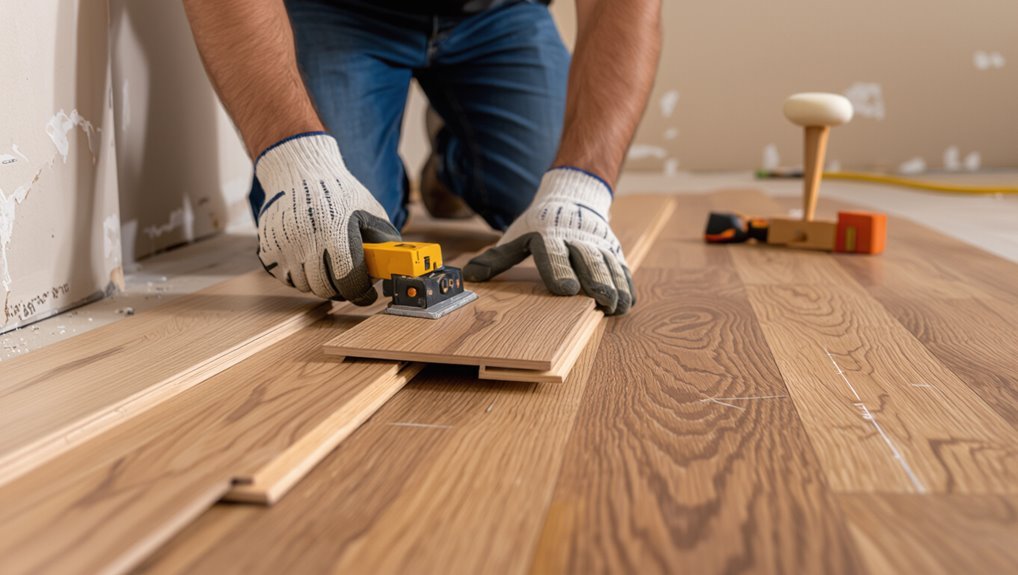
Begin each new row by angling the plank’s tongue into the previous row’s groove and sliding it forward until it clicks; you’ll then lower it flat to fully engage the joint.
Tap ends gently with a tapping block to close gaps, keeping a consistent stagger. Use a pull bar for tight fits at walls.
Check alignment frequently and remove debris from joints before locking.
Step 4 Cutting planks for edges, doorways, and obstacles
Cut planks carefully to fit along walls, doorways, and around pipes or vents, measuring twice and cutting once so each piece sits snug without gaps.
Use a jigsaw for irregular cuts, a miter or circular saw for straight rip cuts, and a coping tool for tight profiles.
Mark cut lines on the tongue side, support the plank while cutting, and deburr edges before installing.
Step 5 Installing final row and trimming for expansion gaps
Now that you’ve fitted and trimmed the planks around doorways and obstacles, it’s time to install the final row and make sure the perimeter maintains the proper expansion gap.
Measure and rip planks to fit, leaving the recommended gap (usually 1/4″–1/2″). Use spacers, test fit tightly without forcing joints, trim tongues if needed, and secure the last row so flooring can expand freely.
Step 6 Reinstalling trims, thresholds, and finishing touches
Step 6 focuses on putting everything back together: reinstall baseboards, door casings, and thresholds so the floor looks finished while still allowing room for expansion.
Check gaps, trim jambs, and test doors. Protect the surface and clean.
- Align and nail baseboards
- Fit thresholds with gap allowance
- Reinstall door casings, trim undercuts
- Clean and apply protectors
Common Mistakes and How to Avoid Them
Before you start, watch for a few common mistakes that can ruin your floor: not acclimating boards or testing moisture, overlooking subfloor flatness, and skipping the right underlayment or vapor barrier.
Make sure you leave proper expansion gaps with correct connections and follow a stagger pattern that avoids short end joints.
Fixing these issues before installation will save you time and prevent costly repairs.
Mistake 1 Skipping acclimation and moisture testing
Skipping acclimation and moisture testing is one of the quickest ways to invite warping, buckling, or gaps in your laminate floor; you should let the boards sit in the room where they’ll be installed and test the subfloor’s moisture beforehand so the materials can reach equilibrium and you can catch moisture issues early.
Don’t skip a moisture meter check or ignore manufacturer humidity and temperature ranges before installation.
Mistake 2 Ignoring subfloor flatness and inadequate preparation
A flat, clean subfloor is the foundation of a successful laminate installation, and ignoring it will leave you dealing with visible gaps, uneven wear, or a squeaky, unstable floor.
Check for levelness, nails, loose boards, and debris. Sand high spots, fill low areas with appropriate compound, secure squeaks, and make certain the surface is rigid and dust-free before laying planks for a long-lasting result.
Mistake 3 Improper underlayment or missing vapor barrier
While you’re focused on planks and patterns, don’t overlook underlayment and a vapor barrier—they guard against moisture, reduce noise, and provide needed cushioning.
Choose underlayment compatible with your laminate and subfloor, and install a vapor barrier on concrete or damp areas. Overlap seams, tape edges, and avoid gaps.
Proper layers extend lifespan, prevent warping, and improve comfort and acoustics.
Mistake 4 Failing to leave expansion gaps or using wrong transitions
Underlay and vapor barriers protect your floor, but you also need to give the laminate room to move and connect rooms correctly.
Leave expansion gaps around walls and fixed objects per manufacturer specs, cover them with baseboards.
Use proper connectors at doorways and between rooms to accommodate movement and height differences.
Wrong or missing gaps and connectors cause buckling, squeaks, and failed locks—so plan them.
Mistake 5 Incorrect stagger pattern and short end joints
If you ignore proper staggering and let short end joints line up, your floor will look weak and be more likely to split or shift; plan offsets so end joints fall at least 8–12 inches apart (follow manufacturer specs).
Measure and lay rows so seams stagger naturally, avoid repeating short pieces every row, and cut starter boards to create varied joints.
Check alignment frequently to prevent cumulative offsets.
Mistake 6 Damaging plank locking mechanisms during installation
After staggering your seams correctly, take care when locking planks together—forcing, prying, or misaligning boards can chip or bend the tongue-and-groove profiles and ruin a row.
Use gentle tapping with a tapping block and soft mallet, align ends precisely, and support adjacent boards to prevent stress.
Inspect each joint as you go; replace or repair damaged planks immediately to avoid gaps or instability.
Mistake 7 Rushing cuts and improper tool use
Hurry through cutting and tool use, and you’ll pay for it with wasted planks and uneven seams.
You should measure twice, cut once, and use the right saw and blade for laminate. Take steady, controlled cuts and wear safety gear. Mistakes cost time and material.
- Measure accurately
- Choose proper blade
- Clamp and cut slowly
- Inspect each cut
Prevention Strategies and Best Practices
Before you start, check your materials, tools, and site conditions with a clear pre-install checklist so nothing stalls the job.
Use precise measuring, straight-line guides, and gentle tapping techniques to protect tongues and grooves during joining.
Choose maintenance-friendly changes, trims, and thresholds that simplify cleaning and future repairs.
Pre-install checklist (materials, tools, site conditions)
While you’re gathering materials and checking the room, make a concise pre-install checklist that covers the laminate planks, underlayment, trim, adhesives, and fasteners plus the specific tools you’ll need—saws, spacers, tapping block, pull bar, and a reliable measuring tape—then verify site conditions like subfloor flatness, moisture levels, temperature, and adequate lighting and clearance.
- Confirm materials quantity and damage-free planks
- Inspect underlayment type and vapor barrier
- Measure subfloor flatness and moisture readings
- Organize tools, workspace, and safety gear
Pro tips for precise measuring and straight lines
You’ve checked your materials and site; now focus on measuring and layout so your boards run straight and fit without gaps.
Snap chalk lines along the longest wall, account for expansion gaps, and dry-fit a starter row.
Measure each cut twice, stagger seams at least 12 inches, and use a straightedge and carpenter’s square to keep lines true.
Mark boards clearly before cutting.
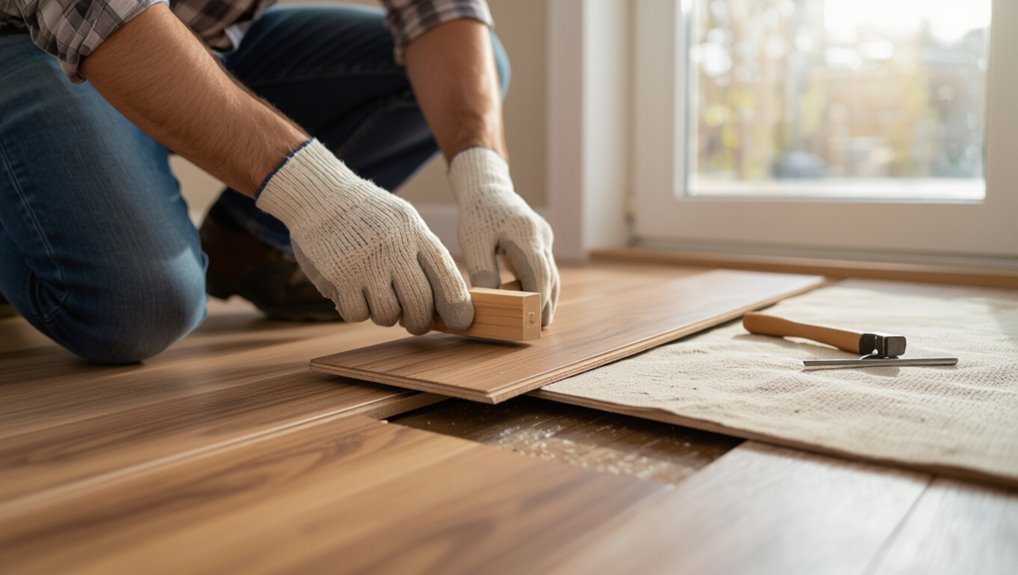
Best tapping and joining techniques to protect tongues/grooves
1 simple tool can save you from ruining tongues and grooves: a tapping block. Use it with a mallet to gently seat boards without striking edges.
Angle joints slightly, tap along the seam, then press down to lock. For short end joints, use a pull bar.
Check alignment continually and avoid overhitting—protects profiles and guarantees tight, even seams.
Maintenance-friendly installation choices (transitions, trims, thresholds)
Because changes, trims, and thresholds take the most wear and hide the most dirt, choosing durable, easy-to-clean profiles up front will save you time and repairs later.
Pick metal or dense PVC connector strips, sealed stair nosing, and low-profile thresholds that resist grime.
Install with proper expansion gaps and fastenings so trims stay tight but removable for cleaning or replacement without damaging the floor.
Comparison Floating vs. Glue-Down vs. Click-Lock Systems
You’ll weigh performance, ease of installation, and common pitfalls when choosing between floating, glue-down, and click-lock systems.
Consider which method suits each room and subfloor—some handle moisture or uneven substrates better than others.
With the right match, you’ll avoid problems and get a durable, easy-to-maintain floor.
Performance, ease of installation, and common pitfalls
When comparing floating, glue-down, and click-lock laminate systems, think about long-term performance, how much hands-on work you want, and where the floor will live; each method has trade-offs that affect durability, noise, moisture resistance, and installation time. You’ll favor floating for speed, glue-down for stability, and click-lock for DIY balance—watch moisture and uneven subfloors.
| System | Key Concern |
|---|---|
| Floating | Expansion gaps |
| Glue-down | Adhesive failures |
| Click-lock | Joint alignment |
| All | Moisture control |
Recommended methods for different rooms and subfloors
If your room sees moisture or heavy traffic, match the installation method to both the space and the subfloor: choose floating for quick installs over concrete or wood with underlayment,
glue-down for stability on concrete or uneven substrates and moisture resistance, and click-lock for DIY-friendly rooms with stable, dry subfloors.
Consider room use, moisture, and subfloor flatness when deciding.
Troubleshooting Fixing Installation Problems After They Occur
If you spot cupping, buckling, or gaps, act quickly to identify whether moisture, poor acclimation, or improper installation caused it and use targeted fixes like drying, tightening, or replacing affected planks.
You can swap out damaged boards without tearing up the whole floor by removing trim and releasing or cutting planks as needed.
Call a pro for structural issues, widespread moisture damage, or if you’re not comfortable with the repair tools and techniques.
How to fix cupping, buckling, and gaps
Because wood laminate reacts to moisture and improper installation, cupping, buckling, and gaps are fixable once you identify the cause and act quickly.
Check humidity, fix leaks, and guarantee underlayment and expansion gaps are correct.
For cupping, dry the area and improve ventilation; for buckling, relieve pressure by loosening boards; for gaps, stabilize moisture and use proper filler or adjust plank alignment.
Replacing damaged planks without ripping up the floor
When a few planks get dinged or water-damaged, you don’t have to tear out the whole floor; you can replace individual boards with the right tools and a little patience.
Remove trim, cut damaged planks into sections, extract pieces, and clean the groove.
Fit replacement planks by angling and locking them in, tapping gently, and reinstalling trim.
Check expansion gaps and wipe residue.
When to call a professional versus DIY repair
Replacing a few damaged planks yourself is satisfying, but some problems call for a pro.
If boards buckle across large areas, subfloor or moisture issues persist, or seams keep separating, hire an expert.
DIY when damage is localized, you can access planks, and tools match the task.
Get a pro for structural, moisture, or warranty-sensitive repairs to avoid bigger costs.
Cost, Time, and Difficulty Estimates
Plan on about a day to a weekend per average-sized room depending on prep and your pace, and decide whether you’ll hire pros or tackle it yourself.
Compare costs for laminate, underlayment, trim, plus any tools you might need to buy or rent and a 10–15% contingency for mistakes or extra materials.
That way you can weigh time versus labor costs and make a realistic budget before you start.
Typical time per room and labor vs. DIY considerations
Expect a typical 10×12 room to take a weekend for a competent DIYer and a few hours for a pro crew; your actual time will vary with room size, layout complexity, and prep needs.
If you’re handy, DIY saves labor costs but adds fatigue and slower pace.
Hire pros for tricky layouts, uneven subfloors, or tight timelines to guarantee efficiency and warranty compliance.
Cost breakdown: materials, tools, and contingency
Now that you’ve weighed time and labor trade-offs, let’s look at what you’ll actually spend.
You’ll pay for laminate ($1–4/sq ft), underlayment ($0.20–0.50/sq ft), trim, and adhesives.
Basic tools rental or purchase ($50–200) and specialty tools ($100–300) add up.
Budget a 10–15% contingency for waste, mistakes, or subfloor fixes.
Total DIY: $2–6/sq ft.
FAQ Frequently Asked Questions
You probably have a few quick questions before you start, like whether you can install laminate over existing floors and how much expansion gap is needed.
You’ll also want to know if underlayment is required, whether laminate works in bathrooms or basements, and how long to acclimate the boards.
Below are clear answers to each of these common concerns.
Can laminate be installed over existing flooring?
Wondering whether you can install laminate over your existing floor? Yes—you often can if the current surface is flat, clean, dry, and securely attached.
Remove loose tiles or trim high spots, fix dips, and make sure moisture isn’t an issue. Avoid carpet and unstable subfloors.
Use appropriate underlayment and follow manufacturer guidelines so your new laminate locks properly and lasts.
How much expansion gap is required and why?
A 1/4-inch to 1/2-inch gap around the room is typically required for laminate flooring because the boards expand and contract with temperature and humidity changes; leaving this expansion gap prevents buckling, popping joints, and edge lifting while allowing the floating floor to move freely.
Measure and maintain that gap at walls, around pipes and thresholds, and use spacers during installation for consistent clearance.
Is underlayment always necessary for laminate?
Leaving the proper expansion gap is only part of preventing problems with a floating laminate floor; underlayment plays a big role in stability, comfort, and longevity.
You usually need underlayment for sound reduction, minor subfloor leveling, and moisture protection when recommended.
Some laminates have attached pads; skip extra underlayment only if manufacturer permits and subfloor is even, dry, and clean to avoid voiding warranties.
Can I install laminate in a bathroom or basement?
Can you install laminate in a bathroom or basement? You can, but choose water-resistant or 100% waterproof laminate and use a proper moisture barrier.
Avoid floating joints in shower areas and seal edges where moisture could enter.
For basements, test and mitigate concrete moisture, add vapor barriers, and guarantee good ventilation.
Don’t install standard laminate where standing water is likely.
How long do I need to acclimate laminate before installation?
How long should you let laminate boards sit before installing them? You should acclimate boards 48–72 hours in the room where they’ll be installed, stacked flat with spacers for air circulation.
Maintain normal indoor temperature and humidity. Check manufacturer guidelines; some products need longer.
- 48–72 hours standard
- Follow maker’s instructions
- Stack flat, allow airflow
- Keep room conditions stable