How to Install a Vapor Barrier on a Concrete Floor the Right Way
To install a vapor barrier on concrete the right way, you’ll clean and repair the slab, test moisture, then choose suitable material (6–20 mil polyethylene or a liquid membrane). Lay sheets with 6–12 inch overlaps, seal seams and edges with compatible tape or adhesive, and detail around pipes and walls with collars or flashing. Protect the membrane with an underlayment or screed before finishing. Keep everything dry and inspected, and continue below to learn full step-by-step guidance.
How to Install a Vapor Barrier on a Concrete Floor Quick Answer
Lay out clean concrete, roll out and overlap 6-mil polyethylene, tape seams and seal edges, then cover with flooring or mechanical fasteners.
If you’re finishing a slab now or notice moisture, install the barrier immediately; if the slab will stay bare and dry for months, you can wait until finishing.
Follow local code for vapor retarder requirements and thickness.
One-sentence summary of steps
Start by cleaning and drying the concrete.
Then cut and unroll the plastic, overlap seams by 6–12 inches, tape or seal overlaps, run barrier up walls and seal to rim joist, patch penetrations, and secure edges before pouring a slab or installing flooring.
Follow manufacturer specs and local code so you’ll properly install how to install a vapor barrier on concrete floor without shortcuts.
When you need a vapor barrier now vs. later
You’ve covered the step-by-step basics, but sometimes timing matters more than technique—so when should you install the vapor barrier immediately, and when can you wait?
Install now if:
- slab is new,
- moisture tests show high readings,
- you’ll lay moisture-sensitive flooring, or
- the space lacks climate control.
You can wait for:
- dry, tested slabs,
- non-sensitive finishes, or
- if renovating with existing barriers confirmed intact.
Understanding Vapor Barriers: What They Are and Why They Matter
A vapor barrier is a material that stops moisture vapor, which is different from a vapor retarder (slower transmission) and a moisture barrier (often liquid-proof).
You’ll want one because concrete constantly emits moisture through vapor transmission from the slab and subsoil, which can ruin flooring, shorten material life, and hurt indoor air quality.
Install or recommend a barrier especially in basements, slab-on-grade floors, and under radiant-heat systems to protect assemblies and finishes.
Definition and difference between vapor barrier, vapor retarder, and moisture barrier
Although these terms often get lumped together, they mean different things and choosing the right one matters for your project.
A vapor barrier is highly impermeable (very low perm) and blocks moisture flow.
A vapor retarder slows transmission but isn’t fully impermeable.
“Moisture barrier” is a loose term—confirm manufacturer specs so you pick the correct permeability and installation method for your concrete floor.
How concrete emits moisture (vapor transmission, slab moisture sources)
Since a vapor barrier’s job is to stop moisture movement, it helps to understand where that moisture comes from and how concrete releases it.
Concrete holds water from mixing, curing, and groundwater. That water evaporates upward as vapor through pores and capillaries—a process driven by humidity and temperature differences.
You’ll also get moisture from slab leaks and perimeter infiltration, increasing vapor transmission toward indoor finishes.
Benefits of installing a vapor barrier (durability, flooring protection, indoor air quality)
Protection is the main payoff when you install a vapor barrier: it keeps slab moisture from degrading flooring, corroding embedded metals, and fostering mold, so your surfaces and systems last longer and perform better.
You’ll reduce maintenance, prevent adhesive failures and buckling, and limit airborne mold spores. That improves indoor air quality and protects finishes, HVAC components, and your investment over decades.
Situations when a vapor barrier is mandatory or recommended (basements, slab-on-grade, radiant heat)
Knowing what a vapor barrier protects helps you decide where you really need one.
In basements and crawlspaces you must install one to prevent moisture, mold, and damage.
For slab-on-grade floors it’s strongly recommended to stop ground vapor migrating into flooring.
If you have in-slab radiant heat, a barrier prevents moisture from degrading insulation and finishes and improves system efficiency.
Materials and Tools You Need
You’ll learn which vapor barrier materials—like polyethylene sheeting, kraft-faced paper, and specialized membranes—work best for different jobs and what trade-offs each has.
I’ll explain how to read thickness, permeability (perm) ratings, and applicable standards so you can pick the right performance level.
Then you’ll get a concise tools-and-supplies checklist to make installation quick and correct.
Common vapor barrier materials and pros/cons
Materials for vapor barriers vary by job, budget, and climate, so pick the one that matches your needs. You’ll choose polyethylene sheeting, liquid membranes, or reinforced sheets. Each balances cost, durability, and ease of install.
| Material | Pros | Cons |
|---|---|---|
| Polyethylene | Cheap, easy | Tears easily |
| Liquid membrane | Seals seams | Cost, prep |
| Reinforced | Durable | Higher price |
Thickness, permeability ratings (perm) and standards to look for
Before you buy vapor barrier materials, check thickness and permeability ratings to match your climate and application.
Choose 6-mil polyethylene for basic protection; use 10–20 mil for heavy traffic or puncture risk.
Look for perm ratings ≤0.1 for true vapor barriers; higher perms suit damp-but-breathable flooring.
Verify ASTM or ACI standards on packaging and follow manufacturer installation guidance for warranties.
Tools and supplies checklist
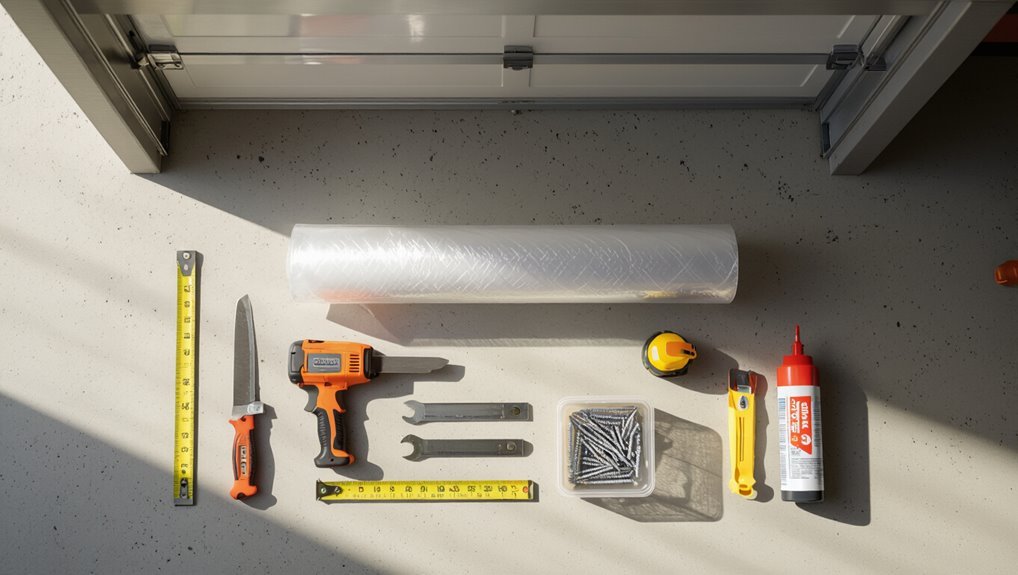
Gather a concise kit of supplies and tools so you can work efficiently and avoid interruptions once you start installing the vapor barrier.
You’ll need reliable materials and basic tools to cut, seal, and secure the sheet properly.
- 6-mil or thicker polyethylene, seam tape, and seam sealer
- Utility knife, straightedge, and measuring tape
- Roller, broom, and gloves
Pre-Installation Inspection and Prep
Before laying the vapor barrier, you’ll inspect the concrete for cracks and test moisture with a calcium chloride kit or an RH probe.
Clean, patch, and level the slab so the membrane sits flat and seals properly.
Also check and fix exterior drainage or sources of water intrusion to prevent recurring moisture problems.
Assessing concrete condition (cracks, moisture tests)
1 key step in installing a vapor barrier is evaluating the concrete slab for cracks and moisture so you know what repairs and tests are needed.
Walk the slab, note hairline to structural cracks, and mark areas of spalling or delamination.
Check for efflorescence, staining, or damp patches.
Document findings, measure crack widths, and plan necessary repairs before barrier installation.
How to perform a simple moisture test (calcium chloride, RH probe)
When you’re checking a slab for moisture, perform a simple calcium chloride or in-situ relative humidity (RH) probe test so you know whether the concrete is dry enough for a vapor barrier and what remediation might be needed.
Follow these steps:
- Seal test area, start calcium chloride kit or insert RH probe per manufacturer.
- Log results at specified intervals.
- Compare to vapor barrier limits and plan remediation if over limit.
Surface preparation: cleaning, patching, leveling
If your moisture tests show acceptable levels or after you’ve planned remediation, prepare the slab surface so the vapor barrier can bond and perform as designed.
Sweep and vacuum thoroughly, remove grease, paint, and loose debris.
Patch cracks and spalls with a compatible cementitious repair, grind high spots, and level low areas with a trowel-grade patch.
Allow repairs to cure fully before installation.
Addressing drainage and exterior moisture sources before installation
Because exterior water is the root cause of most slab moisture problems, you should inspect and correct drainage, grading, and roof runoff before laying a vapor barrier.
Check gutters, downspouts, and slope away from the foundation; extend downspouts and add swales or French drains where needed.
Repair cracks in exterior walls and seal window wells so groundwater won’t undermine the slab after installation.
Step-by-Step Installation Guide
First, you’ll plan the layout and measure the slab so sheets fit with proper overlaps.
Next, you’ll cut and position the membrane, seal seams and edges with tape, adhesive, or liquid sealant, and carefully seal around pipes and columns.
Finally, you’ll add the protection layer—insulation, underlayment, or screed—before proceeding with the finish floor.
Step 1 Planning layout and measuring the slab
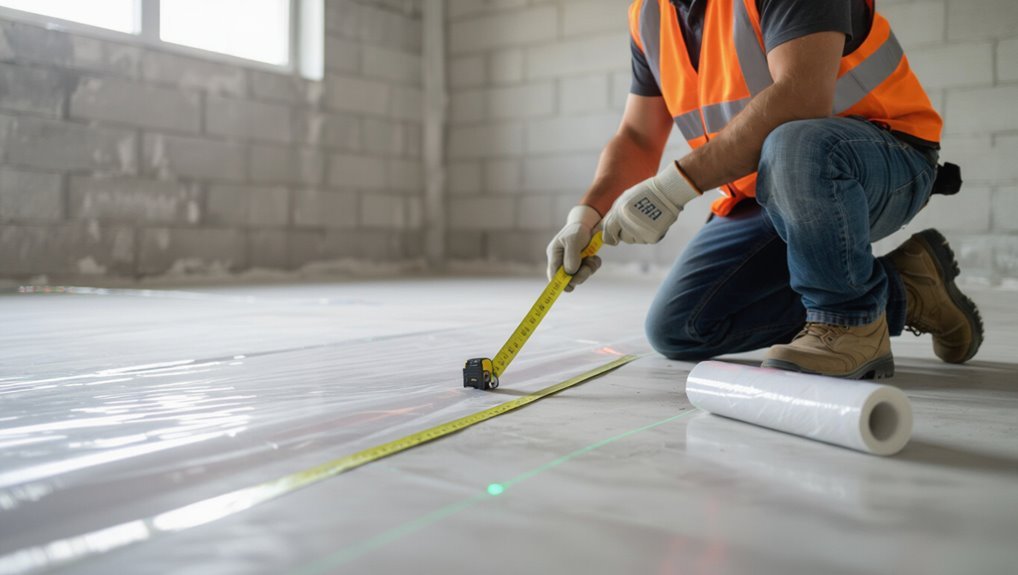
When you’re ready to lay out the vapor barrier, start by measuring the slab’s length and width and note any columns, plumbing chases, or irregular edges you’ll need to work around; these measurements determine how much material you’ll buy and how you’ll orient seams to minimize waste.
Mark driplines, shifts, and perimeter offsets, record square footage, plan roll orientation, and identify seams before cutting.
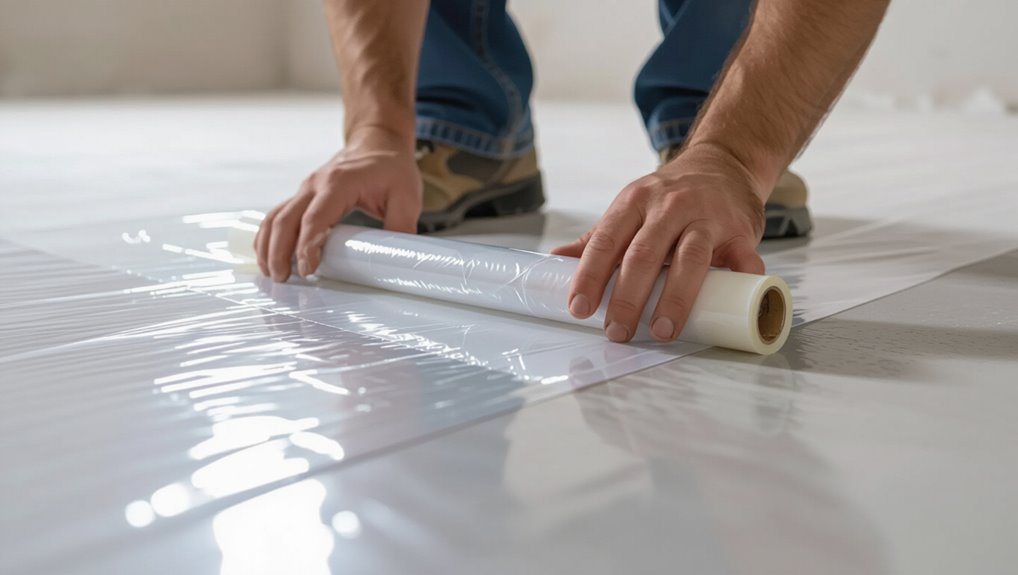
Step 2 Cutting and positioning the vapor barrier sheets
Now that you’ve mapped the slab and marked seams, cut and position your vapor barrier sheets so they cover the entire floor with overlaps and minimal seams.
Use a straightedge and utility knife for clean cuts, trimming around columns and penetrations.
Lay sheets parallel to the longest wall, keeping edges flat.
Temporarily weigh edges with boards or sandbags while you adjust fit before final securing.
Step 3 Overlapping seams and sealing methods (tape, adhesive, liquid sealant)
Step 3 focuses on overlapping seams and choosing a sealing method—tape, adhesive, or liquid sealant—to make the vapor barrier continuous and watertight.
Overlap sheets 6–12 inches, smooth wrinkles, then seal.
Use compatible polyethylene tape for quick seams, construction adhesive for porous edges, or a liquid seam sealant for irregular joins.
Press firmly, follow manufacturer cure times, and inspect for gaps.
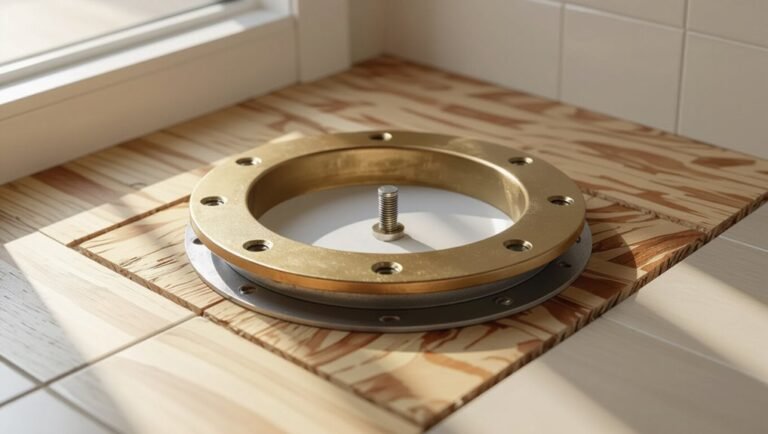
Step 4 Sealing perimeter and around penetrations (pipes, columns)
Because the vapor barrier is only as good as its edges and penetrations, you’ll need to seal the perimeter and each pipe or column carefully to maintain continuity.
Trim film neatly, adhesive-bond the sheet to the wall or footing, and wrap collars or flashing around pipes and columns.
Use compatible tape or liquid sealant, ensuring full adhesion and no gaps for moisture to bypass the membrane.
Step 5 Installing protection layer or cover (insulation, underlayment, screed)
Lay down the protection layer immediately after sealing the vapor barrier so the membrane stays intact and uncontaminated. This layer — insulation, underlayment, or screed — shields the vapor barrier from foot traffic, mechanical damage, and point loads while providing thermal or structural function as required.
Choose compatible materials, place evenly, avoid punctures, tape seams where needed, and compact or fasten per manufacturer instructions for reliable long-term protection.
Step 6 Installing flooring or finishing slab after barrier is in place
Now that the vapor barrier and protection layer are secure, install your flooring or finishing slab following the manufacturer’s sequence and local building codes to guarantee proper load transfer, moisture management, and long-term performance.
Fit materials without puncturing the membrane, stagger joints, leave required expansion gaps, and use recommended adhesives or fasteners.
Verify flatness, cure times, and perform a final moisture check before sealing or covering.
Common Mistakes and How to Avoid Them
Don’t pick the wrong material or too-thin sheeting, because that’ll fail before it even gets covered.
Pay close attention to seams and penetrations and never install the barrier over damp or contaminated concrete.
Also protect the membrane from damage during later trades so your effort doesn’t get ruined.
Wrong material choice or inadequate thickness
Although it might seem like any plastic sheet will do, choosing the wrong vapor barrier material or one that’s too thin can let moisture bypass your defense and cause mold, rot, or wasted effort.
Pick a durable, code-approved polyethylene or specialized membrane with sufficient mil thickness for your climate and use. Thicker, puncture-resistant barriers last and reduce replacement risk.
Poor seam sealing and gaps at penetrations
When seams aren’t sealed properly or you leave gaps around pipes, wires, and vents, moisture will find its way through the weakest spots and defeat the vapor barrier’s purpose.
Inspect all seams, overlap by recommended amounts, use compatible tape or mastic, and seal penetrations with boots or collars.
Test for continuity and patch any flaws before covering the barrier to guarantee long-term protection.
Installing barrier over wet or contaminated concrete
After you’ve sealed seams and penetrations, check the concrete’s condition before laying the vapor barrier: installing membrane over wet or contaminated slab traps moisture, promotes mold, and ruins adhesives.
Don’t cover damp, oily, or dusty surfaces. Test moisture content, clean contaminants, and allow proper drying or use mechanical abrasion and appropriate primers.
Address efflorescence and active leaks before proceeding.
Damaging the barrier during subsequent trades
Because the vapor barrier sits flat and out of sight, tradespeople can easily damage it during later work, so you need to plan protection and communication up front.
Mark barrier locations, cover with rigid boards or protective mats, and restrict heavy foot traffic.
Tell subs where seams and taped areas are, require soft-soled shoes, and inspect and repair punctures immediately to maintain vapor control.
Best Practices and Pro Tips
When you plan a vapor barrier, consider how it works with radiant heat systems so you don’t trap heat or moisture.
Make sure the barrier ties into insulation and the rest of the floor assembly for continuous protection, and schedule regular inspections to catch damage early.
Call a professional if you’re unsure about system compatibility or see persistent moisture or temperature issues.
Working with radiant heat systems and vapor barriers
If you’re installing a radiant heat system, plan the vapor barrier layout before you lay any tubing so you avoid costly rework and moisture problems later.
Mark tubing runs, seams, and access points on the barrier. Use compatible, puncture-resistant membrane and protect tubing during installation.
Seal penetrations with appropriate tape or boots. Test for leaks and maintain clear documentation for future repairs.
Integrating vapor barrier with insulation and floor assemblies
Having planned your radiant tubing and sealed penetrations, you now need to integrate the vapor barrier with the insulation and floor assembly to control moisture and preserve thermal performance.
Lay insulation directly over the barrier where specified, tape seams to the vapor membrane, and guarantee edges lap up against walls or sill plates.
Match vapor permeance to floor materials and avoid compressing insulation.
Long-term maintenance and inspection tips
Because a vapor barrier only performs when it’s intact and paired with a properly ventilated assembly, you should schedule regular inspections and simple maintenance to catch problems early.
Walk the slab quarterly, look for punctures, seams lifting, or moisture at edges.
Repair tears with compatible tape or patches, keep drains and vents clear, and document conditions and repairs for seasonal comparison.
When to call a professional
When a vapor barrier shows signs of persistent damage, water infiltration, or you’re planning major changes to the floor or wall assembly, call a professional to diagnose and fix the problem before it worsens.
You should also hire one if you spot mold, chronic damp odors, structural cracks, or if warranty, code compliance, or complex drainage and insulation work is required for a lasting solution.
Comparisons and Alternatives
You’ll want to know how a true vapor barrier compares to a vapor retarder or a liquid-applied membrane so you can pick the right product for your situation.
Consider the performance, cost, and durability trade-offs of each option.
Also weigh the pros and cons of doing it yourself versus hiring a pro—time, skill, and warranty matter.
Vapor barrier vs. vapor retarder vs. liquid-applied membrane
Although all three products control moisture, they work differently and suit different situations, so you’ll want to choose based on performance, location, and budget. Vapor barriers block vapor completely, retarders slow it, and liquid membranes conform to irregular surfaces. Pick based on permeability, durability, and cost.
| Type | Best use |
|---|---|
| Vapor barrier | High moisture sites |
| Vapor retarder | Moderate moisture |
| Liquid membrane | Irregular surfaces |
| Cost/performance | Varies by product |
Pros and cons of DIY installation vs. professional installation
Deciding between DIY and hiring a pro comes down to your budget, skill level, and the project’s stakes: doing it yourself can save money and give you control, but a pro brings experience, guarantees, and often faster, code-compliant work.
- You save money and learn trade skills.
- A pro guarantees proper seams, testing, and warranty.
- Consider time, tools, and risk tolerance before deciding.
Cost, Timeline, and Permits
Expect to pay anywhere from a few hundred dollars for DIY materials to several thousand for professional labor and high-end products.
A small crawlspace or basement can be done in a day or two, while larger, complex jobs may take several days to a week.
Check local building codes and get required permits before you start—bring a permit checklist to your contractor or inspector so you don’t hit delays.
Typical cost ranges (materials and labor)
Typical vapor barrier projects usually run between $0.50 and $3.00 per square foot for materials.
Labor adds $0.50–$4.00 per square foot depending on prep, seams, and fastening.
For small DIY jobs you’ll only pay materials; pros charge more for subfloor prep, vapor-proof tape, and sealing.
Get three quotes, confirm warranty and scope, and budget contingency for unexpected moisture or repairs.
Typical installation timeline for different project sizes
Anyone planning a vapor barrier job should budget both time and permits: a DIY patch can take a few hours, a full basement retrofit a few days to a week, and contractor-led commercial installs may span several weeks depending on inspections and cure times.
Plan for surface prep, adhesive setup, seam welding or taping, and recommended cure/dry times; schedule inspections and material delivery accordingly.
Building code considerations and permit checklist
Before you start, check local building codes and permitting requirements so you don’t waste time or money: different jurisdictions set rules for vapor barrier materials, placement, fire ratings, and vapor retarder class, and many require permits or inspections for full basement or commercial installations.
Confirm permit fees, required inspections, documentation (product data, installation plan), expected approval timeline, and contractor licensing to avoid delays or fines.
FAQ
You probably have questions like whether you can lay a vapor barrier over existing flooring or which thickness works best for basements.
You’ll also want to know how to tell if concrete is too wet, whether a barrier stops mold, and how long a properly installed barrier should last.
Read on for clear answers and quick tips to help you decide.
Can I install a vapor barrier over existing flooring?
Curious about laying a vapor barrier over your existing floor? You can in some cases, but it depends on the current flooring type, condition, and any moisture issues.
Remove loose materials, verify the subfloor is dry and level, and use compatible adhesive or underlayment methods.
Avoid trapping mold or rot; when in doubt, test moisture and consult a pro before proceeding.
What vapor barrier thickness is best for basements?
Wondering which vapor barrier thickness works best for basements?
You’ll typically choose 6-mil polyethylene for basic moisture control, but 10–20 mil offers better puncture resistance and long-term durability, especially under flooring or in high-traffic areas.
For basements with heavier use or exposed concrete, go thicker.
Always overlap seams and tape them to maintain a continuous, reliable barrier.
How do I know if my concrete is too wet to install a vapor barrier?
Before laying a vapor barrier, make sure the concrete is dry enough to prevent trapped moisture from causing mold or adhesive failure.
Check moisture with a handheld moisture meter or calcium chloride test; follow manufacturer limits (often <3 lbs/24hr/1000ft² or specified %).
Look for dark spots, efflorescence, or a musty smell.
Wait longer or use dehumidification if readings exceed limits.
Will a vapor barrier prevent mold?
A vapor barrier can greatly reduce the risk of mold by blocking ground moisture from entering your slab or subfloor, but it’s not a guaranteed cure-all.
It lowers humidity at the floor, cutting a major mold trigger. However, mold can still arise from leaks, condensation, poor ventilation, or organic debris.
Combine a barrier with proper drainage, sealing, and ventilation to effectively minimize mold risk.
How long does a vapor barrier last?
How long will a vapor barrier last in your home?
Lifespan depends on material, installation, and traffic. High-quality polyethylene can last decades if protected from punctures and UV.
Seams and penetrations are weak points, so inspect periodically. If you remodel, expose the barrier, or notice moisture issues, replace or repair sections.
Proper installation maximizes longevity and performance.