
How to Measure for Vinyl Flooring Accurately So You Buy the Right Amount
Measure each room in feet, multiplying length by width for square footage and dividing irregular spaces into rectangles to add up. Convert inches to feet, note doors, thresholds, and closets, and add 5–10% waste for straight layouts or 10–15% for diagonals and patterns. Account for vinyl type, installation method, and pattern repeats when planning cuts. Double-check measurements, photograph plans, and order samples; keep extras sealed. Continue for step‑by‑step guidance and tips.
How to Measure for Vinyl Flooring Accurately Quick Answer
Measure each room’s length and width in feet, multiply to get square footage, and add any separate areas the same way.
Add 5–10% for straight layouts or 10–15% for diagonal patterns and matched seams to cover waste.
Round up when ordering so you won’t come up short.
Direct answer in one paragraph (how to calculate square footage and add waste)
Once you know the room’s length and width, multiply them to get square footage (for irregular rooms, divide into rectangles and add their areas).
Then add a waste allowance—typically 5% for floating vinyl or 10% for sheet or patterned plank—to cover cuts, seams, and mistakes before you order.
To measure for vinyl flooring, record dimensions, total square footage, and include the waste percentage.
Basic Understanding What Is Vinyl Flooring and Why Accurate Measuring Matters
Vinyl comes in sheet, plank, tile and luxury vinyl tile (LVT) formats, and each type needs a different measuring approach—sheets are measured by roll width and length, planks and tiles by individual pieces and layout patterns.
You’ll use different waste allowances depending on cutting and pattern matching, so accurate measurements prevent costly shortfalls. Buying too little can delay your project and buying too much wastes money and storage space, so measure carefully before you order.
Types of vinyl flooring and how measurement differs (sheet, plank, tile, LVT)
Because each style installs and trims differently, you’ll need to measure sheet, plank, tile, and LVT with slightly different rules in mind.
Measure sheets by full roll width and add waste for seams.
Measure planks by layout direction and stagger pattern.
Count tiles by grid and cuts.
For LVT, note click spacing and changes, adding extra for pattern alignment and scrap.
Common uses and consequences of under/over-buying
Having the right amount of material affects both where you can use vinyl and how much you’ll spend: under-buying forces extra trips, mismatched seams, or visible repair patches, while over-buying ties up cash and creates storage or disposal headaches.
You’ll want to reflect on practical outcomes:
- Runout risks: delayed installs, inconsistent patterns.
- Cost waste: unused rolls or boxes.
- Fit problems: awkward seams or patchwork.
Tools and Materials You’ll Need Before Measuring
Before you measure, gather the right tools: a tape or laser measure, straightedge, and chalk line for accurate lengths and straight runs.
Bring supplemental materials too—a notebook, calculator, floor plans, and a camera to record tricky areas.
If your layout is complex or you’re unsure about changes and waste factors, consider consulting a professional.
Measuring tools (tape measure, laser measure, straightedge, chalk line)
You’ll want four reliable measuring tools on hand: a tape measure for quick measurements, a laser measure for long or hard-to-reach runs, a straightedge to check walls and cuts for squareness, and a chalk line to snap perfectly straight reference lines.
Use them to capture true dimensions and obstacles, then mark guides for accurate cuts.
- Tape: fast, versatile
- Laser: precise for distance
- Chalk: clear snap lines
Supplemental materials (notebook, calculator, floor plans, digital camera)
One or two simple extras will make measuring faster and more reliable: bring a notebook for sketches and notes, a calculator for area and waste calculations, any available floor plans to confirm room dimensions, and a digital camera to record tricky corners, obstructions, or existing trim.
- Use the notebook for measurements and sketch labels.
- Use the calculator for totals and waste.
- Photograph problem areas for reference when ordering.
When to consult a professional
If a room has irregular shapes, multiple thresholds, or built-in obstacles, call a professional to measure and layout the flooring—accurate templates and experienced judgment will prevent costly mistakes and wasted material.
You should also hire pros when time is tight, subfloor issues exist, or complex patterns are planned.
- detailed templating
- subfloor inspection
- pattern matching and waste reduction
Step-by-Step Measurement Process (Room by Room)
Start by prepping the room and gathering your tape measure, notepad, and any sketches you need.
Measure simple rectangular spaces first, then break irregular L- or T-shaped rooms into rectangles to measure each section.
Remember to measure around islands, columns, and built-ins (adding molding allowances), and take closets, alcoves, and hallways separately.
Step 1 Prepare the space and gather measurements
Before you measure, clear the room and remove furniture, rugs, and any obstacles so you can access walls, corners, and thresholds; this gives you honest dimensions and prevents mistakes when you transfer measurements to your layout.
Next, gather a tape measure, pencil, paper or digital device, and a laser measure if available.
Note door swings, alcoves, and fixed fixtures before measuring.
Step 2 Measure rectangular and square rooms
Now that the room’s clear and you’ve noted obstacles, measure rectangular and square rooms by taking two lengthwise measurements and two widthwise measurements—one set along each pair of opposite walls—to confirm the space is truly square.
Record the larger of each pair, multiply length by width for area, and add 10% for waste.
Double-check doorways and built-ins for accuracy.
Step 3 Measure irregular rooms (L-shapes, T-shapes) with partition method
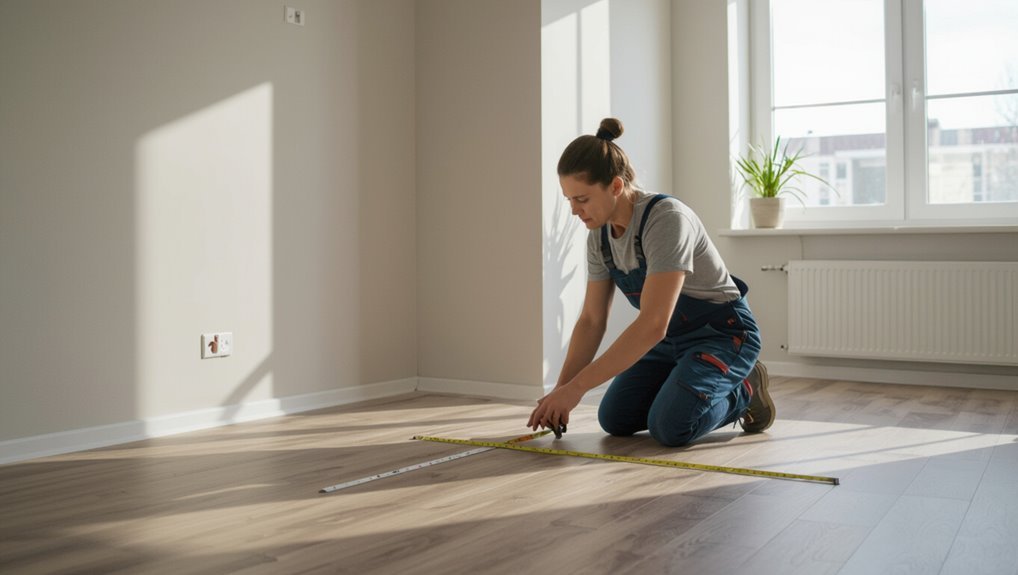
For irregular rooms like L- or T-shapes, divide the space into simple rectangles you can measure separately.
You’ll then add those areas together to get the total. Measure length and width of each rectangle, multiply to get individual areas, and sum them.
Round up to the nearest whole unit for waste, and note any non-rectangular cutouts for later adjustments.
Step 4 Measure around obstacles (islands, columns, built-ins) and include molding allowances
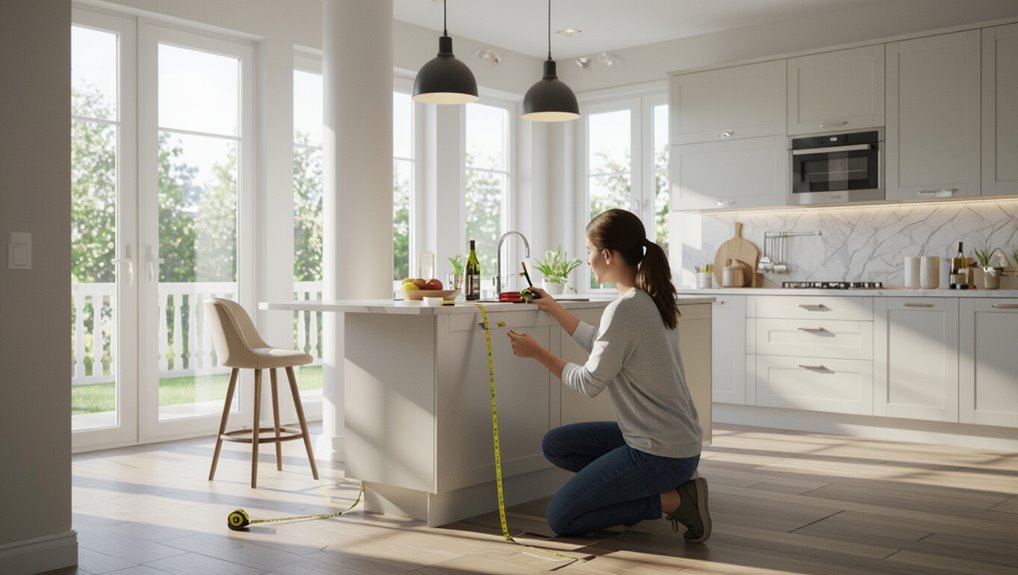
Step 4 focuses on measuring around obstacles like islands, columns, and built-ins so you can cut pieces that fit snugly and account for molding allowances.
Measure each obstacle’s perimeter, note distances to walls, and record any gaps for trim.
Add a 1⁄4–1⁄2 inch molding allowance where panels meet moldings.
Sketch and label measurements to avoid mistakes when cutting and laying.
Step 5 Measure closets, alcoves, and connecting hallways separately
After you’ve measured around islands, columns, and built-ins, tackle closets, alcoves, and connecting hallways as separate areas so you don’t underestimate material needs.
Measure each space individually, recording length and width. Note irregular shapes and door swings.
Add a small waste allowance (5–10%) per area, especially for narrow hallways. Tally totals to determine required vinyl and seam placement.
Step 6 Measuring diagonal or angled rooms and staircases
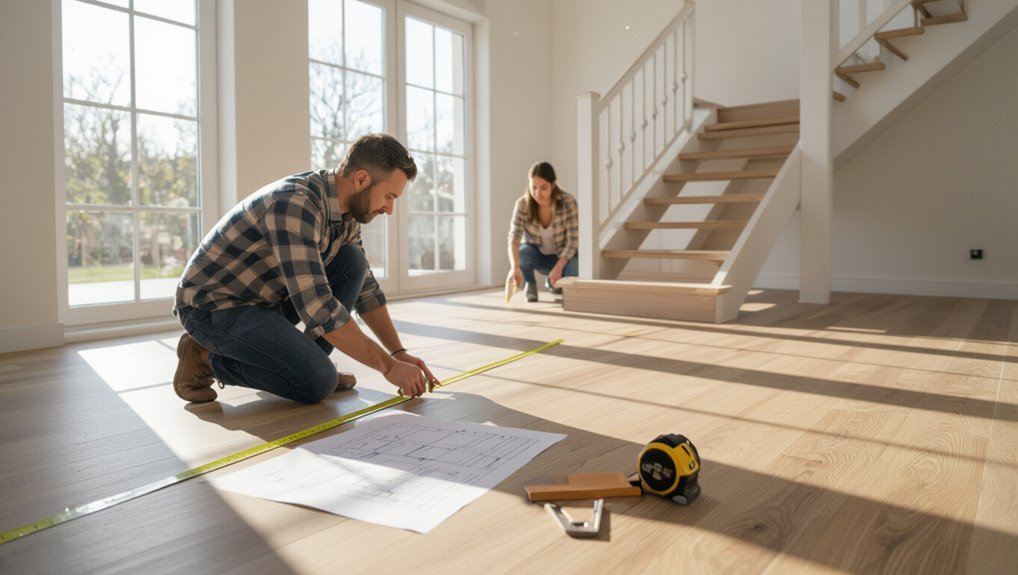
Diagonal rooms and staircases need a different approach because standard length-by-width measurements won’t capture their true area or waste for cuts.
Measure diagonal rooms by dividing them into triangles or rectangles, calculate each area, then sum.
For stairs, measure tread and riser dimensions per step, multiply by step count, and add 10–15% for waste and pattern matching before ordering.
How to Calculate Total Square Footage and Order Quantity
Convert inches to feet, use length × width for each area, and add those areas together to get your total square footage.
Then apply a waste allowance based on vinyl type and pattern (straight, diagonal, matched seams) and follow rounding rules so you order whole units plus a little extra for future repairs.
Double-check sums and percentages before placing the order to avoid shortfalls.
Converting inches to feet and calculating area formulas
When you’re planning your vinyl order, you’ll need to change any measurements in inches into feet and then use simple area formulas to get the total square footage so you know how much to buy.
Convert inches by dividing by 12, then apply formulas:
- Rectangle: length × width (feet)
- Triangle: base × height ÷ 2
- Circle: π × radius²
Round up for waste.
Summing multiple areas and verifying totals
Start by adding the square footage of each area you’ve measured to get a subtotal.
Then combine room subtotals to calculate your total square footage.
Double-check measurements and arithmetic, re-measure any suspicious dimensions, and confirm units match.
Round up fractional totals to the nearest common purchase increment (usually by the roll or box) so you order whole units and avoid shortfalls.
Adding waste allowance recommended percentages by vinyl type and pattern (straight, diagonal, matched seams)
Now that you’ve totaled your square footage, add a waste allowance so you don’t run short during installation. Use percentages by type and layout: straight runs need less waste, diagonal cuts require more, and matched seams demand extra. Apply the recommended rates below before ordering.
| Layout | Recommended waste |
|---|---|
| Straight | 5% |
| Diagonal/matched | 10% |
Rounding rules and ordering excess for future repairs
Because measurements and panel sizes rarely line up perfectly, round your final square footage up to the next convenient increment and add a small extra for future repairs.
Order an extra 5–10% for straight lays, 10–15% for diagonal or patterned installs, and at least one full box for matching seams or high-traffic areas.
Label and store leftovers clearly.
Special Considerations by Vinyl Type and Installation Method
Different vinyl types and installation methods change how you measure and order.
For sheet vinyl you’ll account for roll widths and seam placement, while planks need layout direction, stagger and plank-length planning.
Tiles and LVT may require pattern matching and grout-line alignment, and whether the floor is floating, glue-down, or loose-lay will alter waste and extra material needs.
Sheet vinyl measurement nuances (roll widths, seams)
When planning sheet vinyl, you’ll need to match roll widths and seam placement to your room layout so you minimize waste and visible joins.
Measure room strips perpendicular to roll direction, account for pattern repeats, and round up to whole roll widths.
Plan seams in low-traffic or less visible areas, allow extra for trimming, and verify manufacturer seam recommendations before ordering.
Vinyl plank measurement nuances (directional layout, stagger, plank length)
As you plan a vinyl plank layout, factor in plank direction, stagger pattern, and plank length because they affect how much material you need and where cuts and seams will fall.
Run planks parallel to light when possible, note starter and end cuts, and stagger end joints per manufacturer specs.
Measure room runs, add waste for staggered seams, and account for long-plank alignment.
Vinyl tile and LVT nuances (pattern matching, grout lines)
Plank rules mostly cover layout and waste, but tile and LVT bring their own challenges you should plan for.
You’ll need extra material for pattern matching—vein direction, repeat alignment, and color variation—plus allowance for grout lines if using groutable LVT.
Calculate seams and cuts around fixtures precisely, note tile orientation, and add 5–10% waste depending on pattern complexity and room layout.
Floating vs. glue-down vs. loose-lay how installation affects quantity
Because the installation method changes how pieces meet and how much you need, you should factor floating, glue-down, and loose-lay systems into your material estimate from the start.
Floating floors need extra perimeter expansion space and slightly more scrap for staggered seams.
Glue-down minimizes movement but demands precise cuts and a bit more material for waste.
Loose-lay offers low waste but requires cautious layout.
Common Measuring Mistakes and How to Avoid Them
Don’t skip planning for waste and pattern repeat—always add extra material to your calculation.
For irregular rooms, don’t rely on a single central measurement; measure each section and include thresholds, changes, and door swings.
Check roll widths or plank coverage against your measurements and use a quick checklist so you don’t miss anything.
Mistake 1 Not accounting for waste and pattern repeat
If you skip adding extra material for waste and pattern repeat, you’ll likely run short or end up with mismatched seams.
Always add a waste allowance—typically 5–15% depending on cuts and room shape—and account for pattern repeat so motifs align across strips.
Measure carefully, round up to the roll width, and buy a little extra to cover mistakes, future repairs, and matching.
Mistake 2 Using single central measurement for irregular rooms
Measure at multiple points instead of relying on a single central measurement, because irregular rooms rarely have perfectly parallel walls or uniform widths.
Walk the room, record widths and lengths at several spots, and use the largest values for ordering.
Sketch the room with those measurements, note alcoves or jogs, and add a small buffer for cuts. This prevents underbuying and costly returns.
Mistake 3 Forgetting thresholds, transitions, and door swings
After you’ve taken multiple width and length readings, don’t forget to account for thresholds, changes, and door swings that affect how much usable flooring you actually need.
Measure junction strips, plus the extra at doorways where swing clears the floor. Note raised thresholds and uneven thresholds that need trimming.
Add these amounts to your total, and always round up for seams and cutting waste.
Mistake 4 Misreading roll widths or plank coverage
Wondering how much flooring you’ll actually get from a roll or a box of planks? Don’t assume standard widths or coverage.
Check manufacturer specs for roll width, plank length, and coverage per box. Account for pattern repeats, trim waste, and staggered layouts.
Misreading coverage leads to costly shortfalls or excess. Verify units (linear vs. square meters/feet) before ordering.
Quick checklist to prevent errors
Before you cut or order, run through a short, focused checklist to catch common measuring mistakes and save time and money.
Verify measurements twice, accounting for alcoves and obstacles. Note roll widths or plank coverage. Add a waste allowance.
- Re-measure each wall and record dimensions
- Check door swings, thresholds, and trim
- Confirm product coverage per carton and roll
Practical Tips and Best Practices
Before you order, double-check measurements, sketch a clear floor plan, and photograph the room with measurements marked for reference.
Order sample pieces and confirm shade and batch numbers to avoid mismatched runs.
Finally, coordinate installer timing and delivery logistics so the right material arrives when you’re ready.
Double-checking measurements and using a sketch/floor plan
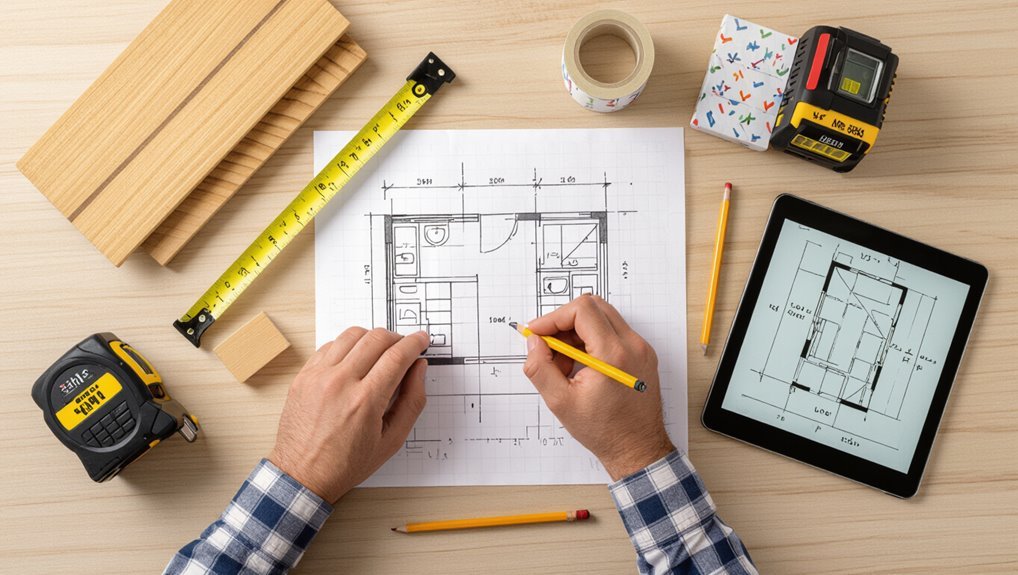
When you’re ready to commit to cuts and purchases, double-check every measurement and translate them onto a simple sketch or floor plan so you can visualize layout, seams, and waste. This helps you spot errors, calculate material needs accurately, and plan plank direction.
Label walls, doorways, and fixed obstacles, note finished measurements after trim, and mark seam locations to minimize waste and simplify installation.
Photographing room and marking measurements for reference
Snap clear, well-lit photos of each wall, doorway, and obstacle to create a visual record you can reference during layout and cuts.
Label photos with room name and orientation, then write measurements directly on images or nearby floor plan. Use consistent marks and a tape-measure photo for scale.
- Mark door swings and thresholds
- Highlight irregular areas
- Note fixed fixtures and vents
Ordering sample pieces and confirming shade/batch numbers
Because colors and textures can vary between production runs, order physical samples and confirm their shade and batch numbers so you know what you’ll actually receive.
Compare samples in your room under natural and artificial light, note batch codes, and request matching planks for the full order.
Keep samples until installation finishes, and document supplier contact details in case replacements or color-matched extras are needed.
Coordinating with installer timing and delivery logistics
If you want the install to go smoothly, lock in the installer’s availability early and coordinate delivery windows so materials arrive just before they start work.
Confirm lead times, access restrictions, and parking for the delivery truck.
Share floor plans and entry points so installers can stage materials efficiently.
Schedule a short pre-install call to review timing, waste allowance, and contingency plans.
Cost and Budget Considerations Related to Measurement
When you measure accurately, you’ll get clearer material cost estimates and avoid overpaying for excess plank or sheet.
Don’t forget to factor installation labor, underlayment, and trim quantities into your budget so there are no surprise expenses.
Plan waste allowance strategically—cutting layouts carefully and grouping runs can trim costs without risking shortages.
How measurement affects material cost estimates
Accurate measurements directly shape your material costs: order too little and you’ll face rush charges or costly returns, order too much and you’ll tie up money in unused product. You’ll estimate rolls, waste, and price per square foot to set a realistic budget and reduce surprises.
| Item | Impact | Tip |
|---|---|---|
| Underestimate | Extra cost | Add contingency |
| Overestimate | Tied capital | Return policy |
Factoring installation labor, underlayment, and trims into quantities
One key step is adding labor, underlayment, and trim into your material tally so your budget reflects the whole job, not just flooring squares.
Calculate labor hours per room, include installer rates and possible overtime.
Add underlayment area matching floor coverage plus seams/overlaps.
Count trims, connectors, and adhesives by linear feet.
Factor taxes, disposal, and contingency into the total.
Tips to optimize waste and reduce cost without risking shortages
If you want to cut waste without risking shortages, plan cuts and layouts before ordering so you buy the smallest safe overage—typically 5–10% for simple rooms and 10–15% for irregular spaces.
Measure accurately, group cuts to use offcuts, choose consistent plank direction, and order from one batch to avoid shade variation.
Hold a small contingency for mistakes or future repairs.
Frequently Asked Questions (FAQ)
You’ll find answers to common measurement questions here, like how much extra vinyl to order, whether to measure before or after removing old flooring, and how to handle patterned runs that need matching.
You’ll also learn about return policies for unopened extra material and the best way to measure stairs for a proper fit.
Use these FAQs to avoid costly mistakes and make ordering easier.
How much extra vinyl should I order for a typical room?
How much extra vinyl should you order to account for mistakes, pattern matching, and cutting waste?
Order 5–10% extra for simple layouts; 10–15% for rooms with multiple cuts, irregular shapes, or pattern matching.
For diagonal installs or lots of waste-prone cuts, go 15–20%.
Round up to the nearest roll or box and keep offcuts for repairs.
Do I measure before or after removing old flooring?
Before you tear out the old floor, measure both ways: take a rough measurement with the existing flooring in place, then re-measure after removal for precise material needs.
You’ll catch differences from thresholds, changes, or underlayment thickness. Use the post-removal dimensions to order vinyl, adding your usual waste allowance.
Keep both measurements for reference during installation and purchasing.
How do I measure for a patterned vinyl that needs matching?
If you measured both with and without the old floor, you’re already a step ahead for patterned vinyl—matching repeats and seams changes how much material you need.
Measure room lengths and widths, note pattern repeat and direction, and mark seam locations.
Add extra for pattern alignment (typically one repeat per seam) and for waste around irregular cuts. Round up to the next roll width.
Can I return unopened extra vinyl if I over-order?
Wondering whether you can return unopened extra vinyl? Check the store’s return policy before buying—most retailers accept unopened, unused rolls with original packaging and receipt within a set timeframe.
Keep labels intact and don’t remove adhesive stickers. Custom or discontinued products often aren’t refundable.
If unsure, photograph the roll, save proof of purchase, and ask about restocking fees or return windows up front.
What’s the best way to measure stairs for vinyl installation?
You might’ve returned extra rolls, but measuring stairs calls for a different kind of care—accurate measurements save material and time.
Measure each tread width and depth and each riser height. Note nosing profiles and add overlap at edges.
Multiply by number of steps, include a waste allowance (10–15%), and sketch layout for directional patterns.
Confirm measurements on-site before ordering.
