How to Create a Pattern With Laminate Flooring for a Unique Look
You can get a custom look by planning a pattern—herringbone, chevron, staggered plank, or parquet—then choosing compatible laminate planks and underlayment. Measure carefully, mock up layouts, allow 10–15% waste, and snap chalk lines for a symmetrical start. Cut test pieces, use spacers for expansion gaps, and install accent rows first to keep joints aligned. Finish with thresholds and trim, troubleshoot gaps or buckling, and continue for detailed tips and step-by-step guidance.
How to Create a Pattern With Laminate Flooring for a Unique Look
Yes—you can pattern laminate flooring to get a custom look, and simple patterns like herringbone or chevron are doable for most DIYers.
Expect the job to take anywhere from a day for a small room to several days for larger or more complex layouts.
Plan carefully and allow extra time for measuring, cutting, and fitting to keep the pattern tight and professional.
Quick Answer Can You Pattern Laminate Flooring and How Long It Takes
Wondering if you can pattern laminate flooring and how long it’ll take? Yes—you can pattern laminate flooring; simple designs take a day or two for a typical room, while complex herringbone or chevron layouts need more planning and extra cutting, often two to three days.
Factor in subfloor prep, acclimation, and cleanup to estimate total project time accurately.
Basic Understanding What Is Laminate Flooring and Why Pattern It
Before you start laying patterns, you should know what laminate flooring is—how its layered construction, plank types, and finishes affect look and performance.
Understanding the benefits of patterned laminate, like improved aesthetics, cost-effectiveness, and durability, helps you choose the right design.
Also consider limitations such as plank sizes, necessary underlayment, and expansion gaps so your pattern lasts and performs.
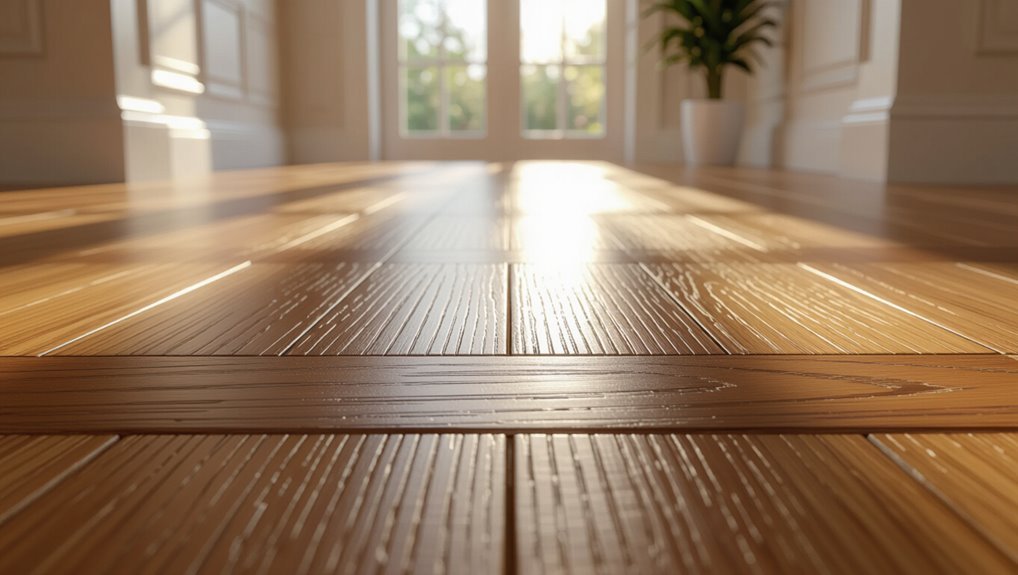
What Laminate Flooring Is: Construction, Plank Types, and Finishes
Laminate flooring is a layered, engineered product that mimics wood or stone while being more affordable and durable.
So you’ll want to understand its construction, plank types, and finishes before planning a pattern.
You’ll find a wear layer, printed design, core (HDF), and backing.
Planks come as strips, wideboards, or tiles with click or glued edges, and finishes vary from matte to high gloss.
Benefits of Patterned Laminate Floors: Aesthetics, Cost, Durability
Patterned laminate floors give you big visual impact without the high price tag of real hardwood or stone, letting you create herringbone, chevron, basketweave, or custom layouts that elevate a room’s style.
You’ll save on materials and installation, choose realistic textures and colors, and enjoy scratch- and moisture-resistant surfaces that handle daily traffic.
Maintenance is simple, too—sweep and damp-mop.
Limitations and Considerations: Plank Sizes, Underlayment, Expansion Gaps
Although patterned laminate gives you lots of design freedom, you’ll need to match your layout to practical limits like plank sizes, underlayment requirements, and expansion gaps.
You should pick plank dimensions that suit your pattern and room scale, use recommended underlayment for moisture and sound, and leave manufacturer-specified expansion gaps around edges and at junctions to prevent buckling as temperatures and humidity change.
Planning Your Pattern Design Choices and Preparation
Now you’ll plan the pattern by reviewing popular layouts—straight, herringbone, chevron, and staggered plank—and thinking which suits your space.
Consider room size and flow when choosing plank color, texture, and width to make the pattern read larger or cozier.
Measure carefully, mock up the layout, and calculate materials with a waste factor so you order enough planks.
Popular Patterns Overview
When you’re planning your laminate floor, choose a pattern that fits the room’s size, layout, and the look you want to achieve.
Pick styles that match your decor and skill level; some are bold, others subtle. Consider grain direction, contrast, and repeat for visual flow.
- Herringbone
- Chevron
- Straight plank
- Parquet block
- Basketweave
How to Choose a Pattern for Room Size and Layout
Wondering which pattern will make your room feel larger, cozier, or more balanced? Consider scale and traffic flow: diagonal or chevron layouts visually widen narrow rooms, while herringbone adds warmth without overwhelming small spaces.
Use plank direction to guide sightlines toward focal points and align patterns with architectural features. Measure carefully, sketch layouts, and plan shifts for an efficient, balanced installation.
Selecting Plank Color, Texture, and Width to Enhance Pattern
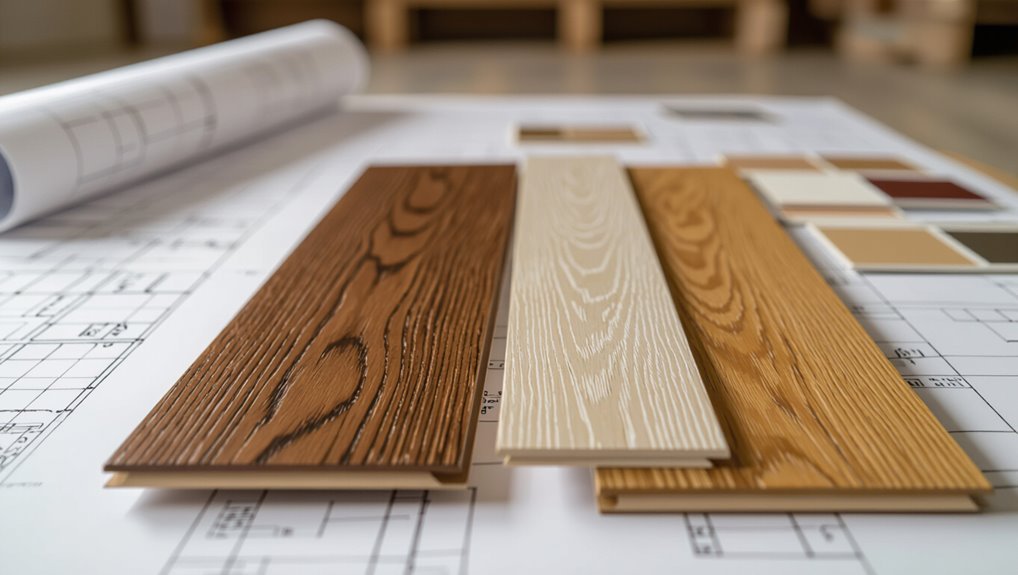
With your layout and traffic flow settled, you’ll next pick plank color, texture, and width to amplify that pattern and the room’s mood.
Choose lighter tones to widen small spaces, darker to anchor large rooms. Match texture to use—smooth for modern, embossed for rustic.
Vary widths for interest but keep proportions balanced. Test samples under light before buying.
Measuring the Room and Calculating Materials: Waste Factor and Layout Mockup
Because accurate measurements guide every decision, start by sketching the room to scale and noting doorways, alcoves, and fixed obstacles so you can plan seams and pattern repeats. Measure length/width, calculate square footage, add a 10–15% waste factor for patterns, and mock up plank runs with chalk or paper. Adjust layout to minimize awkward cuts.
| Item | Action |
|---|---|
| Measure | Record dimensions |
| Waste | Add 10–15% |
| Mockup | Lay paper templates |
| Cut plan | Schedule cuts ahead |
Quick Materials and Tools Checklist
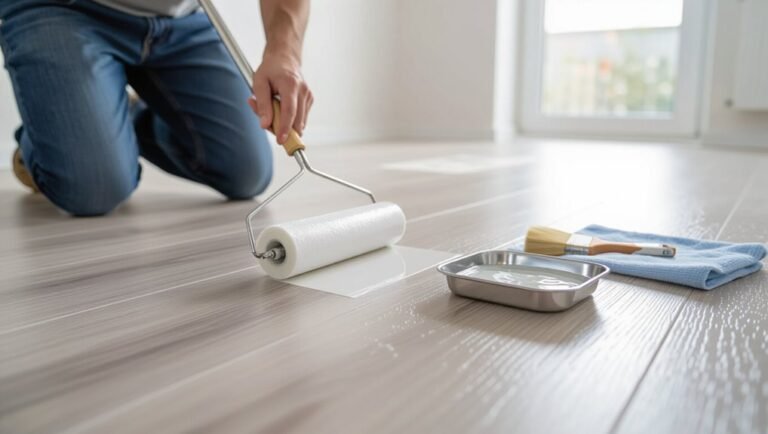
Before you start laying boards, gather the materials you’ll need—laminate planks, underlayment, spacers, and adhesive or joining pieces.
Make sure you have required tools like a saw, tape measure, tapping block, and pull bar, plus optional finishing tools such as a trim saw, caulk gun, or quarter-round for a clean look.
Having everything ready will save time and help you focus on accurate pattern placement.
Materials Needed
Gather the essential materials and tools so you can lay out your laminate pattern efficiently and safely.
You’ll need quality laminate planks, underlayment, spacers, adhesive or glue (if required by your system), and threshold strips.
Keep supplies organized and close at hand to maintain workflow and reduce mistakes.
- Laminate planks
- Underlayment
- Spacers
- Adhesive/glue
- Threshold strips
Tools Required and Optional Finishing Tools
Once you’ve got your materials sorted, assemble the right tools so the job goes smoothly and the edges look professional.
You’ll need basic and optional finishing tools to cut, fit, protect and seal patterns neatly. Choose quality items to save time and avoid mistakes.
- Measuring tape and chalk line
- Laminate cutter or saw
- Rubber mallet and tapping block
- Spacers and pull bar
- Quarter-round, connector strips, sealant
Step-by-Step Installation Guide (Main How-To)
Start by prepping the subfloor and undercutting any doorways so your planks sit flat and stable.
Lay a dry mockup to check orientation, then establish a straight baseline with spacers before locking in the first row.
When you’re ready to build patterns—herringbone, chevron, basket weave, parquet, or mixed-width—follow the specific angle cuts and placement sequences for each design.
Step 1 Prepare the Subfloor and Undercut Doorways
Clear the room and inspect the subfloor for level, dryness, and debris before you begin; any dips, high spots, or moisture issues will compromise the installation.
Measure and mark low spots, sand or level as needed, install underlayment, and undercut door casings for a clean fit.
Take time now to prevent gaps or buckling later.
- Measure floor flatness
- Repair gaps
- Install vapor barrier
- Lay underlayment
- Undercut doors
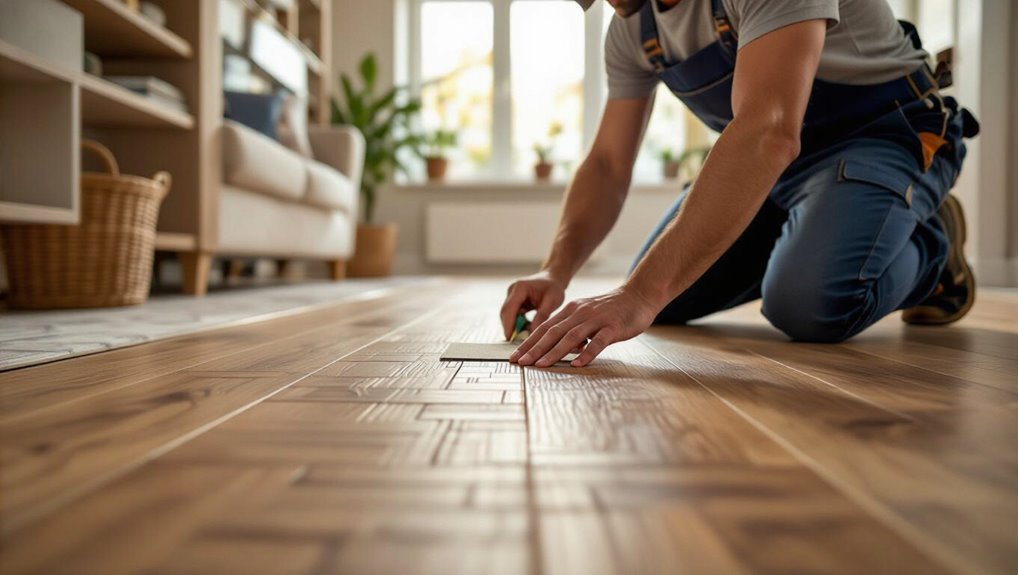
Step 2 Lay a Dry Mockup and Adjust Pattern Orientation
2. Lay out several rows of laminate without locking them, working from the room’s visual center.
Step back often to check pattern alignment, stagger, and seam spacing.
Rotate or flip boards to balance grain and color.
Adjust orientation until the layout looks symmetrical and practical for cuts at walls.
Snap chalk lines if needed to mark your final starting alignment.
Step 3 Start Row One: Establish a Straight Baseline and Spacers
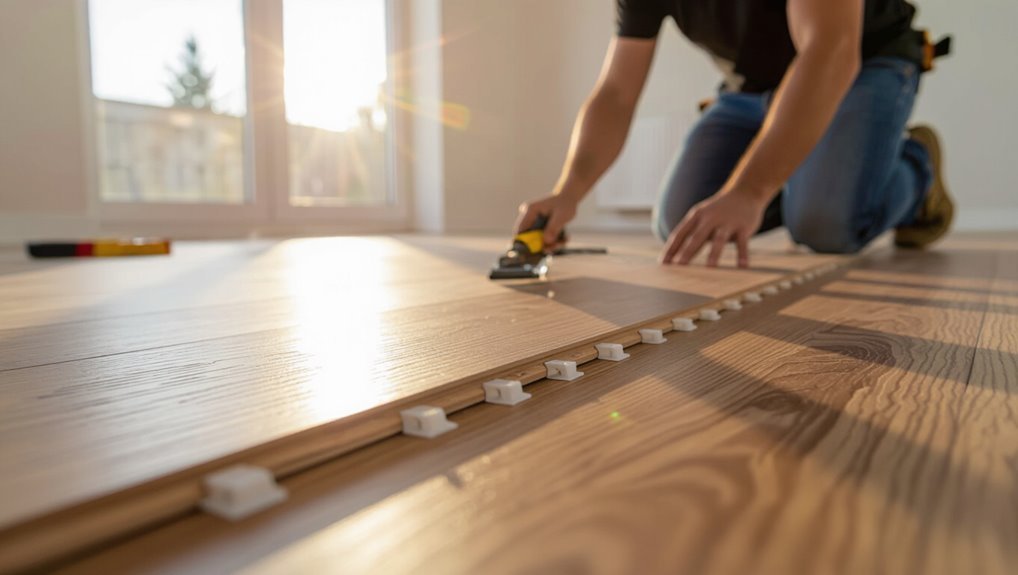
Begin by establishing a precise baseline along the wall where you’ll lay the first row: measure and mark a straight line parallel to the wall at the width of a plank plus the required expansion gap.
Then snap a chalk line to guide the tongue-and-groove alignment.
Lay the first plank groove toward the wall, use spacers for gap consistency, and check alignment frequently as you click boards together.
Step 4 Creating Herringbone or Chevron Patterns: Angles and Cuts

Now that your baseline row is set, it’s time to lay out the angle and cut pattern for herringbone or chevron.
You’ll mark the plank ends and long edges for consistent 45° (or the chosen) angles, cut a few test pieces, and dry-fit them to confirm the joint orientation and spacing before you start locking boards in place.
Use a reliable miter saw, measure twice, and maintain expansion gaps.
Step 5 Installing Basket Weave, Parquet, or Mixed-Width Patterns
Once you’ve finished the accent rows and checked your layout, it’s time to install basket weave, parquet, or mixed-width patterns—each demands a steady eye for alignment and consistent spacing to make the motif read correctly across the room.
Start from a measured centerline, dry-fit units, maintain grout-like gaps or manufacturer-recommended expansion spacing, glue or click panels per type, and continually verify squareness.
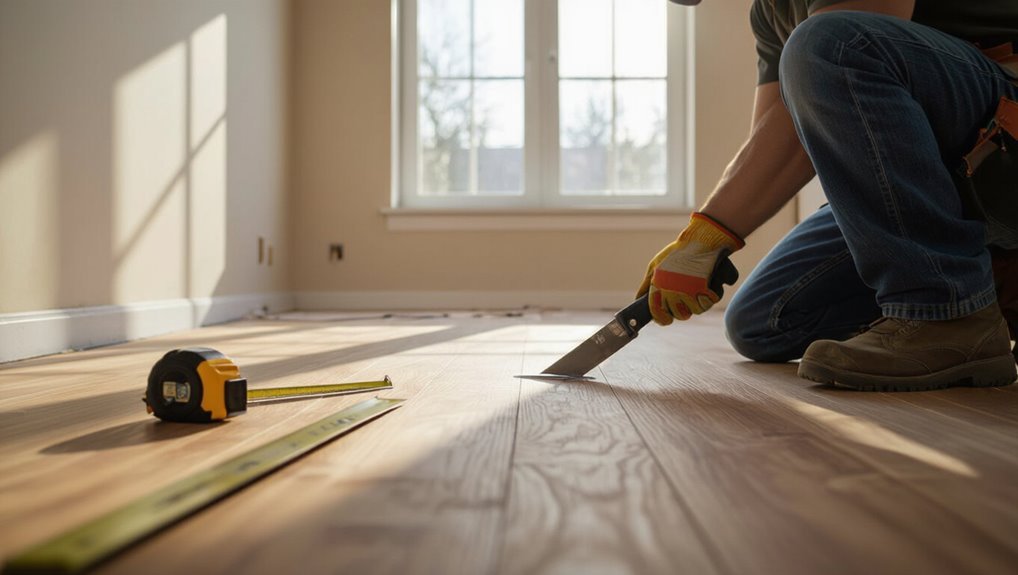
Step 6 Cutting Around Obstacles, Room Transitions, and Radiators
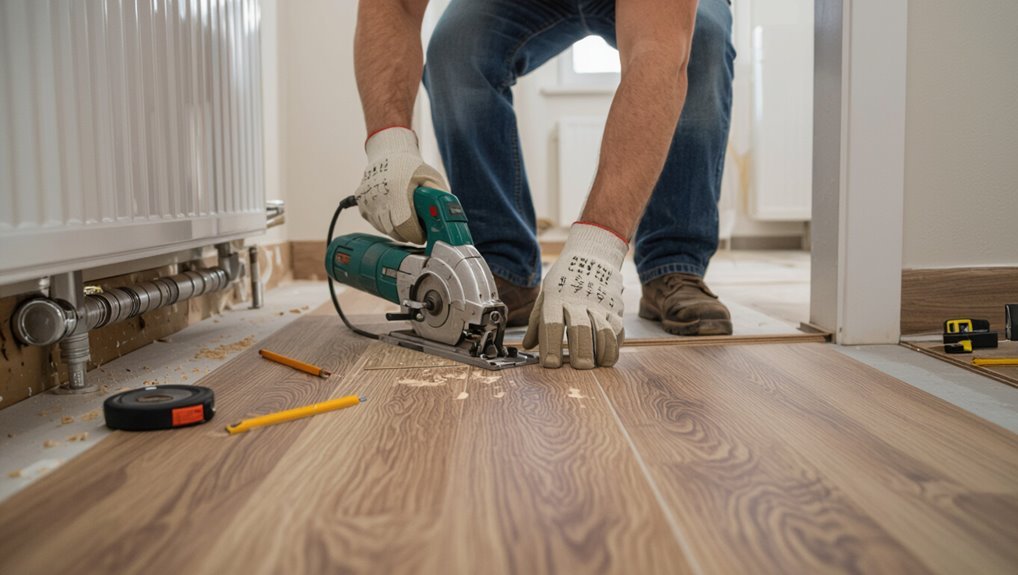
Tackle cuts around doorways, vents, and radiators with measured confidence: trace openings precisely, transfer those marks to your planks, and make test cuts so each piece fits snugly without pinching the floor’s expansion gap.
Use a jigsaw for irregular shapes, a coping saw for pipe notches, and a straightedge for clean junction lines. Dry-fit before final placement to confirm alignment.
Step 7 Finishing Rows, Installing Thresholds, and Trim Work
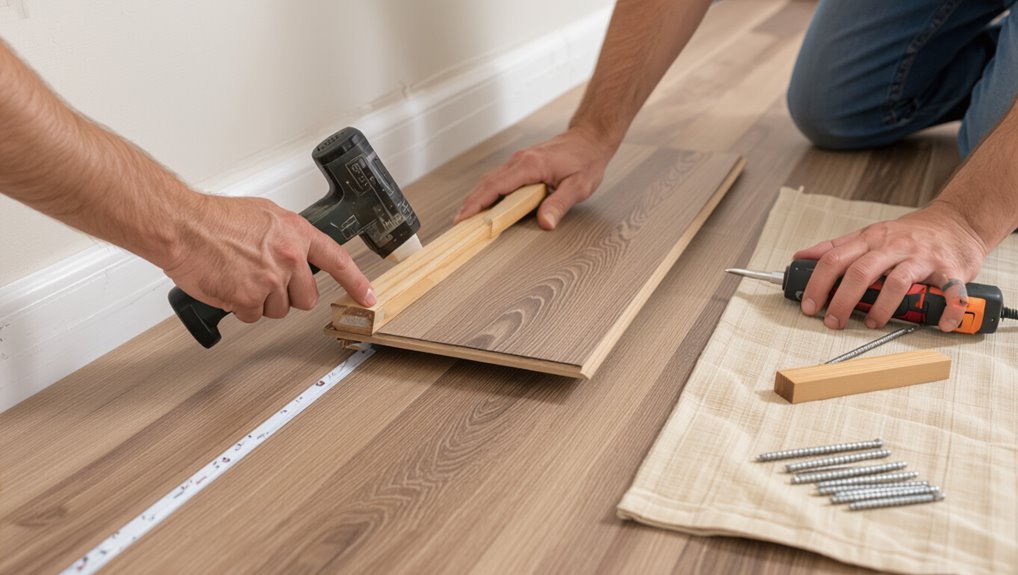
Finish the last rows by measuring twice and cutting once so each plank fits without forcing the tongue into the groove; stagger seams to maintain your pattern, trim planks to fit, and use a pull bar for tight joints.
Install thresholds at doorways, securing them per manufacturer instructions.
Add quarter-round or base shoe trim, nailing to the wall—not the flooring—to conceal expansion gaps and finish the look.
Step 8 Post-Installation Checks: Expansion Gaps, Stability, and Cleaning
After the last plank is in place, check the expansion gaps, stability, and cleanliness to make sure your floor performs and looks its best; walk the room, measure gaps around all walls and fixed objects, and test for any loose or uneven boards.
Verify gaps meet manufacturer specs, adjust trim if needed, secure or replace unstable planks, vacuum thoroughly, and wipe with a damp mop using the recommended cleaner.
Pattern-Specific Techniques and Tips
Now that you’ve laid out the basics, you’ll need pattern-specific techniques to get the look right: calculate angles and precise layouts for herringbone versus chevron, and follow staggering rules for a natural randomized effect.
Use border planks and insets to neatly frame focal areas, and combine different colors and textures to add contrast and depth.
I’ll walk you through measurement tips, layout tricks, and finishing touches so your pattern reads crisp and intentional.
Herringbone vs Chevron: Precise Layout and Angle Calculations
While both herringbone and chevron create striking visual movement, they demand different layout precision and angle math to look right, so you’ll need to plan measurements and cuts carefully before you start. You’ll calculate plank length, angle, and run: herringbone uses 90° joins; chevron uses cut ends (commonly 45°). Measure twice, mark centerlines, and dry-fit rows.
| Pattern | Key Angle |
|---|---|
| Herringbone | 90° |
| Chevron | 45° |
Staggering and Randomized Patterns: Rules for Natural Look
Having settled your layout math for herringbone and chevron, you’ll approach straight and random patterns with a different mindset: they rely on stagger rules and deliberate irregularity to feel organic.
Stagger end joints by at least 8–12 inches, vary plank lengths, and avoid repeating sequences.
Randomize board placement within those constraints, step back frequently, and adjust to maintain balanced color and seam distribution.
Using Border Planks and Insets to Frame a Pattern
1 simple way to give your floor a finished, intentional look is to add border planks or insets that frame the main pattern; they guide the eye, hide imperfect edges, and create a crisp shift to adjacent rooms or trim.
Use a consistent border width, cut miters at corners, and plan insets to align with saw cuts.
Measure carefully and dry-fit before gluing.
Combining Colors and Textures for Contrast and Depth
Mixing two or three complementary colors and varied textures can make a laminate pattern pop, so pick tones that contrast enough to read from across the room but still sit in the same family to avoid visual chaos.
You’ll balance matte and glossy finishes, alternate grain directions, and use darker accents to anchor the design.
Test samples under your lighting before committing.
Common Problems and How to Fix Them
When your pattern shows misaligned planks or visible seams, you’ll need to identify whether it’s a cutting or locking issue and correct the affected rows.
If the subfloor’s uneven, you’ll see waves or gaps in the pattern—plan to level or patch it before relaying planks.
For gapping, buckling, or expansion problems, diagnose moisture, inadequate expansion gaps, or poor acclimation, then fix by moisture control, reinstalling with proper spacing, or replacing damaged boards.
Misaligned Planks and Visible Seams: Causes and Corrections
Although laminate’s click-lock system is designed for a snug fit, planks can still shift and leave visible seams if installation steps are rushed or the subfloor isn’t flat.
You can correct misalignment by releasing and reseating joints, using a tapping block and pull bar, and maintaining proper expansion gaps.
Check plank orientation, trim damaged edges, and secure loose rows to restore a tight, consistent pattern.
Uneven Subfloor Effects on Pattern Appearance and Remedies
Misaligned planks and visible seams often trace back to an uneven subfloor, so once you’ve corrected joints and secured rows you’ll want to inspect the substrate; an out-of-flat surface warps the pattern, causes gaps, and shortens plank life.
Level low spots with self-leveler, sand high spots, or install a plywood underlayment. Recheck with a straightedge before laying to preserve your pattern.
Gapping, Buckling, and Expansion Issues: Diagnosis and Fixes
If gaps, buckling, or excessive expansion show up after installation, you’ll want to diagnose the root cause quickly so small problems don’t become permanent damage.
Check humidity, acclimation time, and whether you left proper expansion gaps.
Tighten loose boards, replace damaged planks, and reinstall with correct spacing if needed.
Use a dehumidifier or trim doors; consult a pro for severe buckling.
Best Practices and Pro Tips
Before you finish, plan for future maintenance and repairs so the pattern stays seamless and easy to match.
Protect the floor during and after installation with felt pads, runners, and proper cleaning to prevent scratches and moisture damage.
And be honest about your skills—choose a pro for complex layouts or if cost of mistakes would outweigh DIY savings.
Preparing for Future Maintenance and Repairs
1 key habit that makes future maintenance easier is keeping thorough, accessible records of your laminate installation—measurements, plank batch numbers, adhesive or underlayment specs, and a date-stamped photo of trouble-prone areas.
Label spare planks, note installation patterns and junction profiles, and store receipts.
With this info, you’ll source matching materials, expedite repairs, and communicate clearly with contractors when issues arise.
Protecting Patterned Floors During and After Installation
When you’re installing or living with a patterned laminate floor, proactive protection saves time and preserves the design—use durable surface coverings during work, mat high-traffic zones, and keep tools and materials off the planks to prevent scratches, dents, and color transfer.
Wipe spills promptly, use felt pads under furniture, avoid rubber-backed mats, and rotate rugs periodically to prevent uneven fading and wear.
When to Hire a Pro vs DIY: Complexity and Cost Considerations
If your pattern is simple and you’ve got basic flooring experience, you can save money by doing the install yourself; however, complex layouts, irregular rooms, or patterns that must align across thresholds are situations where hiring a pro will likely prevent costly mistakes.
You should weigh time, tools, and tolerance for error: pros guarantee perfect seams, accurate changes, and faster completion, while DIY lowers labor costs if you’re confident.
Cost, Time Estimates, and Material Comparison
Before you start, consider how pattern complexity affects costs — more intricate layouts mean more material waste and higher labor.
Decide whether you’ll tackle the install yourself or hire a pro by comparing time estimates and skill needs.
Also weigh laminate patterns against real wood and vinyl for appearance, durability, and price to pick the best fit for your budget and timeline.
Typical Cost Breakdown by Pattern Complexity
Although pattern choice won’t change your flooring’s function, it will directly affect cost, time, and material needs; simple straight planks are fastest and cheapest, while herringbone or intricate parquet require more cuts, higher waste, and skilled labor. You’ll pay more for complex layouts, higher-grade planks, and precise installation. Compare estimates before deciding.
| Pattern | Cost factor |
|---|---|
| Straight | Low |
| Herringbone | High |
| Parquet | Higher |
Time Estimates for DIY vs Professional Installation
Having settled on a pattern and understood how complexity drives cost, you’ll want to compare the time and expense of doing the job yourself versus hiring a pro.
Simple straight installs take a DIYer a weekend per room; intricate herringbone or chevrons can take several weekends.
Pros work faster—often finishing complex rooms in a day or two—but they’ll cost more upfront.
Comparing Laminate Patterns to Real Wood and Vinyl Options
Whether you want the look of oak, the drama of herringbone, or a budget-friendly alternative, comparing laminate patterns to real wood and vinyl comes down to three things: cost, installation time, and how well the material mimics the texture and durability you need.
Laminate costs less, installs faster, and resists scratches; real wood raises value but needs maintenance; luxury vinyl balances realism, water resistance, and mid-range cost.
Project Ideas and Case Examples
You can try compact herringbone or diagonal layouts to make bathrooms and entryways feel larger and more dynamic.
For open-plan spaces, plan patterns and plank directions to guide sightlines and define functional zones.
Look at before-and-after photos and project galleries for realistic ideas you can adapt to your home.
Small Room Pattern Ideas (Bathrooms, Entryways)
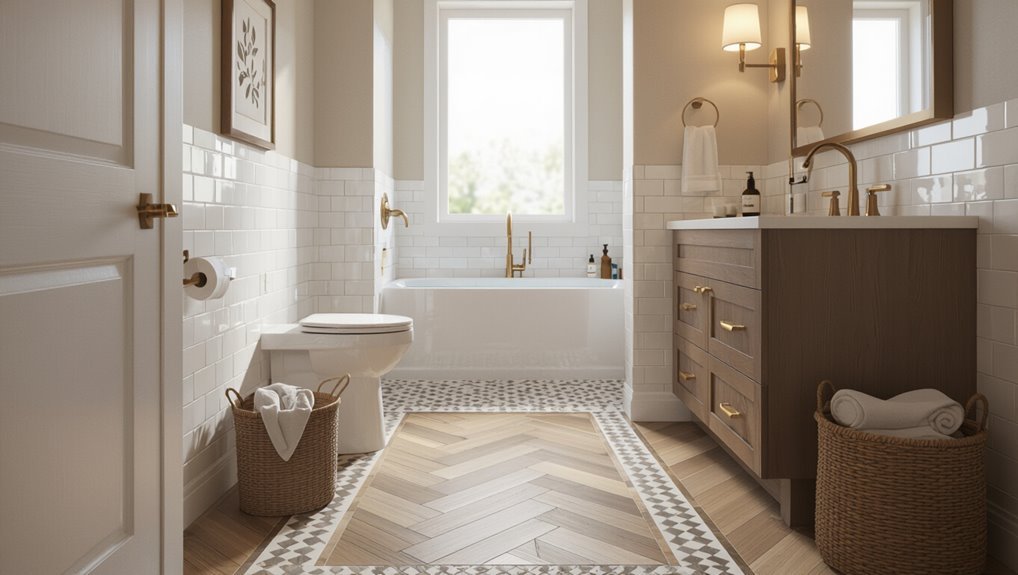
Looking to make a tiny bathroom or entryway feel bigger and more stylish? Use narrow planks laid lengthwise to elongate the space, or herringbone to add depth without overwhelming.
Choose light tones and subtle grain for continuity. Add a border or tile-look plank near thresholds for definition.
Keep grout-free connections and moisture-resistant laminate for durability and easy maintenance.
Large Open-Plan Layout Strategies and Flow Considerations
When planning laminate for a large open-plan area, think regarding zones and continuous sightlines so the floor ties rooms together without feeling monotonous.
Use subtle pattern shifts—herringbone in the dining zone, straight planks in living—to define areas.
Align plank direction with traffic flow, add contrasting borders or insets to anchor furniture, and maintain consistent color palette for visual cohesion.
Before-and-After Scenarios and Inspiration Sources
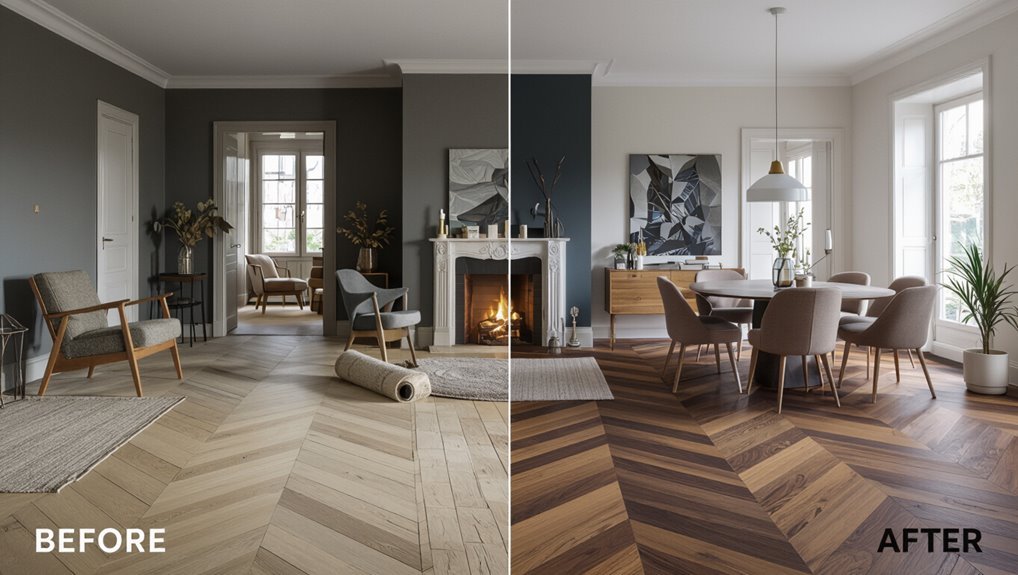
Before-and-after photos and real project write-ups show how pattern choices transform a space, so study them to see what works in rooms like yours and what doesn’t.
Visit design blogs, social media, and local showrooms to gather ideas. Save layouts you love, note scale and color, and adapt templates to your room’s dimensions.
Try a small mockup before committing.
FAQ
You probably have a few practical questions before starting, like whether you can install patterned laminate over existing flooring and how much extra material you should buy for pattern cuts.
You’ll also want to know if heavy furniture will affect the layout, whether a damaged plank can be repaired without ruining the pattern, and if certain patterns don’t work well in some room shapes or sizes.
Keep these FAQs in mind as you plan so you can avoid surprises during installation.
Can I install a patterned laminate floor over existing flooring?
Curious if you can lay a patterned laminate floor over existing flooring? Yes—if the current surface is level, dry, and securely adhered.
You’ll need to remove loose materials, fix dips, and add an appropriate underlayment for acoustics and moisture.
Avoid installing over carpet or damp substrates.
Check manufacturer guidelines; some warranties require removing old flooring first.
How much extra laminate should I buy for patterned layouts?
For patterned layouts, buy more than the usual 5–10% extra—plan on 10–20% waste depending on complexity and repeats.
Measure carefully, sketch your pattern, and calculate waste from cuts and matched repeats.
Order whole cartons to guarantee color and batch consistency. Keep an extra carton stored for future repairs.
If your pattern is intricate, err toward the higher end of the range.
Will heavy furniture affect a patterned laminate installation?
After budgeting extra material for complex patterns, consider how heavy furniture will interact with the layout: concentrated loads can compress the underlayment, stress locking joints, and accentuate seams or pattern mismatches.
You should use protective pads, distribute weight with plywood or glides, and avoid dragging heavy pieces.
Positioning and occasional inspections reduce long-term settling and keep your pattern looking crisp.
Can I repair a damaged plank in a patterned layout without disturbing the pattern?
If a single plank gets damaged, you can often replace it without wrecking the surrounding pattern—provided your layout and installation type allow plank-level access.
You’ll need matching replacement planks, the right removal technique (lift-out, tapping, or cutting), and patience to preserve joints.
For glued or intricate interlocks, consult a pro; for floating floors, careful disassembly and reseating usually restores the pattern cleanly.
Are certain patterns unsuitable for specific room shapes or sizes?
Wondering whether a pattern will work in your room? You should match pattern scale to room size: large, bold patterns can overwhelm small rooms, while tiny repeats get lost in large, open spaces.
Rectangular rooms suit staggered or herringbone layouts along the long axis; square rooms handle diagonal or checker patterns.
Consider traffic flow, focal points, and visual balance before committing.