How to Clean Linoleum Floors With Ground-In Dirt and Restore Their Shine
You can remove ground‑in dirt and restore linoleum’s shine by sweeping and vacuuming first, then mopping with a mild, pH‑neutral cleaner or ¼ cup white vinegar per gallon of warm water. Treat stubborn spots with a baking soda paste or a linoleum‑safe remover, scrub gently with a soft brush, rinse, and dry. Finish with a linoleum polish or water‑based acrylic sealer, buffing for gloss. Keep going to get step‑by‑step tips, tools, and maintenance advice.
Restore Shine and Remove Ground-In Dirt from Linoleum Floors
For quick, effective restoration, mop with a mild detergent and warm water, then buff with a microfiber pad or low-speed floor polisher to lift ground-in dirt and bring back shine.
If scuffs, deep ingrained grime, or finish damage persist after a thorough DIY attempt, you should call a professional who can strip and reseal the floor safely.
Save professional help for large areas, old or fragile linoleum, or when specialized equipment is needed.
One-sentence summary of the fastest effective method
When you need to restore shine and strip out ground-in dirt quickly, mix a quarter cup of white vinegar with a gallon of warm water.
Mop the floor, then buff dry with a clean microfiber cloth for immediate results.
You’ll tackle how to clean linoleum floors with ground in dirt by working small sections, rinsing stubborn spots, and drying thoroughly to prevent streaks and restore gloss.
When to call a professional vs. DIY
Wondering whether you can tackle that deeply ground-in dirt and dull finish yourself or should call in a pro?
If damage is extensive—deep scratches, missing finish, stubborn stains after proper cleaning—or you lack time, tools, or confidence, hire a pro.
Otherwise, you can restore shine yourself with commercial cleaners, gentle scrubbing, and buffing.
Call a pro for repairs or refinishing beyond routine care.
Basic Understanding What Is Linoleum and Why Dirt Gets Ground In
Linoleum is a natural, oil-based sheet flooring often sealed with a protective finish, and you’ll want to know how those coatings affect cleaning.
Ground-in dirt abrades the finish and dulls the surface, so regular removal prevents permanent wear and discoloration.
Unlike vinyl or other resilient floors, linoleum’s natural composition and finishes respond differently to cleaners and abrasives, so you should choose methods that match the material.
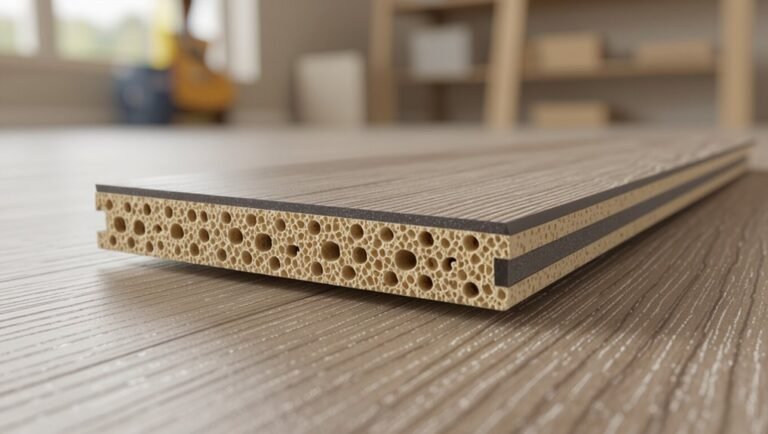
Composition and common finishes of linoleum
Think of linoleum as a layered, natural flooring made from linseed oil, cork dust, wood flour, resins, and pigments pressed onto a burlap or canvas backing. Those materials give it a dense, slightly porous surface that easily traps grit and oils from shoes.
You’ll find finishes like matte, semi-gloss, and high-gloss or factory-applied protective coatings; each affects cleaning methods and restoration choices.
How ground-in dirt affects appearance and finish
Those layered materials and finishes trap tiny particles and oils that get carried in on shoes. Over time, that grit gets pressed into the slightly porous surface, so it abrades pigments and dulls the finish.
You’ll notice color loss, scuffed patterns, and a matte, lifeless look. Ground-in dirt also embeds oils that attract more grime, making cleaning harder and finish restoration necessary.
Differences between linoleum, vinyl, and other resilient flooring
Because it’s made from natural materials and has a slightly porous, oil-rich surface, linoleum wears and traps grit differently than vinyl and other resilient floors, so you’ll need different cleaning approaches. You’ll use gentler cleaners, periodic oiling, and soft pads to lift dirt without stripping finish.
| Type | Texture | Cleaning |
|---|---|---|
| Linoleum | Porous | Gentle, oil-based |
| Vinyl | Smooth | Stronger detergents |
| LVT | Layered | Moderate care |
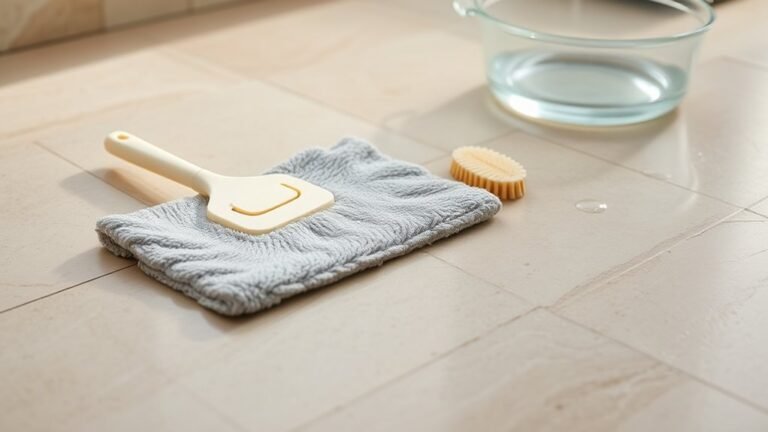
Tools, Materials, and Safety Precautions
Before you start, gather essential tools like a soft broom, mop, bucket, microfiber cloths, and a gentle scrub brush, plus supplies such as pH-neutral cleaners, vinegar and water for a homemade option, or a commercial linoleum cleaner.
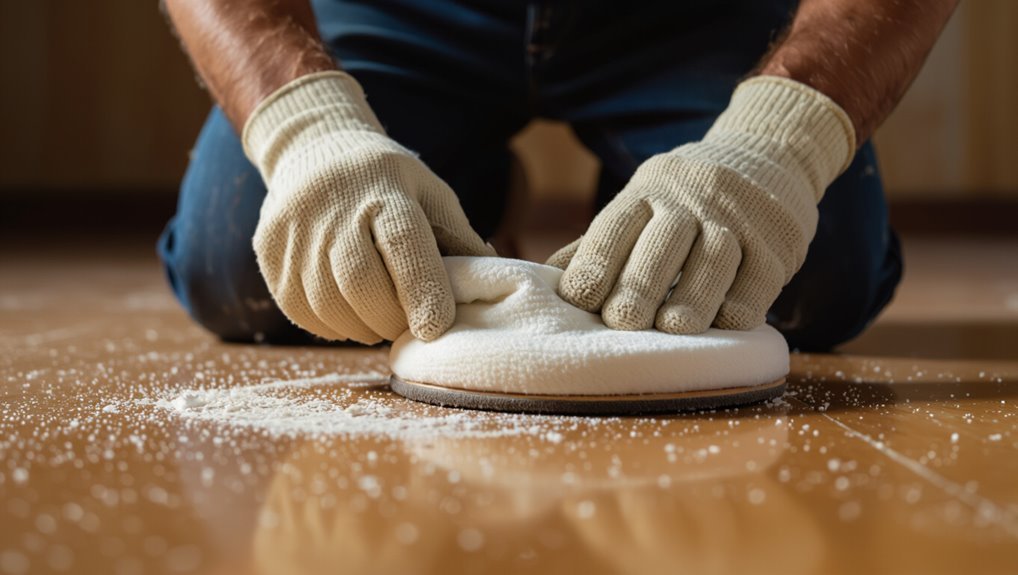
Wear gloves, open windows for ventilation, and always spot-test a small area before treating the whole floor. These steps keep you safe and help avoid damage while you clean.
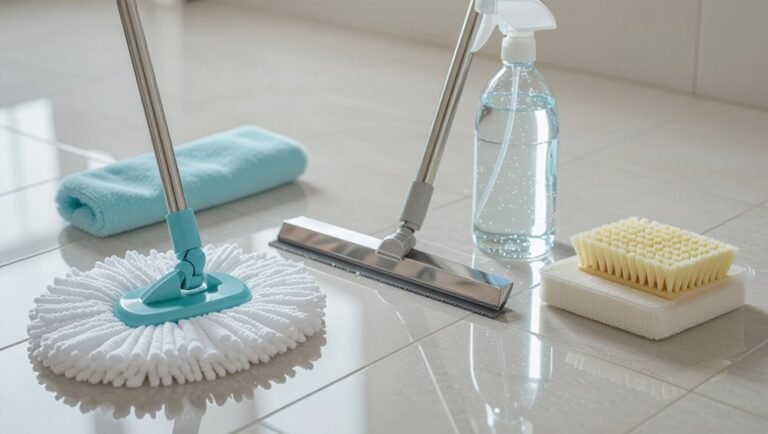
Essential tools and supplies
Cleaning linoleum well starts with gathering the right tools, materials, and safety gear so you can work efficiently and protect your floor and yourself.
- Microfiber mop, soft-bristle brush, and sponge for scrubbing and rinsing.
- Bucket, sturdy vacuum or broom, and microfiber cloths for drying.
- Gloves, knee pads, and ventilated mask for protection while you tackle ground-in dirt.
Recommended cleaning solutions (homemade and commercial)
While you can buy effective cleaners, homemade solutions let you control ingredients and cost.
Use mild dish soap with warm water for routine cleaning, white vinegar diluted 1:10 for stubborn grime, or a commercial pH-neutral linoleum cleaner for deep restoration.
Choose soft microfiber mops and nonabrasive pads.
- Dish soap mix
- Vinegar dilution
- pH-neutral cleaner
Protective measures: ventilation, gloves, test spots
Because some cleaners give off fumes or can irritate your skin, make sure you ventilate the room, wear gloves, and always do a small test spot first.
Open windows, run a fan, and remove pets or children from the area.
Use chemical-resistant gloves and eye protection when mixing cleaners.
Test an inconspicuous patch, wait for drying, and check for discoloration or finish damage before proceeding.
Step-by-Step Deep-Cleaning Process
Start by clearing the area and removing loose debris with a sweep and vacuum.
Then spot-test your cleaner, apply the solution and agitate to lift ground-in dirt, and rinse while extracting the dirty water.
Finally, dry the floor and inspect for any remaining stains or residue.
Step 1 Prep: Clear area, sweep, and vacuum loose debris
Clear the room of furniture and rugs so you can reach every inch of linoleum; move lightweight items to another space and slide heavy pieces onto protective pads if you can’t fully remove them.
Then:
- Sweep edges and corners with a stiff broom.
- Vacuum with a hard-floor attachment to lift grit.
- Inspect for stuck debris and pry gently with a plastic scraper before mopping.
Step 2 Test: Spot-test cleaners and check finish reaction
Before you apply any cleaner to the whole floor, test it in an inconspicuous spot to make sure it won’t dull or discolor the finish—apply a small amount, wait the manufacturer’s recommended time, then blot and inspect for changes.
If it causes haze, stickiness, color shift, or softening, discard that product.
Repeat with any others until you find a safe, compatible cleaner.
Step 3 Apply cleaning solution and agitate to lift ground-in dirt
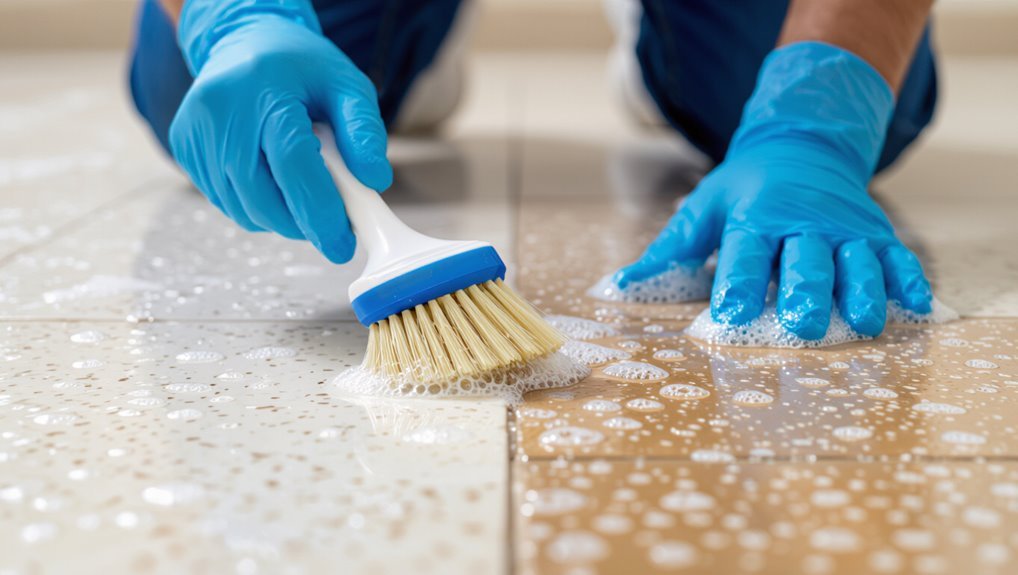
Mix the cleaner with water per the label, apply it in manageable sections, and let it penetrate for the recommended time so it loosens embedded grime.
Use a stiff-bristled brush or low-speed floor machine to agitate, working with the grain or pattern. Scrub gently but firmly, rewetting stubborn areas.
Lift loosened dirt with a microfiber pad or mop before moving to the next section.
Step 4 Rinse thoroughly and extract dirty water
Rip up the loosened grime by rinsing each section with clean water and removing the dirty solution promptly.
Use a mop or wet-vac to flush and extract, working from farthest corner toward the exit. Change rinse water often to prevent redepositing soil.
Repeat rinsing until water runs clear, then vacuum remaining moisture with the extractor for a contaminant-free surface.
Step 5 Dry and inspect for remaining stains or residue
1. After rinsing, dry the floor thoroughly with clean microfiber towels or a mop, working in sections to prevent streaks.
Open windows or run fans to speed drying.
Once dry, walk the area and inspect for remaining stains, sticky residue, or dull spots.
Note their locations so you can treat them next, avoiding re-soiling cleaned sections.
Step 6 Repeat targeted stain removal for stubborn spots
Treat stubborn spots one at a time, returning to the specific stain locations you noted after drying.
Apply an appropriate remover or a paste of baking soda and water, let it sit briefly, then scrub gently with a soft brush.
Rinse thoroughly, dry, and reassess.
Repeat only as needed to avoid damage, then proceed to overall polishing once stains are gone.
Restoring Shine and Protecting the Finish
Once your linoleum is clean and dry, you’ll choose a polish, finish, or sealer formulated for linoleum to restore shine and protect the surface.
I’ll walk you through applying a restorative finish step-by-step and explain when to use a wipe-on polish versus a film-forming sealer.
Finally, you’ll learn basic buffing techniques—when manual buffing is fine and when a machine gives a better, longer-lasting result.
Suitable floor polishes, finishes, and sealers for linoleum
Picking the right polish, finish, or sealer can bring back linoleum’s original sheen and protect it from scuffs and moisture.
So you’ll want products formulated specifically for linoleum or vinyl rather than hardwood or tile options.
- Water-based acrylic polishes — low odor, clear, easy maintenance.
- Restorative finishes — fill micro-scratches, boost gloss.
- Matte sealers — protect without high shine.
How to apply polish or restorative finish step-by-step
Before you start, clear the room and give the floor a thorough cleaning so the polish can bond to a dirt-free surface; any grit or residue will show through the finish and shorten its lifespan.
Apply polish in small, overlapping sections with a microfiber mop or applicator, working toward an exit. Let each coat dry fully, apply 2–3 thin coats, and allow proper cure time before foot traffic.
Buffing techniques (manual vs. machine)
Whether you buff by hand or with a machine, the goal is the same: bring out the polish’s shine and smooth any imperfections without damaging the finish.
For manual buffing, use a soft cloth or pad, work in small circular motions, and apply even pressure.
For machines, choose the correct pad, keep speed moderate, overlap passes, and test a hidden spot to avoid heat or abrasion.
Alternative Methods for Tough Stains and Discoloration
When regular cleaners won’t budge stains, try enzyme cleaners, oxygen bleach, or products made for linoleum to break down spots without harming the floor.
For scuffs and stuck-on grime, use gentle abrasion—like a soft scrub pad or a melamine sponge—and test a small area first.
If discoloration or damage is widespread, consider professional refinishing or replacement as a more lasting solution.
Enzyme cleaners, oxygen bleach, and specialized products
For really stubborn spots, reach for targeted solutions like enzyme cleaners, oxygen bleach, or products made specifically for linoleum—each tackles stains in a different way so you can pick the best fit for the problem.
Test any product in an inconspicuous spot, follow label instructions, dilute as directed, allow dwell time, then rinse thoroughly.
Use gloves and ventilate the area.
Gentle abrasion and scuff removal strategies
Because some marks won’t lift with cleaners alone, you can use gentle abrasion and targeted scuff-removal techniques to restore linoleum without damaging the surface.
Use a soft nylon brush, white eraser pads, or a Magic Eraser gently with water. Test a hidden spot first.
Work circularly, avoid harsh scrubbing, rinse residue, and buff dry. Repeat sparingly until scuffs fade.
When refinishing or replacement is the better option
If regular cleaning and gentle abrasion won’t restore your linoleum’s appearance, consider whether refinishing or replacing the floor makes more sense.
Assess damage: deep stains, faded pattern, cracks, or adhesive failure often justify replacement.
Refinishing (stripping, sealing, recoating) can revive sound sheets and cost less.
Factor budget, time, and long-term durability; choose replacement when structural or aesthetic issues persist.
Common Mistakes to Avoid
Don’t use harsh chemicals or abrasive tools that can scratch or strip your linoleum.
Avoid over-wetting and skimping on rinsing, since trapped moisture can warp the floor and invite mold.
Make sure any polish or sealer you choose is compatible with linoleum, because the wrong product can cause yellowing or buildup.
Harsh chemicals and abrasive tools that damage linoleum
While it might seem faster to grab strong cleaners and steel wool, those harsh chemicals and abrasive tools can strip linoleum’s protective finish and cause permanent scratches or discoloration.
You should choose pH-neutral cleaners and soft microfiber mop heads or non-scratch pads. Test any product in an inconspicuous area first, follow manufacturer recommendations, and avoid scrubbing aggressively to preserve the floor’s appearance and longevity.
Over-wetting and improper rinsing consequences
Because linoleum soaks up excess water and cleaner, leaving the floor too wet or failing to rinse properly can warp the backing, loosen seams, and create sticky residue that attracts dirt.
You should wring mops thoroughly, use minimal solution, and blot spills.
Rinse with clear water, dry promptly, and ventilate the room to prevent buckling, mildew, and rapid re-soiling.
Using incompatible polishes or sealers
After rinsing and drying properly, pay attention to the products you apply next—some polishes and sealers will harm linoleum rather than help it.
Don’t grab any floor finish; check labels for linoleum compatibility. Test new products in an inconspicuous spot, follow manufacturer instructions, and avoid solvent-based or waxes meant for other floors.
Using the wrong product can discolor, peel, or make surfaces slippery.
Preventive Maintenance and Best Practices
To keep linoleum looking its best, follow simple daily and weekly cleaning routines and a monthly or seasonal deep-cleaning checklist you can stick to.
Use protective measures like entry mats, felt furniture pads, and a humidifier or dehumidifier to prevent damage.
These small habits will save you time and extend the floor’s life.
Daily and weekly cleaning routines
Keeping a linoleum floor looking fresh comes down to consistent, simple habits you can do daily and weekly.
You’ll prevent grime buildup and prolong shine by following short routines:
- Sweep or vacuum daily to remove grit that scratches.
- Damp-mop weekly with a mild, pH-neutral cleaner; rinse well.
- Spot-clean spills immediately and place mats at entrances to trap dirt.
Monthly and seasonal deep-cleaning checklist
Once a month—and more thoroughly each season—set aside time for a deep clean that tackles hidden grime, restores finish, and checks for wear before small issues become big problems.
- Strip buildup with a gentle cleaner, scrub stubborn spots, and rinse thoroughly.
- Reapply polish or finish as needed, following product directions.
- Inspect seams, edges, and junctions; repair or note issues for prompt attention.
Protective measures: mats, furniture pads, and humidity control
After your monthly deep clean, protect the work you’ve done by preventing new wear with simple measures: place low-profile entry mats at doorways to catch grit, use felt or rubber pads under chair and table legs to stop scratches, and keep indoor humidity between about 35–55% to prevent expansion or shrinkage.
Rotate rugs occasionally, clean mats regularly, replace worn pads, and monitor humidity with a hygrometer for consistent flooring protection.
Cost, Time, and Effort Estimates
For an average-size room, you’ll usually spend 20–45 minutes on routine cleaning and up to a couple of hours for a deep clean.
DIY supplies typically run low—around $10–$40 for cleaners and tools—while hiring a pro can cost $75–$200 per room depending on condition and location.
Use these estimates to decide whether the time and upfront cost of doing it yourself are worth the savings.
Typical time required for average-size rooms
A medium-sized room (about 150–200 sq ft) usually takes you 30–45 minutes to sweep and mop thoroughly, plus another 20–30 minutes if you need to strip old wax or deep-clean stubborn grime.
Factor in drying time of 15–30 minutes before replacing furniture.
Expect tougher spots and edging to add 10–20 minutes.
Plan 1.5–2 hours total for a single room with deep cleaning.
Estimated cost for DIY vs. professional service
Wondering whether to tackle linoleum cleaning yourself or hire a pro? You’ll save money DIY: expect $10–40 for cleaners and pads, plus 1–3 hours. Pros cost $80–250 for an average room but deliver equipment and expertise.
| Option | Cost Range | Time |
|---|---|---|
| DIY | $10–40 | 1–3 hrs |
| Professional | $80–250 | 1–2 hrs |
FAQ
You’ve probably got a few quick questions about vinegar, polishing frequency, bleach safety, color restoration, and steam cleaners.
We’ll answer whether vinegar or steam works, how often to polish, and when bleach is safe to try.
If a stain or fading seems tricky, you’ll get clear, practical options to try next.
Can I use vinegar to clean linoleum?
Curious whether vinegar’s a safe, effective cleaner for your linoleum? Yes — diluted white vinegar (1 cup vinegar to 1 gallon warm water) removes grime and disinfects without harsh chemicals.
Don’t use straight vinegar or acidic cleaners repeatedly on older, waxed floors; test a small area first.
Rinse with plain water and dry to prevent streaks and protect finish.
How often should I polish linoleum floors?
How often you should polish linoleum depends on traffic and finish — aim for every 3–6 months in high-traffic areas and every 6–12 months in low-traffic rooms.
Check shine and slip resistance monthly; dullness, scuffs, or increased cleaning effort signal it’s time.
Use a product recommended for linoleum, follow manufacturer directions, and buff lightly to restore gloss without overcoating the surface.
Will bleach remove ground-in stains without damaging the floor?
If your polish schedule and regular cleaning haven’t removed stubborn marks, you might be tempted to reach for bleach — but don’t use it on linoleum.
Bleach can discolor, weaken the surface, and strip sealants. Instead, try a mild detergent, baking soda paste, or a commercial linoleum cleaner and test in an inconspicuous spot.
Reserve stronger methods for professionals.
How do I restore color to faded linoleum?
Want to bring faded linoleum back to life?
Clean thoroughly with a mild pH-neutral cleaner, rinse and dry.
Apply a quality linoleum or vinyl floor polish or restorer following label instructions; these replace lost shine and deepen color.
For severe fading, consider a professional color-restoring product or resealing.
Test any product in an inconspicuous spot first to verify compatibility.
Can steam cleaners be used on linoleum?
Curious about using a steam cleaner on linoleum? You can, but be cautious: high heat and moisture can lift seams, loosen adhesive, or damage finish.
Use a low-steam setting, keep the head moving, and avoid saturating edges. Test a small hidden area first.
After steaming, dry thoroughly and consider resealing if the finish appears dull or compromised.