How to Cut Vinyl Plank Flooring Cleanly and Accurately Every Time
You can cut vinyl plank flooring cleanly and accurately every time by using the right tools, measuring twice, and choosing the proper technique for the plank type. Score-and-snap works for straight cuts; use a fine-tooth jigsaw or circular saw for curves and long rip cuts. Clamp a straightedge, keep blades sharp, secure the plank, and cut slowly to avoid chipping or burning. Follow proper acclimation, safety, and waste-reduction tips, and keep going to get detailed step-by-step methods and tool guides.
How to Cut Vinyl Plank Flooring Cleanly and Accurately Every Time
You’ll get the fast essentials for cutting vinyl plank flooring without fuss.
Follow these steps and you’ll make crisp, accurate cuts that fit first time.
The Fast Essentials
Cutting vinyl plank flooring cleanly comes down to the right tools, steady technique, and a few quick tricks you can repeat every time.
For fast essentials, gather a utility knife, straightedge, tape, and clamps.
Score and snap or use a fine-tooth saw for curves.
Measure twice, mark once—ask yourself how do you cut vinyl plank flooring to match patterns and guarantee tight, consistent seams.
What You’ll Achieve After Reading This Guide
With the basics in place, you’ll gain the skills to make every plank fit like it was measured for the room.
You’ll cut straight, score accurately, and trim curves without splintering.
You’ll choose the right tool, set clean edges, and speed up installation while reducing waste.
Basic Understanding: Vinyl Plank Types and Cut Requirements
Before you start cutting, you’ll want to know which vinyl plank you’re working with—LVP and LVT are softer, while SPC and other rigid-core boards are denser and need sturdier tools.
Material and thickness change your approach: thicker or stone-plastic cores usually require a fine-tooth saw blade or scoring and snapping, while thinner planks can be scored or cut with a utility knife.
You’ll commonly make straight cuts, angled cuts, notches, and end cuts, so match your technique and tools to the plank type and cut needed.
Types of Vinyl Plank Flooring (LVP vs LVT vs SPC vs Rigid Core)
Although vinyl planks share a similar look, their core construction and thickness vary, and those differences directly affect how you cut and install them. You’ll meet LVP, LVT, SPC, and rigid core—each responds differently to blades and handling. Choose tools and patience accordingly.
| Type | Feel | Mood |
|---|---|---|
| LVP | Flexible | Warm |
| SPC | Sturdy | Confident |
How Material and Thickness Affect Cutting Techniques
If you’re working with vinyl planks, the material and thickness determine the cutting approach you’ll use—so pick your tools and technique to match the core.
Thin luxury vinyl sheeting scores and snaps; thicker LVP or LVT benefit from a sharp utility knife with multiple passes.
Rigid core and SPC require a fine-tooth saw or oscillating tool.
Test cuts prevent mistakes.
Common Cut Types: Straight cuts, angled cuts, notches, end cuts
Cuts for vinyl planks fall into a few basic types—straight cuts, angled cuts, notches, and end cuts—and each serves a specific installation need, so you should match the cut to the plank type and location.
You’ll use straight cuts for rows, angled cuts for doorways or junctions, notches to fit around obstacles, and precise end cuts to finish edges, minimizing gaps and waste.
Tools and Materials You Need
To cut vinyl planks cleanly, you’ll need the right mix of hand tools, power saws, and safety gear.
I’ll cover when to reach for a utility knife or straightedge, when a jigsaw or circular/miter/table saw makes sense, and which accessories—workbench, clamps, and hearing/eye protection—keep the job safe and accurate.
That quick decision guide will help you pick the simplest tool for each cut.
Essential Hand Tools (utility knife, straightedge, T-square)
Before you start cutting planks, gather a sharp utility knife, a reliable straightedge, and a T-square — they’re the core hand tools that make accurate, clean cuts possible.
You’ll score and snap planks, align layouts, and mark precise angles. Keep blades sharp and edges straight for consistent results.
- Replaceable-blade utility knife
- Aluminum straightedge
- Carpenter’s T-square
- Non-slip cutting mat
Power Tools (jigsaw, circular saw, miter saw, table saw)
A few power tools will speed up long runs and tricky cuts, so pick the ones that match your skill level and workspace.
You’ll choose based on cut type, accuracy, and portability. Use sharp blades rated for vinyl and slow feed rates to prevent chipping.
- Jigsaw for curved or notched cuts
- Circular saw for straight cuts on the fly
- Miter saw for precise angle crosscuts
- Table saw for ripping long planks
Accessories and Safety Gear (workbench, clamps, hearing/eye protection)
Good accessories and proper safety gear will make cutting vinyl planks faster and keep you from getting hurt.
You’ll want a sturdy workbench and good clamps to hold boards steady, and eye and hearing protection for clean, safe cuts. Don’t forget a dust mask if using power tools.
- Sturdy workbench
- Quick-release clamps
- Safety glasses
- Ear protection
When to Choose Which Tool (quick decision guide)
Now that you’ve got the right workbench, clamps, and safety gear, you’ll pick tools based on the cut type, speed, and accuracy you need. Choose a utility knife for short straight cuts, a jigsaw for curves, and a miter saw for long precise rip cuts. Match blade quality to plank material for clean edges.
| Cut type | Tool | Best use |
|---|---|---|
| Straight | Utility knife | Quick, clean |
| Curves | Jigsaw | Shaped cuts |
Preparation Before Cutting
Before you make any cuts, measure twice and pick the right marking method — pencil for fine lines, chalk for contrast, or masking tape to protect the surface.
Set the plank on a stable work surface and clamp it so it won’t shift while you cut.
Remember to leave the proper expansion gap and factor in trim allowances so your pieces fit correctly.
Measuring Accurately Tools and Techniques
Accurate measuring is the foundation of a clean vinyl plank installation, so gather a reliable tape measure, straightedge, carpenter’s square, and a pencil or fine-tip marker before you cut.
Measure twice: overall room dimensions, plank length from wall to obstacle, and spacing for expansion gaps.
Use the square to guarantee 90-degree cuts and the straightedge to guide saws or snap cuts for precise, repeatable results.
Marking the Plank for Clean Cuts (pencil vs chalk vs masking tape)
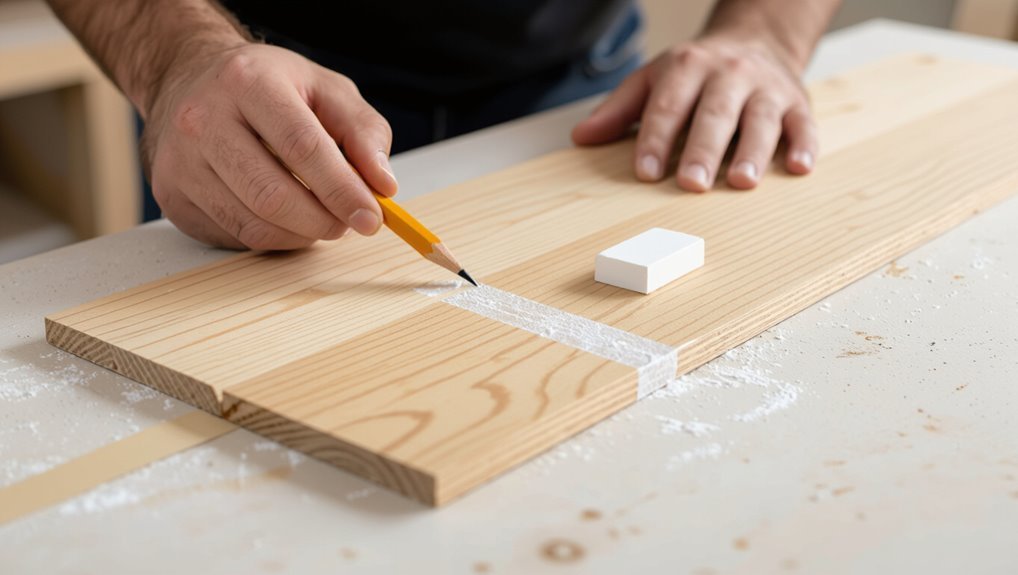
One clear, well-placed mark makes cutting vinyl planks faster and neater, so pick a marking method that shows up on your plank’s color and texture without damaging the surface.
Use a soft pencil for light contrast, chalk for bold temporary lines, or masking tape when you need a nonmarking guide.
Test your choice on a scrap to confirm visibility and clean removal before cutting.
Creating a Stable Work Surface and Securing the Plank
Set up a flat, level work surface — a sturdy table or two sawhorses with a sheet of plywood — and clamp the vinyl plank so it can’t shift while you cut.
Support the plank near the cut line to prevent sagging. Use soft-jaw clamps or scrap wood to avoid marring.
Keep the workspace clear, well-lit, and at comfortable height to maintain control and accuracy.
Accounting for Expansion Gap and Trim Allowances
With the plank clamped and supported, think about the space it needs to live in: vinyl expands and contracts with temperature and humidity, so you’ll leave a small gap (usually 1/4 inch) around walls and fixed objects.
Mark and cut to allow that gap plus trim thickness, measure twice, and account for baseboard or threshold profiles so cuts sit hidden and material can move freely.
Step-by-Step Cutting Methods
Now you’ll learn the practical cutting methods you’ll use on the job, with clear steps for each tool and cut type.
You’ll start with score-and-snap for luxury vinyl, then move through jigsaw, circular/table, miter saw, and utility knife techniques covering curves, long straight cuts, crosscuts, angles, and fine details.
Follow each method’s step sequence so your cuts are accurate and safe.
Method 1 Score-and-Snap for Luxury Vinyl Planks (Step 1Step 5)
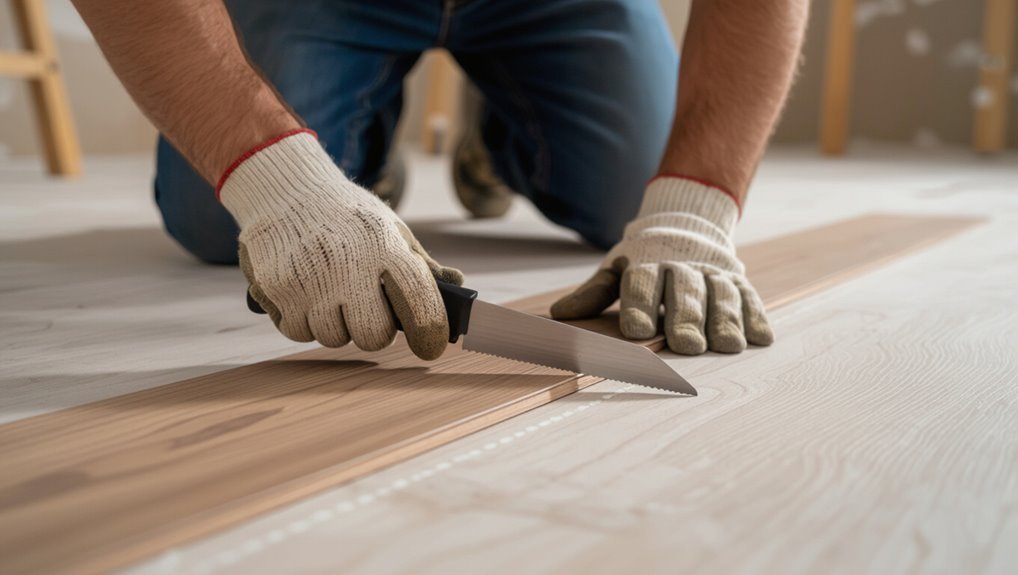
Score-and-snap is the quickest way to cut luxury vinyl planks when you need straight, clean cuts for field pieces.
You’ll measure, mark, then score deeply with a utility knife along a straightedge. Bend the plank away from the cut to snap cleanly. Finish the edge with light sanding if needed.
- Measure twice, cut once
- Use a sharp blade
- Support the plank firmly
- Snap away from yourself
Method 2 Using a Jigsaw for Curves and Notches (Step 1Step 6)
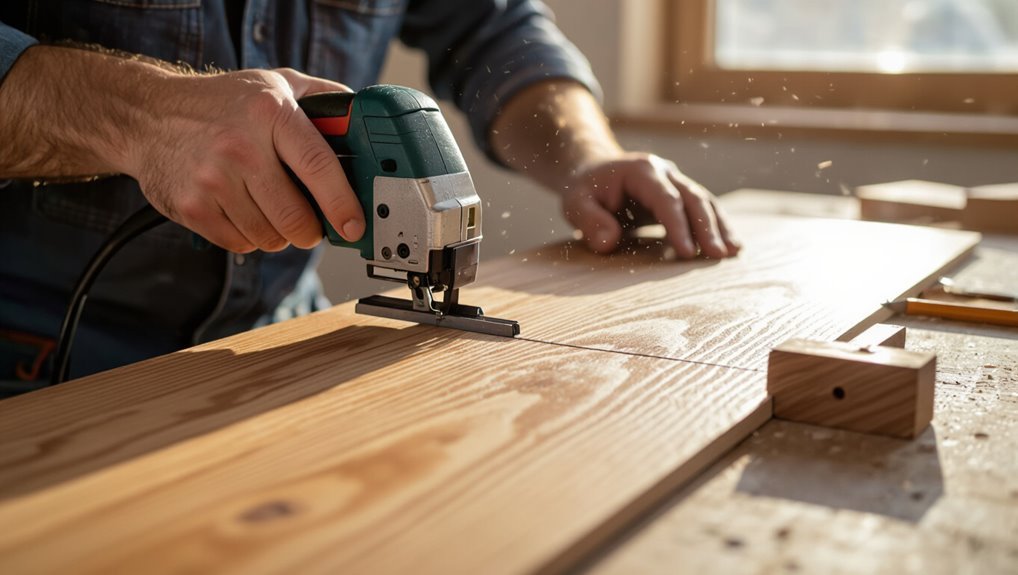
Straight cuts are fast with a knife, but when you need curves, circular cutouts, or notches for door jambs, grab a jigsaw.
You’ll mark the cut, clamp the plank, use a fine-tooth blade, and cut slowly to avoid chipping. Finish edges with a scraper or light sanding for a seamless fit.
- Mark layout clearly
- Secure plank firmly
- Use fine-tooth blade
- Cut at steady speed
Method 3 Circular or Table Saw for Long Straight Cuts (Step 1Step 6)
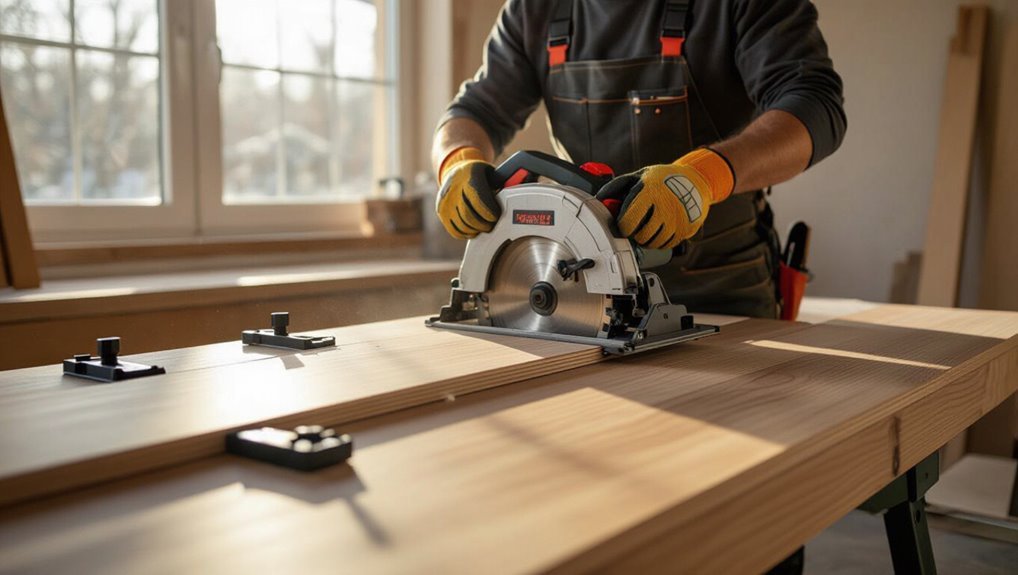
Set up a circular or table saw when you need long, perfectly straight cuts—these tools give speed and consistency for ripping multiple vinyl planks.
Clamp a straightedge, set blade height just above the plank, and run the cut steadily, supporting the offcut to prevent tear-out. Finish edges with a fine file or sanding block.
- Use a carbide-tipped blade
- Clamp firmly
- Feed at steady pace
- Support offcut
Method 4 Miter Saw for Crosscuts and Angled Cuts (Step 1Step 5)
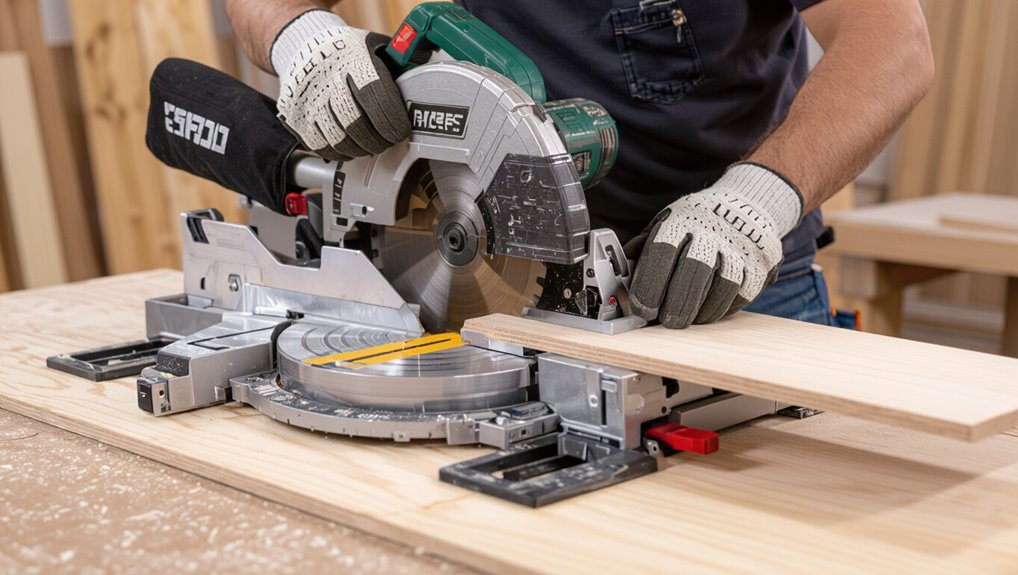
If you need clean crosscuts or precise angled cuts after ripping long boards with a circular or table saw, a miter saw is your go-to for speed and accuracy.
You’ll work fast, clamp securely, and make repeatable bevels. Protect the plank’s surface and support offcuts.
- Set blade height and angle precisely
- Clamp plank firmly against fence
- Use a fine-tooth blade for vinyl
- Cut slowly to avoid chipping
Method 5 Fine Detail Cuts with a Utility Knife (Step 1Step 4)
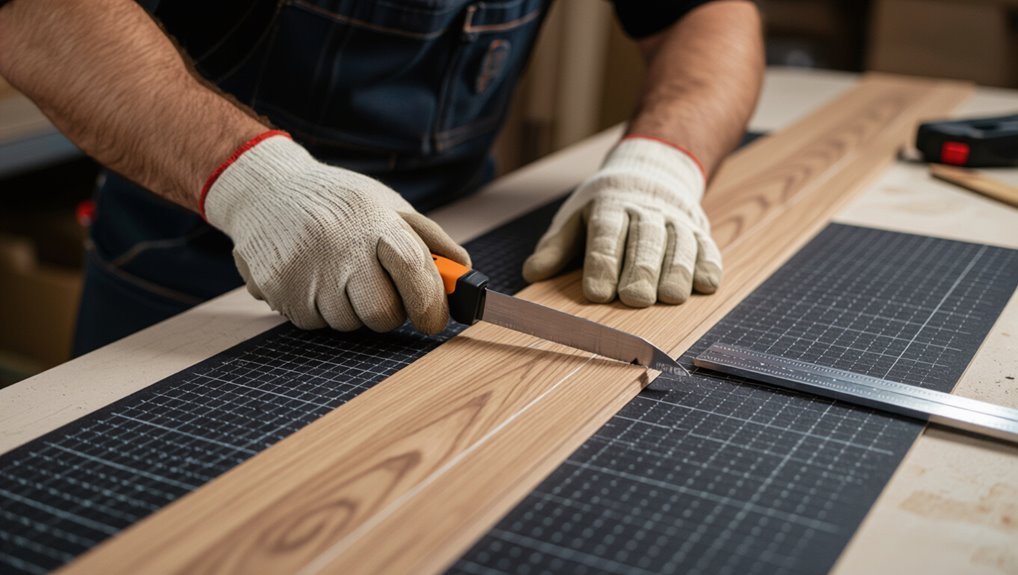
Grab a sharp utility knife and a straightedge—fine detail cuts with vinyl plank often just need scoring and snapping rather than power tools.
You’ll measure, score multiple passes, snap along the score, and trim edges for a clean fit. Work slowly, keep blades fresh, and support the plank to avoid splintering.
- Measure twice, mark once
- Score firmly, repeat
- Snap with controlled pressure
- Finish with light trim
When to Use a Zero-Clearance or Support Fence for Cleaner Edges
Scoring and snapping with a utility knife works for many detail cuts, but when you need perfectly clean edges—especially on long rip cuts or when cutting from the face—you’ll want a zero-clearance throat plate or a support fence to back the plank.
Use them whenever tearout risks exist: crosscuts near edges, narrow strips, or veneered surfaces. They stabilize, support fibers, and yield square, chip-free cuts every pass.
Advanced Techniques and Templates
When you hit pipes, door casings, or odd obstacles, you’ll use simple templates to transfer exact cut lines to the plank.
For clean changes, I’ll show how to mark and cut precise bevels and compound angles.
You’ll also learn jigs and guides that let you repeat identical cuts quickly and accurately.
Cutting Around Pipes, Door Casings, and Irregular Obstacles (template process)
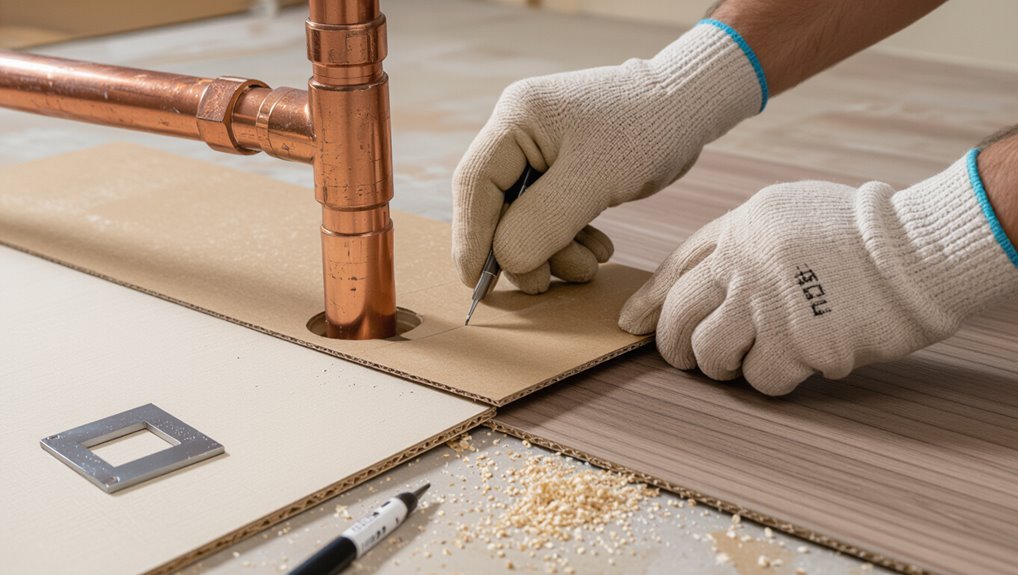
Tackling cuts around pipes, door casings, and other irregular obstacles starts with a reliable template—this lets you transfer complex shapes to the plank quickly and accurately, so you won’t be guessing or wasting material.
Trace the obstacle onto cardboard or thin plywood, mark centerlines and offsets, test-fit the template, then transfer markings to the plank.
Cut slowly, file edges, and dry-fit before final installation.
Creating Accurate Bevels and Angles for Transitions
Master bevels and angles by using repeatable templates and a few precise measuring tricks so your shifts look seamless and professional.
Trace the change profile onto thin card, mark bevel angle and reveal, and transfer to the plank. Use a protractor or digital angle finder for accuracy, score and snap progressively, and sand lightly for perfect mating without gaps or unevenness.
Using Jigs and Guides to Repeat Identical Cuts
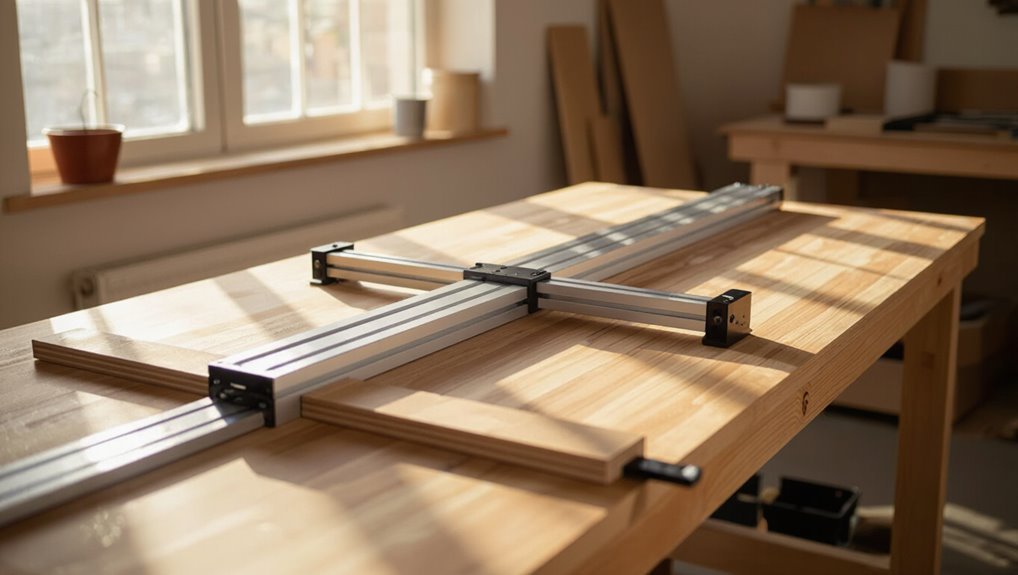
Once you’ve dialed in the right measurements and bevels, you can save hours and prevent errors by building simple jigs and guides that repeat those cuts exactly.
Clamp a stop block to your cutting sled, mark reference lines, and test on scrap. Use a fence for consistent rip cuts and a miter jig for angles.
Label templates for quick setup and identical results.
Common Cutting Problems and How to Fix Them
You’ll run into chipping, tearing, or splintered edges, inaccurate cuts that waste material, burn marks from power tools, and gaps at joints, so you should know the causes and quick fixes for each.
Start by checking blade type, tool speed, and support to prevent edge damage and burns, and measure twice to avoid wasted planks.
If you still get gaps or poor fits, adjust your layout, trim or scribe planks as needed, and sand or use filler for minor imperfections.
Chipping, Tearing, or Splintered Edges Causes and Remedies
If your vinyl plank edges are chipping, tearing, or splintering during cuts, it’s usually down to dull blades, incorrect cutting direction, or insufficient support along the cut line.
Replace or sharpen blades, cut with the wear layer facing up or follow manufacturer guidance, clamp or support the plank firmly, score first when using a utility knife, and feed material steadily to prevent tear-out.
Inaccurate Cuts or Wasted Material Troubleshooting Tips
Small mistakes like chipping or tear-out often come with another headache: inaccurate cuts that waste planks.
Check blade sharpness and type, secure the plank firmly, and measure twice before marking. Use a straightedge guide and cut slowly to maintain control.
If pieces misalign, trim incrementally rather than removing large amounts. Practice on scraps to reduce waste.
Burn Marks from Power Tools Prevention and Cleanup
When a saw blade or rotary cutter overheats, it can scorch vinyl plank edges and leave dark burn marks that show after installation.
So take steps to prevent heat buildup and know how to clean minor burns quickly.
Use sharp carbide blades, cut slowly with steady pressure, and allow cool-downs.
Remove light burns with a soft cloth, mild solvent, or fine Scotch-Brite pad; test first.
Gaps or Poor Fit at Joints How to Adjust Cuts and Layout
Because precise joints make a finished floor look professional, you’ll want to spot and correct gaps or tight seams before you lock planks in place.
Measure and trim offending edges, scribe irregular walls, and stagger end joints for balanced seams.
Use a tapping block to close small gaps and replace warped planks.
Recheck layout periodically to prevent cumulative misalignment.
Best Practices and Pro Tips for Professional Results
To get professional results, plan a logical sequence of cuts, keep blades sharp, and stash useful scrap pieces for taps and shifts.
Check room temperature and substrate conditions before you start, and follow a brief safety checklist while you cut and clean up.
These habits speed installation, reduce waste, and protect you and the floor.
Sequence of Cuts for Efficient Installation
Once you’ve laid out your starter row and marked the room’s focal lines, plan cuts so you work from the walls toward the center—this keeps seams straight and waste minimal.
Cut full-length planks first, then stagger end joints as you progress. Reserve narrow filler pieces for last.
Sequence repeatable patterns, label pieces, and dry-fit runs to confirm alignment before final installation.
Maintaining Sharp Blades and Knife Blades
Keep your blades sharp and you’ll cut cleaner, faster, and safer; dull tools force you to press harder, increase tear-out, and raise the risk of slips.
Inspect blades before each session, replace scored or nicked edges, and rotate multi-blade knives.
Hone reusable blades lightly with a strop. Store blades dry, use proper cutting angles, and change blades at the first sign of drag for consistent, professional cuts.
Saving and Using Scrap Pieces Strategically
Although scrap pieces might seem too small to matter, you can turn them into time- and money-savers with a few simple habits.
Label and sort scraps by color, pattern, and length. Reserve longer offcuts for starter rows or stair treads. Use narrow pieces for connections, trim samples, or repairs.
Keep a small organized bin so you always grab the right piece quickly.
Environmental and Surface Considerations (temperature, substrate)
Sorting and saving scrap pieces helps you finish jobs faster, but the job’s long-term performance depends on the environment and the surface you install onto.
Condition the room to manufacturer temperature and humidity ranges before cutting and laying. Make certain substrate is flat, clean, dry, and firmly bonded; repair uneven spots and remove contaminants.
Allow planks to acclimate on-site for recommended time to prevent gaps or buckling.
Safety Checklist Before, During, and After Cutting
Before you cut a single plank, run through a quick safety checklist so you and everyone on site stay injury-free and the material isn’t ruined.
Wear eye, ear, and dust protection, gloves, and appropriate footwear.
Secure planks and work surface.
Check blades and tools for damage.
Ventilate the area.
Keep a first-aid kit, fire extinguisher, and cleanup supplies nearby.
Inspect cuts before disposal.
Tools and Blade Comparison Chart
You’ll want a quick chart that compares tools and blades by precision, cutting speed, and finish quality so you can pick what fits your job.
Match high-precision blades to detailed cuts, faster blades to long straight runs, and smoother-finish options for visible seams.
Use the chart to balance trade-offs before you start cutting.
Quick Comparison of Precision, Speed, and Finish Quality
If you want clean, consistent cuts without wasting time, this quick comparison shows how common tools and blades stack up on precision, speed, and edge finish so you can pick the right setup for your project.
| Tool | Precision | Finish |
|---|---|---|
| Utility knife | Medium | Smooth with score‑and‑snap |
| Jigsaw | Low | Rough, needs sanding |
| Miter saw (fine blade) | High | Clean, ready to install |
Cost, Time, and When to Hire a Pro
Expect a DIY job to take a weekend for an average 12×12 room and cost roughly $100–$300 for cutting tools and supplies.
If your layout has lots of cuts, uneven walls, or you’re short on time, you’ll likely spend more and face frustrating rework.
Hire a pro when precision, warranty, or a flawless finish matters more than saving a few dollars.
Estimated Time and Cost per Room for DIY Cutting
For a typical 12×12 room, DIY cutting of vinyl plank flooring usually takes 2–4 hours and costs $10–$60 in consumables (blades, underlayment, and small tools).
Though larger or complex rooms will add time and expense.
Plan extra time for tricky cuts, door thresholds, and pattern matching.
Expect 4–8 hours for 200–300 sq ft, with modest additional material costs.
Signs You Should Hire a Professional Installer
When your room layout gets complicated, your time is limited, or the finish needs to look flawless, hire a professional installer—it’s often faster and avoids costly mistakes.
You should also call a pro if you lack tools, face tricky cuts around vents or stairs, or need tight connections.
Professionals guarantee fit, save hours, and often include warranty coverage for peace of mind.
FAQ
You’ve probably got specific questions—like whether a utility knife will do, which saw blade gives the cleanest edge, and how to cut for door frames and thresholds.
You’ll also want to know if cutting affects your warranty and how to fix a bad cut or damaged edge.
Read on for clear, practical answers to each point.
Can you cut vinyl plank flooring with a utility knife only?
Curious if a utility knife alone will do the job? Yes—for thin, single-layer vinyl planks you can score and snap repeatedly to cut cleanly.
Use a sharp blade, straightedge, and steady pressure; replace blades often.
For thicker or rigid core planks, a utility knife may struggle and require extra passes or backing support.
Always measure twice and protect the substrate.
What blade type gives the cleanest edge on a jigsaw or circular saw?
Which blade gives the cleanest edge depends on the saw and plank type, but for both jigsaws and circular saws you’ll get the best results with a fine-tooth carbide-tipped blade designed for plastics or vinyl;
look for 10–18 TPI (teeth per inch) on jigsaws and a dedicated plastic/vinyl blade with a triple-chip grind or high tooth count on circular saws to minimize chipping and tear-out.
Use slow feed.
How do you cut vinyl plank for door frames and thresholds?
After picking a blade that minimizes chipping, you’ll still need to trim planks to fit door frames and thresholds precisely — these areas call for short, controlled cuts and a bit of prep.
Measure and mark allowance for undercut or reveal, use a pull saw or oscillating tool for tight spots, clamp a straightedge for guidance, test-fit, then sand or file edges for a snug, clean finish.
Will cutting the vinyl plank void the warranty?
Will cutting your vinyl plank void the warranty? Check the manufacturer’s warranty terms before you start—many allow field cuts but restrict improper installation or damage.
You won’t void coverage by trimming per instructions, using recommended tools, and keeping factory edges intact where specified.
Always document cuts and save receipts; contact customer service if unsure to avoid jeopardizing warranty claims.
How do you repair a bad cut or damaged plank edge?
If you make a bad cut or nick a plank edge, don’t panic—you can often fix it without replacing the whole board.
Trim jagged bits with a utility knife, sand lightly, then apply matching vinyl filler or wood filler tinted to the plank.
Smooth, let cure, and touch up with matching paint or marker.
Press edges flat and re-install; test fit before final placement.
Quick Reference Cheat Sheet
Keep a one-line tool selection flowchart handy so you can pick the right cutter in seconds.
Use a compact measurement-and-cut checklist to verify length, angle, and safety before each cut.
These quick references save time and prevent mistakes on the job.
Tool Selection Flowchart (one-line decisions)
Grab the right tool fast with this one-line flowchart: start by deciding whether you need a straight cut, a curved cut, or a trim/edge finish, then follow the single-line prompts to the recommended blade or tool.
You’ll choose quickly, reduce mistakes, and match blade type to material thickness.
- Straight cut: utility knife or table saw
- Curved cut: jigsaw with fine blade
- Trim/edge: oscillating tool
- Tight corners: snap cutter and file
Measurement and Cut Checklist for On-the-Job Use
Use this checklist to measure and mark every plank quickly and accurately before you cut.
You’ll work faster and reduce waste with a simple, repeatable routine. Check site conditions, confirm plank orientation, and double-check measurements.
Keep tools and safety gear ready, and mark cuts clearly.
- Verify room dimensions and layout
- Confirm plank direction and pattern
- Measure twice, mark once
- Guarantee clean, stable cutting surface