
How to Clean Bathroom Floor Tiles: Proven Tips for a Sparkling Result
Clear the floor, sweep or vacuum loose dirt, then pre-treat grout and stubborn stains for 5–10 minutes. Mop small sections with warm soapy water, rinse the mop often, and scrub grout or textured tiles with a stiff brush. Rinse thoroughly to avoid residue, then dry and buff for shine. Use pH-neutral cleaners for stone, mild detergent for ceramic, and diluted bleach or oxygen bleach for mildew—keep ventilation and test first. Keep going to learn exact solutions and schedules.
How to Clean Bathroom Floor Tiles Effectively
You’ll get a sparkling result by following a clear, step-by-step routine that tackles grout, tiles, and rinse.
Start with sweeping, apply a suitable cleaner, scrub grout lines, then mop and dry.
Stick to those steps and you’ll cut cleaning time while boosting shine.
Direct, step-by-step summary for a sparkling result
Start by clearing the floor of rugs, trash, and any loose items so you can work without obstruction; then sweep or vacuum thoroughly to remove dust and grit that can scratch tiles.
Follow a simple routine to learn how to clean bathroom floor quickly and well.
- Pre-treat grout and stains
- Mop with warm soapy water
- Rinse with clean water
- Dry and buff tiles
Basic Understanding Types of Bathroom Floor Tiles and Why Cleaning Methods Differ
You’ll find bathroom tiles come in different materials—ceramic, porcelain, natural stone, and vinyl—each needing a specific approach.
Grout condition, sealant presence, and surface texture change how dirt sticks and which cleaners are safe to use.
Also consider safety: slippery finishes, chemical sensitivities, and good ventilation all affect which methods you should choose.
Common tile materials (ceramic, porcelain, natural stone, vinyl)
Four main tile types—ceramic, porcelain, natural stone, and vinyl—cover most bathroom floors, and each demands different care because of how they’re made and sealed.
You’ll pick cleaners and techniques based on material: porous stone needs gentle, pH-neutral products, porcelain tolerates stronger cleaners, ceramic is forgiving with regular maintenance, and vinyl prefers mild, nonabrasive solutions.
- Ceramic
- Porcelain
- Natural stone
- Vinyl
How grout, sealant, and surface texture affect cleaning
Because grout, sealants, and surface texture change how water and dirt behave, they determine which cleaners and tools will work best on your bathroom floor.
You’ll treat wide, unsealed grout with gentle scrubbing and grout cleaner; sealed grout tolerates milder detergents.
Smooth, glazed tiles rinse easily, while textured or unglazed surfaces need brushes and degreasers to reach pores without harming the finish.
Safety considerations (slip risk, chemical sensitivity, ventilation)
Knowing how grout, sealants, and texture affect cleaning helps you pick the right products, but safety factors change how you use them.
Prevent slips by drying floors, using non-slip mats, and avoiding oily cleaners.
Protect sensitive skin and lungs: wear gloves and goggles, test cleaners on a small area, and choose mild or fragrance-free formulas.
Ventilate well while cleaning and rinsing.
Before You Start Tools, Supplies, and Safety Prep
Before you start, make a quick checklist of essential tools and equipment so you’ll have everything on hand.
Choose cleaners suited to your tile type—neutral pH for natural stone, mild detergents for ceramic and porcelain—and avoid harsh acids or bleach on vulnerable surfaces.
Wear gloves and eye protection, and keep the room well-ventilated to protect your lungs and skin.
Essential tools and equipment checklist
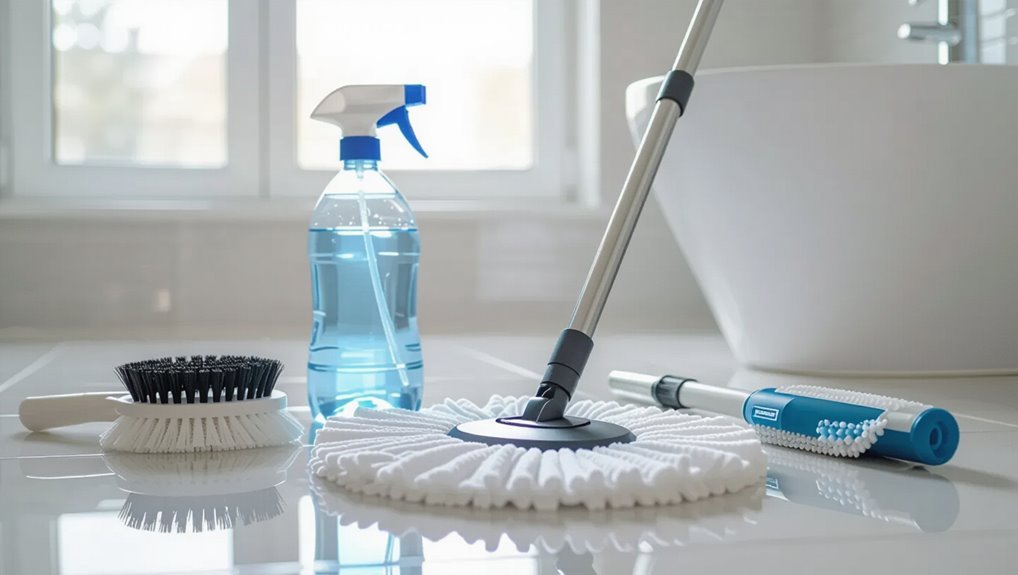
Gathering the right tools and safety gear will speed the job and protect you from cuts, slips, and harsh chemicals.
You’ll want sturdy basics and items that make cleaning efficient and safe. Gather them before you begin so you won’t interrupt the process.
- Rubber gloves and knee pads
- Stiff-bristled brush and grout brush
- Microfiber mop and bucket with wringer
- Non-scratch scraper and old towels
Recommended cleaning products by tile type
Different tiles need different cleaners, so pick products made for your floor type to avoid damage and get the best results. Use pH-neutral cleaners for natural stone, mild detergents for ceramic, bleach solutions sparingly on glazed tiles, and vinegar mixes only for porcelain. Choose grout-safe formulas.
| Tile Type | Best Cleaner |
|---|---|
| Natural stone | pH-neutral cleaner |
| Ceramic | Mild detergent |
| Porcelain | Diluted vinegar |
| Glazed | Bleach solution (sparingly) |
Personal protective equipment and ventilation tips
Now that you’ve picked cleaners suited to your tile type, protect yourself and the room while you work.
Wear chemical-resistant gloves, goggles, and a mask for strong cleaners. Open windows and run an exhaust fan to clear fumes. Avoid mixing products.
Use knee pads for extended scrubbing. Keep pets and children out until surfaces fully dry and any fumes dissipate.
Step-by-Step Cleaning Process
Start by clearing the area and removing dry debris with a broom or vacuum.
Then pre-treat stains and soap scum so they lift easily.
Pick a cleaner and dilution suited to your tile, mop for overall cleaning, and use targeted scrubbing on grout and textured areas.
Follow the steps in order to get the best, longest-lasting results.
Step 1 Clear the area and dry debris (sweeping, vacuuming)
1. Clear the floor: remove mats, trash, and toiletries so you can access every tile.
Sweep thoroughly with a stiff broom, reaching corners and grout lines. If you prefer, vacuum with a brush attachment to pick up hair and dust.
Finish by wiping stubborn dry debris with a microfiber cloth. A clean, dry base makes the next cleaning step faster and more effective.
Step 2 Pre-treat stains and soap scum
Treat stains and soap scum before you mop so cleaners can work faster and you won’t spread grime around.
Spot-treat with a paste or spray, let it sit 5–10 minutes, then scrub with a soft brush. Rinse residue and check grout lines. Repeat stubborn areas before general cleaning.
- Apply paste or spray
- Wait 5–10 minutes
- Scrub gently
- Rinse and recheck
Step 3 Choose the right cleaner and dilution for your tile type
Anyone can damage tile by using the wrong cleaner, so pick a product that matches your floor—ceramic, porcelain, natural stone, or unglazed—then dilute it exactly as the label directs.
For glazed tile, use a mild pH-neutral cleaner; for stone, avoid acids and choose a stone-safe formula; for unglazed or heavily soiled areas, a stronger detergent diluted properly works best.
Step 4 Mopping technique for deep cleaning
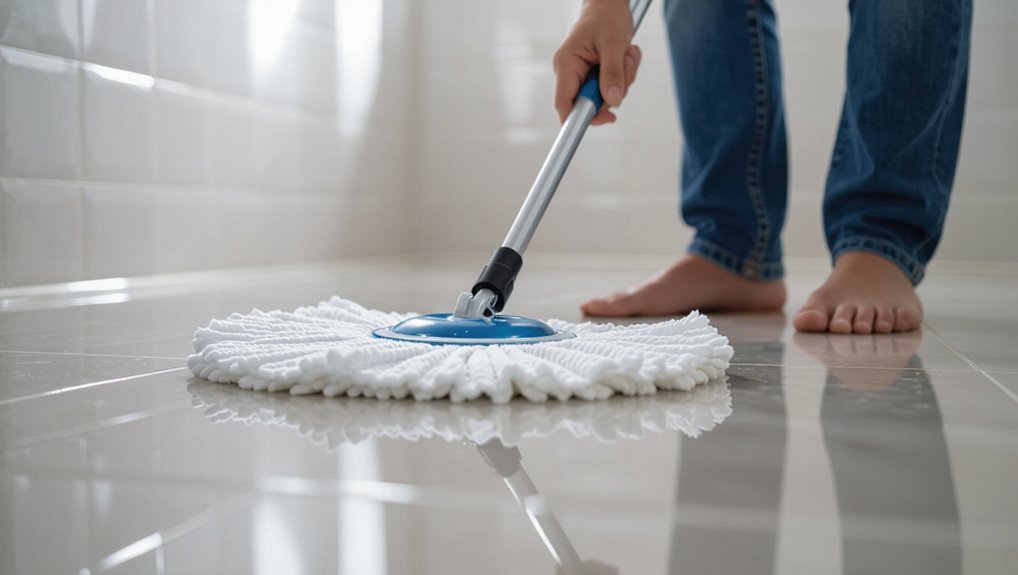
Start by sweeping or vacuuming thoroughly so the mop works on dirt-free tiles.
Fill a bucket with the cleaner mixed per instructions, dampen the mop—don’t soak—and mop in small sections from farthest corner toward the exit.
Rinse the mop often, change water when murky, and finish with a clean-water pass to remove residue.
Let tiles air-dry or towel-dry for a streak-free shine.
Step 5 Scrubbing grout lines and textured tiles (tools & methods)
Once the mop pass is done, focus on the grout and textured tiles where dirt hides and mopping can’t reach.
Use a stiff nylon brush or grout brush and a baking soda paste or commercial grout cleaner.
Work in short sections, scrub along grout lines and textured grooves, then lift loosened grime with a small vacuum or damp cloth.
Wear gloves and ventilate the area.
Step 6 Rinsing, drying, and buffing for a streak-free finish
Flush away residue by rinsing the floor with clean water and removing excess moisture promptly so soap and cleaner films don’t leave streaks.
Work in sections, mop or sponge-rinse thoroughly, then squeegee toward a drain or towel-wipe edges.
Dry with microfiber cloths, changing them as they get damp.
Finally, buff tiles with a dry microfiber for a clear, streak-free shine.
Step 7 Re-sealing grout or stone if applicable
If your grout or natural stone gets regular use, resealing every 1–3 years will keep moisture and stains from penetrating—inspect for dullness, darkening when wet, or crumbly grout to decide if it’s time.
Clean and fully dry the surface, choose a compatible sealer, apply evenly with a brush or applicator, let cure per instructions, and ventilate the room while it sets.
Targeted Solutions Removing Specific Problems
Now you’ll tackle specific problems that regular mopping won’t fix: soap scum and hard water deposits, mold and mildew in grout and on tiles, and stubborn stains like rust, makeup, ink, or dye.
I’ll cover safe treatments and product choices—DIY and commercial—for each issue, plus how to address discoloration and efflorescence on natural stone.
Follow the instructions and precautions for effective, damage-free results.
Soap scum and hard water deposits (DIY and commercial options)
Scrub away soap scum and hard water deposits with a few targeted methods that suit your time, budget, and tile type.
Use vinegar or lemon mixed with water for light buildup; let sit, then scrub with a nonabrasive brush.
For tougher scale, try a commercial descaler labeled safe for your tiles.
Rinse thoroughly and dry to prevent quick reformation.
Mold and mildew on tiles and grout (treatment and safety)
Because mold and mildew love damp grout lines, you’ll want to tackle them promptly with the right combination of treatment and safety precautions.
Wear gloves and a mask, ventilate the room, and test cleaners in a small area.
Use diluted bleach or oxygen bleach for grout, scrub with a stiff brush, rinse thoroughly, and dry completely.
Re-seal grout to prevent recurrence.
Stains: rust, makeup, ink, and dye removal methods
Stains like rust, makeup, ink, and dye each respond to different treatments, so you’ll want to identify the culprit before you start.
Apply targeted cleaners, test a hidden area, and work gently to avoid damage.
- Rust: use a commercial rust remover or lemon juice and salt.
- Makeup: blot, then use mild detergent.
- Ink: dab with isopropyl alcohol.
- Dye: try oxygen bleach soak.
Tackling discoloration and efflorescence on natural stone
Natural stone can show uneven color or a white, powdery crust called efflorescence after moisture brings salts to the surface.
You’ll want to address both with care to avoid etching or sealing problems. Test cleaners on a hidden spot.
Use pH-neutral stone cleaner for discoloration; poultices (baking soda or talc) pull deep salts.
Dry thoroughly and repair leaks before resealing.
Comparison DIY Cleaners vs. Commercial Cleaners
You’ll get a quick pros-and-cons table comparing common DIY cleaners (vinegar, baking soda, hydrogen peroxide) with popular store-bought products so you can weigh cost, effectiveness, and safety.
I’ll also note when a stubborn stain or extensive grout damage means you should call a professional cleaner.
Use the table to decide if a DIY fix is enough or if hiring pros will save time and prevent harm.
Pros and cons table for common DIY cleaners and store-bought products
When deciding between DIY cleaners and commercial products, weigh benefits like cost, ingredient control, and accessibility against downsides such as effectiveness on tough grime, potential surface damage, and time required; the table below summarizes typical pros and cons so you can pick what’s safest and most effective for your tile type and soil level.
| Cleaner type | Pros | Cons |
|---|---|---|
| Vinegar/baking soda | Cheap, non-toxic | Weak on soap scum |
| Bleach-based | Fast, disinfects | Can discolor grout |
| Commercial tile cleaner | Formulated, convenient | Costly, harsh chemicals |
When to choose a professional cleaning service
Although DIY methods can handle routine dirt and minor stains, call a professional if your tiles have deep-set grime, persistent mold, extensive grout discoloration, or delicate/antique surfaces that could be damaged by scrubbing or strong chemicals.
A pro will assess materials, use industrial-grade cleaners or steam, restore grout, and prevent damage.
Choose professionals for safety, efficiency, and lasting results when problems exceed your tools.
Common Mistakes and How to Avoid Them
Watch out for common mistakes that can harm your tiles or grout, like using overly harsh cleaners.
Don’t soak the floor or skip rinsing, because excess water and residue can cause stains or slipperiness.
Use the right tools and gentle techniques to avoid scratches or dulling finishes.
Harsh cleaners that damage tile or grout
If you grab a heavy-duty cleaner thinking it’ll blast away grime, you could be stripping sealants, etching tile surfaces, or discoloring grout instead.
Use gentler, tile-safe options and test first. Avoid abrasive powders and straight bleach on colored grout.
- Don’t use acid cleaners on natural stone
- Skip scouring pads on glazed tiles
- Avoid ammonia with colored grout
- Don’t mix chemicals
Over-wetting, inadequate rinsing, and residue issues
When you douse tiles or skip a thorough rinse, soapy film and mineral deposits can build up, leaving surfaces dull and grout attracting dirt faster.
You should use minimal water, work in sections, and rinse with clean water immediately.
Wring mop heads often and dry grout lines with a microfiber cloth to prevent residue, streaks, and long-term discoloration.
Wrong tools or techniques that cause scratches or dulling
One common mistake is reaching for abrasive pads, stiff-bristled brushes, or acidic cleaners that can scratch, etch, or dull tile and grout over time.
You should use soft microfiber mops, nonabrasive sponges, and pH-neutral cleaners.
Test products on a small area, apply gentle pressure, and avoid metal tools.
That preserves shine, prevents permanent damage, and keeps grout intact.
Prevention and Best Practices for Long-Term Sparkle
To keep your bathroom tiles sparkling, stick to simple daily and weekly routines and schedule monthly or seasonal deep cleans.
Use sealants, bath mats, and proper ventilation to protect grout and prevent buildup.
With a few consistent habits you’ll spend less time scrubbing and more time enjoying a fresh floor.
Daily and weekly maintenance routines
A simple daily wipe and a short weekly scrub keep your bathroom tiles looking fresh and prevent grime buildup.
You’ll stay ahead of soap scum, water spots, and mildew by following small, consistent steps that save time later.
- Wipe splashes and puddles daily with a microfiber cloth.
- Sweep or vacuum high-traffic areas.
- Mop weekly with a mild cleaner.
- Dry grout lines after cleaning.
Monthly and seasonal deep-cleaning checklist
Monthly and seasonal deep-cleaning keeps small issues from turning into costly repairs, and you’ll get better results if you follow a clear checklist.
Once a month scrub grout with a brush and cleaner, deep-clean tile with a pH-neutral solution, rinse thoroughly, and dry.
Each season inspect for cracks, replace damaged grout, clear drains, clean vents, and retouch caulk where needed.
Protecting grout and tile: sealants, mats, and ventilation
When you protect grout and tile with the right sealants, mats, and ventilation, you’ll cut down on stains, moisture damage, and the need for frequent deep cleans.
Seal grout annually with a penetrating sealer, use absorbent bath mats and non-slip rug pads, and run an exhaust fan or open windows after showers.
Promptly dry spills and reapply sealant where wear appears.
Cost, Time, and Frequency Guidelines
You’ll want to know how much time and money to budget for routine cleaning versus an occasional deep clean.
Routine wipe-and-mop sessions usually take 10–30 minutes and cost little beyond cleaning solution, while deep cleans can take an hour or more and may require specialized cleaners or tools.
Clean frequency depends on household traffic and tile type—high-traffic or porous tiles need more frequent attention than low-traffic, nonporous surfaces.
Estimated time and cost for routine vs. deep cleaning
Because routine and deep cleans use different steps and tools, they take different amounts of time and cost different amounts to do right. You’ll spend 15–30 minutes weekly for routine cleaning (low cost). Deep cleans take 1–2 hours and may need stronger cleaners or grout tools (higher cost). Compare options below:
| Task | Time | Typical Cost |
|---|---|---|
| Routine | 15–30 min | $0–$10 |
| Deep | 1–2 hr | $10–$40 |
How often to clean based on household use and tile type
Now that you know the time and cost differences between routine and deep cleans, adjust how often you clean based on how the bathroom is used and what kind of tile you have.
High-traffic bathrooms need weekly routines and quarterly deep cleans.
Low-use or guest baths can go biweekly with semiannual deep cleaning.
Porous stone demands gentler, more frequent attention; glazed ceramic tolerates stronger cleaners less often.
Quick Tips and Hacks for Faster Results
You’ll learn simple natural hacks—like baking soda for grout and vinegar for soap scum—and when they’re most effective.
Use time-saving tools such as a scrub brush with a long handle, a microfiber mop, or a steam cleaner to cut effort and lift dirt better.
Combine the right hack with the right tool to get faster, longer-lasting results.
Natural hacks that work and when to use them
When time’s tight and chemical cleaners feel overkill, simple natural hacks can speed up scrubbing and cut grime without harsh fumes.
You can target stains, deodorize, and lift soap scum with items you already have. Use each hack where it fits—spot stains, grout refresh, routine maintenance, or deep clean.
- Baking soda paste for grout spots
- Vinegar spray for soap scum
- Lemon juice on stains
- Hydrogen peroxide for mold
Tools that save time and improve results
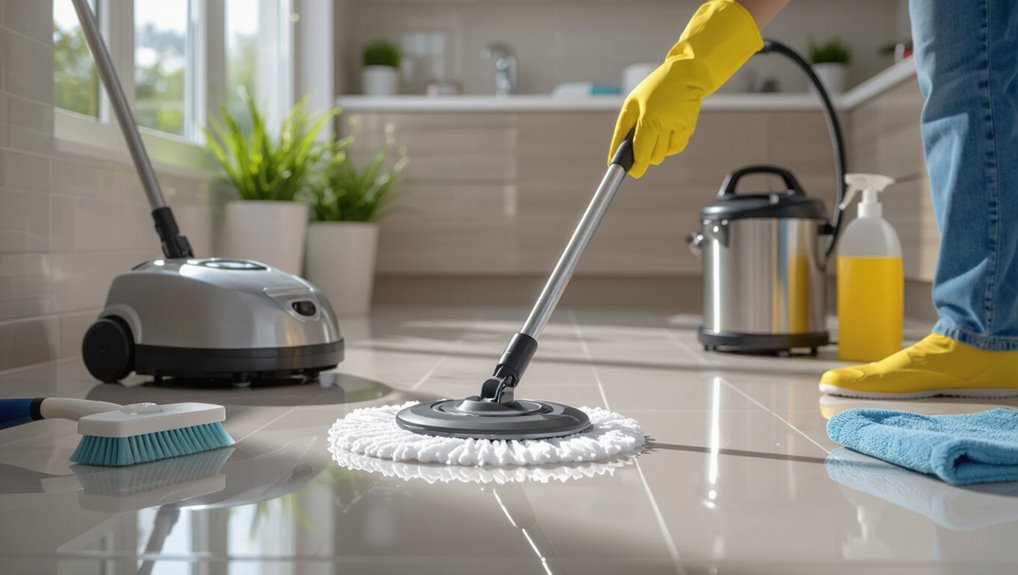
Those natural tricks are great for spot fixes, but the right tools will make the whole job faster and give cleaner, more consistent results.
Use a microfiber mop for streak-free drying, a grout brush for targeted scrubbing, and a steam cleaner to sanitize without chemicals.
A squeegee removes excess water, and a bucket with a wringer speeds rinsing.
Choose quality for durability.
FAQs Common Questions About Cleaning Bathroom Floor Tiles
You probably have a few specific questions about tile care, like whether you can use bleach on tiles and grout or how to restore shine to dull surfaces.
You’ll want clear guidance on steam cleaning suitability, how long to wait before resealing grout, and the best ways to prevent mold in grout.
Below are concise answers to those common concerns.
Can I use bleach on bathroom floor tiles and grout?
Can bleach make your bathroom sparkle—or damage it? You can use diluted bleach on white, nonporous tiles and grout to disinfect and lighten stubborn stains, but don’t mix it with ammonia or acids.
Test a small area first, ventilate well, wear gloves, and avoid prolonged use on colored grout, natural stone, or sealer-treated surfaces to prevent fading and damage.
How do I restore shine to dull tiles?
Wondering how to bring back that showroom shine? Start by deep-cleaning with a pH-neutral tile cleaner to remove grime and soap scum.
Rinse thoroughly and let dry. Buff with a soft microfiber cloth or a low-speed floor polisher.
For ceramic or porcelain, apply a thin coat of tile-specific polish or sealer per label instructions to restore luster and protect the surface.
Is steam cleaning safe for all tile types?
After restoring shine, you might consider steam cleaning for a deeper sanitize—but it’s not appropriate for every tile.
You can safely steam glazed ceramic and porcelain; high heat and moisture won’t harm the glaze.
Avoid steam on unglazed, natural stone (marble, travertine, slate) and damaged grout — heat and pressure can etch, loosen, or darken them.
Always test a small area first.
How long should I wait before resealing grout after cleaning?
Grout needs to be fully dry before you reseal it, so wait at least 48 to 72 hours after cleaning for typical water-based cleaners, and up to a week if you used a heavy-duty cleaner, acid wash, or had deep scrubbing.
Press a paper towel into grout lines—if it stays damp, give it more time.
Then apply sealer per manufacturer directions for best adhesion.
What’s the best way to prevent mold in bathroom floor grout?
Once your grout’s fully dry and sealed, you’ll cut off the main breeding ground for mold—but ongoing prevention matters.
Keep the room ventilated with an exhaust fan or open window after showers, wipe puddles promptly, and use a squeegee on floors.
Clean weekly with a mild detergent or diluted vinegar, inspect grout lines, and reseal every 1–2 years to maintain resistance.
