How to Clean Car Floor Mats: Remove Dirt, Stains, and Odors Fast
You can quickly freshen your car mats by removing them, shaking out debris, and vacuuming seams. For rubber mats, scrub with mild soap and a stiff brush, then rinse and air-dry. For carpet mats, blot spills, pre-treat stains, shampoo or use an enzyme cleaner, rinse lightly, and dry completely. Sprinkle baking soda for odors and vacuum after hours. Follow regular quick maintenance to prevent buildup, and keep going to learn step‑by‑step deep-clean tips and routines.
Clean Car Floor Mats Fast
Want the quickest effective clean? Use a stiff brush, mild soap, and a hose for rubber mats.
For carpets, vacuum, shampoo, and quick air-dry — you’ll see results in one thorough pass.
Expect about 10–30 minutes total depending on mat type; keep a bucket, brush, soap, vacuum, and drying space handy.
One-sentence summary of the fastest effective method
If you’re short on time, pull the mats out, shake and beat them to remove loose dirt, spray with a concentrated cleaner, scrub quickly with a stiff brush, then rinse and hang to dry for the fastest effective clean.
For a one-sentence summary, learn how to clean car floor mats efficiently: remove debris, apply cleaner, agitate, rinse, and air-dry to restore appearance and cut odors.
Time required and materials at a glance
Plan on 15–30 minutes total for a quick, effective clean: 5–10 minutes to remove and shake out debris, 5–10 minutes to spray and scrub, and 5–10 minutes to rinse and hang dry (drying time is longer but hands-on time ends once they’re hung). Gather essentials and work efficiently:
- Stiff brush, mild detergent, water
- Hose or bucket, microfiber towels
- Optional odor eliminator, gloves
Why Cleaning Car Floor Mats Matters
Keeping your car mats clean protects your health and safety by removing allergens, bacteria, and debris that can affect air quality and footing.
Regular quick cleaning prevents odor and surface wear, while periodic deep-cleaning stops long-term damage and mold buildup.
You’ll want to quick-clean after messy trips and deep-clean when stains, persistent smells, or trapped moisture appear.
Health, safety, and hygiene benefits
Because dirt, crumbs, and moisture trap bacteria and allergens, cleaning your car floor mats regularly protects your health and keeps the air inside your vehicle fresher.
You’ll reduce allergy triggers, mold growth, and unpleasant odors.
Clean mats also improve traction underfoot, lowering slip risk, and remove grime that can transfer to shoes and upholstery, keeping the cabin more sanitary and safe.
Preventing long-term damage and odor buildup
Along with protecting your health, regular mat maintenance stops gradual wear and lingering smells before they become permanent problems.
You’ll prevent material breakdown by removing grit that abrades fibers and rubber. Routine cleaning keeps moisture, spills, and organic residues from fostering mold and odors.
When to deep-clean vs quick-clean
If your mats mostly see light use—occasional dirt, crumbs, or a small spill—a quick-clean will usually do the job and keep odors and wear at bay;
but when you notice embedded grime, persistent stains, mildew smell, or visible material breakdown, it’s time for a thorough deep-clean to restore appearance and prevent long-term damage.
Quick-cleans are weekly; deep-cleans quarterly or after heavy soiling.
Types of Car Floor Mats and How They Differ
You’ll find rubber or all‑weather mats are durable and easy to rinse but can trap sand and may warp if left in hot sun.
Carpet or fabric mats look good and absorb spills but hold stains and odors unless shampooed, while hybrid and custom mats blend features and may need specialized care.
Check the underside and tags to identify material and follow the manufacturer’s cleaning instructions.
Rubber/All-weather mats characteristics and common issues
Rubber and all‑weather mats are built for durability and easy cleanup, so they’re thicker, heavier, and have raised edges or deep channels to trap water, mud, and debris. You’ll appreciate easy rinsing and stain resistance, but expect odor retention, cracking in cold, and trapped grime requiring scrubbing.
| Feature | Issue |
|---|---|
| Raised edges | Debris buildup |
| Deep channels | Difficult to dry |
| Thick rubber | Cracks in cold |
| Easy rinse | Odor retention |
| Non-slip backing | Edge curling |
Carpet/fabric mats characteristics and common issues
Carpeted or fabric mats offer a softer, more finished look and better sound insulation than rubber options, but they need more careful care to stay fresh. You’ll vacuum, treat stains quickly, and air them to prevent odors. Fibers trap soil and moisture, so regular cleaning matters.
| Feature | Issue |
|---|---|
| Soft finish | Stains easily |
| Noise reduction | Holds moisture |
| Varied fibers | Traps dirt |
Hybrid and custom mats special considerations
Although they blend features from different mat types, hybrid and custom mats demand specific care so they keep performing and looking their best.
You should vacuum regularly, spot-treat stains promptly with mild cleaners, and avoid harsh chemicals that can delaminate seams or damage coatings.
For molded hybrids, rinse with low-pressure water; for custom fabric sections, air-dry completely to prevent odors and mold.
How to identify mat material and manufacturer care labels
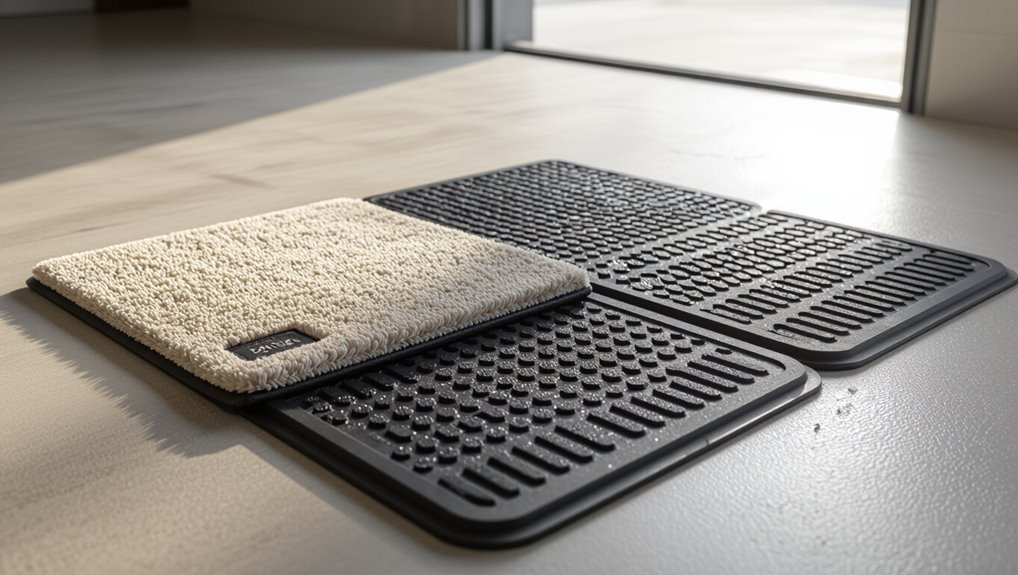
Now that you know how to care for hybrids and custom mats, you’ll want to confirm what your mats are made from and follow the maker’s instructions to avoid damage.
Check labels under or on the backing for materials like rubber, carpet, vinyl, or thermoplastic.
If no tag, feel texture, smell for rubbery odor, or consult your owner’s manual or the mat manufacturer online for cleaning recommendations.
Tools and Supplies You Need
Before you start, gather a few essential tools—a stiff brush, vacuum, bucket, hose, and microfiber towels—that work for rubber, carpet, and all-weather mats.
Pick cleaning solutions suited to the material: mild dish soap or baking soda for DIY options and dedicated carpet or rubber cleaners for tougher stains.
Don’t forget safety gear like gloves and eye protection, plus protectants or fabric guards to finish and preserve the mats.
Essential tools for every mat type
A few basic tools will make cleaning any type of car mat faster and more effective: a stiff brush for scrubbing, a vacuum with attachments for loosening dirt, a hose or spray bottle for rinsing, microfiber towels for drying, and a mild detergent suitable for rubber or fabric.
Use these essentials:
- Brush, vacuum, hose
- Microfiber towels
- Protective gloves and bucket
Recommended cleaning solutions (DIY and commercial)
If you want mats that look and smell fresh without damaging materials, choose cleaning solutions that match the mat type and soil level.
Use gentle DIY mixes for light dirt and targeted commercial cleaners for heavy stains. Test first on a hidden spot.
- Mild soap + water for rubber/vinyl
- Vinegar + baking soda spot treatment
- Enzyme odor eliminator for fabric mats
Safety gear and protective products
One essential step is equipping yourself with the right safety gear and protective products so you can clean mats effectively without risking injury or damage.
Wear nitrile gloves, safety goggles, and a mask when using strong cleaners. Use knee pads for comfort, rubber boots for wet work, and a ventilated workspace or fan.
Keep a microfiber towel and a soft brush nearby.
Step-by-Step Deep Clean Process
Start by taking the mats out of your car and giving them a good shake to knock loose debris.
Vacuum edges and grooves, then pre-treat any stains with the appropriate cleaner before washing.
Use soap and a pressure rinse for rubber mats, and shampoo plus agitation and rinsing for carpeted mats, then let them dry completely.
Step 1 Remove mats safely and shake off debris
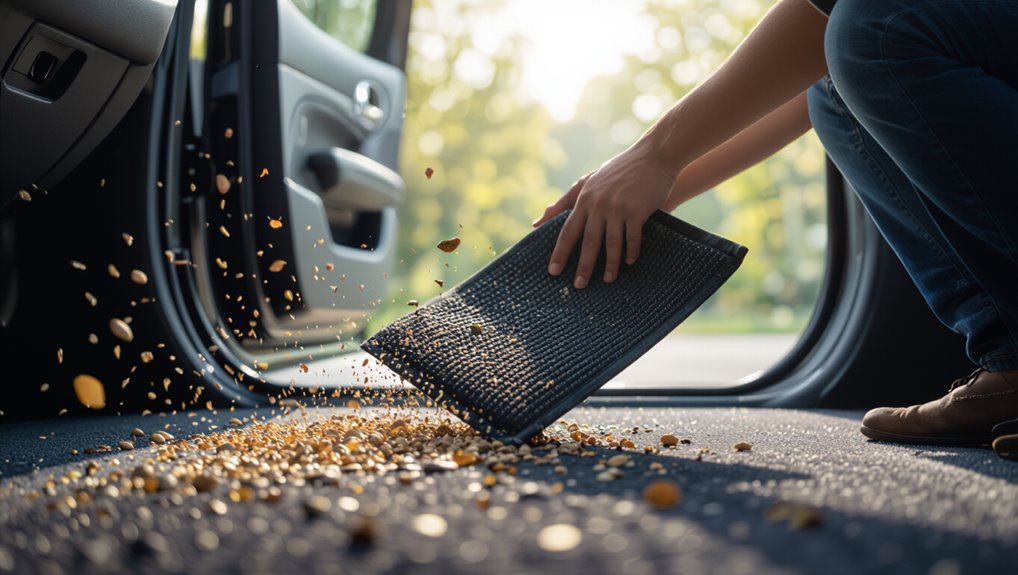
Lift each mat straight up and out to avoid catching edges on seat rails or pedals.
Carry mats to an open area and shake firmly to dislodge loose dirt. Check for trapped objects in grooves before moving on.
- Turn mat over and tap edges.
- Fold rubber mats inward and snap.
- For carpet mats, beat gently to release debris.
Step 2 Vacuum thoroughly (technique for edges and grooves)
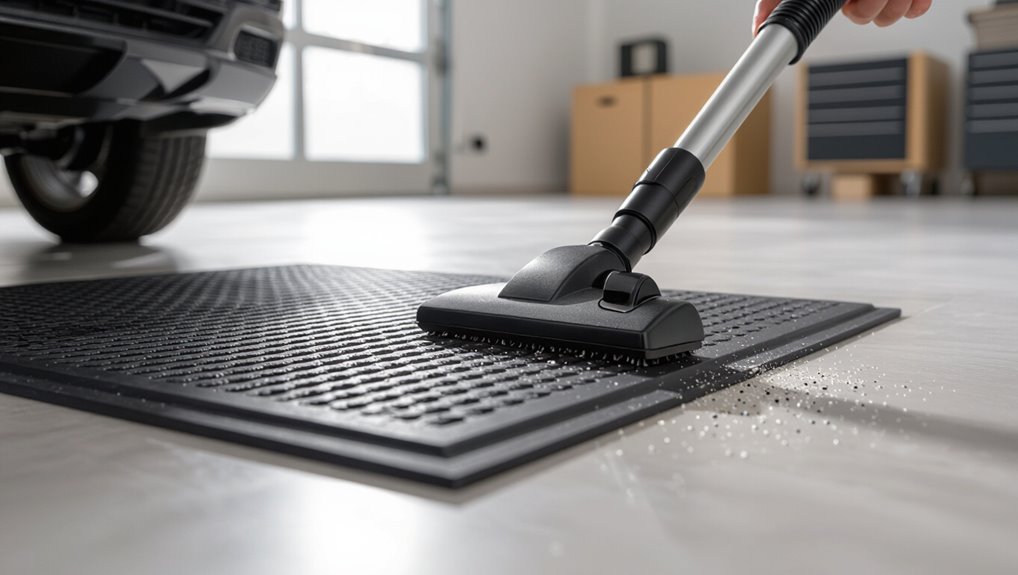
After shaking off loose debris, give each mat a thorough vacuum to pull dirt from edges and grooves where shaking can’t reach.
Use a crevice tool along seams and under heel pads, then switch to a brush attachment for fibers.
Work in overlapping passes, flipping rubber mats to reach undersides.
Check for stubborn grit and repeat until surfaces feel uniformly clean.
Step 3 Pre-treat stains and spots (stain-specific treatments)
3 simple steps can make stain treatment far more effective: identify the stain type, choose the right cleaner, and test it in an inconspicuous spot.
You’ll pretreat:
- Blot fresh spills, don’t rub.
- Use enzyme cleaner for organic stains; degreaser for oil.
- Apply, wait per instructions, then blot and reassess before full cleaning.
Step 4 Wash rubber/all-weather mats (soap, pressure rinse, dry)
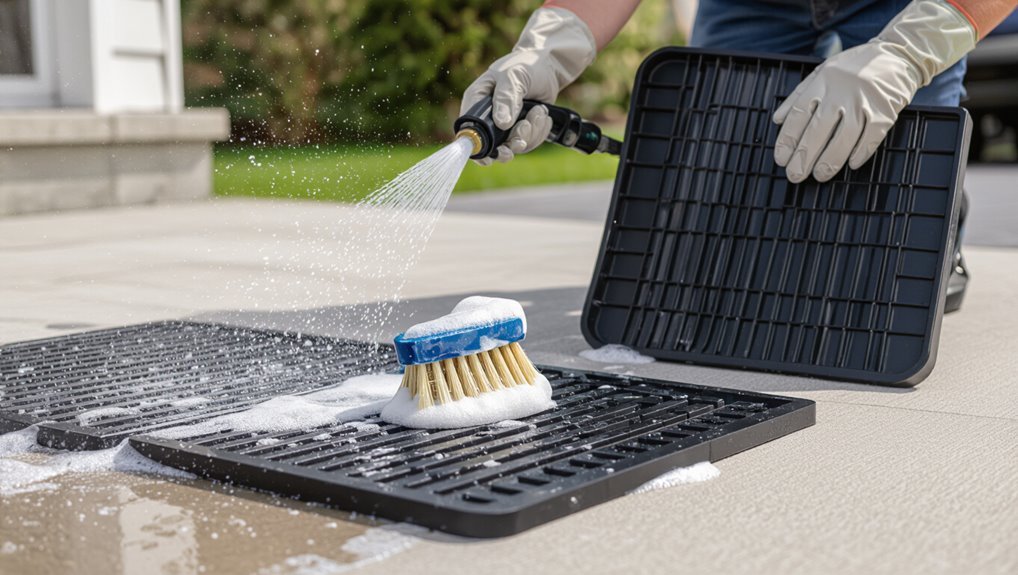
Start by shaking out loose debris and giving the mats a quick rinse to loosen surface dirt.
Apply a mild detergent or specialized rubber mat cleaner, scrub with a soft brush into grooves, then pressure-rinse thoroughly to remove soap and grime.
Inspect for trapped debris, repeat if needed, and air-dry mats completely—preferably hang them or lay flat in sun—before reinstalling.
Step 5 Wash carpet/fabric mats (shampoo, agitation, rinse)
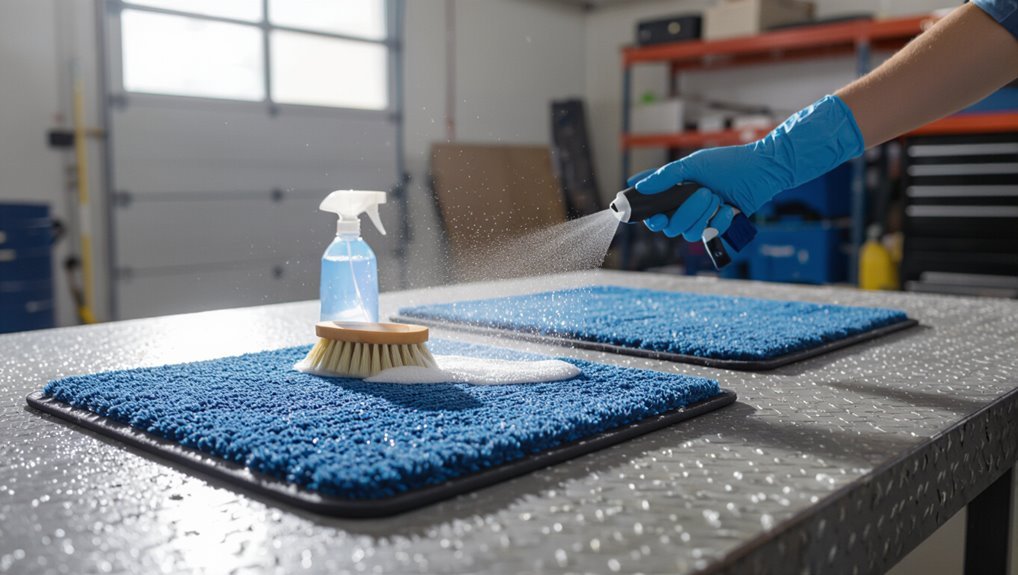
Move the mats to a well-ventilated area and loosen embedded dirt by vacuuming both sides.
Then apply a carpet shampoo or upholstery cleaner following the product’s dilution instructions.
Agitate fibers with a soft brush or machine, working in sections.
Rinse thoroughly with a hose or extractor until suds stop.
Press out excess water with a towel, then air-dry flat away from direct heat or sunlight.
Step 6 Deep odor removal (enzymatic cleaners, baking soda, steam)
Once the mats are clean and mostly dry, tackle lingering smells with targeted odor removers that break down the sources rather than just masking them.
- Spray an enzyme cleaner, let sit per instructions, then blot.
- Sprinkle baking soda, wait several hours, then vacuum thoroughly.
- Use a handheld steam cleaner briefly to neutralize odors and lift residues; ventilate while working.
Step 7 Drying and reshaping mats (air-dry vs heat, avoid mildew)
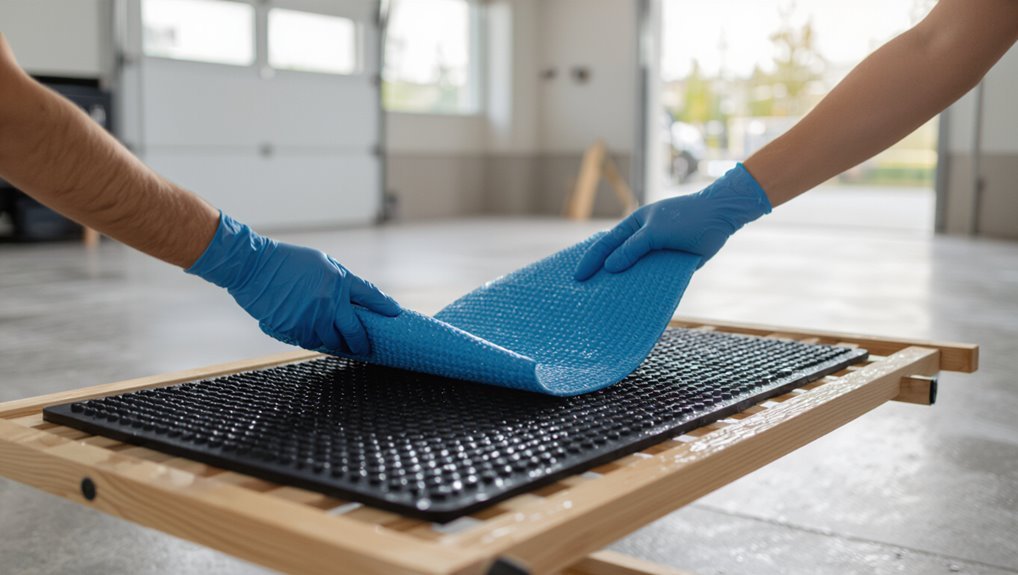
After cleaning, let the mats dry completely and regain their shape to prevent mildew and warping; you’ll want to choose the best drying method based on material.
Lay rubber mats flat or hang them in shade; towel off excess water first.
For carpeted or foam mats, air-dry indoors with airflow.
Avoid high heat that can melt, warp, or shrink materials and trap moisture.
Step 8 Reinstalling mats and final inspection
8. Place each mat back in its original position, aligning hooks, clips, or grooves so they sit flat and won’t shift while driving.
Check pedal clearance and seating areas for proper fit.
Give mats a final sniff and visual scan for missed spots or lingering moisture.
If anything’s off, remove, treat, and fully dry before reinstalling to prevent odors or mildew.
Quick-Clean Methods for Busy Owners
When you’re short on time, a 10-minute refresh—shake out mats, hit spots with a brush, and wipe with a microfiber—is all you need to keep them presentable.
Keep a small car vacuum, disinfecting wipes, and a compact deodorizer on hand for quick on-the-go touch-ups.
In winter, focus on removing salt and slush immediately and dry mats briefly to prevent stains and odors.
10-minute refresh routine (daily/weekly)
If you only have ten minutes, you can still keep your mats looking sharp with a focused daily or weekly routine that tackles dirt before it settles in.
Start by shaking or tapping mats outside, then briskly brush fibers to lift debris.
Spot-treat fresh stains with a damp cloth and mild soap, air-dry mats briefly, and return them to the car to prevent odors.
On-the-go hacks (car vacuum, wipes, deodorizer)
Although you’re short on time, a few compact tools can keep mats presentable between deep cleans: keep a small handheld vacuum for crumbs, microfiber wipes for quick surface soil, and a travel-size fabric deodorizer or baking soda sachet for odors.
Spot-spray stubborn marks, blot immediately, and store wipes and vacuum in the trunk so you can freshen mats anytime, anywhere.
Winter-specific quick-clean tips
Since winter brings salt, slush, and extra mess, keep a small kit in your car—microfiber towels, a compact scraper, a handheld vacuum, and disposable gloves—so you can quickly remove grit, blot wet spots, and scrape frozen debris before it sets.
Shake or knock mats outside, rinse or brush off salt promptly, dry thoroughly, and spray a quick fabric protector to repel future moisture and stains.
Stain and Odor Troubleshooting Guide
When stains or smells show up, you’ll want targeted fixes for coffee, soda, grease, pet hair and urine, plus steps to spot and treat mold or mildew.
Start with simple DIY cleaners and odor neutralizers, then move to stronger commercial products if needed, and call a pro for persistent issues.
Follow the right method for each problem to protect your mats and keep the interior fresh.
Food and beverage stains (coffee, soda, grease) targeted treatments
If you’ve spilled coffee, soda, or grease on your car mats, acting quickly and using the right targeted treatment will make the difference between a simple cleanup and a stubborn stain or lingering odor.
Treat like this:
- Blot liquids, sprinkle baking soda for odors, let sit 15–30 minutes, then vacuum.
- Use dish soap + warm water for grease; scrub gently.
- Rinse, blot dry, air dry fully.
Pet hair and urine removal and neutralization steps
1 simple routine will save you time and frustration: remove loose pet hair first, then tackle urine spots and odors with targeted products so stains don’t set or smells linger.
Use these steps:
- Vacuum thoroughly, then use a rubber brush to lift embedded hair.
- Blot urine with paper towels; don’t rub.
- Apply enzyme cleaner, let sit, then air dry.
Mold and mildew identification and remediation steps
Because mold and mildew thrive in damp, neglected mats, you’ll want to spot their telltale signs quickly and act before they spread:
look for fuzzy or slimy patches that range from white to black, musty odors that persist after drying, and dark discoloration along seams or backing.
Remove mats, brush loose growth outdoors, wash with diluted vinegar or detergent, rinse thoroughly, sun-dry completely, repeat if needed.
Persistent odors escalation: DIY → commercial → professional
When odors persist despite basic cleaning, follow a stepped approach: try targeted DIY methods first, move to commercial products for tougher cases, and call a professional when smells resist all else.
Start with baking soda, vinegar sprays, enzymatic cleaners and thorough drying.
If odors linger, use odor-specific commercial cleaners or ozone treatments.
Hire pros for deep extraction, persistent biological smells, or mold-related odors.
Mistakes to Avoid When Cleaning Floor Mats
Don’t scrub too hard or use harsh chemicals that can strip fibers or warp rubber — you’ll want to know which cleaners are safe for carpet, rubber, and all-weather mats.
Avoid bleach, petroleum-based solvents, and dish soap on materials they’re not made for, since those products can cause discoloration or breakdown.
And don’t stuff damp mats into a trunk or garage; improper drying and storage invites mildew and lingering odors.
Common cleaning errors that damage mats
If you want your mats to last, steer clear of a few common mistakes that do more harm than good.
Don’t scrub too hard or use abrasive brushes that shred fibers.
Avoid soaking rubber mats in hot water that warps them.
Don’t leave mats to dry in direct sun.
Rinse thoroughly—residual detergent attracts dirt and causes discoloration.
Wrong products to avoid for each mat type
You’ve seen how rough handling and improper drying can ruin mats, and the cleaning products you pick can be just as damaging.
Don’t use harsh or wrong cleaners—match product to material:
- Rubber: avoid petroleum-based solvents that degrade and swell rubber.
- Carpet/fabric: skip bleach and strong alkalis that strip color and fibers.
- Vinyl/leather: never use abrasive scrubs or household degreasers that crack surfaces.
Drying and storage mistakes that cause mildew
Because mats often stay damp in corners or trunks, leaving them to air-dry in poorly ventilated spaces invites mildew to take hold.
Don’t stack damp mats, seal them in plastic, or store them where humidity builds.
Hang or lay mats flat in direct airflow, use a fan or sunlight when safe, and guarantee they’re completely dry before returning them to the car.
Preventive Care and Best Practices
Set a simple routine—wipe daily, shake out weekly, and deep-clean monthly—to keep mats performing and avoid buildup.
Use protective gear like liners, sprays, and anchors to block wear and movement, and follow a seasonal checklist for winter salt and summer sand.
Small habits like removing grit, drying mats completely, and rotating or replacing worn pieces will extend their lifespan.
Routine maintenance schedule (daily, weekly, monthly)
While a full deep-clean can wait, keeping a simple daily, weekly, and monthly routine will prevent grime from building and extend your mats’ life.
Daily: shake out debris and spot-wipe spills.
Weekly: vacuum thoroughly and brush fibers.
Monthly: remove mats, wash with appropriate cleaner, rinse, air-dry, and inspect for wear.
Address stains immediately to avoid permanent damage.
Protective products (liners, sprays, mat anchors)
To keep your mats looking and performing their best, invest in the right protective products: heavy-duty liners for wet and muddy days, fabric or rubber sprays to repel stains and odors, and secure anchors to stop shifting underfoot.
Choose liners sized to your make, apply sprays per instructions to avoid residue, and replace anchors if worn so mats stay put and protection lasts.
Seasonal care checklist (winter salt, summer sand)
Because road grime and seasonal debris change with the months, you should follow a simple checklist to prevent winter salt corrosion and summer sand abrasion:
shake and vacuum mats weekly, rinse salt off immediately, dry thoroughly to stop rust, brush out sand after trips, inspect backing for wear, rotate mats front-to-back, and store unused liners clean and dry to avoid trapped grit and moisture.
Tips for extending mat lifespan
If you want your mats to last, adopt a few simple habits: vacuum weekly, shake out debris, and wipe spills immediately.
Use rubber or all-weather liners in harsh seasons and rotate fabric mats to distribute wear.
Avoid harsh chemicals and hot water that can degrade backing.
Store spare mats flat, dry, and out of sunlight to prevent warping and fading.
Comparison: DIY vs Professional Mat Cleaning
You can save money and time doing mat care yourself, but pro services often beat DIY on deep stains and thorough drying.
Choose a professional when mats are heavily soiled, soaked, or need restoration, and expect charges, turnaround time, and a list of services like shampooing, steam cleaning, and odor treatment.
Ask for before-and-after photos, a clear price breakdown, and any guarantees before they start.
Cost, time, and effectiveness comparison
Comparing DIY and professional mat cleaning comes down to three practical factors: cost, time, and how clean the mats actually get. You’ll save money DIYing, but professionals finish faster and often remove tougher stains and odors. Weigh price versus results and convenience.
| Factor | DIY | Professional |
|---|---|---|
| Cost | Low | Higher |
| Time | Longer | Shorter |
| Effectiveness | Moderate | High |
When to choose professional services
When stains are deep, odors linger despite cleaning, or you need the job done quickly, hire a pro—they’ve got the tools and solvents to restore mats that DIY methods often can’t.
Choose professional service if mats are soaked, moldy, or contain stubborn grease, if you lack time or safe equipment, or if the mats are high-end and you want to avoid accidental damage.
What to expect from a professional cleaning service
Although DIY cleaning can handle light dirt and spills, hiring a professional changes the outcome: they’ll assess material type, use industrial-grade vacuums and cleaners, apply appropriate stain removers or steam, and often finish with deodorizing and protective treatments.
FAQ Quick Answers to Common Questions
You’ll find quick answers here to common concerns like how often to clean mats, whether rubber mats can go in the washing machine, and if carpet cleaner will damage them.
We’ll also cover removing pet urine odors permanently and whether steam cleaners are safe for different mat types.
Use these concise tips to decide what cleaning method suits your mats and schedule.
How often should I clean my car floor mats?
How often should you clean your car floor mats? Aim for a quick vacuum and shake-out weekly if you drive daily. Deep clean fabric mats monthly or after spills, and rinse rubber or all-weather mats every few weeks. Increase frequency during wet seasons, after road trips, or when pets or kids ride. Regular care prevents odors and wear.
Can I put rubber mats in the washing machine?
Can you put rubber car mats in the washing machine? You usually shouldn’t.
Most machines and detergents can damage rubber, warp backing, or leave residue. Instead, rinse mats with a hose, scrub with a soft brush and mild soap, then rinse thoroughly.
Air-dry flat out of direct sun. If a machine label explicitly permits it, follow manufacturer instructions and use a gentle, cold cycle.
Will carpet cleaner ruin my mats?
Wondering if carpet cleaner will ruin your car mats? It depends on material and product. Test a hidden spot first.
Use cleaners labeled safe for automotive or synthetic fibers; avoid bleach, harsh solvents, or oversaturating rubber-backed mats.
Blot rather than scrub aggressively to prevent color loss or backing damage.
Rinse residue thoroughly and air-dry completely to prevent odors or mildew.
How do I remove pet urine smell permanently?
Want to get rid of pet urine smell for good? Act fast: blot excess moisture, rinse with cold water, then apply an enzymatic cleaner to break down urine proteins—follow product instructions and let it air dry.
For persistent odor, repeat treatment or use baking soda after drying. Vacuum thoroughly.
Prevent re-soiling with waterproof liners and prompt cleanup.
Are steam cleaners safe for all mat types?
How safe are steam cleaners for your car mats?
Steam works well on rubber and vinyl—it’s fast and sanitizes—but avoid high heat on delicate fabrics, leather, or glued layers that can warp, shrink, or delaminate.
Test a hidden corner first. Use moderate steam, keep the nozzle moving, and dry thoroughly to prevent mildew.
When in doubt, follow manufacturer care instructions or choose gentler cleaning methods.
Action Plan Recommended Cleaning Routine (Checklist)
Start with a simple weekly checklist for quick maintenance so you can keep mats tidy between deep cleans.
Set a monthly deep-clean routine for vacuuming, shampooing, and drying to prevent buildup.
Keep an emergency stain and odor response checklist handy for spills so you can act fast and avoid permanent damage.
Weekly checklist for quick maintenance
Set aside 10–15 minutes each week to run through a quick mat maintenance checklist that keeps dirt, moisture, and odors from building up.
- Shake and vacuum mats; knock out loose debris outside.
- Spot-clean spills with mild detergent and a microfiber cloth; blot, don’t rub.
- Air-dry mats thoroughly and check for odors; sprinkle baking soda if needed, then vacuum after 15–30 minutes.
Monthly deep-clean checklist
Once a month, you should move beyond the quick weekly checks and give your mats a thorough deep clean to remove embedded dirt, trapped moisture, and lingering smells.
Follow this checklist to restore freshness and protect materials:
- Remove, shake, vacuum, then scrub with appropriate cleaner and brush.
- Rinse thoroughly; hang to air-dry fully.
- Treat odors with baking soda or enzyme spray; let sit, then vacuum.
Emergency stain/odor response checklist
If you spill something or notice a sudden bad smell, act fast to limit staining and odor absorption: remove excess solids or blot liquids immediately, ventilate the car, and follow the checklist steps below so you can neutralize the mess before it sets.
- Blot, scrape, and vacuum debris; avoid rubbing.
- Apply appropriate cleaner or enzyme spray; let sit briefly.
- Rinse, blot dry, air out, and repeat if needed.