How to Install a Toilet in a Concrete Floor: A Step-by-Step Guide
You can install a toilet on a concrete floor yourself in a few hours if you prep the flange, pick the right wax or wax-free seal, and secure the flange with anchors or epoxy. Remove the old toilet, level or repair the flange, set closet bolts, seat the bowl firmly on the seal, and tighten bolts evenly to avoid cracks. Connect the supply, test for leaks, then caulk the base; keep going to learn detailed steps, tools, and troubleshooting.
How to Install a Toilet in a Concrete Floor Quick Answer and Overview
Yes — you can install a toilet on a concrete floor, and a straightforward replacement usually takes 1–3 hours and costs $50–$200 in materials (or $200–$500+ if you hire a plumber).
You’ll want to DIY if you’re comfortable cutting concrete, setting a flange, and handling seals; call a pro for complex drain relocations, major concrete work, or uncertain venting.
Always follow local plumbing codes, use proper safety gear when cutting or coring concrete, and guarantee a watertight seal to avoid leaks and fines.
Direct Answer Can you install a toilet on concrete and basic time/cost estimate
You can install a toilet on a concrete floor, and it’s a common DIY or pro job that usually takes 2–4 hours for an experienced installer.
You’ll follow how to install a toilet in concrete floor steps: cut or prep the flange, set wax/foam ring, bolt the bowl, and connect water.
Expect $50–$300 for parts; labor raises costs if you hire help.
When to DIY vs. call a pro
Having a clear sense of the steps, time, and parts needed helps you decide whether to tackle a concrete-floor toilet installation yourself or call a pro.
DIY if you’re comfortable cutting concrete, setting flange height, and sealing wax or rubber gaskets, and you have basic plumbing tools.
Call a pro if the flange is damaged, drains require regrading, you lack tools, or you want faster, guaranteed results.
Safety and code considerations
Before you start cutting concrete or altering drains, check safety rules and local plumbing codes so you don’t create hazards or costly rework.
You’ll need permits, proper venting, and correct flange height. Follow manufacturer specs and wear PPE.
Confirm sewer line slope and backflow requirements to avoid violations.
- Obtain permits and inspect code requirements
- Use correct flange, seal, and slope
- Wear PPE and ventilate work area
Understanding Toilets, Flanges, and Concrete Plumbing
Before you start cutting concrete, you’ll want to know your toilet’s type and rough-in measurement so the flange lines up correctly.
Pick the right flange for concrete—cast‑iron, PVC, or an offset style—and decide if you need a flange extender.
Finally, choose between a wax ring, wax‑free seal, or a combination with an extender to guarantee a watertight connection.
Types of toilets and rough-in measurements
Whether you’re replacing an old bowl or installing a new one, you’ll need to know the main toilet types—close-coupled, one-piece, wall-hung, and back-to-wall—and how each interacts with the flange and rough-in on concrete floors.
Measure rough-in (typically 10, 12, or 14 inches) from finished wall to flange center.
Match bowl type and waste outlet position to that measurement before cutting or chasing concrete.
Toilet flange types for concrete floors (cast-iron, PVC, offset)
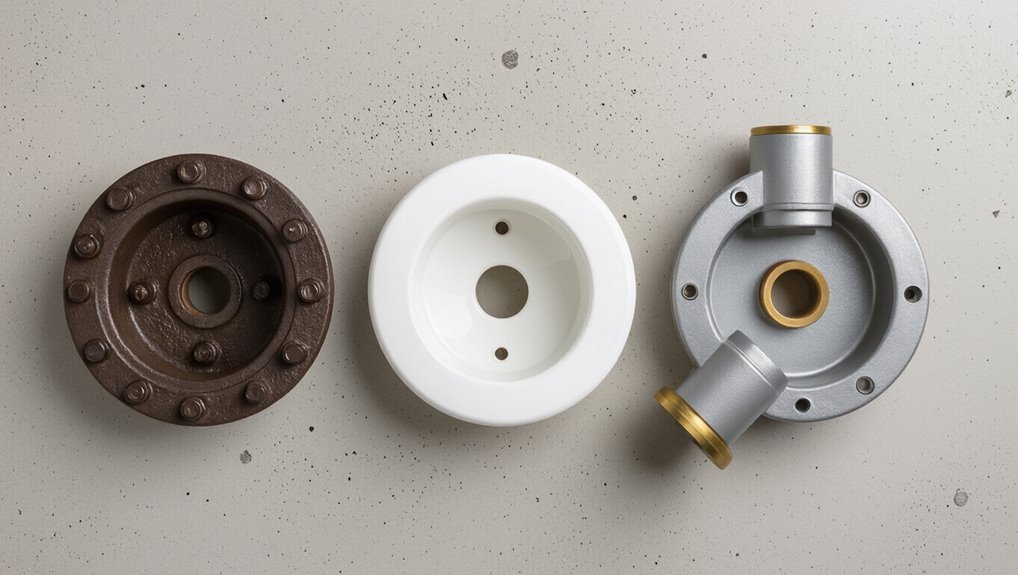
Three common flange types you’ll encounter on concrete floors are cast-iron, PVC, and offset flanges, and each affects how you connect the toilet to the waste line and secure it to the slab.
- Cast-iron: durable, bolts to existing cast piping; you’ll need matching hardware.
- PVC: lightweight, glued or screwed to pipe; easy to cut.
- Offset: shifts toilet position; useful for alignment over concrete drains.
Wax rings, wax-free seals, and flange extenders explained
Seals sit between the toilet and flange to stop sewer gas and leaks, and you’ll choose among traditional wax rings, wax-free seals, or flange extenders depending on flange height and condition.
Use wax rings for flush, level flanges; pick wax-free seals for easier repositioning and cleaner installs or when moisture concerns exist.
Add a flange extender or spacer when the flange sits below finished floor level.
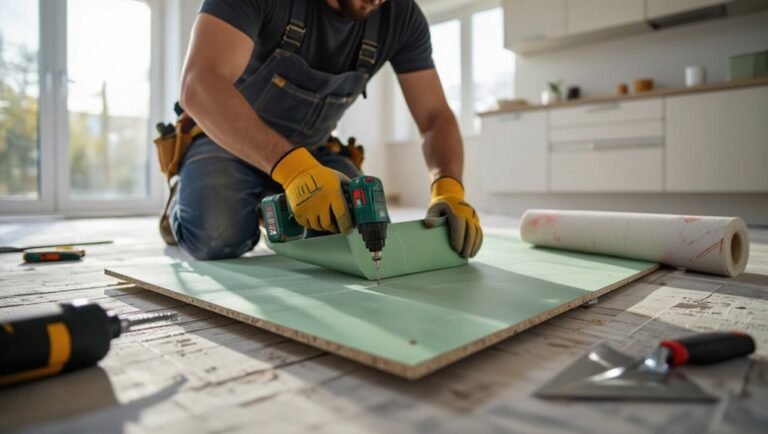
Tools, Materials, and Preparations
Before you start, gather the right tools and safety gear—wrenches, a drill, gasket kit, gloves, and eye protection—so you don’t stop mid-job.
Check a materials checklist for replacement parts like a wax ring or closet flange and confirm you have any concrete anchors or patching compound.
Shut off the water, drain the tank, and remove the old toilet to make the site safe and ready for installation.
Required tools and safety gear
When you tackle a toilet installation in concrete, gather the right tools and safety gear so the job goes smoothly and stays safe.
Wear gloves, safety glasses, a dust mask, and knee pads. Keep a shop vacuum handy for dust.
- Hammer drill with masonry bit
- Adjustable wrench and socket set
- Caulk gun and silicone sealant
Materials and replacement parts checklist
1. Gather materials and replacement parts before you start: quality wax or wax-free ring, closet bolts with caps, and a flange repair kit if the concrete flange is damaged.
You’ll also need new supply-line, shutoff valve (if replacing), silicone caulk, and flange anchors. Check bolt lengths and toilet bolt pattern to verify compatibility.
- Wax or wax-free ring
- Closet bolts & caps
- Flange repair kit
Site preparation: shutting off water, draining tank, removing old toilet
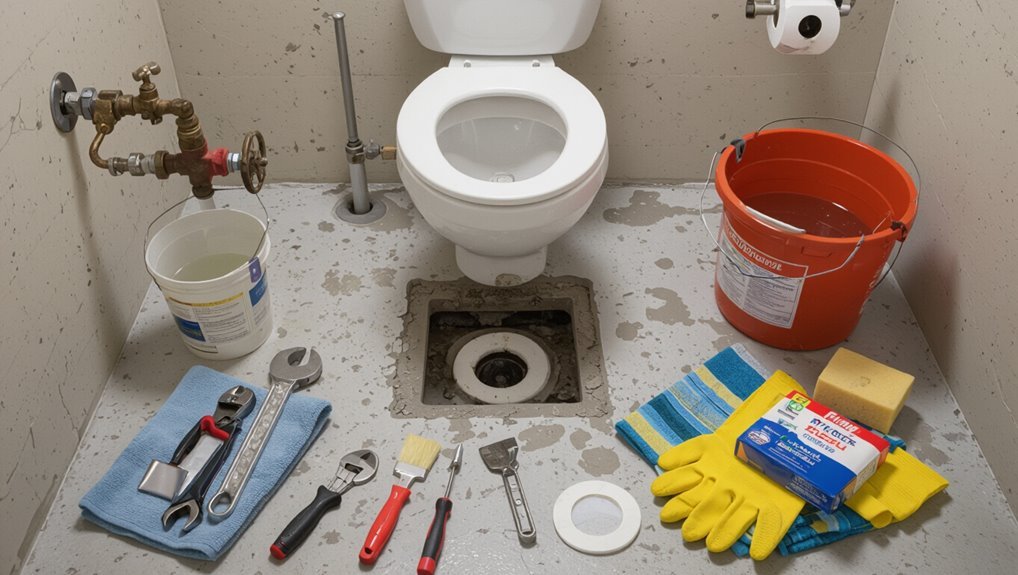
Shut off the water at the shutoff valve, then drain the tank and bowl so you’re working with a dry, safe area before you undo the toilet.
Disconnect supply line, remove tank bolts and lift tank (if separate).
Unscrew base bolts, rock bowl to break seal, lift toilet straight up.
Plug or cap the flange to block sewer gas, clean surrounding concrete and wax residue.
Step-by-Step Installation on Concrete Floor
First, you’ll remove the old toilet and inspect the flange and drainpipe for damage or misalignment.
Next you’ll assess and repair or adapt the flange or pipe—cut, core, or retrofit as needed—and secure a new flange to the concrete using epoxy or bolts.
Finally you’ll level the flange with extenders or shims, position the new toilet, and apply a wax or wax-free seal before tightening the bolts.
Step 1 Remove existing toilet and inspect flange/pipe
Turn off the water supply and drain the tank and bowl, then unbolt and lift the old toilet straight up to avoid cracking the wax seal; set it aside on a drop cloth while you inspect the flange and drain pipe for cracks, corrosion, or misalignment.
- Check flange stability and bolt condition.
- Look for visible pipe damage or gaps.
- Verify flange elevation relative to finished floor.
Step 2 Assess and repair the flange or drainpipe (cutting, coring, or adapting)
Assess the flange and pipe carefully to decide whether you need to cut concrete, core a new opening, or adapt the existing connection.
Check for cracks, corrosion, offset piping, or broken bolts. Measure alignment and depth versus your new flange.
If repairable, clean and patch spalled concrete, replace damaged pipe sections or use a repair coupling.
Mark cut or core lines before proceeding.
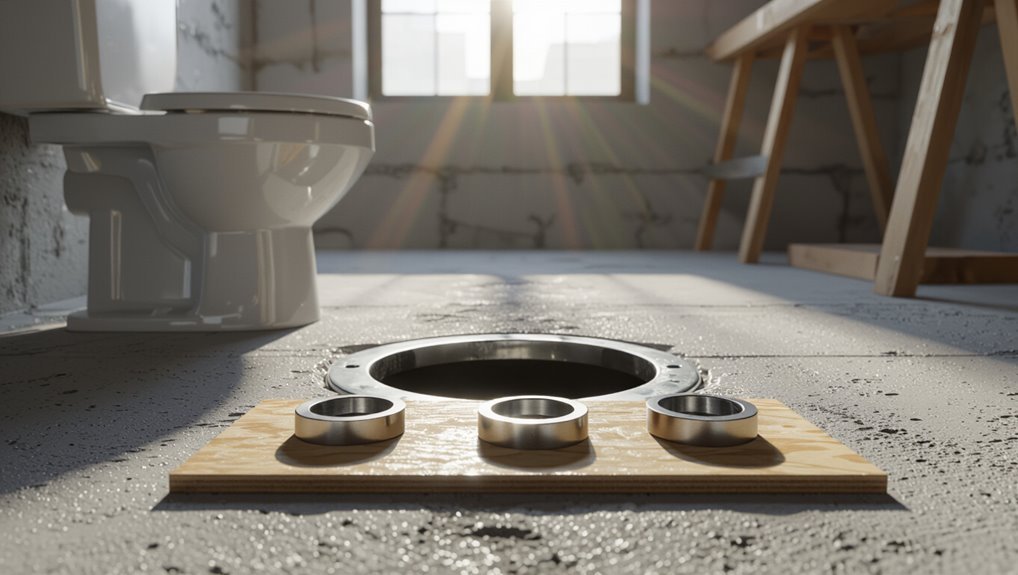
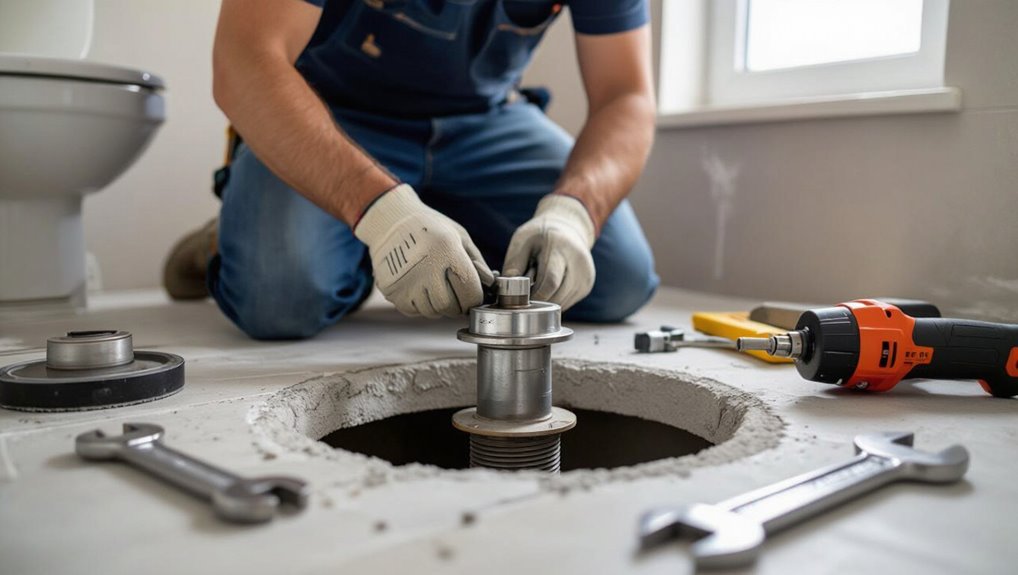
Step 3 Install or retrofit a flange to concrete (epoxy/bolting methods)
With the flange and pipe inspected and any damaged sections repaired or marked, you’re ready to set or retrofit the flange to the concrete using either an epoxy-anchored or mechanical-bolt method.
Clean and dry the concrete, position the flange, mark anchor locations, drill correct-depth holes, and install anchors per manufacturer instructions.
Allow epoxy cure time or torque bolts to specified values before proceeding.
Step 4 Leveling, using flange extenders or shims for proper seal
Once the flange’s anchored and cured, you’ll need to level it precisely so the wax ring seals evenly against the toilet base; any tilt or gap can cause leaks or rocking.
Check with a torpedo level at multiple angles. If low, install flange extenders or stackable shims under the flange, then trim flush.
Verify level before final fastening to prevent future movement.
Step 5 Positioning the new toilet and applying seal (wax or wax-free)
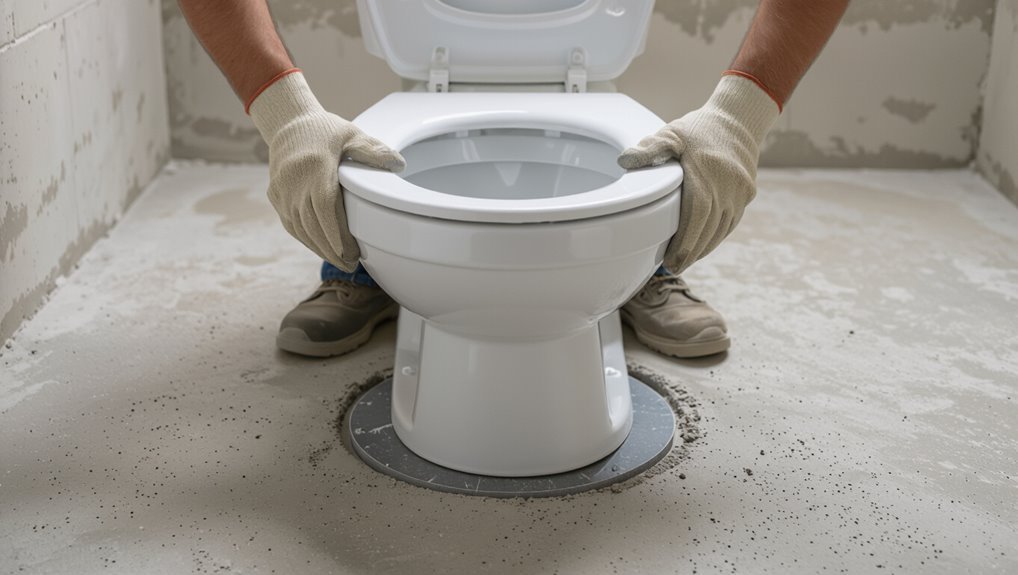
Now that the flange sits level and secure, set the toilet near the flange to check alignment and knock the closet bolts through their slots so they’re ready.
Apply a wax ring or wax-free gasket to the outlet, centered and slightly compressed.
Lift the bowl, lower it straight onto the flange, ensuring the bolts pass through the base holes and the seal seats evenly.
Step 6 Bolting toilet to flange and torque/specs to follow
Press the bowl down firmly over the flange so the wax ring seats, then start the nuts on the closet bolts by hand to hold the toilet in place.
Tighten nuts evenly, alternating sides in small increments to avoid cracking the porcelain. Torque lightly—usually 20–25 ft·lbs max for closet bolts or follow manufacturer specs.
Use washers and caps; don’t overtighten.
Step 7 Reconnect water supply, fill tank, and test for leaks
1. Turn the shutoff valve back on slowly, watch the supply line and fill valve for leaks.
Let the tank fill, adjust the float to set the correct water level per manufacturer specs, and flush a few times to verify proper refill.
Inspect around the base, supply connection, and tank bolts for drips.
Tighten fittings gently if needed and recheck until dry.
Step 8 Caulking, finishing floor penetrations, and final inspection
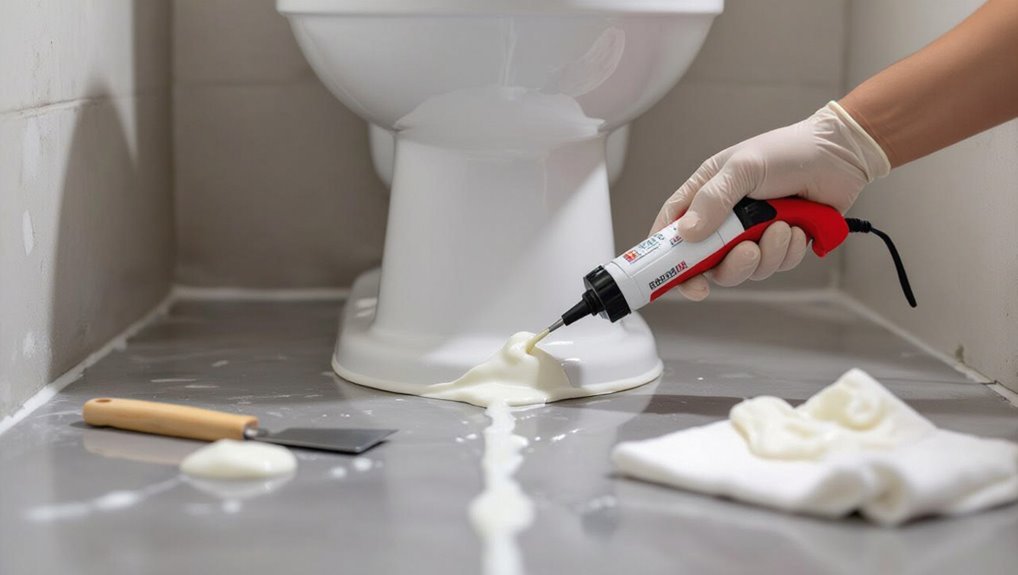
Finish the job by caulking and inspecting every penetration and joint to prevent water intrusion and secure the toilet to the concrete.
Apply a continuous bead of silicone around the base, smooth it for a neat seal, and fill any bolt or pipe gaps.
Check flange bolts, tank-to-bowl connections, and supply fittings.
Confirm no leaks, verify stable mounting, and clean excess caulk for a finished look.
Common Problems and How to Fix Them
After installation you’ll want to check for common issues like leaks at the base, a wobbly bowl, a misaligned rough-in, or a sewer-gas smell.
I’ll show how to diagnose a flange or wax-ring leak, tighten or shim a loose toilet, consider offset-flanges or carrier solutions for a bad rough-in, and troubleshoot venting or seal problems that let odors through.
Follow these fixes step by step to get a secure, odor-free installation.
Leaks at base diagnosis and solutions
When you see water pooling around the base of a toilet on a concrete floor, you need to act quickly to diagnose whether the leak’s coming from the seal, the closet bolts, the pan, or the supply line; start by drying the area, placing paper towels or a rag under the bowl, then watch while someone flushes to locate the source.
If towels wet near flange, replace wax ring; around bolts, tighten or replace washers; at supply, tighten or swap hose; if seep from cracked pan or flange, replace that component and reseal with appropriate gasket and concrete-safe caulk.
Wobbly toilet causes and corrective methods
A toilet that rocks or shifts underfoot can point to several straightforward issues you can fix yourself.
Check loose closet bolts and tighten evenly, ensuring you don’t overtighten.
Inspect a deteriorated wax ring and replace it if compressed.
Shim gaps between base and floor with waterproof composite shims, then trim and caulk.
Verify flange integrity; replace or repair cracked flanges promptly.
Misaligned rough-in or offset drain conversion options
If your toilet’s flange doesn’t line up with the closet bend, you’ve got a rough-in issue that needs addressing before you set the bowl; you can use offset flanges, closet bend adapters, flange extenders, or re-pour/relocate when necessary. Choose based on offset distance and budget.
| Option | Best for |
|---|---|
| Offset flange | Small shifts |
| Closet bend adapter | Moderate offsets |
| Flange extender | Raised floors |
| Relocate flange | Large moves |
| Flexible connector | Temporary fixes |
Sewer gas smell after installation troubleshooting steps
Misaligned flanges or makeshift connections can create gaps that let sewer gas into the room.
So once the bowl sits correctly, you’ll want to check for lingering odors. Inspect flange seal, wax ring, and bolt tightness.
Test for leaks by pouring water around the base.
Replace a crushed or misaligned wax ring, reseat the flange, or use a proper gasket.
Venting issues may need a plumber.
Concrete-Specific Considerations and Repairs
When you need a new rough-in, you’ll choose between core drilling for a clean hole or cutting concrete for a wider path depending on pipe size and location.
If the flange sits on cracked or missing concrete, you’ll repair the slab and use proper patching methods to restore a solid, level surface.
For securing the flange, use epoxy anchors and concrete-rated bolts to guarantee a durable, leak-free connection.
Core drilling vs. cutting concrete for new rough-in
Deciding between core drilling and cutting concrete for a new toilet rough-in comes down to your floor type, budget, and tolerance for mess:
choose core drilling for a clean, circular hole in thicker slab, especially near plumbing stacks;
opt for cutting with saws and breakers when you need a larger access area or must follow existing lines.
Consider cost, noise, and dust control.
Repairing broken concrete around flange and patching methods
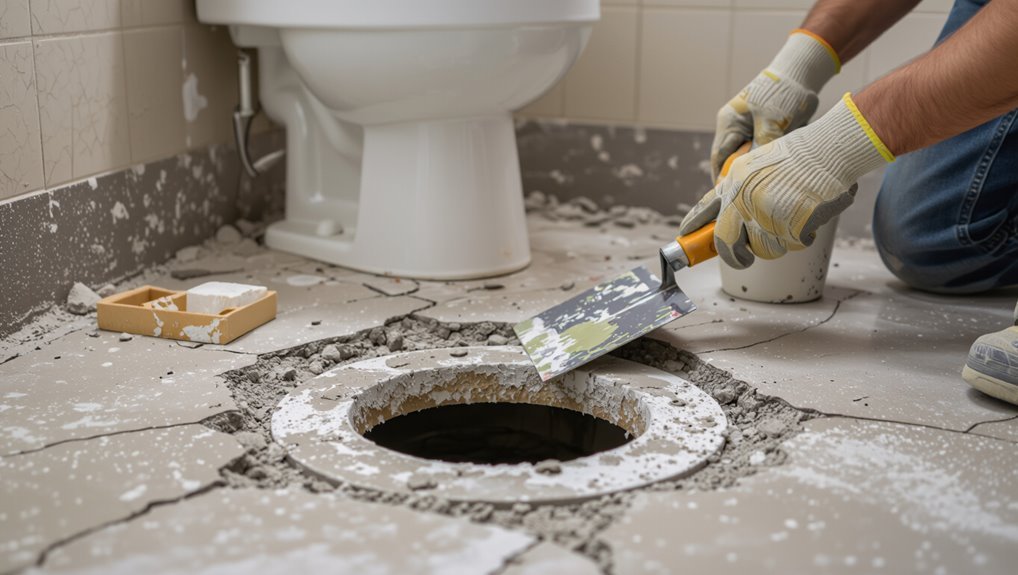
If you core-drilled or cut into a slab and find cracked or missing concrete around the flange, you’ll need to repair it before setting the toilet or the flange will rock, leak, or fail.
Remove loose debris, undercut edges, and use a fast-setting patch or polymer-modified mortar.
Pack and level around the flange, cure per instructions, then test stability before sealing and reinstalling the toilet.
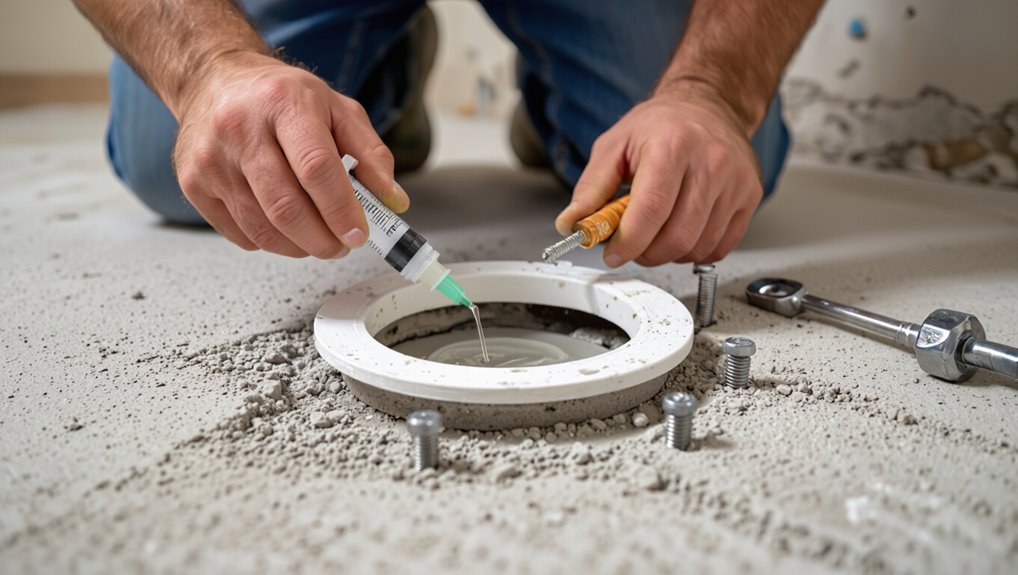
Using epoxy anchors and concrete-rated bolts
1 reliable way to secure a toilet flange to concrete is to use epoxy anchors and concrete-rated bolts, which give far stronger, longer-lasting hold than regular screws.
You’ll drill proper holes, vacuum debris, inject epoxy, and set the bolts per cure time. Use concrete-rated stainless bolts to resist corrosion and torque to manufacturer specs.
- Drill, clean, inject
- Set bolts, cure
- Torque and test
Best Practices, Maintenance, and Longevity Tips
You’ll want to choose the right seal—wax for irregular floors or proven wax-free gaskets for easier swaps and no mess.
Keep a simple preventive checklist (bolt tightness, flange condition, caulk integrity, and a periodic test for leaks) to spot problems early.
Also account for seasonality and water quality—use corrosion-resistant hardware and water-softening or treatment options if you have hard or aggressive water.
When to use wax vs. wax-free seals
When choosing between a wax and a wax-free toilet seal, think about the floor type, installation accessibility, and how much maintenance you want to do over time.
Use wax for simple, cost-effective installs on level concrete where you won’t need future removal.
Choose wax-free for easier removal, adjustable alignment, or if moisture and odor resistance matter.
Replace seals promptly if you notice leaks.
Preventive maintenance checklist
If you want your toilet on concrete to stay leak-free and reliable for years, follow a concise preventive maintenance checklist that targets seals, bolts, and the flange area.
- Tighten bolts and inspect for rust; replace corroded hardware promptly.
- Check the wax or wax-free seal annually for softening or leaks; reseal if needed.
- Inspect flange alignment and floor around it for cracks or water stains; repair immediately.
Seasonal and water-quality considerations (hard water, corrosion)
Because water quality and seasonal shifts directly affect seals, metals, and flushing performance, you should factor them into your maintenance routine for toilets on concrete.
Test for hardness and pH annually, install a water softener or corrosion inhibitor if needed, and flush mineral buildup from jets and trapways.
In cold months, prevent freeze damage to exposed lines and inspect bolts and wax seals for deterioration.
Cost Breakdown and Time Estimates
You’ll want a quick cost comparison between typical material expenses and local professional labor rates to decide whether to DIY or hire a pro.
Expect material costs to range from basic fixtures and flange kits to higher-end toilets, while labor can add several hundred dollars.
Plan on a DIY install taking 1–3 hours if you’re experienced, 3–6 hours for a competent DIYer, and longer if you run into concrete cutting or sealing issues.
Typical material costs vs. professional labor rates
A clear split exists between what you’ll spend on materials and what professionals charge for labor when installing a toilet in concrete: expect basic parts—toilet, flange, wax ring or rubber gasket, bolts, and sealant—to run $75–$250 depending on quality, while pro labor for cutting, setting anchors, and sealing can range $200–$600 or more depending on complexity and local rates.
| Item | Low | High |
|---|---|---|
| Materials | $75 | $250 |
| Labor | $200 | $600 |
Time required for DIY installation by experience level
Now that you’ve seen how material and labor costs break down, it’s helpful to look at how long the job will take based on your experience level.
Beginner: plan 4–8 hours—carefully follow steps, expect pauses.
Intermediate: 2–4 hours with familiar tools.
Experienced DIYer/plumber: 1–2 hours.
Allow extra time for concrete cutting, curing, or unforeseen issues.
Mistakes to Avoid
Don’t let a flange that’s too high, too low, or unsupported ruin the install—measure and set it flush with the finished floor.
Don’t over-tighten the closet bolts and risk cracking the porcelain; tighten evenly and stop as soon as the bowl is snug.
And don’t skip a thorough leak test or half-hearted sealing—pressure-check and seal all joints to prevent water damage.
Improper flange height or unsupported flange
If the flange sits too high or isn’t firmly supported, your toilet won’t seal or stay stable, and you’ll deal with leaks, wobbling, and premature wax-ring failure.
Check flange height so it’s flush or slightly above finished floor, and use a proper spacer, flange extender, or concrete-safe anchors to secure it.
Re-test stability before finalizing the installation.
Over-tightening bolts and cracking porcelain
When you tighten the closet bolts too much, you risk cracking the porcelain or distorting the toilet base, so work slowly and feel for resistance rather than forcing the nuts down.
Use a torque-limited approach: alternate between nuts, tighten incrementally, and stop when the bowl seats evenly.
If cracks or stress lines appear, loosen immediately and reset the wax ring and flange before retrying.
Skipping leak tests or inadequate sealing
After you’ve seated the bowl and tightened the bolts correctly, check for leaks and proper sealing before you finish—skipping this step often leads to water damage, odors, and costly repairs.
Run multiple flushes, inspect the wax ring or gasket perimeter, and feel for dampness around the flange and base.
Tighten or reseal as needed, and don’t ignore even small drips.
Tools and Products Comparison
Now you’ll compare the common sealing options—traditional wax rings and wax-free seals—so you can pick what suits your toilet and slab.
You’ll also look at flange types (cast-iron, PVC, and adjustable) and the scenarios where each performs best.
This will help you match the right products to a concrete installation for a reliable, watertight fit.
Wax ring vs. wax-free seal comparison
Although both wax rings and wax-free seals stop leaks between the toilet and drain, you’ll want to weigh durability, ease of installation, and suitability for a concrete floor before choosing. You’ll prefer wax for a low-cost, forgiving seal; choose wax-free for reusability and cleaner handling. Quick comparison:
| Wax Ring | Wax-Free Seal |
|---|---|
| Cost: low | Cost: higher |
| Installation: messy | Installation: cleaner |
| Flexibility: forgiving | Rigid: precise |
| Best for: simple installs | Best for: remodels |
Flange types and best-use scenarios
There are a few common toilet flange types you’ll encounter—cast iron, PVC, ABS, and adjustable or repair flanges—and each suits different situations on concrete floors. Choose cast iron for existing cast systems, PVC/ABS for new installs, and adjustable for uneven concrete or minor height fixes.
| Flange | Best use |
|---|---|
| Cast iron | Retrofit |
| PVC | New install |
| ABS | New install |
| Adjustable | Uneven floor |
Frequently Asked Questions
You’ll likely have quick questions about flange replacement, converting a closet flange to PVC in concrete, and what to do if the drain pipe isn’t centered.
You’ll also want to know whether it’s okay to caulk around the base and how long the whole install should take for a homeowner.
Read on for concise answers and practical tips.
Can I install a new toilet without replacing the flange?
Can you install a new toilet without replacing the flange? You can, but only if the flange is solid, level with the finished floor, and free of cracks or severe corrosion.
Reuse it with a new wax ring or rubber gasket if it seats properly. If it’s damaged, warped, or below floor level, replace or repair it to avoid leaks and instability.
How do I convert a closet flange to PVC in concrete?
If your old flange looks salvageable you might keep it, but when it’s damaged or metal and set in concrete you’ll probably want to convert to a PVC closet flange for a more reliable, corrosion-free connection.
Cut out the old flange, clean the concrete, dry-fit a PVC hub adapter into the waste, use PVC primer and cement to join, secure the new flange with concrete anchors and wax ring.
What do I do if the drain pipe is not centered (wrong rough-in)?
One common issue is a drain pipe that’s off-center from the toilet’s rough-in, but you’ve got several practical fixes depending on how far it’s off and whether you want to move the bowl or the drain.
Use offset flange adapters, extend or recess the flange into the concrete, or install a closet flange spacer.
For large offsets, cut and re-pipe the drain or consult a plumber.
Is it okay to caulk around the base of the toilet?
After handling a misaligned flange you’ll want to seal the toilet to the floor, but don’t automatically assume caulking is required.
You should caulk the rear gap to prevent water damage and odors, but leave a small uncaulked gap at the back or use removable caulk if you want to detect leaks or service the seal.
Use latex or silicone made for bathrooms.
How long should a toilet installation take for a homeowner?
Because you’re working on concrete, expect the whole job to take longer than a basic swap on a wooden subfloor.
For a handy homeowner, plan 3–6 hours: demo old toilet, prep flange or core-drill if needed, set flange/anchor bolts, install wax ring and toilet, and test for leaks.
Complex repairs or unexpected coring can add time or require pros.