How to Lay Vinyl Flooring on Concrete Without Bubbles or Gaps
You can lay vinyl on concrete without bubbles or gaps by starting with a clean, dry, flat slab, repairing cracks and grinding high spots, then acclimating planks 48–72 hours. Choose the right method—glue-down, peel-and-stick, or floating—and use the recommended adhesive and trowel, maintain proper temperature and expansion gaps, align planks to avoid trapped air, and roll seams immediately. Follow these steps and you’ll avoid most problems; keep going to learn detailed tips and troubleshooting.
How to Lay Vinyl Flooring on Concrete Without Bubbles or Gaps (Quick Answer)
Start by fully cleaning and drying the concrete, then repair cracks and grind high spots so the subfloor is flat.
Acclimate your vinyl, apply the recommended adhesive evenly (or use click-lock planks), and roll the floor with a weighted roller as you go to push out air.
Trim edges, seal seams if needed, and inspect for gaps or bubbles, smoothing them immediately.
One-paragraph direct answer with key steps
Prepare a clean, dry, level concrete surface, repair cracks and high spots, then roll out, acclimate, and cut the vinyl to fit; apply a recommended primer or adhesive evenly, press the vinyl firmly from one side to the other to expel air, seam-weld or carefully overlap joints, and trim edges while maintaining consistent pressure with a roller to prevent bubbles or gaps.
Then work methodically, smoothing, checking alignment, and sealing seams for a flawless how to lay vinyl flooring on concrete result.
Why Bubbles and Gaps Happen on Concrete Subfloors
When you see bubbles or gaps in vinyl on concrete, it’s usually from moisture, uneven slab surfaces, dirt or temperature swings that keep the adhesive from bonding.
Concrete’s porosity and vapor drive can either soak up or push moisture toward the vinyl, breaking the glue bond.
Understanding those slab properties helps you target fixes like drying, leveling, cleaning, or vapor barriers.
Common causes (moisture, unevenness, debris, temperature)
Because concrete isn’t a perfectly smooth, dry surface, bubbles and gaps often show up under vinyl for a few predictable reasons: retained moisture, surface unevenness, leftover debris, and extreme temperature swings.
You should address each cause before installation:
- Test and dry moisture, repair damp spots.
- Level high/low areas; grind or patch.
- Clean thoroughly and acclimate vinyl to room temperature.
How concrete properties affect vinyl adhesion (porosity, vapor drive)
Although concrete looks solid, its porosity and vapor movement can work against vinyl adhesion, drawing adhesive into the slab or pushing moisture upward as vapor drive.
You must test moisture, seal or moisture-proof the slab, and choose adhesives compatible with porous surfaces.
Control vapor with a barrier or primer, and guarantee the surface is profiled and clean so the vinyl bonds evenly without bubbles or gaps.
Tools, Materials, and Safety Checklist
Before you start, gather the essential tools and materials—adhesive, underlayment, a utility knife, roller, measuring tape, and a straightedge—plus optional items like a flooring cutter or flooring jacks for smoother results.
Don’t forget safety gear: gloves, knee pads, eye protection, and a respirator if using strong adhesives, and make sure the area is well ventilated.
Use proper lifting techniques to handle heavy boxes and keep a clear, organized workspace.
Essential tools and materials
You’ll need a compact set of reliable tools, quality materials, and basic safety gear to get vinyl down cleanly and lastingly.
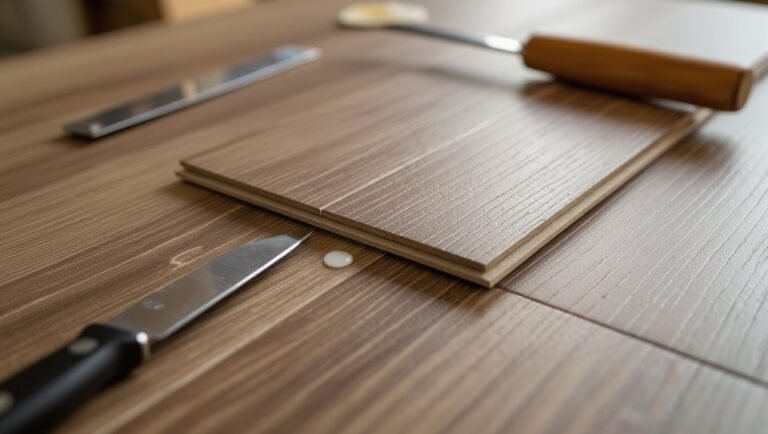
- Tape measure, utility knife, straightedge — for precise cuts and layouts.
- Vinyl adhesive or click-lock planks, underlayment (if needed), and seam roller — for secure, flat installation.
- Knee pads, gloves, dust mask — for safe, comfortable work.
Optional tools for better results
A few optional tools can make your vinyl installation faster, neater, and more professional-looking without adding much cost or complexity.
- Heat gun — helps relax vinyl for tight fits and seam smoothing.
- Seam roller — guarantees adhesive contact and removes bubbles at joints.
- Tapping block and mallet — aligns planks precisely without damaging edges or finish.
Safety and preparation (PPE, ventilation, lifting techniques)
Several simple precautions will keep you safe and make the job smoother: wear gloves, knee pads, eye protection, and a dust mask or respirator when cutting or sanding; guarantee good ventilation when using adhesives or primers; and use proper lifting technique or a dolly to move heavy sheets or boxes of vinyl to avoid back strain.
Check flooring is dry, clean, and level; remove trip hazards; read product SDS and follow manufacturer instructions.
Pre-installation Inspection and Preparation (Step-by-Step)
Before you start laying vinyl, test the concrete for moisture and check it’s flat enough for installation.
Fix any cracks or low spots, clean and prime the surface for good adhesion, then acclimate the flooring and plan your layout.
Tackling these steps in order will prevent problems and save time during installation.
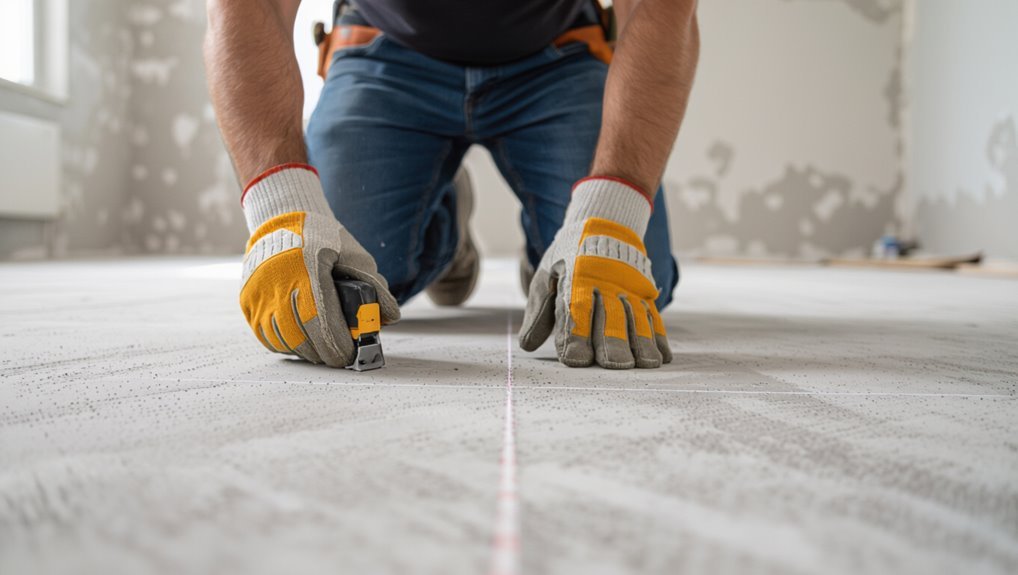
Step 1 Test and measure the concrete for moisture and flatness
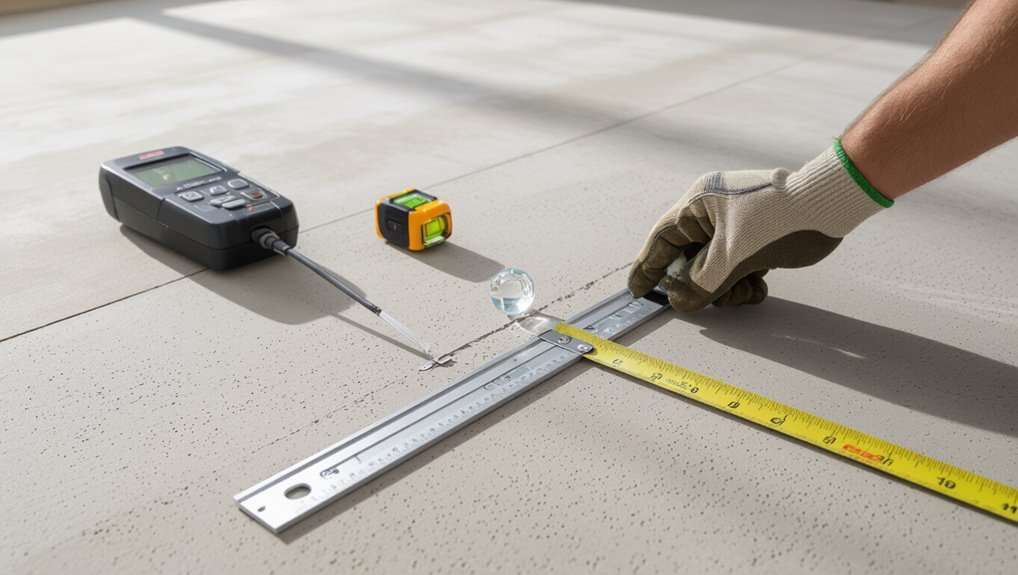
Start by checking the concrete for moisture and flatness—these two factors determine whether your vinyl will bond properly and lie smooth.
- Use a moisture meter and perform a 72-hour plastic sheet test to spot damp areas.
- Run a 6-foot straightedge to find deviations; mark high/low zones.
- Note temperature and humidity; document results before proceeding to repairs or leveling.
Step 2 Repair cracks, pits, and level high/low spots
Address visible damage and unevenness now so your vinyl will sit flat and last. You’ll fix cracks, pits, and level spots before flooring goes down.
- Clean debris, widen hairline cracks, and apply a concrete patch.
- Use a self-leveling compound for low areas; feather edges smoothly.
- Grind high spots and recheck flatness with a straightedge; let cures fully set.
Step 3 Clean and prime the concrete for bonding
Sweep and scrub the repaired slab so it’s dust-, oil-, and residue-free, then apply a concrete primer to guarantee the vinyl or underlayment bonds properly.
- Use a stiff broom, degreaser, and mop; rinse and let dry fully.
- Spot-etch or sand glossy patches for better adhesion.
- Roll or brush primer evenly, follow manufacturer cure times before laying underlayment or planks.
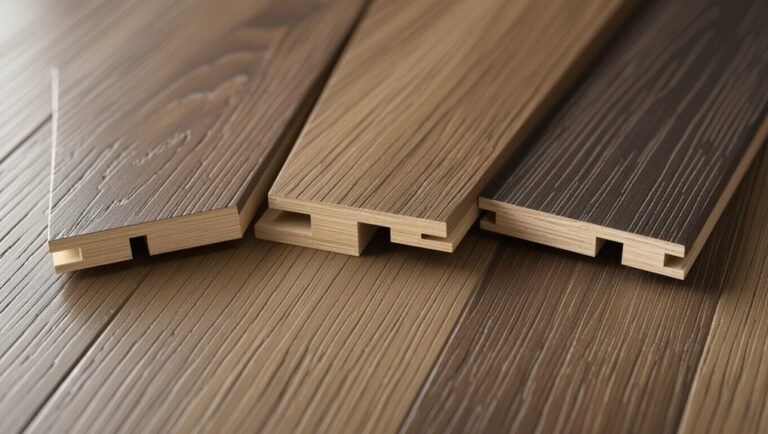
Step 4 Acclimate vinyl planks/tiles and plan layout
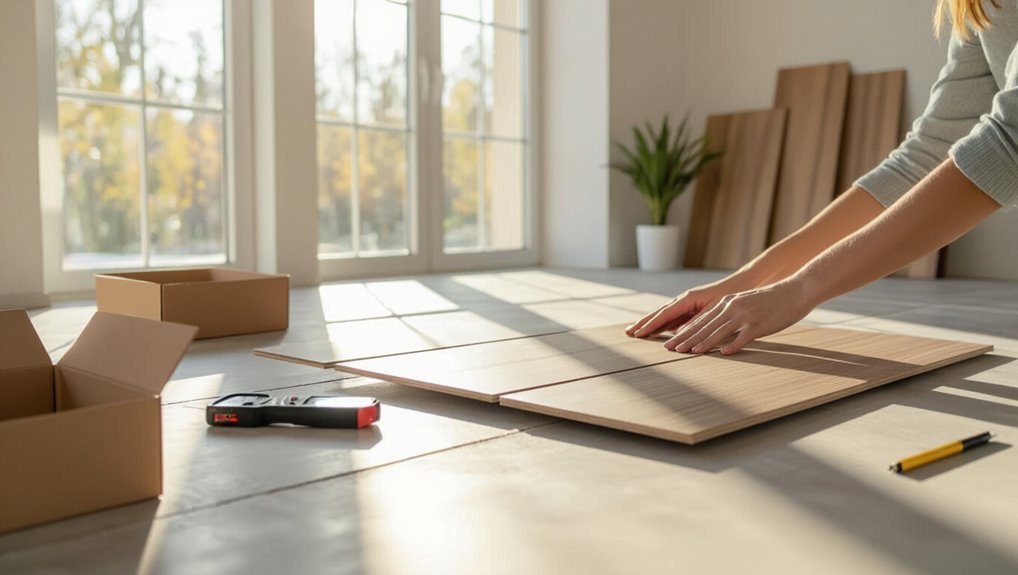
With the slab clean and primed, bring your vinyl planks or tiles into the room and let them acclimate so they settle to the jobsite temperature and humidity; this prevents gaps, buckling, or uneven seams after installation.
Then plan layout:
- Measure room, decide starting wall and plank orientation.
- Dry-fit rows, stagger joints for stability.
- Mark centerline and cut end pieces to balance edges.
Installation Methods and How to Choose (Comparison)
You’ll pick the right vinyl method by weighing glue-down, peel-and-stick, and floating options against your room use and concrete condition. Below is a quick comparison to help you decide which method fits high-moisture basements, busy living areas, or smooth, dry slabs. Use the table to match pros and cons to the best method for each room and concrete state.
| Method | Best use case |
|---|---|
| Glue-down: strong, moisture-tolerant but more permanent | Basements, commercial spaces, level concrete |
| Peel-and-stick: easy install, less durable | Small rooms, smooth dry slabs, temporary installs |
Glue-down vinyl vs. peel-and-stick vs. floating vinyl pros and cons
Choosing between glue-down, peel-and-stick, and floating vinyl comes down to how permanent you want the floor, how level your concrete is, and how much prep and skill you’re willing to invest. You’ll weigh durability, ease, and repairability: glue-down sticks best, peel-and-stick is simple but less forgiving, floating is DIY-friendly yet sensitive to subfloor movement.
| Glue-down | Permanent, stable |
|---|---|
| Peel-and-stick | Quick, risk of bubbles |
| Floating | Easy install, tolerates movement |
Best method recommendations by room and concrete condition
If your concrete is smooth, dry, and level, go glue-down in high-traffic rooms like kitchens and entryways for the best durability; in basements or uneven slabs, pick floating planks over peel-and-stick to tolerate slight movement and imperfections.
- Kitchen/entry: glue-down for wear resistance.
- Basement: floating with moisture barrier.
- Small bathrooms: peel-and-stick for easy install.
Exact Installation Steps to Avoid Bubbles and Gaps (Step-by-Step)
Start by laying chalk lines, planning expansion gaps, and mapping shifts so your layout’s accurate from the first plank.
Use the correct adhesive and trowel, follow open time, and set each plank or tile carefully to avoid trapping air.
Finish by rolling and seam-rolling, trimming clean edges, and treating end joints so seams stay tight and bubble-free.
Step 1 Layout lines, expansion gaps, and transition planning
1 clear layout line makes the rest of the installation predictable, so snap chalk lines to mark your starting row, expansion gaps, and any changeover points before you lay a single plank.
- Measure room center, snap main guideline, square to walls.
- Mark required expansion gap around perimeter and at fixed objects.
- Plan shifts at doorways and level changes, positioning thresholds before cutting planks.
Step 2 Applying adhesive correctly (type, trowel size, open time)
Choose the right adhesive and apply it with precision: use a vinyl-specific adhesive rated for concrete, match your trowel notch to the plank size (usually 1/16″ x 1/32″ for small planks or 1/8″ x 1/8″ for larger ones), and spread only as much as you can lay within the adhesive’s open time so the glue stays tacky—not skin-formed—when you set each plank.
- Check manufacturer open time.
- Use correct trowel.
- Work in manageable sections.
Step 3 Placing and aligning planks/tiles to prevent trapping air
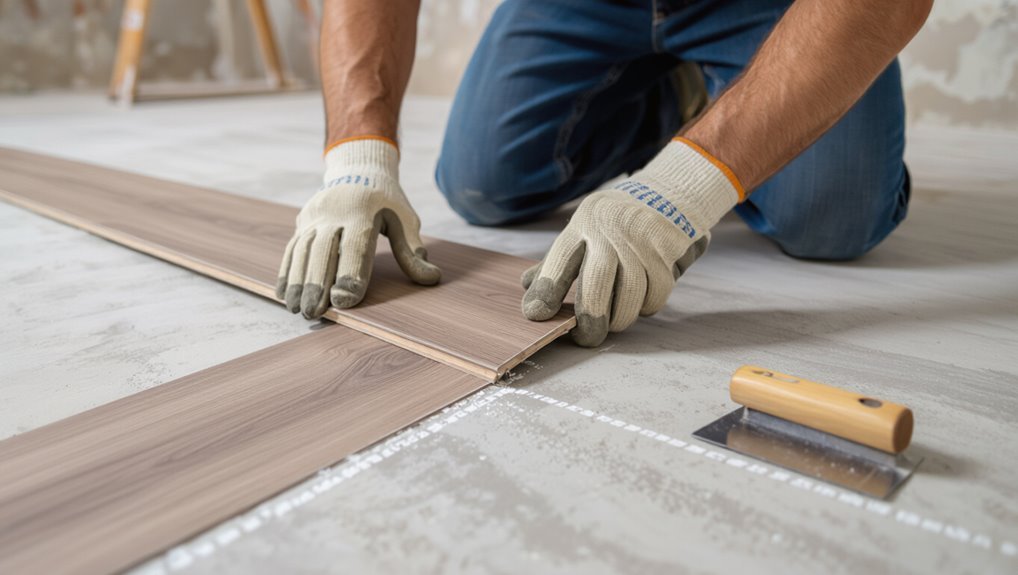
After spreading only as much adhesive as you can work with, set the first plank or tile firmly into place and angle the next piece to seat its edge, then lower it while pressing along the seam to expel air.
Then:
- Align edges precisely, using spacers to maintain gaps.
- Tap joints gently with a mallet and block.
- Check for trapped air and lift/re-seat if needed.
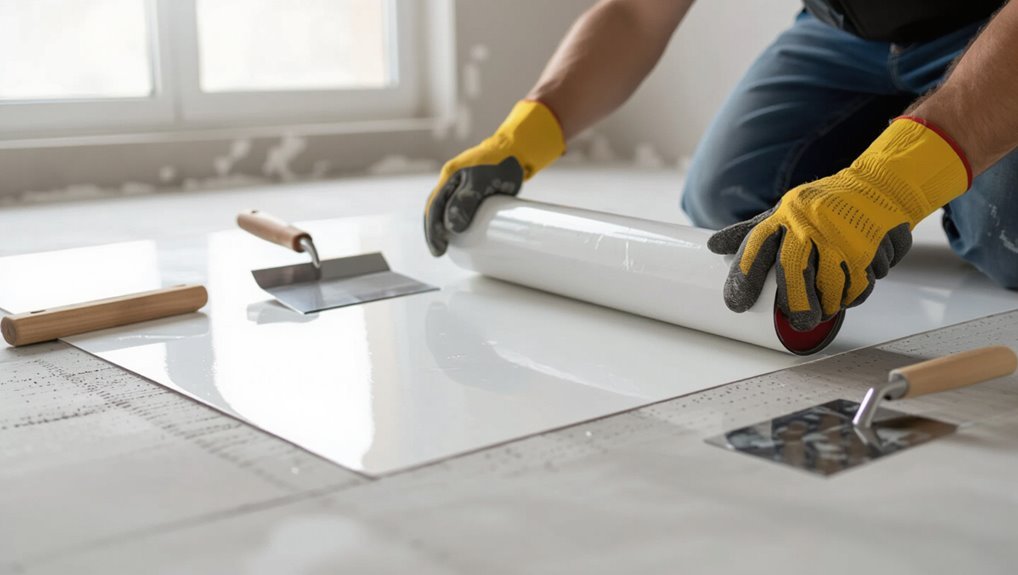
Step 4 Rolling and pressing (floor roller use, seam rolling)
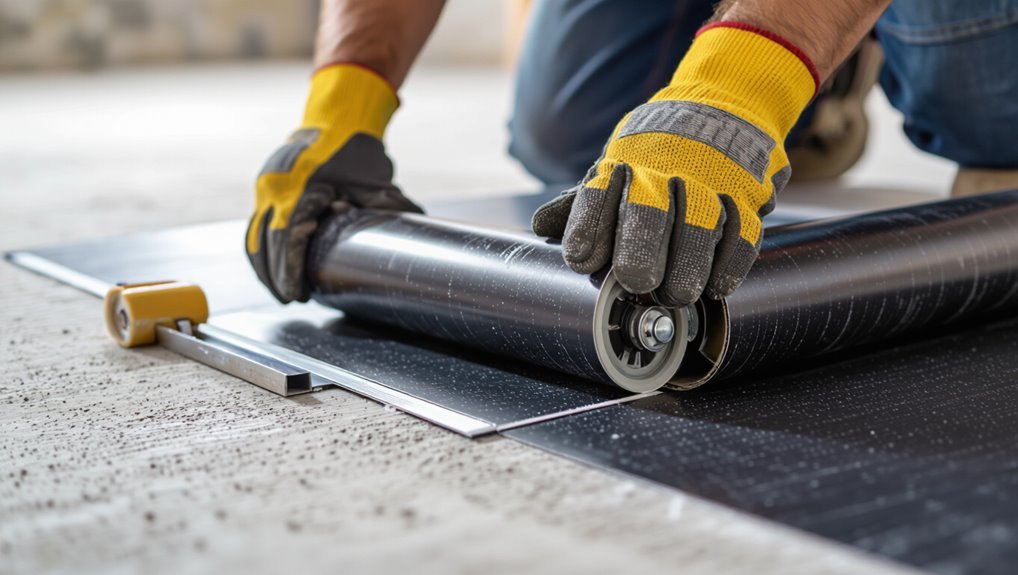
Grab a 100–150 lb floor roller and roll each plank or tile immediately after seating it to press the adhesive into full contact and squeeze out trapped air.
Then follow these quick actions:
- Roll lengthwise, overlapping passes for even pressure.
- Use a handheld seam roller along joins to seat edges.
- Re-roll high-traffic areas after 30 minutes for full contact.
Step 5 Handling seams, end joints, and cutting clean edges
When you get to seams and end joints, work deliberately so edges meet tightly and cuts sit flush against walls and thresholds; precise trimming and careful alignment are what prevent gaps, overlaps, and trapped air.
- Trim with a straightedge and sharp blade, test-fit pieces first.
- Butt seams tightly, using seam roller pressure along joins.
- Clean debris, then apply recommended seam sealer where needed.
Step 6 Final checks, trimming, and installing trims/thresholds
With seams sealed and edges aligned, give the whole floor a final inspection before fixing trims and thresholds so nothing shifts later.
Check fit, clean edges, and mark cuts.
Then:
- Trim excess vinyl with a straightedge and sharp blade.
- Dry-fit trims and thresholds, adjust lengths.
- Fasten trims, seal joins with adhesive or silicone for a tight, neat finish.
Common Problems During and After Installation and How to Fix Them
You’ll run into a few predictable issues—air bubbles, gaps and shifting, adhesion failures, and moisture problems—and you should be ready to spot and fix each one.
Learn how to repair bubbles with heat or adhesive injection (or replace affected planks), tighten seams and re-secure edges, and diagnose adhesion failures so you can remove, re-prime, and re-adhere as needed.
Also check for moisture with a meter and plan long-term solutions like vapor barriers and mitigation before reinstalling.
Air bubbles identification and repair methods (heat, adhesive injection, replacement)
If air bubbles appear under your vinyl, don’t ignore them—small pockets can spread and cause lifting or visible bumps.
- Heat: warm the bubble with a heat gun, press out air, then cool to set.
- Adhesive injection: lift edge slightly, inject recommended adhesive, smooth and roll.
- Replacement: cut out and replace severely damaged sections, then seam and bond securely.
Gaps and shifting how to tighten seams and re-secure edges
Although vinyl is flexible, seams can pull apart and edges can shift when the substrate moves or the planks weren’t snugly fitted—don’t let small gaps become bigger problems.
- Use a seam roller and tapping block to tighten joints; tap toward the seam.
- Insert matching filler or caulk for narrow gaps and compress with a seam tool.
- Re-secure loose edges with edge trim and finish molding to lock planks in place.
Adhesion failures diagnosing and remedial steps (removal, re-priming, re-adhesive)
Once seams are snug and edges secured, weak adhesion can still undo your work, so you’ll need to spot and fix bonding problems promptly.
Check and remedy as follows:
- Peel back loose vinyl, clean old adhesive with solvent, and dry the slab.
- Scuff and prime the concrete per adhesive instructions.
- Reapply recommended adhesive, press with a roller, and clamp seams until set.
Moisture-related issues detection and long-term solutions (vapor barriers, mitigation)
Because concrete can wick moisture long after installation, you need to detect and control dampness before it ruins your vinyl. Use a moisture meter and perform a calcium chloride or RH test; fix issues before proceeding.
- Install a certified vapor barrier underlayment.
- Seal cracks and apply epoxy or polyurethane moisture mitigation.
- Guarantee drainage and long-term dehumidification to prevent recurrence.
Best Practices and Pro Tips to Prevent Bubbles and Gaps
To prevent bubbles and gaps, you’ll want to follow strict timing, temperature, and acclimation guidelines so the vinyl and concrete adjust before you install.
Pick an adhesive and backing rated for concrete and your room’s conditions to guarantee a lasting bond.
After installation, keep a regular maintenance routine—clean spills quickly and avoid harsh chemicals—to preserve adhesion and appearance.
Timing, temperature, and acclimation guidelines
Although vinyl is forgiving, getting timing, temperature, and acclimation right prevents most bubbles and gaps, so plan a few days before installation.
- Keep concrete and vinyl at 65–85°F for 48–72 hours so materials settle.
- Lay flat, unboxed vinyl to acclimate; check moisture with a meter first.
- Install during stable conditions; avoid heating/cooling spikes that cause expansion or contraction.
Choosing the right adhesive and backing for concrete
1 key choice you’ll make before laying vinyl on concrete is the combination of adhesive and backing — pick the wrong pair and you’ll invite bubbles, delamination, and wasted time.
Choose waterproof, vapor-permeable adhesives for concrete; match backing stiffness to traffic; test adhesion on a small patch first.
- Use moisture-rated adhesive
- Match backing rigidity
- Patch-test before full install
Maintenance practices to preserve adhesion and appearance
When you’ve finished installing vinyl over concrete, regular maintenance keeps the adhesive working and the surface looking smooth; follow a simple routine of moisture control, gentle cleaning, and quick repairs to prevent bubbles and gaps.
- Monitor humidity and wipe spills promptly to avoid moisture damage.
- Clean with pH-neutral solutions and soft mops to protect adhesive.
- Reseat or glue lifted edges immediately to stop spread and trapped air.
Cost Estimates, Timeframe, and When to Hire a Pro
For a typical room you’ll spend roughly $2–6 per square foot for materials and adhesives and can finish installation in a weekend if you’re handy.
If you spot major concrete cracks, moisture issues, unevenness, or you just don’t have time, hire a pro who’ll assess the slab, handle moisture mitigation, and guarantee a flat, long-lasting install.
Expect a professional quote that includes prep, labor, and warranty—ask for a written estimate and timeline before they start.
Typical DIY costs and time per room
Expect most DIY vinyl flooring projects on concrete to cost you between $1.50 and $6 per square foot for materials, with labor savings if you do the work yourself. You’ll spend 4–10 hours per 200–300 sq ft room, plus prep time. Budget adhesives, underlayment, and tools.
| Item | Typical time/cost |
|---|---|
| Small room | 4–6 hrs |
| Medium room | 6–8 hrs |
| Large room | 8–10 hrs |
| Materials | $1.50–$6/sq ft |
Signs you should hire a professional and what to expect from a pro service
Not sure whether to tackle vinyl installation yourself or call in a pro?
You should hire a pro if moisture, uneven concrete, or complex layouts intimidate you. Expect clear estimates, moisture testing, and skilled subfloor prep.
Typical pro timeline: a site visit, 1–2 days prep, 1 day install.
- Cost: $2–6/sq ft labor
- Time: 2–4 days
- Warranty: ask first
FAQs
You probably have a few quick questions before you start, like whether you can install vinyl over existing flooring without bubbles and how long it needs to acclimate.
You’ll also want to know which concrete moisture test is reliable, if underlayment will stop bubbling, and how soon you can walk on the new floor without causing gaps.
I’ll answer each of these clearly so you can finish the job with confidence.
Can I install vinyl over existing flooring on concrete without bubbles?
Wondering whether you can lay vinyl over existing concrete flooring without getting bubbles? Yes—if the underlying floor is level, clean, dry and securely bonded.
Remove loose materials, repair cracks, and use a recommended underlayment or moisture barrier. For glue-down vinyl, verify that the adhesive is compatible with the substrate.
Test a small area first to confirm adhesion and smoothness before completing the job.
How long should vinyl acclimate before installation?
How long should vinyl acclimate before installation?
You should let vinyl planks or sheets sit in the installation room for 48–72 hours at normal living temperature and humidity.
Keep packaging closed, lay flat, and avoid direct sun or heat.
This stabilizes dimensions so pieces fit tightly and reduces curling or seams opening once you install the flooring.
What moisture test is reliable for concrete before vinyl?
Because excess moisture can ruin a vinyl installation, you’ll want to run a reliable test on the concrete before you lay any flooring.
Use a calcium chloride test for accurate vapor emission rates (MVER) or a relative humidity (RH) in-situ probe for internal moisture — both are industry-accepted.
Compare results to vinyl manufacturer limits; remediate if readings exceed allowable thresholds before installing.
Will underlayment prevent bubbles on concrete?
If you install the right underlayment and follow proper prep, it can greatly reduce the risk of bubbles forming under vinyl on concrete.
You’ll want a moisture-resistant, compressible underlayment designed for concrete; it evens minor imperfections and improves adhesion.
It won’t fix severe moisture or major unevenness—address those first.
Proper adhesive technique and rolling seals the bond, minimizing trapped air.
How soon can I walk on newly installed vinyl without causing gaps?
When can you safely walk on newly installed vinyl without risking gaps?
Wait at least 24–48 hours for adhesive-set installations; lightweight traffic after 24 hours is usually fine, full traffic after 48.
For click-lock or loose-lay, you can walk immediately but avoid heavy furniture for 24–72 hours to let seams settle.
Follow manufacturer cure times and keep area dry and undisturbed.
Visual Reference and Quick Checklist for Installation Day

Before you get hands-on, take a moment to walk the room with your install plan and a clear visual of how the planks or tiles will lay out—this prevents awkward narrow cuts and mismatched patterns at walls and doorways.
Follow this quick checklist before starting:
- Clean, level concrete and acclimated flooring.
- Layout dry run to confirm pattern and end cuts.
- Adhesive, roller, spacers, and trim ready.