How to Install Grout in Tile: A Beginner-Friendly Guide
You can grout tile yourself with basic tools, some prep, and patience. Wait 24–72 hours for thinset to cure, clean joints, and choose sanded, unsanded, or epoxy grout based on joint width and moisture. Mix small batches to a peanut‑butter consistency, apply with a rubber float at a 45° angle, then clean tiles with a damp sponge. Allow grout to cure and seal if needed for protection. Keep going to learn step‑by‑step tips and troubleshooting.
Quick Answer Can You Install Grout Yourself and What It Takes
Yes — you can grout tile yourself: mix the grout, push it into the joints with a float, wipe the tiles clean, and let it cure, a small project often done in a few hours to a day depending on area and drying time.
You should DIY for straightforward floors or walls with even spacing and basic grout lines.
Hire a pro if tiles are uneven, the area is large or high-visibility, or you need color-matched or waterproof grout for showers and wet rooms.
Short summary of process and time estimate
You can grout tile yourself in most cases; the basic steps are mixing the grout, spreading it into the joints with a rubber float, wiping off excess with a damp sponge, and sealing when dry.
For a small room, expect prep, grouting, cleanup, and curing to take a day or two. Learning how to install grout in tile is straightforward with basic tools and patience.
When to hire a pro versus DIY
While many homeowners can grout tile themselves with basic tools and patience, you should hire a pro when the job involves large areas, intricate patterns, damaged or uneven substrate, or when time and a flawless finish matter.
You can DIY small, simple spots with proper prep, grout choice, and patience. Hire help if warranties, moisture barriers, or complex repairs are needed.
Basic Understanding What Grout Is and Why It Matters
Before you grout, you should know the basic types—sanded, unsanded, and epoxy—and when each works best.
Consider key properties like strength, flexibility, and water resistance to match the grout to your tile and joint width.
For example, use unsanded for narrow joints on delicate tile, sanded for wider grout lines on floors, and epoxy where you need maximum water resistance and durability.
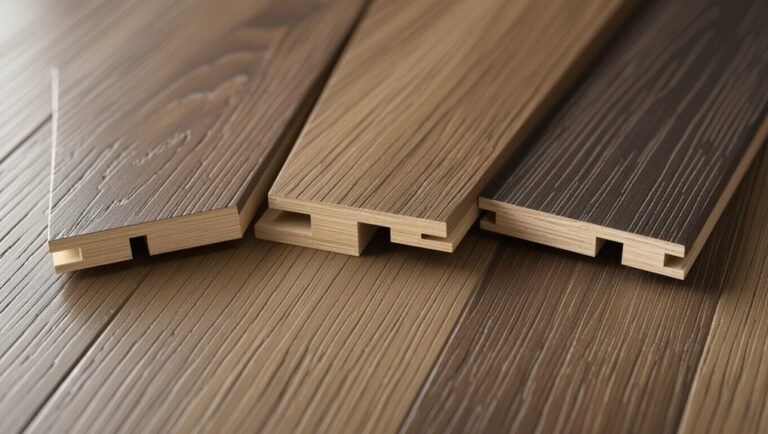
Types of grout (sanded, unsanded, epoxy)
Grout comes in three main types—sanded, unsanded, and epoxy—and picking the right one matters because each handles joints, moisture, and wear differently. You’ll choose sanded for wider gaps, unsanded for narrow gaps and delicate tile, and epoxy for heavy-duty, stain-resistant jobs.
| Type | Best gap | Typical use |
|---|---|---|
| Sanded | >1/8″ | Floors |
| Unsanded | ≤1/8″ | Walls |
Key properties: strength, flexibility, water resistance
Strength, flexibility, and water resistance determine how well grout holds tiles in place, copes with movement, and stands up to moisture.
You’ll choose grout based on load and environment: strong mixes resist cracking under weight, flexible formulations absorb slight substrate shifts, and water-resistant or waterproof grouts prevent staining and mold in wet areas.
Match properties to your installation needs.
Common tile and joint scenarios for each grout type
When you pick a grout type, think about the tile material, joint width, and location: cement-based grout fits most floor and wall tiles with 1/8″–1/2″ joints.
Epoxy works best for high-moisture or heavy-traffic areas and narrow joints, and urethane or modified grouts suit movement-prone substrates and wider gaps.
Choose cement for ceramic/porcelain, epoxy for showers/kitchens and stone, and urethane for floating floors.
Tools and Materials You’ll Need
Before you start, gather the essential tools—rubber float, grout sponge, buckets, and a grout mixer or margin trowel—so you don’t stop mid-job.
Pick the right grout based on joint width, tile type, and location (for example, sanded for wide joints, epoxy for wet areas).
Don’t forget safety gear and prep supplies like gloves, goggles, masking tape, and surface cleaner.
Essential tools list
You’ll need a handful of specific tools and materials to grout tile properly: grout (sanded or unsanded depending on joint width), a rubber grout float, a bucket, sponge, grout sealer, mixing paddle or stick, margin trowel, and clean rags, plus personal protective gear like gloves and safety glasses.
Use these essentials to work efficiently and protect finishes.
- Grout float
- Mixing bucket
- Sponge
- Margin trowel
- Safety gloves
Materials and how to choose the right grout (by joint width, tile type, location)
Because grout comes in several types and formulas, pick the one that matches your joint width, tile material, and room conditions to avoid cracking, staining, or discoloration.
Choose sanded for joints >1/8″, unsanded for narrower, epoxy for wet areas, and colorfast mixes for porous stone.
Match flex additives to movement-prone surfaces.
- Sanded grout (>1/8″)
- Unsanded grout (<1/8")
- Epoxy grout (showers, pools)
- Colorfast/pigmented grout
- Additives for flexibility
Safety gear and prep supplies
Get a compact kit of safety gear and prep tools so you can work cleanly and safely: safety glasses, a dust mask or respirator rated for fine particles, nitrile or work gloves, knee pads, and sturdy shoes; plus a grout float, margin trowel, grout sponge, buckets, mixing paddle, foam backer rod (if needed), and clean rags.
Keep ventilation good, protect adjacent surfaces with tape and drop cloths, and have a shop vac ready.
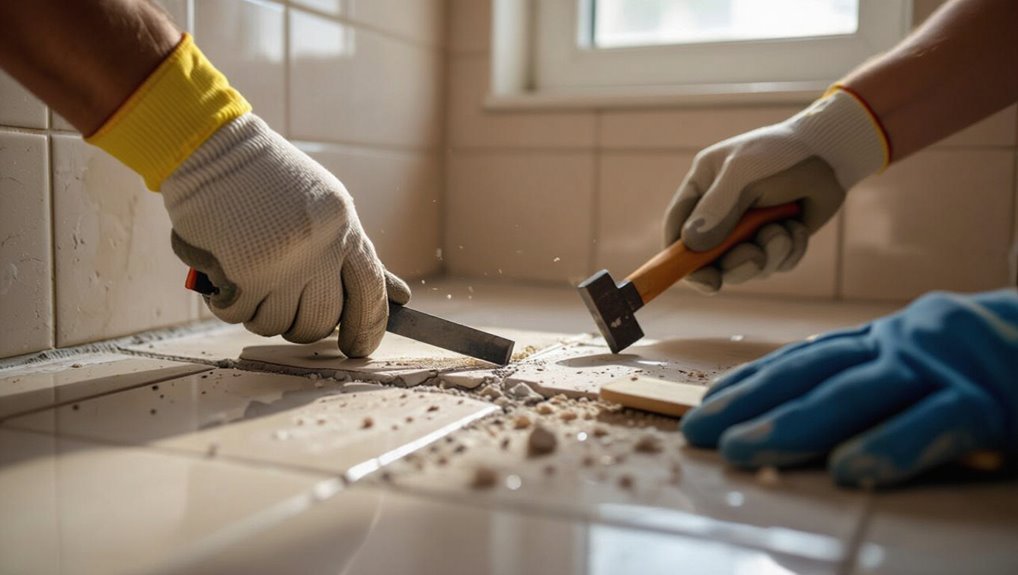
Prep Work How to Prepare Tiles and Joints for Grouting
You’ll wait to grout until the thinset is fully cured and tiles are firmly set—usually 24 to 72 hours depending on the adhesive.
Before you mix grout, clean out spacer residue and dust, inspect for cracked tiles or substrate issues and fix them, and mask nearby surfaces to protect counters and trim.
Taking these steps guarantees a strong, clean grout joint and prevents problems later.
When to grout after tile installation
Timing your grouting properly keeps joints strong and prevents issues like grout failure or tile movement.
Wait until thinset has cured—usually 24–72 hours—following manufacturer recommendations and room temperature/humidity.
Make sure tiles are firmly set and spacers are stable.
Don’t grout too soon or you’ll displace tiles; wait longer if conditions are cool or damp to guarantee a solid bond before grouting.
Cleaning and removing spacer residue and dust
Before you mix grout, remove spacers and sweep or vacuum joints so dust and thinset residue won’t weaken the bond; even fine grit left in the gaps can prevent proper adhesion and cause voids or premature cracking.
Clean thoroughly, then run a damp sponge to lift remaining dust before grouting.
- Remove spacers with needle-nose pliers
- Vacuum joints with crevice tool
- Brush out stubborn grit
- Wipe with damp sponge
- Let joints dry slightly before grouting
Checking and repairing substrate or cracked tiles
1 quick check can save you from redoing grout later: inspect the substrate and tiles for cracks, loose pieces, or soft spots that signal movement or failed bedding.
Remove any loose tiles, clean cavity, and repair substrate with appropriate mortar or patch.
Replace irreparably cracked tiles.
Allow repairs to cure fully and confirm tiles sit firm and level before you begin grouting.
Masking and protecting surrounding surfaces
When you’re ready to grout, protect nearby surfaces by taping edges, covering fixtures, and laying drop cloths so grout splatter and haze won’t stain countertops, cabinets, or floors.
Use painter’s tape on trim, plastic sheeting over appliances, and craft paper on counters.
Remove or shield hardware, vents, and seams. Secure coverings with low-tack tape and keep a damp sponge handy for immediate cleanup.
Step-by-Step Grouting Procedure
Now you’ll follow a clear, five-step grouting procedure that starts with mixing the grout to the right consistency and choosing powder or premixed.
You’ll apply and compact the grout with a float, then remove excess and do an initial sponge cleaning while controlling water.
Finally, you’ll shape joints, dry-buff, and remove any haze for a finished look.
Step 1 Mixing grout correctly (powder vs premixed, consistency tips)
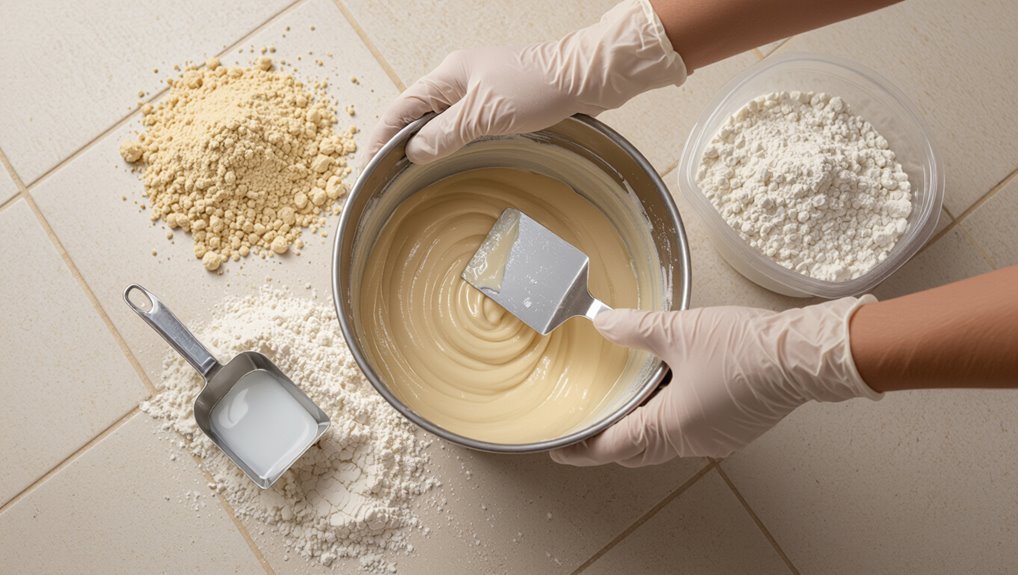
Before you mix anything, decide between powder and premixed grout: powder gives you control over color and working time, while premixed is faster and mess-free.
If using powder, follow manufacturer water ratios, add slowly, and mix to a smooth, peanut-butter consistency.
Let it slake 5–10 minutes, remix briefly, and only mix small batches you can apply within the pot life.
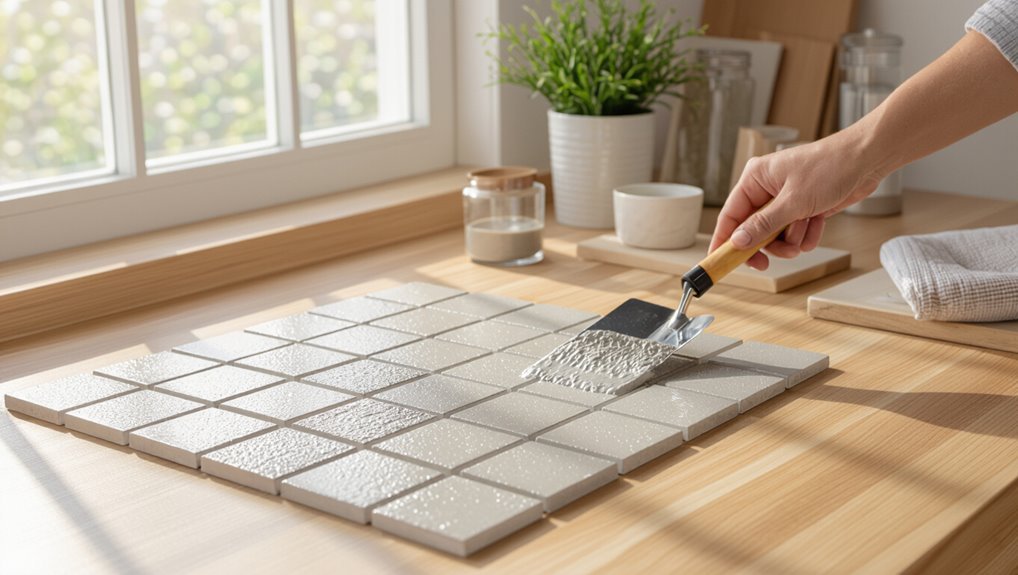
Step 2 Applying grout with a float (angle, pressure, coverage)
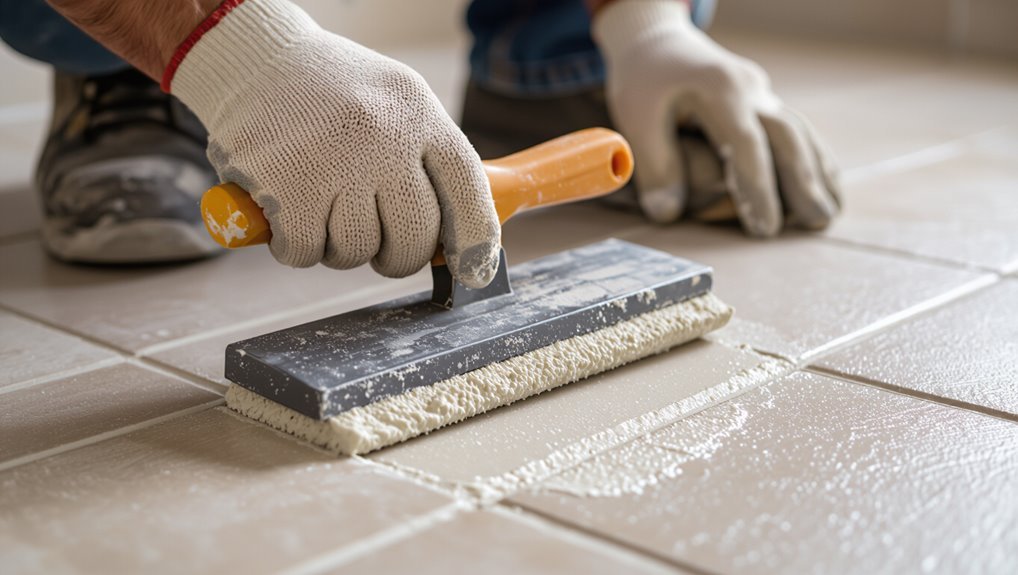
Grab your grout float and press the grout firmly into the joints at a 45-degree angle, using short, diagonal strokes to fully pack the lines and push out air pockets.
Hold the float with moderate pressure; don’t gouge the grout. Work in manageable sections so coverage stays even.
Angle changes help force grout deep into corners and along narrow joints for consistent, full coverage.
Step 3 Compacting grout into joints and removing excess (timing and technique)
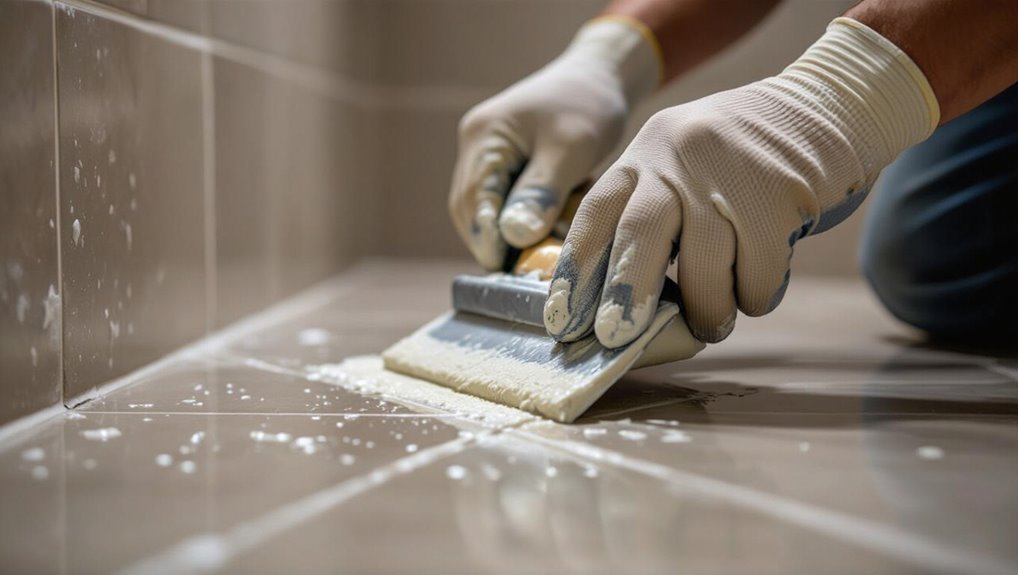
After you’ve filled the joints with grout using the float, compacting each line and removing the surplus while it’s still pliable is the next step.
Press grout firmly into joints with the float held at a low angle, working diagonally. Scrape excess off tile faces as you go, keeping the joints fully packed.
Move steadily so grout doesn’t skin over before cleanup.
Step 4 Initial cleaning (sponge technique and water control)
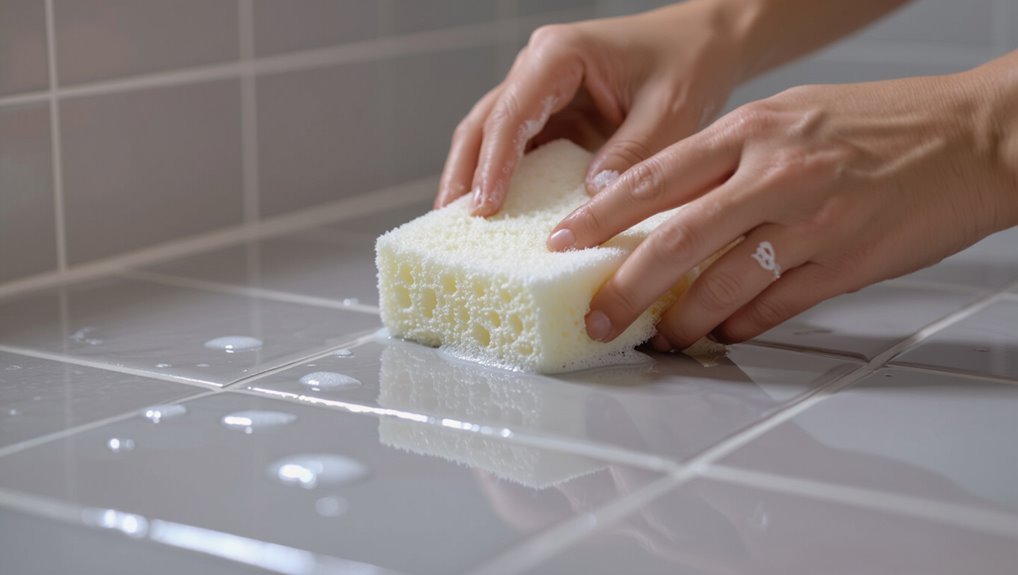
When the grout has been compacted and excess scraped away, wet a clean sponge and wring it out so it’s damp but not dripping; then wipe each tile in diagonal strokes to remove surface haze while keeping water use minimal so joints don’t soften.
Rinse and wring frequently, change water when dirty, and avoid pushing grout from joints.
Repeat light passes until haze lifts.
Step 5 Final cleanup and shaping joints (dry buffing, haze removal)
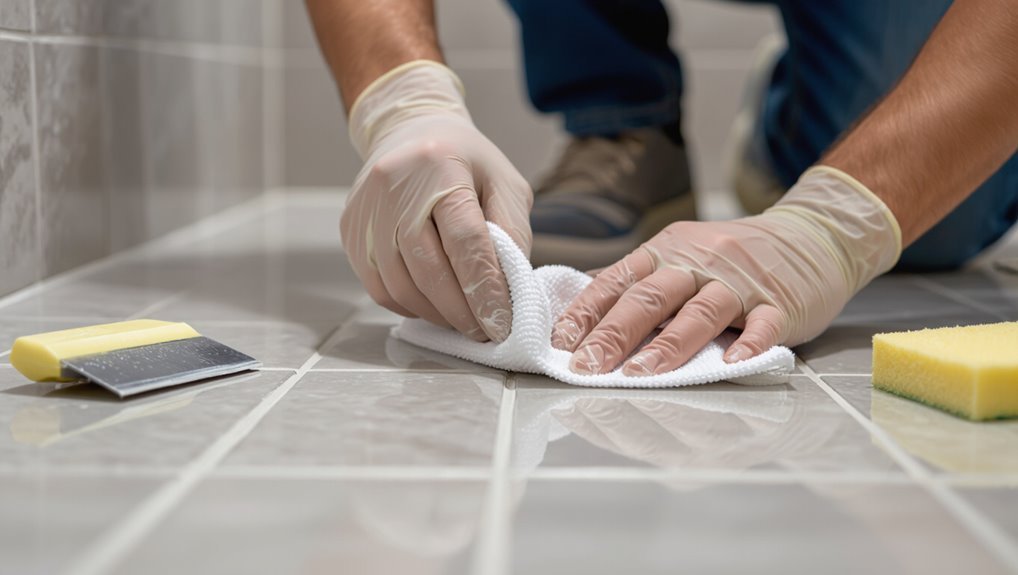
Anyone can finish grout work cleanly by doing a careful final cleanup and joint shaping: let the grout firm to a leather-hard state (usually 20–60 minutes depending on temperature and mix).
Then use a dry, clean cloth or a soft buffing pad to remove remaining haze and define joint profiles without rewetting them.
Gently buff diagonally, inspect for low spots, and touch up sparingly with a damp tool only if necessary.
Step 6 Curing time and conditions before foot traffic or sealing
Once the haze’s removed and joints are shaped, give the grout time to cure properly before you step on it or apply a sealer.
Wait at least 24 hours for light foot traffic and 72 hours for heavy use.
Keep the area dry, ventilated, and temperature-stable (50–85°F).
Avoid cleaning or sealing until grout hardens; follow manufacturer cure times for best results.
Special Situations and Adjustments
You’ll need different techniques and products for narrow versus wide joints, and you should pick grout that suits the joint width and movement.
Take precautions with porous or textured tiles to prevent staining, and consider epoxy grout when chemical resistance and durability are required.
For showers, pools, and exterior areas make waterproofing and proper sealing a priority so your grout lasts.
Grouting narrow vs wide joints (technique and product choice)
Whether your tiles sit closely together or have wide gaps, choose the right grout and tweak your technique to get a durable, neat finish.
For narrow joints (1/16″–1/8″) use unsanded grout and a smaller float, pushing grout diagonally.
For wide joints (over 1/8″) pick sanded or epoxy grout and fill in layers, compacting to avoid voids.
Cure per manufacturer directions.
Grouting porous or textured tiles (precautions to avoid staining)
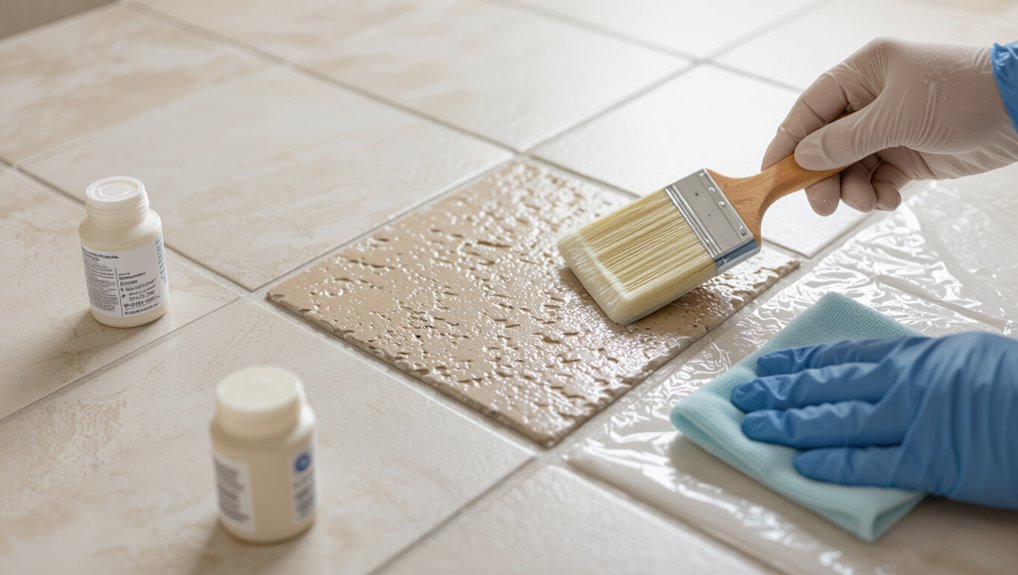
Because porous and textured tiles soak up grout and pigment more easily, take extra precautions to prevent staining before you lay any grout.
Seal tiles or test a small area with your chosen grout diluted per manufacturer instructions.
Use a grout release or sacrificial haze cleaner, apply grout carefully, and wipe frequently.
Work in small sections and rinse tools often to avoid permanent marks.
Using epoxy grout: steps and tips
Mix and apply epoxy grout deliberately, since it cures fast and behaves differently than cement grout—plan small sections, gather the right tools (mixing paddle, margin trowel, grout float, solvent-safe sponges), and follow manufacturer ratios and pot life exactly.
Work quickly, force grout into joints, scrape excess with the float, and clean haze with solvent-dampened sponges before full cure.
Wear gloves and ventilate.
Grouting showers, pools, and exterior areas (waterproofing concerns)
Epoxy grout works great for wet areas, but showers, pools, and exterior walls demand extra waterproofing attention and sometimes different materials or methods.
Use waterproof membranes behind tile, slope shower floors, seal pool joints with polymer-modified or specialized pool-grade grout, and choose flexible sealants at junctions.
For exteriors, pick frost-resistant grout and apply a penetrating sealer.
Test and maintain regularly to prevent leaks.
Common Problems, Causes, and Fixes
You’ll run into a few common grout issues — cracking or crumbling, staining or discoloration, haze on the tile, and shrinkage or voids — and each has a straightforward cause and fix.
I’ll explain how to repair cracked grout, restore stained grout, remove haze without damaging tiles, and prevent or fill shrinkage and voids.
Follow the right materials and techniques and you’ll keep your grout looking and performing its best.
Problem: Grout cracking or crumbling causes and repair steps
While grout often holds tiles in place for years, it can crack or crumble from movement, moisture, or improper installation. When that happens, you’ll want to identify the cause quickly so you can choose the right repair method and prevent further damage.
Inspect joints for gaps, loosened tiles, or dampness. Remove damaged grout, dry the area, and regrout with appropriate mix and sealant to restore strength.
Problem: Grout stain or discoloration cleaning and restoration
If grout has darkened, yellowed, or shows blotchy patches, it’s usually from dirt, mildew, or absorbed stains—and you can often restore it without replacing the joints.
Start by scrubbing with a pH-neutral cleaner and stiff brush. Use oxygen bleach for organic stains, poultice for oil-based marks, and a grout brightener for persistent discoloration.
Rinse, dry, and seal to protect.
Problem: Grout haze left on tiles removal methods
Restoring grout color often fixes many appearance problems, but you can still end up with a fine, cloudy residue—grout haze—on the tile surface.
Remove haze by wiping with a damp microfiber cloth, then buff dry. For stubborn haze, use a haze remover or diluted white vinegar, rinse thoroughly, and dry.
Avoid acidic cleaners on sensitive stone.
Problem: Shrinkage or voids prevention and remediation
When grout shrinks or leaves voids, it not only looks unfinished but can invite water and dirt to damage the joint; you can prevent most problems by using the right mix consistency, proper packing technique, and timely tooling.
If voids appear, remove loose grout, re-dampen the joint, repack with matching grout, tool smoothly, and cure properly.
Avoid overwatering and premature drying.
Best Practices and Pro Tips
You’ll get the best results when you work in the right temperature and humidity, use the proper tools and motions pros rely on, and seal grout at the right time with the right product.
I’ll cover how to pick trowels, floats, and brushes, the techniques that speed cleanup and improve finish, and when and how often to apply sealers.
Finally, you’ll get a simple maintenance routine to keep grout looking new for years.
Timing and environmental tips (temperature, humidity)
Because grout cures best within a controlled window, plan your work for moderate, steady conditions; avoid very hot, cold, or humid days that speed or slow drying and can cause cracking or poor adhesion.
Aim for 50–77°F (10–25°C) and relative humidity under 60%.
If needed, use heaters, fans, or dehumidifiers to stabilize the environment and follow manufacturer cure-time recommendations.
Tools, techniques, and motions pros use
Although grout looks simple, pros rely on a few key tools and specific motions to get tight joints and smooth finishes. You’ll want a good rubber float, multiple grout sponges, a grout saw or blade for corrections, and a margin trowel for mixing.
Use steady diagonal floats, firm pressure, and clean passes to compact grout and remove excess.
- Push grout diagonally into joints
- Hold float at 45°
- Wipe with damp sponge
- Shape joints with finger or tool
- Clean edges promptly
When and how to seal grout (product choices and frequency)
After you’ve got clean, compacted joints and crisp edges, sealing grout protects your work and makes maintenance easier—pick the right sealer for the grout type and exposure, apply it evenly, and reapply on a schedule based on traffic and moisture.
Use penetrating sealers for cementitious grout, topical for high-gloss tiles, test one small area, and reseal every 1–3 years depending on wear.
Maintenance routine to keep grout looking new
If you want grout to stay bright and intact, follow a simple routine:
- Wipe spills immediately with a damp cloth to prevent staining.
- Sweep or vacuum regularly to remove grit that abrades grout.
- Mop weekly with a pH-neutral cleaner to avoid damage.
- Scrub grout lines gently with a soft brush monthly.
- Reapply grout sealer yearly or as manufacturer recommends.
Cost, Time, and Materials Estimate
To plan your grout job, you’ll want a quick cost comparison of DIY materials and tools versus hiring a pro.
Estimate time by project size—expect a few hours for small, a day for medium, and one to two days for large jobs.
Use grout coverage charts and joint volume math to calculate how many bags or tubes you’ll need so you don’t run short.
Typical cost breakdown for DIY vs professional
Whether you’re tackling grout on a small backsplash or a full floor, you’ll want a clear comparison of DIY versus hiring a pro:
DIY materials (grout, sealer, tools) usually cost $20–$150; expect savings if you already own tools.
Pros charge $2–$10 per sq ft including labor and materials, higher for complex work.
Factor warranty and finish quality when deciding.
Time estimates for small, medium, and large projects
Anyone can get a realistic timeline for grouting by breaking projects into small, medium, and large categories:
Small areas (backsplash, shower niche) take 1–3 hours including cleanup.
Medium jobs (single bathroom floor or shower) usually need 4–8 hours, allowing for mixing and drying time.
Large projects (whole-house flooring or multiple rooms) require a day to several days, factoring in staged work and grout curing.
Material quantity calculator guidance (how to estimate bags or tubes)
After you’ve sized the job, you’ll want a quick way to convert square footage and joint width into bags or tubes of grout. Use online calculators or this simple estimate: measure area, pick grout depth, then match to bag yield. Keep extra for waste. Refer to product labels for exact yield before buying.
| Area (ft²) | Joint width | Bags/tubes |
|---|---|---|
| 50 | 1/8″ | 1–2 |
| 100 | 1/8″ | 2–4 |
| 200 | 1/4″ | 4–6 |
| 400 | 1/4″ | 8–10 |
FAQ Common Questions About Installing Grout
You’ll likely want quick answers to common grout questions before you start, like how long it needs to cure before foot traffic and whether you can grout over old or stained grout.
You’ll also want to know if epoxy or cement grout is best for bathrooms, how to keep grout from staining new tiles, and when to use grout versus caulk.
Let’s run through straightforward, practical answers to each.
How long does grout take to cure before you can walk on it?
Wondering when you can walk on fresh grout? You can usually light-foot traffic after 24 hours for sanded or unsanded grout, but full cure takes 72 hours to seven days depending on product, temperature, and humidity.
Avoid heavy traffic or moving furniture for at least 7 days. Follow manufacturer instructions and keep the area dry to guarantee a proper cure.
Can you grout over existing grout or stained grout?
Can you grout over existing or stained grout? You can, but only in limited situations.
If old grout is sound, clean, and firmly adhered, you can apply new grout after roughening the surface and removing dirt or sealers.
If it’s cracked, crumbling, or heavily stained, remove and replace it first for reliable adhesion and a uniform finish.
Is epoxy grout better than cement grout for bathrooms?
Which grout should you pick for a bathroom depends on your priorities: epoxy or cement?
You’ll choose epoxy if you want superior water, stain, and chemical resistance—ideal for showers and wet floors—but it’s pricier and harder to work with.
Pick cement (sanded or unsanded) for easier installation, lower cost, and simpler repairs; seal it regularly to protect against moisture and stains.
How do you prevent grout from staining new tiles?
If you picked cement grout for ease and cost, you’ll want to protect your new tiles from grout haze and staining during and after installation.
Seal tiles beforehand if porous, use a grout release or fogging agent on glossy tiles, work small areas, wipe excess with a damp sponge before it dries, and clean haze promptly with recommended cleaners to avoid permanent marks.
What is the difference between grout and caulk and when to use each?
Because they look similar, many people confuse grout and caulk, but they serve different roles: grout fills and supports the gaps between tiles, while caulk seals joints that need to flex or stop water at edges and connections.
Use grout for stable, wide joints; use caulk at perimeters, inside corners, around tubs and fixtures, and where movement or waterproofing is required.