The Best Tips for Organizing Your Kitchen
Start by evaluating how you move through your kitchen and declutter one drawer or shelf at a time so you don’t get overwhelmed. Create task-based zones for prep, cooking, cleaning and storage, and keep daily items within arm’s reach while storing heavy or seldom-used things higher or lower. Use clear containers, labels, pull-out shelves and vertical space to maximize visibility and access. Set simple daily and weekly routines to stay on top of maintenance, and keep going to get practical setup and product ideas.
Assess Your Kitchen’s Layout and Workflow
Before you rearrange shelves or buy new containers, take a step back and observe how you actually move through the space: where you reach for plates, prep food, wash, and store groceries.
Note bottlenecks, repeated trips, and awkward reaches. Map zones — cooking, prep, cleaning, storage — so items live where you use them.
Prioritize kitchen ergonomics by placing heavy items waist-high and frequently used tools within easy reach. Measure clearances around appliances to avoid collisions.
Small tweaks boost workflow efficiency: shift a drawer, relocate a utensil rack, or adjust lighting. Test changes for a week and refine based on real use.
Declutter Before You Organize
Now that you’ve mapped how your kitchen flows, clear out clutter so the organization you planned can actually work.
Start small: tackle one drawer or shelf so you don’t get overwhelmed. Sort items into keep, donate unused items, repair, and recycle outdated gadgets or electronics. Be honest about duplicates and things you never use.
Wipe surfaces before returning anything. For food, check expirations and compost spoiled produce. Label donate bags and schedule drop-offs promptly so they don’t linger.
When you finish each area, take a photo to track progress and motivate yourself to maintain the cleared, functional space.
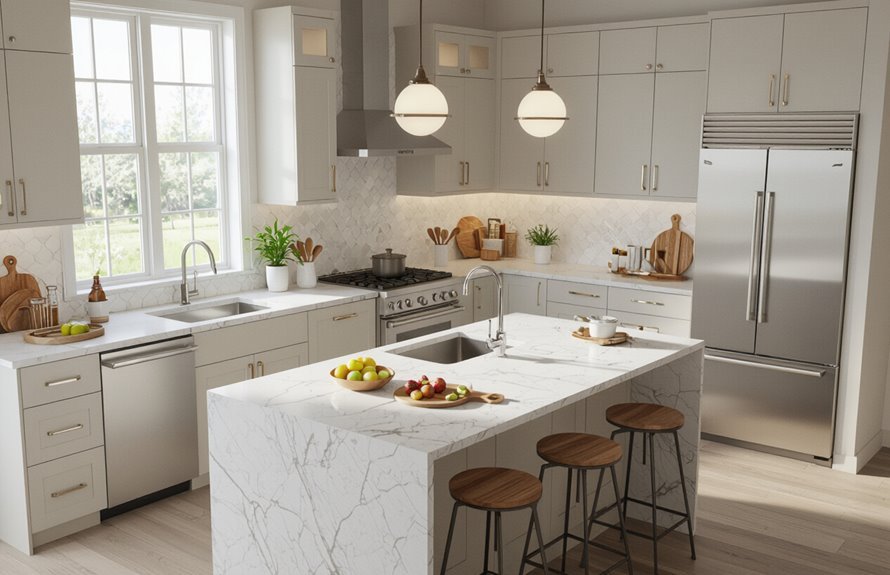
Create Zones Based on Tasks
Divide your kitchen into clear task-based zones — cooking, prep, cleaning, storage, and food prep — so everything you need for a job lives within arm’s reach.
You’ll group tools and ingredients by use: pots, pans, and utensils near the stove; knives, cutting boards, and bowls at the prep station; cleaning supplies under the sink; staple foods in a dedicated pantry area.
This task based organization reduces steps and mental clutter.
Plan a functional design that aligns with how you cook: place frequently used items where you can grab them quickly, label zones, and adjust layouts as your routines evolve.
Maximize Vertical Space
When floor space is limited, look up and make vertical storage work for you: install tall shelving, hang pots and pans from a ceiling rack, and add magnetic strips or pegboards on walls to keep tools accessible without cluttering counters.
Use wall mounted shelves to store seldom-used appliances, display cookbooks, or corral baskets for linens. Mount hooks for mugs and utensils, and fit slim racks inside cabinet doors to free shelf depth.
Choose vertical organizers for bakeware and cutting boards so items stand upright and stay visible. Measure before mounting, secure anchors, and arrange by frequency of use for efficient reach.
Use Clear Storage Containers
Maximizing vertical space makes it easier to see and reach items, and clear storage containers take that visibility a step further by letting you spot contents at a glance. You’ll save time and cut waste when you can instantly identify staples, snacks, and baking supplies.
Choose uniform shapes to stack neatly and use labels for expiration dates or portion sizes. Clear container benefits include reducing duplicate purchases and improving meal prep flow.
Mix functionality with style by selecting durable, BPA-free materials and stylish storage options that match your kitchen’s aesthetic. You’ll maintain order with minimal effort and clear sightlines.
Implement Drawer Dividers
Start by measuring your drawers and sorting what you keep in them so you can choose dividers that fit and actually solve your clutter.
You’ll pick divider materials based on use: bamboo for utensils, plastic for kids’ items, metal for heavy tools.
Match divider sizes to drawer styles — shallow for cutlery, deep for gadgets.
Install adjustable systems so you can reconfigure as needs change. Keep like-with-like zones and label when helpful. Small investments save time.
- Reserve one section for daily tools
- Stack lids flat in a slim divider
- Use narrow slots for baking tools
- Create a junk drawer trap
- Protect wood from moisture
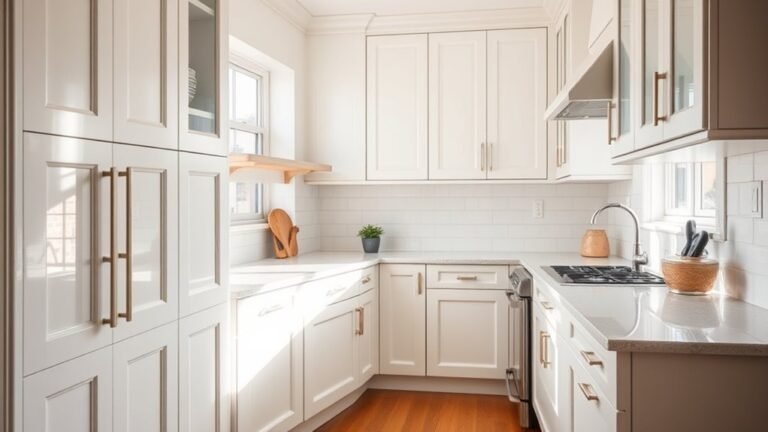
Organize Cabinets by Frequency of Use
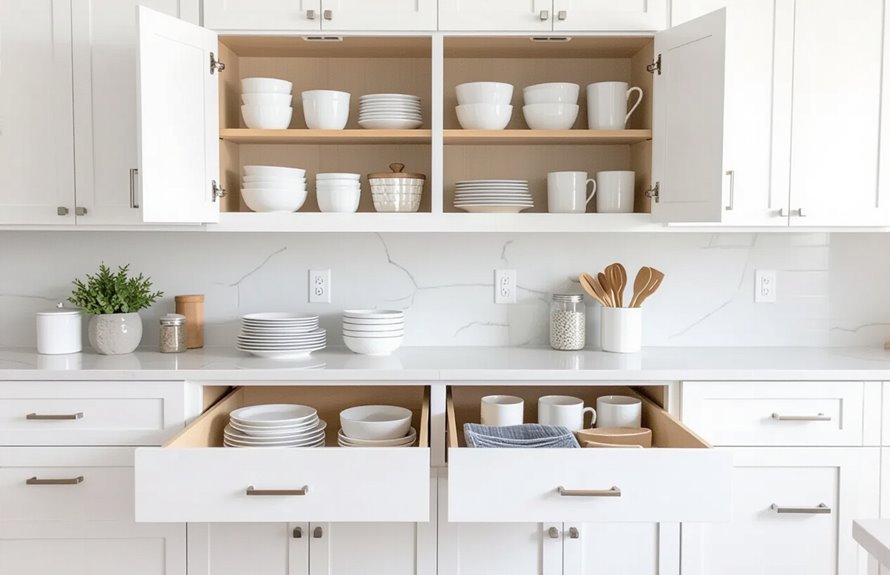
You’ve tamed drawer chaos, so now arrange cabinets around how often you use items: keep daily plates, glasses, and frequently used pans at eye or waist level for easy reach, stash occasional-use bakeware and specialty gadgets on higher shelves, and reserve low or hard-to-reach cabinets for bulky or seasonal pieces.
Next, establish a cabinet category grouping system — plates with plates, glasses together, baking tools grouped — so you always know where to look.
Position frequently used items near prep and cleanup zones to cut steps. Label shelves if helpful, review periodically, and adjust as your habits change.
Use Pull-Out Shelves and Lazy Susans
To get more from tricky corners, install pull-out shelves or a Lazy Susan so every jar and pan is within reach.
Put daily items on the front or easiest-to-access trays, and reserve deeper spots for seldom-used gear.
Pick solid, smooth-moving mechanisms so they hold weight and last.
Maximize Corner Access
Corners can easily become wasted space, but swapping fixed shelving for pull-out trays or a lazy Susan lets you reach items without rummaging or bending.
You’ll reclaim awkward corners with corner shelving and rotating racks that glide smoothly. Install pull-out carousels for pots, or a two-tier lazy Susan for spices. Measure depth and door swing, choose sturdy sliders, and keep frequently used items upfront. Maintain visibility by grouping like items and labeling edges.
- Store seldom-used gadgets on deeper trays
- Keep spices on a small rotating rack
- Use clear bins for baking supplies
- Mount soft-close sliders
- Label front edges
Organize by Frequency
If you’ve reclaimed corner space with pull-outs and rotating racks, apply the same thinking across the whole kitchen by organizing items where you use them most.
Group kitchen essentials into frequency categories: daily, weekly, and occasional.
Place daily items—coffee, plates, cooking oils—on easy-to-reach pull-out shelves near prep zones.
Put weekly-use pieces on higher shelves or back of cabinets, using a Lazy Susan for jars so you spin to find what you need.
Reserve deep storage for occasional gear.
Label shelves or use clear bins to reinforce categories.
This system cuts search time and keeps your workflow smooth and predictable.
Choose Sturdy Mechanisms
While durability matters, choosing sturdy mechanisms like quality pull-out shelves and well-built Lazy Susans changes how you use the whole kitchen: they make access effortless, reduce strain, and protect contents from tipping or getting stuck.
You’ll appreciate sturdy shelves that glide smoothly and durable containers that stay put. Install pull-outs in low cabinets for pots and pans, add a Lazy Susan in corner cupboards, and use non-slip liners.
Regularly check hardware and tighten as needed. Small upgrades keep items visible and reachable, save time, and prevent breakage—so you’ll enjoy a safer, more efficient kitchen.
- Easier reach
- Safer storage
- Less lifting
- Improved visibility
- Longer lifespan
Store Pots and Pans Efficiently
Because you use them daily, keep your pots and pans easy to grab by grouping like pieces, nesting skillets, and storing lids upright on a rack or in a bin; this saves space and prevents scratches while making cleanup and cooking faster.
Arrange pans by size and frequency of use, label shelves or dividers, and use pan stacking techniques that alternate protective liners or silicone protectors to avoid gouges.
Mount a wall rack for heavy pots, slide a deep drawer with adjustable inserts for quick access, and dedicate a spot near the stove.
Review and purge duplicates so your system stays efficient.
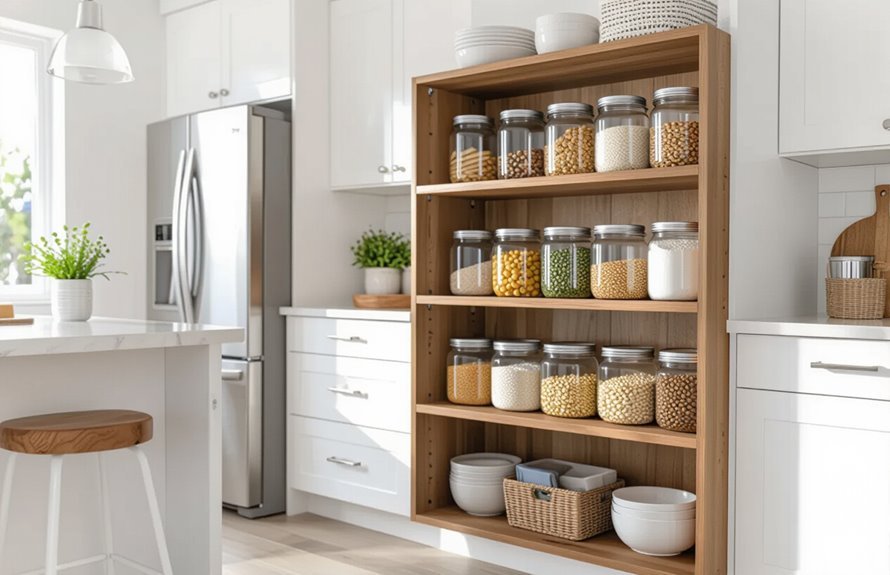
Keep Pantry Items Visible and Accessible
Make everything in your pantry easy to see and grab by arranging items with clear sightlines and logical groupings—place everyday staples at eye level, use transparent containers for bulk goods, and label shelves so you know exactly where things belong.
You’ll boost pantry organization and food visibility by grouping similar items, rotating older products forward, and keeping frequently used ingredients within reach. Use baskets and tiered risers to prevent items from getting lost in the back.
Keep a small step stool handy for high shelves, and clear expired items monthly to maintain order.
- Keep baking supplies together
- Stack cans with labels facing out
- Use clear jars for grains
- Store snacks at kid height
- Arrange breakfast items by prep time
Label Everything for Easy Identification
Once your pantry items are grouped and visible, labeling lets you find things instantly and keep that order intact. You’ll set up clear label categories — grains, baking, snacks, spices — so anyone can grab what they need. Use waterproof labels and consistent fonts, and apply color coding for quick recognition: one hue per category. Update labels when contents change, and label both front and top of containers for visibility. Below’s a simple reference to get started.
| Category | Color |
|---|---|
| Grains | Brown |
| Baking | Blue |
| Snacks | Green |
| Spices | Red |
Optimize Under-Sink Storage
Three simple changes can transform the cluttered space under your sink into functional storage: install a pull-out drawer or sliding shelf for easy access, add a tension rod to hang spray bottles, and use stackable bins to corral cleaners and spare sponges.
You’ll create efficient under sink organization by decluttering, grouping like items, and choosing compact storage solutions. Keep chemicals separated and label bins so you grab what you need fast.
Regularly purge expired products and wipe surfaces to prevent leaks and odors.
- Group cleaners by use
- Use clear, stackable bins
- Add a pull-out shelf
- Hang spray bottles on a rod
- Label everything
Use Hooks and Magnetic Strips for Utensils
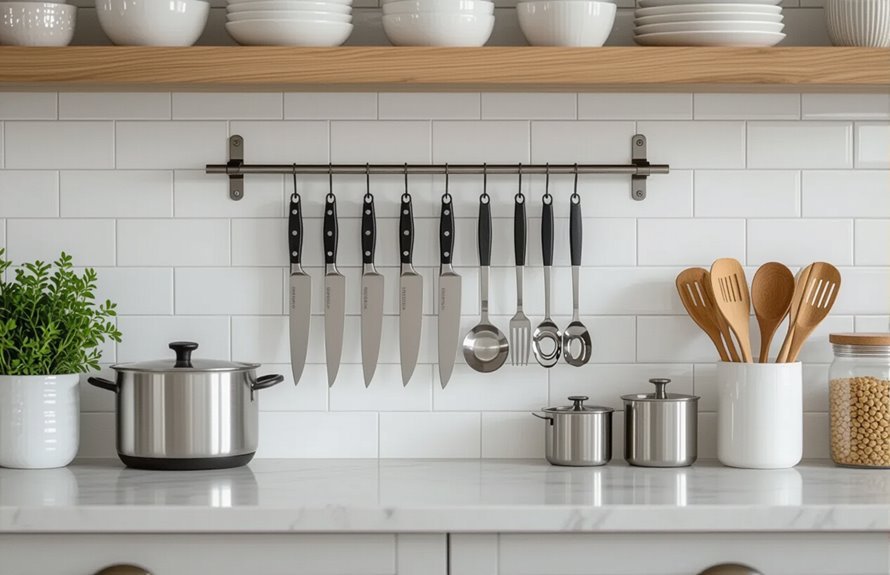
When countertop drawers get crowded, free up space and keep frequently used tools within reach by mounting hooks and magnetic strips on a backsplash or inside cabinet doors.
You’ll hang spatulas, tongs, and measuring spoons on kitchen hooks so they’re visible and ventilated, avoiding tangled drawers. Use magnetic strips for knives and metal gadgets to protect blades and speed prep.
Place hooks near prep zones and magnetic strips at safe heights away from kids.
Label zones mentally: prep, cooking, baking. This system saves drawer space, simplifies cleanup, and helps you grab the right tool instantly without rifling through clutter.
Organize Small Appliances Thoughtfully
Because kitchen counters quickly become clutter magnets, you should keep small appliances organized by purpose and frequency of use.
Group daily-use items within reach, tuck occasional gadgets into labeled cabinets, and decide small appliance placement to keep workflows smooth.
Follow appliance maintenance tips like wiping cords, descaling kettles, and scheduling checks to extend life.
Rotate appliances seasonally so you don’t overcrowd counters.
- Keep coffee maker near mugs and water source
- Store mixer attachments together in one bin
- Stow seldom-used gadgets on higher shelves
- Use rolling trays for bulky items
- Label spots so everything returns where it belongs
Maintain a Functional Meal Prep Station
Set aside a clear prep zone near your main work surface so everything you need is within reach.
Keep essential tools—sharp knives, cutting boards, measuring cups, and a mixing bowl—stored together for quick access.
That way you’ll move faster and make fewer trips back and forth while you’re cooking.
Designate a Prep Zone
Pick a dedicated prep zone in your kitchen and keep it stocked so you can start cooking without hunting for tools or ingredients.
Choose a flat, well-lit surface near stove and sink to create an efficient workspace. Arrange items so movement flows: fridge to counter to stove. Use clear containers and labeled drawers for quick grabs. Keep frequently used ingredients close, but avoid crowding the area.
- Clear counter space before you start
- Keep a small cutting board ready
- Store often-used spices nearby
- Have a trash bowl or bin accessible
- Reserve one drawer for prep station essentials
Stock Essential Tools
Now that your prep zone is ready, you’ll want the right tools within reach so meal prep stays smooth and stress-free.
Keep a concise set of kitchen gadgets and essential utensils organized where you work: sharp chef’s knife, paring knife, cutting board, mixing bowls, measuring cups and spoons, spatula, tongs, peeler, and a can opener.
Store frequently used items in a drawer divider or on a magnetic strip for knives. Rotate specialty gadgets to a nearby cabinet.
Label containers and keep a small tray for scraps and compost. With this setup, you’ll move faster and waste less time hunting tools.
Designate a Spot for Recyclables and Trash
When you’ll be sorting through kitchen waste, designate a clear, accessible spot for recyclables and trash so everyone in the household knows where things go; place labeled bins near your prep area or exit to streamline disposal and prevent clutter.
You’ll improve recycling bin placement and trash can accessibility by choosing sturdy, easy-to-clean containers and keeping lids functional.
Empty on a schedule, teach kids where each item belongs, and rotate liners nearby. Keep compost or donation items separate if needed.
- Choose durable bins
- Label with icons and words
- Keep lids and pedals working
- Empty on a routine
- Store extra liners nearby
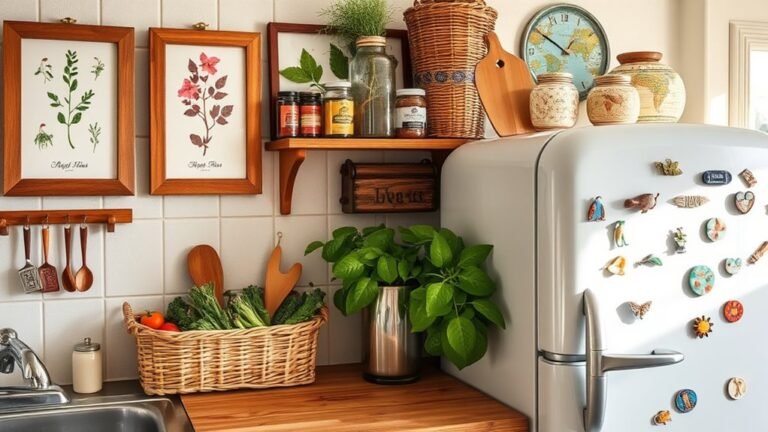
Create a Command Center for Schedules and Lists
Set up a command center on a wall or the side of the fridge so everyone can see the central family calendar at a glance.
Add a meal planning station with a weekly menu, grocery list pad, and pen to streamline dinners and shopping.
Keep it simple and consistent so schedules and lists actually get used.
Central Family Calendar
A single, visible command center keeps everyone’s schedules, meal plans, and grocery lists in one place so you can cut down on missed appointments and last-minute store runs.
Use a central family calendar for calendar management and tracking family events so everyone checks one source. Mount it near the kitchen hub, add color-coded entries, and update it during weekly check-ins.
Keep a pen, sticky notes, and a small inbox for papers. Make it easy for kids to add school dates and for partners to mark work shifts. Review it nightly to prevent surprises and streamline daily routines.
- Color-code by person
- Add reminders
- Keep a running grocery list
- Include school and activity times
- Review weekly together
Meal Planning Station
If you want dinners to run smoothly, create a dedicated meal-planning station in your kitchen that combines the weekly menu, pantry inventory, grocery list, and recipe cards so everyone knows what’s for dinner and what needs buying.
Set up a small board or wall pocket system near the fridge for quick updates. Use labeled sections for meal prep days, leftovers, and shopping priorities.
Keep recipe organization simple: attach favorite cards or a binder with categories. Add a pen, magnetic clips, and a tablet stand for digital recipes.
Review the station each weekend to plan, stock, and delegate tasks.
Rotate and Date Perishables Regularly
Rotate and date perishables every time you put them away so you’ll always grab the oldest items first and cut down on waste.
You’ll build simple expiration tracking and better inventory management by labeling dates and rearranging shelves. Make it a quick habit so your fridge and pantry stay useful, not cluttered.
- Label containers with purchase or open dates
- Put newer items behind older ones
- Keep a small whiteboard or app checklist
- Check for spoilage when you prep meals
- Toss anything past its date or obviously bad
Consistent rotation saves money and keeps meals fresher.
Establish Easy Daily and Weekly Routines
Now that you’re keeping perishables dated and rotated, make simple daily and weekly routines to keep the whole kitchen running smoothly.
Set short daily habits: wipe counters after use, load or empty the dishwasher, spot-check the fridge for spills, and return items to their assigned spots.
Create weekly checklists for restocking staples, sweeping and mopping floors, clearing expired items, and deep-cleaning one appliance.
Put lists where you’ll see them—on the fridge or a phone note—and set reminders.
Routines should take minutes, not hours, so they stick. Consistency keeps clutter and chaos from building back up.
Adopt Minimalist Habits to Prevent Re-cluttering
When you bring fewer things into the kitchen and make intentional choices about what stays, it’s much easier to keep surfaces clear and put items away quickly. You’ll adopt a simplicity mindset, choosing tools that truly serve you and practicing mindful consumption to resist impulse buys.
Commit to regular mini-declutters, donate duplicates, and label storage so decisions stay simple. Habits matter more than perfect systems; they prevent re-cluttering by stopping stuff at the door.
- Keep only daily-use utensils within reach
- Donate items you haven’t used in a year
- Buy replacements, not extras
- Use baskets for contained clutter
- Schedule quick weekly reviews
Conclusion
You’ve assessed, decluttered, zoned, and maximized every inch — now keep it that way. You’ll use clear containers, rotate perishables, and set routines that stick, so mess doesn’t creep back in. Want a kitchen that actually makes cooking easier instead of fighting you? Keep habits simple: tidy as you go, purge regularly, and treat your layout like a workflow. Small habits now mean a calmer, more functional kitchen every day.