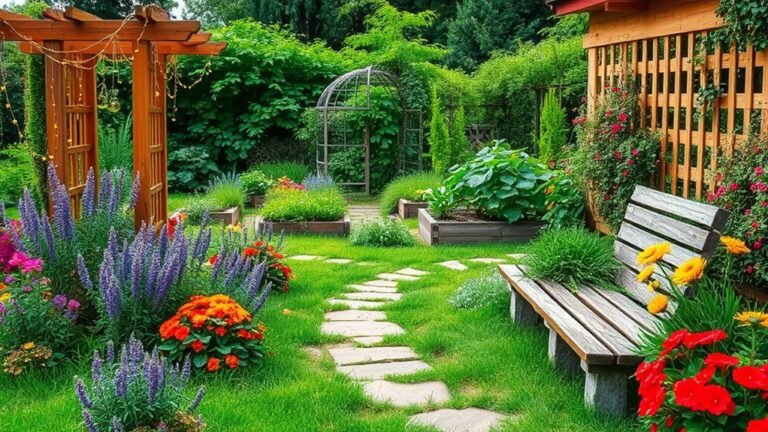
40 Innovative Grow Bags Gardening Ideas for Easy Home Growing
Grow bags are your ultimate gardening solution, offering versatility and practicality for any space. With breathable fabrics, they’re perfect for healthy root growth. You can get creative with DIY options and vertical gardening ideas, maximizing your area while adding flair to your garden. Consider using grow bags for herbs, succulents, or seasonal decorations. Plus, they’re easy to move, letting you adapt as needed. Stick around to discover even more innovative ways to elevate your gardening experience!
Choosing the Best Grow Bags for Your Space
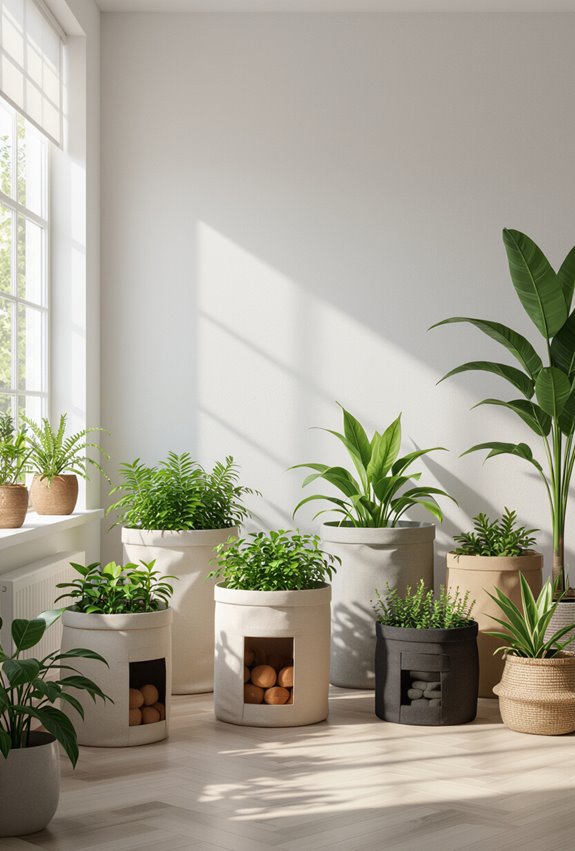
Start by measuring the area you’ve got and matching bag size to that space — small 1–3 gallon bags suit herbs and compact lettuces on a windowsill, while 5–15 gallon bags work well for tomatoes, peppers, and bushier plants on a balcony or patio.
Choose fabric or plastic based on drainage and durability, consider material choices and weight capacity, and pick handles for easy moving.
How to Set Up Grow Bags on a Balcony
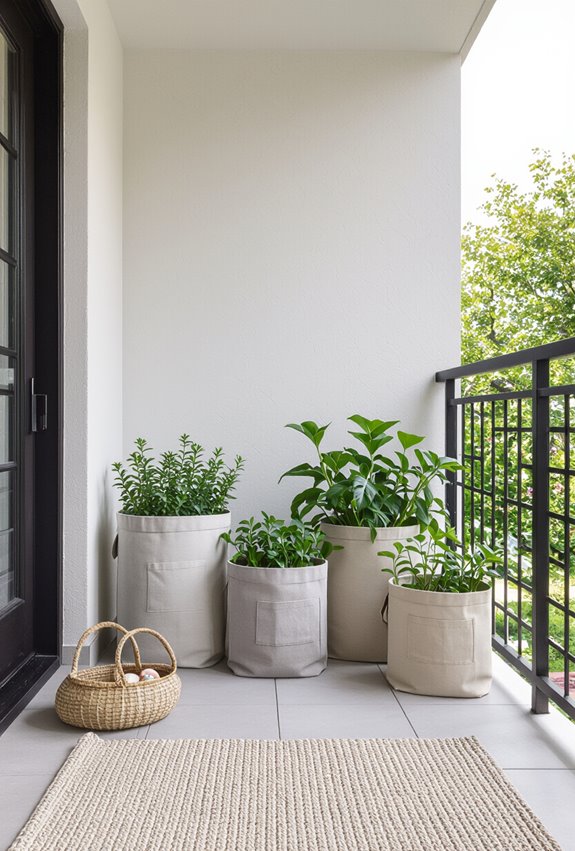
On a balcony, lay out your grow bags so they get the right mix of sun, access, and airflow—place sun‑loving crops where they’ll get the most light and shade‑tolerant ones where they won’t bake, keep at least a few inches between bags for circulation, and leave a clear path for watering and maintenance.
Secure bags to prevent tipping, plan balcony irrigation lines, and consider weight distribution for safety.
Using Grow Bags for Container Herb Gardens
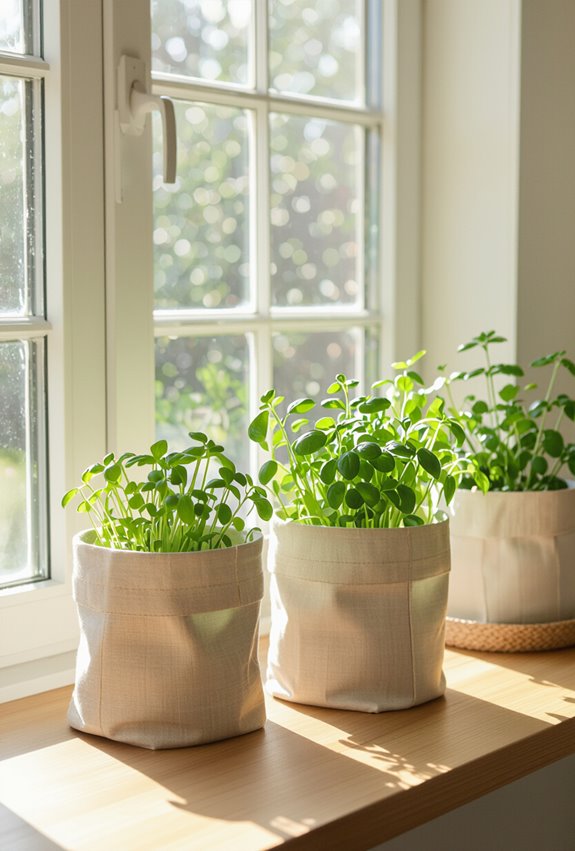
Raised grow bag raised beds work great for veggies, and you can apply the same space-saving logic to herbs by grouping grow bags on a sunny ledge, shelf, or balcony rail.
You’ll create micro herbatures—compact, varied pots—arranged as aromatic mosaics.
Plant basil, thyme, chives, and mint in separate bags, rotate watering, pinch regularly, and harvest fresh flavors right where you live.
Tomato Pruning and Support in Grow Bags
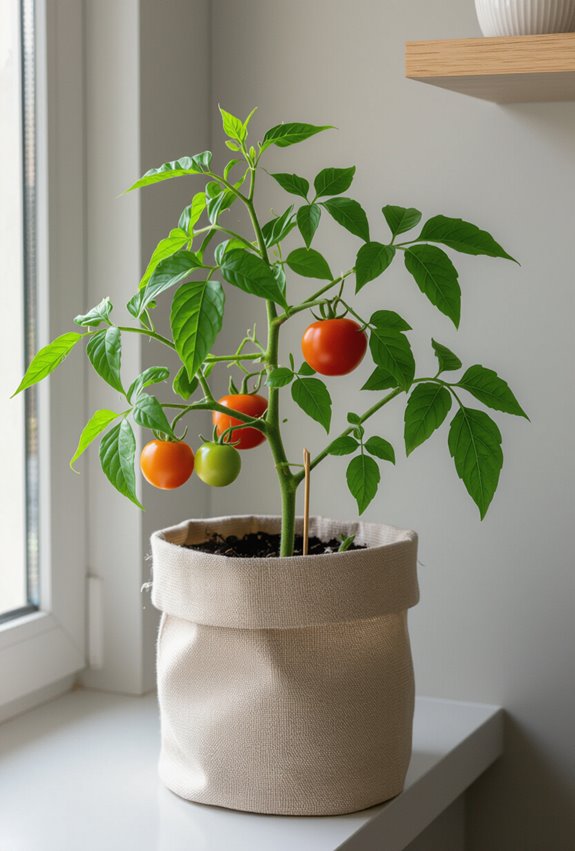
After you’ve got your potato towers established, switch focus to tomatoes in grow bags—these containers need a different approach to pruning and support to keep plants productive and manageable. You’ll monitor pruning timing, remove suckers early, and reduce foliage to improve airflow.
Install sturdy support structures—stakes, cages, or trellises—anchored into the bag. Tie stems loosely and prune for balanced fruiting.
Companion Planting Combos for Grow Bags
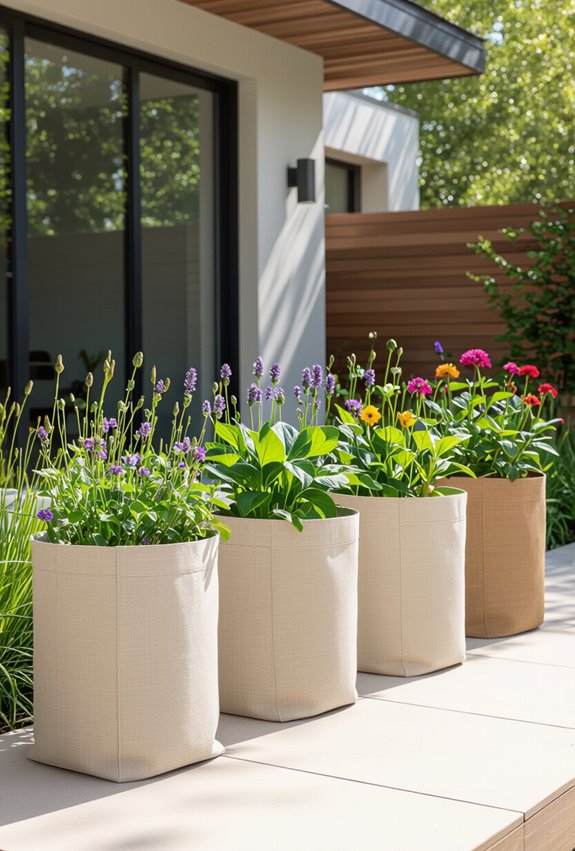
When you pair compatible plants in a grow bag, they share space efficiently and boost each other’s health—think basil with tomatoes to repel pests and improve flavor, or marigolds with beans to deter nematodes.
Choose herb pairings like chives with carrots, cilantro with peppers, and add flower companions—nasturtiums or calendula—to attract beneficial insects.
Rotate crops and monitor moisture.
Growing Leafy Greens Fast in Shallow Grow Bags
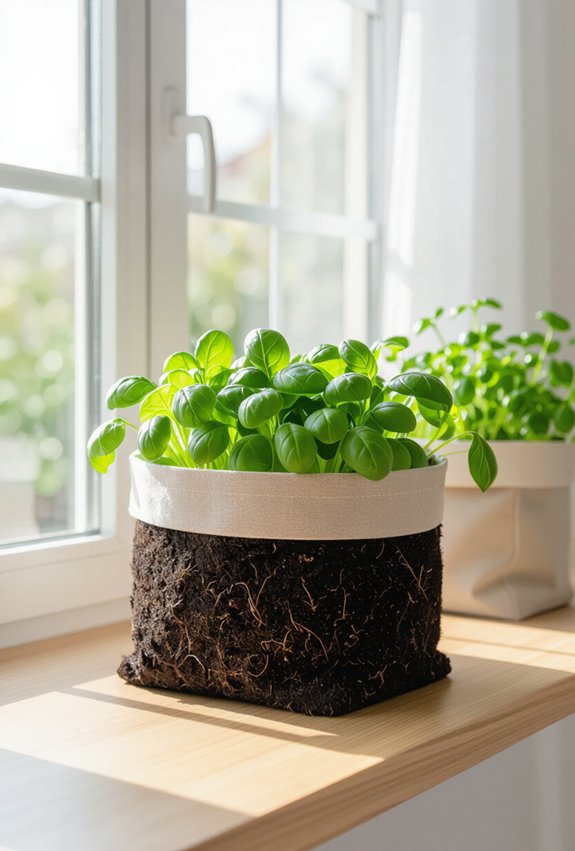
Frequently you can harvest salad greens in just a few weeks from shallow grow bags by choosing fast-maturing varieties, using a fertile, well-draining mix, and keeping moisture and light consistent.
You’ll sow densely for baby leaves, mimic microgreen trays’ timing, and rotate crops for continuous harvests.
Try shallow hydroponics setups or thin bags on sunny balconies to boost growth and save space.
Best Soil Mixes to Fill Grow Bags
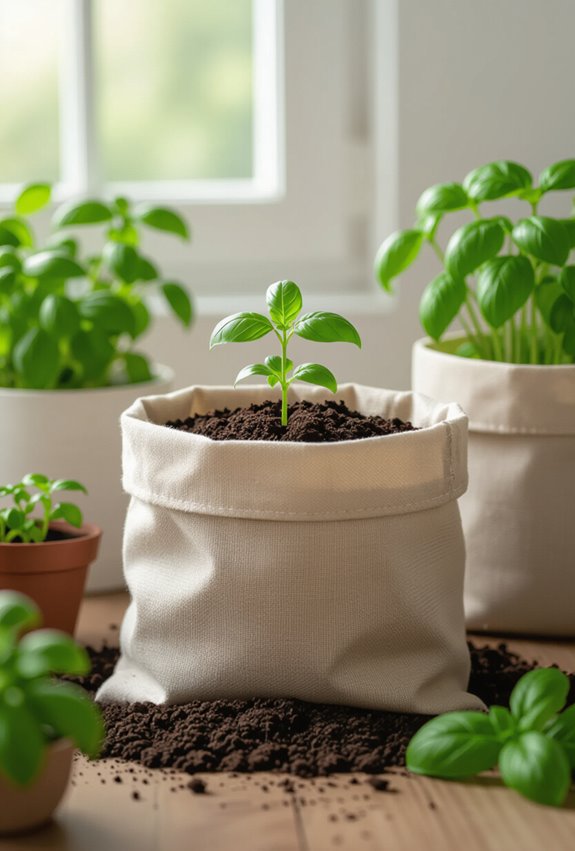
A few simple components will give your grow bags the drainage, nutrition, and lightness plants need to thrive: a base of high-quality peat-free compost or coco coir for moisture retention, plenty of well-aged compost or worm castings for fertility, and coarse perlite or grit to keep the mix airy and fast-draining.
Mix ratios vary; try 40% base, 30% compost, 20% aeration, 10% amendments.
DIY Self-Watering Systems for Grow Bags
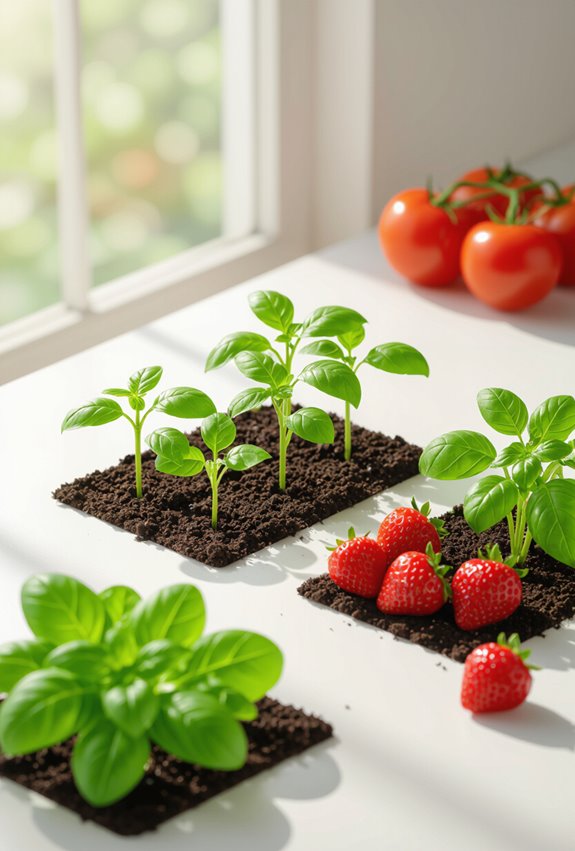
Save time and water by adding a simple self-watering system to your grow bags.
You can build a capillary wickwater setup using cotton or nylon wick feeding from a hidden gravity reservoir beneath the bag.
Fill the reservoir, thread wicks into the root zone, and monitor moisture.
This reliable method keeps roots hydrated, reduces watering frequency, and prevents overwatering.
Fertilizer Routines Tailored to Grow Bags
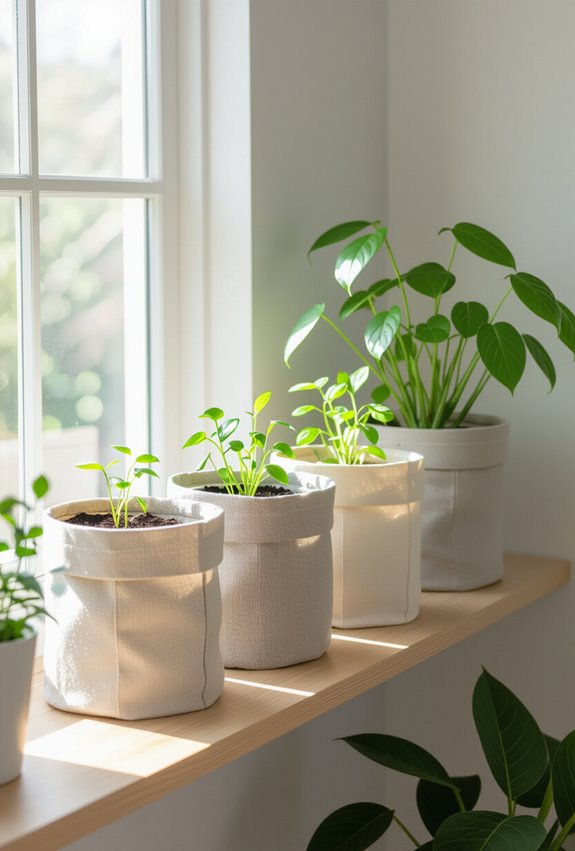
Because grow bags restrict root volume and drain quickly, you’ll need a fertilizer routine that feeds plants frequently but gently.
Use a balanced liquid feed every 7–10 days, supplement with an organic topdress at planting and midseason, and add a slow release granule for longer crops.
Monitor foliage and adjust strength; flush occasionally to prevent salt buildup and nutrient imbalances.
How to Manage Drainage and Aeration in Grow Bags
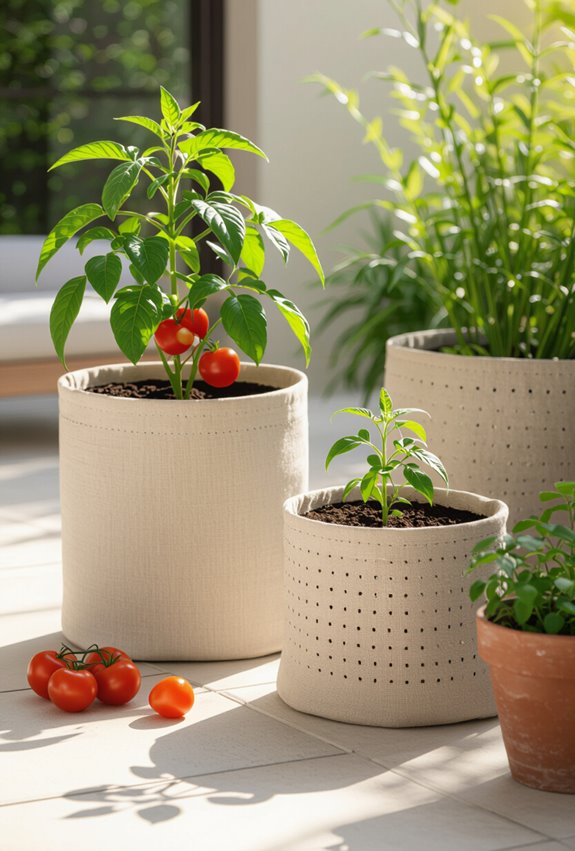
With limited soil depth and fast-draining sides, grow bags demand deliberate management of drainage and aeration to keep roots healthy; you’ll balance moisture retention without suffocating roots by choosing the right media, positioning bags for airflow, and using simple tweaks like adding coarse material or making extra vents.
Use layered media to create airflow channels, monitor with moisture sensors, and tilt bags slightly for excess runoff.
Overwintering Tender Plants in Grow Bags
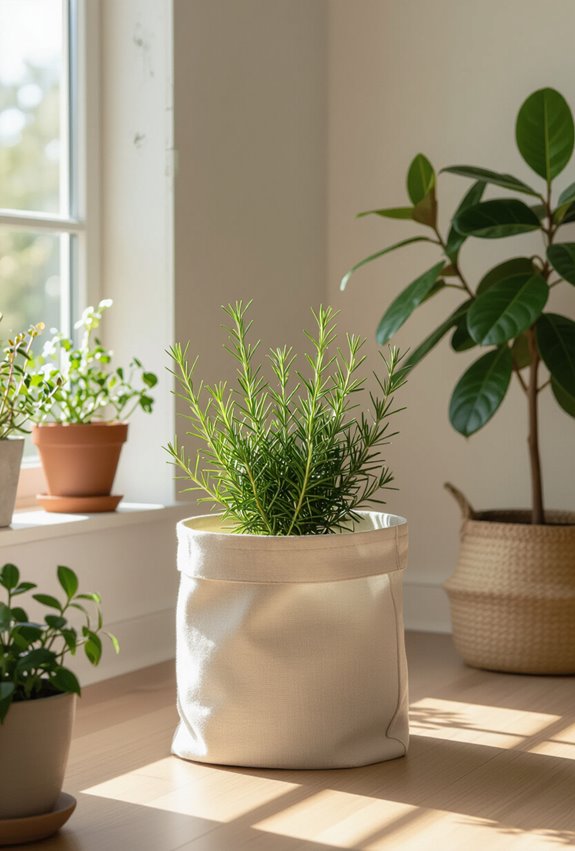
Moving your tender plants indoors or into sheltered spots before the first hard frost will keep their roots safe and give you a head start next spring.
You’ll lift grow bags onto trays, prune lightly, and reduce watering for indoor hibernation.
Use frost proofing shelters, insulating wraps, or a cool bright room.
Check for pests and rotate pots occasionally to maintain even dormancy.
Heat Management for Grow Bags in Hot Climates
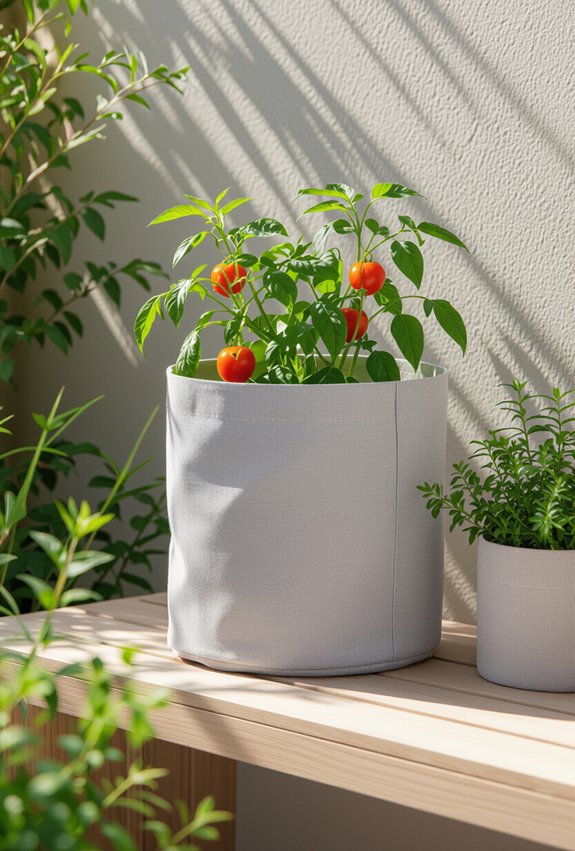
Because grow bags heat up quickly in direct sun, you’ll need to manage soil temperature to protect roots and preserve moisture.
Use reflective mulch around bags to bounce heat away, mulch the surface to reduce evaporation, and position plants for evapotranspiration shading from taller companions.
Water deeply in cooler morning hours, monitor soil temps, and move or shade bags during extreme heat spikes.
Cold-Climate Tricks for Grow Bag Success
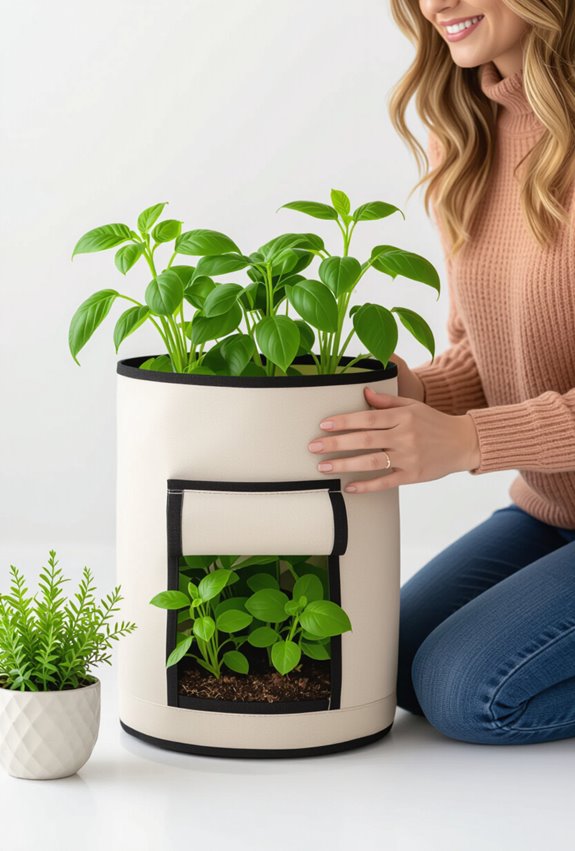
When temperatures drop, you’ll need a few simple adjustments to keep plants in grow bags thriving: insulate the bags, protect roots from freeze-thaw cycles, and extend warmth with season-extending tactics like cloches or thermal covers.
You’ll add cold proofing mulch, choose frost tolerant varieties, elevate bags off cold surfaces, water midday for thermal buffering, and monitor microclimates to protect tender growth.
Growing Dwarf Fruit Trees in Large Grow Bags
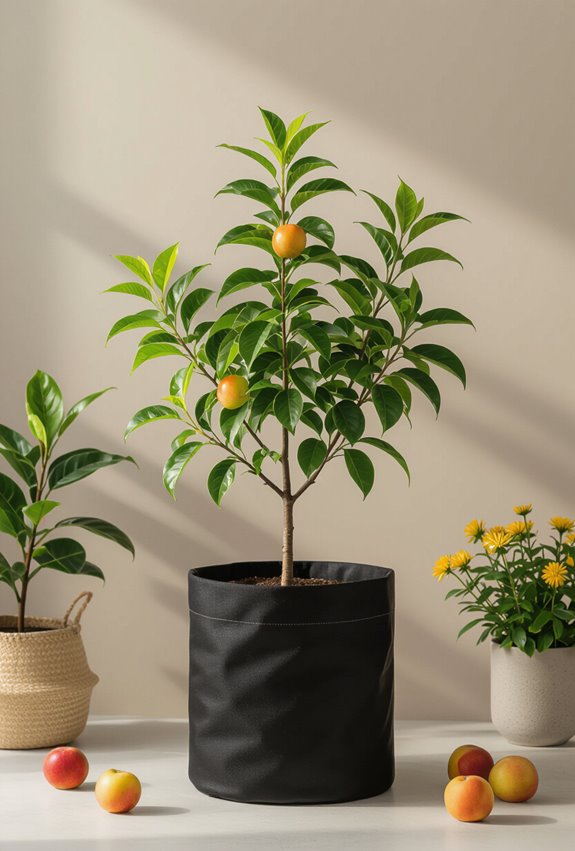
Grow dwarf fruit trees in large grow bags to enjoy full-size yields without a permanent orchard: pick sturdy 15–25 gallon bags with good drainage and handles, choose true dwarf or semi-dwarf varieties grafted onto reliable rootstocks, and position them where they’ll get at least six hours of sun and shelter from strong winds.
Prune for a dwarf espalier, use container grafting-friendly soil, and stake securely.
Edible Flowers to Grow in Grow Bags
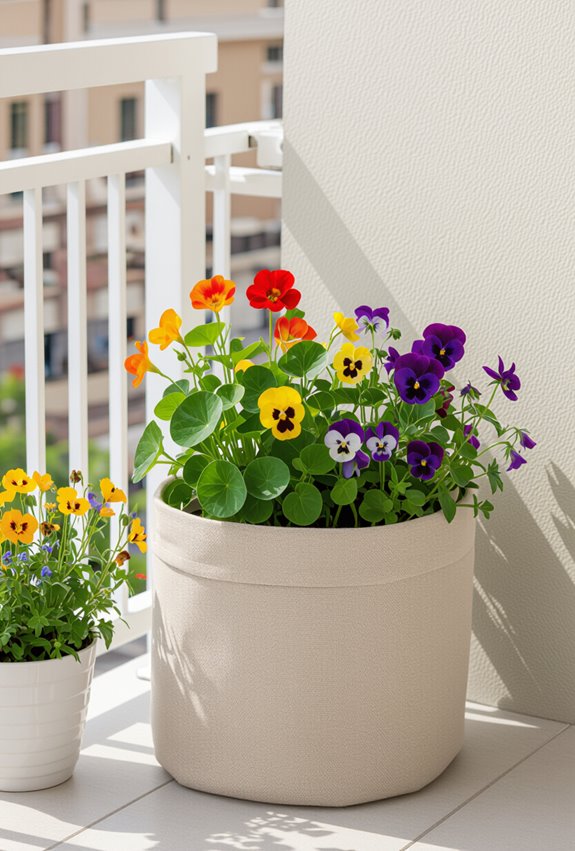
Shifting from fruit trees, edible flowers offer compact, high-impact color and flavor that thrive in grow bags and won’t demand much space or permanence.
You’ll plant edible nasturtiums for peppery color, scatter violas salad blooms atop greens, and harvest calendula petals to brighten dishes. They’re low-maintenance, attract pollinators, and let you snip fresh garnishes right from your patio.
Medicinal and Tea Herb Combinations for Grow Bags
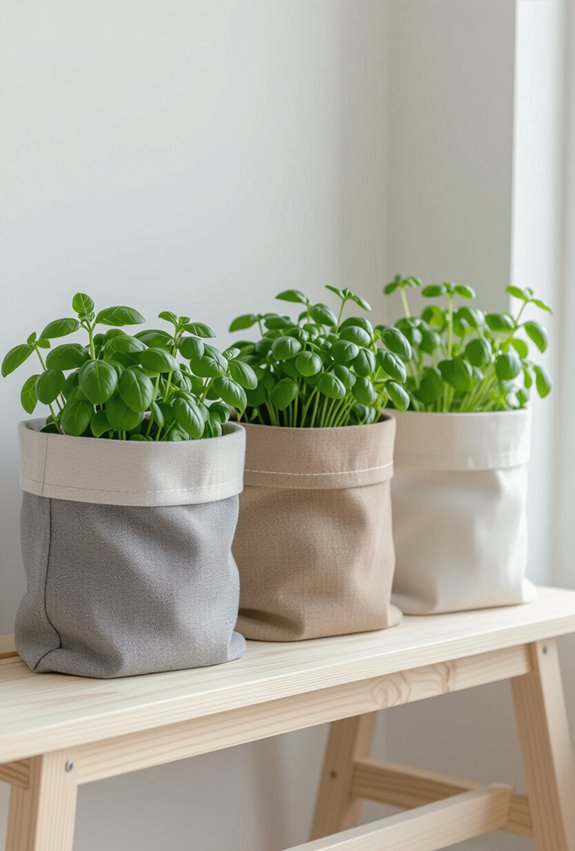
How about steeping a cup of chamomile or peppermint fresh from a compact grow bag? Pair calming chamomile with lemon balm for sleep-supporting tea, or mix digestive peppermint with ginger and stevia for a bright, tummy-soothing brew.
You’ll plant in small containers, rotate sun and shade, and harvest leaves before flowering to preserve flavor and medicinal potency.
Quick Microgreen Harvests Using Shallow Grow Bags
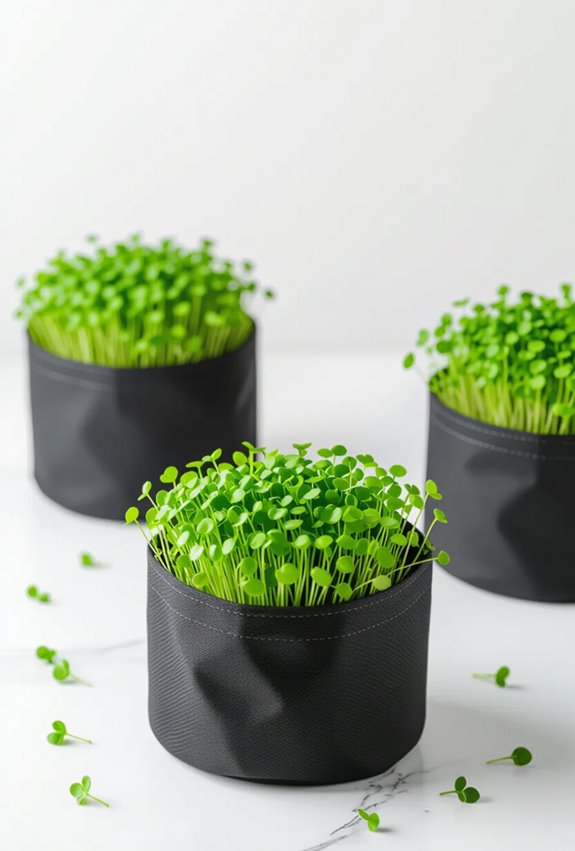
If you enjoyed harvesting chamomile and peppermint from small containers, you can use similarly compact setups for microgreens that mature in just days.
Use shallow grow bags as portable microgreen trays, fill with a fine seed mix, and sow densely. Keep humidity and light balanced to encourage rapid germination and tidy roots. Harvest with scissors at cotyledon stage for maximum flavor.
Pole Beans and Climbers Trained From Grow Bags
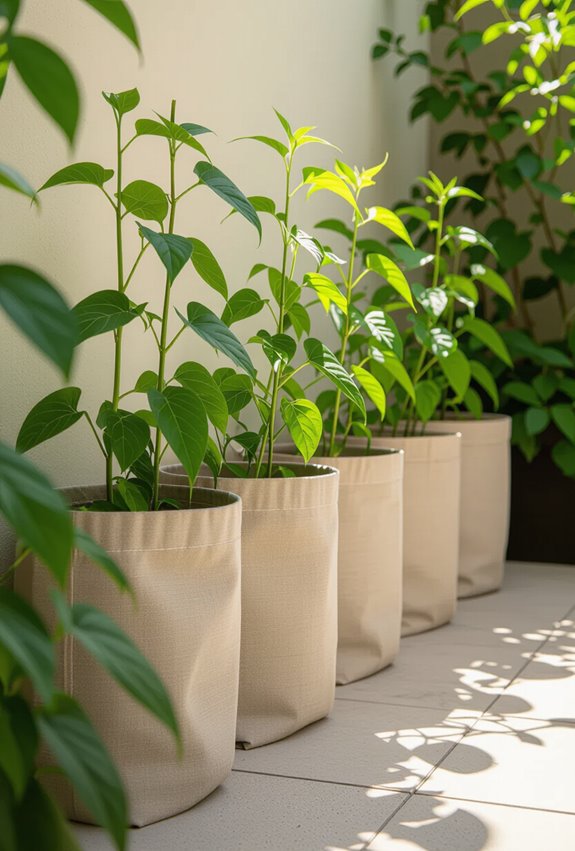
Using a tall trellis or A-frame beside a grow bag lets you train pole beans and other climbers without wasting ground space; plant seeds or seedlings close to the bag edge, tie young vines gently to supports as they grow, and rotate ties to encourage upward growth.
You’ll use a pole trellis or strings for vertical weaving, prune lightly, and water consistently to support healthy, productive vines.
Growing Peppers and Chiles in Warm-Season Grow Bags
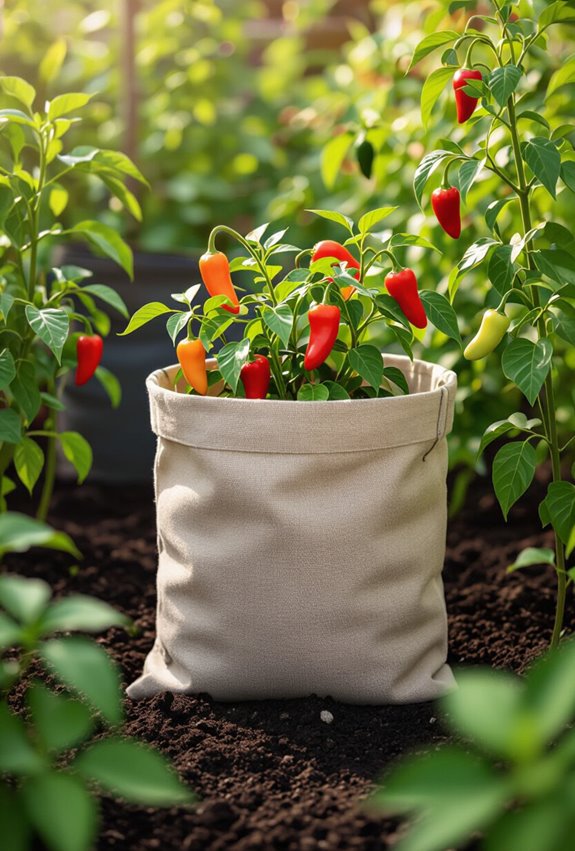
When the days warm up, grow bags make an ideal, space-saving home for peppers and chiles—providing excellent drainage, root aeration, and faster soil warming than in-ground beds.
You’ll choose compact Container Capsicum cultivars or tall spice varieties, stake as needed, and keep consistent moisture with mulch.
Fertilize lightly, guarantee full sun, and pinch early blooms to encourage stronger plants and bigger harvests.
Root Crops (Carrots, Beets) Hacks for Deep Grow Bags
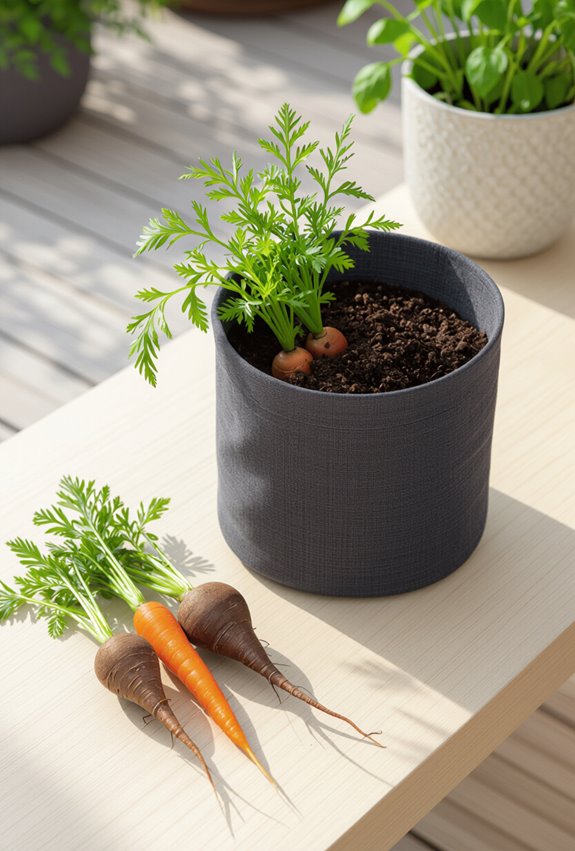
If you enjoyed growing peppers in warm-season bags, you can also get excellent root crops from deep grow bags by adjusting a few key details.
Fill with loose, stone-free mix, sow spaced seeds for deep carrots, and create shallow beet trenches for straight roots. Water evenly, mulch to retain moisture, and thin seedlings promptly so each root has room to develop fully.
Creating a Pollinator-Friendly Grow Bag Station
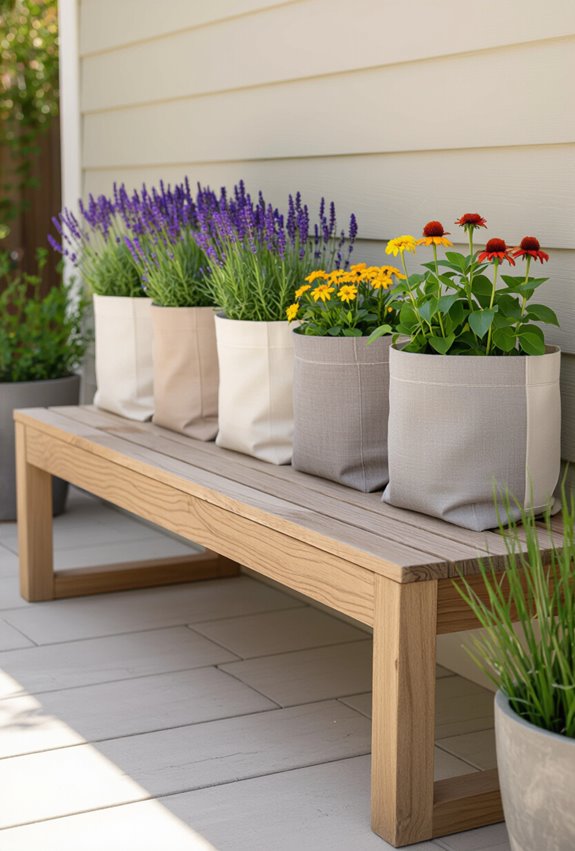
Why not turn a cluster of grow bags into a buzzing pollinator station that feeds both your plants and local bees? Choose native plants for continuous bloom, mix nectar-rich flowers and host plants, and provide shallow water and shelter.
Position fragrant, pale blossoms for night pollinators, avoid pesticides, and rotate blooms to keep nectar sources available throughout the season.
Aesthetic Grow Bag Arrangements for Patios
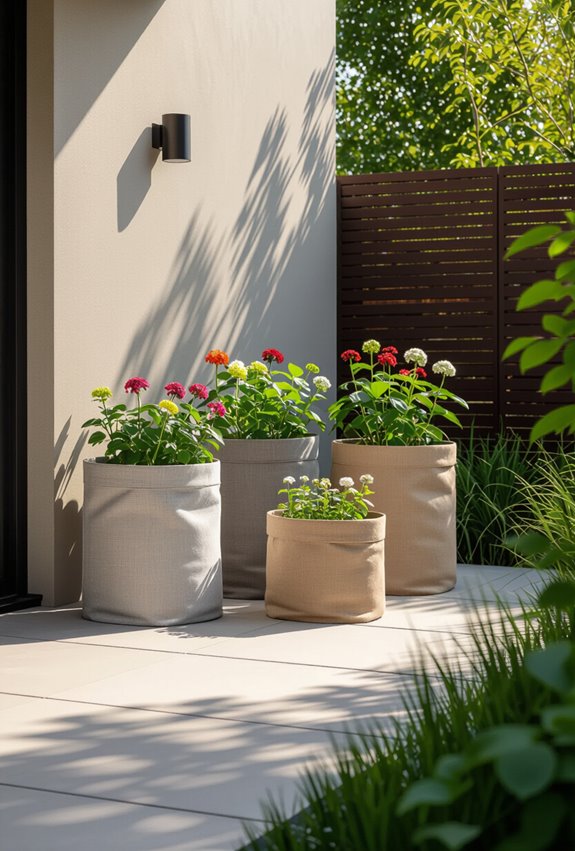
A few well-placed grow bags can transform your patio into a cohesive, stylish retreat without stealing floor space.
You’ll mix colorful groupings and patterned arrangements to create visual rhythm, pairing tall foliage with low bloomers.
Hang small bags, cluster varied textures at corners, and use matching trays or stands to tie the look together, keeping pathways clear and maintenance simple.
Reusing and Recycling Old Grow Bags Safely
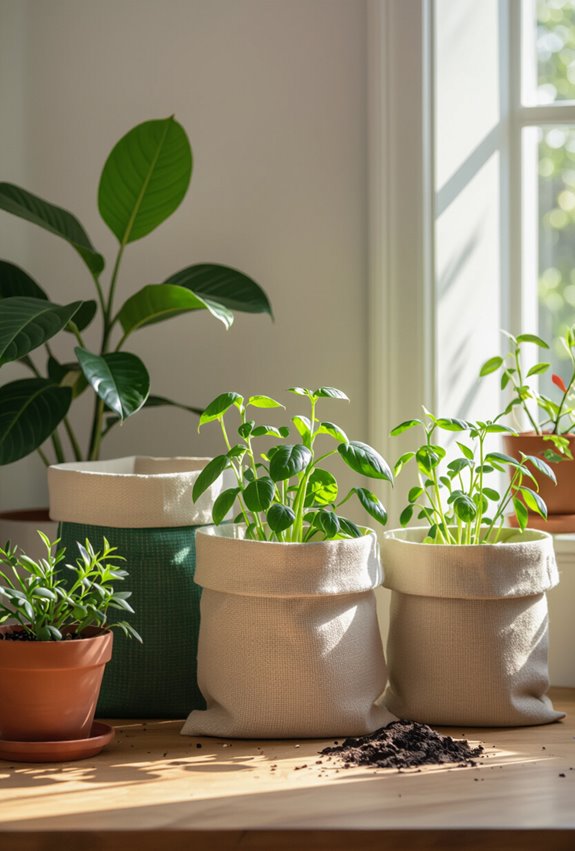
Repurposing old grow bags helps you cut waste and save money while keeping your garden healthy; you’ll just need to clean, inspect, and sometimes repair them before their next use.
Rinse, sun-dry, and patch tears; discard irreparable ones following local plastic disposal rules.
Refresh potting mix with soil sterilization or replace it.
Label reused bags and rotate crops to reduce disease buildup.
Budget-Friendly DIY Grow Bags From Household Items
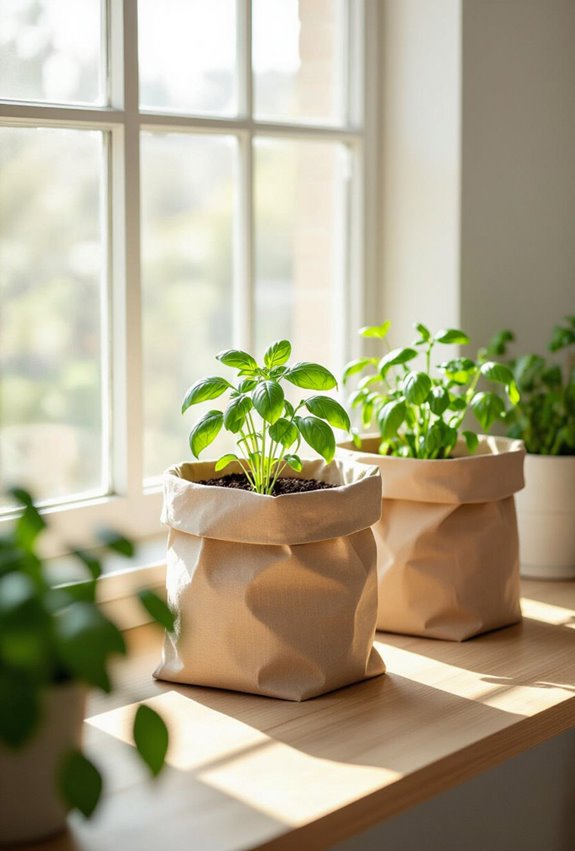
Get creative with household items to make low-cost grow bags that still give plants good drainage and root space. You can craft newspaper pots for seedlings, then transplant into larger fabric sacks or reinforced plastic bins.
Repurpose milk jug planters by cutting drainage holes and filling with potting mix. Label each container, monitor watering, and rotate for even light to keep costs down and growth healthy.
Space-Saving Trellis Ideas Anchored to Grow Bags
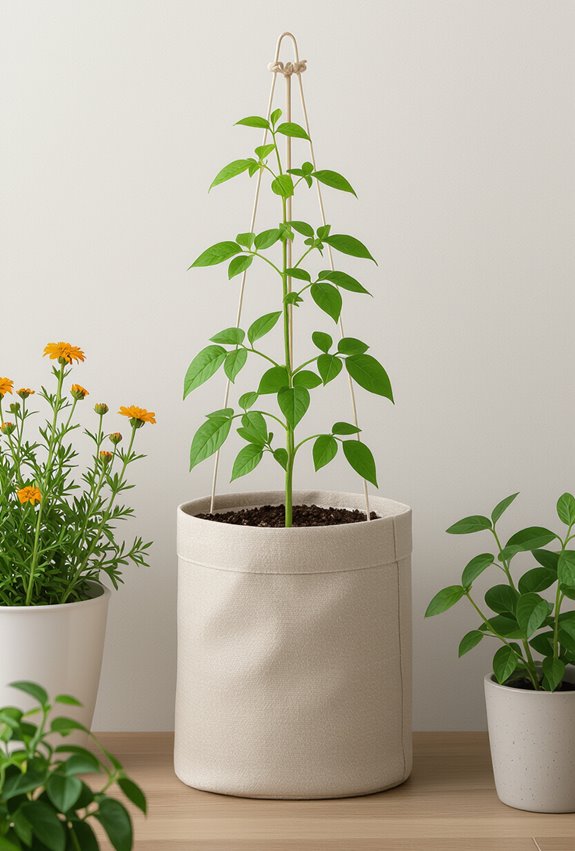
You can save a lot of floor space and boost yields by anchoring compact trellises directly to your grow bags.
Use a vertical obelisk for tomatoes or beans, securing its base in the soil.
Create a lightweight grow bag pergola by linking short poles between bags for cucumbers or peas.
Tie plants gently, rotate sides for even light, and keep supports stable.
Diagnosing Common Grow Bag Nutrient Deficiencies
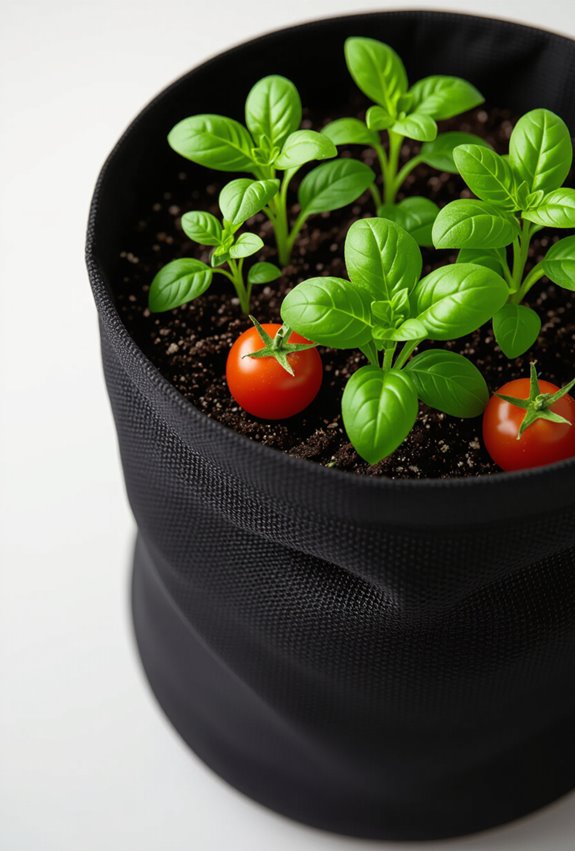
Frequently, signs of nutrient stress show up in the leaves and are the quickest clues you’ll have to diagnose issues in grow bags.
Check leaf symptomology: yellowing, interveinal chlorosis, necrotic spots, and stunted growth.
Test pH and soil, correct watering, and supplement deficient elements.
Watch for micronutrient imbalance—iron, manganese, zinc—and apply targeted chelates or balanced feeds to restore plant vigor.
Seasonal Rotation Plans Using Grow Bags
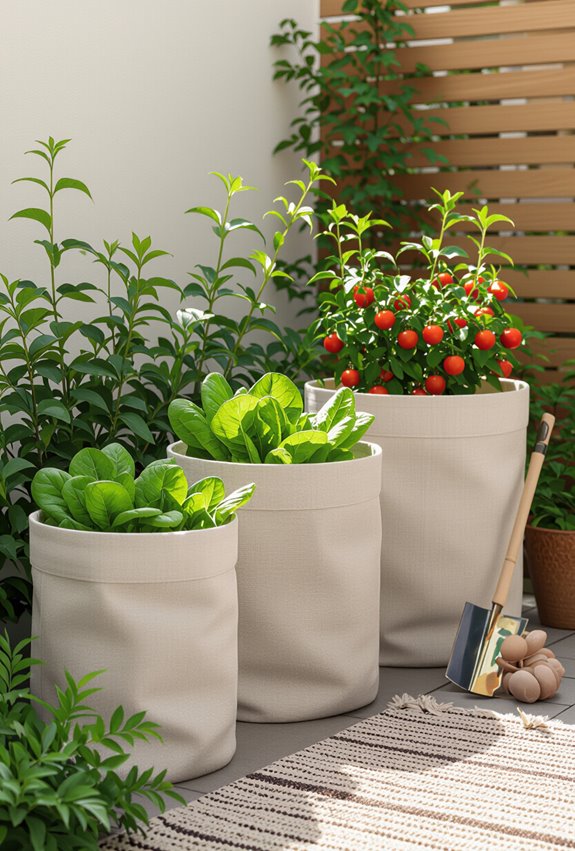
Although grow bags free you from fixed beds, planning seasonal rotations keeps soil productive and pests at bay.
You’ll use crop rotation to alternate families—leafy greens, legumes, fruiting crops—so nutrients and disease pressure balance.
Create a simple seasonal mapping chart for each bag, noting past crops, amendments, and timed plantings.
Rotate annually to maintain vigor and reduce pest build-up.
Harvest and Storage Tips for Grow Bag Produce
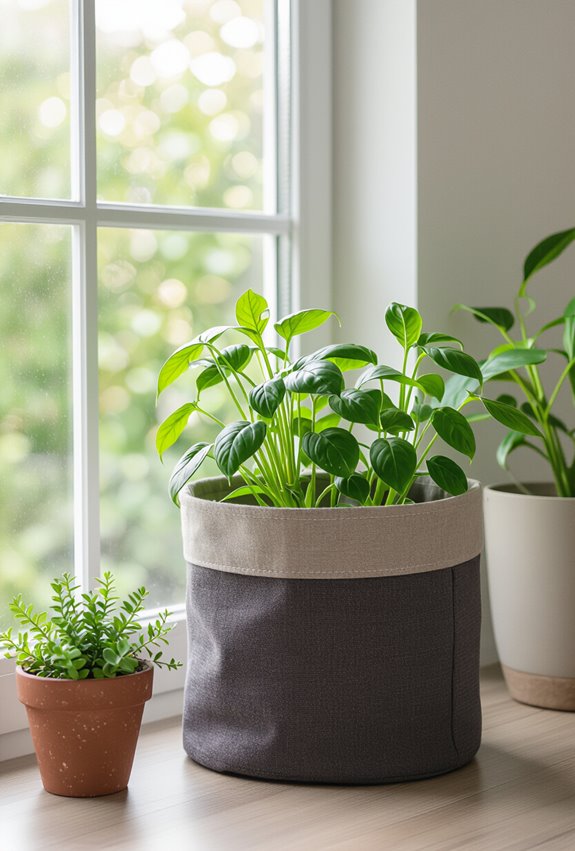
Because grow bag harvests ripen quickly and in small bursts, you’ll want a simple routine for picking, cooling, and storing produce to lock in flavor and shelf life.
Pick early morning, handle gently, and sort for bruises.
Use shade or a cooler for immediate root cooling and rapid post harvest temperature drop.
Store appropriate crops—leafy greens chilled, tomatoes room temperature—to prolong freshness.
Troubleshooting Soggy or Root-Bound Grow Bags
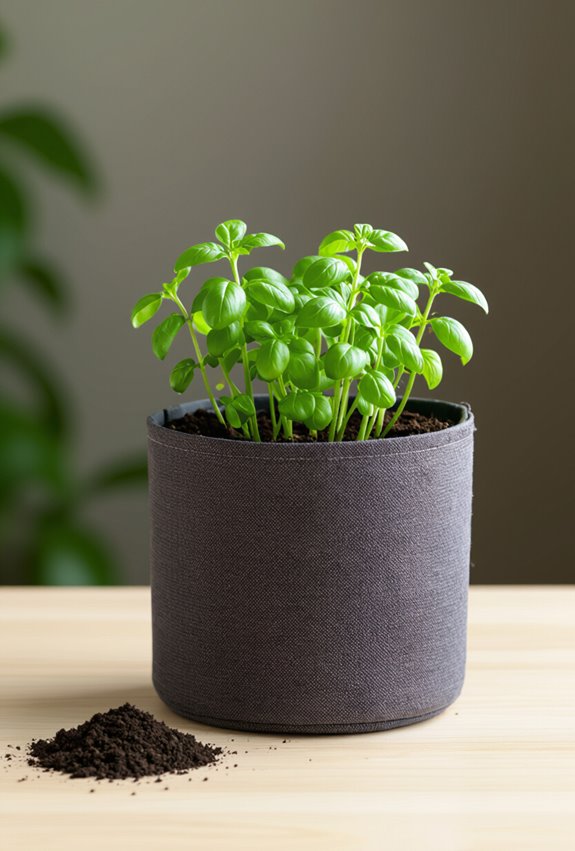
If your grow bag is waterlogged or the plants are wrapped up by a tight root ball, act quickly to diagnose the cause and correct it before roots suffocate or plants decline.
Check drainage holes, elevate the bag, and amend medium with grit for waterlogging solutions.
Gently remove the plant, tease roots, and perform root pruning if circling roots persist; repot and resume careful watering.
Scaling Up: Turning Grow Bags Into a Cottage Garden System
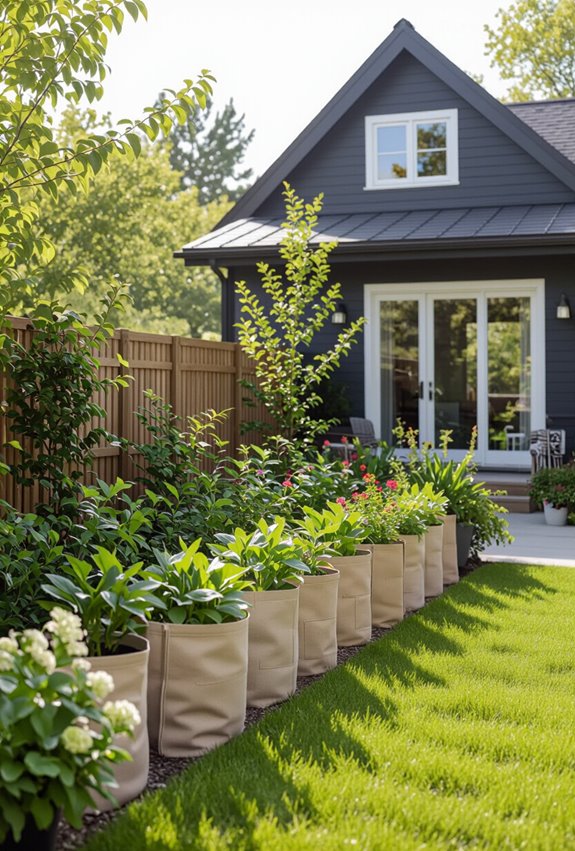
When you scale up grow bags into a cottage garden system, plan beds, paths, and plant groupings so each bag contributes to a layered, informal design; position taller bags at the back or center, mix perennials and annuals for continuous bloom, and intersperse herbs and edibles to marry beauty with utility.
Create community corridors for access, add pollinator pockets, rotate crops, and compost on-site.
Choosing the Right Grow Bag Material
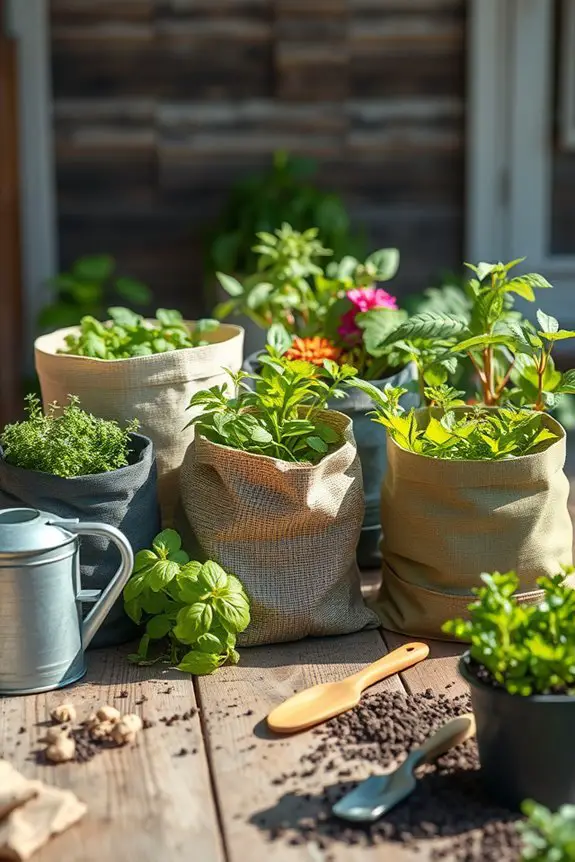
When you’re selecting the right grow bag material, it’s essential to take into account both durability and breathability. Different fabric types can greatly affect your plants’ growth and health.
Look for materials like heavy-duty canvas or breathable non-woven fabric, which offer excellent air circulation while still being robust.
Durability factors, such as resistance to UV rays and weather conditions, play a vital role in ensuring your grow bags last season after season.
Avoid flimsy materials that can tear easily or degrade under sunlight.
Benefits of Using Grow Bags
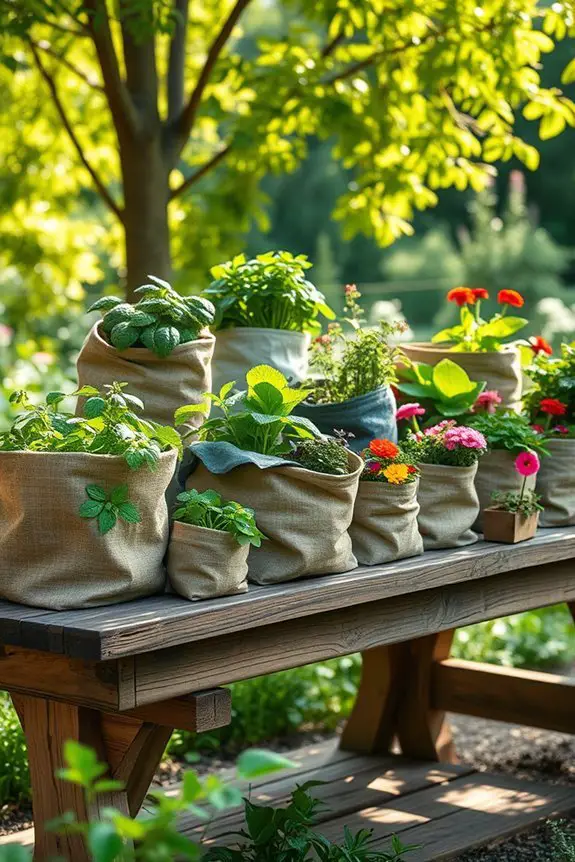
Using grow bags can transform your gardening experience, especially if you’re looking for versatility and ease.
These bags offer improved drainage and increased aeration, which lead to healthier roots. Their lightweight design makes them easy to move around, giving you excellent portability options.
You’ll also benefit from space efficiency, allowing you to maximize your gardening area, whether on a balcony or in your backyard.
Grow bags help with temperature regulation, keeping roots cooler in summer and warmer in winter. Plus, they enhance water retention and soil preservation, ensuring your plants thrive.
With added pest resistance, you’ll enjoy a more successful gardening season. Embrace grow bags for a simpler, more productive growing experience!
DIY Fabric Grow Bags
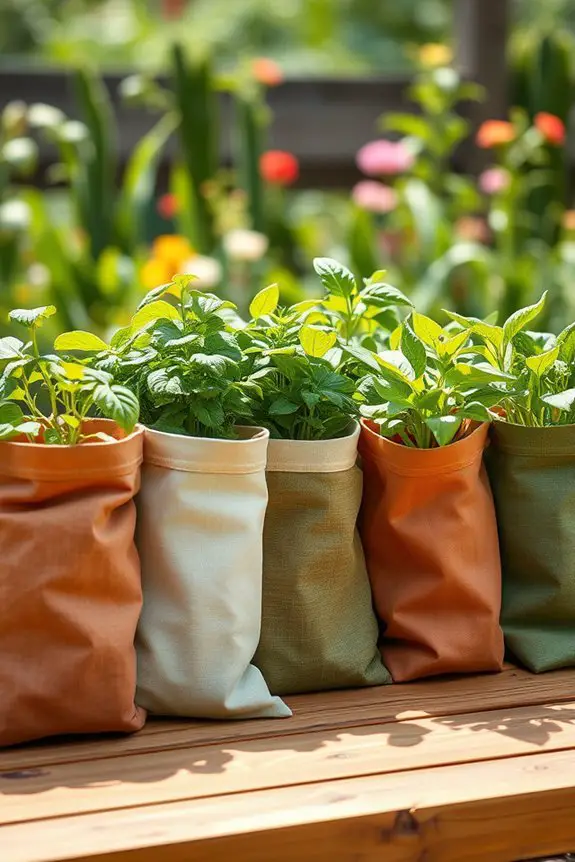
Creating your own fabric grow bags can be a fun and rewarding project that enhances your gardening experience even further.
With a few materials and some creativity, you can make unique bags tailored to your needs. Start by choosing your favorite DIY fabric patterns; cotton or burlap works great for breathability.
Follow fabric grow bag tutorials available online to guide you through cutting, sewing, and assembling your bags. Don’t worry if you’re new to sewing; many tutorials cater to beginners.
You can customize sizes and shapes for various plants, ensuring they thrive in their new homes. Plus, making your own bags allows you to express your style while promoting sustainable gardening practices.
Happy crafting!
Grow Bags for Herbs
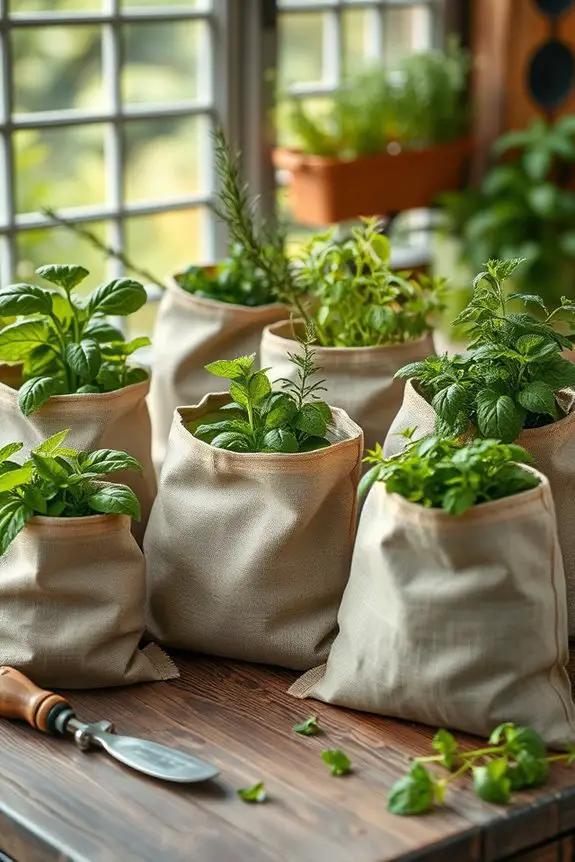
If you want to elevate your culinary creations, growing herbs in grow bags is a fantastic option.
Herb grow bags allow you to easily cultivate fresh flavors right at home, whether you’re short on space or want to keep things organized. You can place your herb grow bags on a sunny windowsill, making them perfect for indoor herbs like basil, parsley, and mint.
The breathable fabric promotes healthy root development while ensuring proper drainage, so your herbs thrive. Plus, moving your grow bags around is a breeze, letting you adjust their position based on sunlight.
With minimal effort, you’ll enjoy a bountiful supply of fresh herbs for your cooking, enhancing your dishes and delighting your taste buds.
Grow Bags for Strawberries
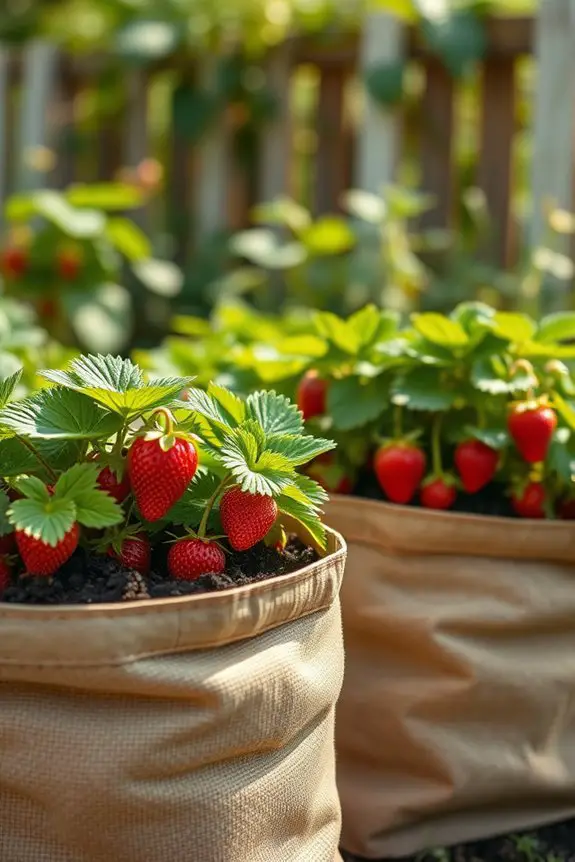
Using grow bags for strawberries can be one of the most rewarding gardening experiences you’ll have. These bags provide excellent drainage and aeration, essential for growing healthy strawberry varieties. You can easily choose from everbearing, June-bearing, or day-neutral types to suit your taste and space.
Moreover, managing pests is simpler with grow bags. You can elevate the plants, making it harder for pests to reach them, and easily monitor for any issues.
Plus, you can move the bags around to optimize sunlight exposure and protect your strawberries from extreme weather. With a little care, your grow bags can yield delicious, fresh strawberries right from your backyard, making your gardening experience truly fulfilling.
Insulated Grow Bags for Cold Weather
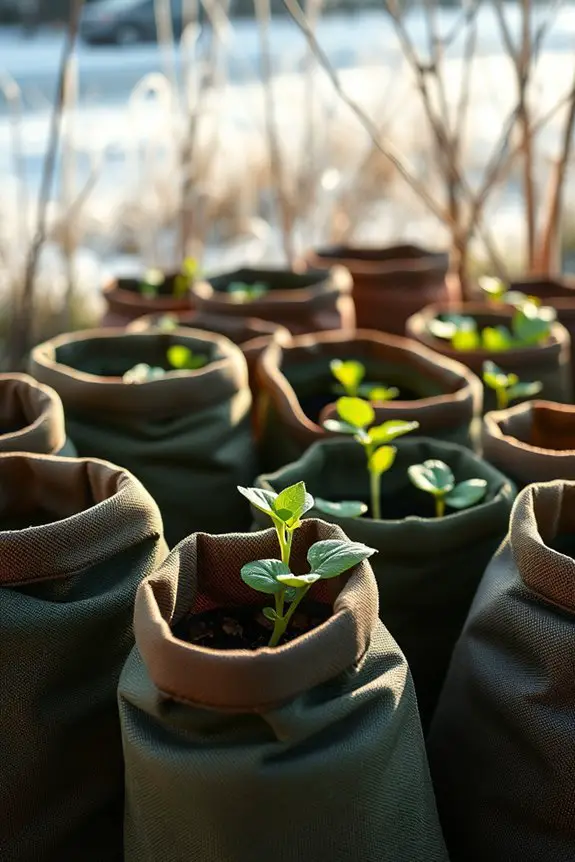
For gardeners in colder climates, insulated grow bags provide a practical solution to extend the growing season and protect your plants from harsh temperatures.
By utilizing frost resistant materials, these bags help shield roots from freezing conditions, ensuring your plants thrive even in winter. The use of thermal insulation techniques further enhances their ability to retain heat, creating a cozy environment for your plants.
You’ll find that insulated grow bags are lightweight and easy to move, allowing you to position them where they’ll receive the best sunlight. Plus, they’re versatile enough for various plants, from vegetables to herbs.
With these grow bags, you can enjoy fresh produce throughout the colder months without the worry of frost damage.
Grow Bags for Tomatoes
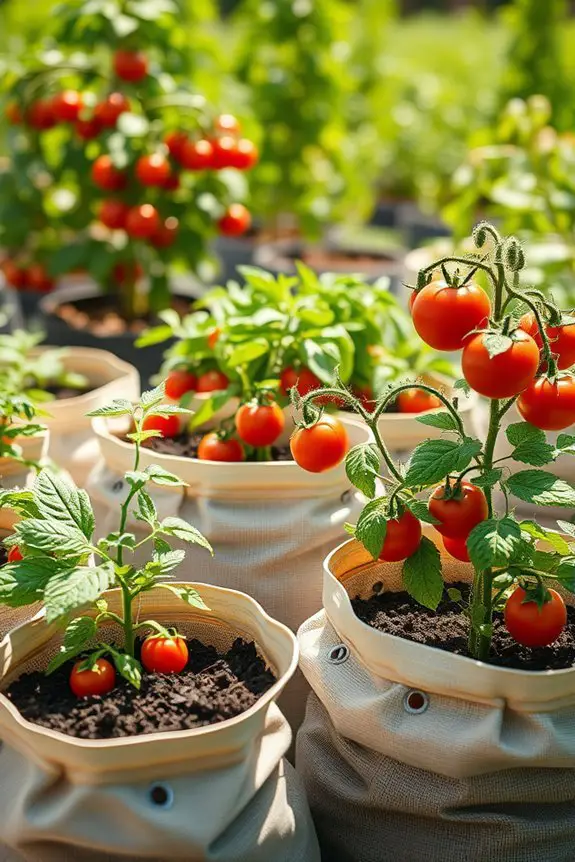
When you want to grow delicious tomatoes but lack garden space, using grow bags can be a game-changer. They offer the ideal conditions for various tomato varieties, from cherry to beefsteak, allowing you to enjoy fresh produce right at home.
Choose a grow bag that’s large enough—at least 5 gallons—to accommodate your tomato plant’s root system.
Don’t forget about tomato support! As your plants grow, provide stakes or cages to keep them upright and guarantee good air circulation. This not only helps your plants thrive but also makes harvesting easier.
With the right care, you’ll soon be enjoying your home-grown tomatoes, bursting with flavor and ready for your favorite recipes. Happy gardening!
Reusing Old Grow Bags
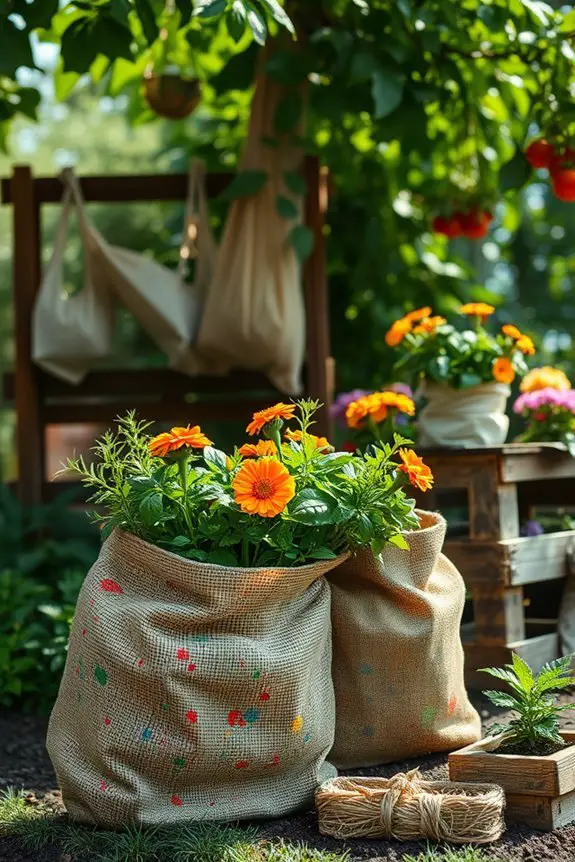
After a successful gardening season, you might find yourself with old grow bags that still have plenty of life left in them. Instead of tossing them out, consider some creative recycling options.
First, you can wash and sterilize the bags to prepare them for another round of planting. If they’re looking a bit worn, try a grow bag restoration project by patching up holes with fabric or using them as liners for larger pots.
You can also repurpose them as storage bags for gardening tools or as organizers for your shed. With a little imagination, you can give those old grow bags a new purpose and keep your gardening journey going strong!
Color-Coded Grow Bags for Organization
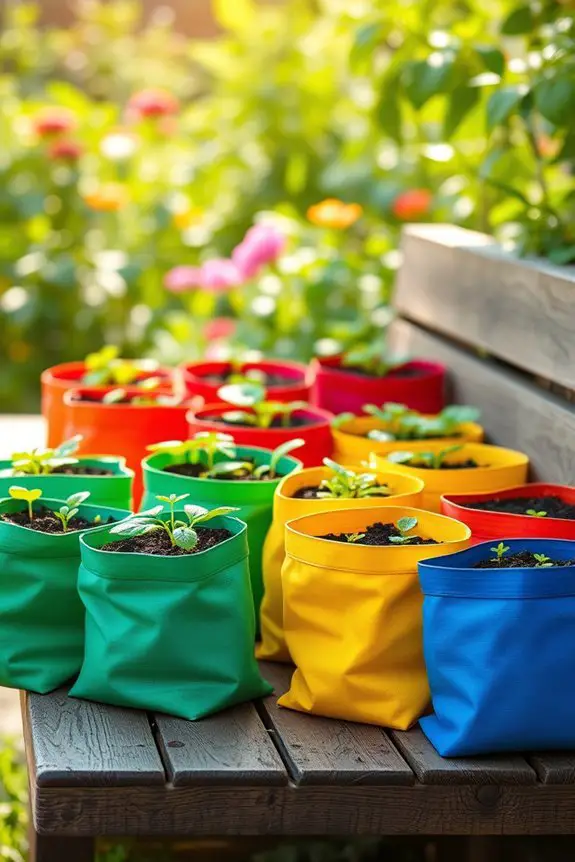
Using color-coded grow bags can transform your gardening experience by making organization a breeze. By assigning different colors to various plants, you’ll easily identify what’s growing where.
This method offers color coded benefits like reducing confusion when it’s time to water or fertilize, as you’ll remember which plants thrive in specific conditions. It also helps in tracking growth stages and harvest times, ensuring you don’t miss a beat.
When organizing plants, you can even create a color scheme based on plant types or care needs, further simplifying your gardening tasks. With this visual aid, you can maximize space and efficiency, making your garden not just organized but also visually appealing.
Embrace the color-coded approach for a stress-free gardening experience!
Self-Watering Grow Bags
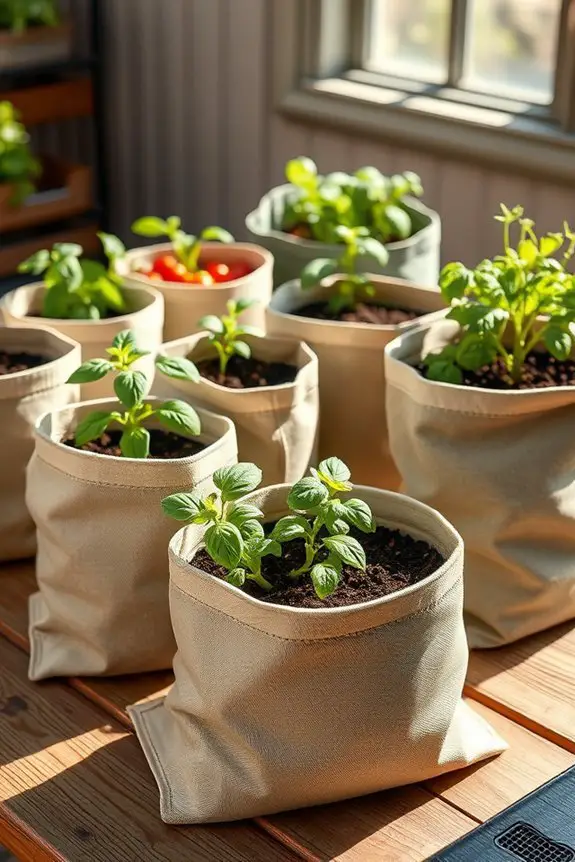
Have you ever struggled with keeping your plants consistently watered? Self-watering grow bags are a game-changer for gardeners like you.
These innovative bags utilize self-watering mechanisms that automatically provide your plants with the right amount of moisture. By incorporating a reservoir system, they guarantee that your plants can access water as needed, promoting healthier growth.
The design also enhances moisture retention, so you won’t need to worry about overwatering or drying out your plants.
With self-watering grow bags, you’re free to enjoy gardening without the constant stress of watering schedules. Plus, they come in various sizes, making them suitable for any space.
Say goodbye to dry soil and hello to thriving plants with minimal effort!
Customizing Grow Bag Sizes
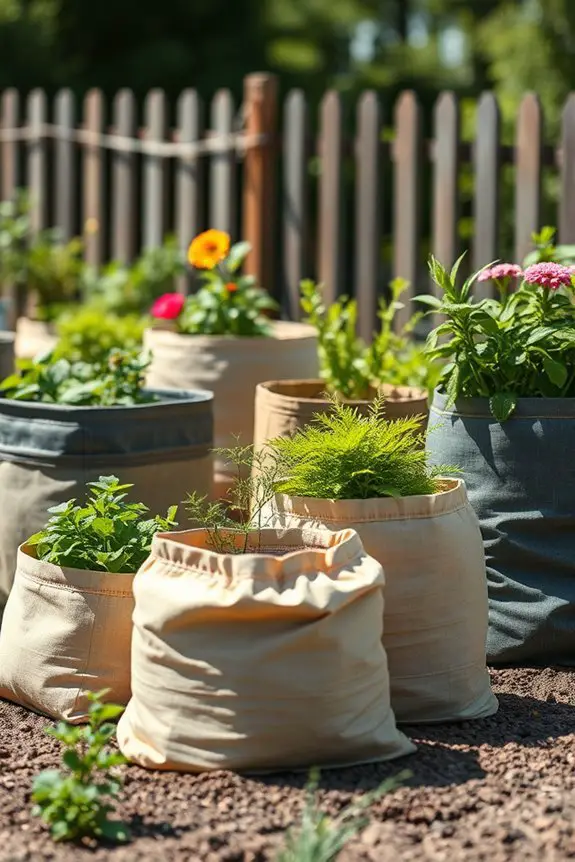
While many gardeners stick to standard grow bag sizes, customizing them can enhance your gardening experience. By opting for custom grow bags, you can create the perfect environment for your plants, tailored to their specific needs.
Consider adjustable sizes that allow you to modify the bag’s dimensions based on the growth stage of your crops. For instance, a smaller size works well for seedlings, while larger bags accommodate mature plants. You can even combine different sizes in one area, optimizing your space and ensuring each plant thrives.
Plus, customizing your grow bags adds a personal touch to your garden, making it uniquely yours. Experimenting with sizes will ultimately lead to healthier plants and a more productive garden.
Multi-Purpose Grow Bags
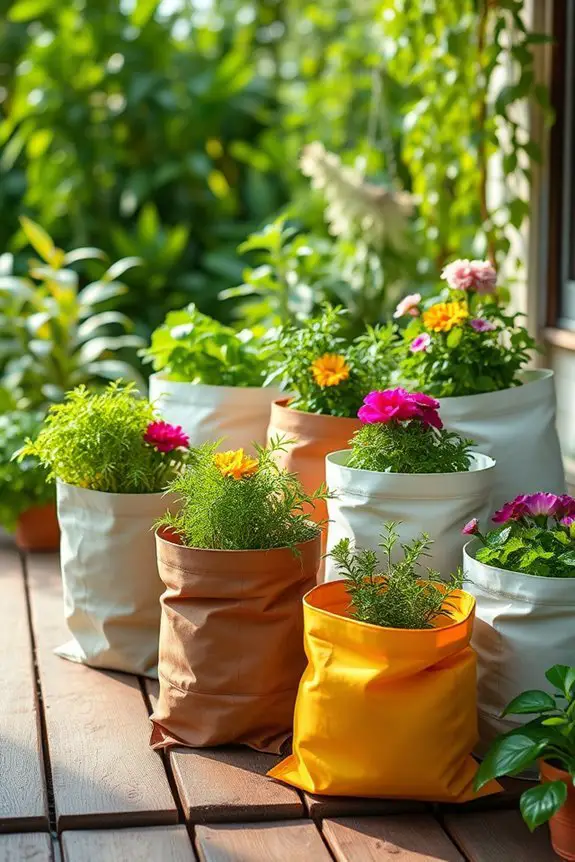
After experiencing the success of growing potatoes in bags, you might be intrigued by the versatility of multi-purpose grow bags.
These bags are perfect for a variety of plants, from herbs to flowers, allowing you to maximize your gardening space. With custom size options, you can find the perfect fit for your patio, balcony, or garden.
Their breathable fabric guarantees proper drainage and aeration, promoting healthy root growth. Plus, you can enhance your gardening experience with grow bag accessories like stands, watering wands, and soil amendments.
These bags are lightweight and easy to move, making it simple to reposition your plants for ideal sunlight. Embrace the flexibility of multi-purpose grow bags and watch your garden flourish!
Grow Bags for Seasonal Decorations
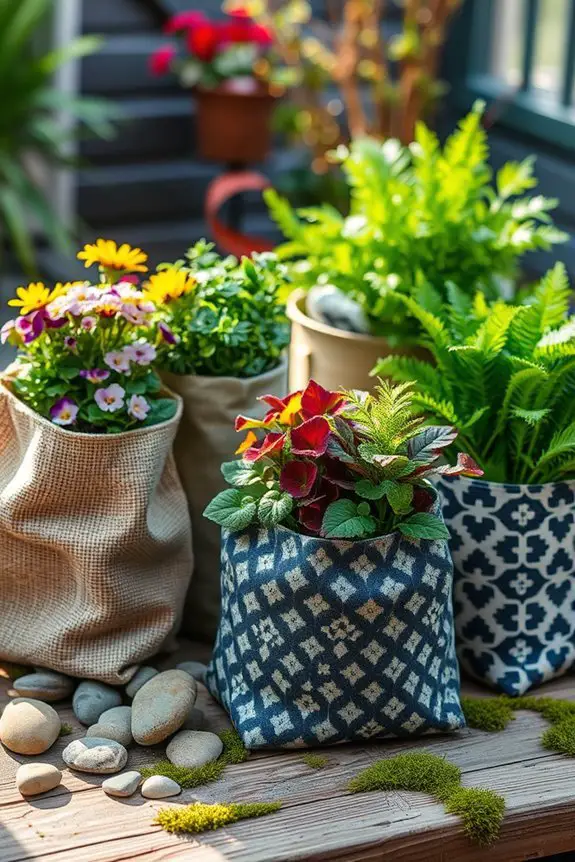
As the seasons change, grow bags offer a versatile way to enhance your home’s decor with vibrant plants and flowers.
You can easily create stunning decorative arrangements that reflect seasonal themes. In spring, fill your grow bags with colorful annuals like petunias or pansies.
For summer, opt for lush greenery and bright blooms that catch the eye.
As fall arrives, consider adding ornamental grasses or vibrant chrysanthemums to your grow bags for a warm touch.
When winter comes, use evergreen plants or even festive herbs for a cozy feel.
With grow bags, you can effortlessly switch your decor to match the seasons, making your home feel inviting and fresh throughout the year.
Conclusion
Incorporating grow bags into your gardening routine can transform your home into a green oasis, just like a painter brings a canvas to life. By choosing the right materials, exploring DIY options, and even blending with hydroponics, you can cultivate a thriving garden with ease. Whether you’re growing herbs or seasonal decorations, these ideas offer flexibility and creativity. Embrace the joy of gardening with grow bags, and watch your plants flourish in style!