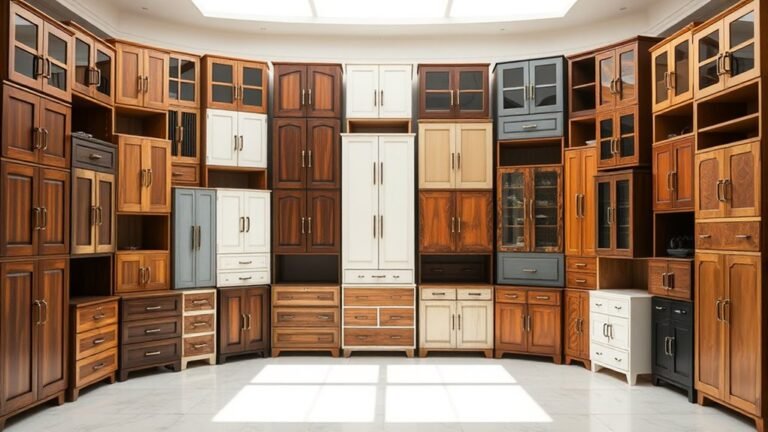
40 Antique Furniture Makeover Ideas to Refresh Your Space
Revitalize your space with 40 antique furniture makeover ideas! Start by repainting a vintage dresser in soft pastels or bold jewel tones. Distress an old coffee table for a rustic charm, or upholster antique chairs with fresh fabrics. Adding new hardware to a bureau can make a big impact. Consider restoring a vintage bar stool or adding gold accents for elegance. You’ll discover even more creative transformations that can inspire your next project as you explore!
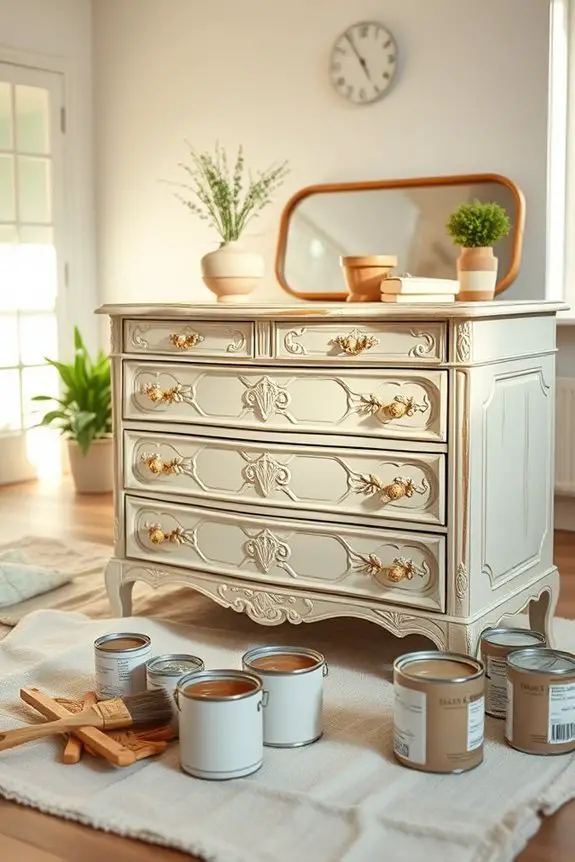
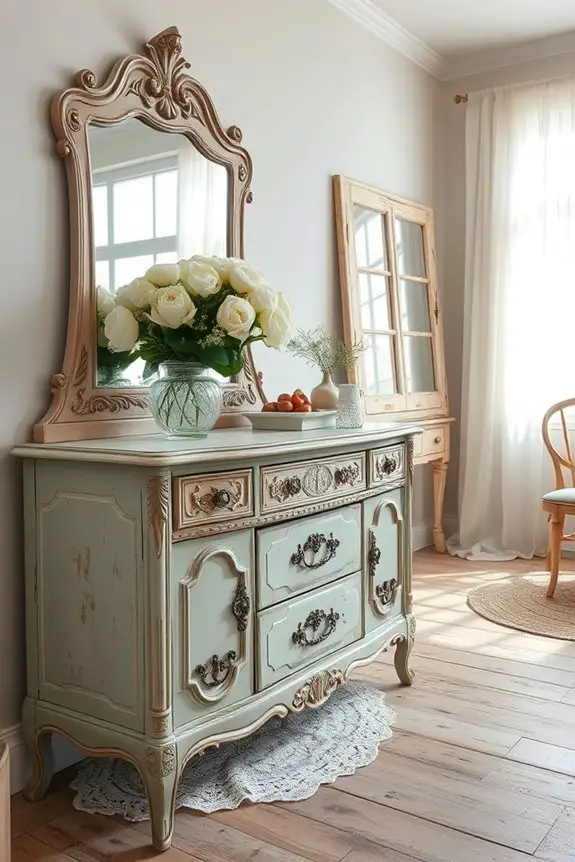
Repainting a Vintage Dresser
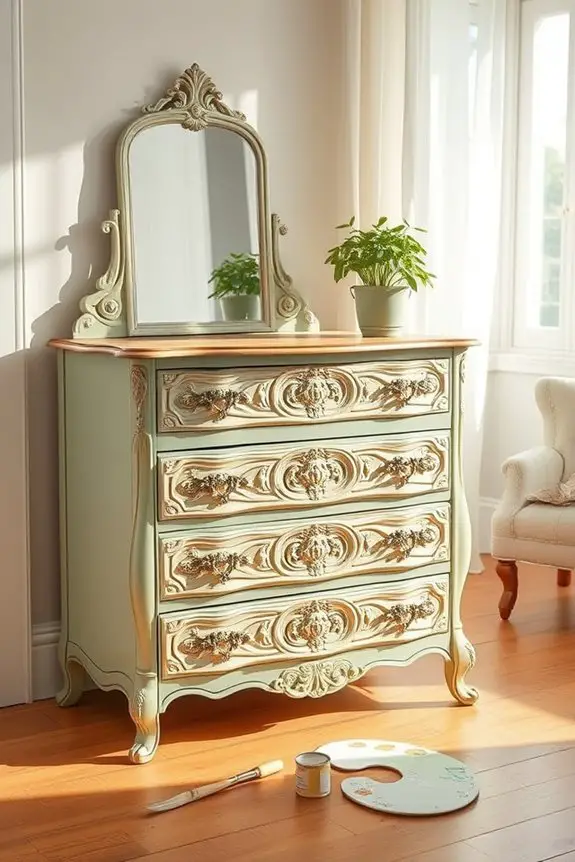
When you decide to repaint a vintage dresser, you’re not just giving it a fresh look; you’re also breathing new life into a piece of history.
Start by choosing vintage color schemes that resonate with your style—soft pastels or bold jewel tones can transform its character.
Prepare the surface by cleaning it thoroughly and sanding any rough spots.
Next, consider various paint techniques, like distressing or ombre, to add depth and personality. Use chalk paint for a matte finish that enhances the vintage charm.
After applying a couple of coats, seal your work with a protective topcoat to guarantee durability.
Finally, accessorize it with new hardware to complete the rejuvenation of your stunning vintage dresser.
Decoupaging a Nightstand
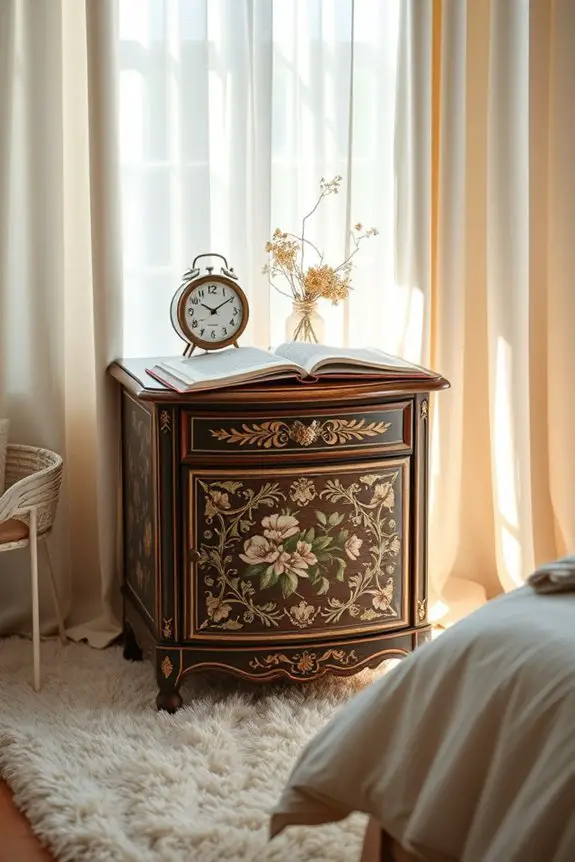
A creative way to refresh your nightstand is by decoupaging it with beautiful patterns or images. You can use various decoupage techniques, like layering and overlapping, to achieve a unique look that complements your room.
Choose paper that matches your preferred nightstand styles, whether it’s vintage floral or modern geometric designs. Start by cleaning the surface and applying a layer of decoupage glue. Carefully position your chosen paper, smoothing out any bubbles.
Once it’s dry, seal it with another coat of glue for durability. This simple yet effective transformation can breathe new life into your antique nightstand, making it a stunning focal point in your space.
Enjoy the process and let your creativity shine!
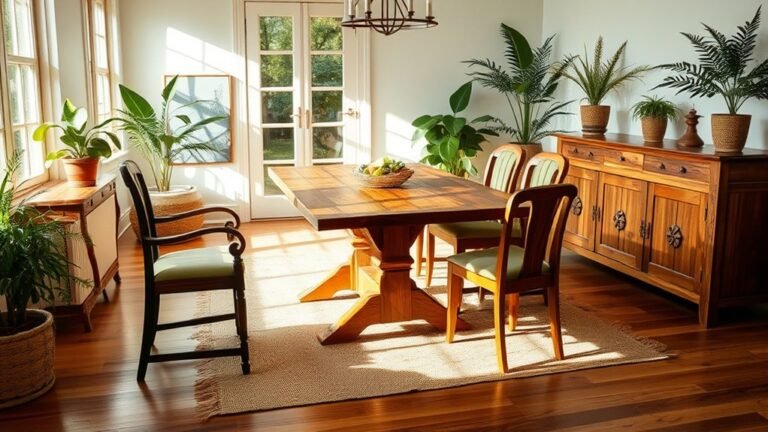
Refinishing a Dining Table
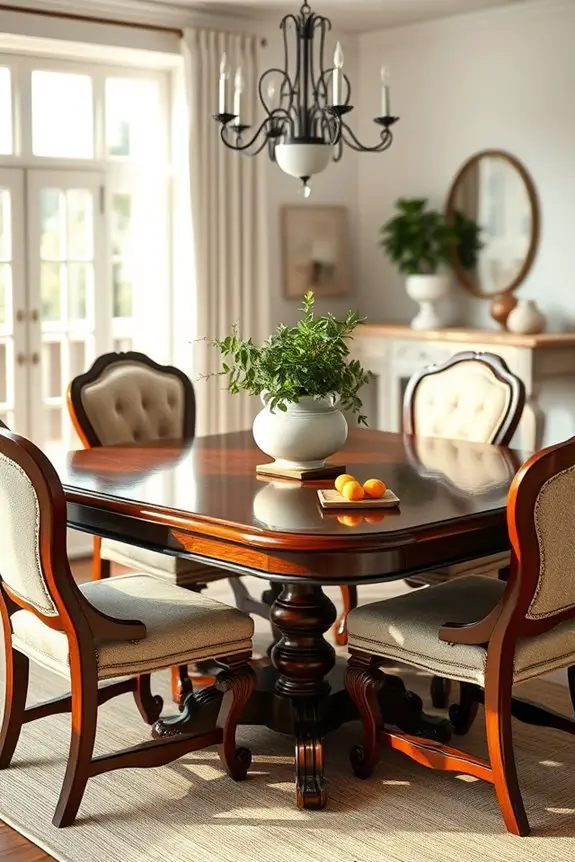
Refinishing a dining table can breathe new life into your space, especially if it’s been showing signs of wear and tear.
Start by using effective cleaning techniques to remove any dirt and grime. A simple mix of soap and water can work wonders, but for tougher stains, consider a gentle wood cleaner.
Once it’s spotless, inspect the surface for scratches or dents. Sand the table down to create a smooth base, then choose from various finish options like polyurethane, oil, or wax to enhance the wood’s natural beauty.
Apply your chosen finish evenly, allowing it to dry completely before using the table again.
With a little effort, you’ll have a stunning centerpiece that revitalizes your dining area!
Staining a Vintage Bench
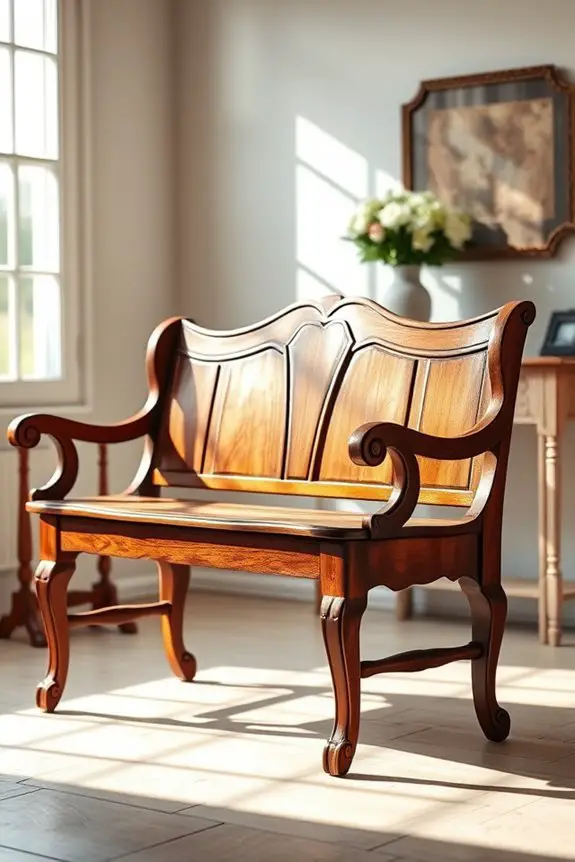
After giving your dining table a fresh look, you might find a vintage bench in need of some attention as well.
Staining the bench wood can enhance its character while preserving its vintage style. Start by cleaning the surface thoroughly to remove any dust or grime.
Next, choose a stain that complements your dining table; darker shades can add warmth, while lighter stains can brighten the space.
Apply the stain with a brush or cloth, working in the direction of the wood grain. Allow it to soak in for a few minutes before wiping off any excess.
Finish with a clear protective coat to guarantee durability.
This simple transformation will breathe new life into your vintage bench, making it a stunning focal point in your home.
Creating a Chalk Paint Finish
While you may want to give your antique furniture a fresh look, creating a chalk paint finish is a fantastic way to achieve both a modern and rustic vibe.
Start by choosing a color that complements your space; soft pastels or deep hues can make a statement.
When applying chalk paint, consider using various chalk paint techniques like dry brushing or distressing for added texture. These methods enhance the character of your piece while allowing the wood grain to peek through.
Don’t forget to seal your finish with a wax or topcoat for durability.
With these tips, you’ll transform your antique furniture into a stunning focal point that reflects your unique style.
Enjoy the process and let your creativity shine!
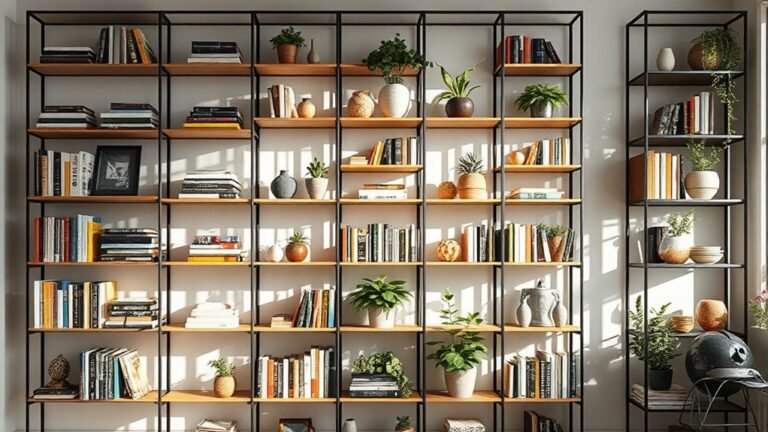
Creating a Gallery Wall With Antique Frames
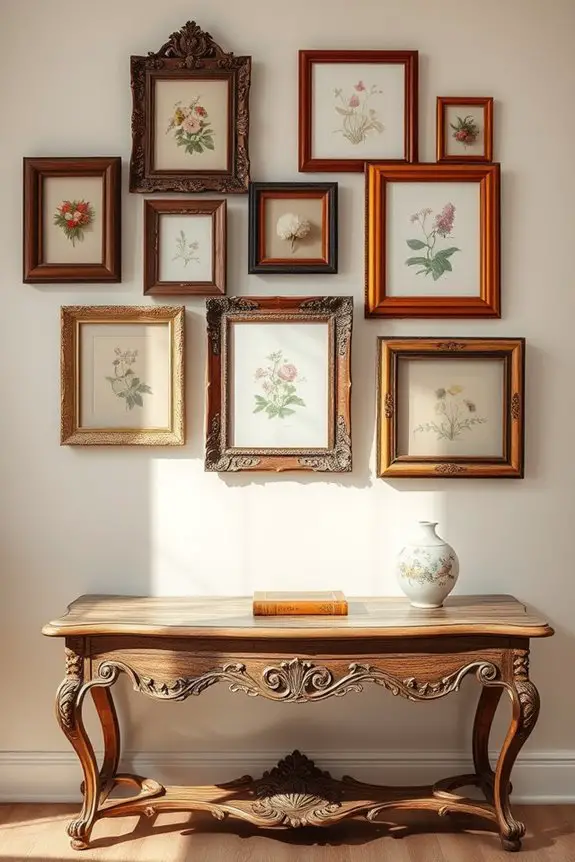
There’s something truly enchanting about creating a gallery wall with antique frames that adds personality to any room.
Start by gathering various antique frame styles—think ornate gold leaf, rustic wood, or intricate metal designs. These unique frames can elevate your artwork and photographs, making them stand out.
Next, consider your gallery wall layout. Arrange the frames on the floor first to find a pleasing configuration before hanging them. You might opt for a symmetrical layout or a more eclectic, freeform design.
Mix and match sizes and shapes for visual interest, but keep a cohesive color palette to tie everything together.
Once you’ve hung your frames, step back and admire your stunning gallery wall, showcasing your personality and taste!
Installing New Legs on an Old Table
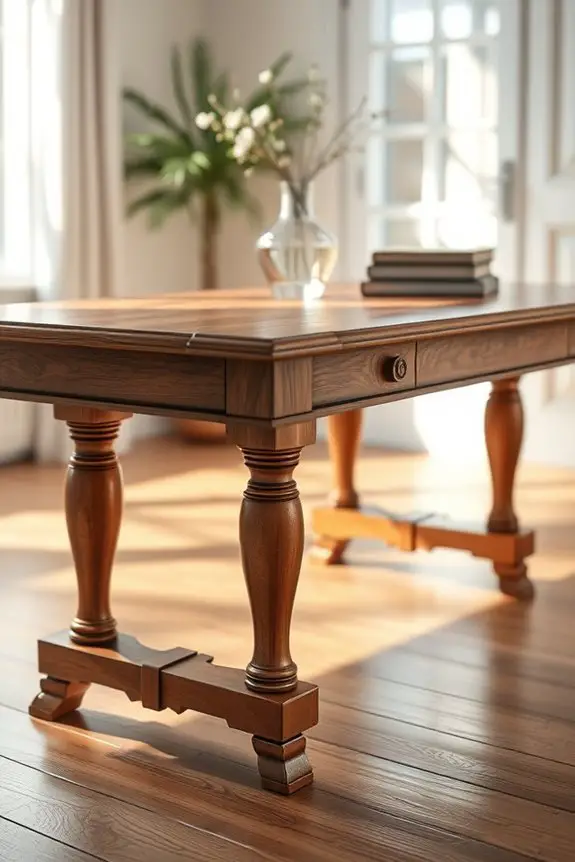
When you’re looking to give an old table a fresh look, installing new legs can make a significant difference in its overall appeal.
Start by choosing materials that complement your space; wood, metal, or even acrylic can transform the table’s style. Consider the existing color and finish to guarantee harmony.
Next, focus on selecting styles that match your decor. Whether you opt for modern sleek legs or rustic farmhouse designs, the right choice can elevate the table’s character.
Don’t forget to measure the height and verify new legs provide stability.
Finally, using a drill, carefully remove the old legs and attach the new ones, making sure everything aligns perfectly.
Your refreshed table will be a stunning focal point in your room!
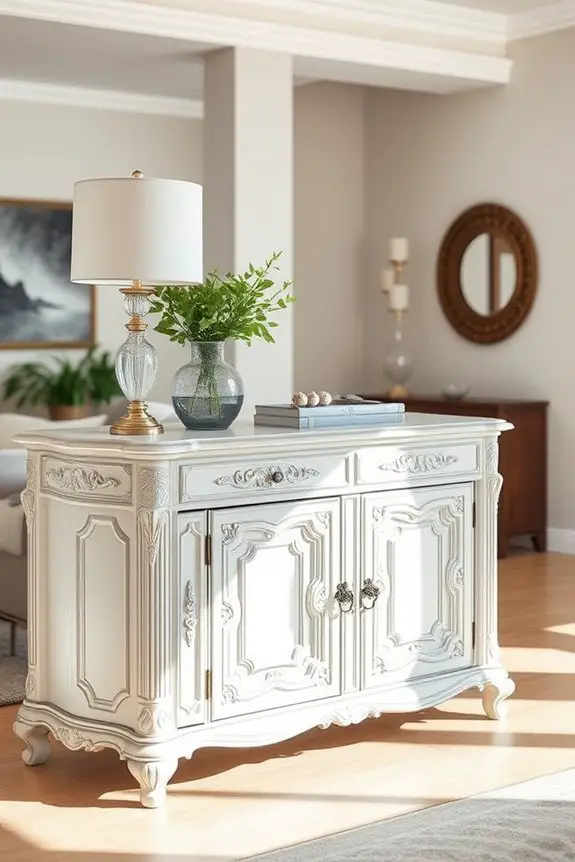
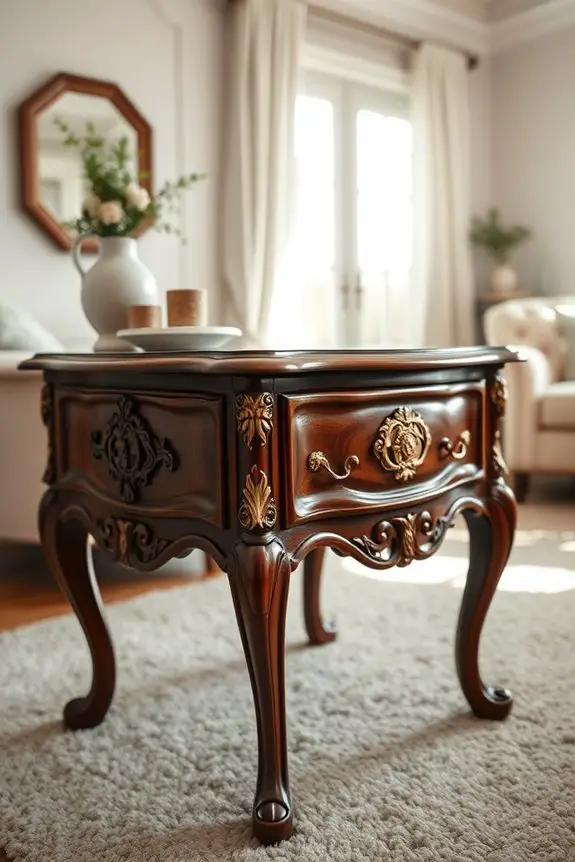
Refreshing a Console Table
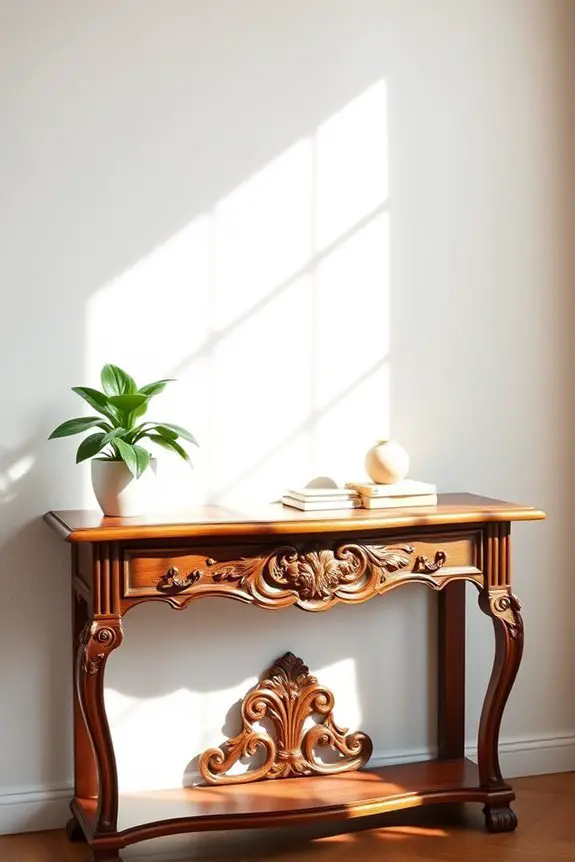
As you breathe new life into a console table, consider how its placement can enhance your entryway or living area.
Start by giving the table a fresh coat of paint or refinishing the wood to highlight its natural beauty.
For effective console table styling, choose a balance of height and texture with your accessories. A chic lamp can add warmth, while a few decorative books or a stylish bowl can provide interest.
Don’t forget greenery; a small plant or a vase of fresh flowers can bring life to the space.
Finally, remember to keep the styling minimal to avoid clutter, allowing the table to shine as a functional and beautiful focal point in your home.
Refinishing a Vintage Desk

While refinishing a vintage desk may seem intimidating, it can be a rewarding project that breathes new life into a cherished piece. Start by choosing your desk refinishing techniques, like sanding, staining, or painting. For vintage desk styles, consider whether you want to maintain its original character or go for a modern twist.
Begin by removing any hardware and cleaning the surface thoroughly. If you’re sanding, go with a fine-grit paper to avoid damaging the wood.
Once you’ve achieved a smooth finish, apply your chosen stain or paint, allowing ample drying time between coats. Finally, reattach the hardware, and step back to admire your beautifully transformed vintage desk, ready to serve you for years to come.
Creating a Shabby Chic Look
To create a shabby chic look, you’ll want to blend vintage charm with a touch of modern comfort. Start by choosing antique furniture pieces that showcase intricate details, like carved legs or ornate handles.
Next, incorporate shabby chic textiles, such as soft linens, floral patterns, or lace accents, to add warmth and coziness to your space. Stick to vintage color palettes, including muted pastels and soft whites, to create a harmonious atmosphere.
Don’t shy away from layering different textures, like a chunky knit throw over a delicate quilt, to enhance the cozy feel.
Finally, accessorize with charming items like distressed picture frames or vintage books to complete the look, ensuring a beautifully curated space that feels both inviting and timeless.
Modifying a Buffet for Modern Use
Creating a shabby chic look can set the stage for a blend of vintage and modern, but modifying a buffet can take it a step further into functional design.
Start by evaluating your buffet’s structure; you might want to remove old doors or add open shelving to enhance buffet storage. This allows you to showcase decorative items while keeping essentials within reach.
Next, think about buffet styling. Choose a color palette that complements your existing decor, and consider adding a fresh coat of paint or new hardware for a modern twist.
You can also incorporate baskets or decorative boxes inside for an organized look. With these simple modifications, your buffet can become a stunning focal point that’s both stylish and practical.
Painting Stripes on a Chest
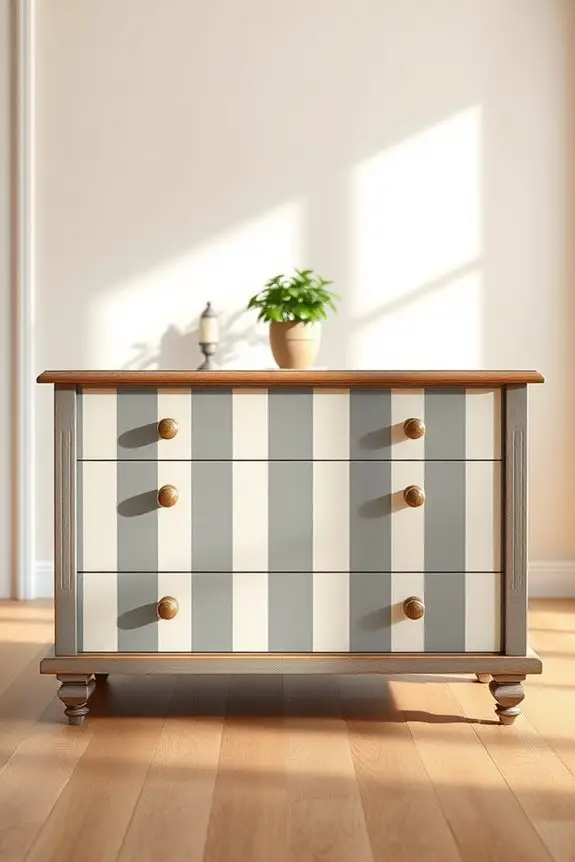
While transforming a chest with painted stripes can seem intimidating, the outcome is a bold statement piece that adds character to any room.
Start by choosing your stripe colors—perhaps a classic black and white or vibrant hues that pop. Next, prep the surface by sanding it lightly to help the paint adhere better.
Use painter’s tape to create clean, straight lines, ensuring you measure carefully for even spacing. For paint techniques, consider using a roller for smooth coverage or a brush for more texture.
Once painted, seal your masterpiece with a clear topcoat to protect it. With a little patience and creativity, you’ll have a stunning striped chest that elevates your space effortlessly.
Upgrading an Antique Lamp
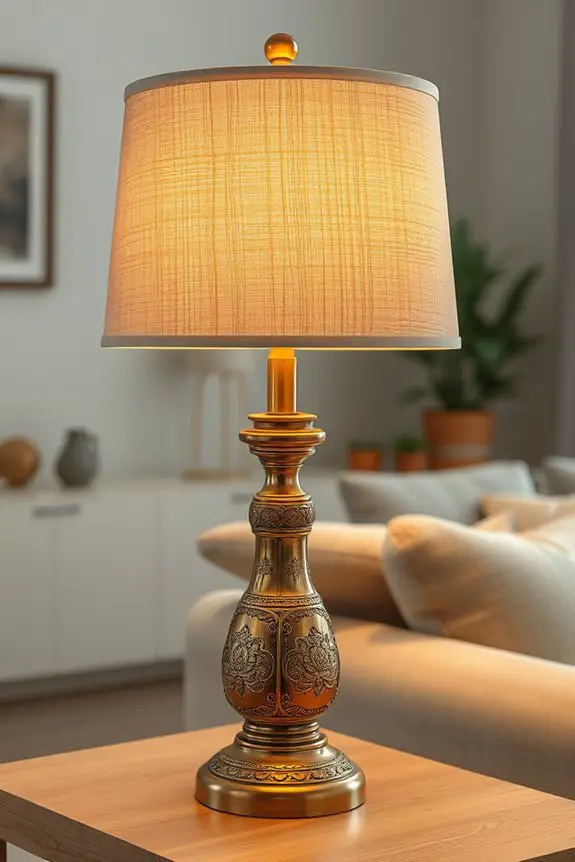
Upgrading an antique lamp can breathe new life into your space and showcase its unique charm.
Start with a thorough wiring check to guarantee safety and functionality. Next, consider a bulb upgrade for better lighting—LEDs can enhance warmth while saving energy.
Choose a new lamp shade that complements its vintage style; vibrant colors or intricate patterns can make a statement. Don’t forget to polish the base to restore its original luster.
Think about adding decorative accents, like a matching finial or tassels, to elevate its appeal. Finally, pay attention to your color choice to harmonize with your decor.
With these upgrades, your antique lamp won’t only look stunning but also serve its functional use effectively.
Adding a Glass Top to a Side Table
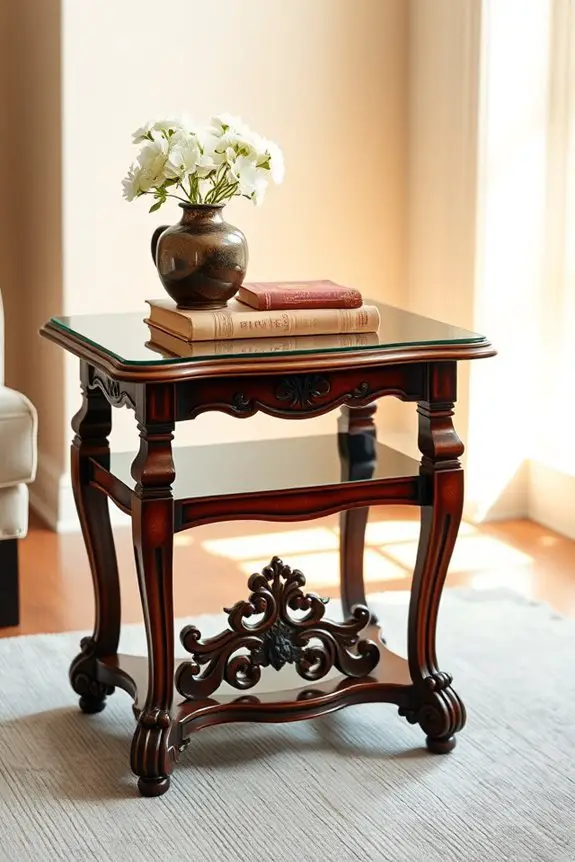
If you want to enhance the functionality and style of your antique side table, adding a glass top is a smart choice.
This simple glass top installation not only protects the surface but also adds a sleek, modern touch to your vintage piece. Choose a tempered glass that fits snugly on your table, ensuring it complements the wood and any intricate details.
You can use adhesive pads for stability or opt for decorative clips for a more stylish hold. This table style enhancement creates a stunning contrast, allowing the beauty of the wood to shine through while providing a practical surface for drinks or decor.
You’ll love how this upgrade transforms your side table into a functional art piece!
Revamping a Chaise Lounge
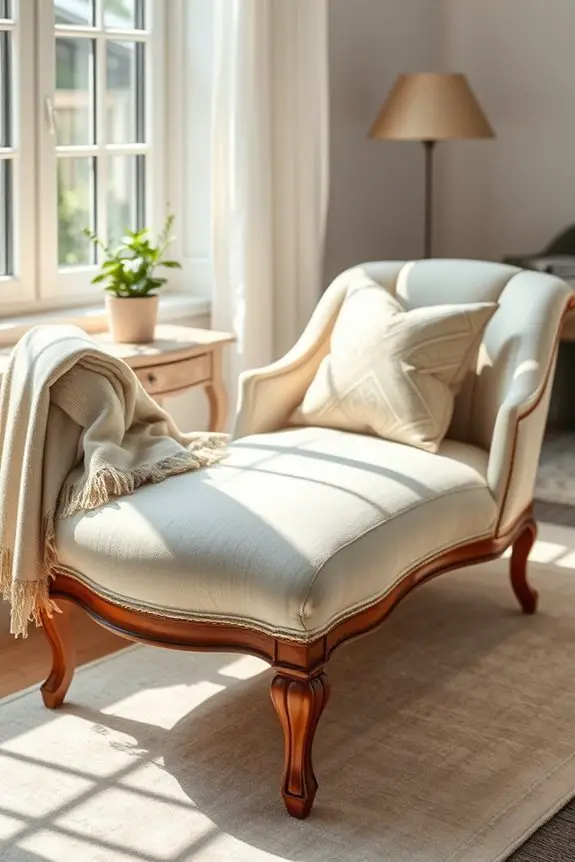
Revamping a chaise lounge can breathe new life into a vintage piece that’s seen better days.
Start by choosing a bold, modern reupholstering fabric that reflects your style. Whether you opt for a bright pattern or a neutral tone, make sure it complements your space.
Next, consider changing the leg style—swapping out traditional legs for sleek, tapered ones can transform the overall look. If you’re feeling adventurous, try adding decorative casters for a touch of elegance.
Don’t forget to pay attention to the cushions; replacing or fluffing them can enhance comfort and appearance.
With these simple updates, your chaise lounge will become a stunning focal point that invites relaxation and conversation.
Enjoy the process and let your creativity shine!
Fabric-Covering a Vintage Ottoman
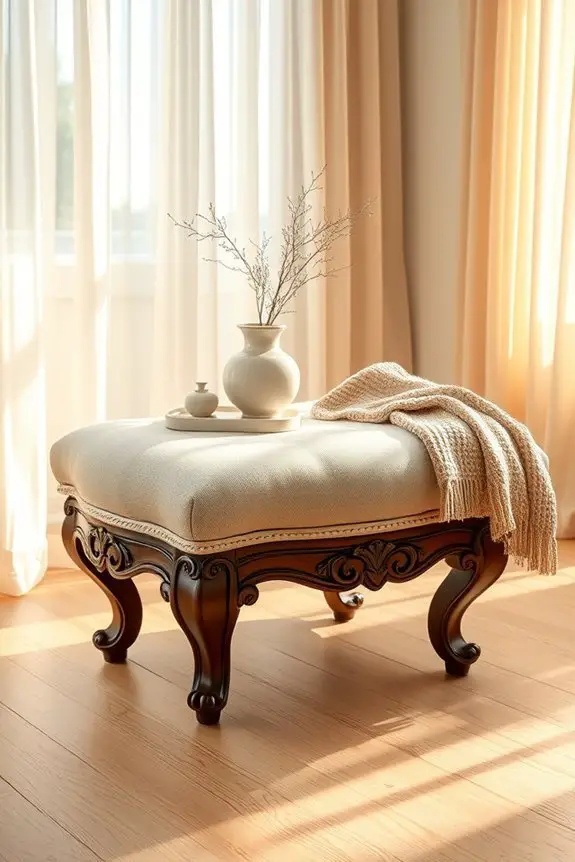
Updating an old chair can set the stage for rejuvenating other vintage pieces in your home, like an ottoman. Start by choosing a vintage fabric that complements your existing decor, considering ottoman styles that suit your space.
Explore various upholstery techniques, such as stapling or sewing, to create a polished look. Experiment with design patterns that reflect current furniture trends, ensuring they harmonize with your other pieces.
Don’t shy away from bold color choices or unique texture combinations to make your ottoman a statement piece. This DIY project not only breathes new life into your furniture but also showcases your personal style, adding character to your home while embracing the charm of vintage aesthetics.
Adding a Touch of Gold to an Antique Piece
Adding a touch of gold to an antique piece can instantly elevate its charm and sophistication. You can achieve this by using gold leafing to highlight intricate details, like carvings or moldings, giving your furniture a luxurious feel.
Start by cleaning the surface and applying a base coat if necessary. Once it’s dry, carefully apply adhesive where you want the gold leaf to adhere. Gently lay the gold leaf over the adhesive, pressing it down to secure it.
For a more subtle approach, consider adding metallic accents to hardware, such as knobs and hinges. These small touches can make a big impact, transforming your antique into a stunning focal point that blends vintage elegance with modern flair.
Conclusion
Revamping antique furniture is like breathing new life into a cherished story. With a splash of paint or a dash of creativity, you can transform tired pieces into vibrant focal points that sing in your space. Embrace the journey of restoration, where each brushstroke and upholstery choice weaves a tale of history and modern flair. So grab your tools and let your imagination soar—your home deserves a touch of the past, reimagined for the present.