Can You Install Tile on Plywood? What You Need to Know First
Yes — you can install tile on plywood, but only if the subfloor is stiff, thick (typically 3/4″ tongue-and-groove), and well supported to prevent flex that cracks tile and grout. You’ll need proper fastening, a flat surface, and often an uncoupling membrane or cement backer board plus polymer-modified thinset and quality grout. Avoid thin, rotted, or unsupported plywood and consider a pro for structural concerns. Keep going to learn how to evaluate and prepare your floor correctly.
Can You Install Tile on Plywood? Quick Answer and Summary
Yes — you can install tile on plywood when the subfloor is properly prepared, stiff, and has a suitable substrate (like cement backer board or an uncoupling membrane) for the tile system; you shouldn’t install tile directly over flexible or rotted plywood.
Doing it right reduces risks like cracked tiles and grout failure, but the tradeoffs include extra materials, labor, and ensuring proper deflection limits for durability.
In typical use cases, plywood with proper reinforcement works for interior floors and some countertops, while wet areas or poorly supported floors usually need a more robust substrate.
Direct answer when it’s okay and when it’s not
If your plywood subfloor is thick, stiff, and properly prepared, you can install tile on it; if it’s thin, springy, or untreated, you shouldn’t.
You’ll want at least 3/4″ tongue-and-groove plywood, proper blocking, and either cement backer board or an uncoupling membrane.
If you’re unsure whether can you install tile on plywood in your case, consult a pro before tiling.
One-paragraph summary of risks, benefits, and typical use cases
When your plywood subfloor is thick, stiff, and properly braced, you can install tile with good results; when it’s thin, springy, or poorly supported, tile can crack or loosen and you shouldn’t risk it.
You’ll gain durable, attractive floors if you reinforce or use proper underlayment; otherwise you face cracked grout, loose tiles, and costly repairs.
Ideal for renovated, well-supported joists.
Understanding the Basics Why Subfloor Matters
You’ll want to know what plywood is and how it reacts under tile so you can predict movement and moisture behavior.
Pay attention to tile requirements for rigidity, flatness, and allowable deflection, since too much flex will crack grout or tiles.
Also consider the tile type and thinset—large-format or natural stone and different mortars demand stricter subfloor conditions.
What plywood is and how it behaves under tile
Plywood’s layered construction gives it strength and flexibility that matter a lot once tile goes down, so you should know how those characteristics affect adhesion, deflection, and long-term durability.
Thin, poorly supported plywood can flex underfoot and crack tile or grout, while properly selected and installed subfloor plywood provides a stable base that helps tiles last.
You’ll inspect grade, thickness, support, and moisture resistance before tiling.
Tile requirements: rigidity, flatness, deflection limits
Because tile and grout are brittle, your subfloor has to stay rigid, flat, and within strict deflection limits to prevent cracking and loosened bonds.
You’ll need a stable, well-supported plywood base with minimal bounce and joints tight to avoid movement.
Check manufacturer deflection ratings (typically L/360 or better), confirm levelness across the span, and reinforce or add layers where needed.
Types of tile and thinset that affect suitability
Now that your subfloor meets rigidity and flatness standards, consider how tile type and thinset choice interact with that base.
Choose smaller, lighter tiles or mosaics for less load; porcelain and large-format tiles need stiffer support and enhanced mortars.
Use modified thinset for better bond and flex; rapid-setting or high-flex formulas reduce movement issues.
Match materials to anticipated stress.
Assessment Is Your Plywood Suitable for Tiling?
Before you start tiling, check that your plywood meets thickness and span (deflection) requirements so it won’t flex under load.
Inspect for rot, loose fasteners, or movement, and verify the surface is flat and within level tolerances.
Decide whether you need a tile-grade underlayment or an additional plywood layer to create a stable base.
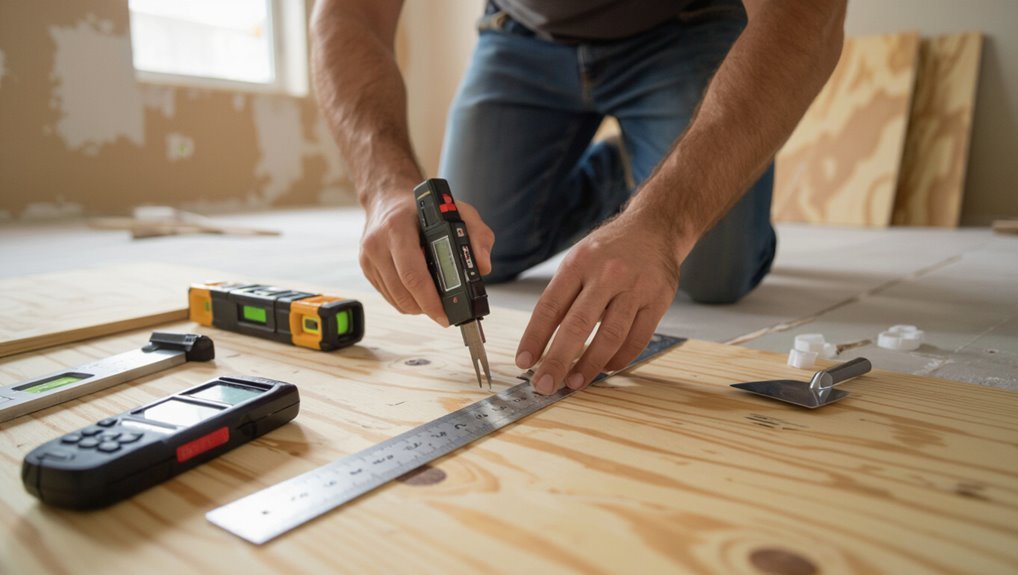
Check thickness and span (deflection criteria)
Start by confirming your subfloor meets the deflection criteria: tile needs a rigid base, so the plywood must be thick enough and supported closely enough to limit bounce (typically L/360 for ceramic or L/480 for natural stone), or the tiles can crack.
Measure joist span, plywood thickness, and spacing; compare to manufacturer specs. If it fails, add support or upgrade to thicker tongue-and-groove subflooring.
Inspect structural condition: rot, movement, fasteners
After confirming thickness and span, you should inspect the plywood for rot, excessive movement, and fastener integrity to make sure it’s suitable for tiling.
Probe suspect areas with a screwdriver, look for soft spots, water stains, and delamination.
Walk the area to detect bounce; tighten or add screws every 6–8 inches along edges and 8–12 inches fieldwise.
Replace rotten panels.
Surface flatness and level tolerances
If your plywood isn’t flat and level within tile manufacturer tolerances, the finished floor will show lippage, cracked grout, or even tile failure—so check it carefully.
Use a straightedge and level to measure dips, crowns, and changes; most manufacturers allow 1/8″ in 10′ or similar.
Repair gaps, plane high spots, or skim with suitable patching compound to meet spec before tiling.
Subfloor layering considerations (underlayment vs. plywood)
While plywood can sometimes serve as a tile substrate, you need to assess its thickness, fastening, and condition to decide whether to add a cement backerboard, uncoupling membrane, or leave the plywood as the underlayment.
Thin, damaged, or inadequately supported plywood usually requires a tile-specific underlayment to prevent movement, moisture damage, and eventual tile or grout failure.
Check joist spacing, plywood grade, and deflection limits; add underlayment if needed.
When You Can Tile Directly on Plywood
You can tile directly on plywood only when it meets specific specs—typically exterior-grade or AC-rated plywood at the proper thickness (often 5/8″ to 3/4″ depending on joist spacing).
Make sure the subfloor is tightly fastened, joists are close enough to limit deflection, and the surface is clean, smooth, and primed as needed.
Use a flexible, polymer-modified thinset or an adhesive recommended for plywood substrates to bond the tile securely.
Required plywood specifications (thickness, grade)
When tiling directly over plywood, choose a stiff, water-resistant subfloor to prevent movement and future tile or grout cracks.
Use exterior-grade or APA-rated plywood—preferably 3/4″ (23/32″) for glued and nailed floors, or 1/2″ combined with a 1/4″ cement backerboard overlay.
Select kiln-dried, void-free panels with smooth faces and proper tongue-and-groove edges for stability.
Fastening and joist spacing requirements
Because tile is unforgiving, your subfloor’s fastening and joist spacing must keep deflection under control: you should screw or ring-shank nail plywood every 6–8 inches at edges and 8–10 inches in the field, using corrosion-resistant fasteners.
Joists should be spaced no more than 16 inches on center for 3/4″ subfloor (12″ for lighter spans), minimizing bounce to prevent cracked grout or tiles.
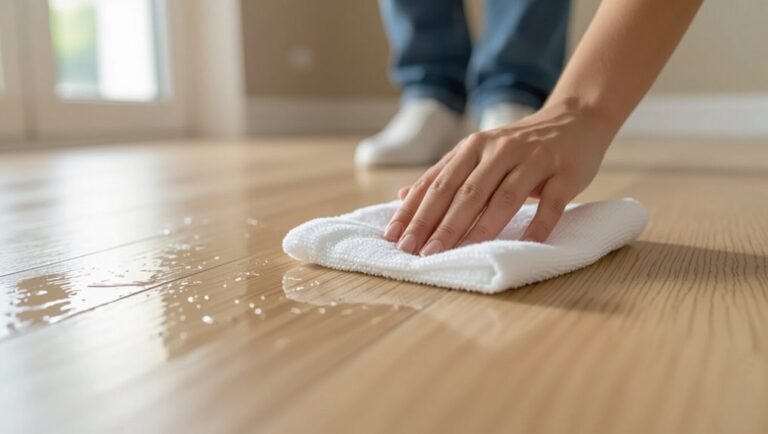
Surface preparation steps before tiling
Good fastening and joist spacing give you a stable base; next check the plywood itself so it’ll accept tile.
Remove paint, clean debris, and repair delamination or loose layers. Sand glossy surfaces and guarantee plywood is exterior-grade or CDX with minimal deflection.
Prime or waterproof where needed before underlayment.
- Clean, dry, and structurally sound
- Flat within tolerance
- No movement or soft spots
Recommended mortars and adhesives for plywood
If your plywood is sound, flat, and properly fastened, you can use specific thin-set mortars and adhesives designed for bonding tile to wood; choose polymer-modified, high-flexibility thin-set or a urethane adhesive formulated for plywood to accommodate slight movement and shear.
Use ANSI A118.4/A118.11 or A118.15 compliant mortars, follow manufacturer coverage and open time, and always test bond on a scrap piece first.
When You Should Not Tile Directly Alternatives
If your plywood isn’t stiff, stable, or suitable for tile you shouldn’t tile directly and should consider alternatives like cement backer board—I’ll cover its pros, cons, and basic installation steps.
You can also use uncoupling membranes (such as Ditra), which offer waterproofing and crack protection and I’ll explain benefits and the typical method.
Finally, we’ll compare installing over exterior-grade plywood versus over existing finished floors so you can pick the right approach.
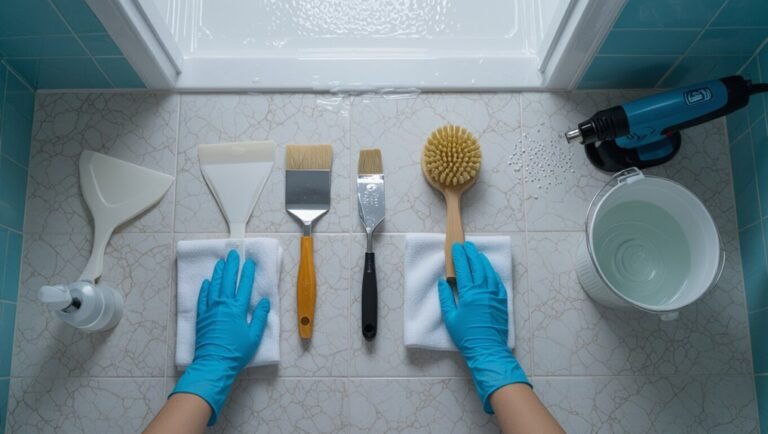
Use of cement backer board: pros, cons, installation steps
When plywood can’t provide the stable, moisture-resistant surface tiles need, you should install cement backer board as a reliable underlayment; it resists water, holds thinset well, and gives you a flat, rigid base for long-lasting tile.
Pros: durable, inexpensive, mold-resistant.
Cons: heavy, requires proper fastening and seams.
Install: cut to fit, screw with corrosion-resistant screws, tape joints with thinset, then mortar and tile.
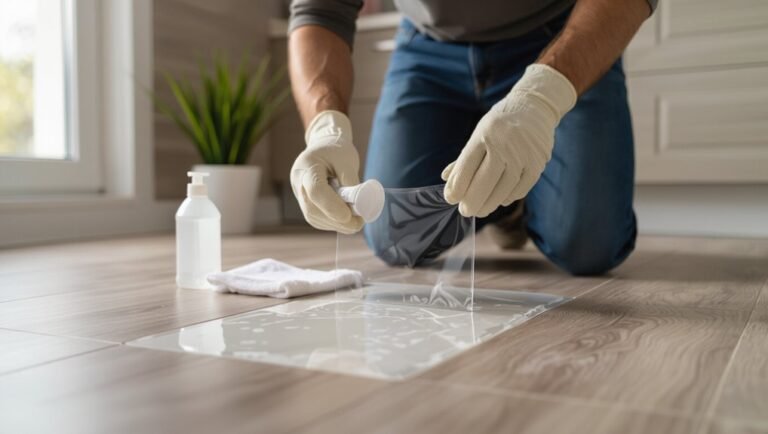
Use of uncoupling membranes (e.g., Ditra) benefits and method
Because plywood can flex and move with temperature and humidity, you’ll often avoid cracks by installing an uncoupling membrane like Schluter-DITRA before tiling.
You’ll bond DITRA to the plywood with thin-set, float tile mortar into its dimples, and butter tiles or back-butter as recommended.
The membrane isolates lateral movement, provides waterproofing and vapor relief, and simplifies repairs without adding excessive thickness.
Installation over exterior-grade plywood vs. existing finished floors
After you’ve decided against tiling directly over plain plywood—often by choosing an uncoupling membrane—you’ll still face choices about the substrate itself: exterior-grade plywood and existing finished floors demand different prep and, in some cases, different approaches altogether.
Use exterior-grade for moisture-prone areas but add a cement backer or membrane.
Over finished floors, remove loose coatings, assess flatness, and consider floating underlay or demolition if adhesion or height issues persist.
Step-by-Step Installation Guide (Tile over Plywood with Backer/Underlayment)
Before you set a single tile, you’ll prepare and reinforce the plywood subfloor so it’s stiff and stable.
Next you’ll secure a cement backer board or membrane, spread thinset, lay tiles with spacers, and grout the joints.
Finish by letting everything cure, applying any needed sealer, and doing a final inspection for level and adhesion.
Step 1: Prepare and reinforce the subfloor
Step 1: Check the plywood for soundness and level—remove any loose boards, replace soft or water-damaged panels, and tighten or add screws so the surface won’t flex under tile.
Then shim low spots, sister or add blocking between joists where needed, and guarantee joist spacing meets tile requirements.
Clean the surface thoroughly and sweep or vacuum debris before proceeding.
Step 2: Install cement backer board or membrane
Lay down a proper underlayment to protect the plywood and give your tile a stable, rigid surface—either cement backer board or a bonded membrane will work, but the choice changes how you fasten and waterproof the assembly.
Choose backer board for rigidity or membrane for crack isolation, screw or bond per manufacturer, and stagger joints for strength.
- Follow fastening patterns
- Seal seams correctly
- Match product to subfloor conditions
Step 3: Apply thinset and lay tile layout, spacers, grout
Start by mixing the thinset to the manufacturer’s consistency and spread it with a notched trowel. Then set your first tiles according to the layout you’ve planned.
Press tiles firmly, using spacers for even joints. Check alignment and level frequently, cutting edge pieces as needed.
After thinset cures per instructions, remove spacers. Then apply grout into joints and wipe excess with a damp sponge.
Step 4: Curing, sealing, and final inspection
Now you’ll let the installation cure, seal the surface, and carry out a final inspection to guarantee durability and a clean finish.
Wait recommended cure time for thinset and grout (usually 24–72 hours), then apply an appropriate grout sealer and any surface sealer for porous tiles.
Check joints, tiles, and connections for gaps or movement.
Make final adjustments and clean residue before regular use.
Common Mistakes and How to Avoid Them
Before you start tiling, watch for common mistakes that cause cracks, loose tiles, or uneven grout lines.
Check and stiffen a bouncy subfloor, use the right fasteners and spacing, and never skip a proper underlayment or waterproof membrane.
Also make sure the surface is flat and use leveling techniques and spacers to prevent lippage.
Mistake: Insufficient subfloor stiffness signs and fix
If your floor feels bouncy or your tiles crack soon after installation, you’re probably dealing with insufficient subfloor stiffness—a problem that shows up as movement, hollow sounds when you tap the tile, and visible grout or tile cracks.
Fix it by adding a stiffer underlayment: sister joists, reduce joist span, or install 3/4″ exterior-grade plywood plus an approved cement backerboard or uncoupling membrane before tiling.
Mistake: Inadequate fastening or fastener type
Getting the subfloor stiff enough is only half the battle—how you fasten that plywood and the type of screws or nails you use matters just as much.
Use ring-shank or structural screws at proper spacing, sink fasteners flush, and avoid smooth nails that loosen.
Secure edges and seams to prevent movement, and follow manufacturer spacing guidelines so tiles and grout won’t crack from substrate deflection.
Mistake: Skipping underlayment or membrane
When you skip an underlayment or membrane, you’re risking tile failure from moisture, movement, and adhesive breakdown; these layers actually protect the plywood, isolate minor deflection, and create a proper bonding surface for thinset.
You should always install a suitable cement board, uncoupling membrane, or waterproofing layer per manufacturer guidelines so tiles adhere reliably and plywood stays protected.
Mistake: Poor surface flatness and lippage prevention
Because tile needs a truly flat, stable plane to sit on, even small bumps or dips in your plywood can cause noticeable lippage and grout failure.
So you should check and correct surface flatness before you spread thinset. Use a straightedge and level, shim or plane high spots, fill low areas with leveling compound, and keep joints tight.
Test with a dry lay.
Best Practices and Professional Tips
When you pick tile for plywood, match size and type to the subfloor and traffic so tiles won’t crack or loosen.
Use recommended underlayment, thinset, and tools for long-lasting adhesion, and account for moisture and seasonal movement in bathrooms or basements.
If you’re unsure about joist spacing, structural issues, or complex layouts, call a flooring contractor or structural pro before you start.
Choosing the right tile size and type for plywood subfloors
If you’re installing tile over plywood, pick sizes and materials that match plywood’s flex limits and movement tendencies.
Use smaller tiles (2×2 to 8×8) or mosaics to reduce grout stress, and prefer porcelain or rectified ceramic with low thickness.
Avoid large-format slabs unless you stiffen the subfloor and use an uncoupling membrane.
Account for expansion with proper joints.
Recommended products and tools for durability
Smaller tiles and a properly prepared plywood base set the stage, but the products and tools you choose will determine how long the installation lasts.
Use flexible polymer-modified thinset, an uncoupling membrane like Schluter Ditra, and high-quality grout with sealer.
Choose stainless steel or coated screws, a stiff notched trowel, rubber float, grout sponge, and a wet saw for precise cuts to guarantee durability.
Seasonal and moisture considerations (bathrooms, basements)
Because plywood and tile respond differently to humidity and temperature swings, you should plan installations in bathrooms and basements around site conditions and seasonal extremes.
Wait for stable indoor humidity, use waterproof backer or membrane, allow plywood to acclimate, and keep ventilation and heat consistent during curing.
Seal edges and connections, and choose flexible grout and adhesive rated for wet, fluctuating environments.
When to consult a structural pro or flooring contractor
When you’re unsure about subfloor integrity, framing span, or load-bearing issues, call a structural engineer or experienced flooring contractor before you start—these pros will spot problems like soft spots, excessive deflection, or inadequate fastening that can wreck a tile job and lead to cracking or failure.
They’ll assess load, recommend reinforcement, confirm underlayment suitability, and advise on joist spacing, adhesives, or decoupling systems to guarantee durability.
Cost, Time, and Durability Comparison
Now let’s compare the real costs, time commitments, and durability so you can choose the right approach.
You’ll see how direct tile on plywood stacks up against using backer board or a membrane in materials and expected lifespan, plus what routine maintenance looks like.
Finally, weigh the added time and complexity of a professional install versus a DIY job to decide what fits your budget and skill level.
Cost breakdown: direct tile on plywood vs. with backer board vs. membrane
Comparing costs, time, and long-term durability helps you decide whether to set tile directly on plywood, add a cement backer board, or install a waterproof membrane. You’ll pay least for direct install (lower materials, faster), mid for backer board, and most for membrane (higher materials, prep). Weigh upfront cost versus protective value.
| Option | Avg Materials | Install Time |
|---|---|---|
| Direct on plywood | $ | Short |
| Backer board | $$ | Medium |
| Waterproof membrane | $$$ | Longer |
Expected lifespan and maintenance differences
Although upfront choices affect cost and install time, they’ll also shape how long your floor lasts and what upkeep it needs.
Tile over proper backer or membrane lasts decades with minimal care; direct tile on plywood may show movement, grout cracking, or tile loosening sooner.
You’ll need periodic grout sealing, inspection for flex-related damage, and prompt repairs to prevent moisture issues and premature replacement.
Time and complexity comparison for DIY vs professional install
Those lifespan and maintenance differences will affect how you approach the install: choosing DIY or hiring a pro changes cost, schedule, and the long-term performance of tile on plywood.
DIY saves labor costs but demands skill, tools, and extra time for prep, leveling, and curing.
A pro works faster, guarantees membrane and fastening standards, and reduces risk of future failures—at higher upfront expense.
FAQ
You probably have specific questions like whether porcelain or ceramic tile can go directly on 3/4″ plywood and if cement board is required in every room.
You’ll want to know whether tiles will crack without a membrane, how to fix squeaky floors before tiling, and whether radiant floor heating works over plywood.
Let’s answer each of these clearly so you can plan the right prep and materials.
Can I install porcelain or ceramic tile directly on 3/4 plywood?
If you’re thinking about laying porcelain or ceramic tile directly over 3/4″ plywood, the short answer is: not without preparation.
You’ll need to stiffen and stabilize the subfloor, guarantee proper deflection limits, and provide a suitable substrate or uncoupling membrane.
Direct adhesion risks cracking, grout failure, and movement.
Follow manufacturer specs and local codes to achieve a durable installation.
Do I need cement board for every room with plywood subfloor?
When do you need cement board over a plywood subfloor? You don’t always need it.
Use cement board where moisture, heavy loads, or frequent cleaning increase risk—bathrooms, laundry rooms, mudrooms, and commercial spaces.
Also install it if local code or manufacturer requires a rigid underlayment.
For dry, low-traffic areas, properly prepared plywood or a membrane may suffice—check tile and adhesive specs.
Will tiles crack if installed over plywood without a membrane?
Could tiles crack over plywood without a membrane? Yes — plywood flexes and transfers movement to grout and tiles, increasing breakage risk.
Without a membrane or proper uncoupling layer and adequate subfloor rigidity, stresses concentrate beneath tiles.
You’ll likely see hairline cracks, loose or popped tiles, and grout failure sooner than with a decoupling system and correct preparation.
How do I fix squeaky floors before tiling?
Since plywood movement can cause tile and grout to crack, you’ll want to silence any squeaks before you tile.
Locate joist gaps and loose subflooring, then secure with screws every 6–8 inches into joists. Add blocking or sister joists where needed.
Use construction adhesive under subfloor seams, tighten loose floorboards, and recheck for movement before applying underlayment and tile.
Can radiant floor heating be used with tile over plywood?
Yes—you can use radiant floor heating under tile over plywood, but you must follow proper methods to keep the system reliable and the tile intact.
Use an approved decoupling or cementitious backer board system, follow manufacturer specs for joist spacing and ply thickness, and install proper insulation and thermal membrane.
Allow controlled temperature ramps to prevent grout or tile cracking.
Visual Guide and Inspection Checklist
Before you start tiling, run a quick pre-installation inspection checklist to confirm the plywood is flat, secure, dry, and free of damage.
Take clear photos of joists, seams, cracks, soft spots, and any previous repairs so you’ve got a record of problem areas.
Those images and notes will save time and help you justify any corrective work.
Pre-installation inspection checklist
1 simple, thorough inspection will save you time and headaches later: walk the entire plywood surface, looking for loose or squeaky boards, gaps wider than 1/8 inch, surface contamination (paint, oil, wax), raised knots or splinters, and any soft or water-damaged areas, and mark each issue so you can repair or replace before you start tiling.
- Note fastener spacing and tighten where needed
- Measure and fill gaps or sand high spots
- Flag contaminated or soft sections for replacement
Typical problem areas to photograph and document
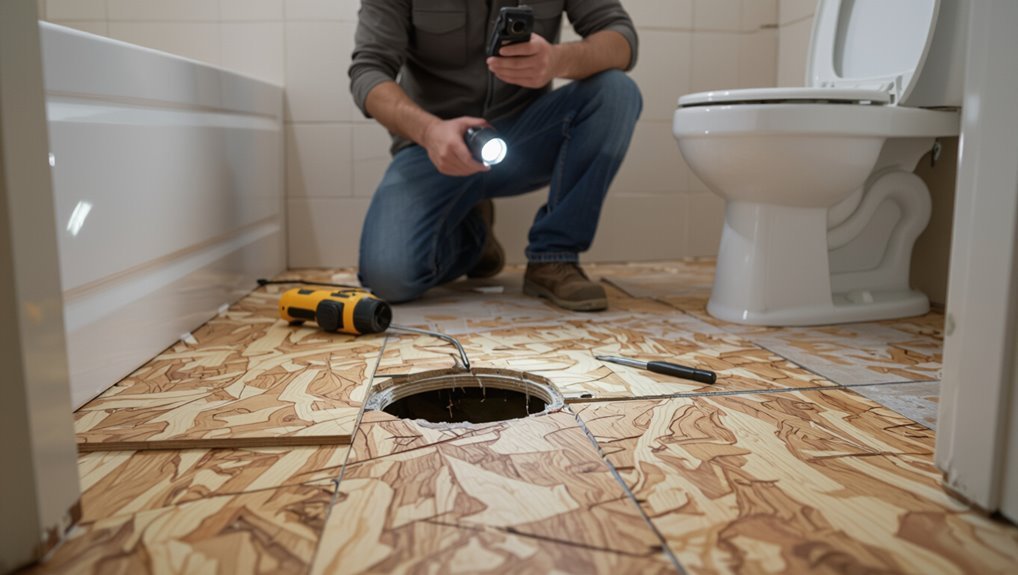
When you document the plywood before tiling, focus your photos on predictable trouble spots—doorways and thresholds, plumbing and electrical penetrations, seams between sheets, areas around vents or built-ins, and any discoloration or soft spots—so you’ll have clear visual evidence to guide repairs and future inspections.
Also shoot wide context shots, close-ups with a ruler for scale, and date-stamped images of repaired areas for the record.